VaughnT
Members
-
Joined
-
Last visited
Everything posted by VaughnT
-
I'm glad you picked her up and are giving her a good home. You'll soon be spoiled and will never want another brand of anvil.
-
Finished up yet another. This one gave me fits from start to finish! I'll get some better photos later on today.
-
That definitely qualifies as beautiful work. The symmetry is perfect and I like the size for general tinkering in the woods. Maybe the handle another foot longer and you'd have a nice walking cane like they use in the Alps.
-
Good stuff! That anvil of his is beautiful, and I like his tongs.
-
That's an ingenious design and exactly what I've been looking for. I've been working on a similar design, but could never figure out how to work the treadle linkage! If the rear column is square tube, you'd do yourself a tremendous favor by backfilling the tube with a whole bunch of sand. Not only doesn't it add weight and slow down the dancing, but it will significantly decrease the noise because you no longer have an echo chamber there. Just add a cup or two of oil to the sand and you'll have nary a worry about corrosion or noise.
-
Once you get a Fisher, you'll never want another anvil. If they aren't the gold standard, they should be! Fantastic anvil, zero ringing, beautiful proportions.... just about as perfect as you can get. I've talked with that gent on the telephone and he seems really friendly and wanting to help the tools go to a good home. I wish I was closer... but my wallet is glad that I'm not!
-
That extra thick top and extra high step to the shelf makes me think it's some kind of custom anvil made for a very specific kind of manufacturing. Never seen anything like it, but it doesn't look like something cobbled together in a shop somewhere.
-
Excellent find! I would definitely be on the look-out for more smithing tools when you get there. I see two more anvils in the background so you never know what kind of contact you might be able to foster.
-
That'll do it. Easiest way is to get it up to a nice orange/red and then let it sit in the forge after you've shut everything off for the day. That'll allow it to cool slowly as the fire dies and all the heat dissipates. As soon as you get it hot enough to change colors, you've removed the heat-treat and any hardness it might have had.
-
If I had my druthers, I'd buy one of those huge european anvils that always come up on eBay. The stepped feet, church windows, double horns.... and that incredible sense of age and history..... wow. Wouldn't even hesitate on it. And it would probably take up all of 3k to get one of the big ones through customs and into my shop.
-
Have you done a spark test to see if it's cast iron or cast steel? Those cut outs seem a bit oddly placed for a power hammer's anvil or sow block. It could definitely be repurposed as such and I'd highly recommend it if you do decide to build a power hammer. Just a first glance makes me think of the counterweights used on big cranes.
-
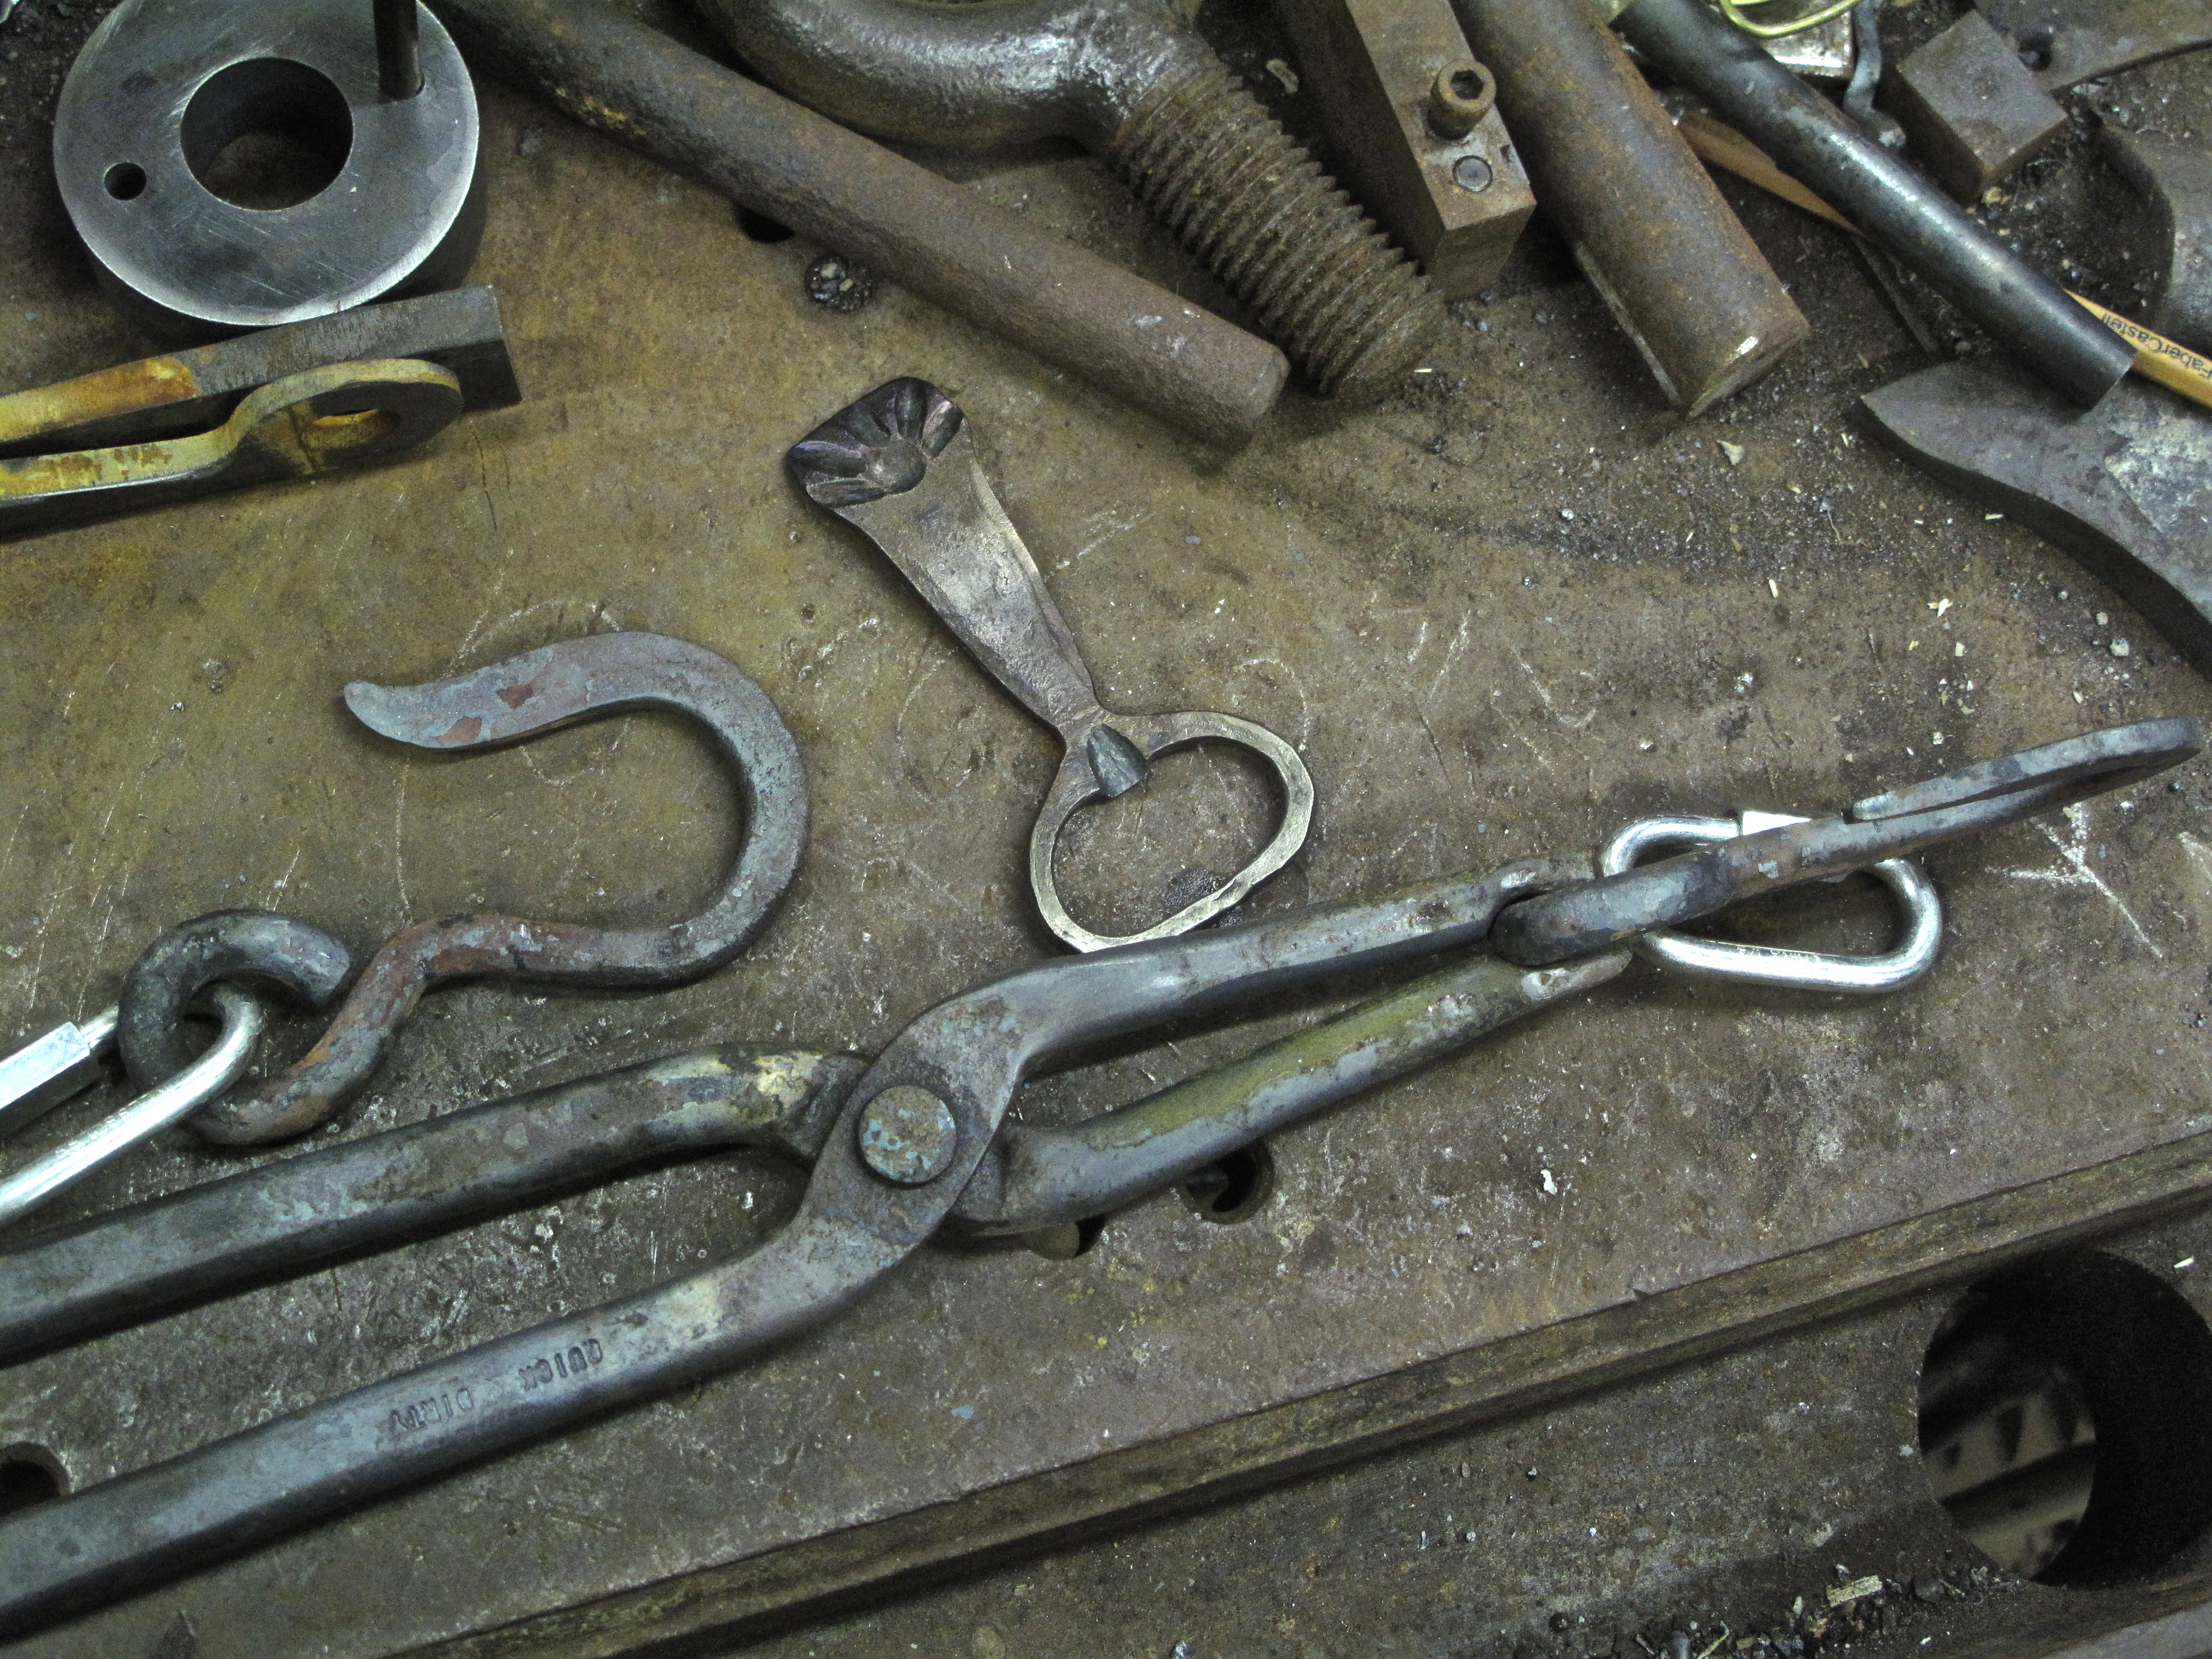
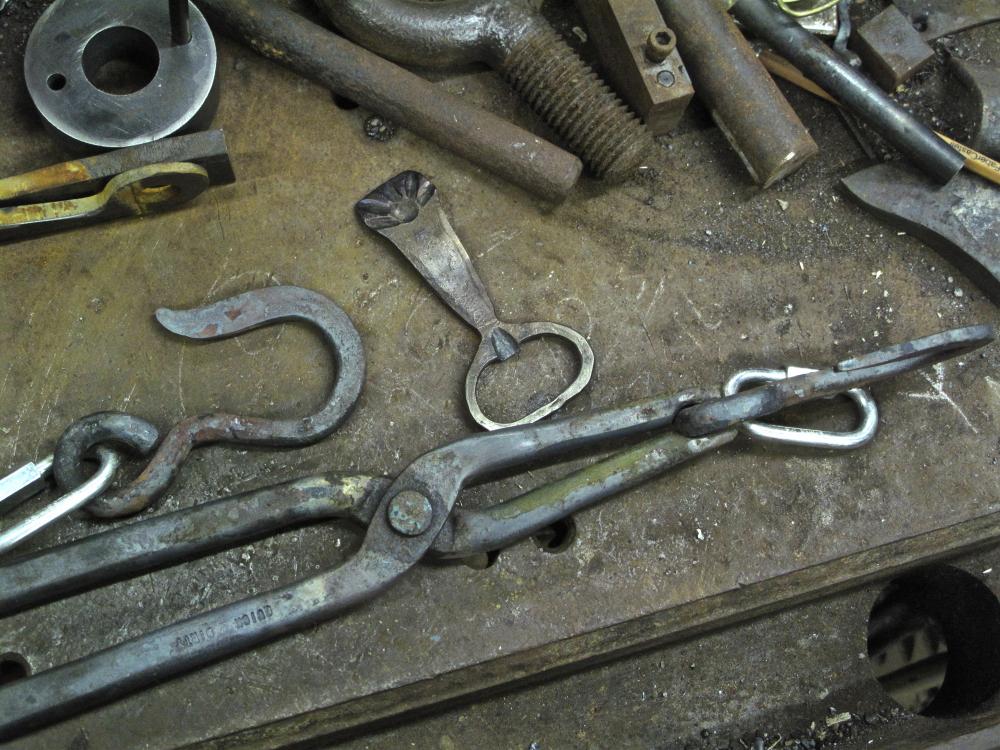
Had a little 3" piece of 1/4x3/4 mild that needed something done with it..... And since I was already working on some trailer hooks and a pair of ring tongs, it seemed like a good time to make another bottle opener. The ring tongs started out as one of those 80% tong kits from Quick-n-Dirty Tools, and I couldn't be happier with how they turned out.
-
I'll make it really easy on you, friend. Since I posted the photos in the original post, and I've been here the whole way to gently guide you with my erudite advice.... I think a 70/30 split is more than fair. Now, how you decide to split the 30% betwixt all the other hangers on is entirely up to you. I would watch out for those foreign blokes, though; they talk funny and shouldn't be trusted.
-
Wayne Coe is a member here and is also a purveyor of all the stuff you might need to put a propane forge together. Would I recommend buying or building? Definitely building. Even if you buy a top-shelf burner like the JF1 on ebay, you'll still save money and end up with a forge that suits your needs. If you look at the commercially available ones, they're built heavy, but they also are built to a price point. You don't need a heavy-wall pipe or old propane tank to make the outside of the forge. This thing doesn't need to stop incoming fire from a howitzer, and can be made from the thinnest sheet metal that's cold-bent to shape. By using a section of pipe, for example, you're automatically limiting yourself to the shape of that pipe. Might be great if you're only interested in making blades and don't need the room, but if you're any kind of metal worker, you'll soon want to branch out into scrolls, stuff with big bends, etc. If you have a wife, and she finds out that you're trying to blacksmith, you can expect all sorts of stuff added to your Honey-Do list. I'm told that wives are really good at adding things to that list and need little provocation to do so. I have a Majestic 3-burner that's 18" long. Just about as bad a design as you could ask for and a real gas hog. In all the time I've had it, I've never used more than one burner to heat up the front section of the forge. No sense heating 18" of steel when I can't beat on it all before it cools down. I really don't see the need for a 2-burner, either. Definitely consider doing a blown burner rather than a venturi style. Maybe even look into doing a Ribbon Burner. 2" of Inswool or Kaowool insulation on the inside of your shell. Coat that with a light skim coat (.25") of refractory cement. Paint over that with a bit of IR reflective paint. That's how you make a propane forge. What the shell looks like, well, that's the fun part. Lots of ways to go, especially when you have a full-on shop like you do.
-
Anyone else notice how you just can't trump Ausfire? Talk about old engines and he'll post a picture of a gargantuan being offloaded by a crane. Talk about scrap piles and, well.... ;)
-
If it bounces a hammer back at you, there's plenty of rebound to work with. Overall, I'm not keen on the four hour road trip and would do my darnedest to get the price down below $80. But, if that's the bottom line, I wouldn't feel too bad about it. A good anvil is a thing of pleasure to work on, and that anvil would look a real dandy if you cleaned up the broken ends to make it look more like something intentionally designed rather than broken to pieces. Get her on a stump as soon as possible and start turning out nice little iron bits-n-bobs.
-
I was just working on a project for a friend and had the mild steel crack on me. I've quenched a lot of mild steel in my day, but I've never seen any crack. The really weird part was when I tried to grind down past the crack (forging thick and grinding thin!), I left one of the pieces in the little water can I keep by the grinder. The next day, the thing was green instead of the orange/rust color you'd expect. From how it felt under the hammer to the weird color, weirdest steel I've ever worked with.
-
Pointing the lamps up into the canopy (indirect lighting) works wonders nine times out of ten. If you have camping lanterns that broadcast the light, you can make shades for them out of cardboard and tinfoil to direct the light up into the canopy. Another option, if you have powerful lanterns, is to make some shepherd's crook style hangers for them. The trick is to make the hangers really long so you can fasten them to the legs of the canopy.... on the outside of the canopy.... so the lanterns are actually high up in the air, above the cloth of the canopy. Not only does it look neat to passersby (something they've never seen done before), but the indirect light shines through the canopy a little bit and gives you a smoother illumination. By getting the lights up high and out of the average eye-line, it's a lot easier for you to see because you're eyes don't always have to change dilation. An added benefit is that it gets the bugs up high, too, and they aren't so much of a bother.
-
Beautiful execution, Dave. Do you think you'll cut the pedal's arm length down, or is the added leverage really needed to get a good grip? What's the reasoning behind the stand's design? Is the rail section as tall as it is to help with some operation, or just because that's how long the rail was? I'll certainly be very keen to read your long-term report after a few months of working with it.
-
Really beautiful work, hoss. That trick with the planetary gear is getting filed away for future use!
-
As Thomas mentioned, you're really screwing yourself over with that kind of junk in the forge. Some imbecile puts a video on youtube and next thing you know, everyone wants to believe sand and plaster makes a decent insulation instead of actually thinking things through for a minute. If sand and plaster was good stuff, you'd see every professional out there using it. If it was cheaper and did the same job as Kaowool, nobody would be buying kaowool. There'd be no talk of kaowool, Satanite, refractory cement, plistix, etc. All of the kiln and oven manufacturers would be using sand and plaster in the products they sell rather than the "more expensive" stuff they're currently using. Then you cancel your savings on the insulation by buying can after can of fuel, trying to get a decent heat. Why? Because the insulation isn't insulating. It's just a heat sink. Get with Wayne for some proper supplies and build a proper forge. You'll be very happy that you did.
-
Don't forget that there should be some meat left for cleaning things up with a file. Even if the leaves are 1/8" stock, you can make them look very thin by beveling the edges and dressing the flats up with a file. Same for the barrels. Even if I wanted to go for that "forged" finish, I would still probably want to forge everything thick and then work it down with files to give it a smooth even surface. Then I'd put it back in the forge to scale up a bit before applying a wax finish.
-
Considering that it appears to be in "as new" condition, I wouldn't say the price was completely unreasonable. If you were to buy a new anvil, you'll have to pay far more than $800. Would I pay that much for it? Nope. I don't like anvils that have a narrow waist and thin heel. I understand you have to go with what's available, but I'd rather spend the money on a big ol' chunk of mild.
-
Practice on larger stock and get your technique refined. And remember that there's no rule saying that the hinges must be welded together. If the overlap is covered by the visible part, just be sure to have one or two screw holes going through the overlap so it's all held securely in place.
-