VaughnT
Members
-
Joined
-
Last visited
Everything posted by VaughnT
-
That is one seriously gorgeous Fisher! I would love to have something like that, especially from the Bethlehem Steel works. And the stand is just dreamy. Coming from a big operation like the BSW, fabricating a stand wouldn't have been much of a chore. Is the stand a Fisher??? Well, if there are cut-outs for the lugs, I would have expected Fisher to include some means to use those lugs to bolt the anvil down. Otherwise, the stand might be something repurposed from somewhere else.
-
-
I use Admiral Steel's 1080 all the time for my flint strikers and couldn't be happier with the price or the quality. For what they charge for shipping, you're better off buying as much as you can because the shipping charge for one 6' stick is just as much as for three sticks. And it's dirt cheap stuff, so it's not like you're going to break the bank! I haven't tried doing any damascus with it and have only used it for one knife so far. It gets hard enough for a flint striker if you do a water quench, but I haven't had any luck with an oil quench. My oil might be too slow, but that's okay because I prefer the lack of clean up needed with a water quench!
-
I'm in a similar boat. Just bought a very nice 3.75# hand-made hammer off ebay, my first venture into custom hammers, and the handle is far too thin for me. No shame on the maker because I've got large hands and generally like to use a sledge hammer handle for even my lighter hammers. I like the greater surface area of the sledge handles and find that I generally don't have to do anything to them other than take off the poly topcoat they come with and give them a good oiling. I've been thinking about gluing on some cheek pieces to the handle to build up the thickness. Maybe add some dowels across the three pieces to help keep it all together. But the simplest thing to do would be to simply replace the handle with something more appropriate for the weight of the head. Of course, I'll wait a bit before I do anything so I can see if I can grow used to the spindliness of it. Again, not saying anything bad against the maker because there's just no way anyone could make something that fits everyone perfectly. On a lighter 2-pound hammer, I'm generally happy with the length/diameter of a standard hammer handle because I can choke down to the thick part without straining the wrist. On something over 2 pounds, though, I want a larger handle because it gives me a lot better control without any of the downsides of a thin handle. I guess it all depends on your hand size. I wouldn't be too keen on friction tape and the like. It might work if you don't have to build up too much mass, though.
-
I wouldn't touch it. If you do, you're likely to grind through the remaining face plate. Nothing wrong with a bit of sway, especially if you don't have much experience forging.
-
I'd buy it. The sway in the face is okay and won't have a negative impact on your work. It actually comes in handy for straightening long pieces. The damage to the step is from cutting, which is what the step is there for. No big deal. Overall, the edges look good and it's a nice size for general work. You'd get a lot of product off of an anvil like that, and you can always sell it in a year or two and recoup your investment.
-
And we shouldn't confuse the quality of mass-produced with the quality of hand-crafted. They are made to two different standards, to meet two different price points for two different types of clientele. Throughout all of history, the wealthy class has been the one to patronize the craftsman and allow him to reach for new heights. But, a lot of the craftsman had to do the drudge work, making nail after nail, and keeping the peons in basic goods.
-
Mild steel isn't great, but it's a far cry from bad. And if you pay a welder to build up the face with some impact-resistant hard-facing rod, you'll have an anvil as good as anything else out there. Horns on an anvil are nice, but they're not necessary. If you're making a lot of curves, build jigs so you can make consistent, repeatable bends. If you need to open the loop on a bottle opener, make a bick that will fit in your vice. Research on youtube to see how smiths are doing things in third-world countries where "anvils" are whatever they can find. Research how early european smiths were making armor and swords without london-pattern anvils. If those folks can work iron into masterpieces we see in the museums, you can do the same thing.
-
What's wrong with using mild steel for an anvil? You'd have to make a lot of product, or a lot of mistakes, before a big chunk of mild would need to be resurfaced. It'd certainly be every bit as good as anything the early blacksmiths were using. If you can find the axle from a train, that would make for a dandy post anvil. About 4" in diameter and harder than the devil's heart. Heavy, too.
-
Nice work, hoss. If you want to spend a good hour or so trying to file that hole straight, you could do it. Personally, I'd leave it as-is and put a little twist in the wood handle like other's have noted. For a first hammer, that's a pretty dang good result and I'd be inclined to leave the little bits and bobs intact so I can look back on them after the fiftieth hammer. For future hammers, as Swede noted, you can drill three or four holes down the centerline and use them to guide your chisel through the steel. That's the simplest way to get straight eyes every time unless you want move up to using power hammers or presses and invest in some jigs to keep everything aligned.
-
Excellent idea, and great end result. I'll have to dig out some change and give it a whirl.
-
Very nice! Maybe give it a bit of stain to really make the figure shine.
-
http://www.iforgeiron.com/topic/44451-adjustable-ram-tire-hammer/
-
You can buy steel balls from King's Architectural and other places that will do the job. They even offer ones that have been drilled/punched all the way through so you can get a nice air flow through and around the sphere. If you have a grill to cover the hole in the pan, that will work perfectly all by itself. The idea behind the clinker breaker is that you're supposed to be able to clear the opening of any clinkers with a simple twist of the handle rather than poking and prodding with a rake and damaging your fire. They're not a "must have" item, though.
-
That's exactly how I did my last pair and they work fine for grabbing right behind the head so you can forge out all of the shaft. Some nippers have a larger "bow" to the jaws, but I've never had any problem with the spike slipping or jumping around since the spike is fully contained. The only real downside can be the small surface area of the jaws really eating into the hot steel where they're grabbing. Here's a photo of a pair of Quick-n-Dirty "big mouth" tongs that pretty much do the same thing. For hand hammering, the design is plenty strong enough and will last a good long while. All you have to do is scale it down a bit to fit the spikes.

-
That's well done. A lot like my forge. Just remember, the bricks are lousy insulation and really suck up a lot of gas. My forge will only get to welding temps at around 25psi, which is double what most folks are experiencing with forges that are better insulated. You'd do yourself a tremendous favor by replacing the hard insulation with something like Inswool or Kaowool blanket material and then giving it a skim coat of refractory cement and a painting of Metrikote or the like.
-
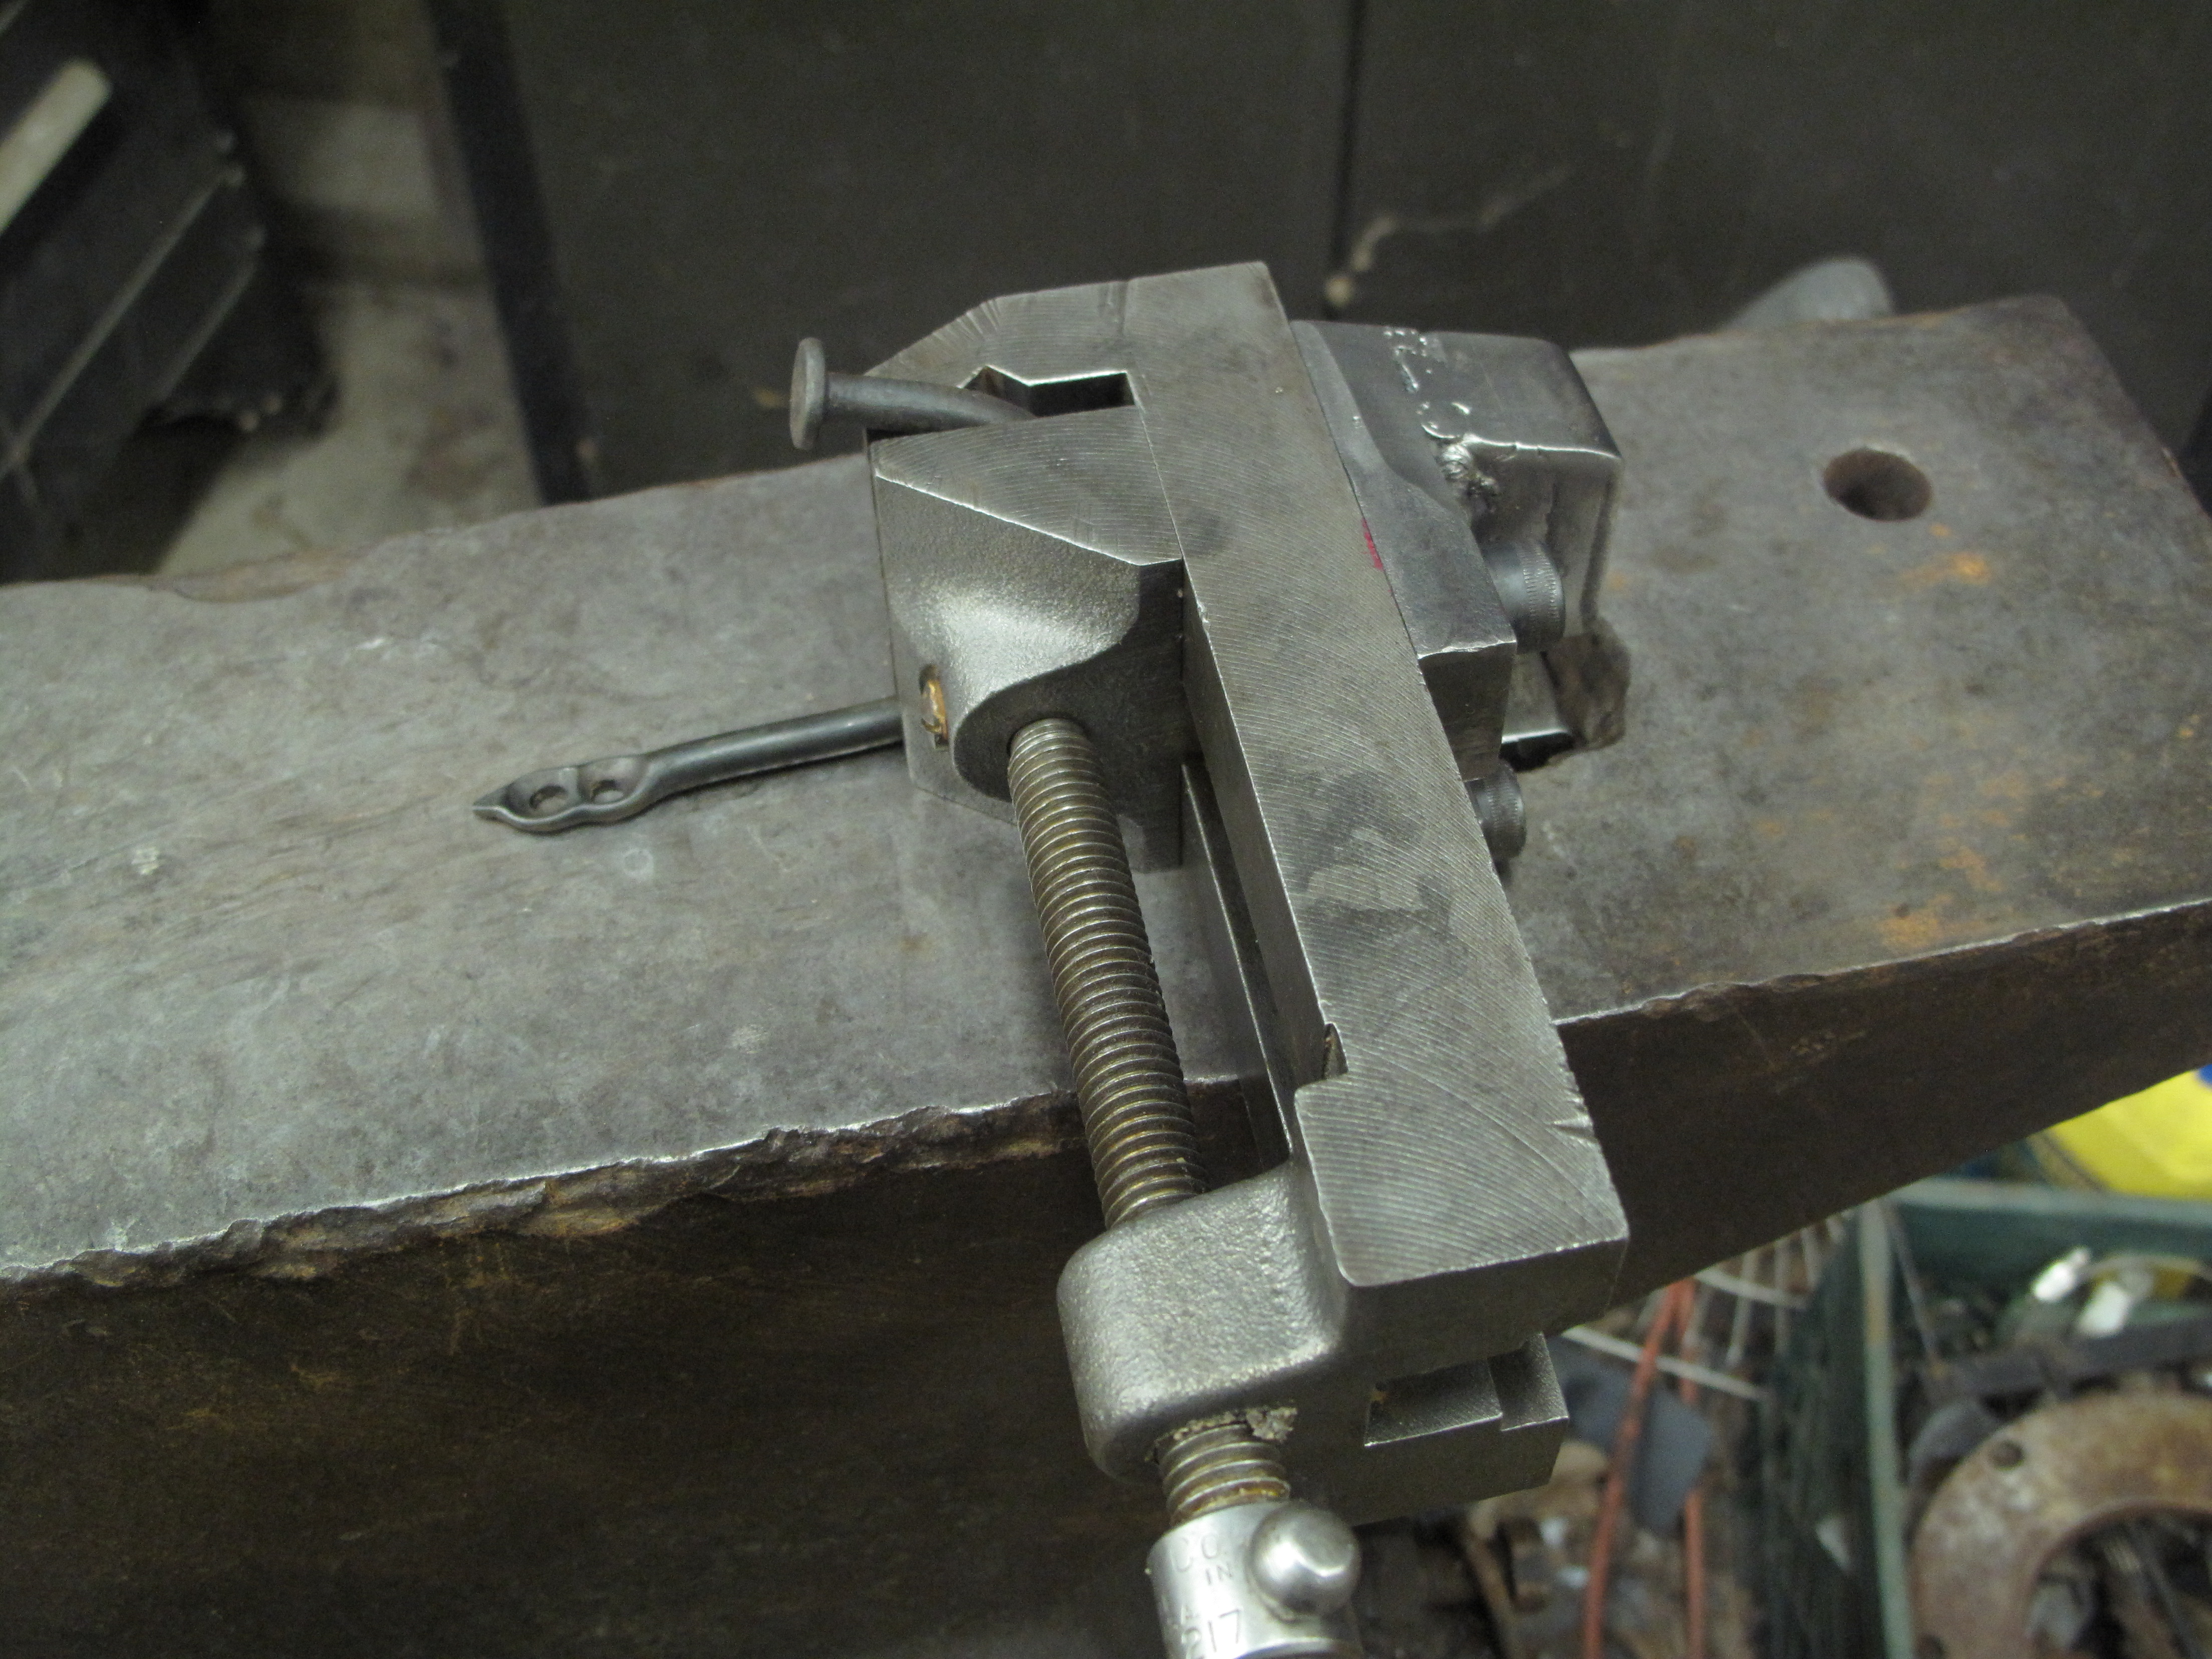
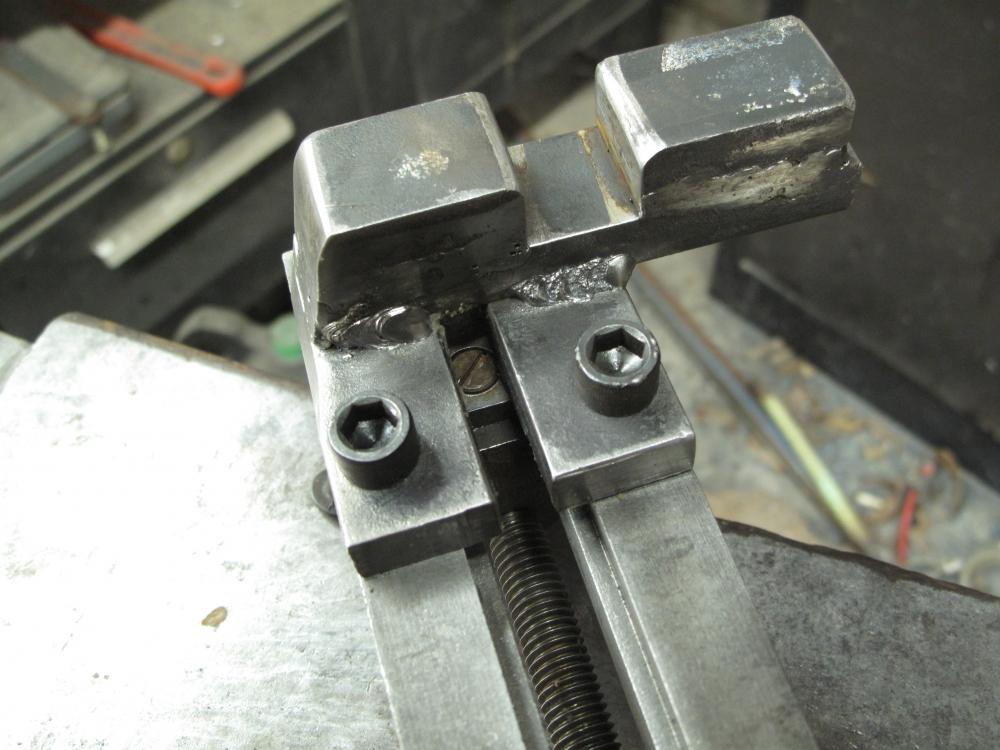
With the threaded center hole, you could make a real simple hardy stem and have that girl working pretty quick. However, with only one bolt hole, you're always running into the thing wanting to unscrew if you don't turn your stock the right direction. Not a major concern, but something to think about. It'll want to loosen up as you hammer on stuff, etc. The only problem I can see is that the jaws are fairly far from the face of the anvil, so you'll only be able to grab stock that's big enough to span the gap if you wanted to upset an end for making a rivet or the like. As Swede mentioned, you might be better off making two types of brackets, one that will mount directly to the hardy hole and one that mounts to the side of the stump so the vise can act as a third hand to hold metal while you punch and drift. Definitely a workable piece of kit, though. No harm in using it, seeing what you like and don't like, then modifying it in the future.
-
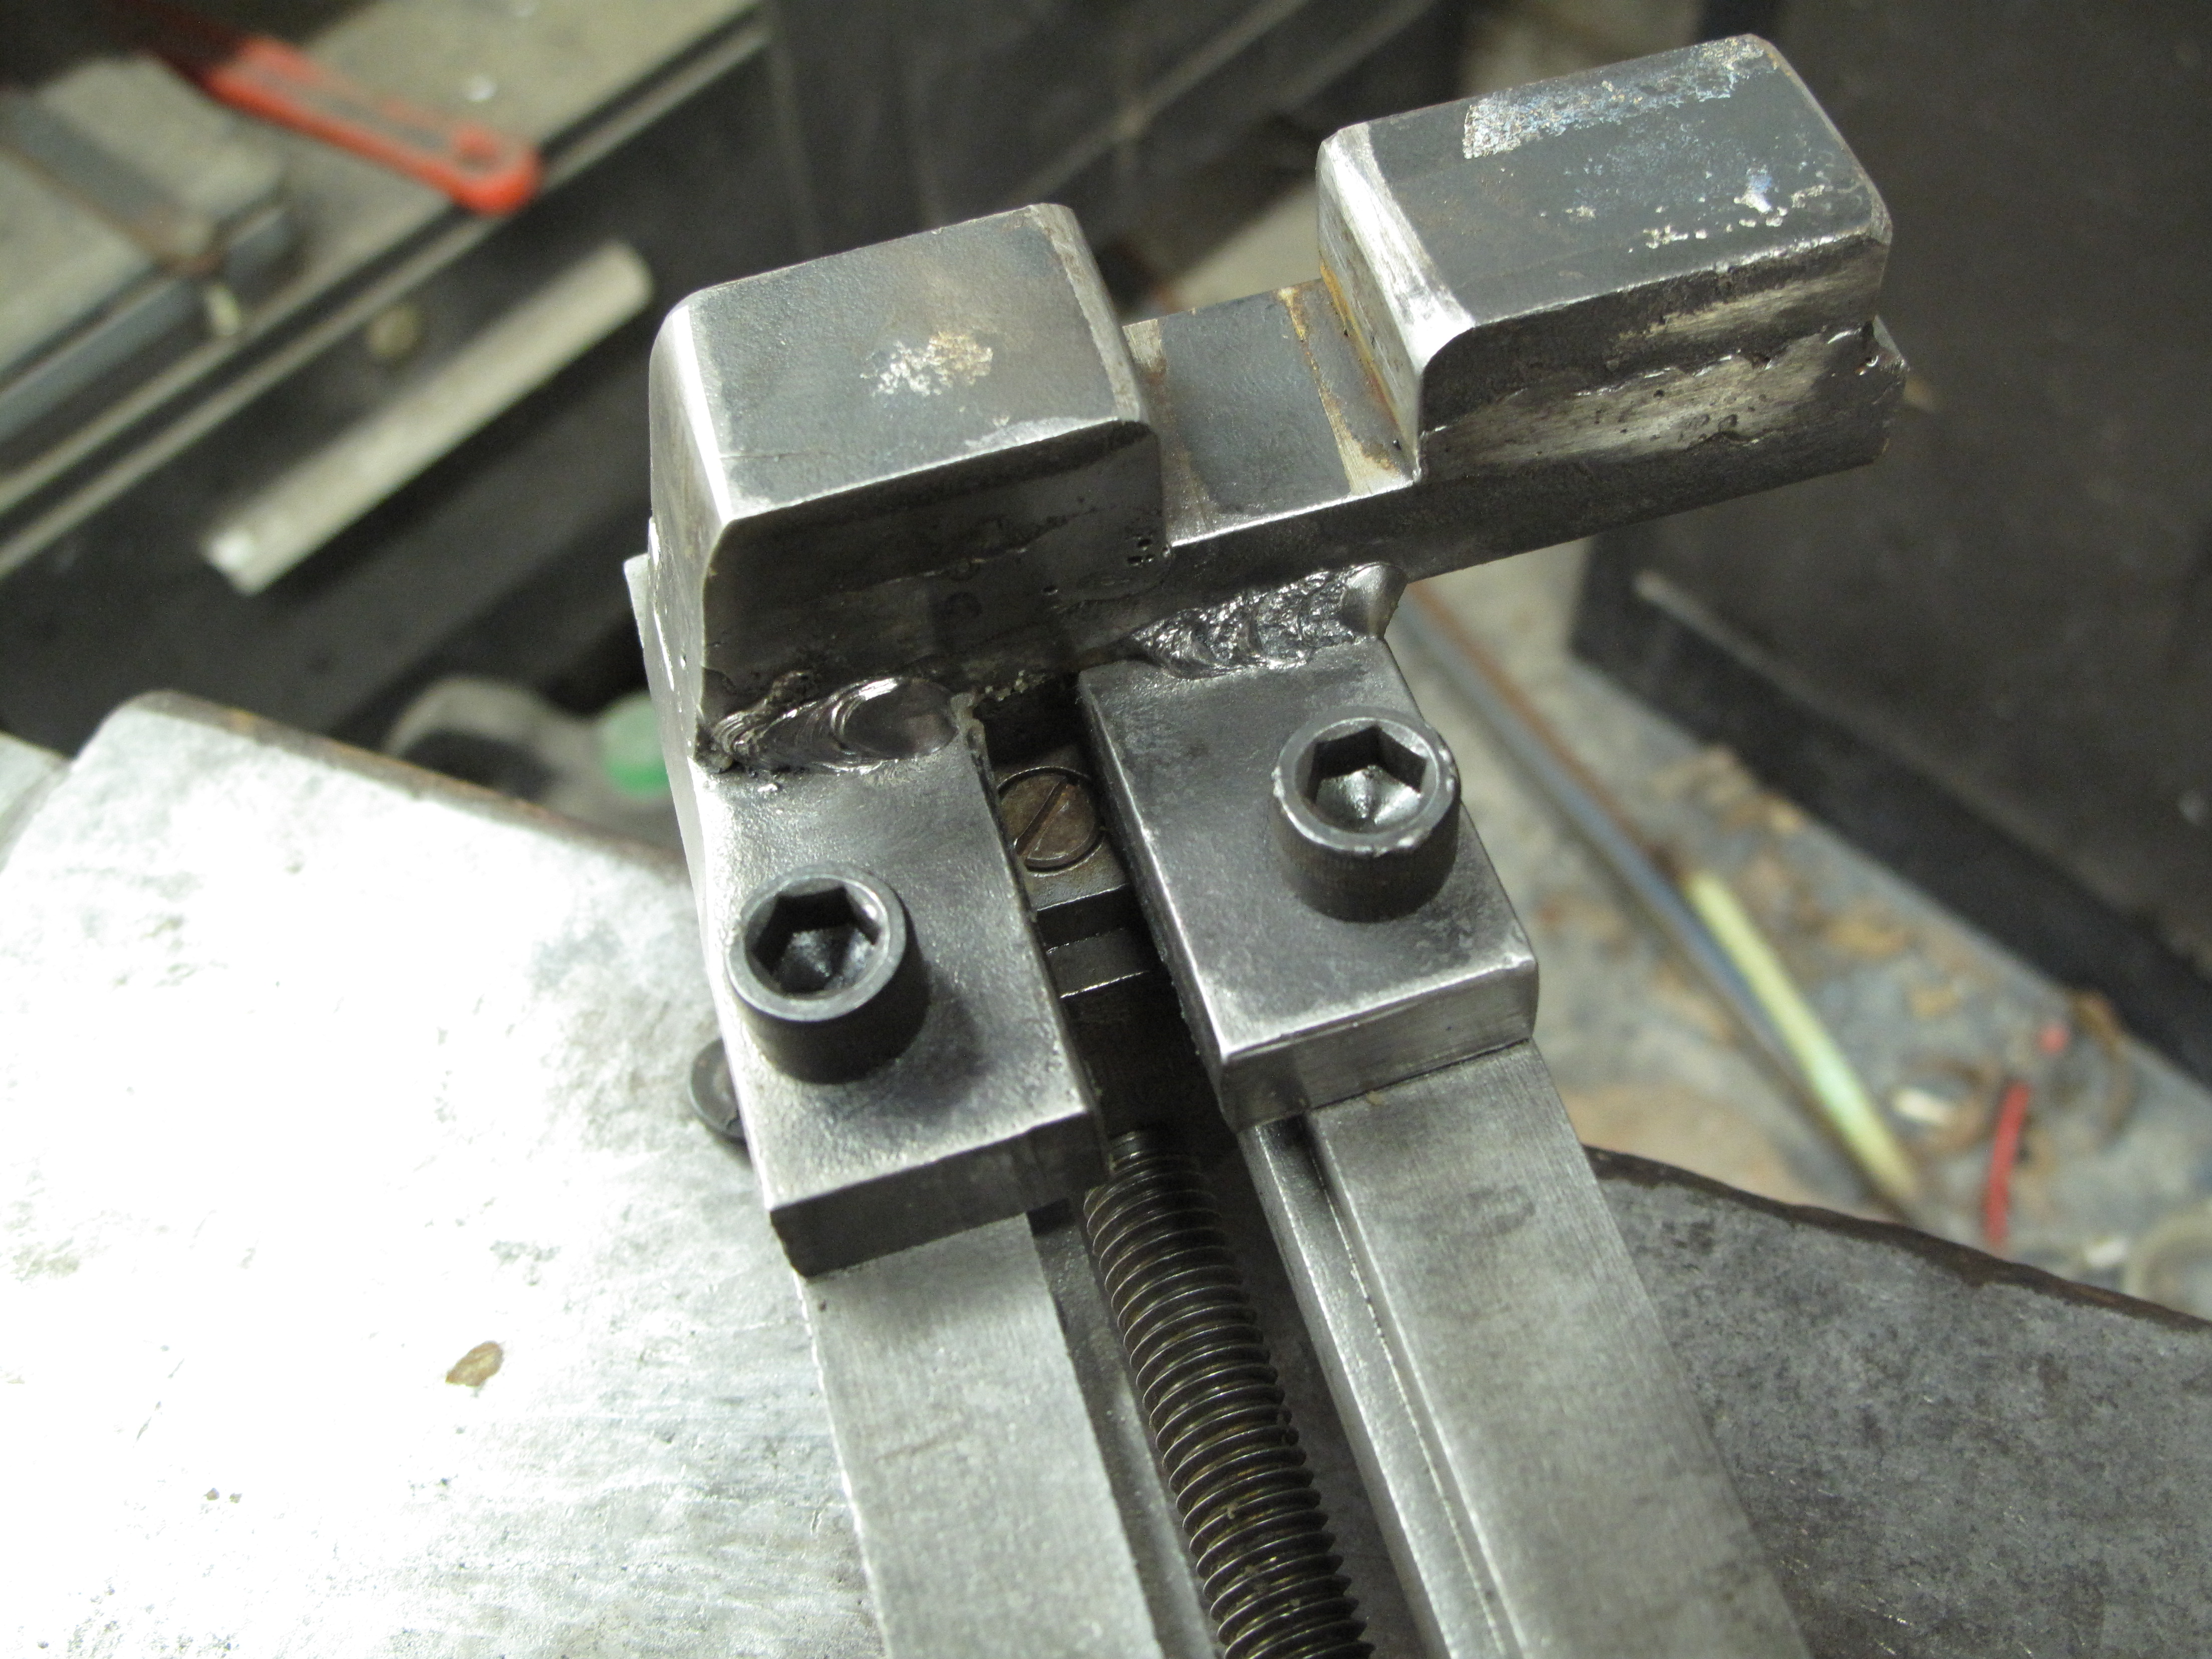
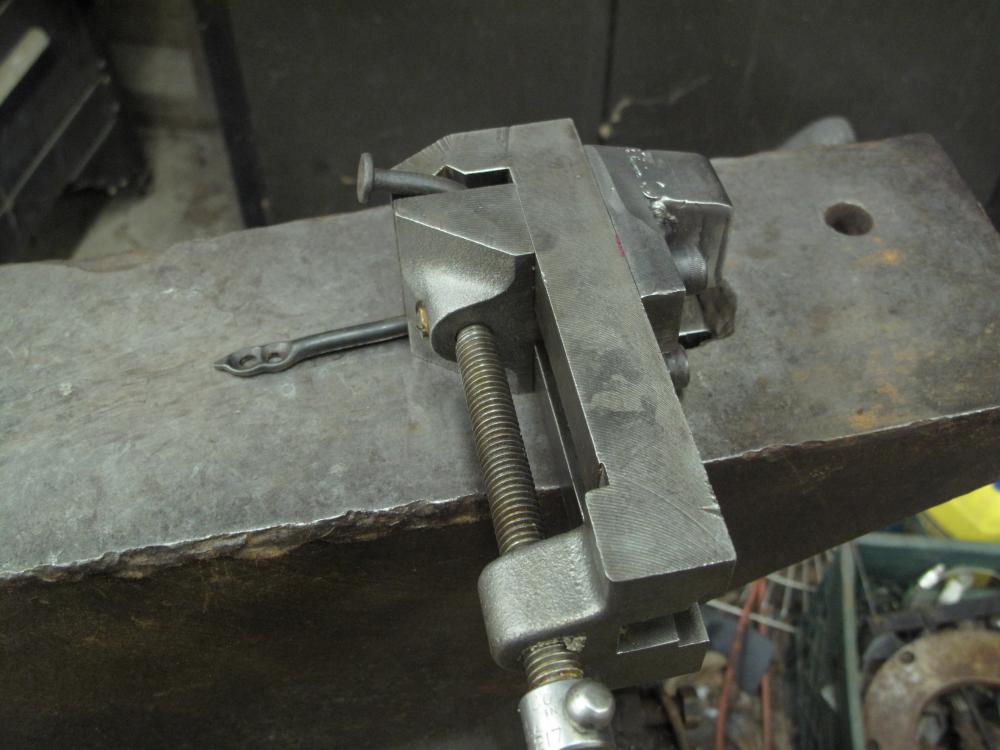
A small vise mounted on the anvil can come in really handy. I turned mine on edge because it offered a better position for what I do. As cheap as small machinist vises can be had, it definitely pays to make a mount for one.
-
An old pair of hoof nippers with a v-notch cut into the jaws will reach around a spike's head and grab the shank plenty well enough. I actually prefer them over other styles because they leave as much of the shank exposed to the hammer as possible.
-
That looks like it'd be real handy to punch out the screw holes on wall hooks. Also be good for dimpling, raising and veining thin sheet to make leaves and flowers. Not ideal, but certainly a workable solution.
-
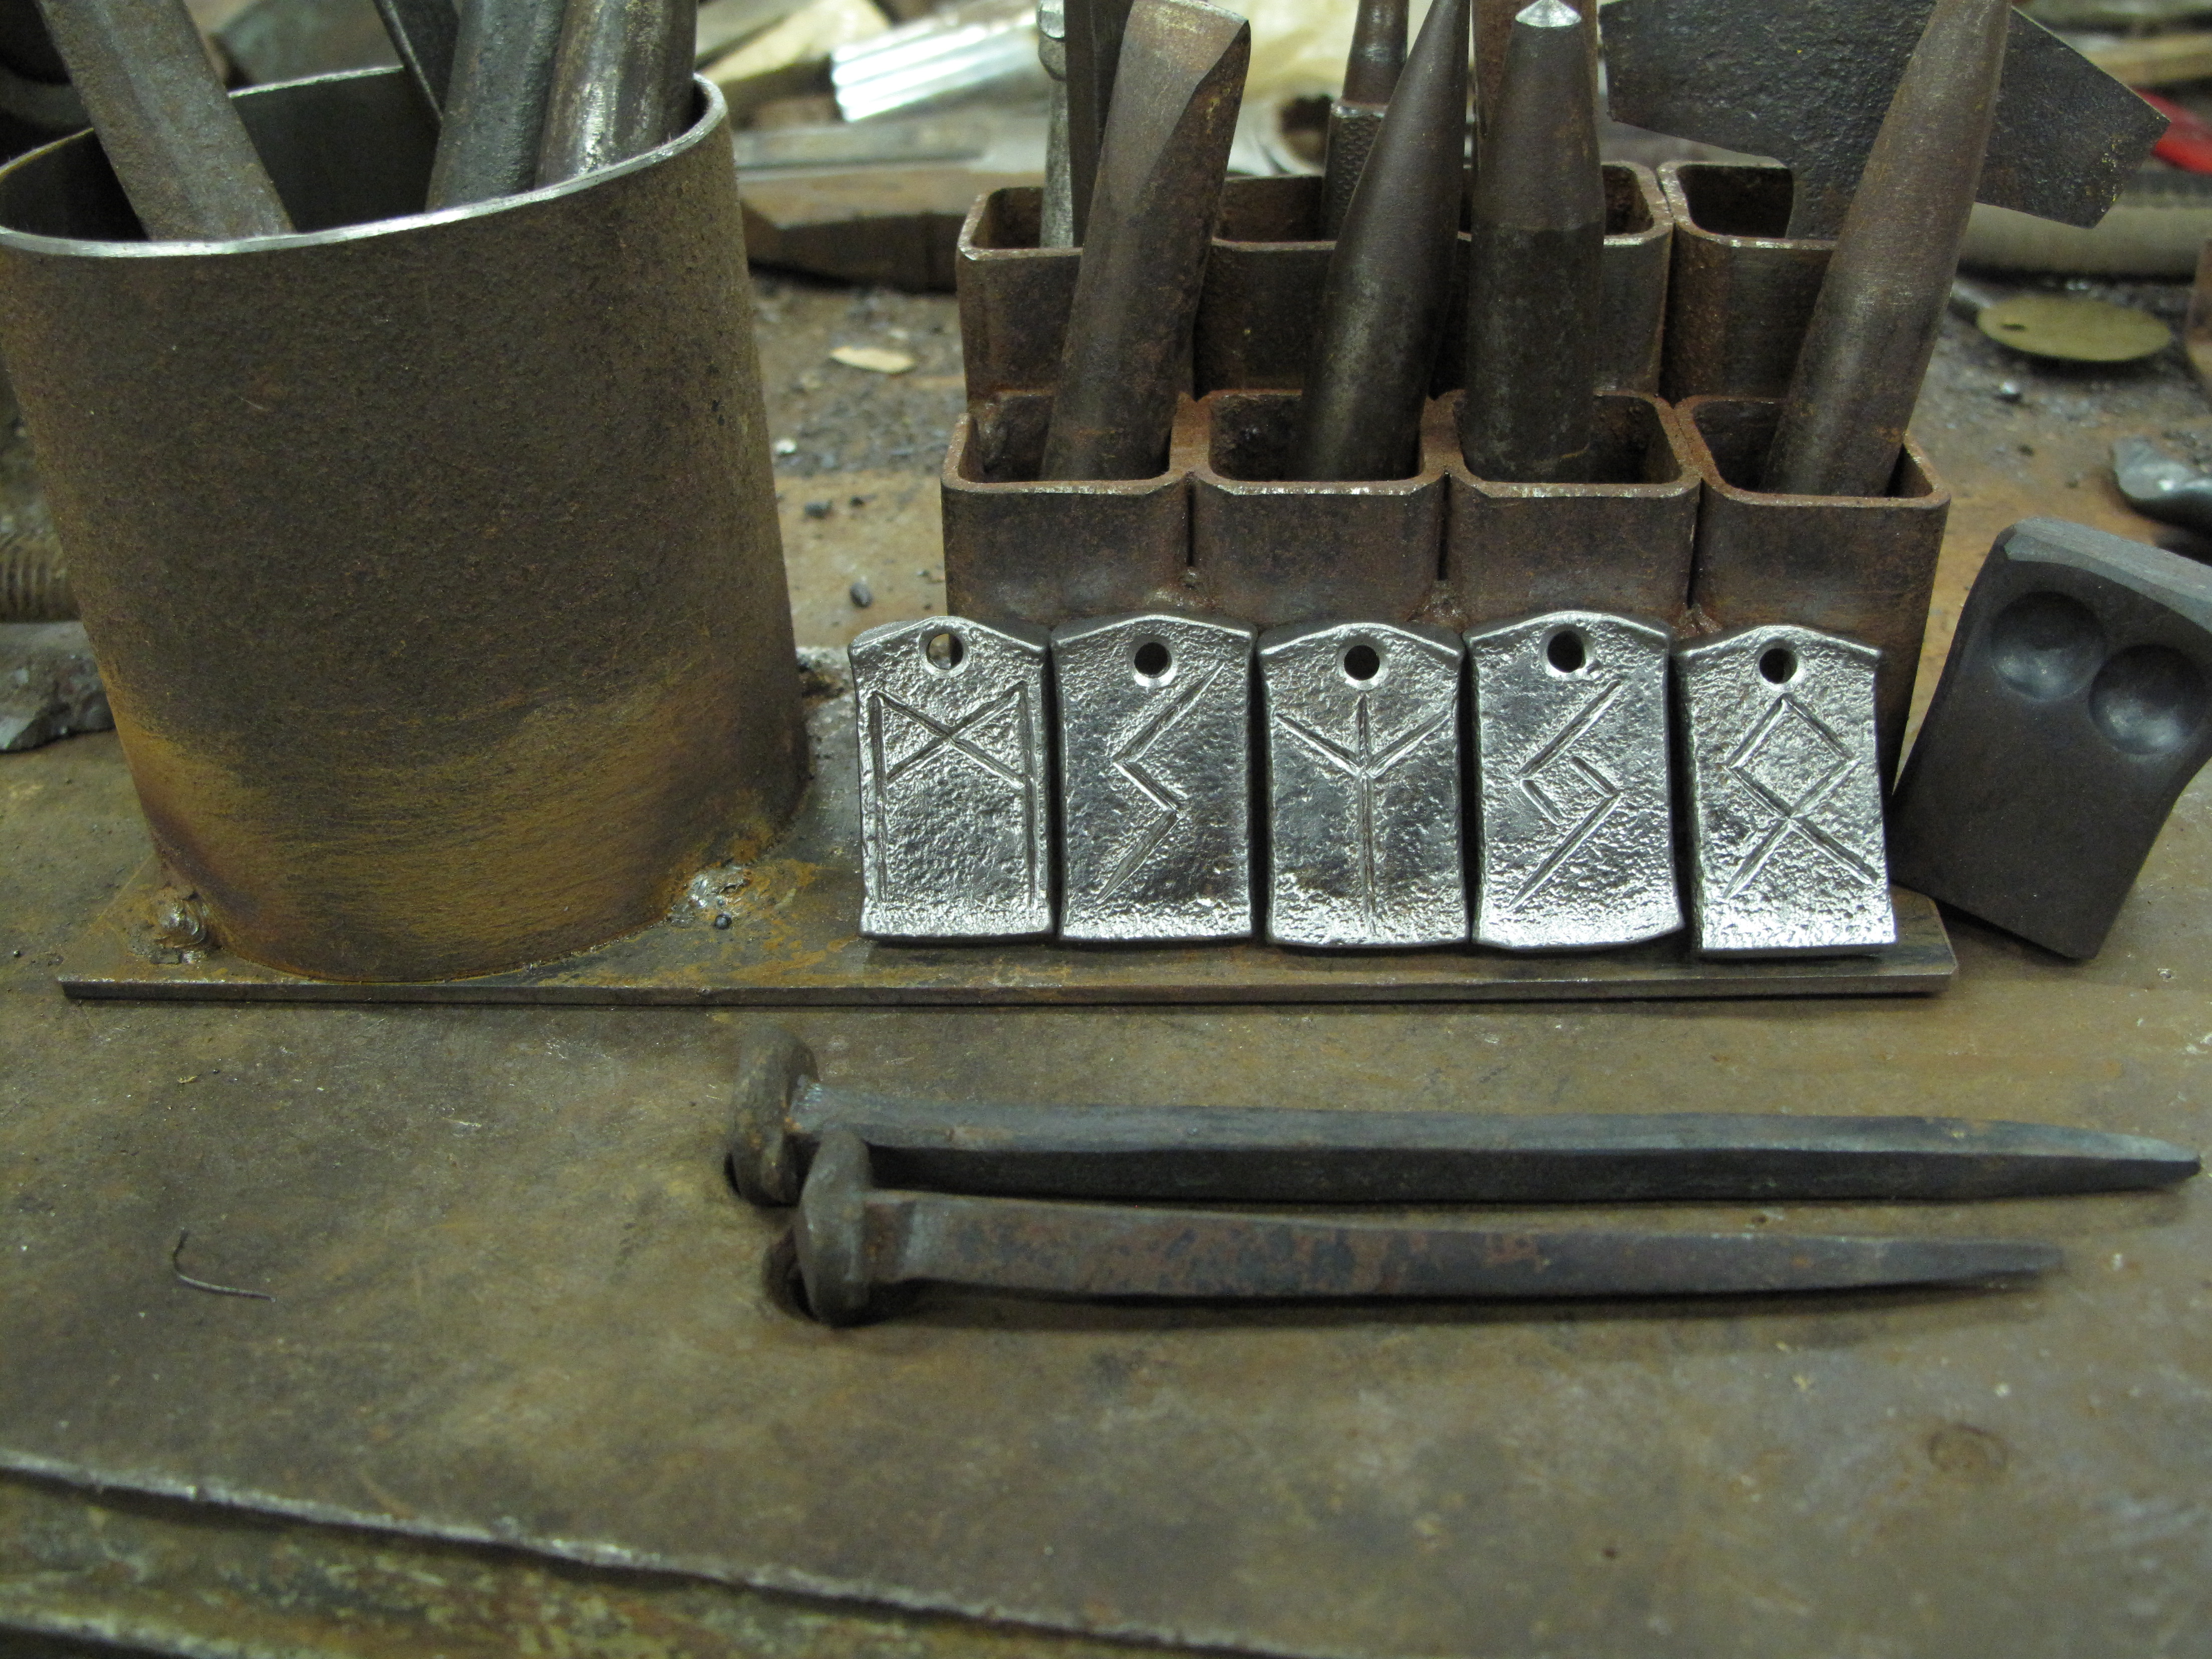
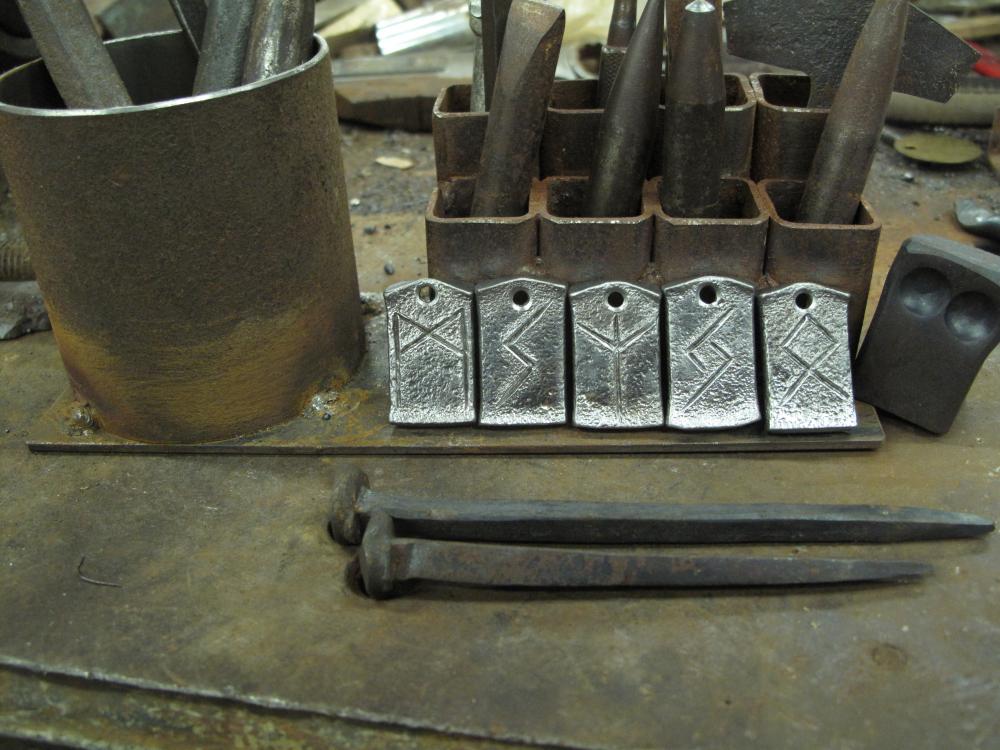
I welded some 1" square tube to a section of 3" wide flat stock as the base. It's great for holding my little chisels and scales up without any problem. You don't have to hold more than a couple inches of chisel to keep it secure. The cylinder was a happy afterthought and started life as the drive shaft from an old Chevy. It's great as a catch-all for files and chisels I'm using at the moment but don't need often.
-
Yep, my view is rather Eurocentric; I live in "the West" and do all of my business here, so I can only speak to what I see in this corner of the world. And if you look at the history of the world, most of the really great strides in blacksmithing have occurred in European/Western nations. The local blacksmiths you reference do good work, but I dare say it's a drop in the bucket compared to the rest of the world; mostly revolving around basic farming implements and not large-scale or ornamental work. Blacksmithing isn't a dying trade, but the relevance of it to the majority of people in the world, I would venture, is dying. Yes, there are plenty of villages that have a smithy still operating, and the wealthy will always want hand-crafted goods to showcase their wealth. I don't believe the number of tradesmen that are able to make a living by supplying those goods is growing. That surely does happen. However, we're a long long way away from the time when every small town had one or two blacksmith shops and farmers were lined up to get horses shod and equipment fixed.
-
1: Blacksmithing originated as soon as someone figured out what Iron was and how to melt/hammer the stuff. It is the natural descendant of copper and bronze age work. The popularity/understanding of ironwork depends a lot on where in the world you were. blacksmithing is very different today because it's no longer needed for the most part. Mass-production and international shipping has made the local blacksmith obsolete in 99% of the world. The best one can hope for in the "civilized" world is to find a niche making quaint craft products. 2: Historical interest. 3: In the civilized world, blacksmithing has no real significance. While a lot of the modern manufacturing techniques can trace their lineage directly back to the blacksmithing of the early 1900's, it is mechanized, computerized, industrialized and about as far removed from the average citizen as you can get. Furthermore, the average person doesn't use or require hand-forged iron goods in their day-to-day life. All of the metal around the house, from belt buckles to kitchen knives, from stair rails to window grills, is mass produced and folks only buy the work of a blacksmith because they think it's cute or they have plenty of money to burn. The number of blacksmiths in the US that earn a living by forging metal as their mainstay.... very slim.
-
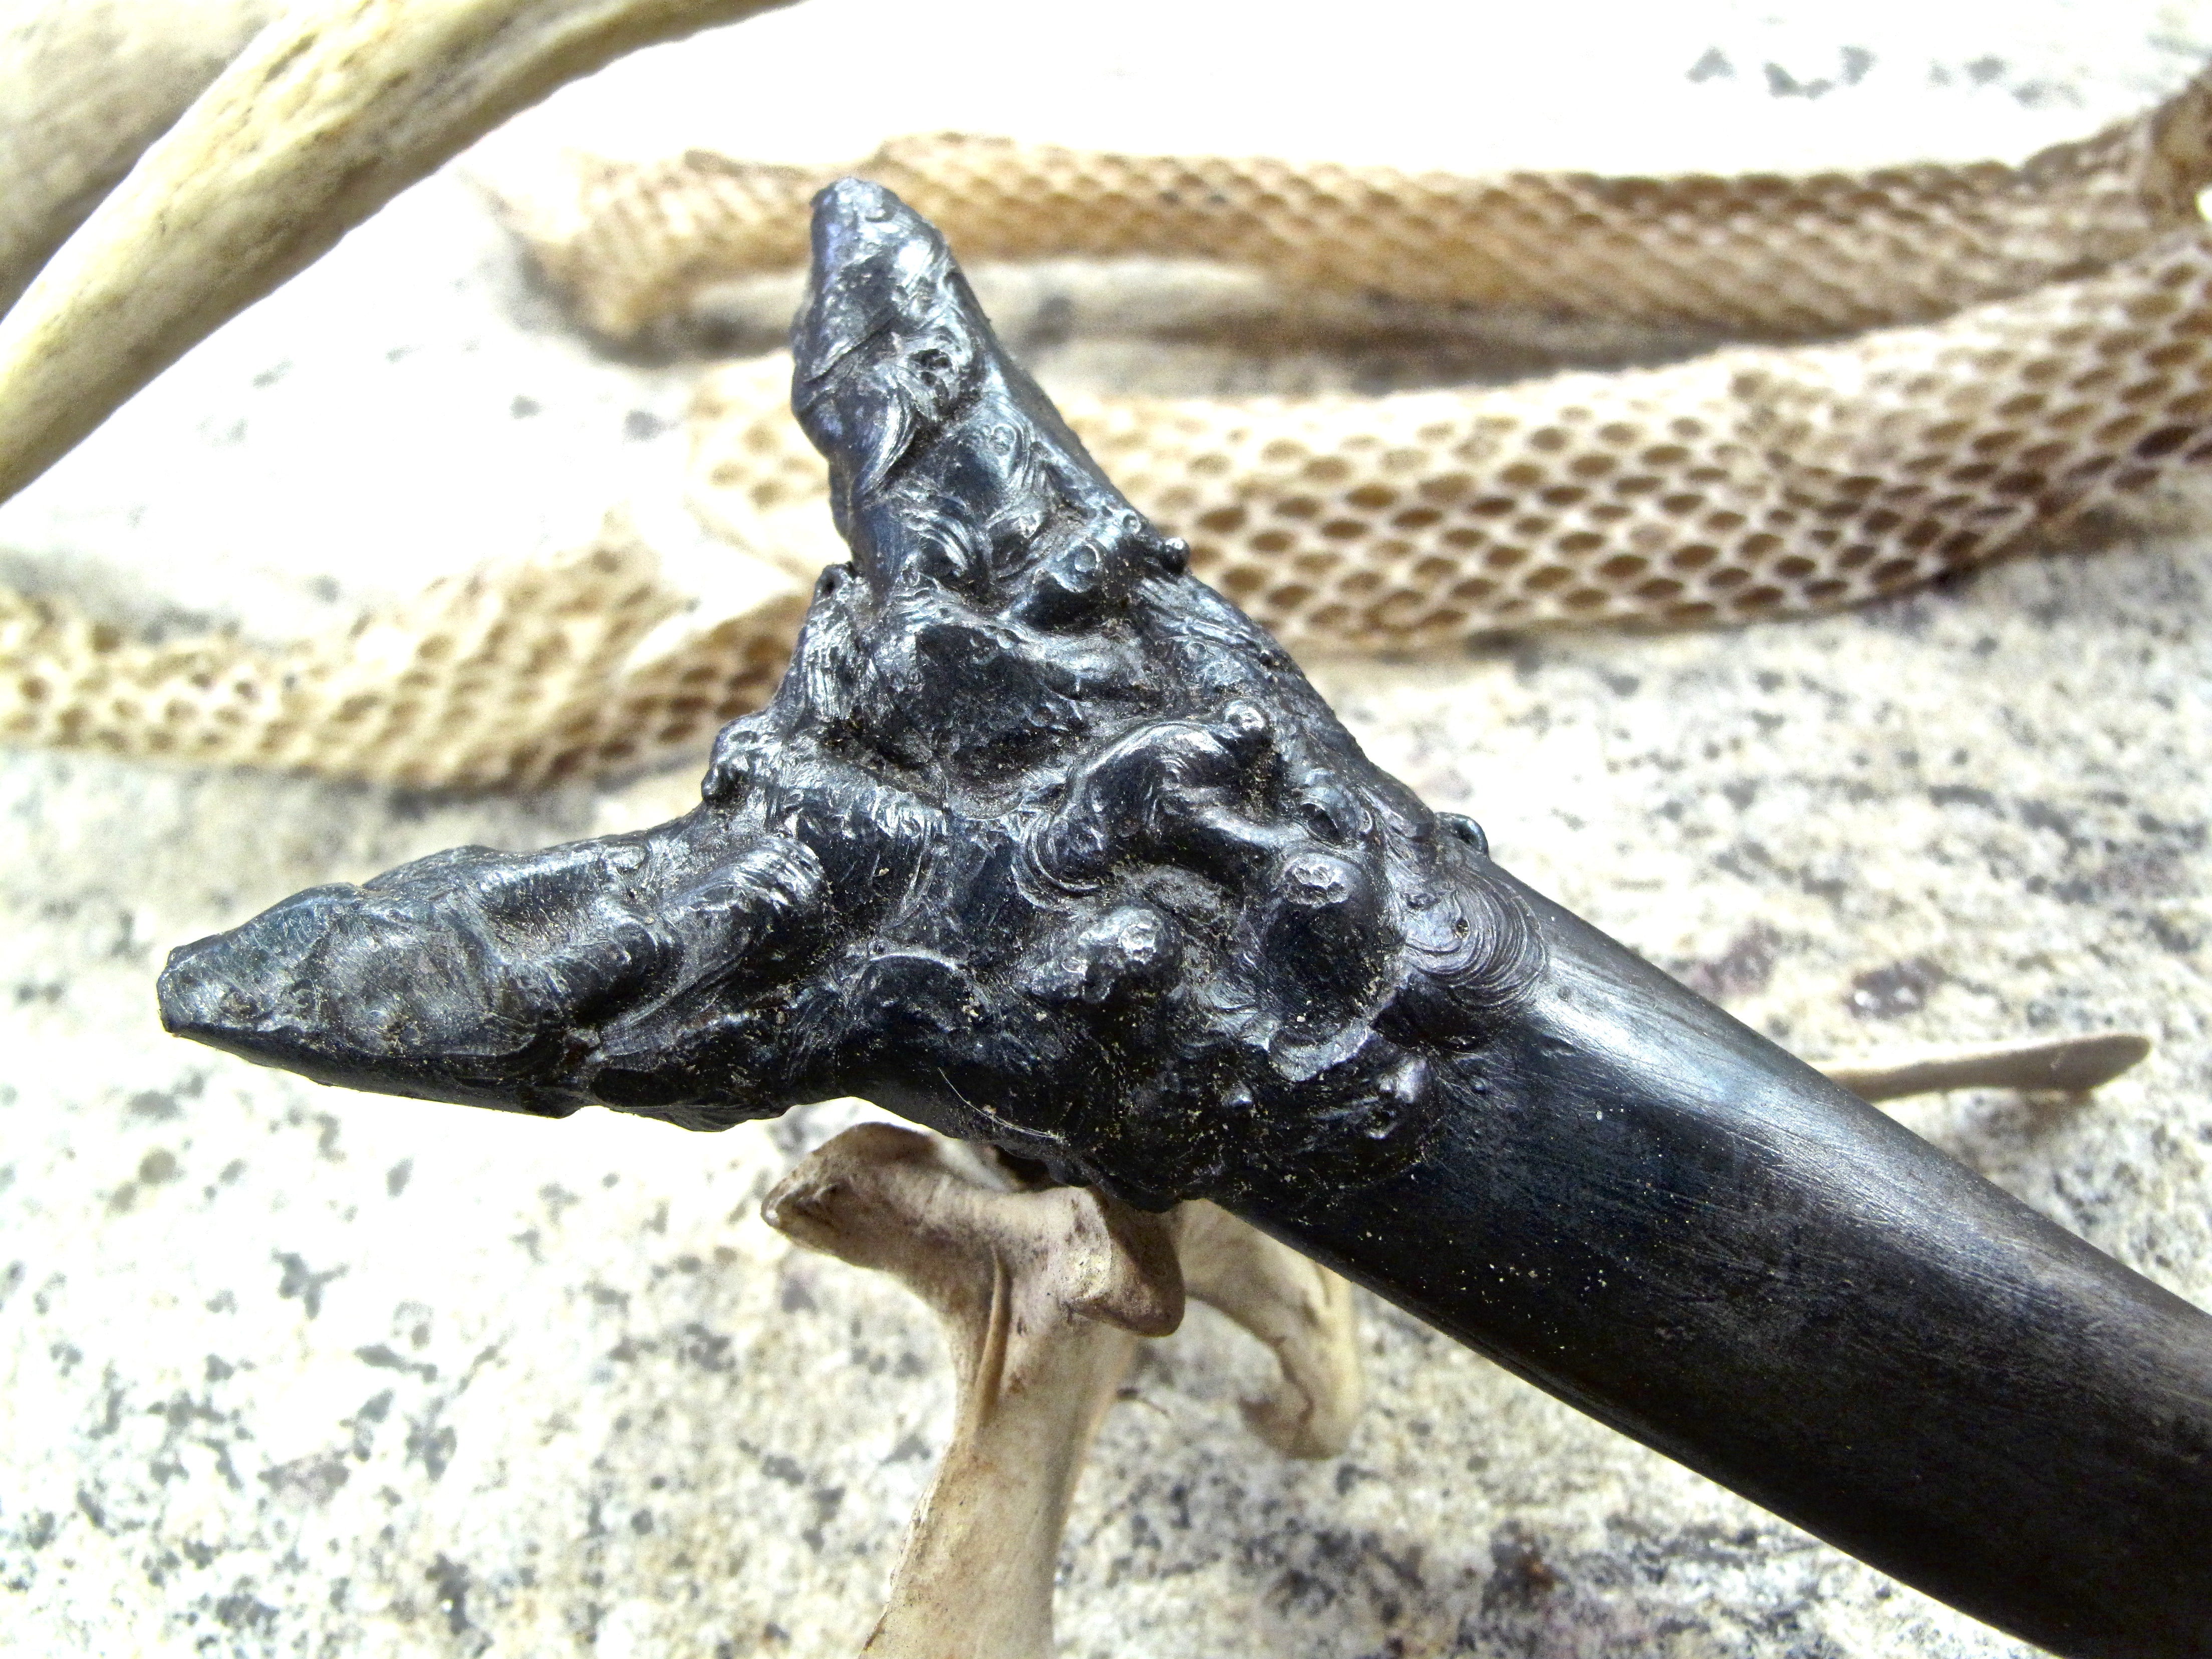
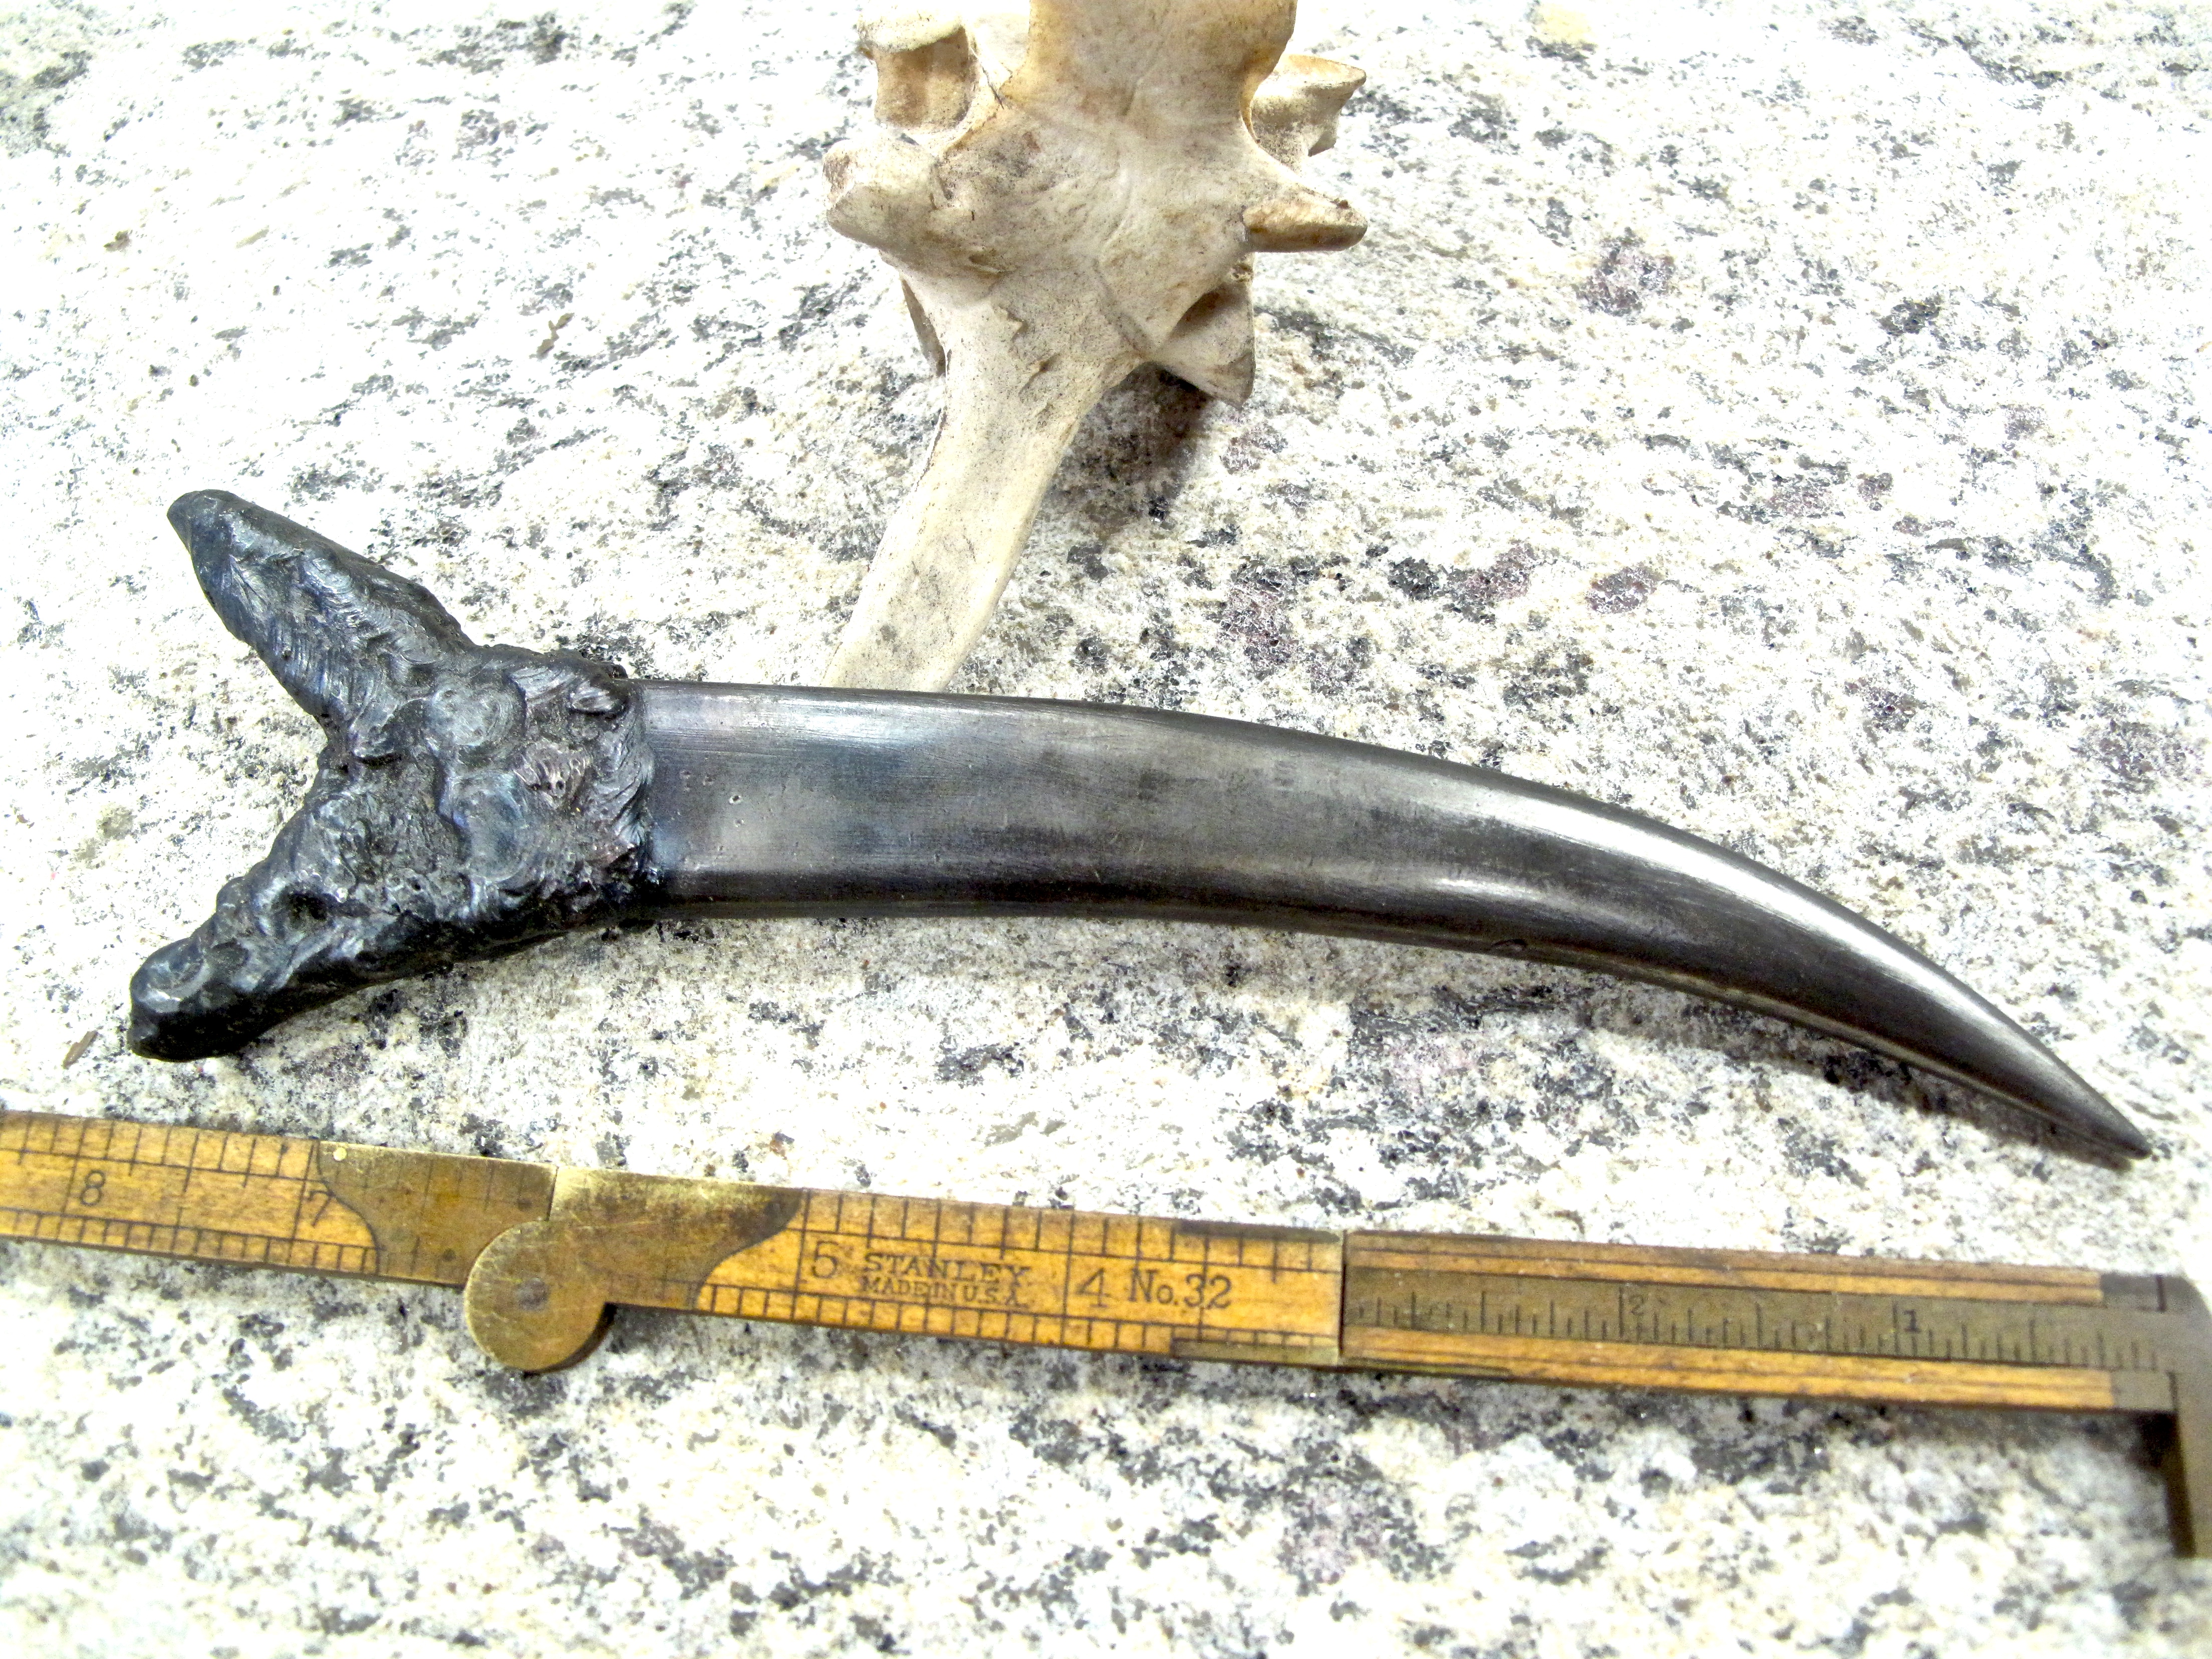
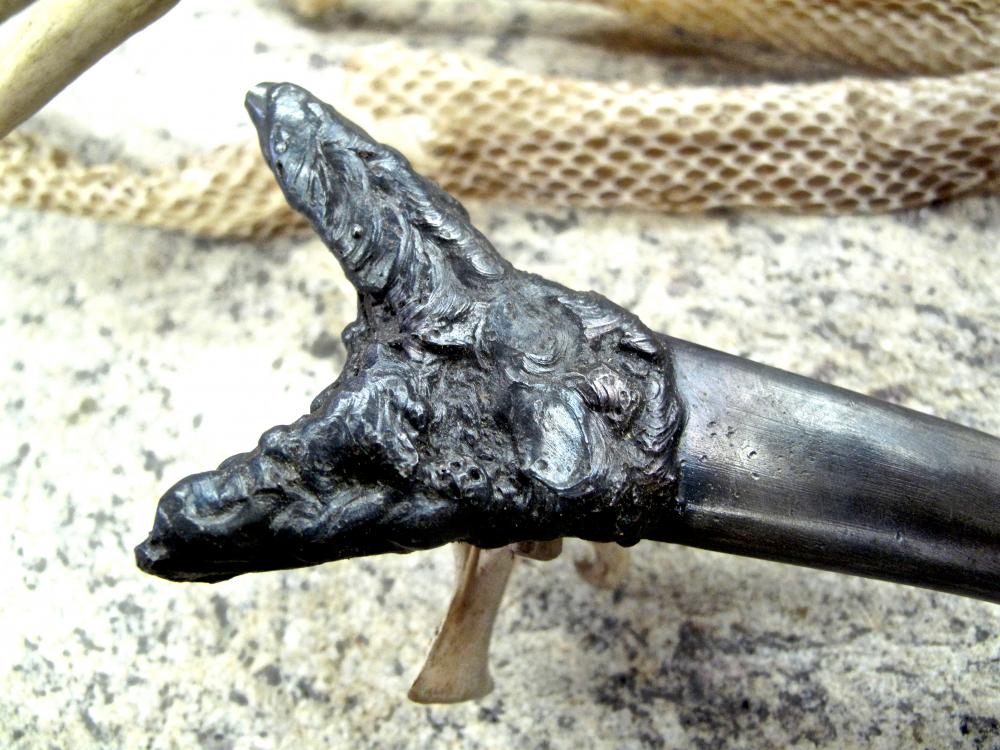
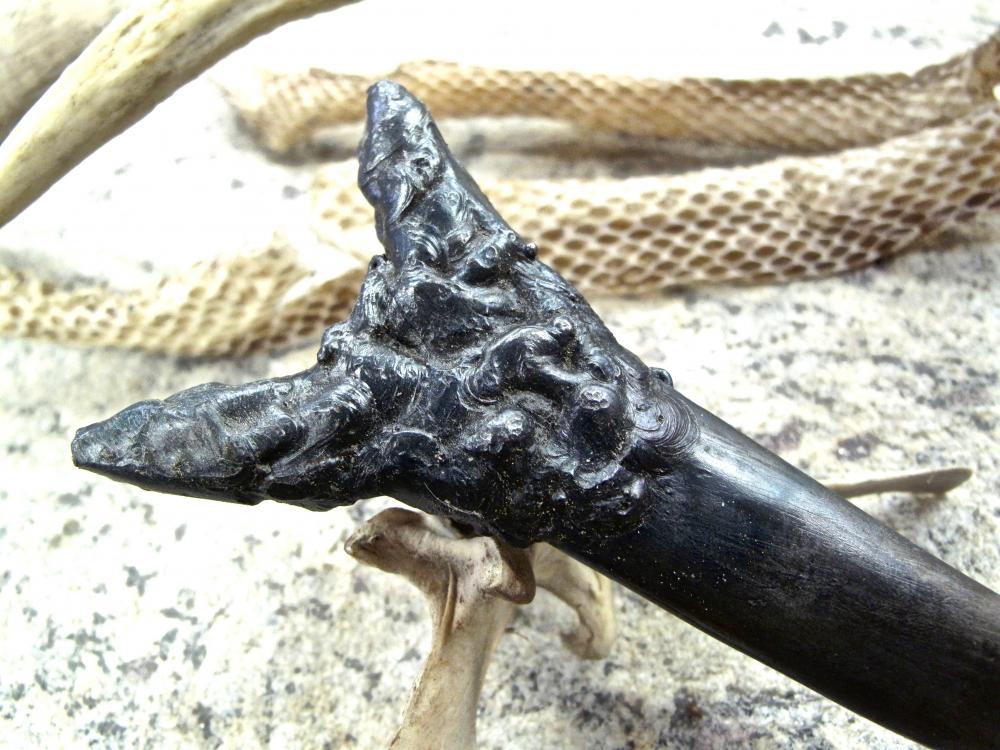
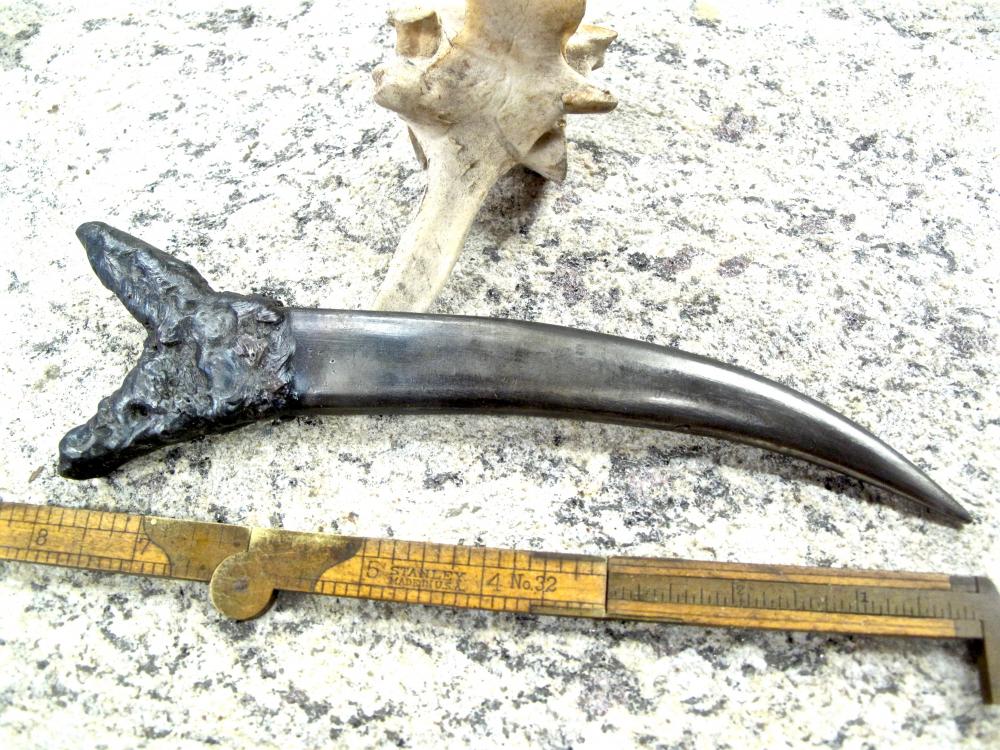
Normally, I will forge out the taper of the tooth and then cut it free from the parent bar so I can use little pieces of scrap (like we all have lying around) to form the skeleton of the root portion. This time, however, the piece of 1/2x1 stock I started with was simply split down the middle for a few inches and spread open to form the underlying structure to weld on. Can't say that I'm 100% satisfied with how the root came out, but it'll definitely do for now!
-
Probably one of the best overall forge designs I've yet come across. You can see that there's plenty of room in the chamber for a large 6" scroll, or a big stack of plates bound to become a damascus billet. 2" of blanket insulation with a skim coat of refractory cement. The hard brick bottom even has good insulation underneath it. The pass through is a good size, but still easily blocked off, and the front door makes getting your larger pieces in and out a breeze. I keep coming back to this photo because I like the simplicity of the outer shell and how it illustrates just what's possible when you clear your tunnel vision. Too many people automatically jump to using a pipe or cylinder because that's all they see on the internet. They never stop to think just how much you can do with some sheet metal and self-taping screws! When I make my next forge, it will be modeled off this one.