VaughnT
Members
-
Joined
-
Last visited
Everything posted by VaughnT
-
I find that it helps to put guide rails on each side of the piece being sanded. A drop of super glue will hold some steel bars in place on the granite countertop, then you glue a handle on the top of your piece being sanded. Said handle rides on the rails to prevent tipping.
-
I'd dearly love to have a scrapyard like that! Those tapered cylinders would have come home and been used to make a power hammer.
-
Very nice. I've been thinking about a press in lieu of a hammer, but need to study up on hydraulics and what I need to shop for in terms of parts. Ideally, I'd like to get close to the 50-ton range just to say I did.
-
The hollywood stereotype of hillbillies is a caricature and you can be sure they'll be out in force in this show. Maybe I'm wrong, but I don't think it's likely. The upside to the show, if there is one, will be the renewing of interest in flintlocks and blacksmithing. I hope it means more business for those established craftsmen in the trades, but I'll be happy if it just doesn't make us all look like idiots.
-
Learning how to make that form out of metal will do you wonders. Everyone that's telling you to make a T-handle is only looking at it as a solution to getting a handle on a shovel quick and efficient..... and they don't know how to make the form you're asking about. I know I've seen a tutorial about those D handles somewhere. Might be in one of my books. Might have been something I've seen on the internet. I'll search a bit!
-
Smoothbore, prepare to be disappointed. Watching the trailer for that new show, I'm seeing all the classic signs of suckage! They'll have a good bit of anvil time, I'm sure, but it will be interspersed with heavy doses of contrived drama, ignorant hillbilly relatives and other sundry examples of tripe. It's not a competition show, and they won't be traveling around to visit with a different smith every episode, so they'll have to make this guy's life as "interesting" as possible so they can keep the ratings up. The good news is that it will probably go a long way towards building the interests in smithing and ironwork. That could be very good for business for those of us that actually like to hammer iron.
-
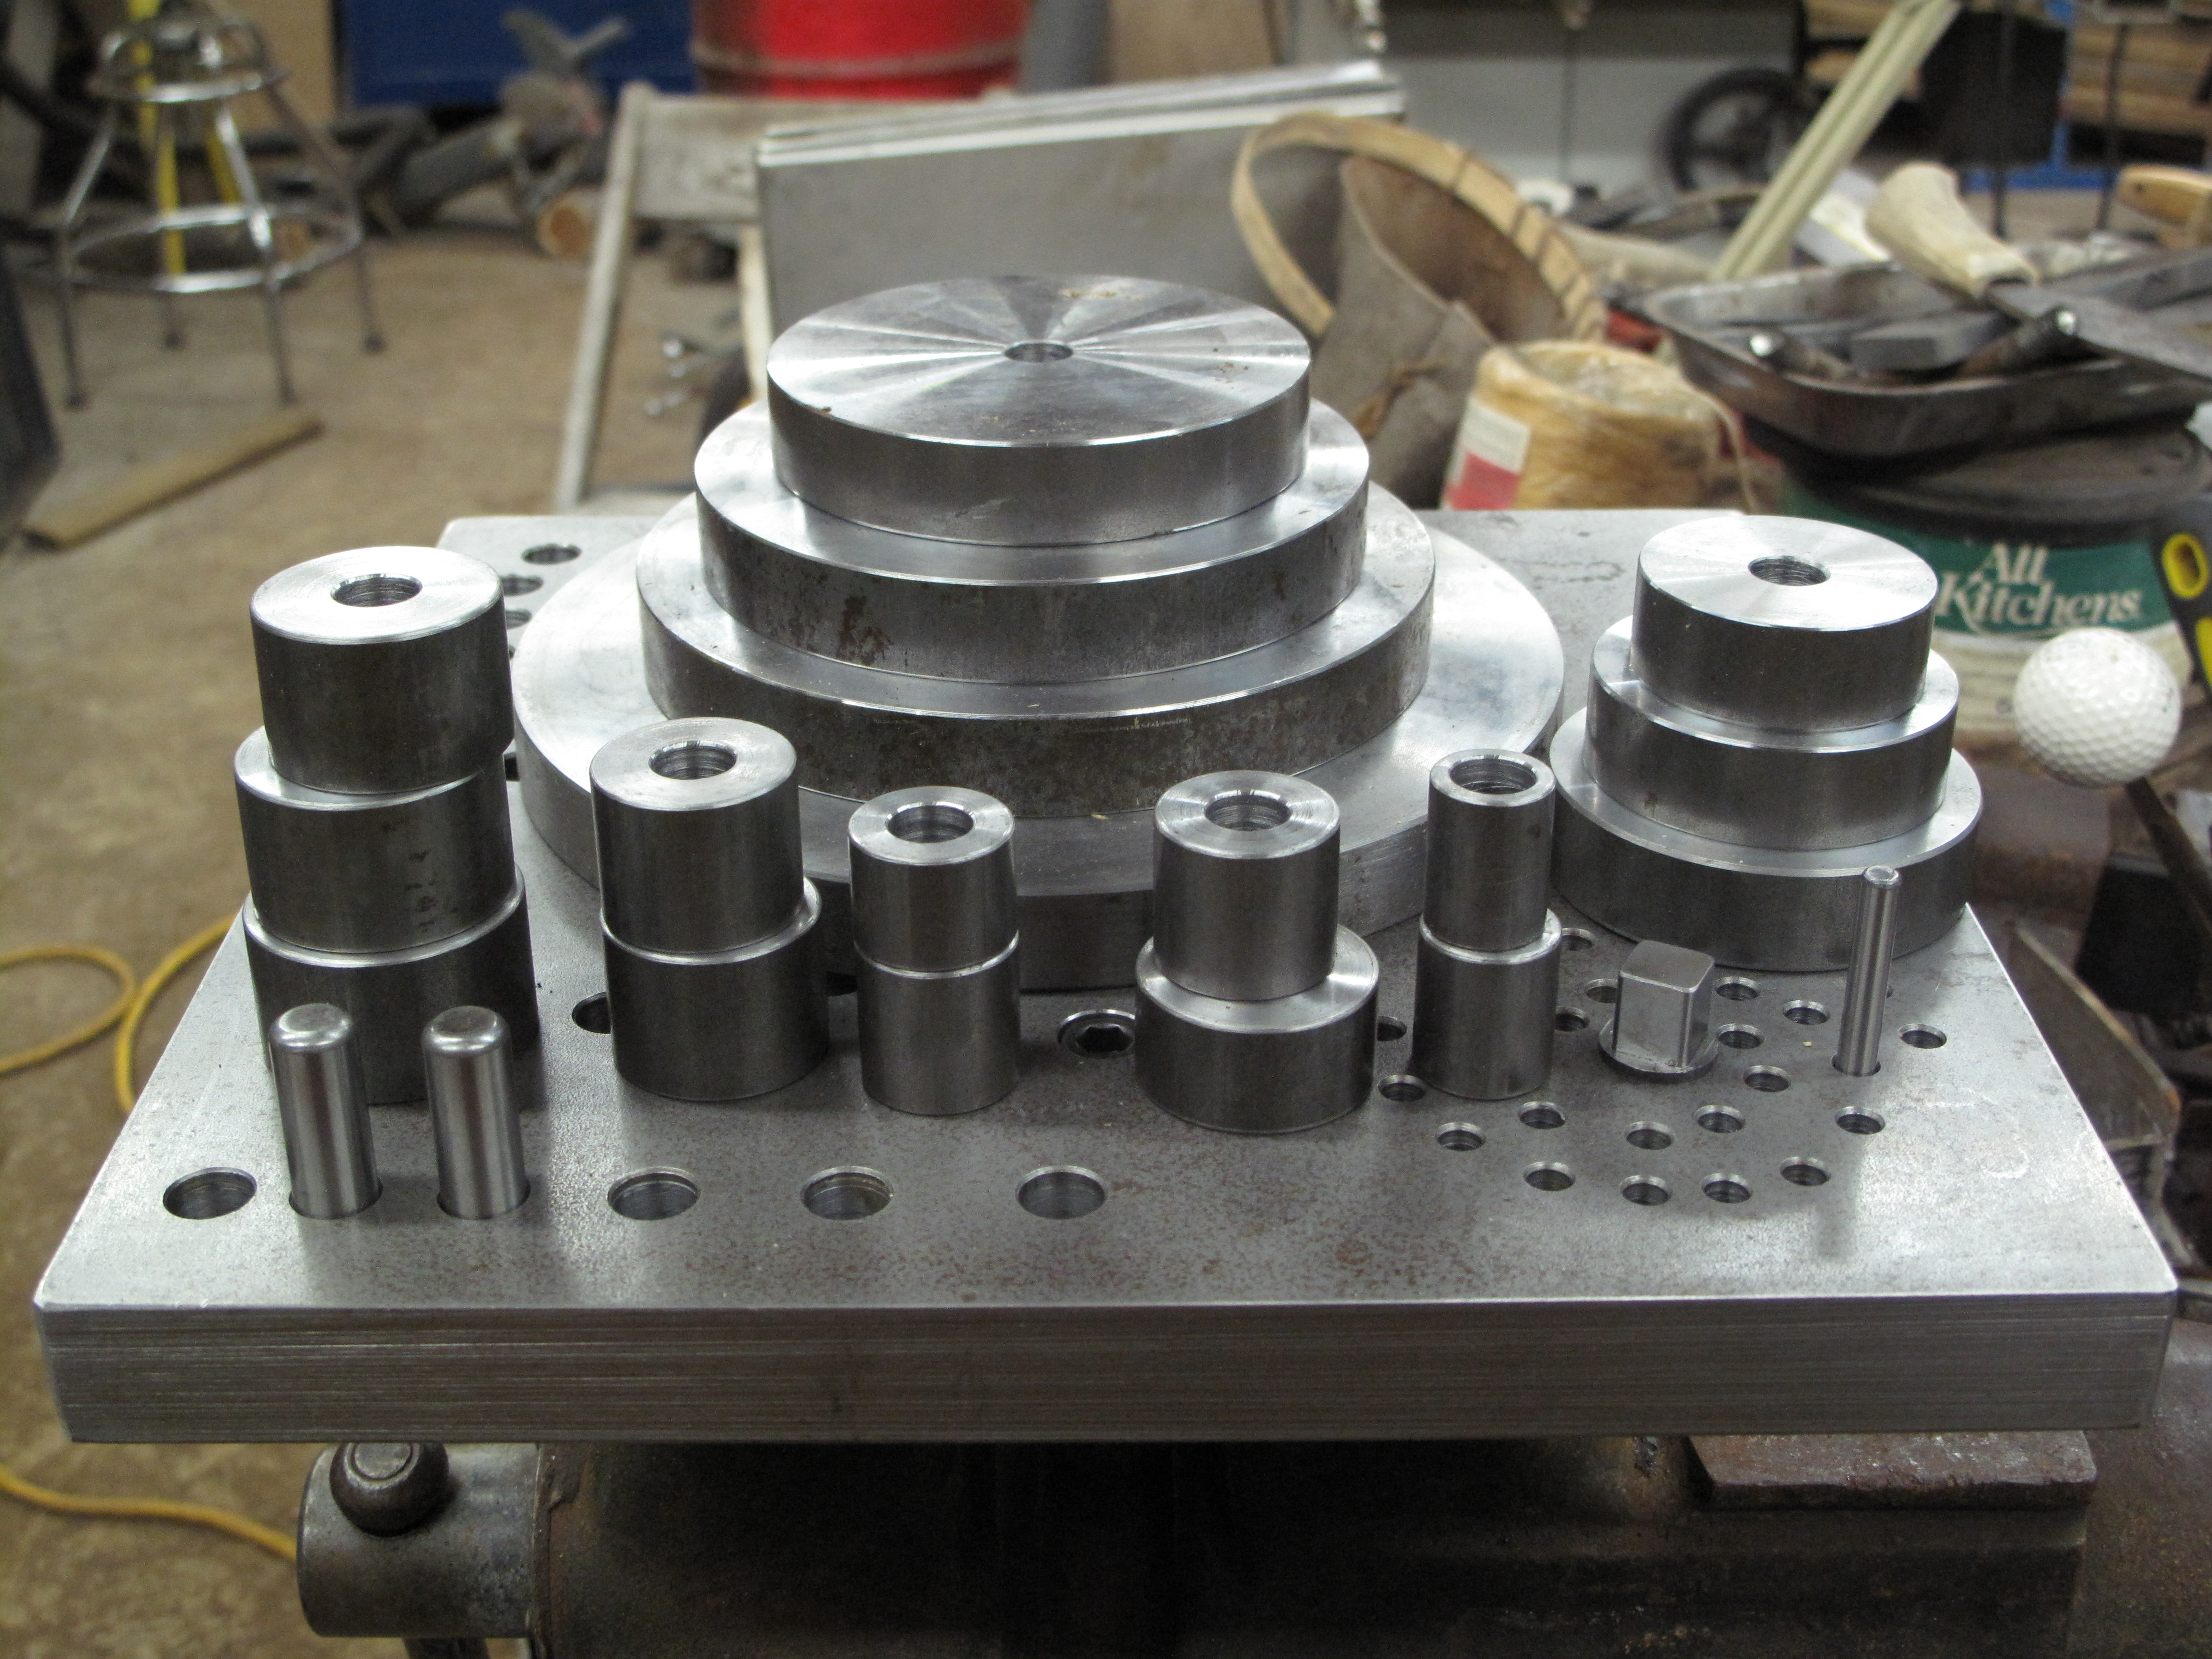
Joel, love your shop and how you bring these old machines to life again. I hate browsing through your website because all the photos make my tool addiction flare up something fierce. I think the big problem with the presses and such not being seen as valuable tools for a lot of smiths simply that they don't get any exposure. As long as I've been forging iron, I have never had a chance to see machines like yours in action. Nobody's talking about them on the internet. You don't see videos of them running on youtube. How can we expect folks to understand and want to use things that they really don't have a basic understanding of? Just reading through your description of what you do with them, I now see them in a new light. I don't know if I'll ever run across one for sale, or have the room/money to put it to work, but you've gone a long way towards opening some eyes with a single internet post. We need more of that. PS: If you're open to adopting, I'm available as long as I get to play in the shop.The big Ultra Jig is $450 plus shipping. Worth every cent, too. He makes smaller versions, but I figured it was best to go big or go home.I'm definitely in favor of no rings. On a stand as nice as yours, I'd want to showcase the wonderful lines as much as possible. Plus, you just can't deny the PR potential of having a clean, classy anvil stand and anvil. Once the anvil and stand corrode a bit and get some patina on them, it will make a great backdrop for product photos and such. I'd definitely get rid of the shiny chain and turnbuckles. While I understand you don't want the anvil walking around on you, there are better ways of securing it without marring the overall vibe the stand is giving off. My next build, just as soon as I get some expanded metal or such, is going to be a rolling tool cart with plenty of room for tongs and hammers around the periphery. I have a small table directly behind me when standing at the anvil and it's great for holding all my stuff. If it had wheels, I could roll it right next to the anvil so everything was within easy reach and relatively organized.Once you get one, you'll cuss yourself for waiting so long to get one. Yes, made by Yesteryear Forge and worth every penny!Right now, I'd have to say my favorite is my Ultra Jig from Yesteryear Forge. It's almost too much tooling and I'm still getting used to having all the options. A lot of times I forget that I don't need to hunt for something to bend metal around because the Jig is sitting there on the shelf.
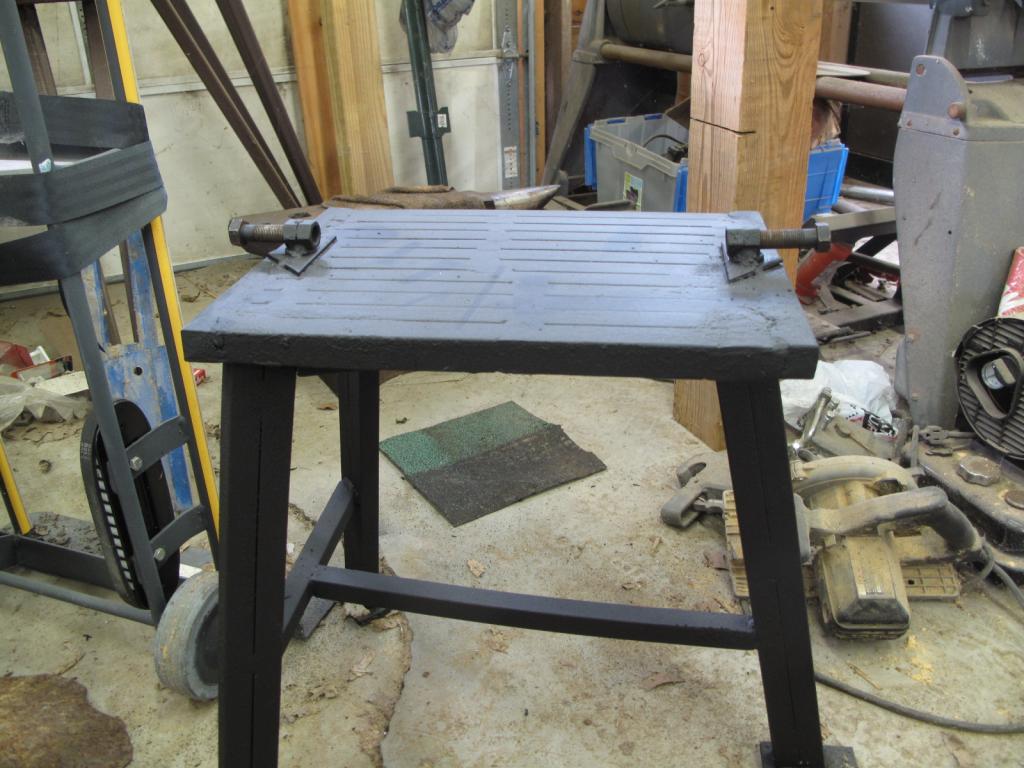
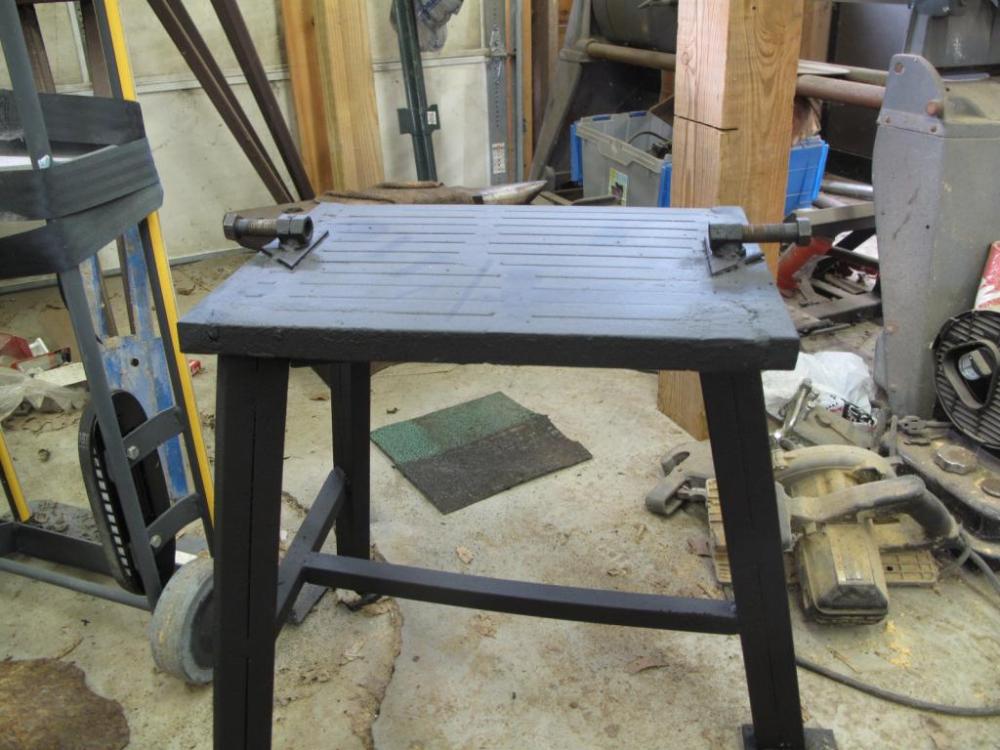
 Some areas are "anvil poor" and quality anvils are hard to find. The way I look at it, you're burning daylight trying to hunt down an anvil with a better face. Even if the problems are only in your mind, they're still problems and are holding you back a bit. If you do find another anvil, will it have a factory-fresh face on it? Will it be as cheap as having your current anvil repaired? Probably not, and it might take months or years to find an anvil that really speaks to you. If the guy can repair your anvil for $300, and knows what he's doing as you say, it would certainly be a good investment. Henry Wright is a good quality anvil to build up, so no harm there. Worst case scenario -- as soon as you pick up your fixed anvil from the repairman, you'll see an "as new" anvil for sale for less. It seems to happen regularly, so be ready to buy that second anvil!Aside from the material and making aspect, the general shape is also designed to maximize the usefulness of the anvil to any type of smith. In olden days, you couldn't just run down to the corner store to get another widget and most tools iron tools were quite pricey to buy and transport. Having a curved horn meant that the average smith could true up a ring without much trouble, and without having to buy a mandrel. When you're traveling by horseback or pulling your own cart, every pound counts. The pritchel hole evolved in much the same way because it was just a great way of supporting the work while you punched a hole through it. Maybe not a big thing, but still pretty snazzy to have.Very impressive! I've squished a lot of pipe and it's never come out looking like that. I'd love to see more on how you shaped it.Welded up a bunch of 1" square stock. The legs are two bars of 1" square married together. If you don't have access to big plate or the like, welding up a bunch of bars to make a plate certainly gets the job done. According to my calculations, she weighs in around 150#.
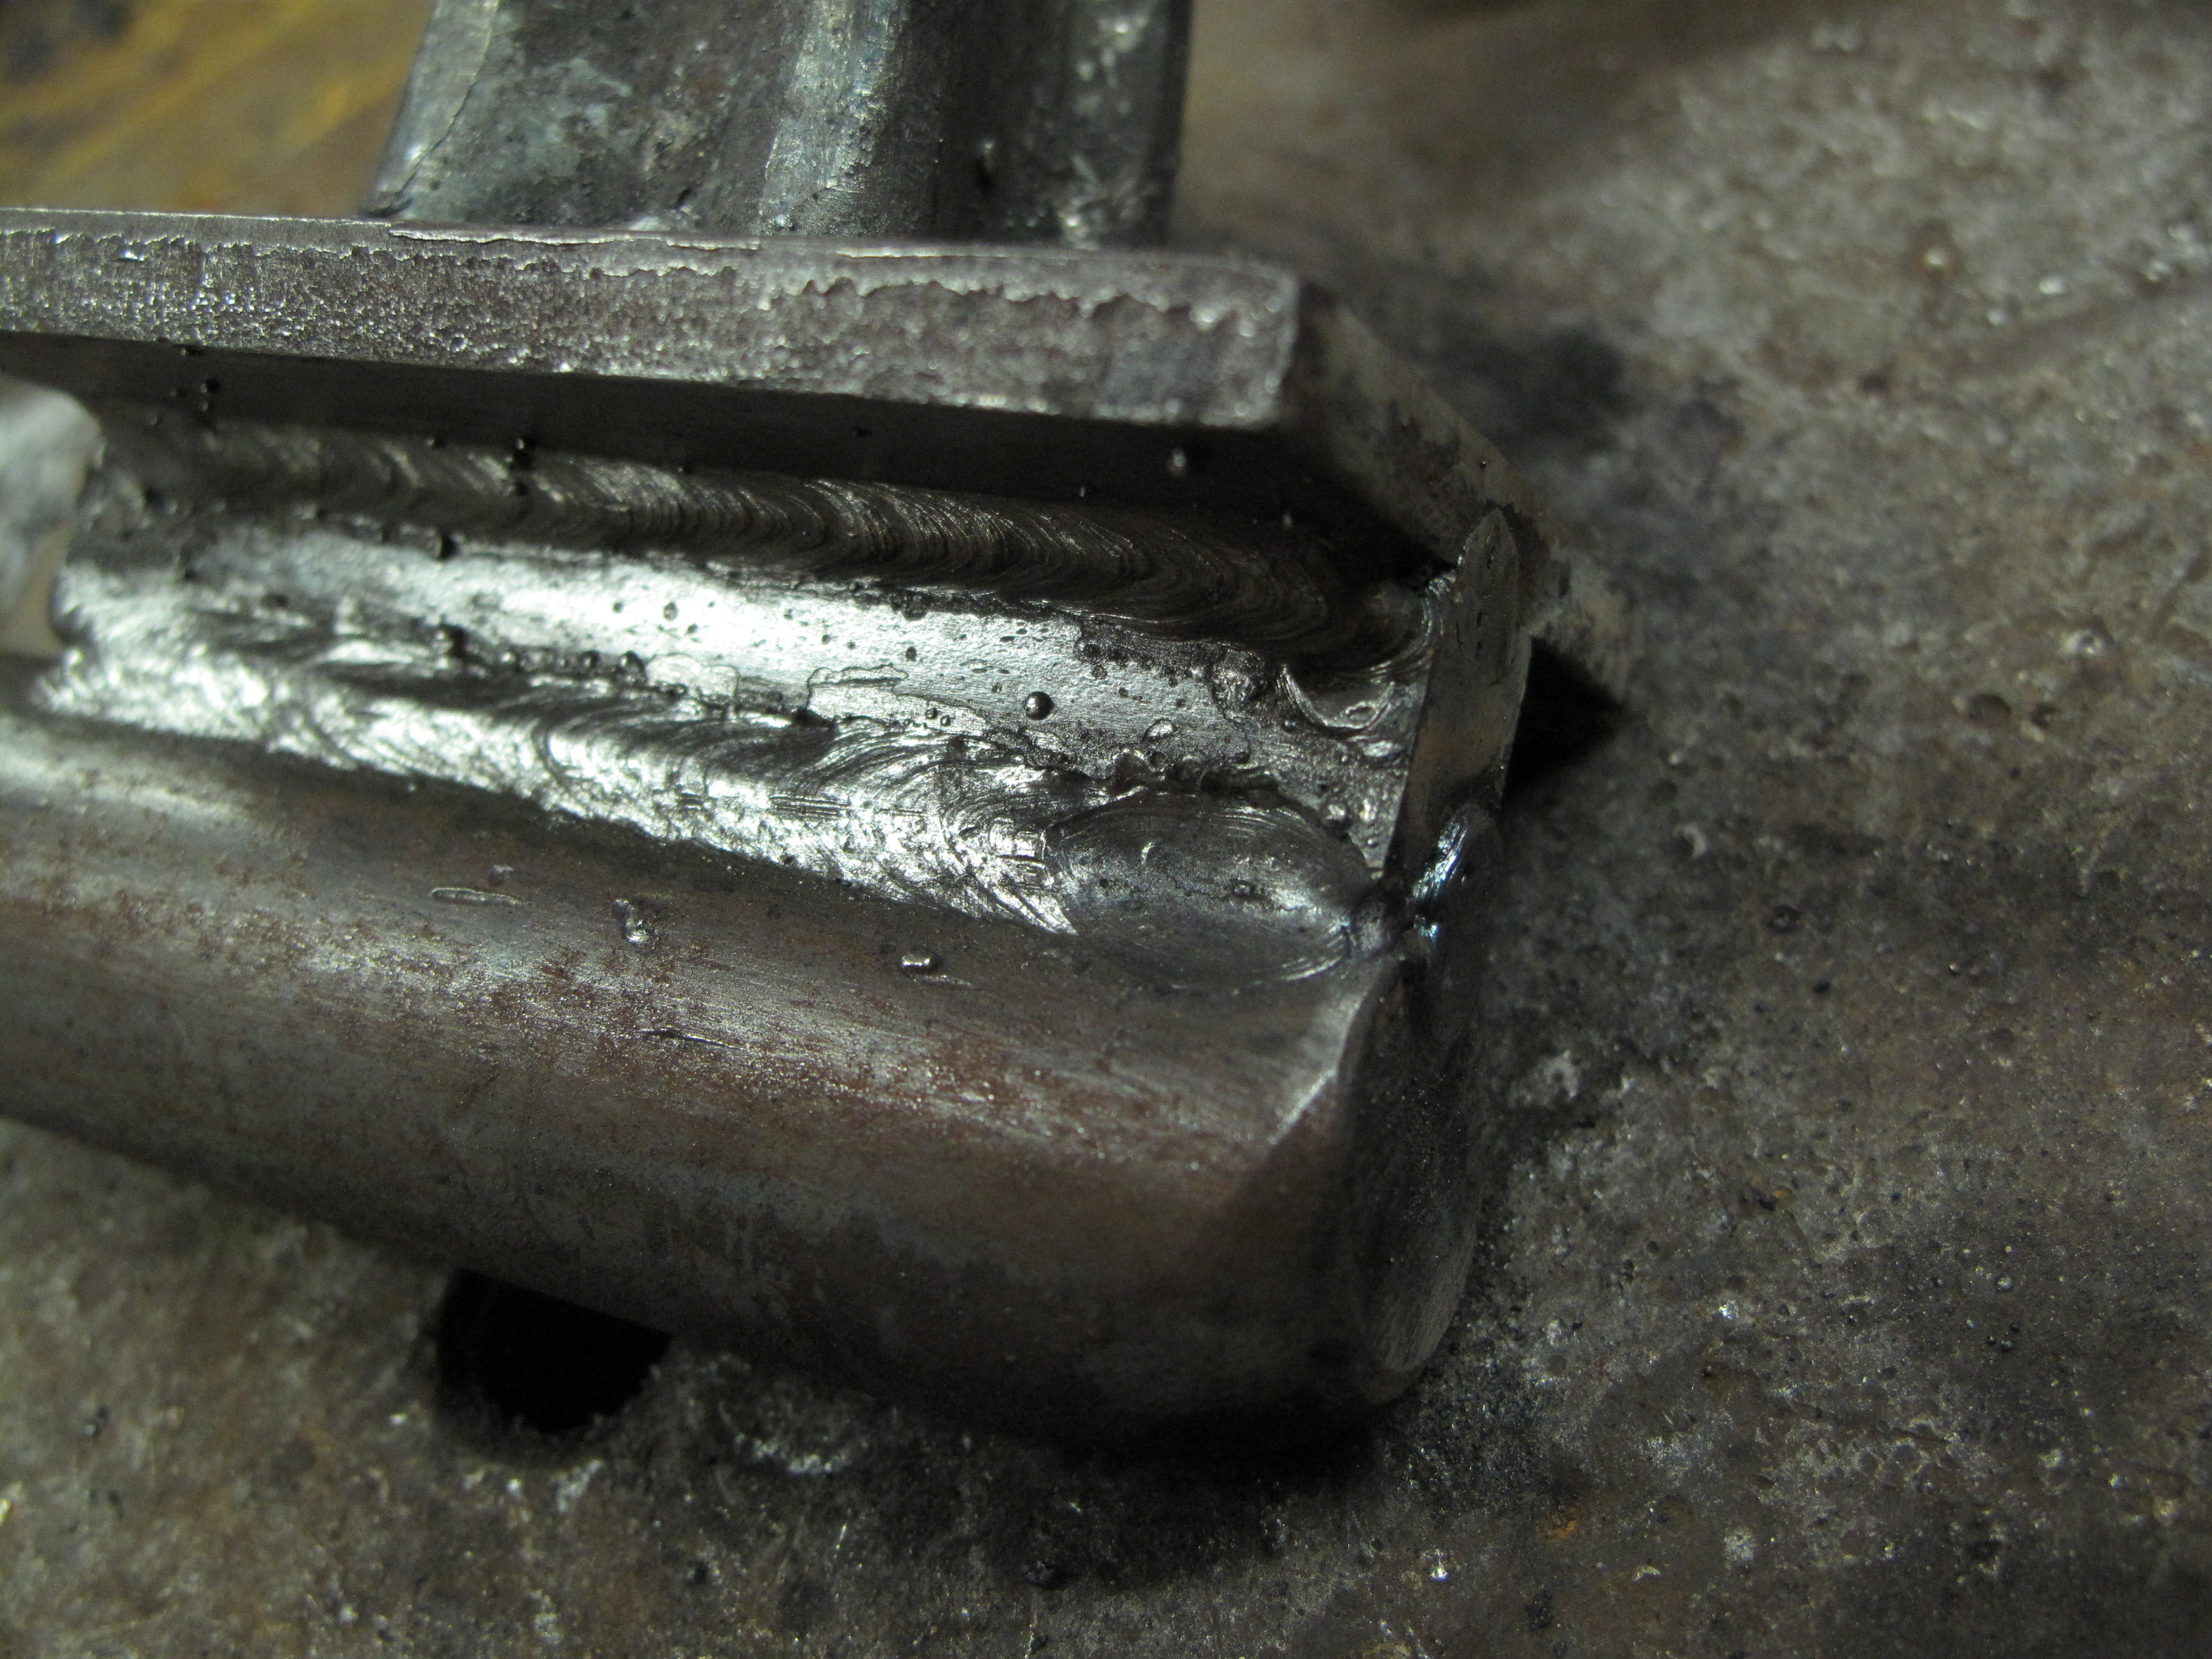
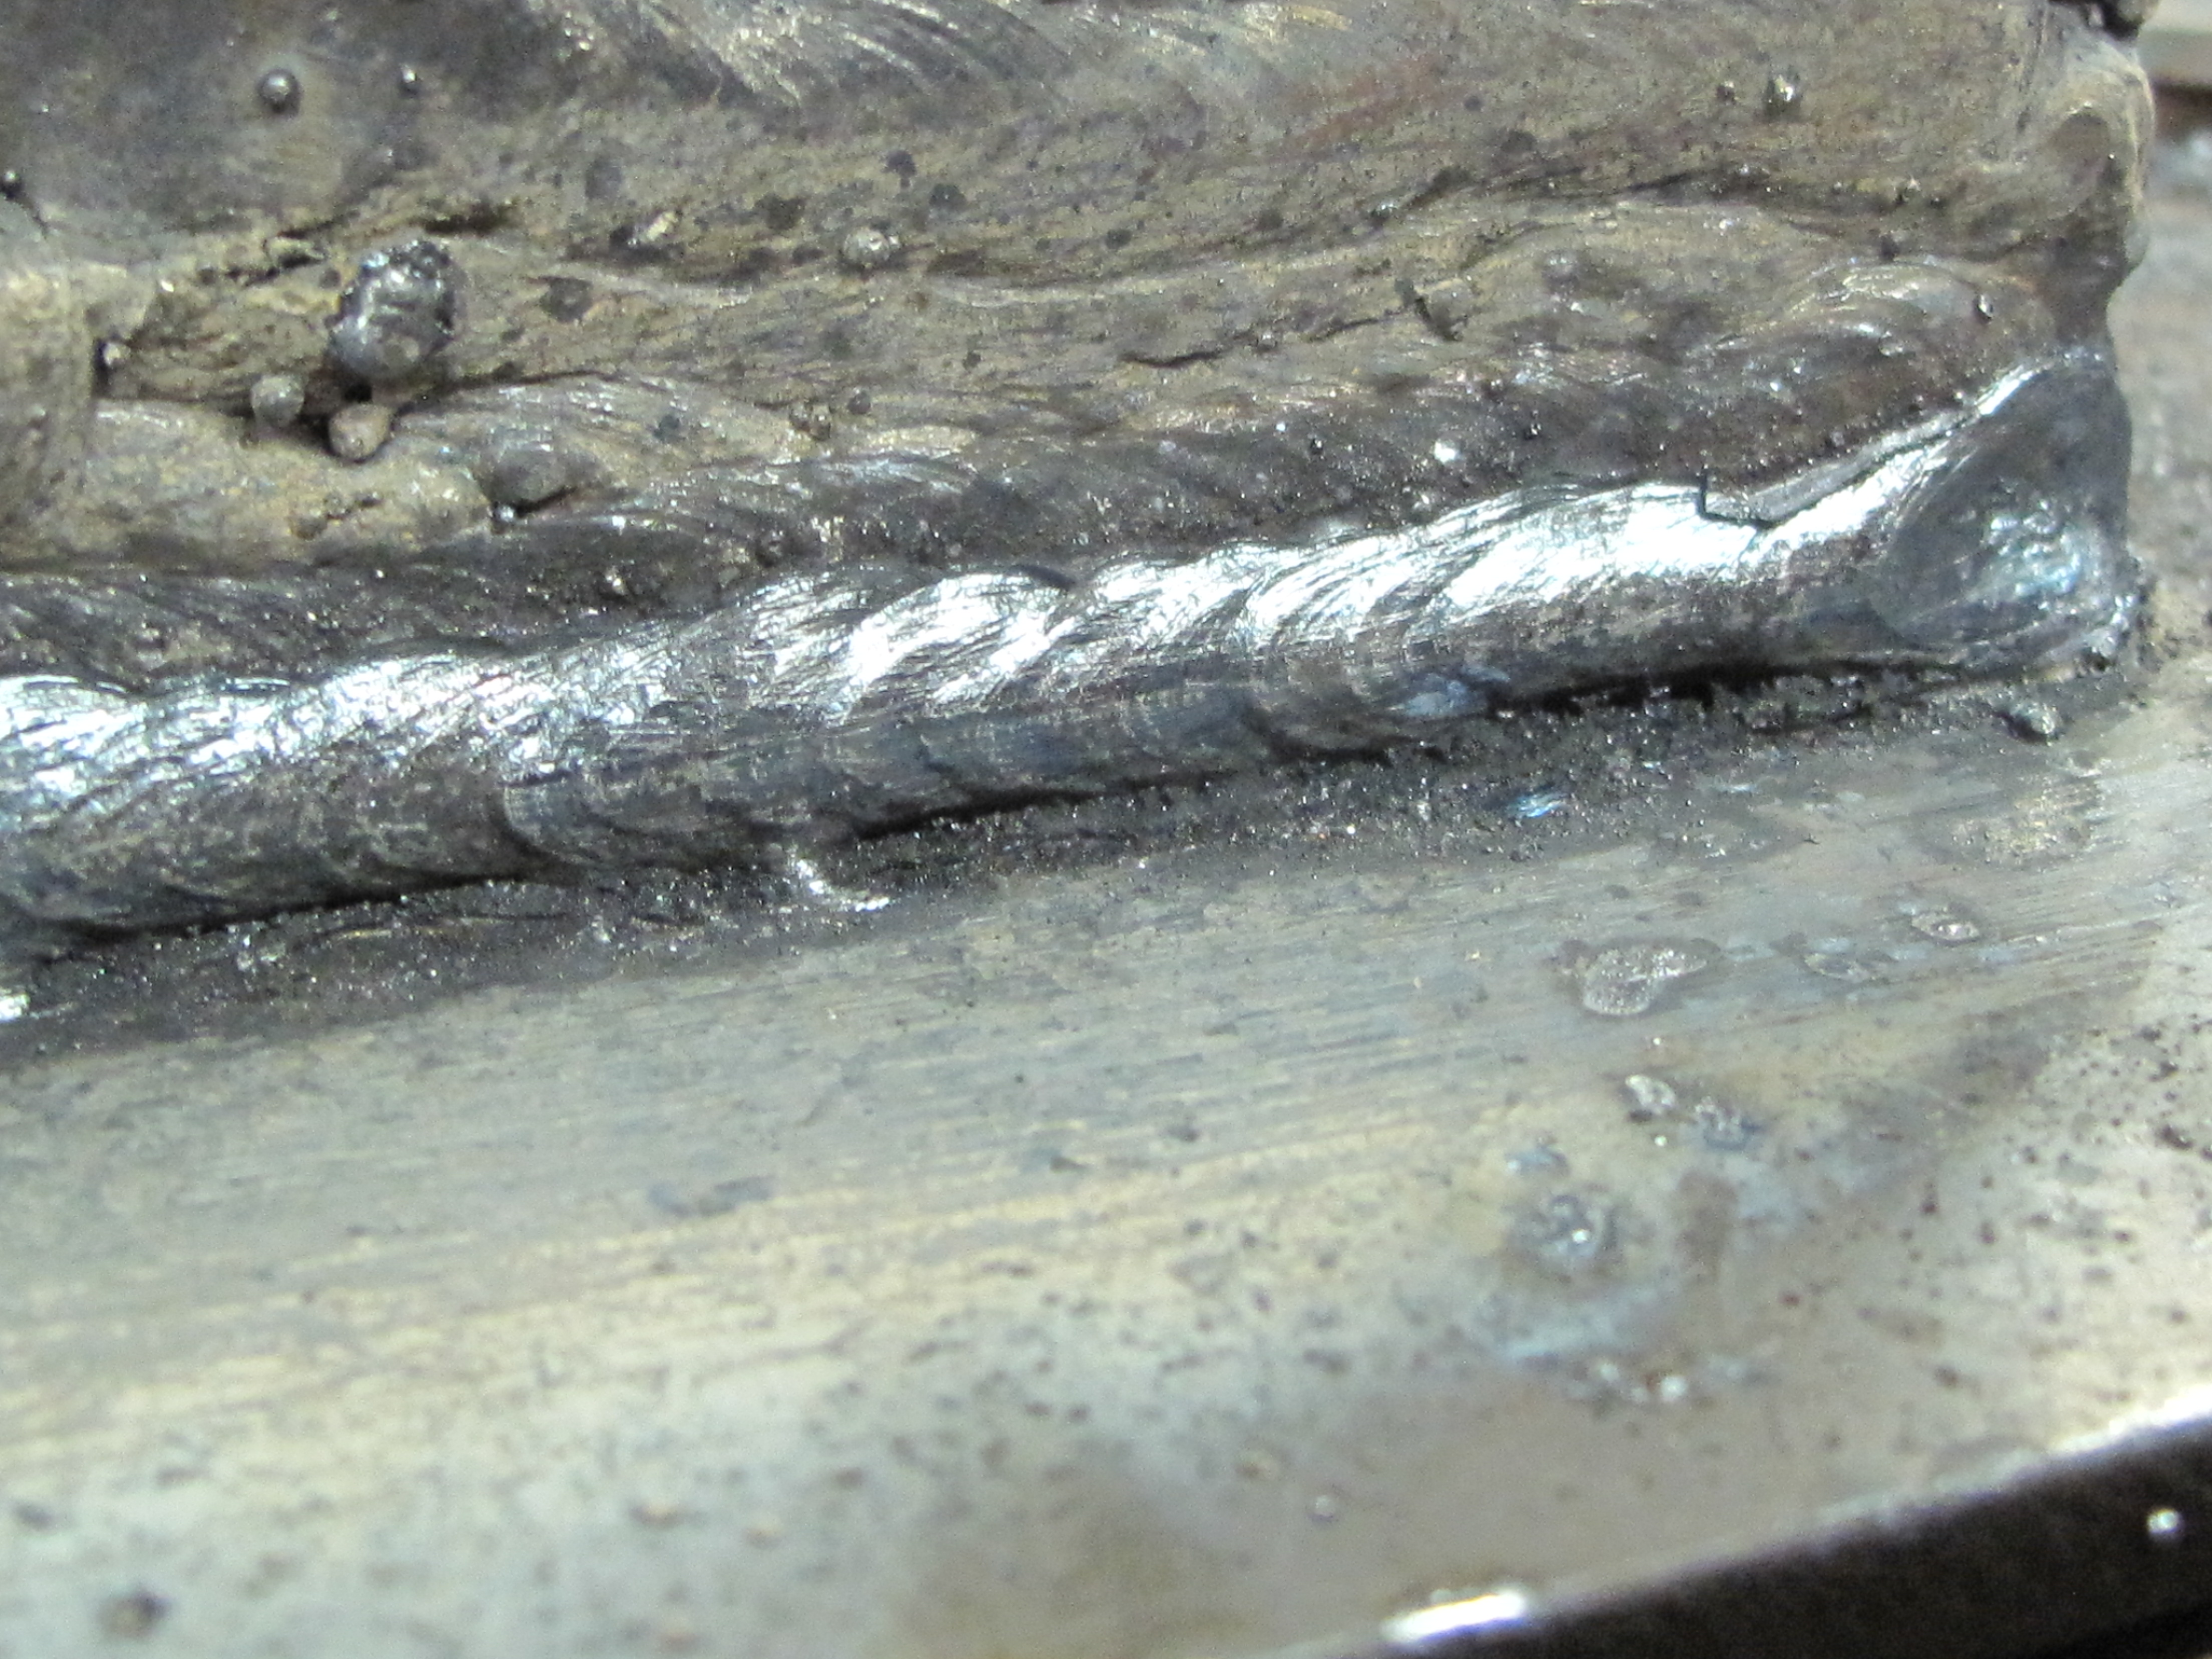
 Still having trouble with those blasted fingerprints. No idea what's causing them so I can't really be proactive to prevent them. 7014 1/8" rod, 125 amps. Any lower on the amps and I stick the rod a lot on the start. Even at only 125 amps, I'm burning really deep into the metal, ruining the corners. It seems like I'm going too fast, but the ripples look decent and the beads aren't too wide. On this little job, I didn't do any zigzagging of the rod, just a straight drag with minimal angling of the rod.
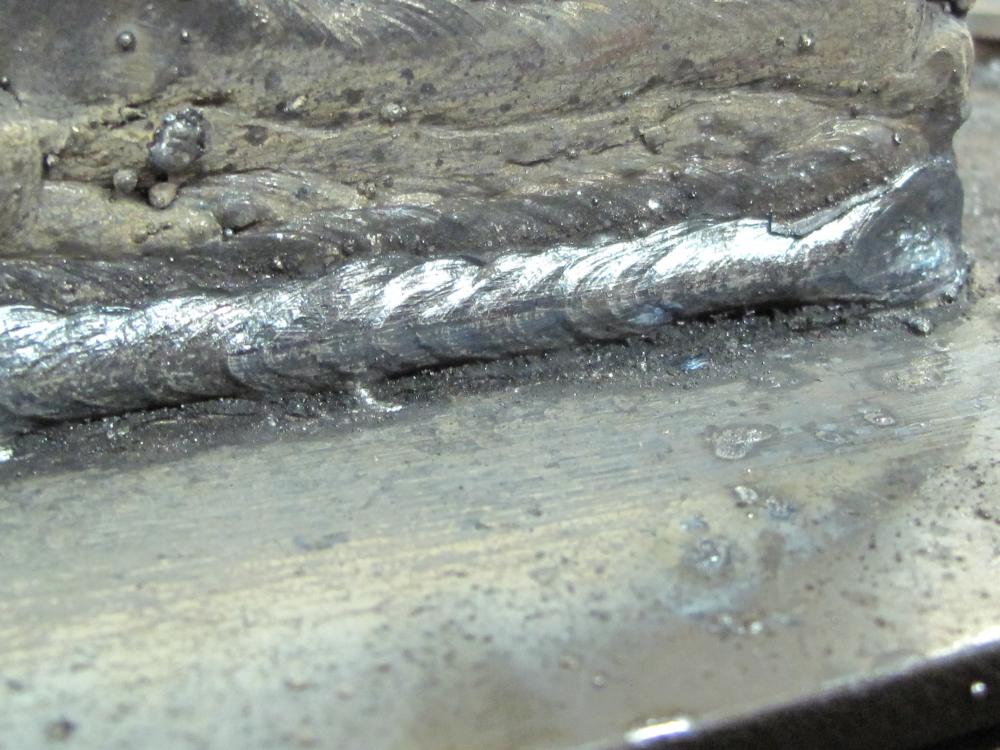
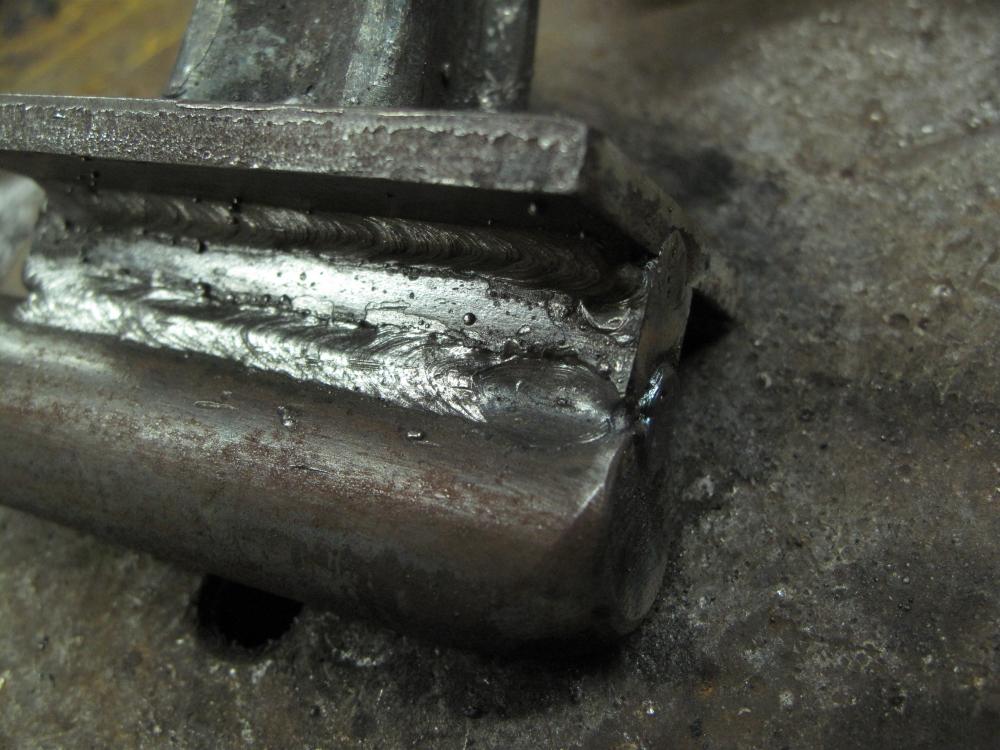 Ha! I've just started acquiring parts for building something like the DP120, too. I guess great minds really do think alike. My build is still a good bit away, so be sure and post lots of photos for me. I need someone to live vicariously through!Jeremy, I wasn't trying to imply that the Hawkeye was a sheet-metal tapper, but that the arc of travel that the helve travels in somewhat limits it when compared to a guided-helve hammer. Your rebuild is certainly masterful and does credit to your abilities.That type of hammer has a very limited stroke and not much room between the top and bottom dies. It's great for thin stock where you might need to draw out a bit, but using a top tool to punch a hole or something..... nope. I'd be likely to buy it for that price if it was working. You're not likely to build your own hammer for that little, and it's got a wonderful look to it. I like antique machinery, but you need to be aware of its limitations and drawbacks.You can heat up your bull pin and hammer it flat. This will turn it from a concentric cone to what you see folks using for hammer eye drifts. Takes about 20 minutes to get it shaped if you take your time and keep your hammer blows controlled. Then all you need to do is sand/file it to smooth up the surface. Love your anvil. I've got two london-pattern anvils that I really like, but I've always wanted something that was more simple in design. What you've got is the same things smiths used for hundreds and hundreds of years. Vikings were making wonderful tools, armor and blades on smaller anvils than that, so you don't have any excuses! Only thing I'd recommend is that you do away with the screws fencing it in. Forge yourself some nice spikes and fencing to dress the whole thing up. Honor your anvil and she'll be happier to perform with you.DSW, that picture is actually inverted so I could get a good shot without a lot of glare. When I was welding, the bead was flat on the table. I might try weldling across a vertical coupon in a couple months when I get halfway decent, but right now everything is done flat. The goal is to practice on this bit of homemade angle until I fill it up. Jody on weldingtipsandtricks.com mentioned padding beads for practice, and it sounded like an easy thing, so..... Slag! I keep thinking of the scale piling up around my anvil. Glare off the inside of my hood is a problem. I'm thinking about hot gluing a bandanna over the hood to fix that. Or I could use some scrap leather I have. That'd be hot, but it wouldn't burn through or snag like a bandanna will. And I need to get a small fan to blow the smoke away. Question--->> On my machine there doesn't seem to be any way to adjust the volts. Is that normal? Jody talks about it like it's something to factor into the equation, but I can't figure out how to move the number. When it was set for 125 amps, the volts were automatically set to 77.3 and flickered up as high as 77.5. Is that just how this machine is designed or am I missing something?I needed to tack a few pieces in place for a project, so I decided to run a quick warm-up bead. Straight across, with no breaks, and I got a decent looking bead. Seems like I'm getting some undercutting and the slag is hard to get off. Why? This was 1/8" 7014 rod with the machine set to 122 amps and the arc force set at 2. Is the undercutting indicative of going too slow? Why is the scale so hard to remove? Do the air bubbles in the scale point to anything in particular, or is that the nature of the beast? Some times the scale is really thick and has a lot of air bubbles, other times it's really thin and comes off with no problems at all. Sometimes it's both on the same bead.
 I would happily say that I'm a 3 on your scale. My biggest hurdle is that I'm not the kind of person to just sit there and tinker with something, and that tends to hold back my development. I don't, for example, set up everything and practice making tenons or turning scrolls. I'd like to, but it goes against every fiber of my being to "waste" all that time, metal and fuel. A lot of the masters we see from times past were rather lucky, in a sense, because all these different skills were used regularly on any of a hundred different pieces being sold regularly. We see the same thing in a lot of folks that grew up in their dad's shop. They might be young, but are already fairly grounded in the trade because they've grown up with it all around them. That level of exposure is really hard to come by for someone that's just tinkering in their backyard and relying on internet forums and videos to teach themselves.I've always liked the texture and grip left behind after taking the wood to the wire wheel. Oiling it after running it through the wheel really gives it that perfect feel, for me.