Michael
Members
-
Joined
-
Last visited
-
Stumbled across this a while ago. Makes a good printed copy for the shop. Van Gogh 1882. Also stumbled across the Detlefsen painting, triggering a memory of this mass produced image hanging in my grandparents home, and have since found a smaller, laminated to a board version, also for the shop.
.jpg!Large.jpg.1a71e5cf356d4ee1594132241b18d8c7.jpg)

-
only just found it again a few weeks ago. thanks,
-
First thing I ever forged was an attempt at a snake from a railroad spike, 20 years ago now. Lat thing I forged the the dragon head next to it.

-
I've been bringing fewer and fewer tools to hammer ins, both to keep the bag light and there's usually plenty of tools around. If it's a class though, I'll grab the can of spray paint closest to the front of the cabinet and hit the end of everything, tongs, punches, hardy hot cut, with a splash of the same color so I can keep track of tools. Nothing so formal as two colors with one masked off. A couple of general purpose tongs have a kaleidoscope color pattern on the reins now.
-
She's on this forum as Artist Celeste.
-
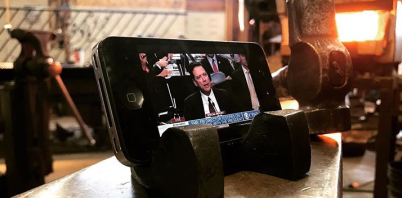
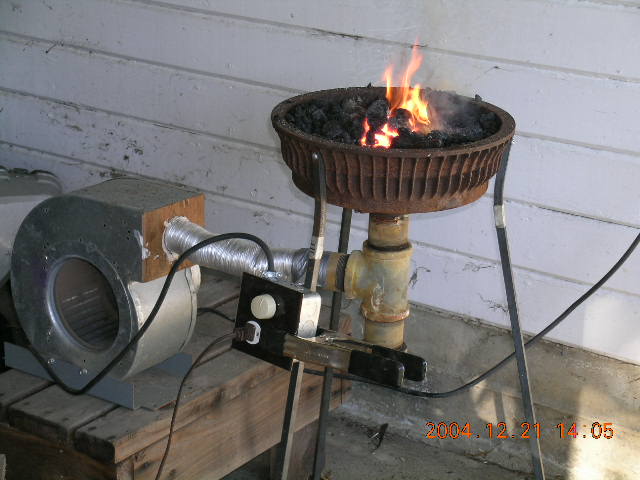
This is how I start my coal/coke fire every time. About a half a chimney of lump charcoal, get that burning good and dump it in the firepot. Very gentle air and pile coal around the edges of the charcoal. The flames from the charcoal burn off the volatile gases from the coal as it 'cokes' up. When ever the fire gets smoky I'll knock small hole in the top of the fire to get a flame going and burn off the coal smoke. In a very residential suburban neighborhood.
-
That's a very nice start you have there! Lump charcoal, not briquette's works really well, you just have to use a small watering can to keep the fire from spreading too fast. Rather than claying the bottom, I found a couple of firebricks with the corners cut off, so they fit the round drum, goes a long way towards having the fire deep enough. a brick on each side of the drum with a deep trough between them. Masonry disks in an angle grinder make short work of it. my first forge pic attached.

-
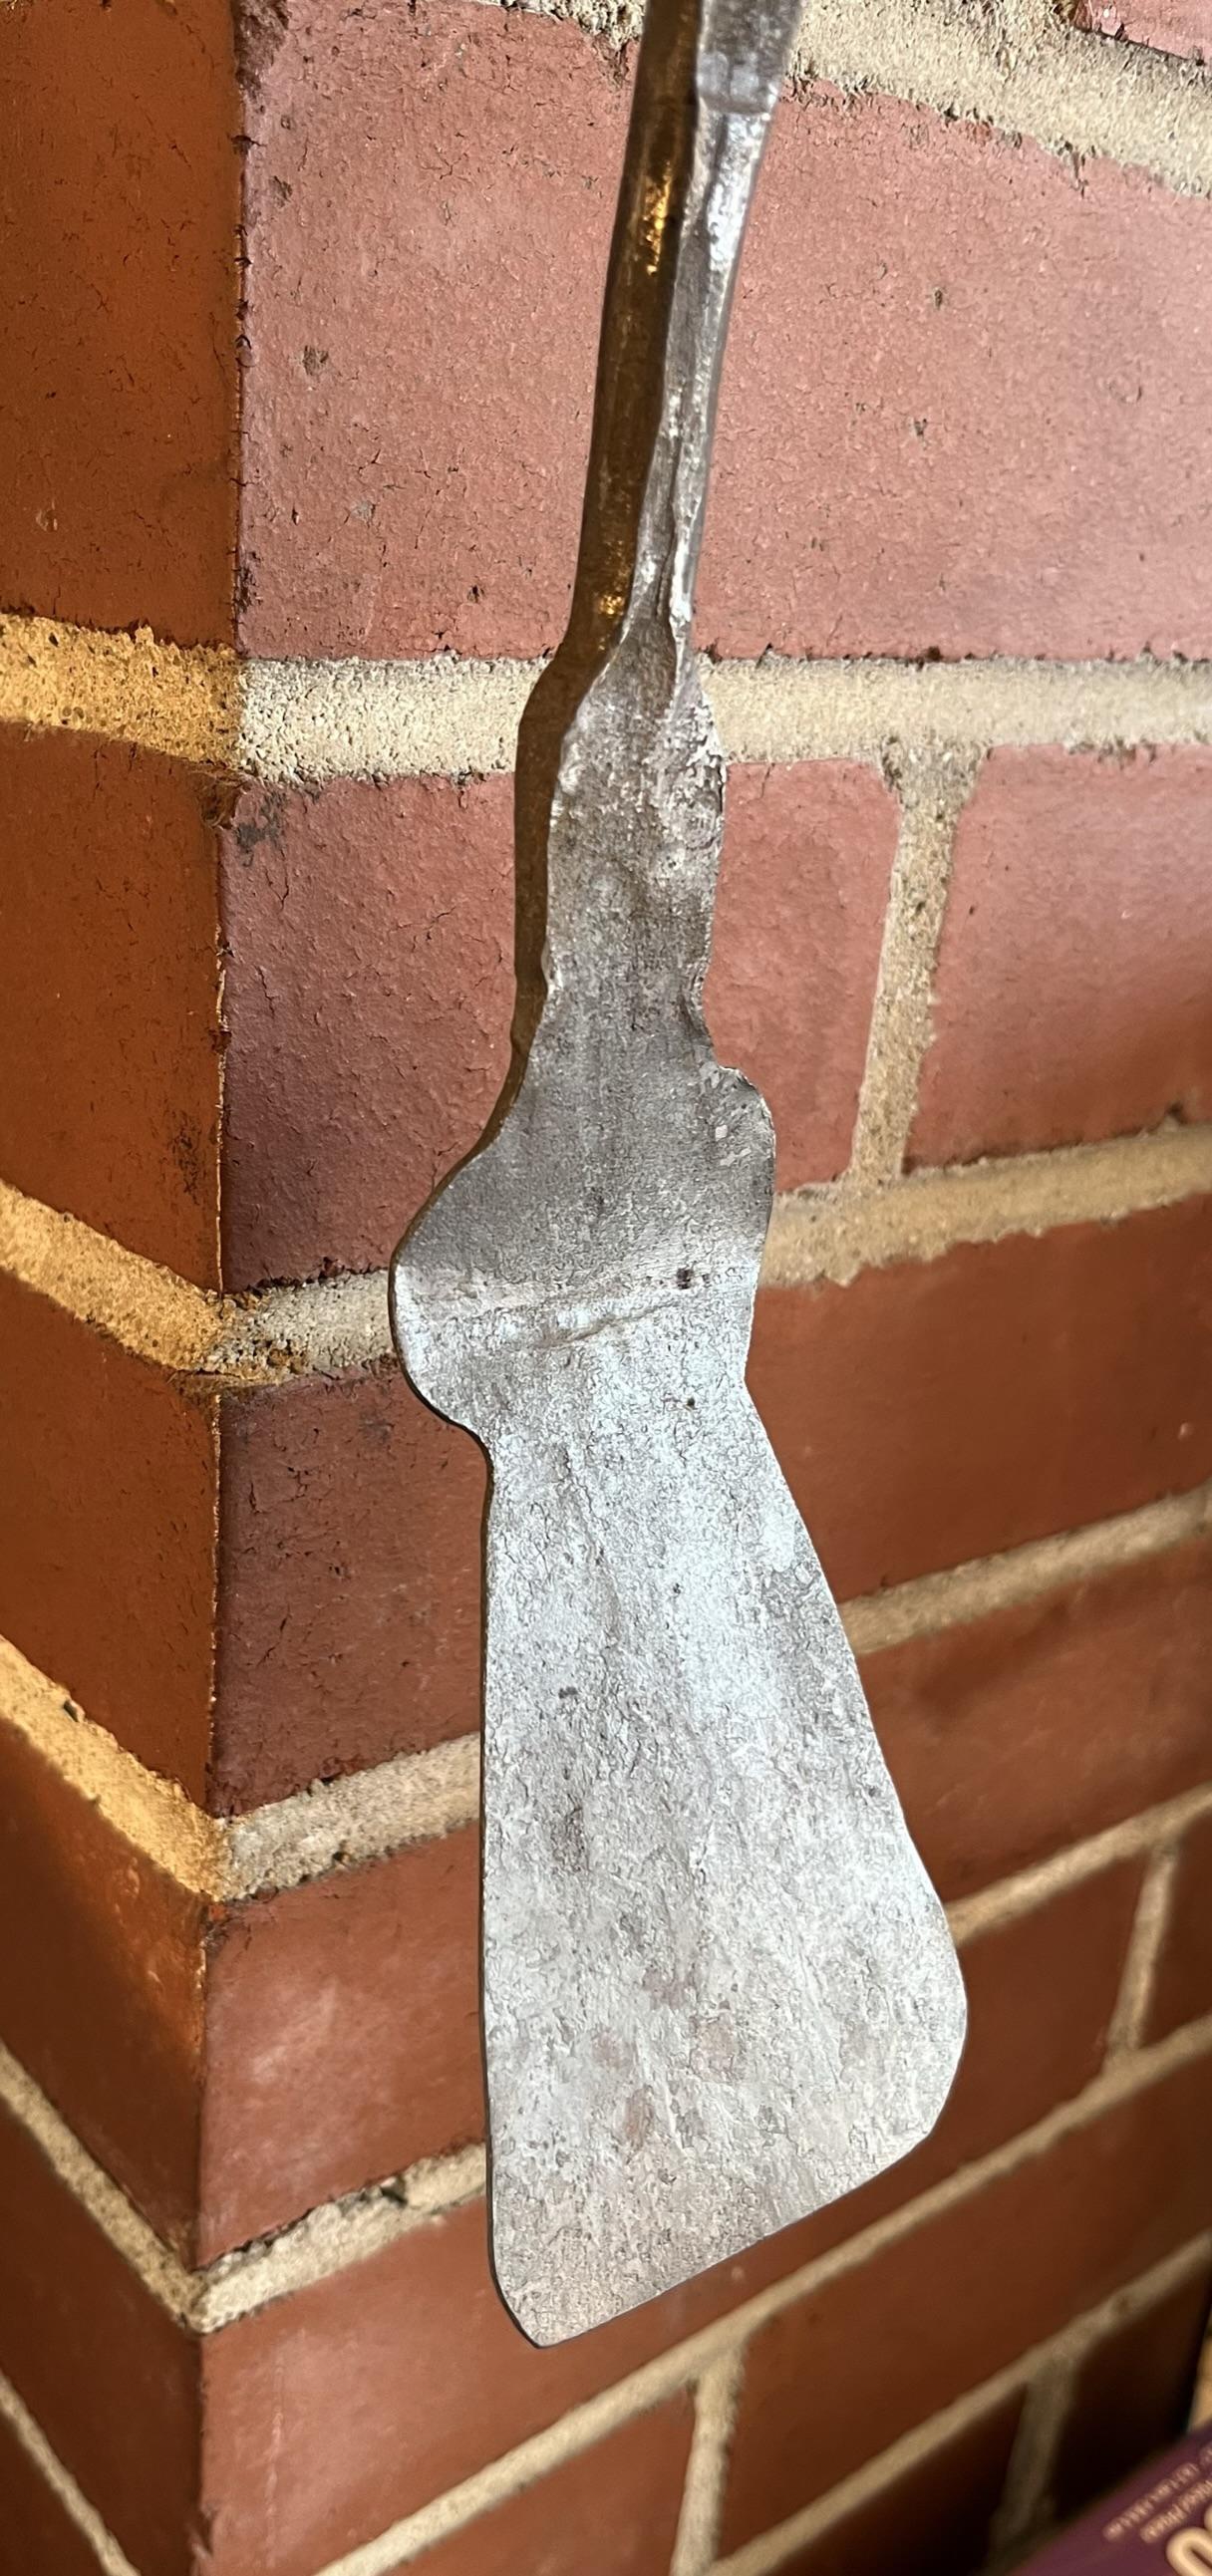
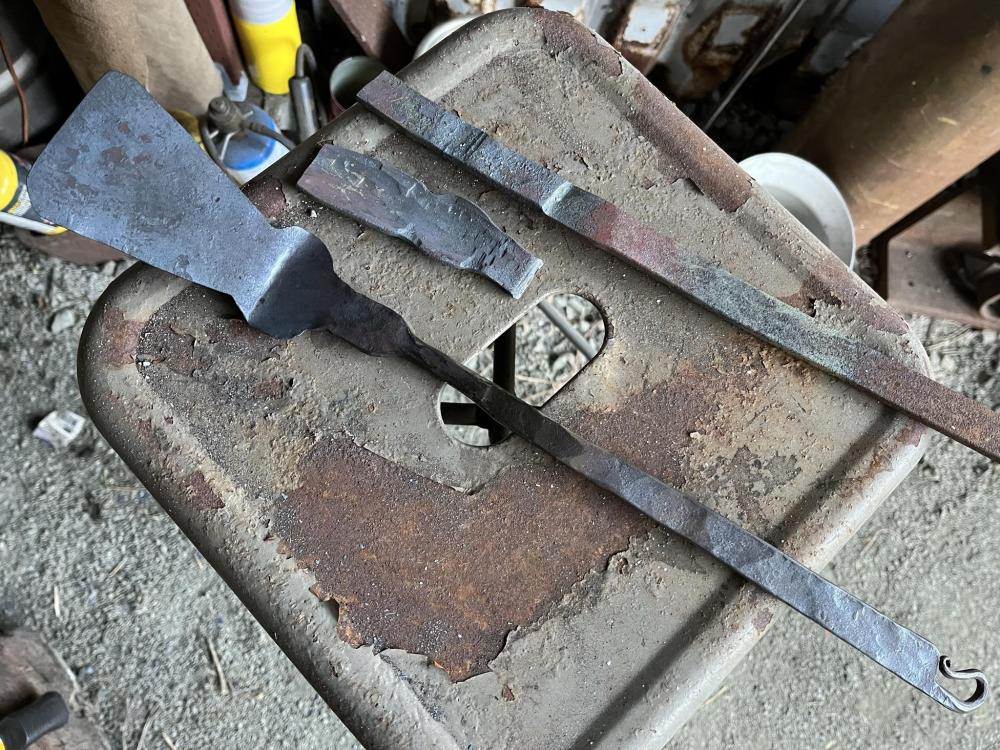
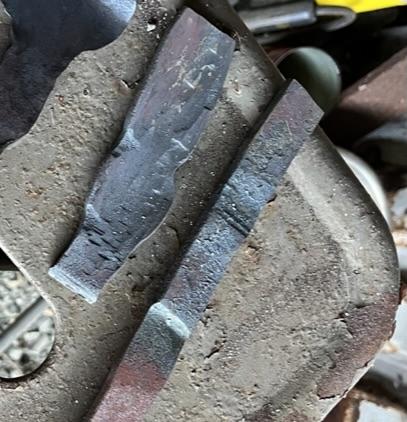
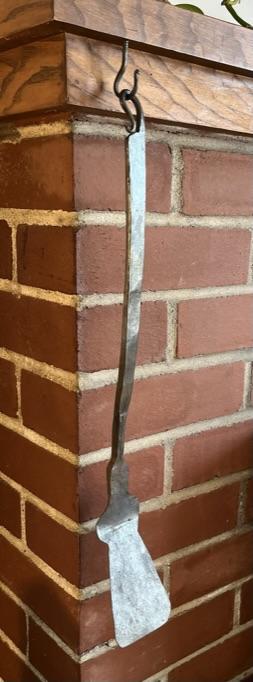
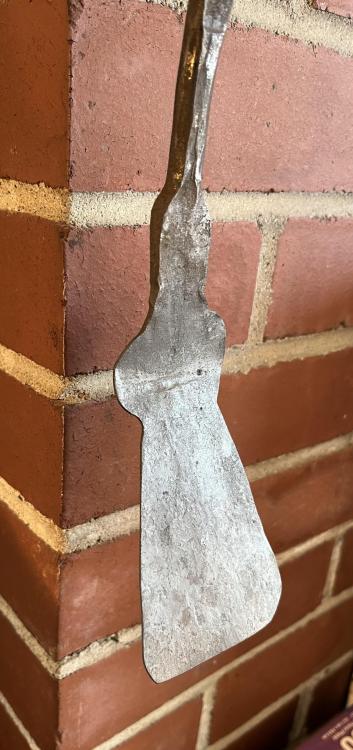
Way back in 2004 I lit my first brake drum forge full of charcoal the Friday after Thanksgiving and have kept up that Black(smith) Friday tradition ever since. This year, with Becky Schimpf's article in the CBA magazine in hand, I tried a Colonial Style Keyhole spatula according the Becky's method. You isolate a 'pillow' of material, 2 inches from the end of a 1/4 by 3/4 bar. When the blade end of the spatula is peened wide, the keyhole shape just appears. No filing on this! First attempt, pillow was too big. Second attempt, the fullering wasn't centered on the stock. Third times the charm! I've been chasing this shape of spatula for years and years now without success until now.

-
Very exciting forge to get your hands on! The idea of recirculating the unburnt fumes from coal smoke has been a goal since seeing the "smoke catcher" in Weyger's book all those years ago. Impressive it has so much cast iron that isn't all that broken. Good find!
-
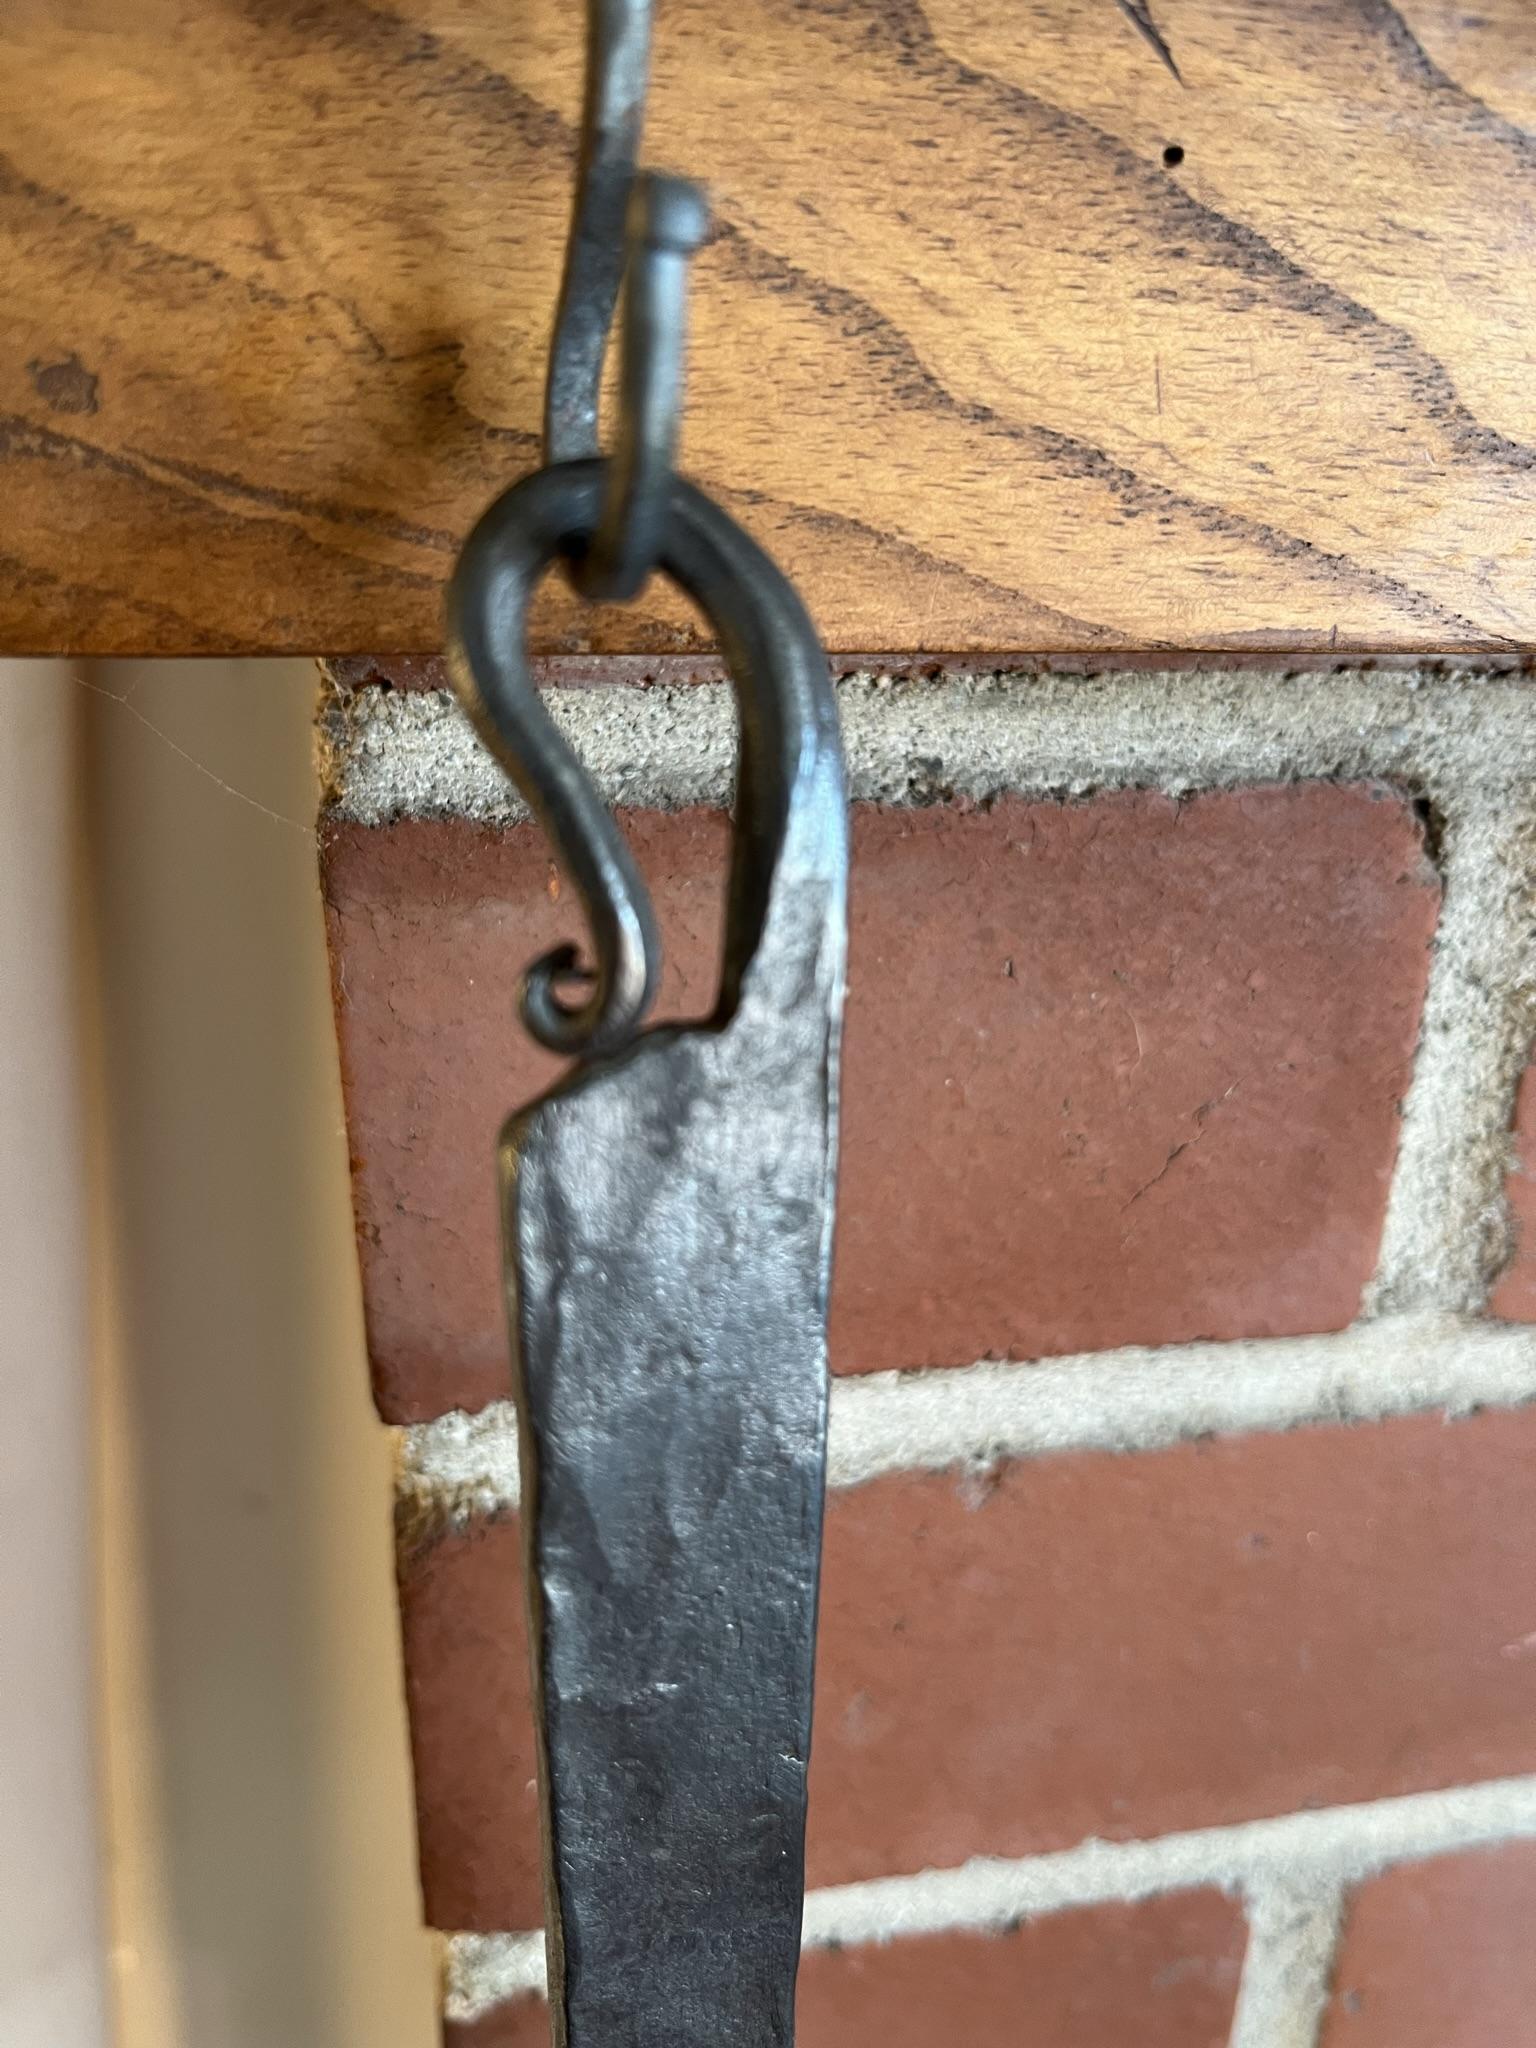
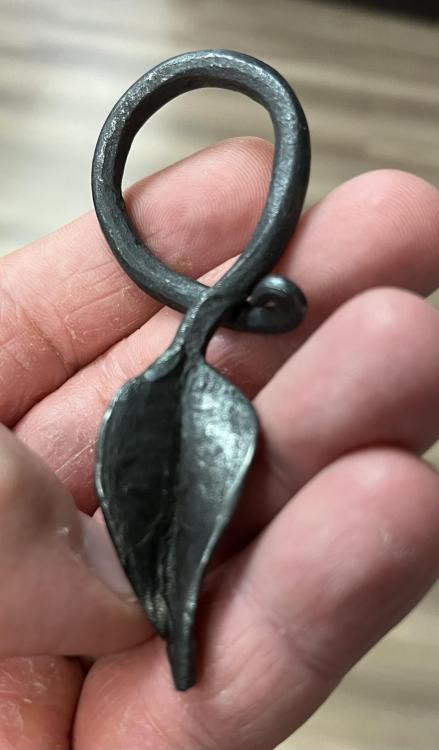
Caitlin Morris, of Ms Caitlin's School of Blacksmithing in Frederick, Maryland, was a demonstrator at CBA's Roaring Camp Hammer In back in August. She taught this leaf keychain using a very light hammer, 10 oz if I recall, along with a double diagnonal peen hammer for the stem. Just got around to trying it out on my own last week. One of the nicest leaves to come out of my forge!
-
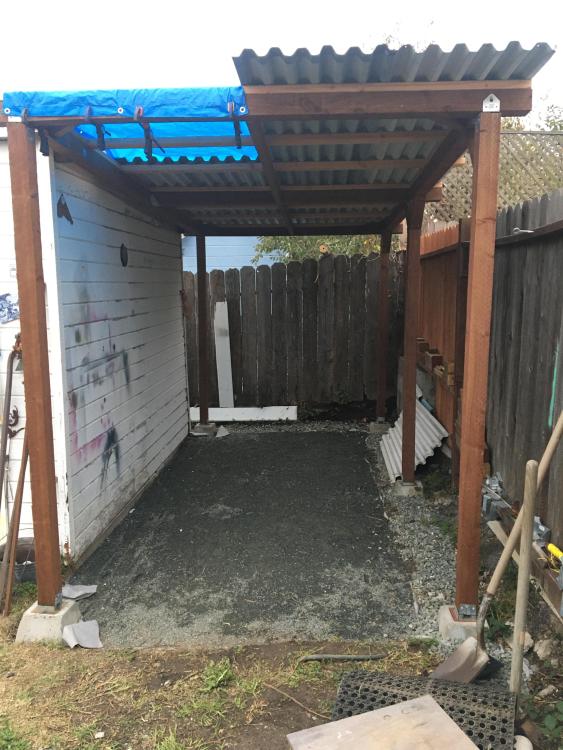
Sounds like a good plan. I set up just such a space during the pandemic. 4x4 posts, recycled corrugated for the roof and walls. No snow load in California, but rain protection and drainage. Recycled pier blocks buried around the perimeter with post base hangers for the 4x4s. I hung 2x4's from the posts and hung the corrugated walls from the 2x4s, with a healthy space, 8 inches or so open at the top and bottom of the walls. This seems to keep the air moving (pretty constant breeze) and I haven't needed a chimney. Decomposed granite for the flooring is cheap, drains well and doesn't mud up.
-
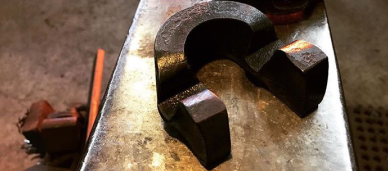
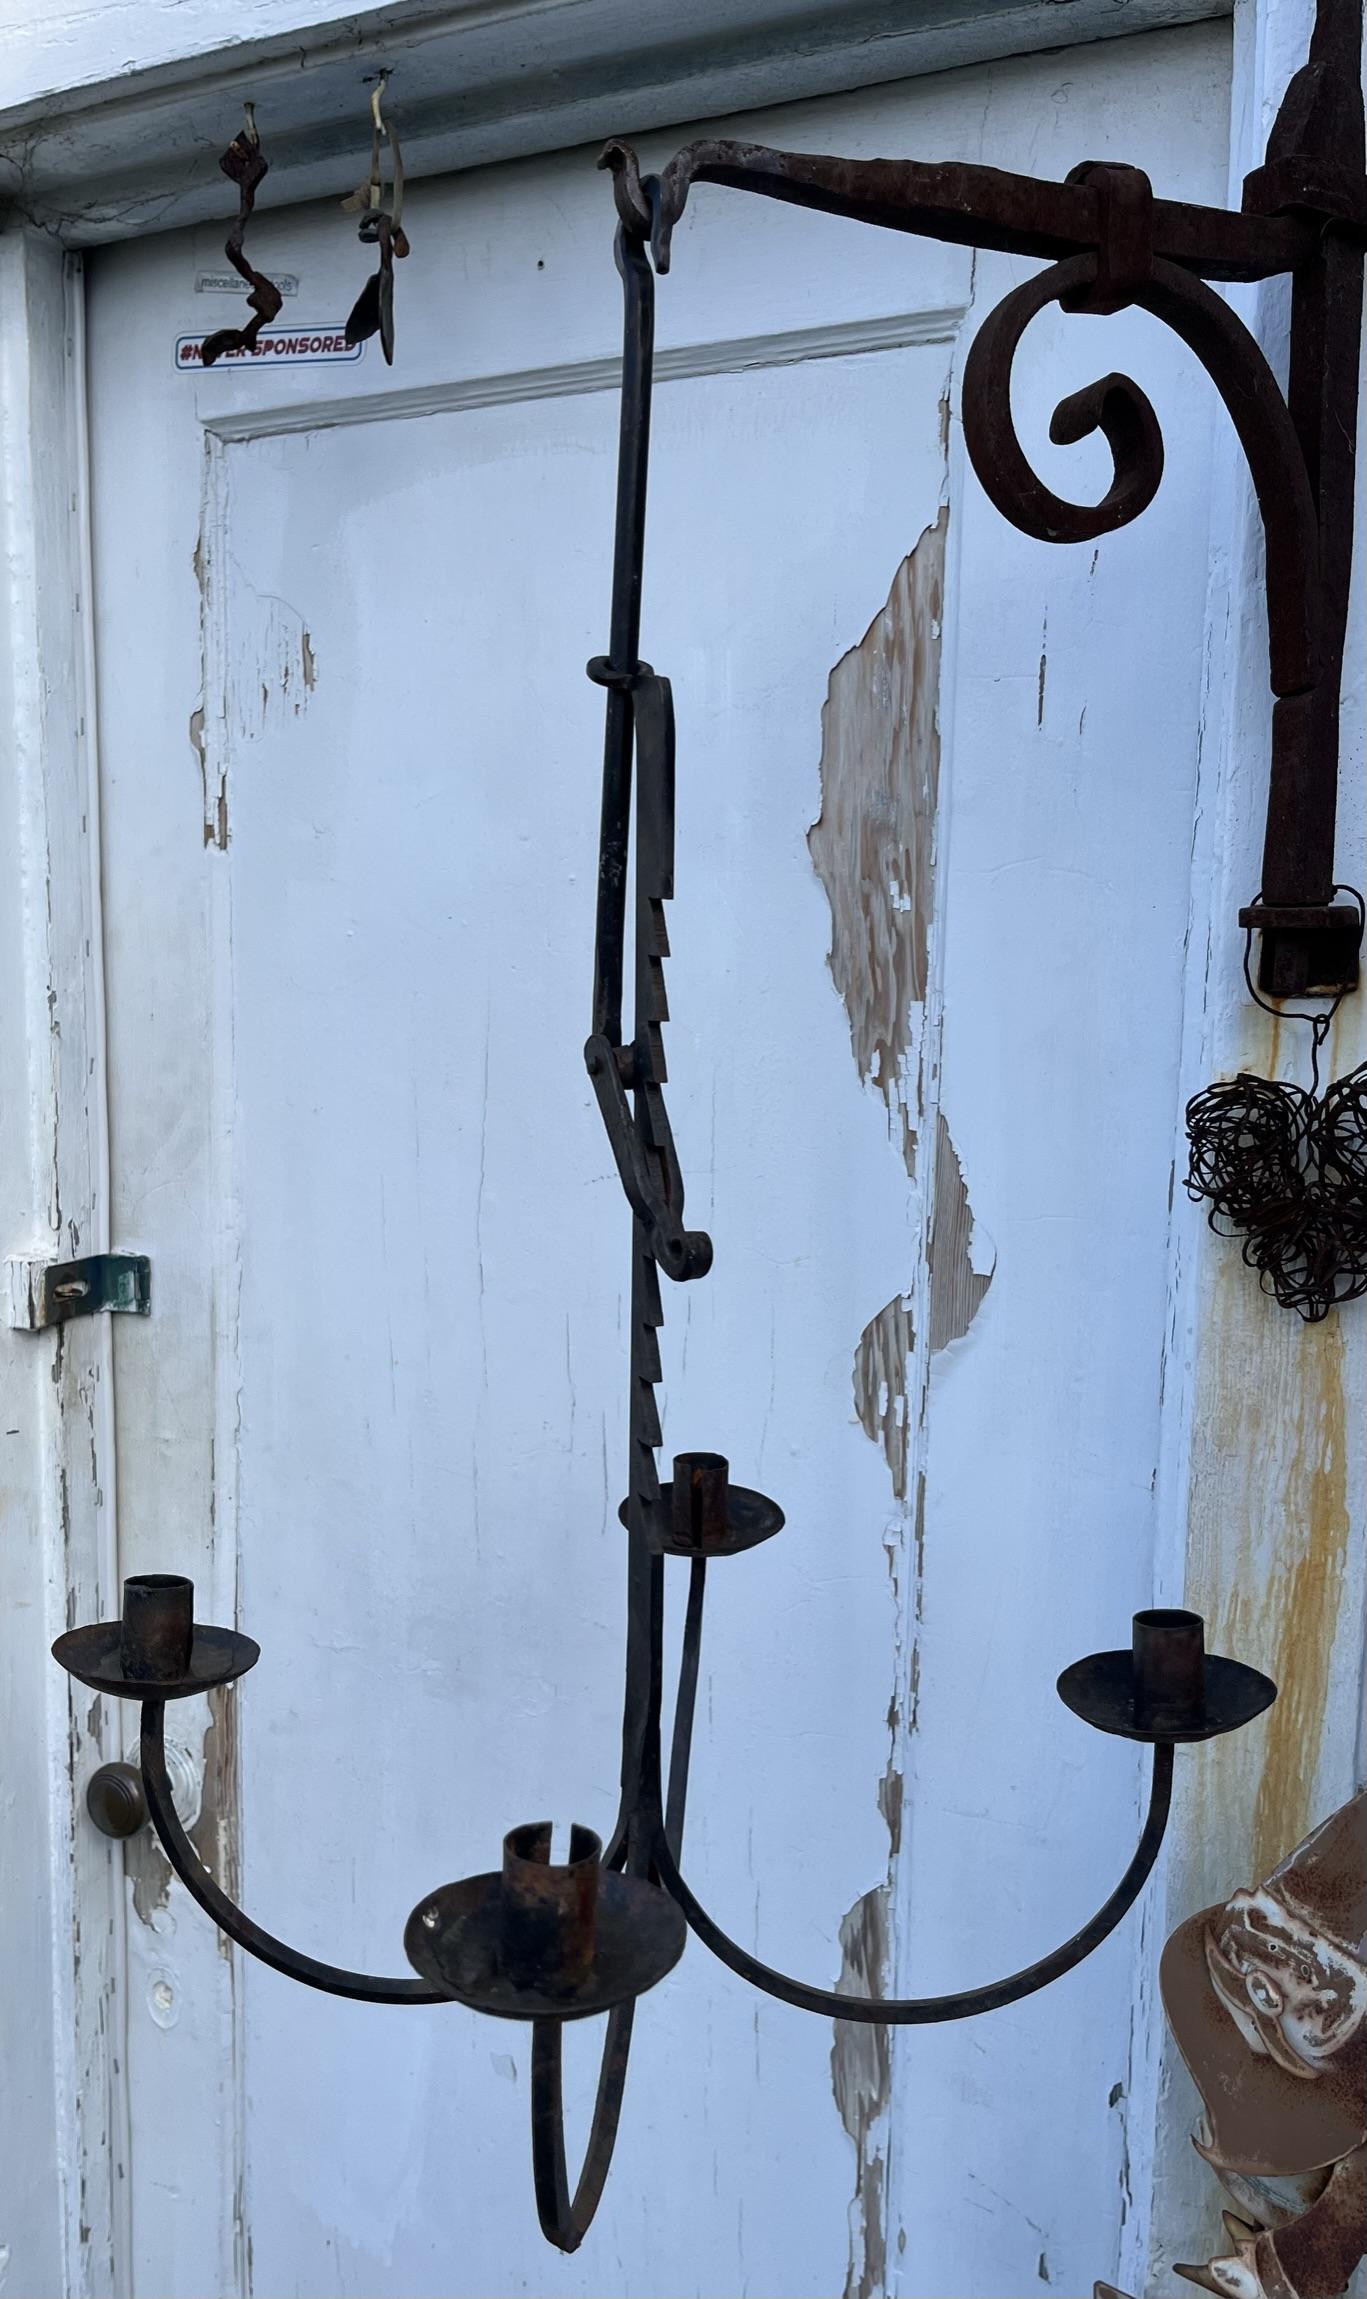
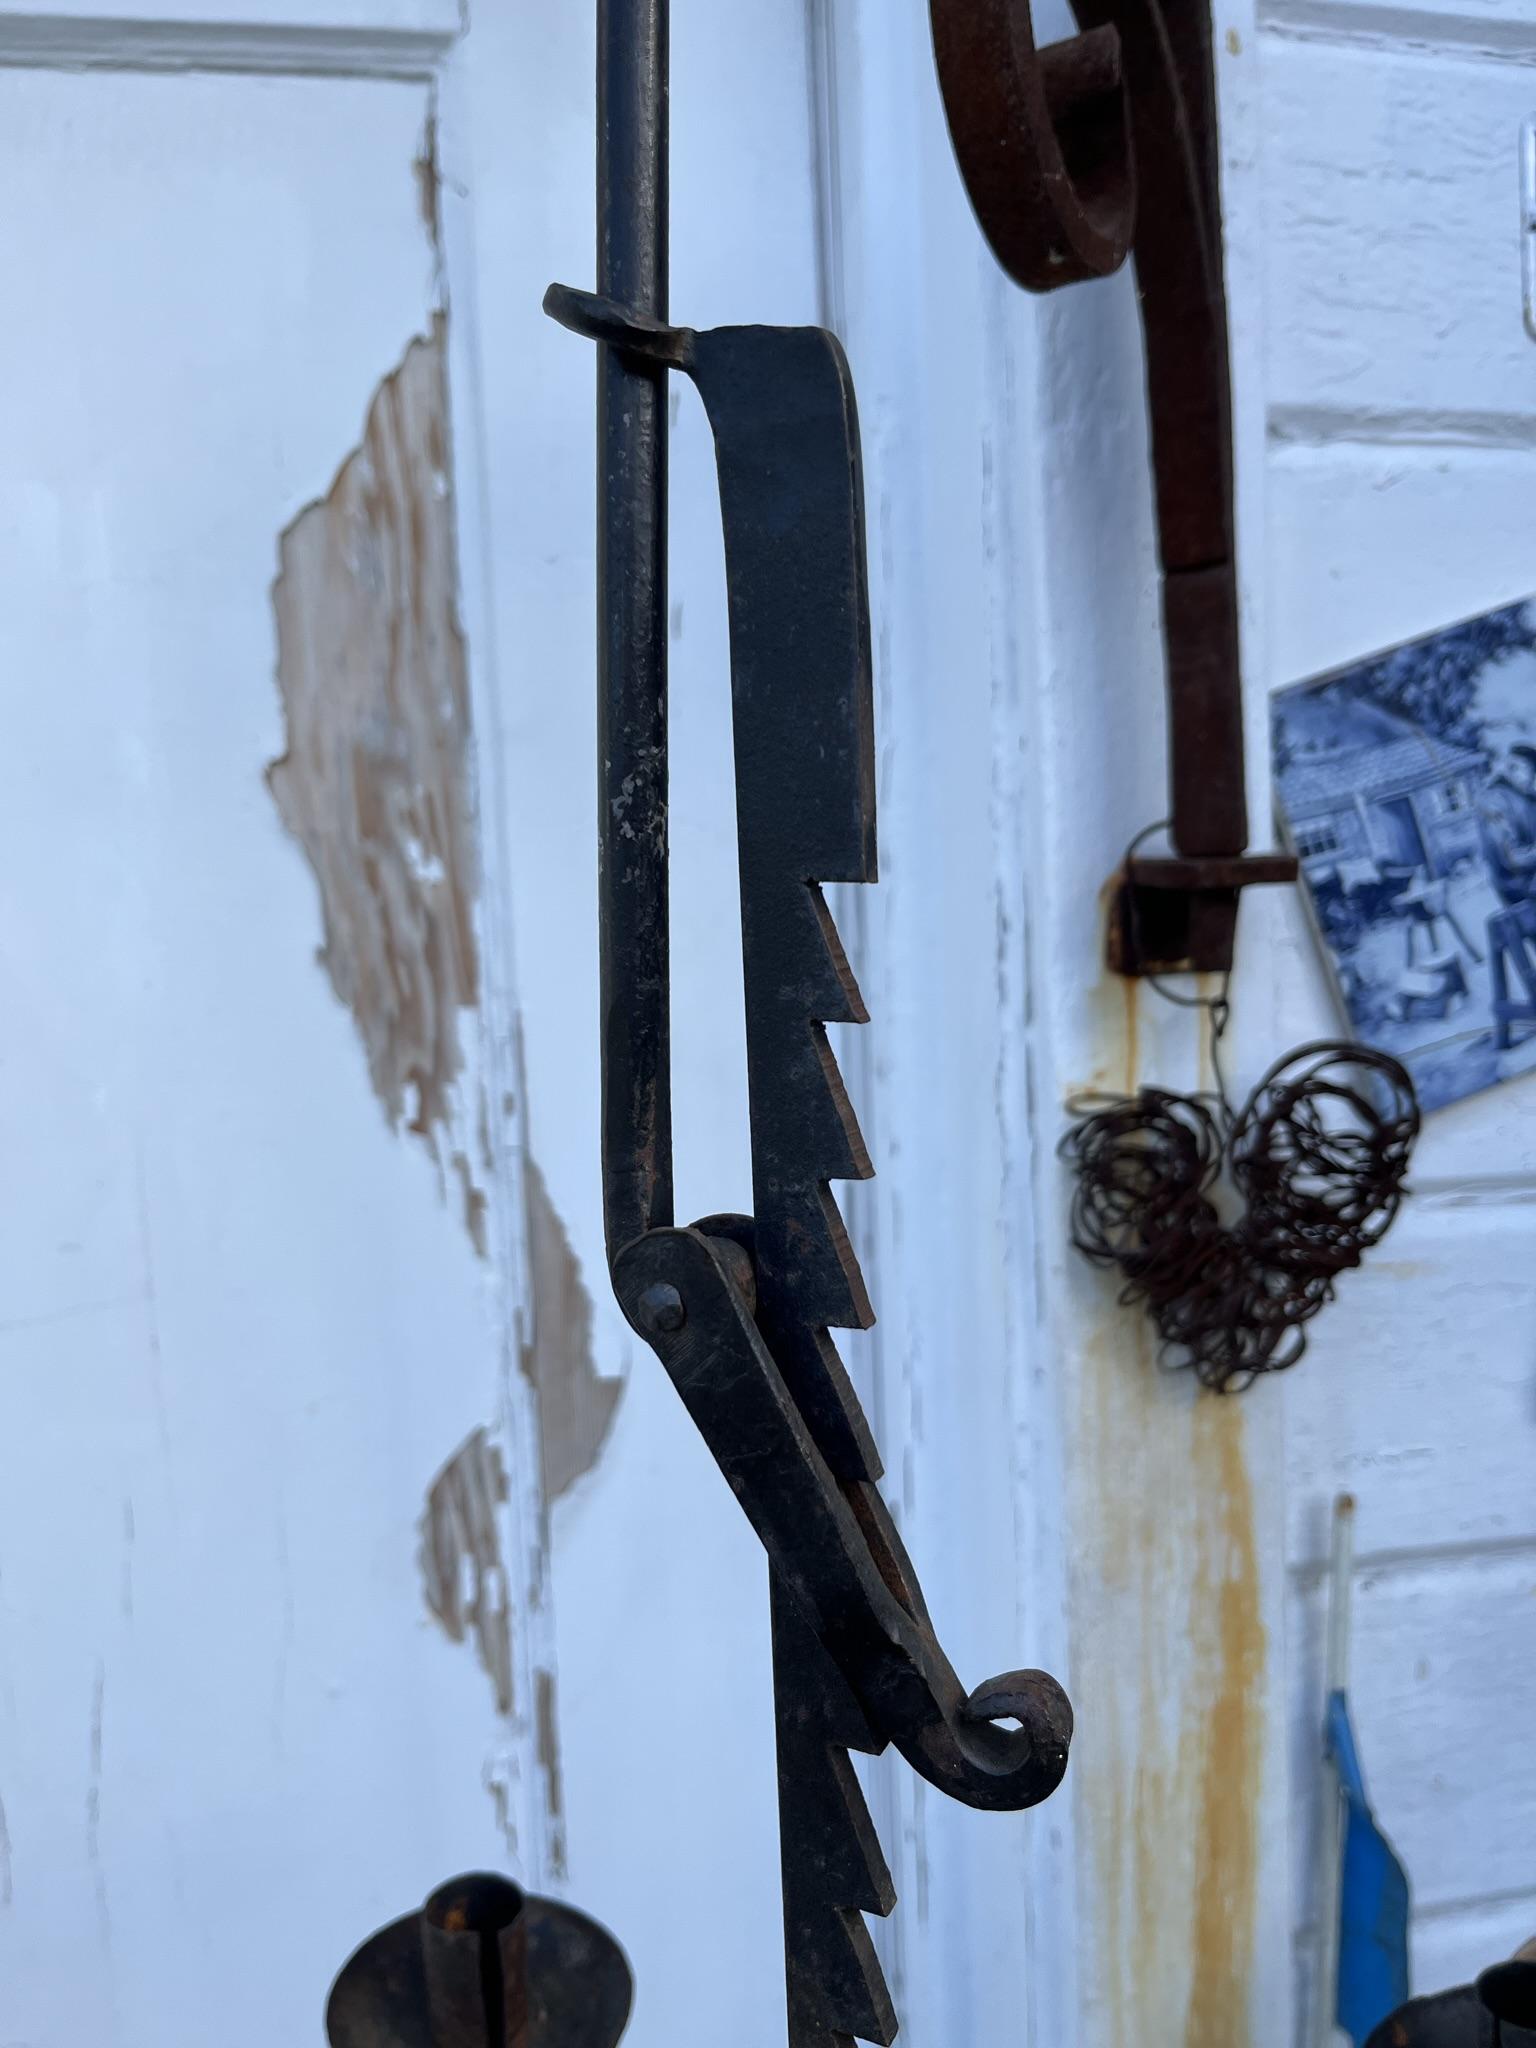
Wandering through my regular building materials recycler, checking the scrap metal bin for interesting shapes and I pull out this ratcheting 4 light hanging candelabra. Tagger puts a $2 sticker on it when I ask and into the truck it goes. Clearly forged and forge welded where the candle arms meet the ratchet bar. Saw marks on all the ratchet teeth. Have to scrape all the wax out of the candle holders to figure out how they were put on. The little yoke that engages the ratchet is a forge weld. Somebody put a lot of work into it, and since something similar is on my project list, I think I can get some insight about how it goes together and what to avoid.


-
Almost any squirrel cage style blower will work. I didn't have much luck using a dimmer switch to control the speed. In the end a piece of sheet metal slid over the blower intake made a quick and effective way to control the air.
-
Local friend hurt their back so I went and helped out Saturday. Shaping 3/4 by 1 1/2 bar into railing on the power hammer (Anyang equivalent).Bottom die to flatten widen and round one side of the bar. Just rough shaping to help out. Also straightened some work on the hydraulic press, easier with two sets of arms and eyes. A couple of youths were in the shared space for art class, my friend saw "the spark" in the older one's eyes and (with parental permission) proceeded to show basic pointing and twisting skills to the two. Nice little encouragement in the craft and fun to watch them teach while doing grunt work in the background. I learn so much helping out pros!
-
From the "big folder of project ideas"