VaughnT
Members
-
Joined
-
Last visited
Everything posted by VaughnT
-
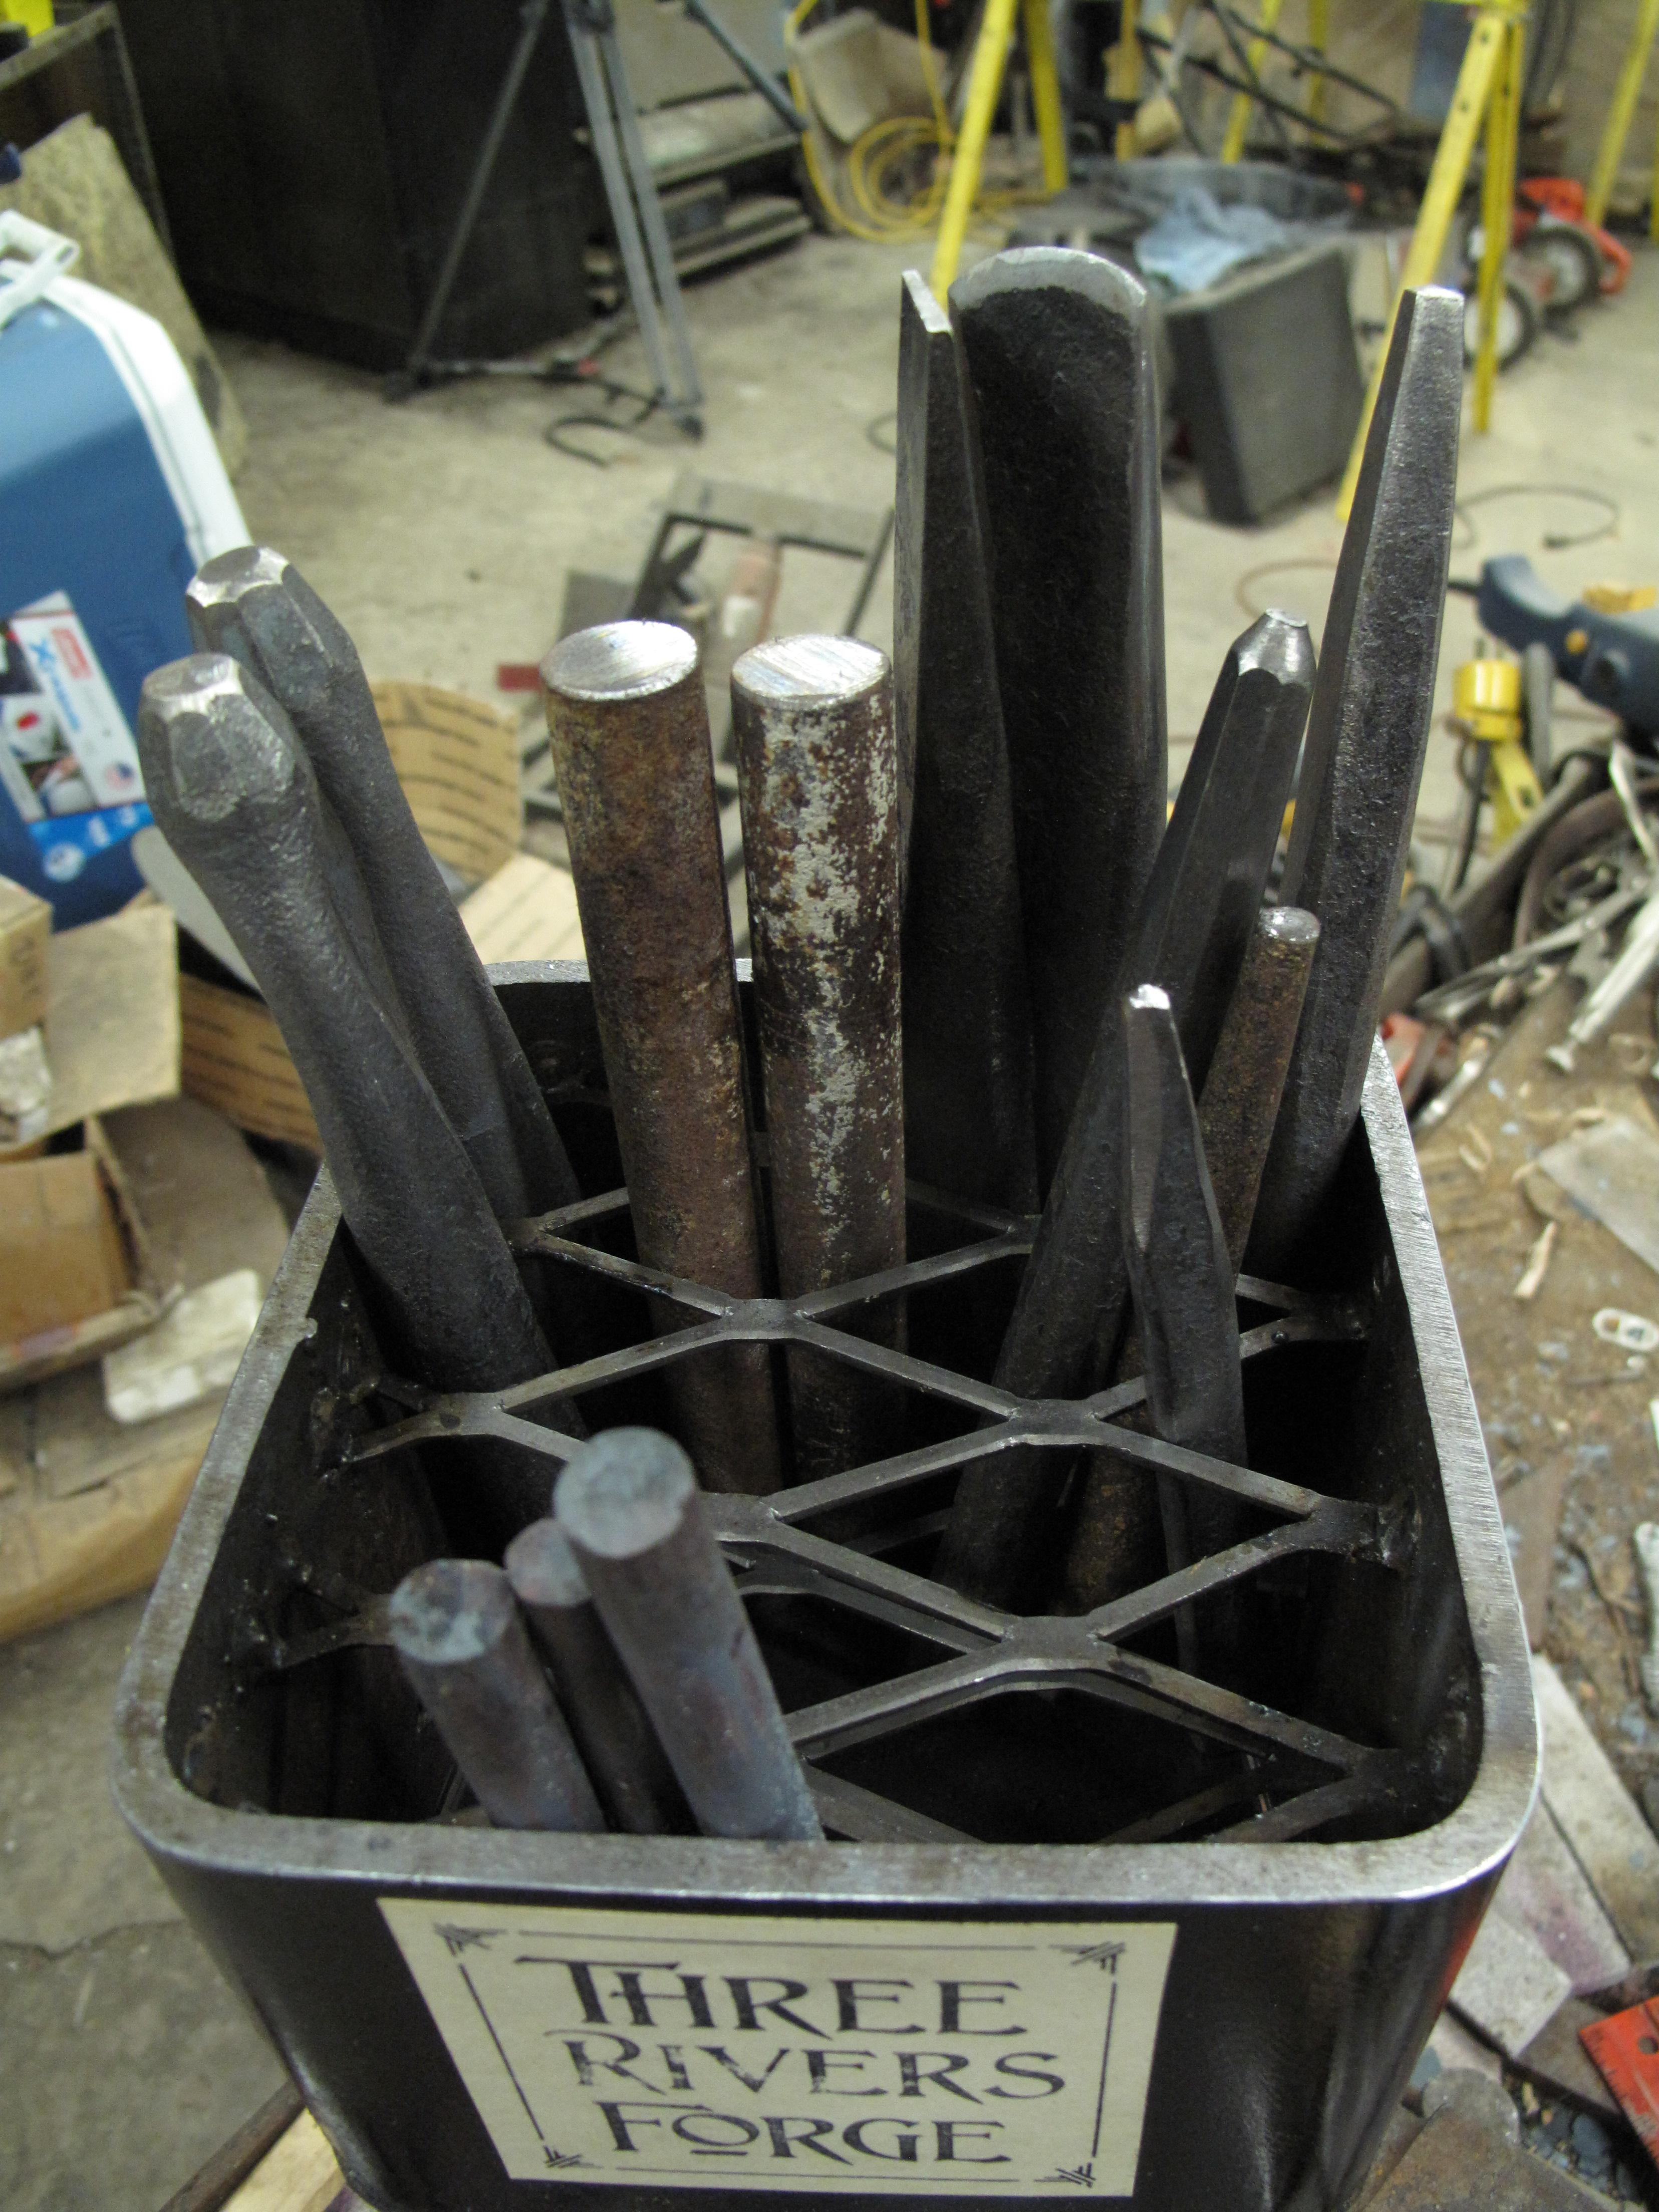
Looks good, and I'm sure you'll refine it or change things up as the days pass and you find what you like the best about it. That's the neat thing about building for yourself! Those vertical legs look a right good place for some tubing to hold your punches. Easy to organize while taking up relatively little space. I get the feeling that you'll want for more rack space soon as you grow your collection, but having a handy catch-all for the tools you're using at the moment is a greater boon than many think. As was mentioned earlier the Pareto Principle is an amazing thing!
-
Surely that's a violation of forum policy? Maybe some NATO Accord or the Geneva Convention? Best get to work on the second one and remember to press "record" on the camera this time!
-
I wouldn't do anything with it. Just set it to the side until you really need it. As you said, you don't have much experience, so focus on building up your tooling, buying tongs, etc. There are a thousands scrolls, collars, s-curves and other things to work on to build up your skills, and they can be combined in a thousand ways to make some really nice stuff that doesn't stretch your abilities to the breaking point. That spring thing will come in handy one day, but there's no hurry to make something out of it just because you have it on hand. Remember, brand new steel is dirt cheap and you can get it in exactly the right size you need for a project. You always come out better starting with new steel that's the right size than "free" steel that needs a ton of shaping, or requires you to change the design to fit that shape. Relax. There's no hurry.
-
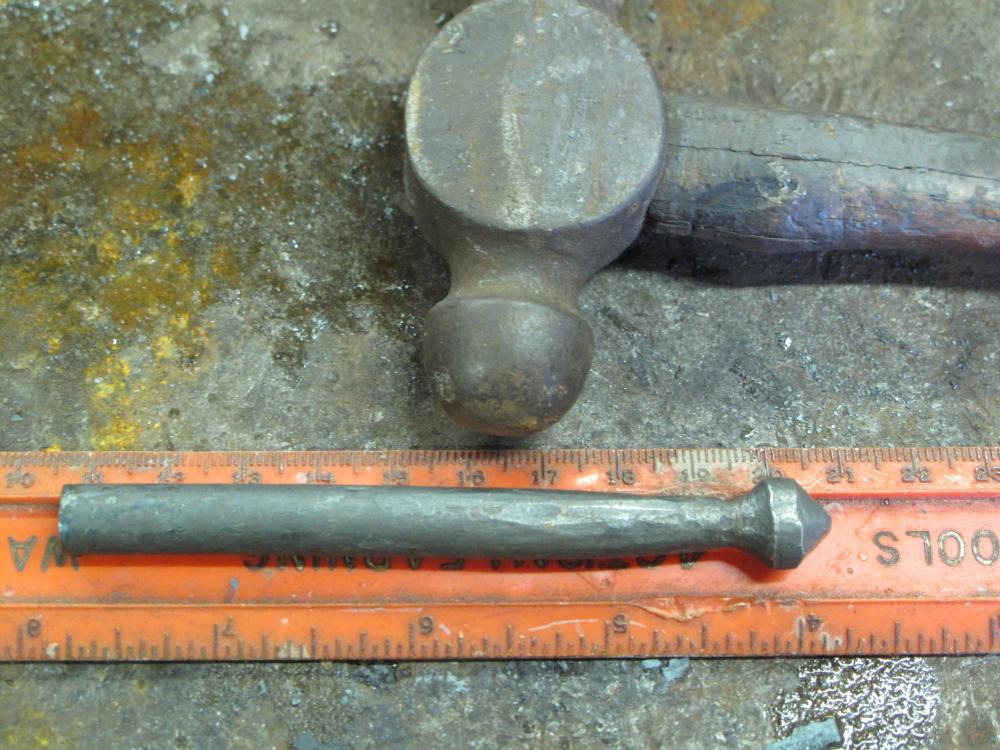
I don't believe they're used for stone work. Those thin edges would be work to nothing in no time flat, even on something like soapstone, and I've never seen those hammers worn even a little bit. I use them all the time for working on steel because they're "ready made" stock for turning into fullers of all sizes. I usually cut some of the struck end off simply because I don't need all that mass for the little work I use them on, but you don't have to do that. Grind the lips off and you have a nice 1/4" fuller. Cut back a bit, and you can make a set of 1/4", 3/8" and 1/2" fullers. Sharpen the edge and you've got a very nice hot cut. Do some forging and you can make them into curved chisels. I have seen them listed as hoop setting hammers used by coopers, but I've never seen a cooper using a handled tool for that, especially one with such a robust design and no curve to the groove that'd better set on the hoop. Seems to me, the straight groove would either leave dings in the hoop or would be worn away by the hoop in short order.
-
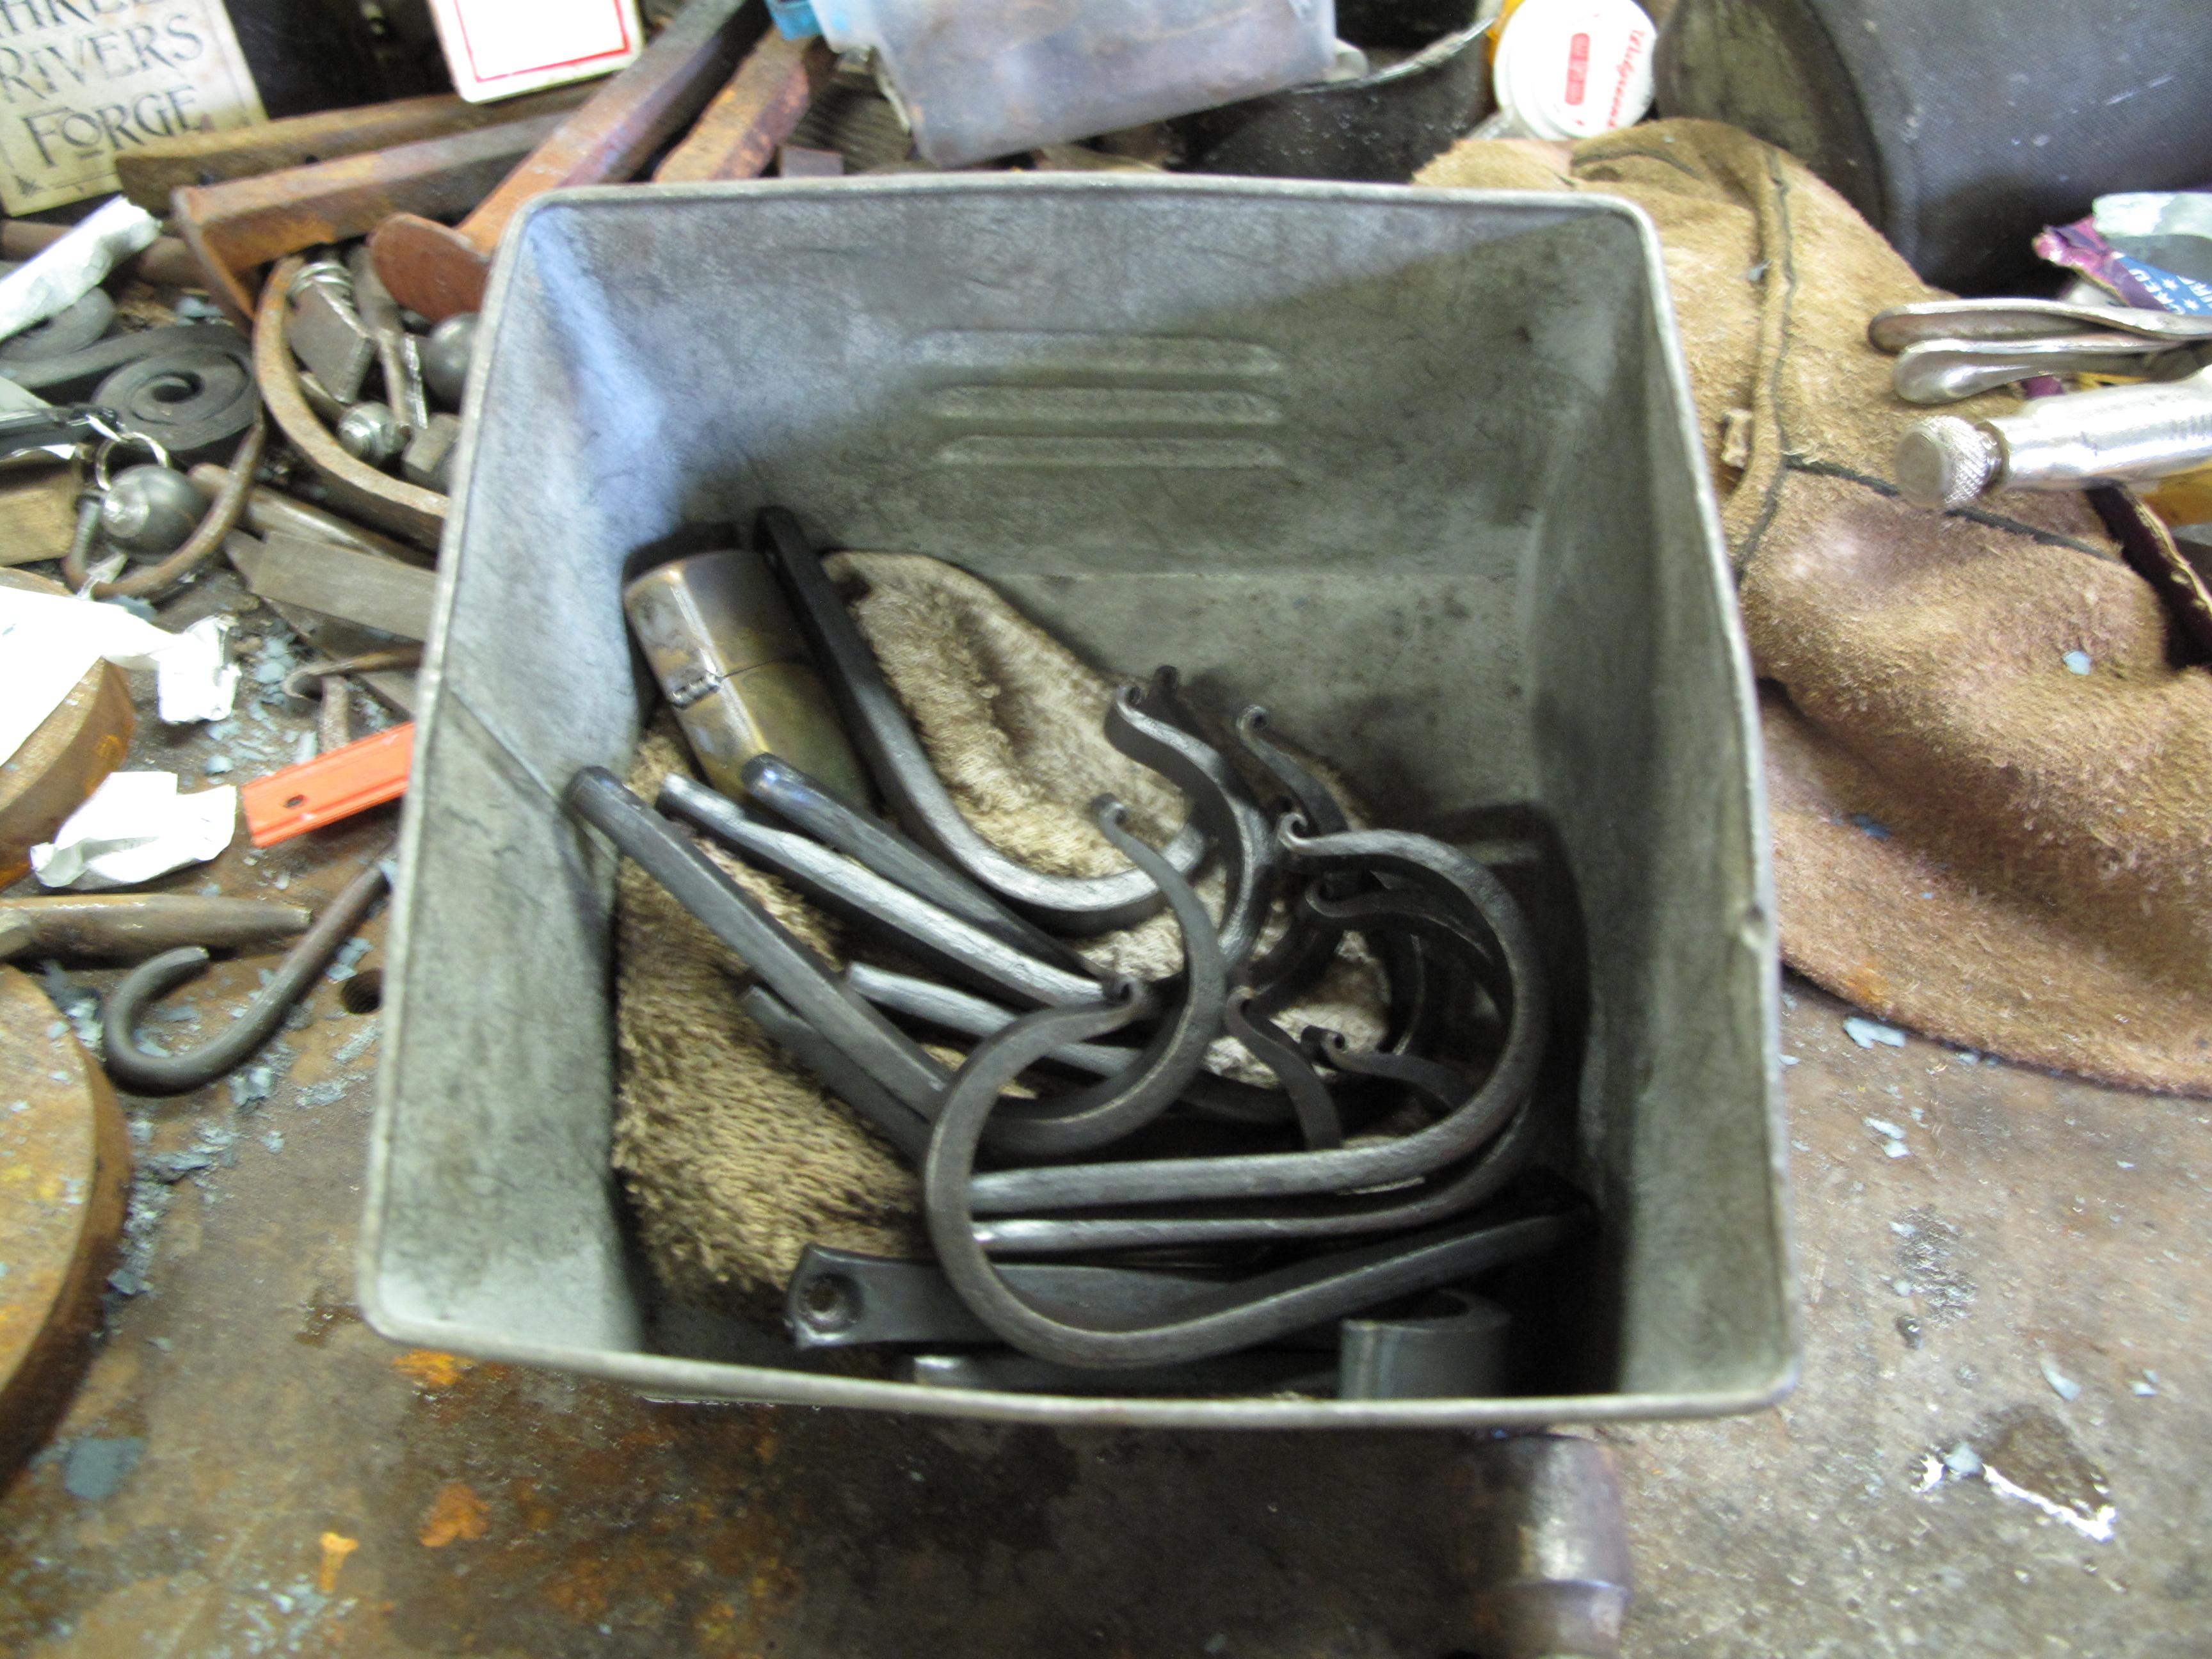
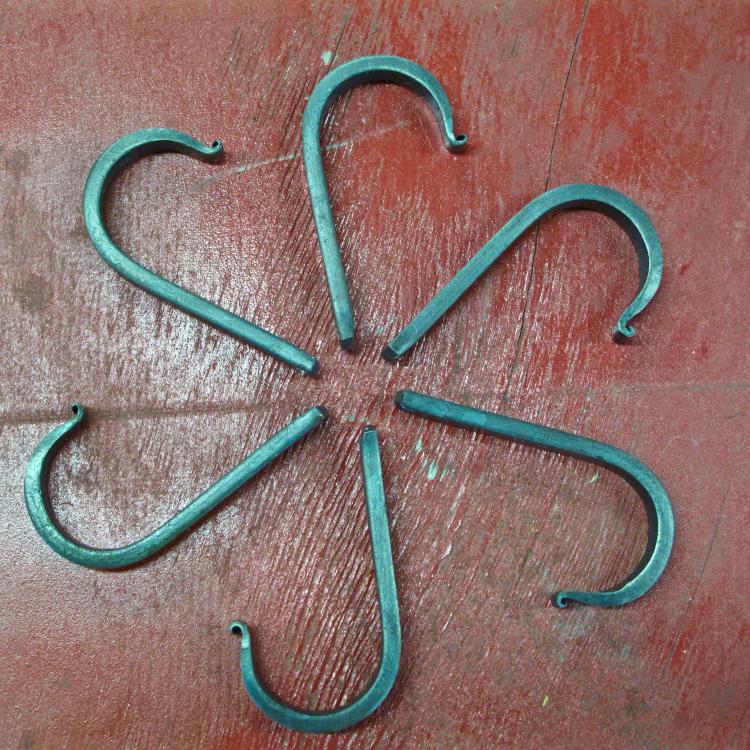
Made a bunch of hooks for some folks, and have more to make over the next few days. And since I was making hooks, I thought I'd do something a little different and make a hook to hang my nice apron on. Picked a bit of 3/8" round out of the scrap bin to tinker with, and ended up having a dickin's of a time deciding were to take the finial. I started out thinking I'd just to a simple ball. Then I thought I'd play around with a diamond. Got to this point... and kind of like the look. If I'd had the time, I would probably have gone full-diamond with it, but there's no saying I can't heat and beat tomorrow! It was definitely fun to get out of the rut I've been in.

-
I haven't messed with the original punch, but he did send me a replacement that seems to be doing the job rather nicely. Looking at that dog, I wonder what the angle of the taper needs to be. Too fat a wedge and I think it'd pop right back out of the hole. Too fine an angle, though, and you might not be able to drive it deep enough to get a good bite. Maybe I'll have to play around with the notion next time I have a short length of 5/8" round left over.....
-
Truly amazing. I'm looking forward to the how-to video.
-
A step back in time, for sure. I'm pretty certain that I've seen similar dogs around, but never knew what exactly they were used for. Beautiful lines on the things and you can tell the smith took pride in the making. I'd assume that all the local smiths had their own special flair they added to set their kit apart from the rest. You can be certain that I'd never make one for someone to trust their life to, and I'm most definitely not going to work as a steeplejack!
-
Metals are pretty easy to sort out. As a beginner, you don't want "free" metal because you don't have a clue what the alloy is and how much it will take to work it into something practical. I use what I call the "dumbness scale". I can mail you a 5-kilo hammer head so you can forge it down into some wire and make nails with it.... but that would be pretty dumb. By the time you forged that huge chunk of steel down into wire to make nails, you'll have burned up hundreds of dollars in time, fuel and effort. Similarly, I can send you a few pounds of nails that you can forge-weld them into a solid block and make into a hammer head. Again, it would be a real dumb idea since you can buy brand new stock big enough to make hammer heads for just pennies. As a beginner smith, especially with kids, it's important to realize your limitations and the limitations of the metal that's handed to you. Having not bashed steel before, you don't want to start out by trying to make knives and axes. This will only frustrate you, so keep things simple and buy new steel that you know the quality of. While the allure of "free" steel is like the Siren's Song, you are better off resisting those dulcet tones.
-
Beautiful anvil. As Frosty noted, be careful with what you try to sink your teeth into. It's really easy to get "free" stuff that takes up far more time, effort and energy than it's worth because it was designed to be worked by machines and not humans. A lot of the alloys out there are absolute nightmares to deal with, especially when you're trying to make a tool that you can use safely. Simple carbon alloys like 5160 and 1095 are a dream to forge, all things relative, and you can do a proper heat treat on them without fancy tools. I'd start with working mild steel in small sections. Make hooks, scrolls, tapers and such until you get the motions down pat. Then branch out into the more complicated stuff. A good book I recommend is Bent Ironwork by Hasluck. Really fun projects that won't get you in over your head, but will give you some solid stuff to try out and a finished product at the end that isn't another bloody hook. Between Dr. Blake's Mysteries and Miss Fisher Murder Mystery, I'm really enjoying some Ozzie cinema of late.
-
Just to update, the maker has sent me a new punch. I'll have to get a picture of it the next time I'm out in the shop, but suffice it to say that's it's far more like what I had originally asked for and seems to be doing a good job at moving into the railroad spikes. As for the old punch, I'm thinking about turning it into a round-nose punch for the other hooks I make. I already have a "round-ish" punch that I use, made from an old welder's hammer, but you can't have too many options. Now all I have to do is decide if I want to forge on this H13 or just throw it in the lathe and turn the thing down. I was hoping to get a 3/8" round nose, but I don't know if I'll be able to use the punch with the shaft so short. Might be easier, actually, because it'd be more stable......
-
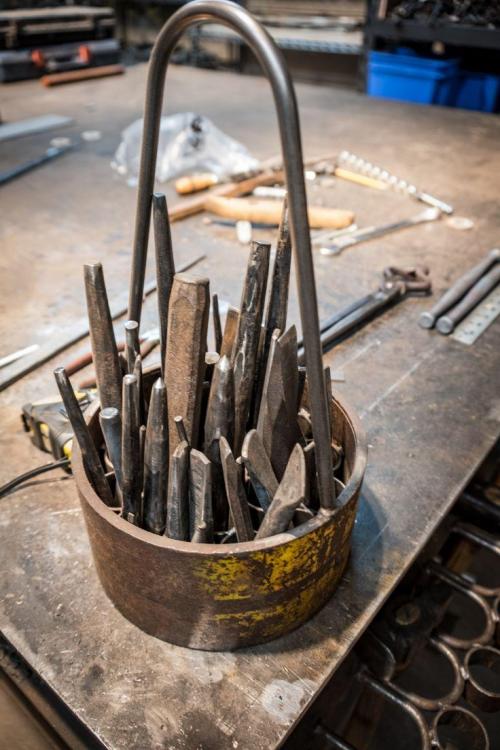
Found this picture online and liked the idea..... So I looked through my scrap pile and made one similar to it. I tacked in two layers of expanded metal, one high and one low, to keep the tools from falling over. I thought about putting the carry handle on it like in the original, but I couldn't see me carrying around this thing when fully loaded with tooling. It's plenty heavy as-is! It's been a great way of keeping my punches and chisels organized and close to the anvil where they'll be used. And because I haven't filled all the slots with finished tools, I keep the blanks there, too, so I know they aren't mild steel off-cuts from some other job. Overall, I give it two thumbs up. A great way to use up some scrap and organize the work area just a little bit, keeping my most-used things close to hand and easy to find.

-
If anyone is interested? That's a silly question! What you need to do is compile everything from this adventure and your past ones.... then make us a nice coffee table book that we can all buy. I'd likely buy two copies just so I can keep on in a wrapper safely tucked away.
-
The "26" is in a weird location, and I think it was probably something put there by the end user. Maybe to denote the work station in a row of anvils like seen in old pics of blacksmithing schools. Quality looks fantastic. The edges are great and the horn isn't beat up, so you're looking at an anvil that will fetch top dollar on the market. That it comes with a factory stand and thous nice hold-down brackets/bolts is extra, but I wouldn't break up the set just to get rid of the anvil at a lower price. Combined, considering the size, I'd say that $1000 would be more than fair. Consider $2/lb as the low end of acceptable. Buying a brand new anvil in that weight range will set you back two grand, at least, and you don't get a nice stand to go with it. The downside, though, is that there aren't a lot of people necessarily looking for a 300# anvil/stand, and even fewer will have a grand or more to pony up. That makes it tough to sell larger anvils, but I think you'd be best served by waiting for the right buyer to come along. To maximize the sexiness when you're advertising, good pictures are a must. I'd pull the whole thing out of the detritus, get it up on some blocks or timbers so the base isn't in the mud, and give it a going over with a wire wheel to remove as much of the paint and rust as you can. Then give it a nice coat of oil/wax to prevent new rust from forming. This will make it as pretty as possible, but also expose any damage or flaws that might be hidden under the paint. There are plenty of buyers who shy away from painted anvils just because you can't see the damage/repairs that the paint might be hiding. I've always wanted an anvil/stand combo like that.
-
There's a hundred ways to mount a beauty like that. Just be sure to make a mounting bracket worthy of such a lass.
-
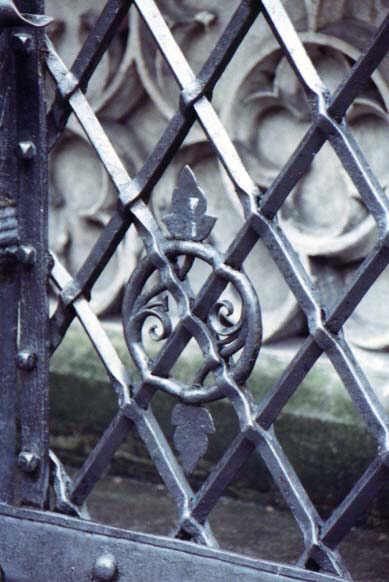
Had to check the link to see more of this splendid bit of work..... and found this doozy --- Just because doing a ring pierced with bars, or bars pierced with a ring, wasn't hard enough.... how about we do an intricate forge-weld with a couple of leaves and have them do a little piercing of their own! :O "Wow!" doesn't seem like it's enough of an expletive. And to think that the ring and leaves would have had to be done when attached to the rest of the panel. How do you plan that? Where do you start? It kinda makes you want to laugh when you think that this level of work really wasn't that difficult for the smiths of the time. It's not like this is was an unheard of thing to do and there are countless examples of similar details in other places. Today, we marvel at it, but for them it was probably just another week's work.
-
Knapping is one of those skills that is measured in literal tonnage -- because it takes access to tons of raw material to get even remotely good at it. If you're interested in the scientific ramifications of knapping and just how deep the rabbit hole can get, I highly highly highly recommend a book called "Making Silent Stones Speak" by Toth and Schick. Really amazing stuff to think about. Years ago, when I was doing primitive skills more regularly, I tried to get decent at knapping, but the stone around my corner of SC is decidedly lacking. Rare at the best of times, and usually plenty well frost-fractured if you do manage to find it. One thing that I always thought was weird was how the stone could be made a lot better just by cooking it. You'd think that stone was stone and putting it in the fire wouldn't make any difference, but there it is. No idea what's going on, but I know a lot of knappers who prefer to slab off large pieces and cook them before going any further. If I lived nearer a good source of stone, I'd love to get back into the groove. Last go I had at it, I was still able to knock out a functional hand axe if the stone cooperated with me.
-
That heavy iron is gorgeous. I'd gladly accept any of it should you decide to mail some my way. I'll even send more nails!
-
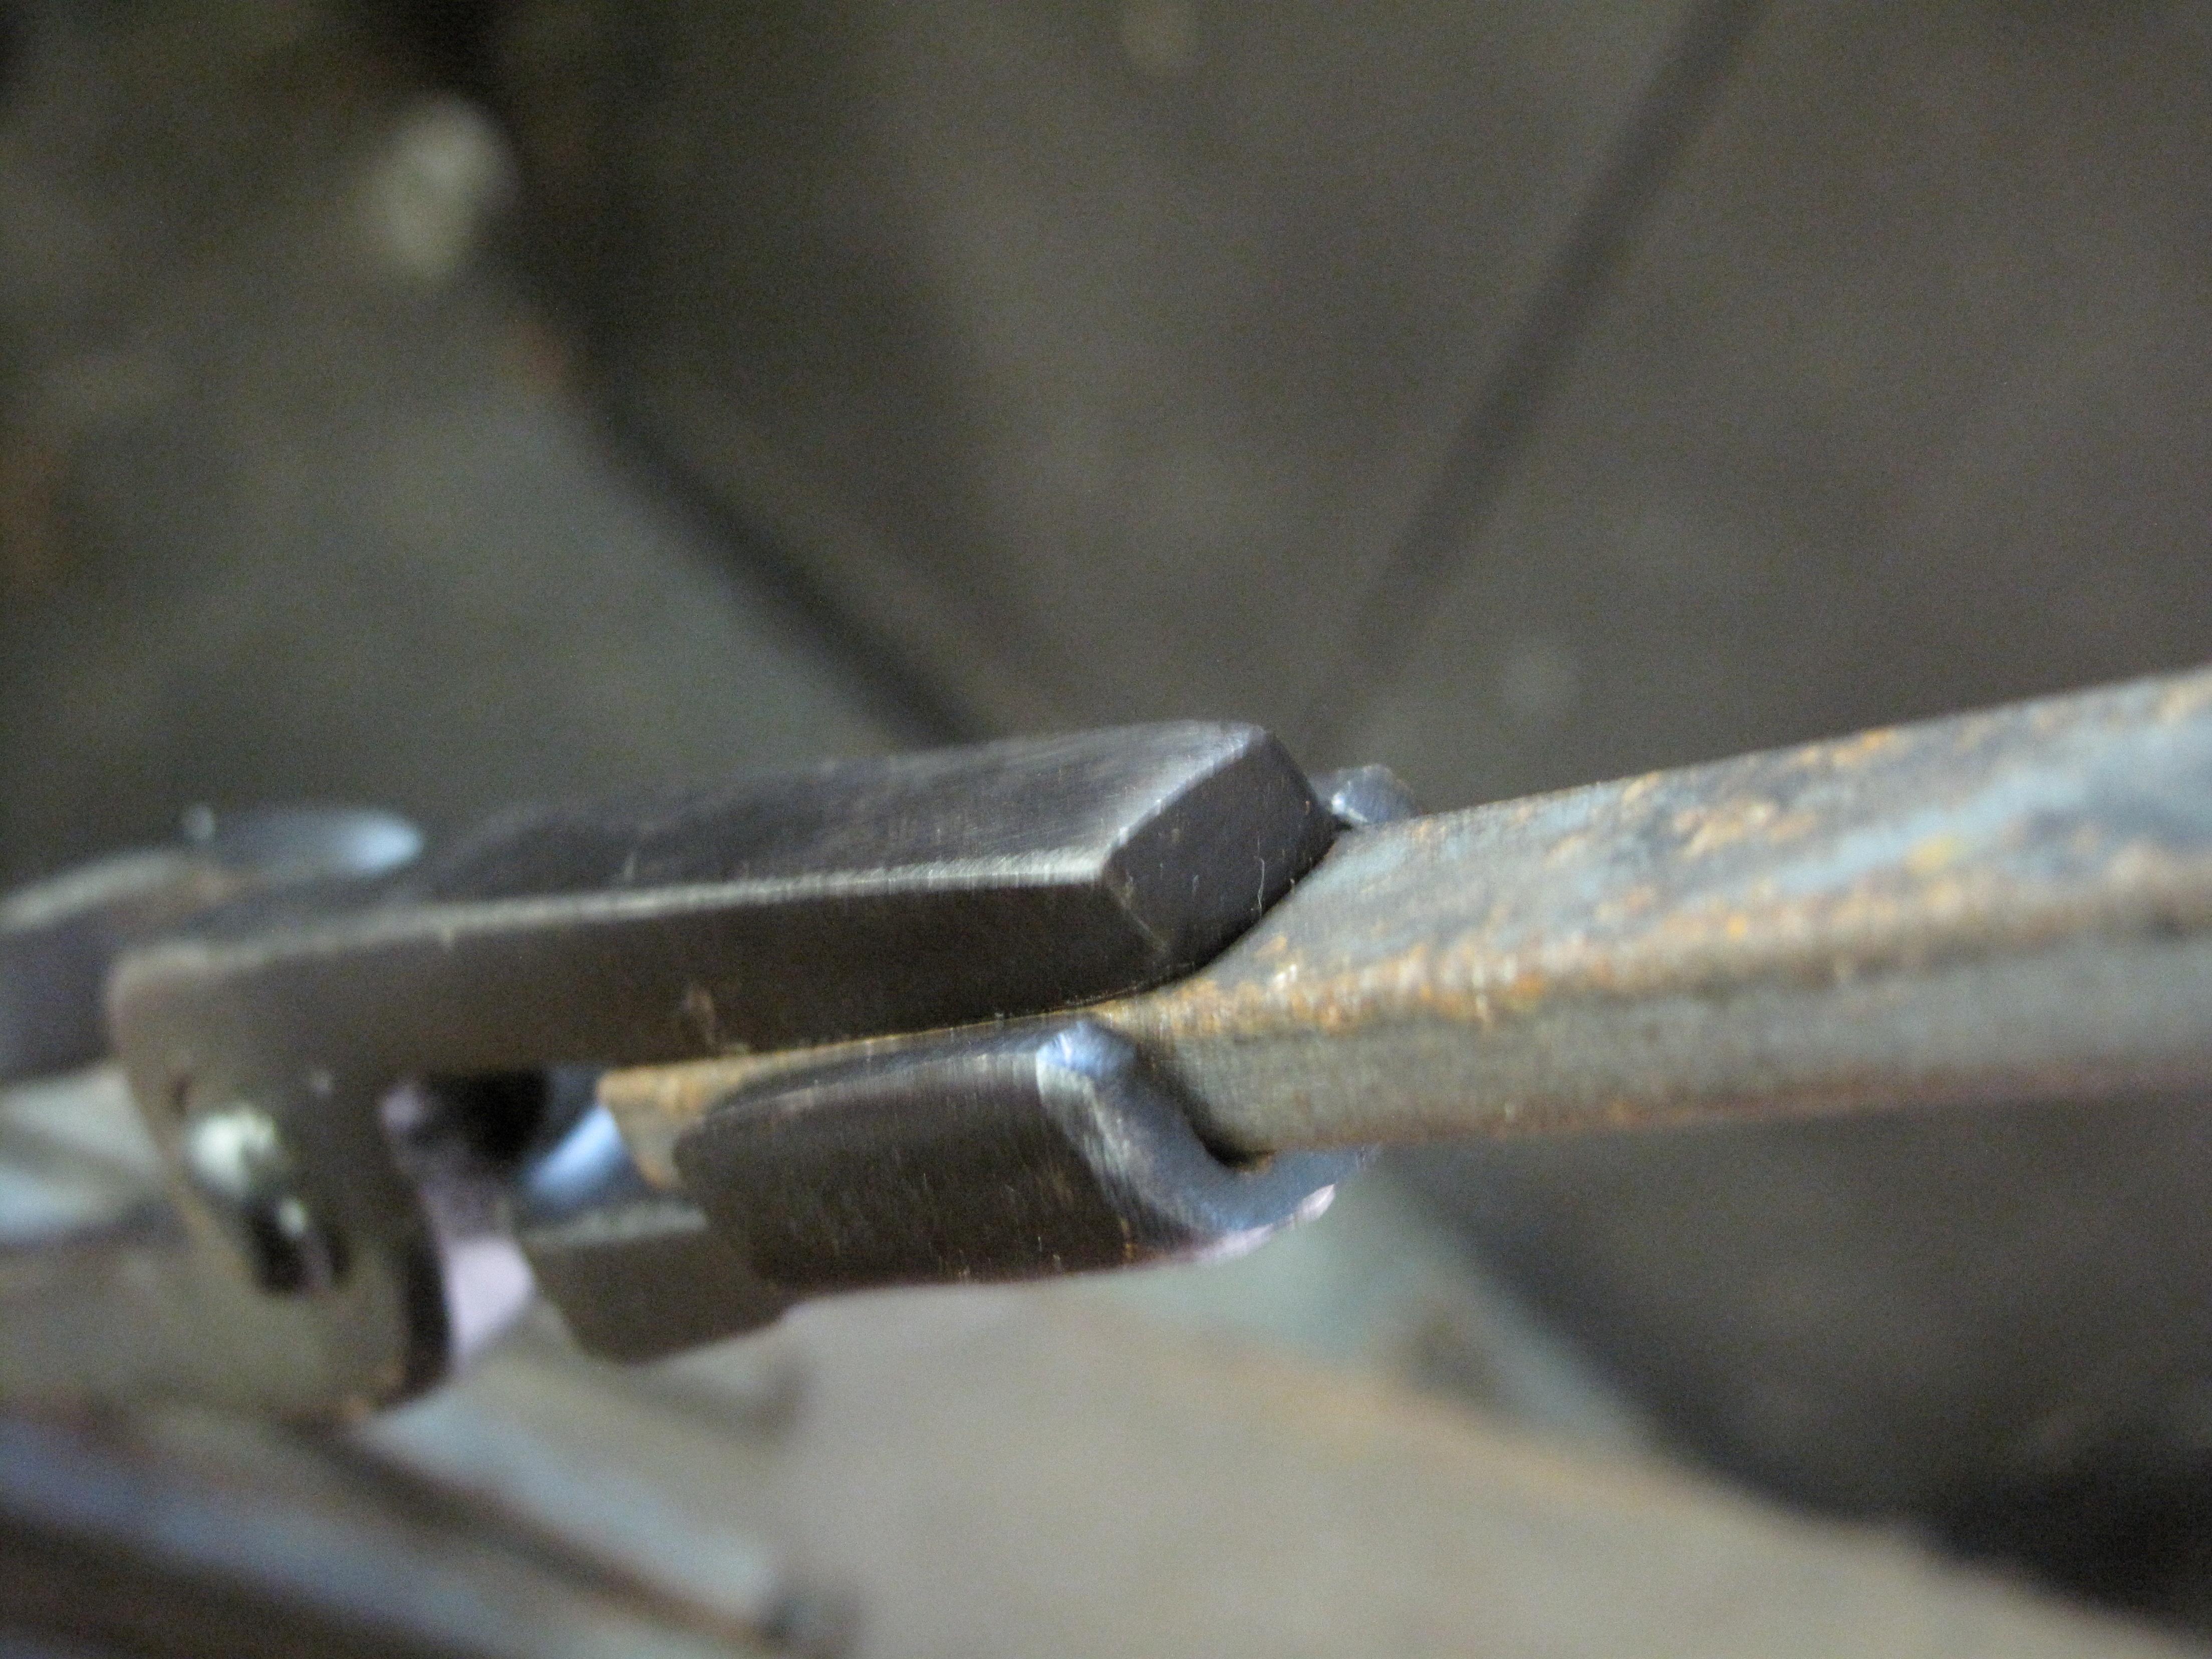
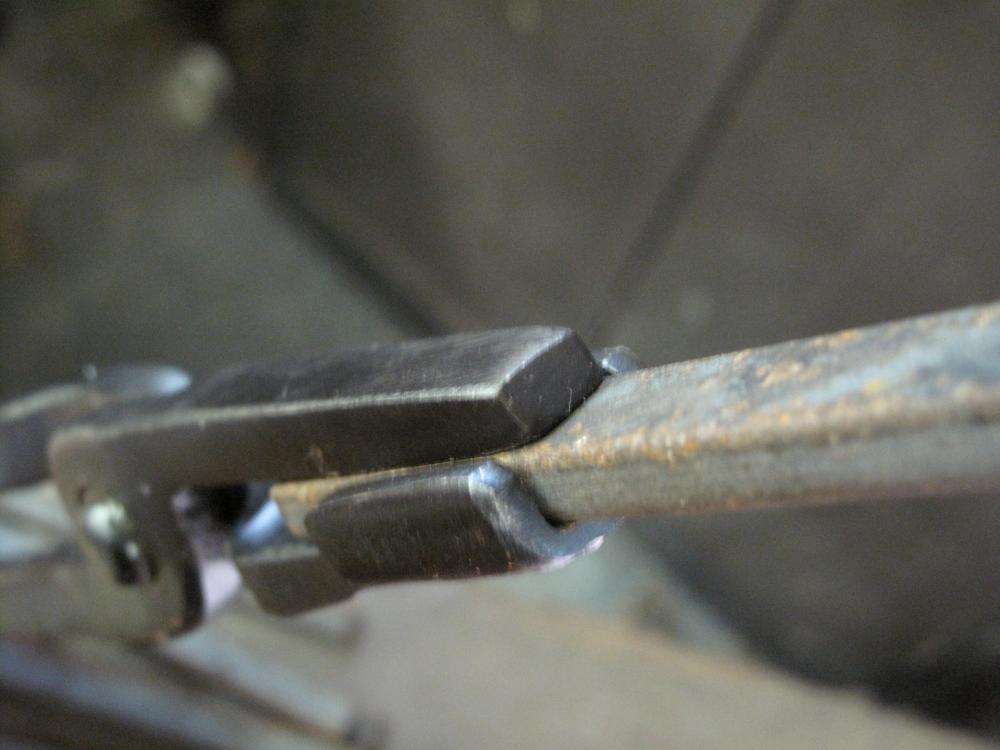
Sold my Habermann hammer and a bickern to a local guy, as well as had a two-hour chat with a fellow smithing enthusiast. Also got to try out my new H13 punch for making divots in the spike hooks I make. Rather fortuitous timing since I had five to make for a fellow down in Australia! The punch gizmo worked pretty dang well, but I think I'm still going to need to drill pilot holes. No matter what I tried, the divots came out more to one side than the other, curving the end of the spike. Not a huge problem for me, but I can see the aesthetics being a bit off-putting to others when there's a few of them in a row and they all look somewhat wonky. Still, the H13 won't erode nearly as fast as my coil spring punch, so that's a win!
-
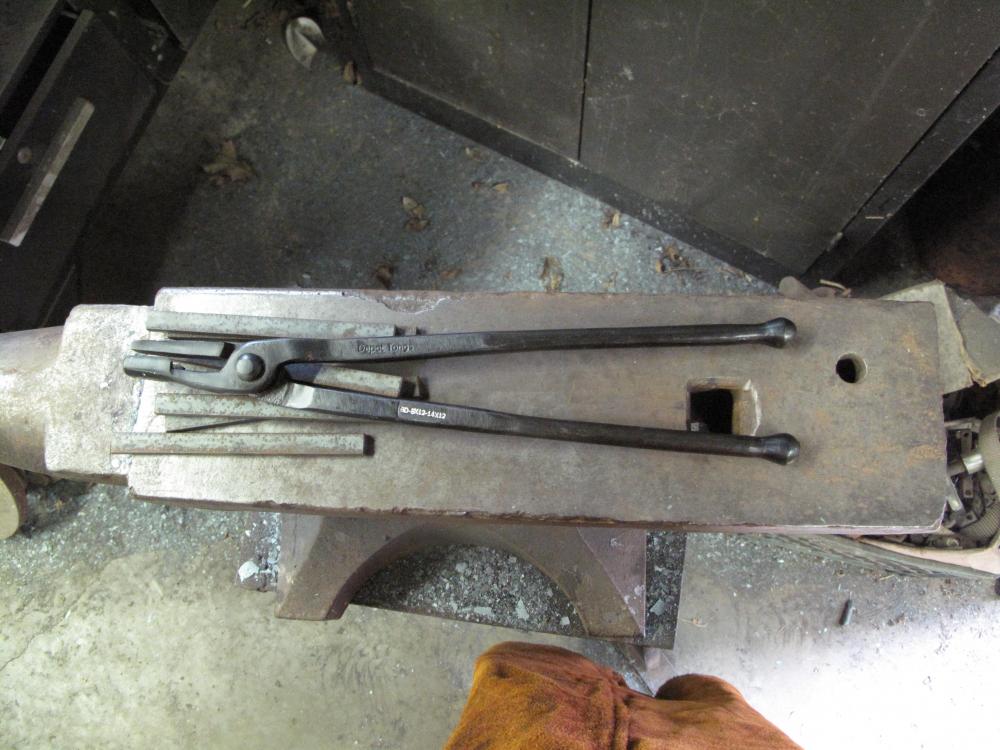
I made one ages ago, then lost it in the mess. I like how he bent the leg so it wraps around the jaw to keep the whole thing from sliding. That's one little trick that I never thought of. I would cuss for hours as I was always tightening the vise down to hold things, having to reposition constantly...... Just goes to show you're never too old to learn a new trick!
-
Happy Independence Day, folks! Here's to another year of American Awesomeness!!
-
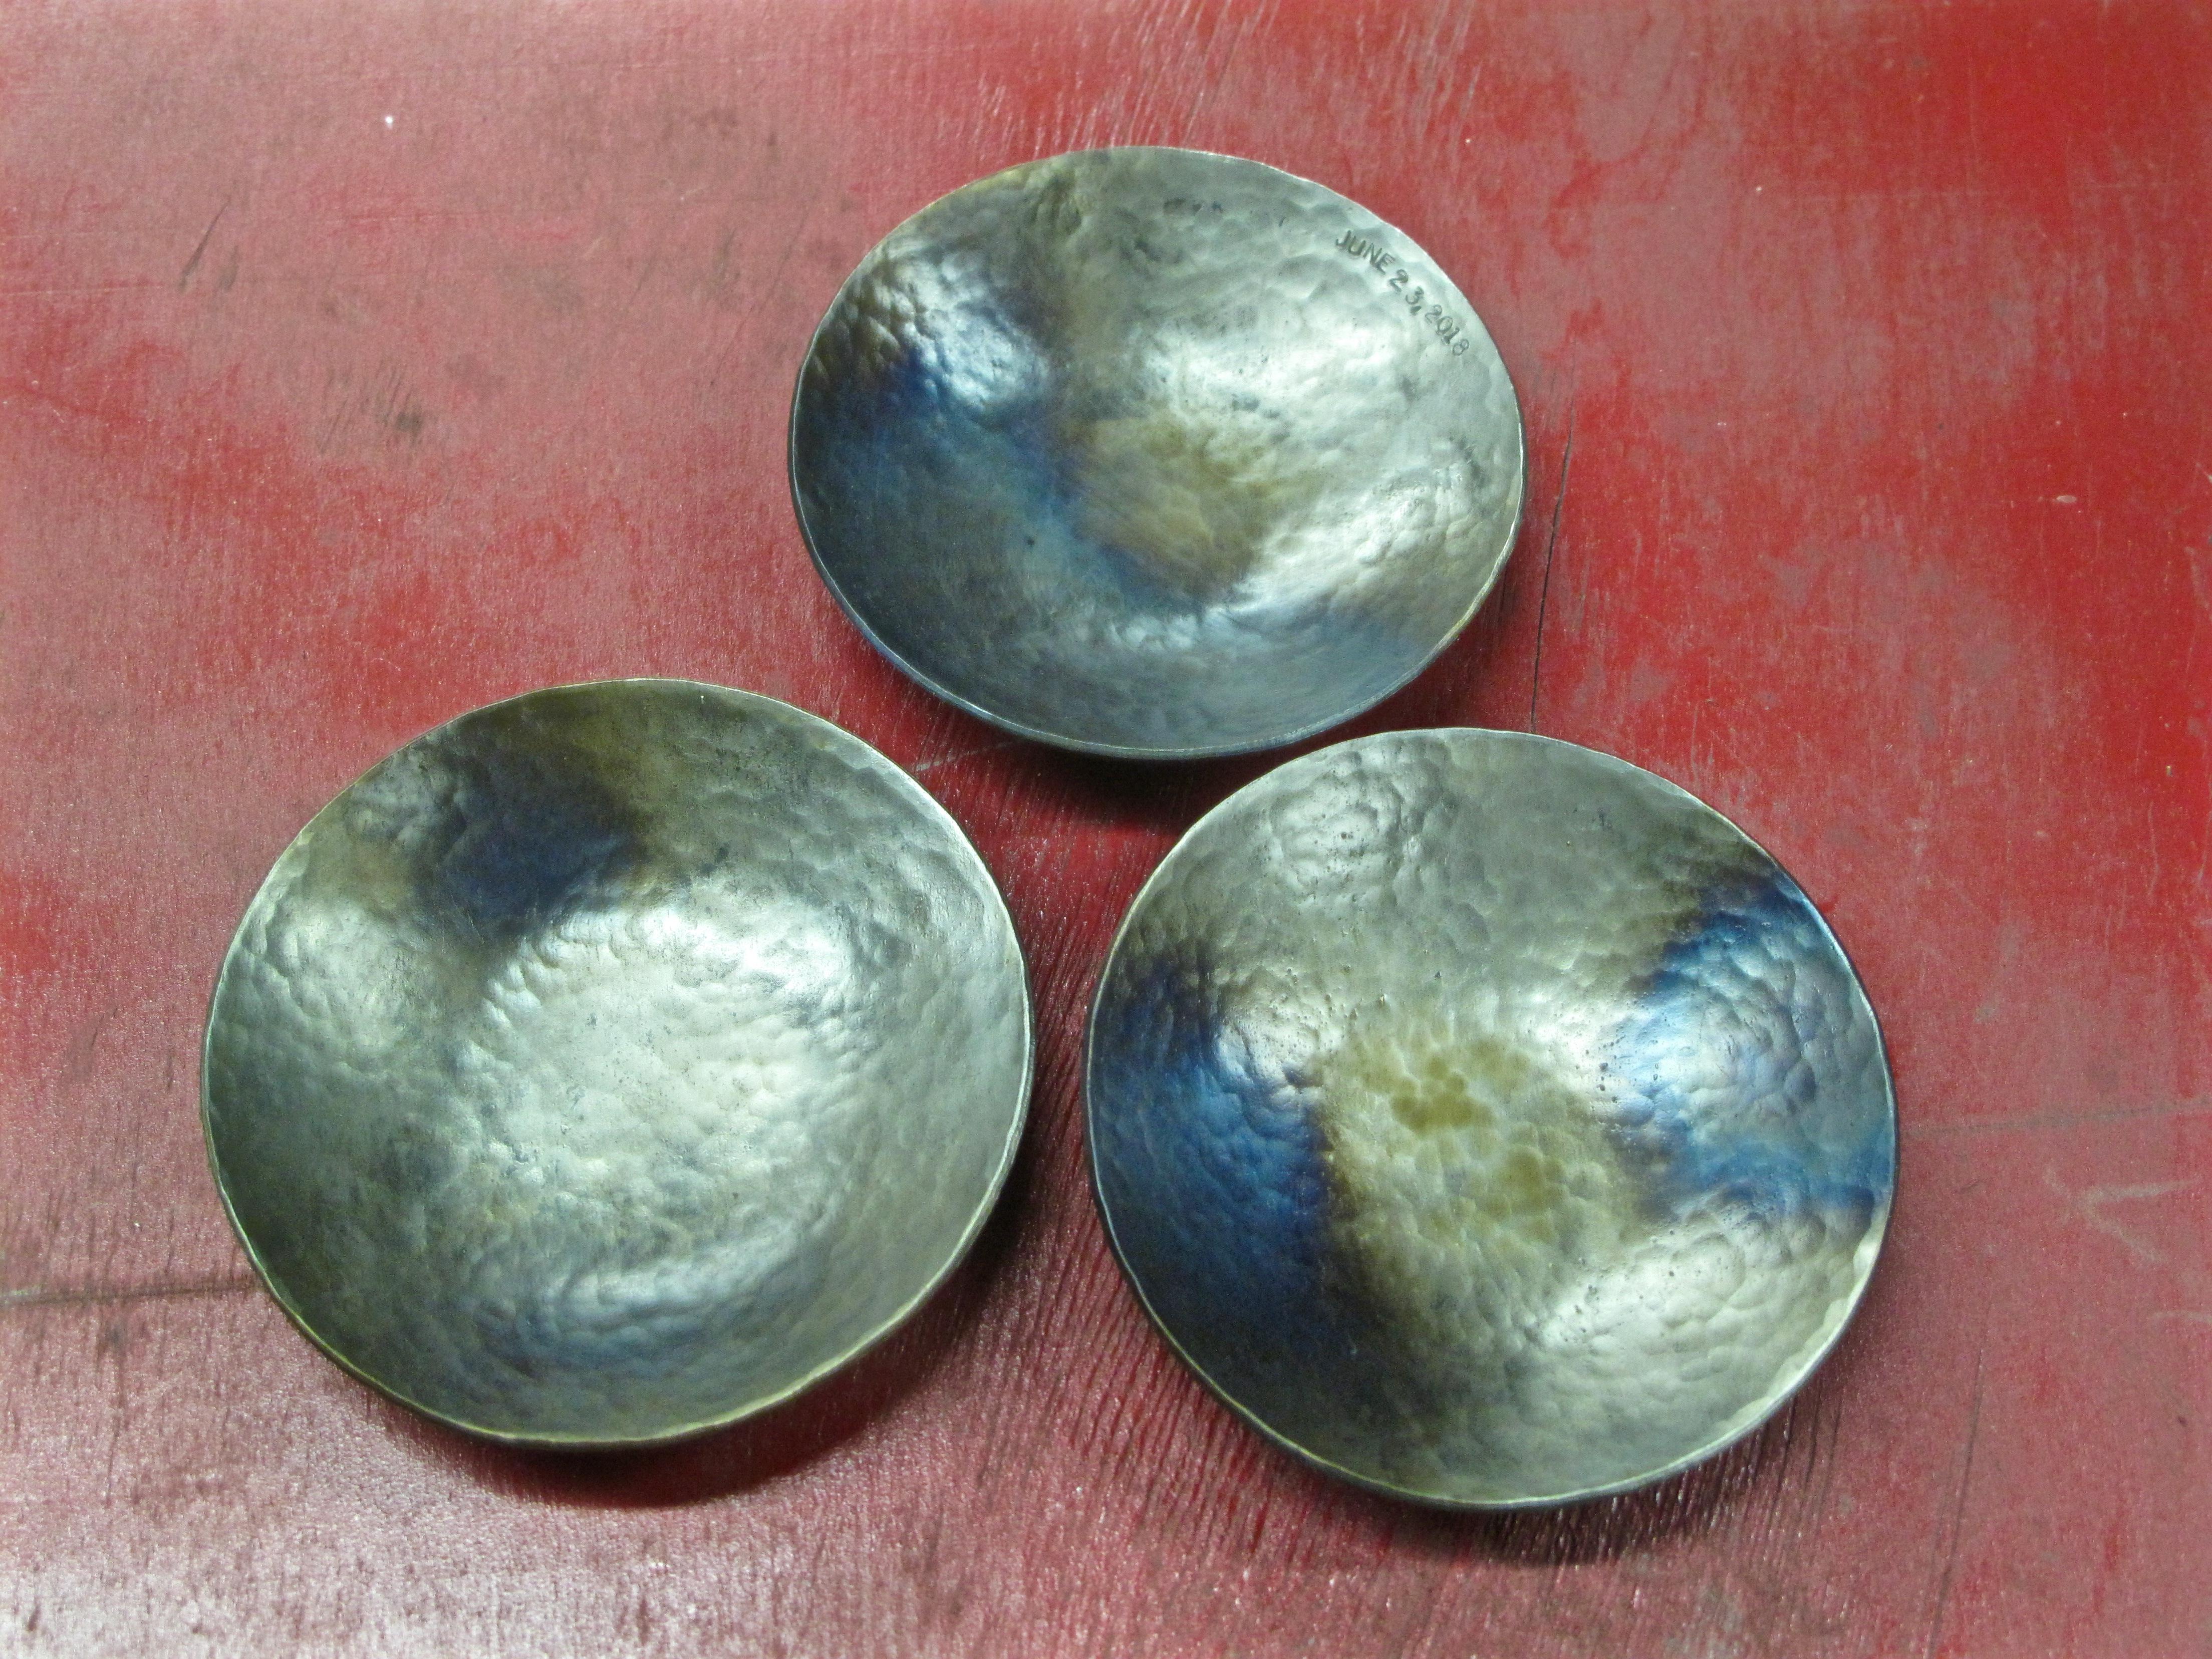
Got three small dishes made up, as well as a bunch of hooks. Next on the list.... the tool cart!

-
Got to test out a new pair of tongs -- there's nothing so nice as forging steel held securely! And as soon as the sun goes down, I'll be right back at it. Got some dishes to hammer out, and a whole bunch more hooks!
-
One divot in a 5/8" spike.... there's not enough heat to even begin to warm up the punch. Plus, the bend in the shank begins back at the juncture with the main body, not the little bit that was actually in contact with the orange-hot steel. Was the price "highway robbery"? Well, small businesses often have to charge more than the big companies. I looked around at all the similar punches from the big supply places, and nobody was offering what I was looking for. I could have bought something and then ground the end to my needs, but I opted to go with a small maker. I was specifically interested in the design because it worked with my tongs. I didn't have any 1" bar that I could have made into a punch, and I still don't have any H13 to try out. Since this guy had everything.... seemed like a good idea. Lesson learned, obviously. The punch I ordered was bullet-shaped and wouldn't have been able to bend. Why he changed the design and sent me this is beyond my imagining, but that's where we're at. Hopefully, he's not forgotten me and my replacement punch is on the way. Hopefully.
-
No worries, friend. If you ever do give a try at a punch like this, let me know. I seem to be in need....