VaughnT
Members
-
Joined
-
Last visited
Everything posted by VaughnT
-
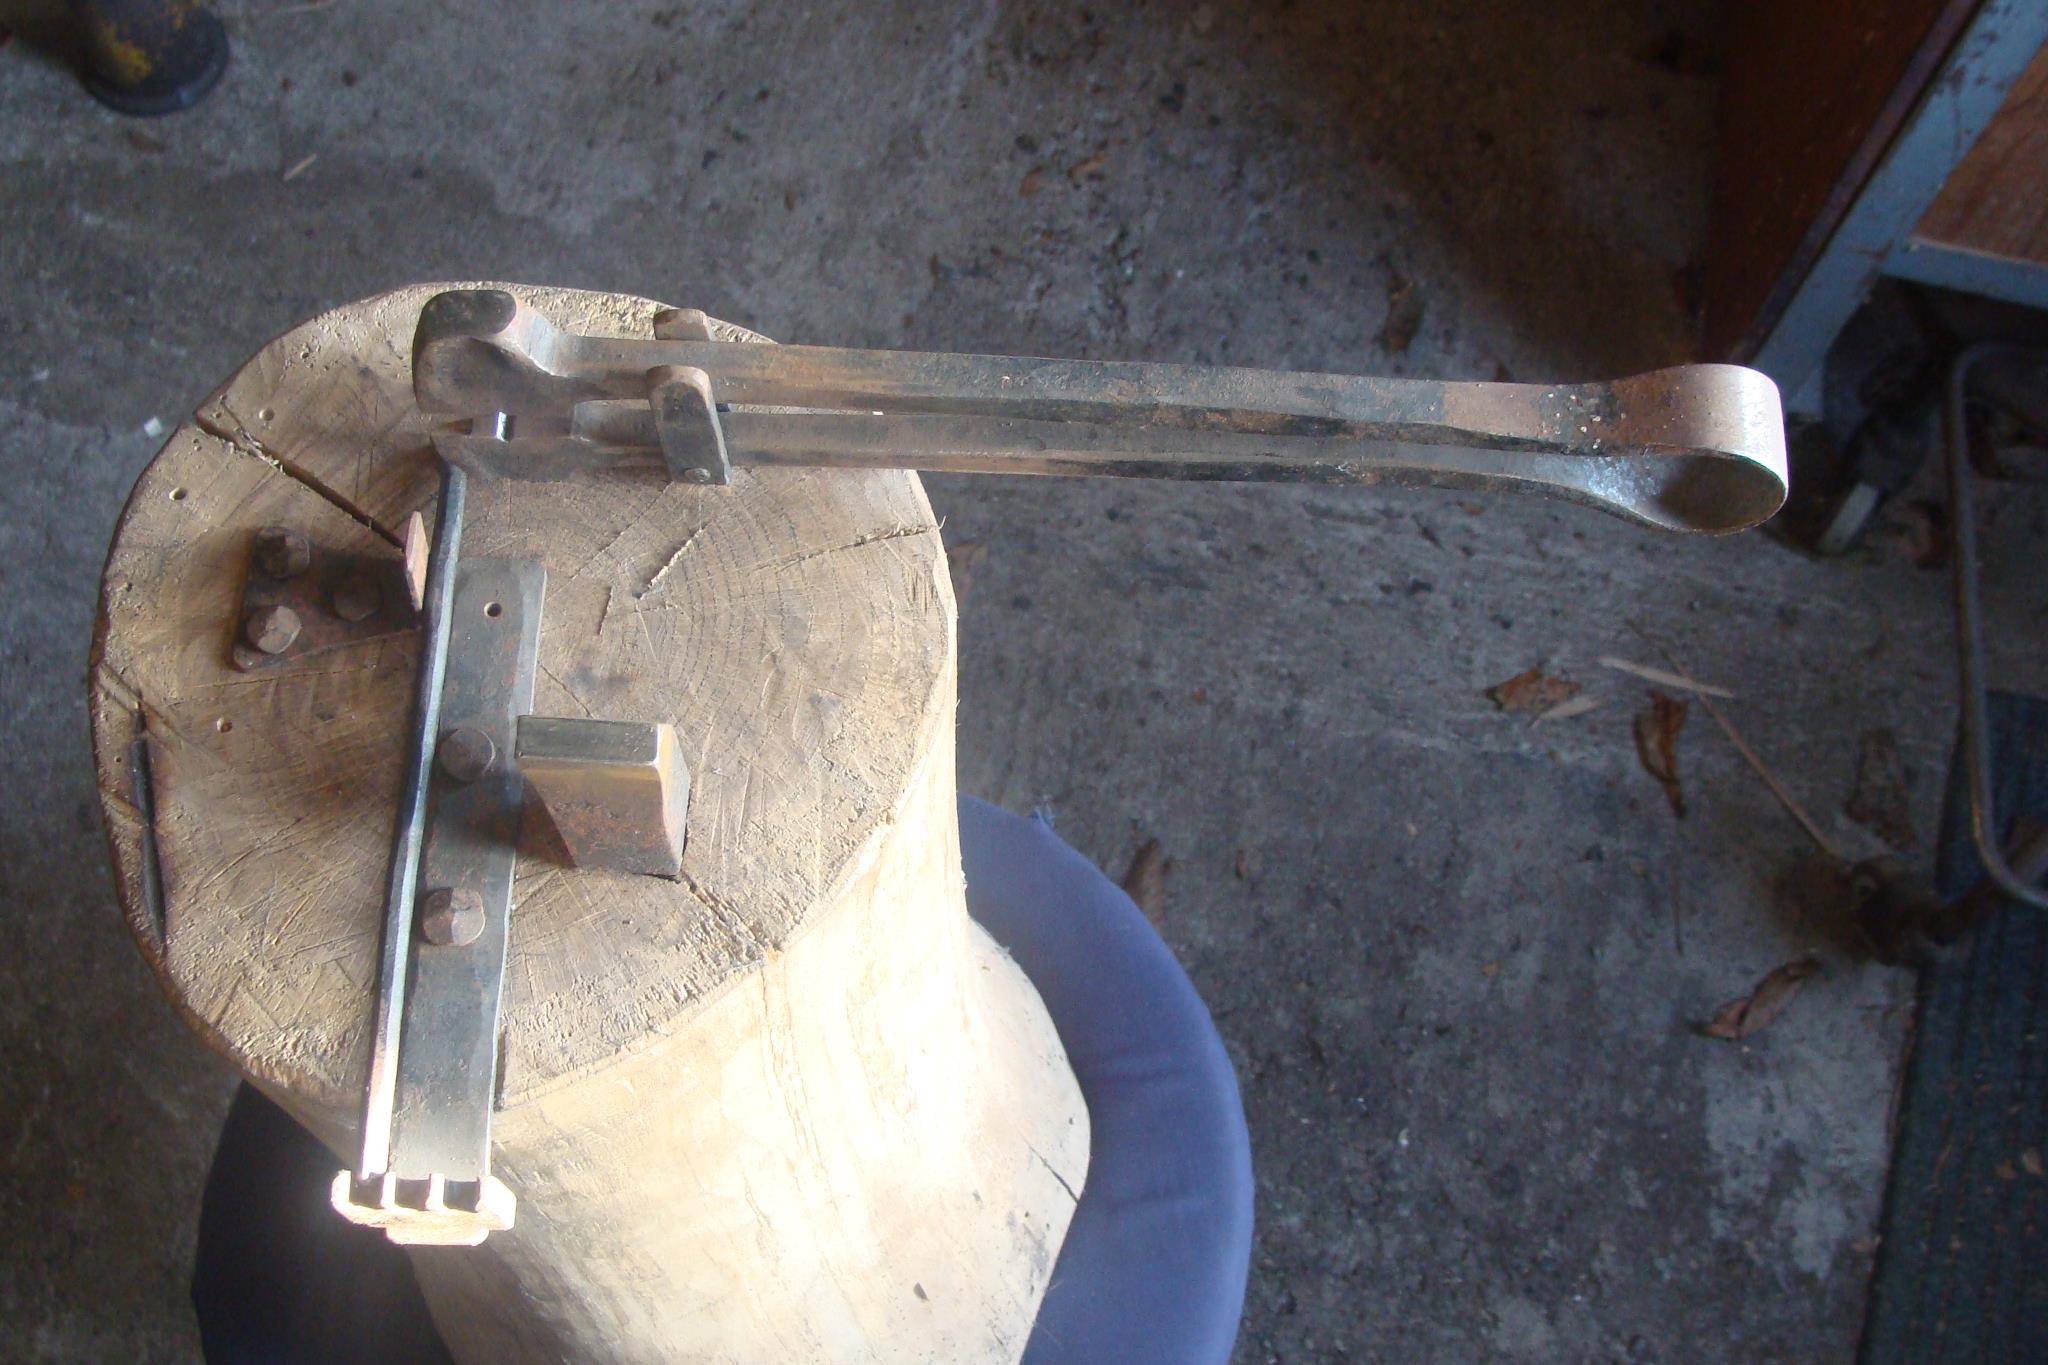
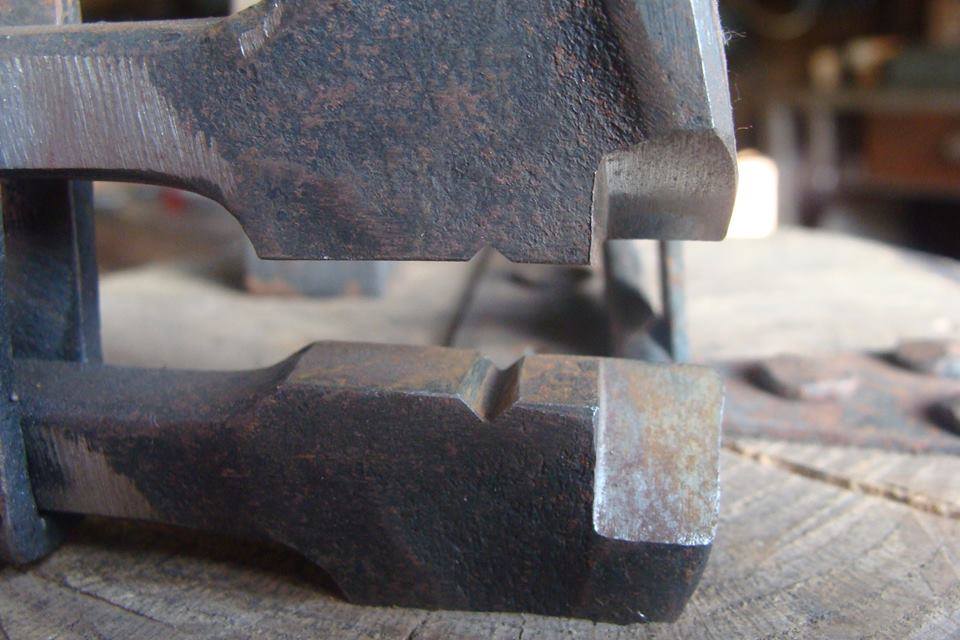
You make a good point about the mass still being there. A bit of weld wouldn't hurt, I think, and it would make it easy to keep the thickness and lines looking right. A cold shut is where the metal has collapsed and covered over a void. Since this one isn't closed up, it's not a cold shut yet. I don't see it becoming one unless more hammering is done, but that would also ruin the lines of the piece, reducing the corner below parent stock thickness. It's threatening to become one, but it's not there yet.
-
As it is, it shouldn't form a cold shut because you won't be working the corner down anymore if you want to maintain parent thickness through the corner. If you want, you can get in there with a round file and clean up the corner, minimizing or eliminating the divot caused by the center punch. That's never a bad idea simply because it, well, cleans up the corner and makes everything look nice. Considering how little work log tongs actually get, I wouldn't be worried at all about the divot being a weak point. You'll likely use the tongs a few times, relatively, every year even if you're burning wood constantly for heat. The steel should be plenty strong even with that little ding in the corner. Or, just use really small logs.
-
An "as new" anvil is worth a pretty penny, in my estimation. Even if it's been welded up, that doesn't mean it's been welded poorly. Without seeing it in person, I'll operate under the assumption that it's simply "as new". That being the case, buy it and feel good about yourself. I've got an old Queens Dudley here and it's a good anvil. They're loud as can be, ringing like a church bell if you don't bed then in caulk. But they are certainly good anvils. The small size makes them easy to move and they always have a high resale value. Wait a year and you can easily sell it for $500, which means you'll only have paid $100 in the grand scheme of things. Light anvils do best with a heavy stand and I'd be inclined to replace all that wood with some steel when time and money allowed. Firmly attached to a heavy stand, a light anvil will perform like a much heavier anvil. If it's close enough to pick up, pick it up! She's not going to devalue over the years unless you beat her to a pulp. There's no annual maintenance costs and no odometer for future owners to pick at. The six bills you shell out today can be recouped in a couple years if you decide to sell her and move on to greener pastures.
-
I never recommend making your own rivets unless you need something specific and need it "right now". Otherwise, the proper rivet is already mass-produced and dirt cheap -- so why not stock up on a few dozen just to have around? To support the head while you're peening the other end, you need to make a header block and top tool. These are really simple to make so no problems there.
-
Do a burn test on one with a lighter to see if they're 100% cotton or a cotton/nylon blend. If the stuff melts rather than chars, you know it has a plastic in it. Either way, they are great for cleaning guns. I have one that's saturated with RIG from Brownell's. I keep it in a ziplock bag and bring it out whenever I need to wipe down a weapon for storage, etc. General-purpose cleaning and finishing on wood -- they'd be great!
-
One part forging, one part welding..... I still have to forge the one end out to make a loop for hanging, but I'm pretty happy with it as it stands. Started with a 22" length of 1/2" square bar for the center piece and 3" lengths for the barbs. Spaced the barbs off with pieces of scrap so I'd be close to where I needed when I was all done. Welded it up and then hit the welds with the grinder. I forgot to measure things once I'd rounded off the handles, but I probably only stretched it an inch, if that. The forging was minimal and just to make the handles more comfortable. I might do more later, taking them to full round when I hammer in the loop... Overall, it was a fun project. Doing a few test pieces, I think I'll be very happy to replace the adjustable wrenches I have been twisting with!
-
Looks really nice. Now you've got me wanting to make a slotted monkey tool! All of Mark Aspery's books are worth their weight in gold. So much knowledge packed into a relatively small space!
-
Very sweet! Looks like mine. If there's one thing I'd highly recommend it'd be to through-drill all those holes with an undersized bit. The pegs can rest on the shoulder you create inside the hole. Not doing so will mean the holes fill up with scale really quick. Heck, even a vacuum doesn't want to pull the scale out of the smaller holes, I've found, so I'm always taking the thing off it's stand, flipping it upside down, and tapping it on the ground to knock the holes free. And that's good for just one use. As soon as you start making hooks on the thing, the holes clog right back up with scale and you've got to dismantle it again. So aggravating! As soon as I can get a mag drill, I'm going over the whole thing and running a 3/8" (?) bit through the 1/2" holes. No idea what I'll do for the smaller ones, but something's gotta give as I'm tired of cleaning the blasted holes out every time I want to switch to a new position.
-
I think it's a good illustration of a writer passing on "knowledge" about something they know nothing about. I've worked on a lot of light anvils that had plenty of vibration in them.... and never saw that the vibration kept the scale from building up on the face. As noisy as a wrought iron anvil is, I want mine bedded in silicone caulk to deaden the sound. No way I'm working on one that's ringing like a church bell! Thankfully, those days are long gone as I'm the proud owner of a 300# Fisher anvil and get to work in true bliss!
-
Large ammo cans are great for oil quench tanks. I prefer the 30mm/rocket cans because they're low to the ground and have a good amount of capacity. I don't do swords so there's no need for a tall tank like you see in most of the videos. If you want to keep your O2 cylinder, you can always build a small stand for it so you don't have to worry about it tipping over. Put it on wheels and you can move it out of the way when you don't need it.
-
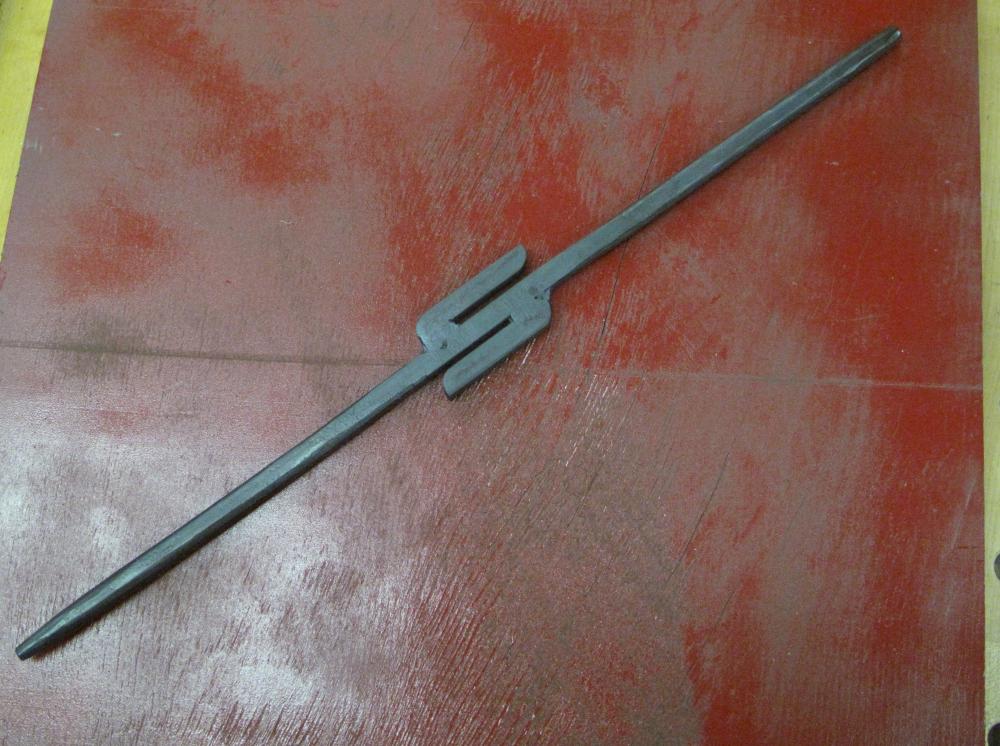
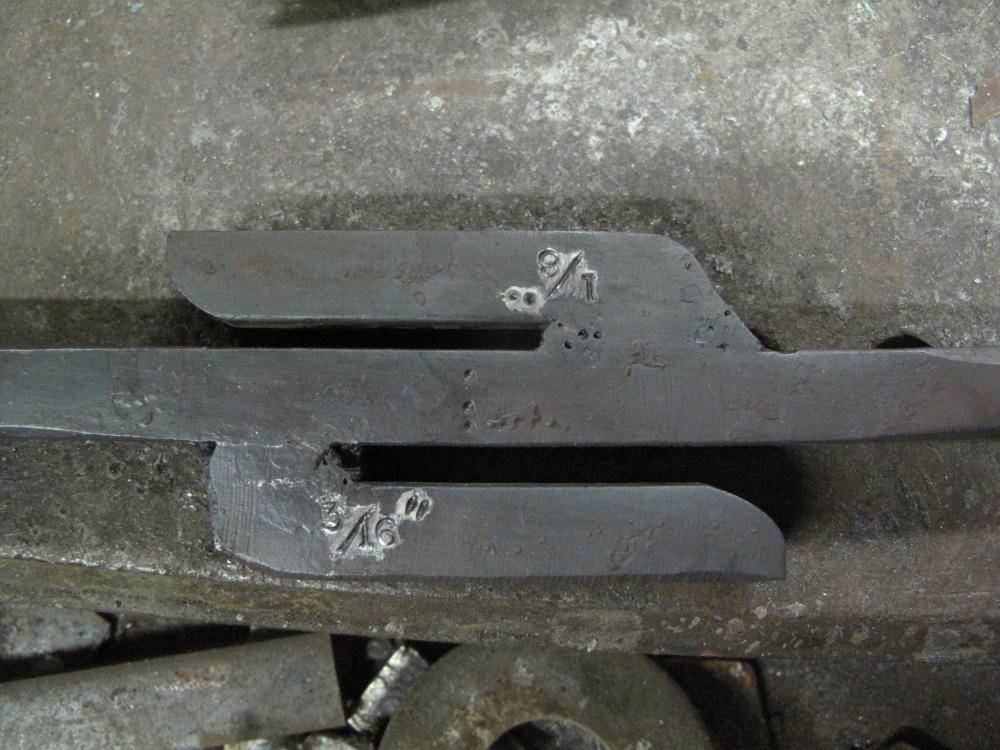
Nothing better than a busy day, and today was a very busy day for me. Managed to get a whole bunch of metal shaped and carved for folks. And I got to try out my new square punch made from sucker rod -- it's made in the Aspery style and did a good job, though the poor thing isn't nearly as stout as I was hoping it was going to be. She punched a good clean slug for the bottle opener's tooth to pass through, and that's the important part.
-
You're basically building a Majestic forge. After running one for awhile, I'd go a completely different direction. The side door sounds like a good idea, but I've found it more of a pain than its worth. The gap lets a ton of heat out, the door warps from the heat, and scale/grime gets down in the hinge gap and prevents it closing back up when you need it closed. Does it allow you to get larger pieces in there? No, not really. Think about it like this: your chamber is only so wide. as such, you're only going to be able to fit a portion of the larger piece in there. that means the door has to remain open. and that means you're burning a ton of fuel to basically turn your forge into a pair of torches. You'd be much better off to make the chamber an inch or so shorter and an inch or so wider. Then rely on the short side being hinged so you can open it up, slide a wide piece in, and then close the door behind it. I almost never use my side door simply because it's such a pain to manage everything..... only to have to leave it open while I'm forging whatever just heated up. Insulation is your friend. While fire bricks sound like a great idea, hard bricks don't insulate well at all so you end up burning a ton of fuel. Soft insulation like Kaowool, covered in refractory cement and an IR reflective paint.... now that will get you cooking and cut down on how much fuel you're burning. 2" of insulation is good. If you go with 3" of soft insulation, you're upping the cost, but I don't know if you're getting a lot of bang for the extra buck. Maybe. It certainly won't hurt performance. The forge chamber should be sized such that you can fit bent pieces in there to heat. A lot of people say they're only interested in making blades, but everybody branches out here and there. Being able to heat a 6" scroll for your Mother's Day present.... that's a win!
-
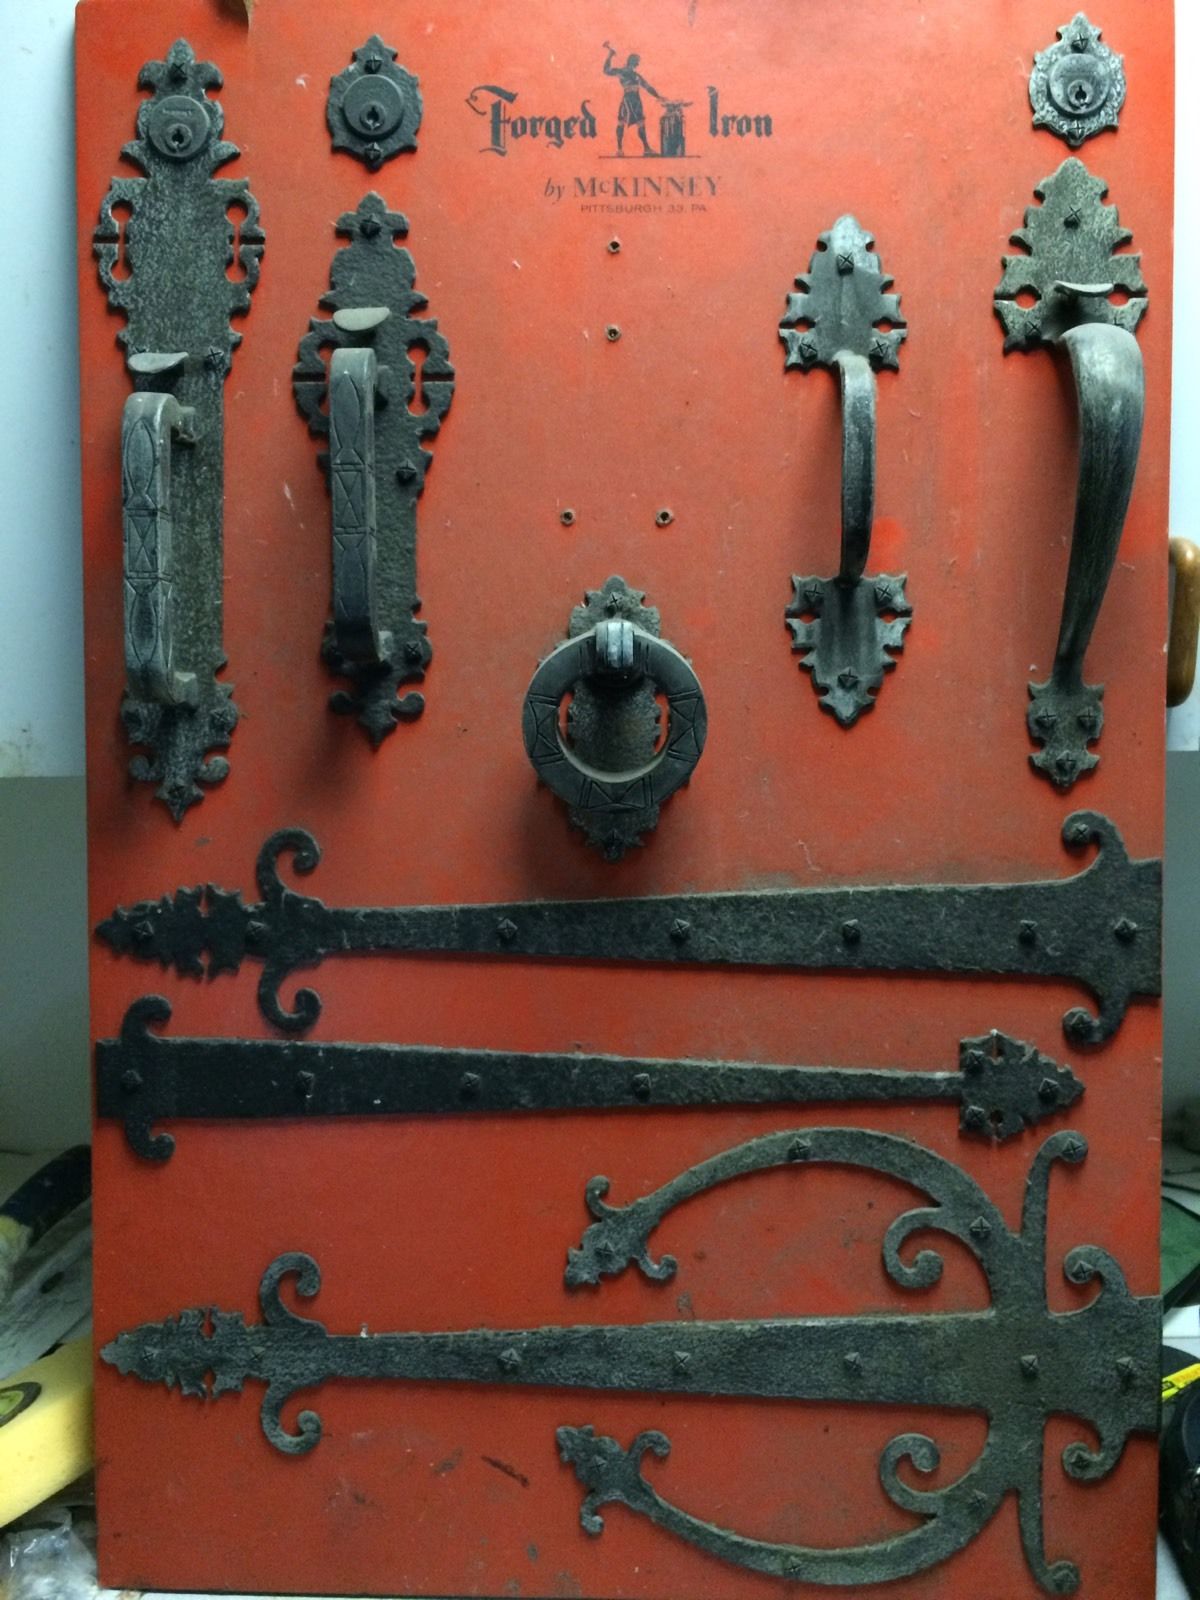
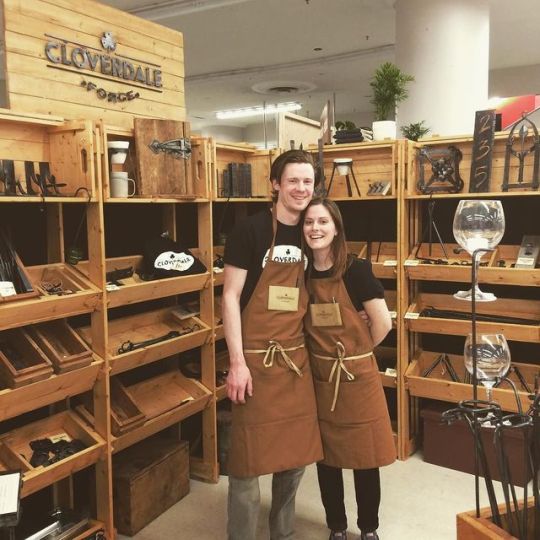
Showmanship is the #1 failure of people that try to do things in public. Some folks aren't "wired" for it. Others just don't realize the negative vibe they're giving off. Still more don't understand how much better sales would be if they just stepped up their game a bit. The important thing to remember is that little details matter in a big way. That one thing might not seem like much, but when you have dozens of "that one thing" all together.... there's a synergistic effect that can be either good or bad. Back when I was out and about in another industry, I had to go to trade shows and got to see how the real professionals did things. At every show, there was always one company that had their booth flooded with customers. Why? Because they put the time in to make sure they stood out from the crowd, looking professional, different, neat, interesting, etc. You're on the right path just with the recognition that you need to improve your view. Pay attention to all those little details, including how you dress. Don't try to force anything. Let it happen somewhat organically so that it looks natural and easy for you. If you try to come off as PT Barnum and that's not your personality, it'll be more chore than anything else and the customers will pick up on it. To give you an idea, here's a pic I found online that really showcases what you can do to create an overall impression. Everything breaks down for transport. The color scheme is uniform. It all looks professional and thought-out rather than cobbled together from yard sales and flea markets. And the employees are dressed to impress without looking hokey. Note: don't wear your greasy, stained shop apron - get something nice and neat that's only for public use! Of course, something like this takes time to develop and you have to have the ironwork to fill all those shelves. The key, though, is that you have an idea in mind and a goal to move towards. In the short term, you can build up your "look" by making a display board with different types of work on them. This keeps you from having to make a lot of stuff you don't know will ever sell, and gives the customers something to look at. I've seem quite a few people sell their display boards when an interior decorator wanted them because they were "artsy". Having examples will give the customer an idea of what's possible while keeping your investment low. They also help direct customers and block off the unsightly portions of your booth (like that cooler full of drinks or a bucket used to bring stuff from the truck).

-
-
Well said, John.
-
It's actually pretty easy to see if someone has that "thing" that will allow them to proceed further down the path. We've all see idiots, incompetents, fools and weirdos..... right? Surely I'm not the only one. You can tell a lot about someone by how they carry themselves, dress, speak, etc. Do they come to your class as well-read as possible? Have they done a lot of research on their own? Are their questions intelligent and well-formed? Some folks are just plain dumb. Some are lazy and want you to spoon-feed them everything, holding their hand the whole way. Some are immature and think they should be able to knock out a perfect XYZ in just a few hours even though they've never swung a hammer before. So, yea, I can see someone predicting that a student doesn't have what it takes. Coaches and scouts do the same thing every single day, and they're usually right. It's just a matter of knowing what you're looking at and building up some experience in judging.
-
I like that guy's attitude! Long live the Borax!
-
The neat thing about making nails is that you can get good practice at a valuable skill (making tapers) for very little money invested. It's no wonder, JLP, that you found all those nails to be so perfectly matched since the person making them was likely a full-time maker of nails, or at least making nails as part of his duties at the smithy. When you've made several tons of something like that, you get to where you're very repetitive in motions and the resultant finished appearance. There's a fellow on FB that I follow, and he does some great work with making nails. The best part is the little jigs and such that he sets up so he can make nails rather uniform. I never thought about putting a rest on the stump to help control the bar stock you're using. Seems to me that it would make it a lot easier to control the length you're cutting at. And the two or three "dies" in the one little spring swage lets you go from raw stock to ready for heading in a blink or three. I'll try to find his page and put in a link so you can see all the various ways he goes about it. This spring swage seems sized for only making small hobnails for traditional footwear, but I'm sure it could be scaled up for other nail styles.

-
Okay, I watched the vid. My take -- you did good in explaining why the stump is as high as it is. You're obviously good enough with a chainsaw that you got a nice flat/parallel cut as I didn't see any wobble in the finished product. Or, if you had to do some touch-up sanding, you didn't mention it or show it. No problem there except "make an anvil stand" should cover that possibility since a lot of folks won't be good enough to get it right the first time. Issues? Well, as others have mentioned, the stand is very very tippy. Even with such a light anvil, I can see that whole contraption bouncing around and wanting to fall over unless you are only hitting straight down -- something that almost never happens in smithing. Secondly, your point about this being a low-cost entry into the blacksmithing trade is valid, but only to a point. Yes, folks can try a set up like yours to see if they like blacksmithing. However, a tippy stand and a super-inefficient anvil will make their experience rather aggravating. This will be a turn-off rather than a turn-on. Honestly, I'm all for it, though, since I liken it to a "rite of passage" and anyone that can suffer through using such a set up and still want to go further with the trade will be a good candidate. Third, using a phone pole is a good idea if you put a wide base on it, but a lot of folks don't have access to a pole. You used what you had on hand, obviously, but that's not the norm for the majority of people. It might sound odd, but when doing "how to" vids, it's important to think about the types of materials folks have ready access to Going down to the hardware store to get dimensional lumber is a lot easier than getting in touch with a utility company and asking for an old pole -- then transporting said pole home and cutting it up. Fourth -- branding is important. You came up with a catchy name and do some decent work with the camera. Content, however, is where you really set yourself apart from the herd and can lead to serious money. Part of that brand is being known for quality craftsmanship, unique ideas and fresh takes on old notions. As others have said, there are a ton of vids on youtube that talk about making and using anvils out of railroad tracks. And all of them seem to use the tracks in the same fashion you have yours set up. Not only is this a bad idea, for reasons already explained, but you did nothing to set yourself apart from those vids. You copied them, basically, and added nothing fresh to the conversation. It's okay that you didn't build the anvil. In fact, that's a point in your favor. If, however, you'd have changed things up and installed the track vertical, explaining to the folks why it's a better option, you would have established yourself as far more credible and educated. To date, I don't know that I've ever seen a vid explaining why vertical tracks are better. And don't get xxxxx when posting here. We've all been around this game for longer than you've been alive and we know what we're talking about. You wanted to pop in and show off, then got miffed because what you brought to the table was less than impressive. It happens. That's life. Learn and do better. There's more wisdom on this forum than you can find most places, a lot of us with decades of experience in making stands, using different configurations of stands and anvils, teaching folks how to forge and why to do things the way we do. You're a piddler by admission, and that's okay. Here, though, even the other piddlers have been in the game for ages beyond you. Be humble and learn from their experiences.
-
It's easy to get addicted to using those things. It's just too fun watching those curls being made!
-
I'll need to finish up this one today or tomorrow. It's a test piece that I can learn on, and hopefully I'll figure out the right combination and order of movements to make it happen like I envision it happening!

-
Chasing the steel can be useful for a variety of things. Here we see the beginning of a collaboration between myself and Rich over at Plank-n-Ingot. What will it become.......
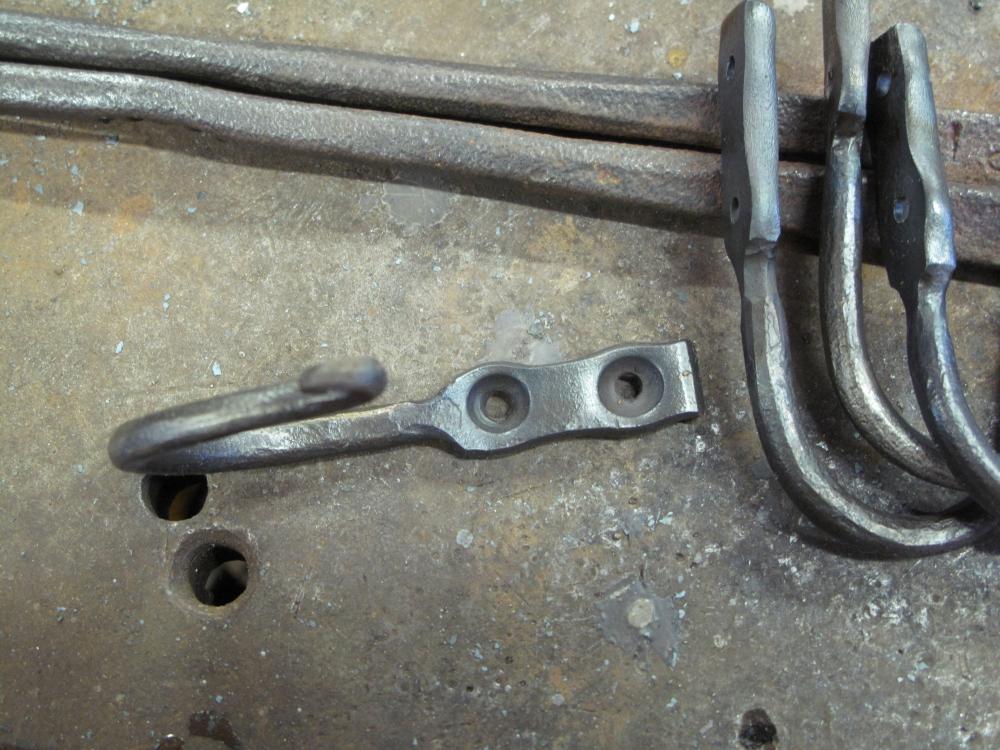
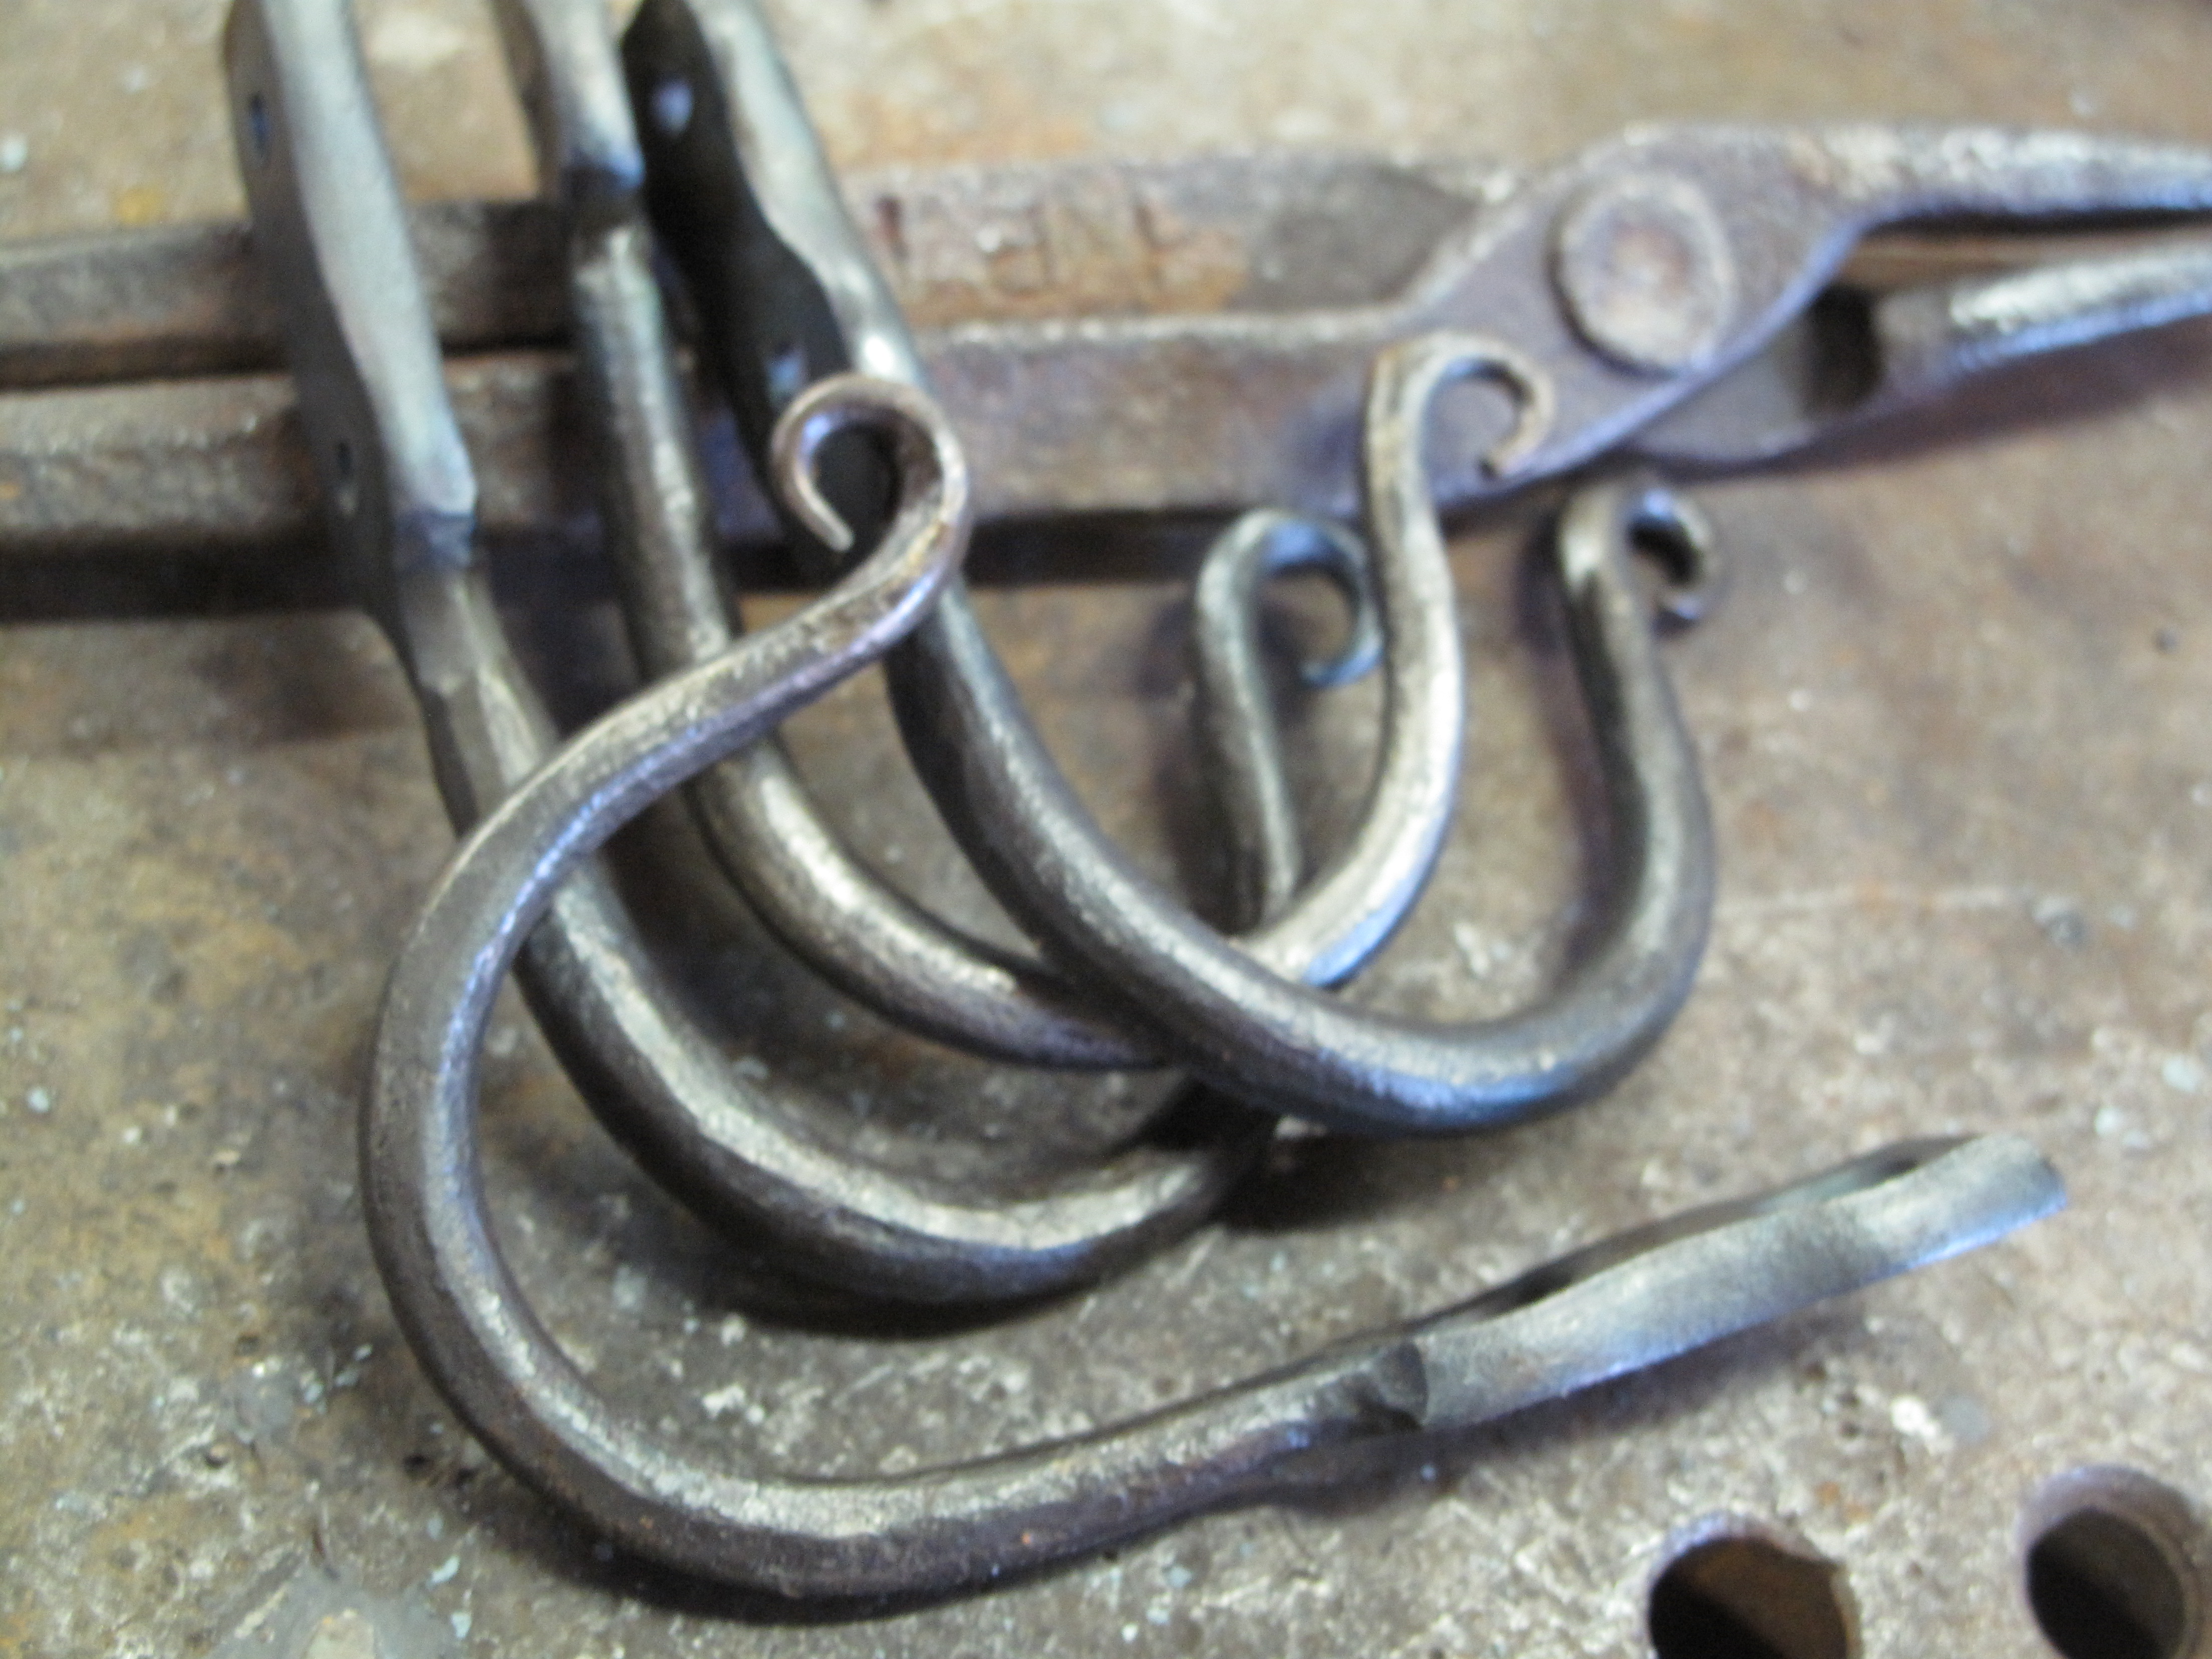
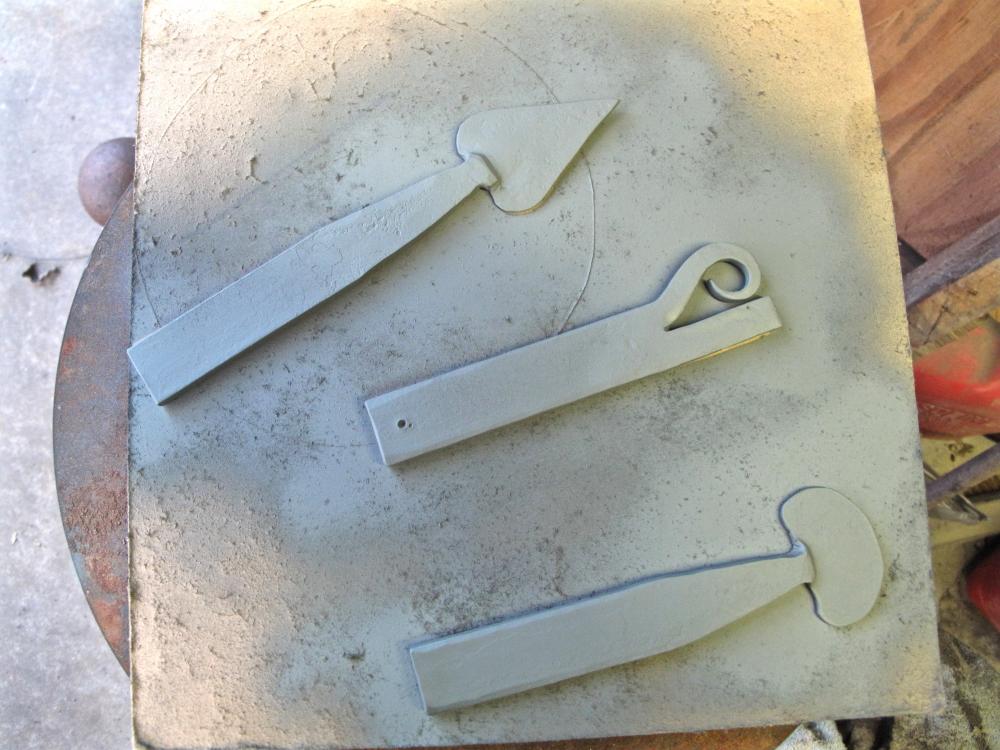
 This is where doing research comes in handy. These questions have been asked tens of thousands of times on this forum alone, and countless millions of times around the internet as a whole. Every town of decent size should have a metal supplier that sells large pieces to mills, factories and all the various shops working around the area. The yellow pages and internet should turn something up in your area.A lady asked me to make some hooks, but she wanted something a little different than I usually make. So......