19Branden86
-
Posts
71 -
Joined
-
Last visited


-
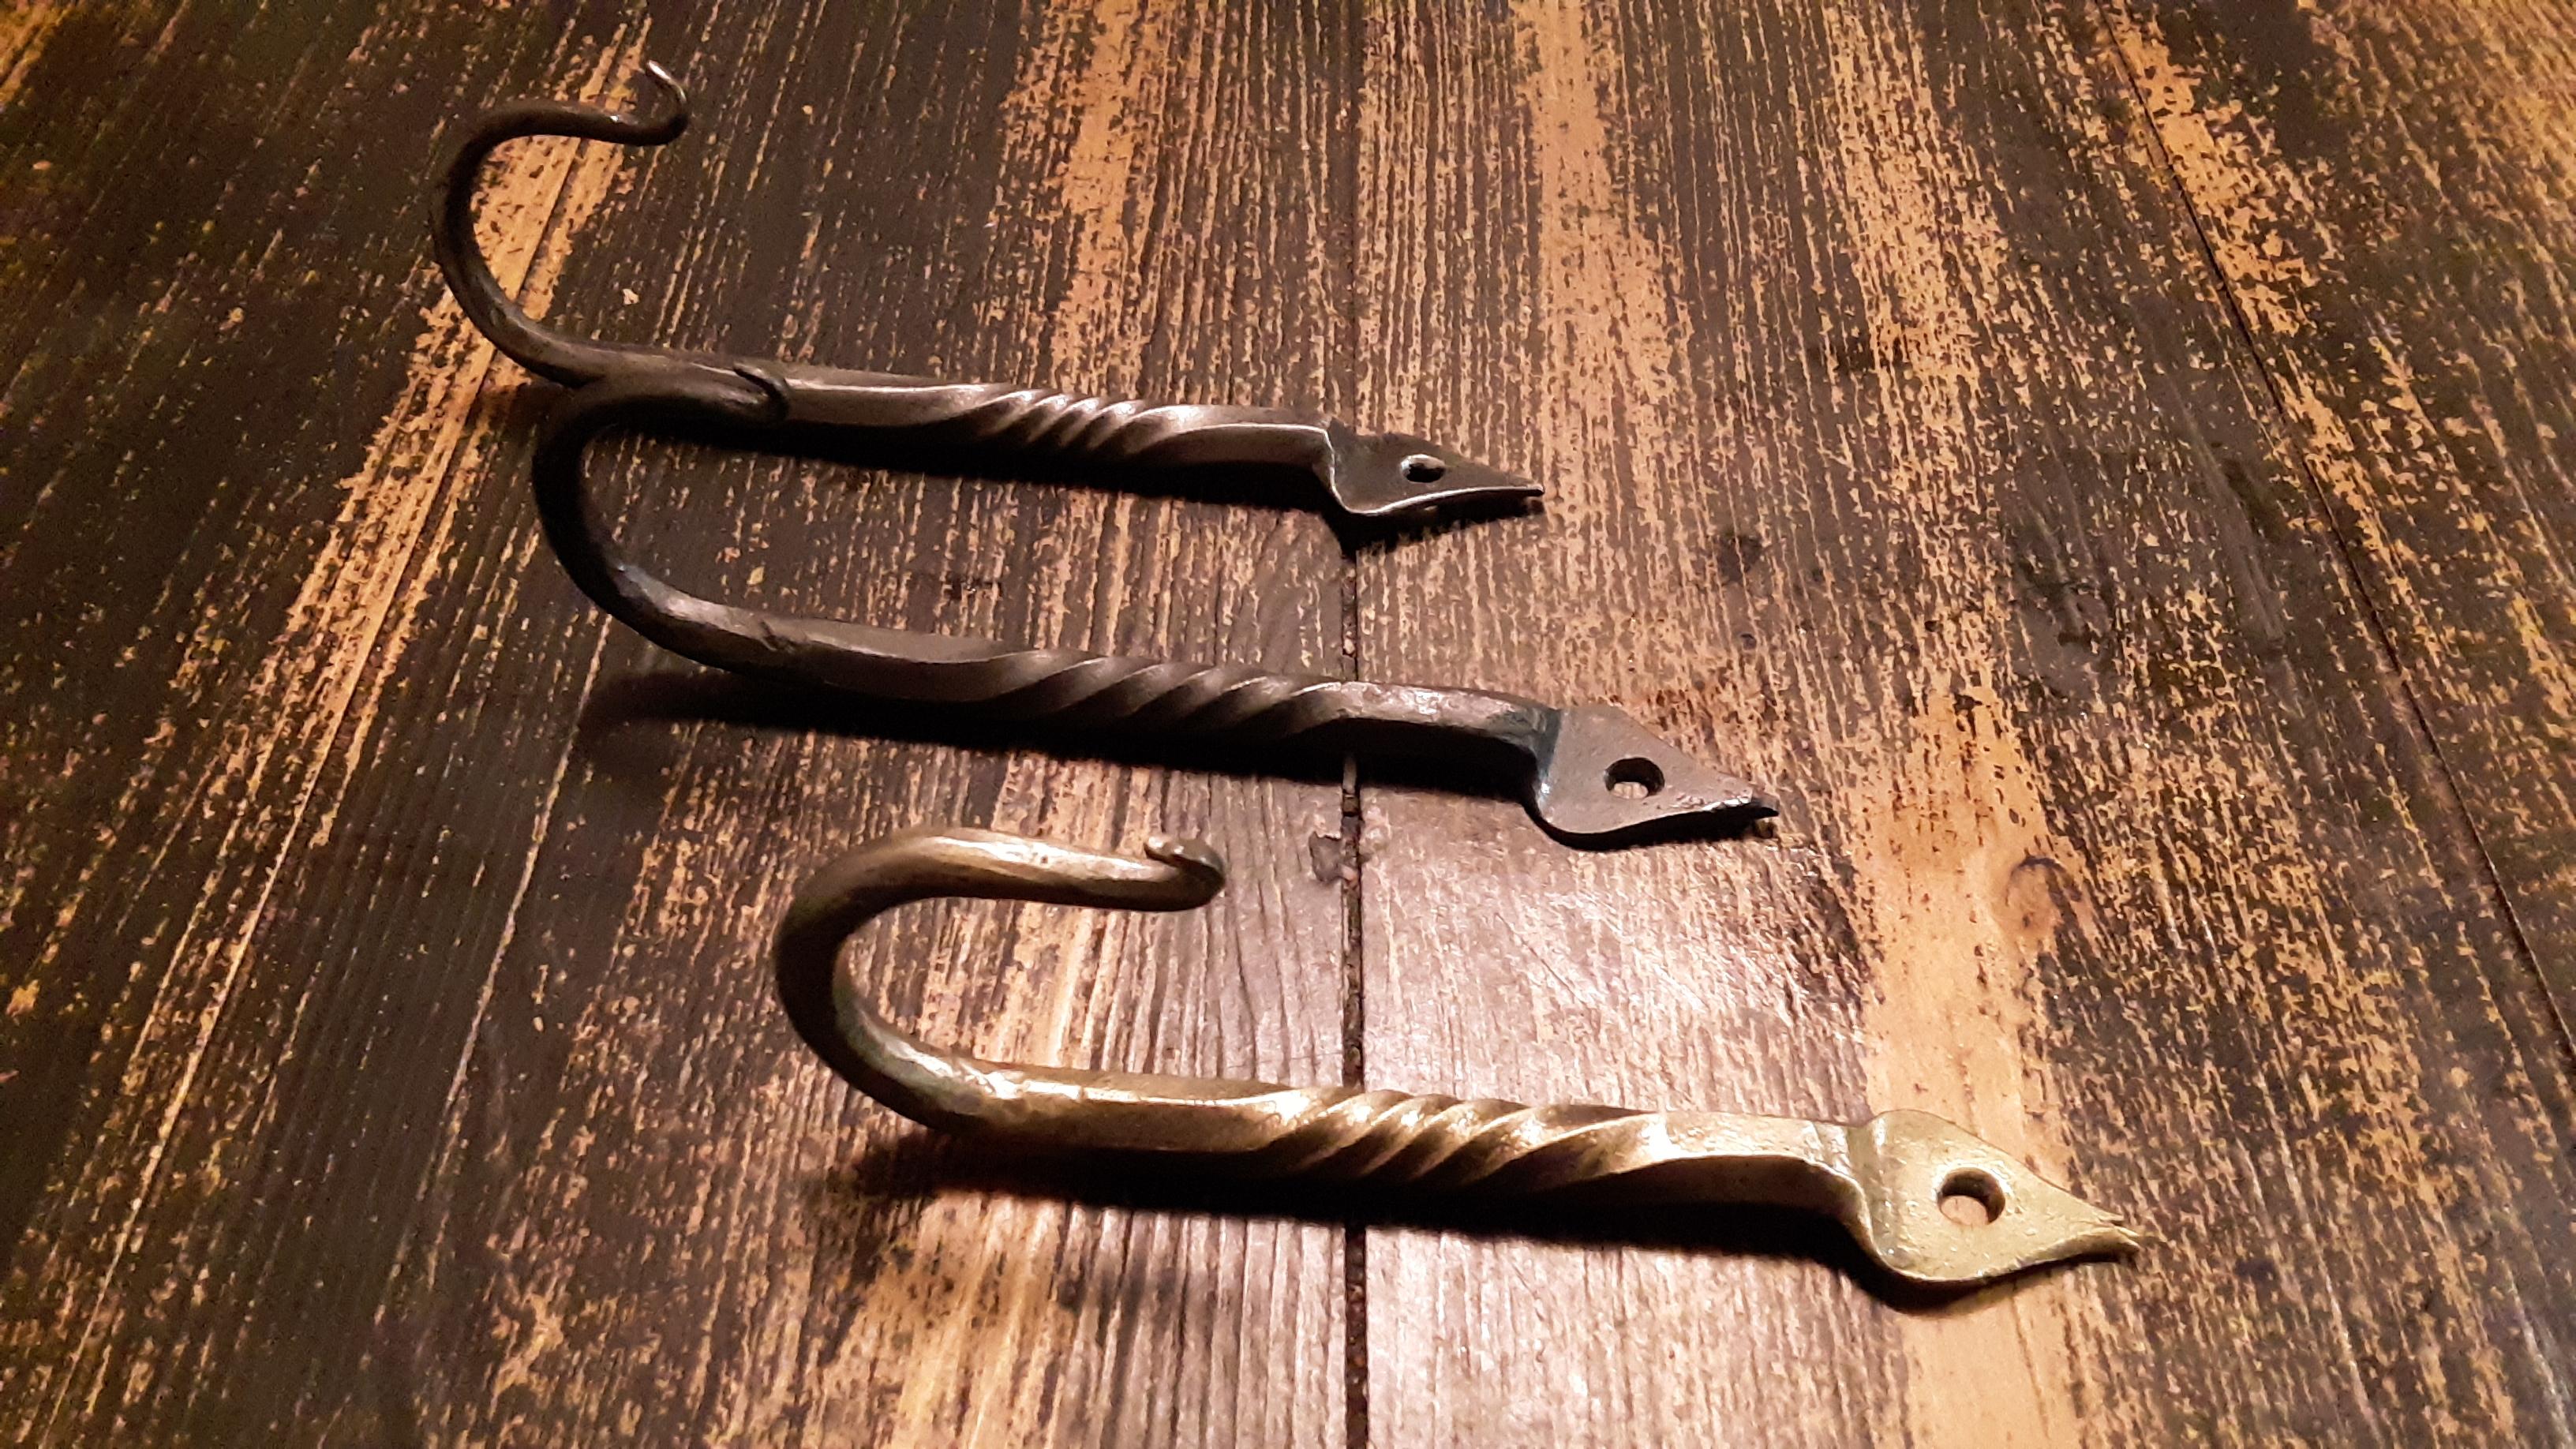
I wanted to do some hammer control exercises that involved drawing out over the edge of the anvil, since this isn't something I do often. I figured a good project idea would be making drawer pulls and isolating the finial material over the anvil edge versus isolating it with a fullering tool like I usually do.
-
Thank you very much! Definitely something I hadn't thought of. I appreciate the advice!
-
Just simple j-hooks. Only forged from hex bar instead of square bar

-
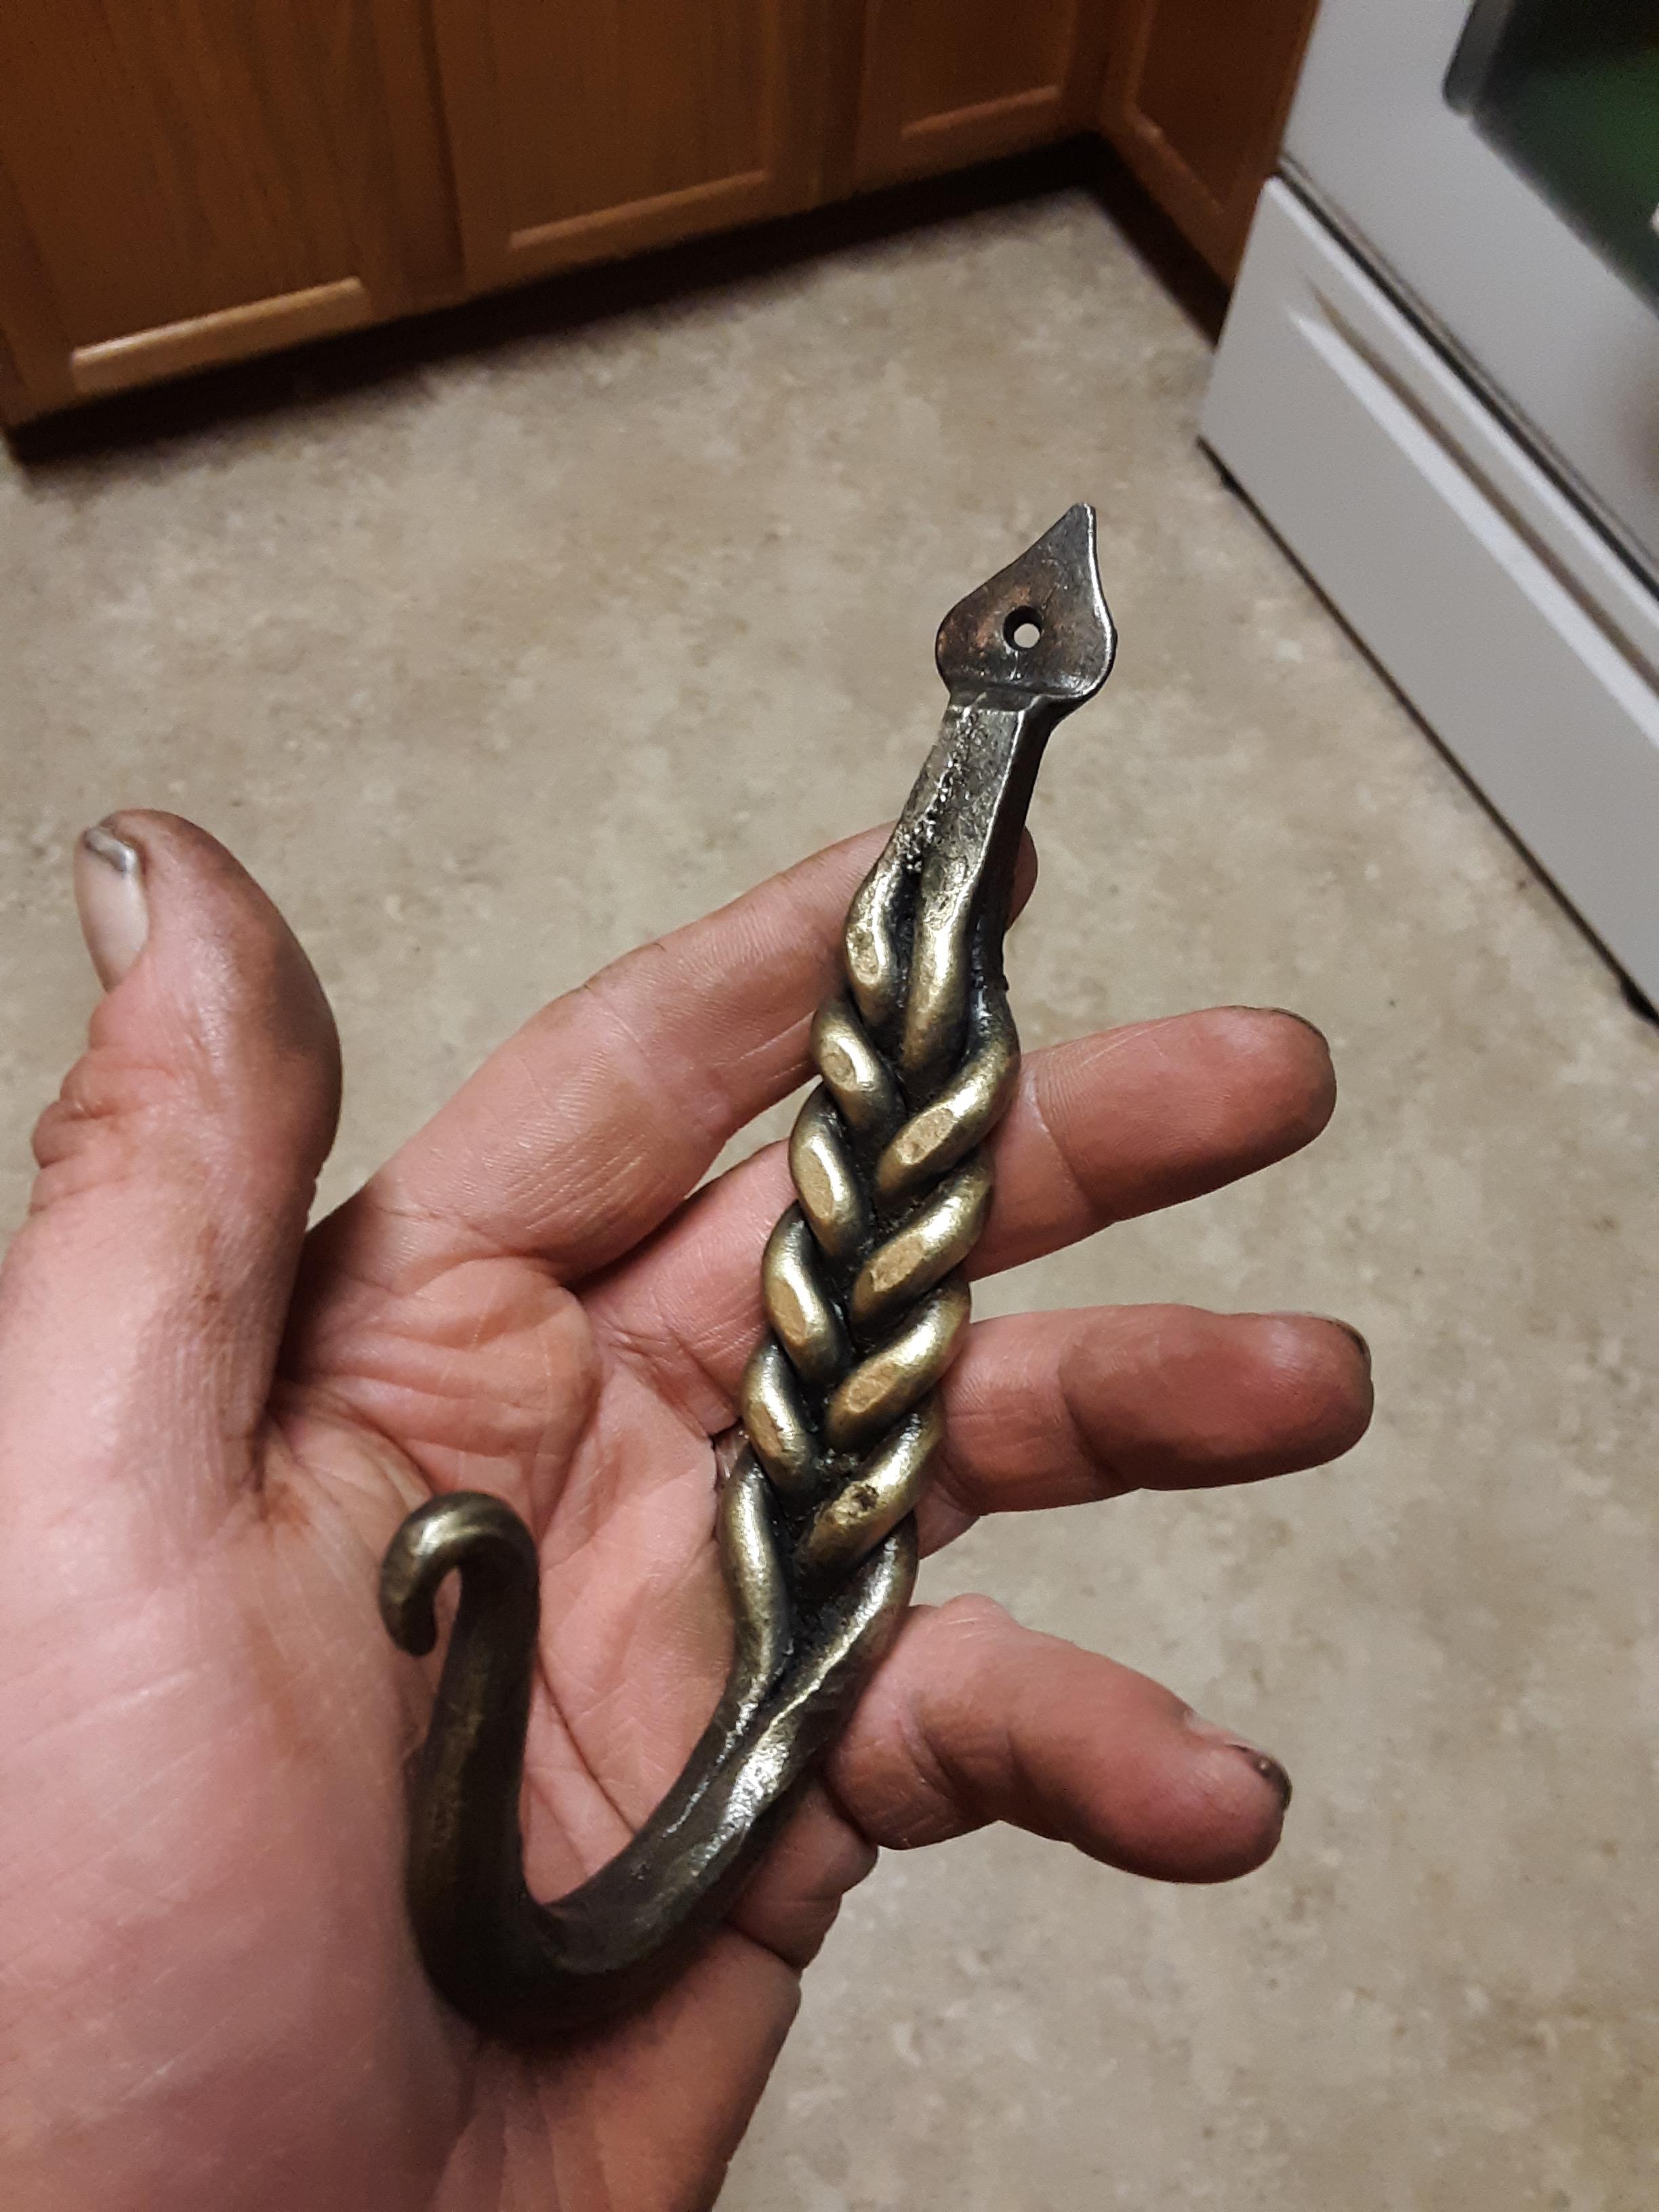
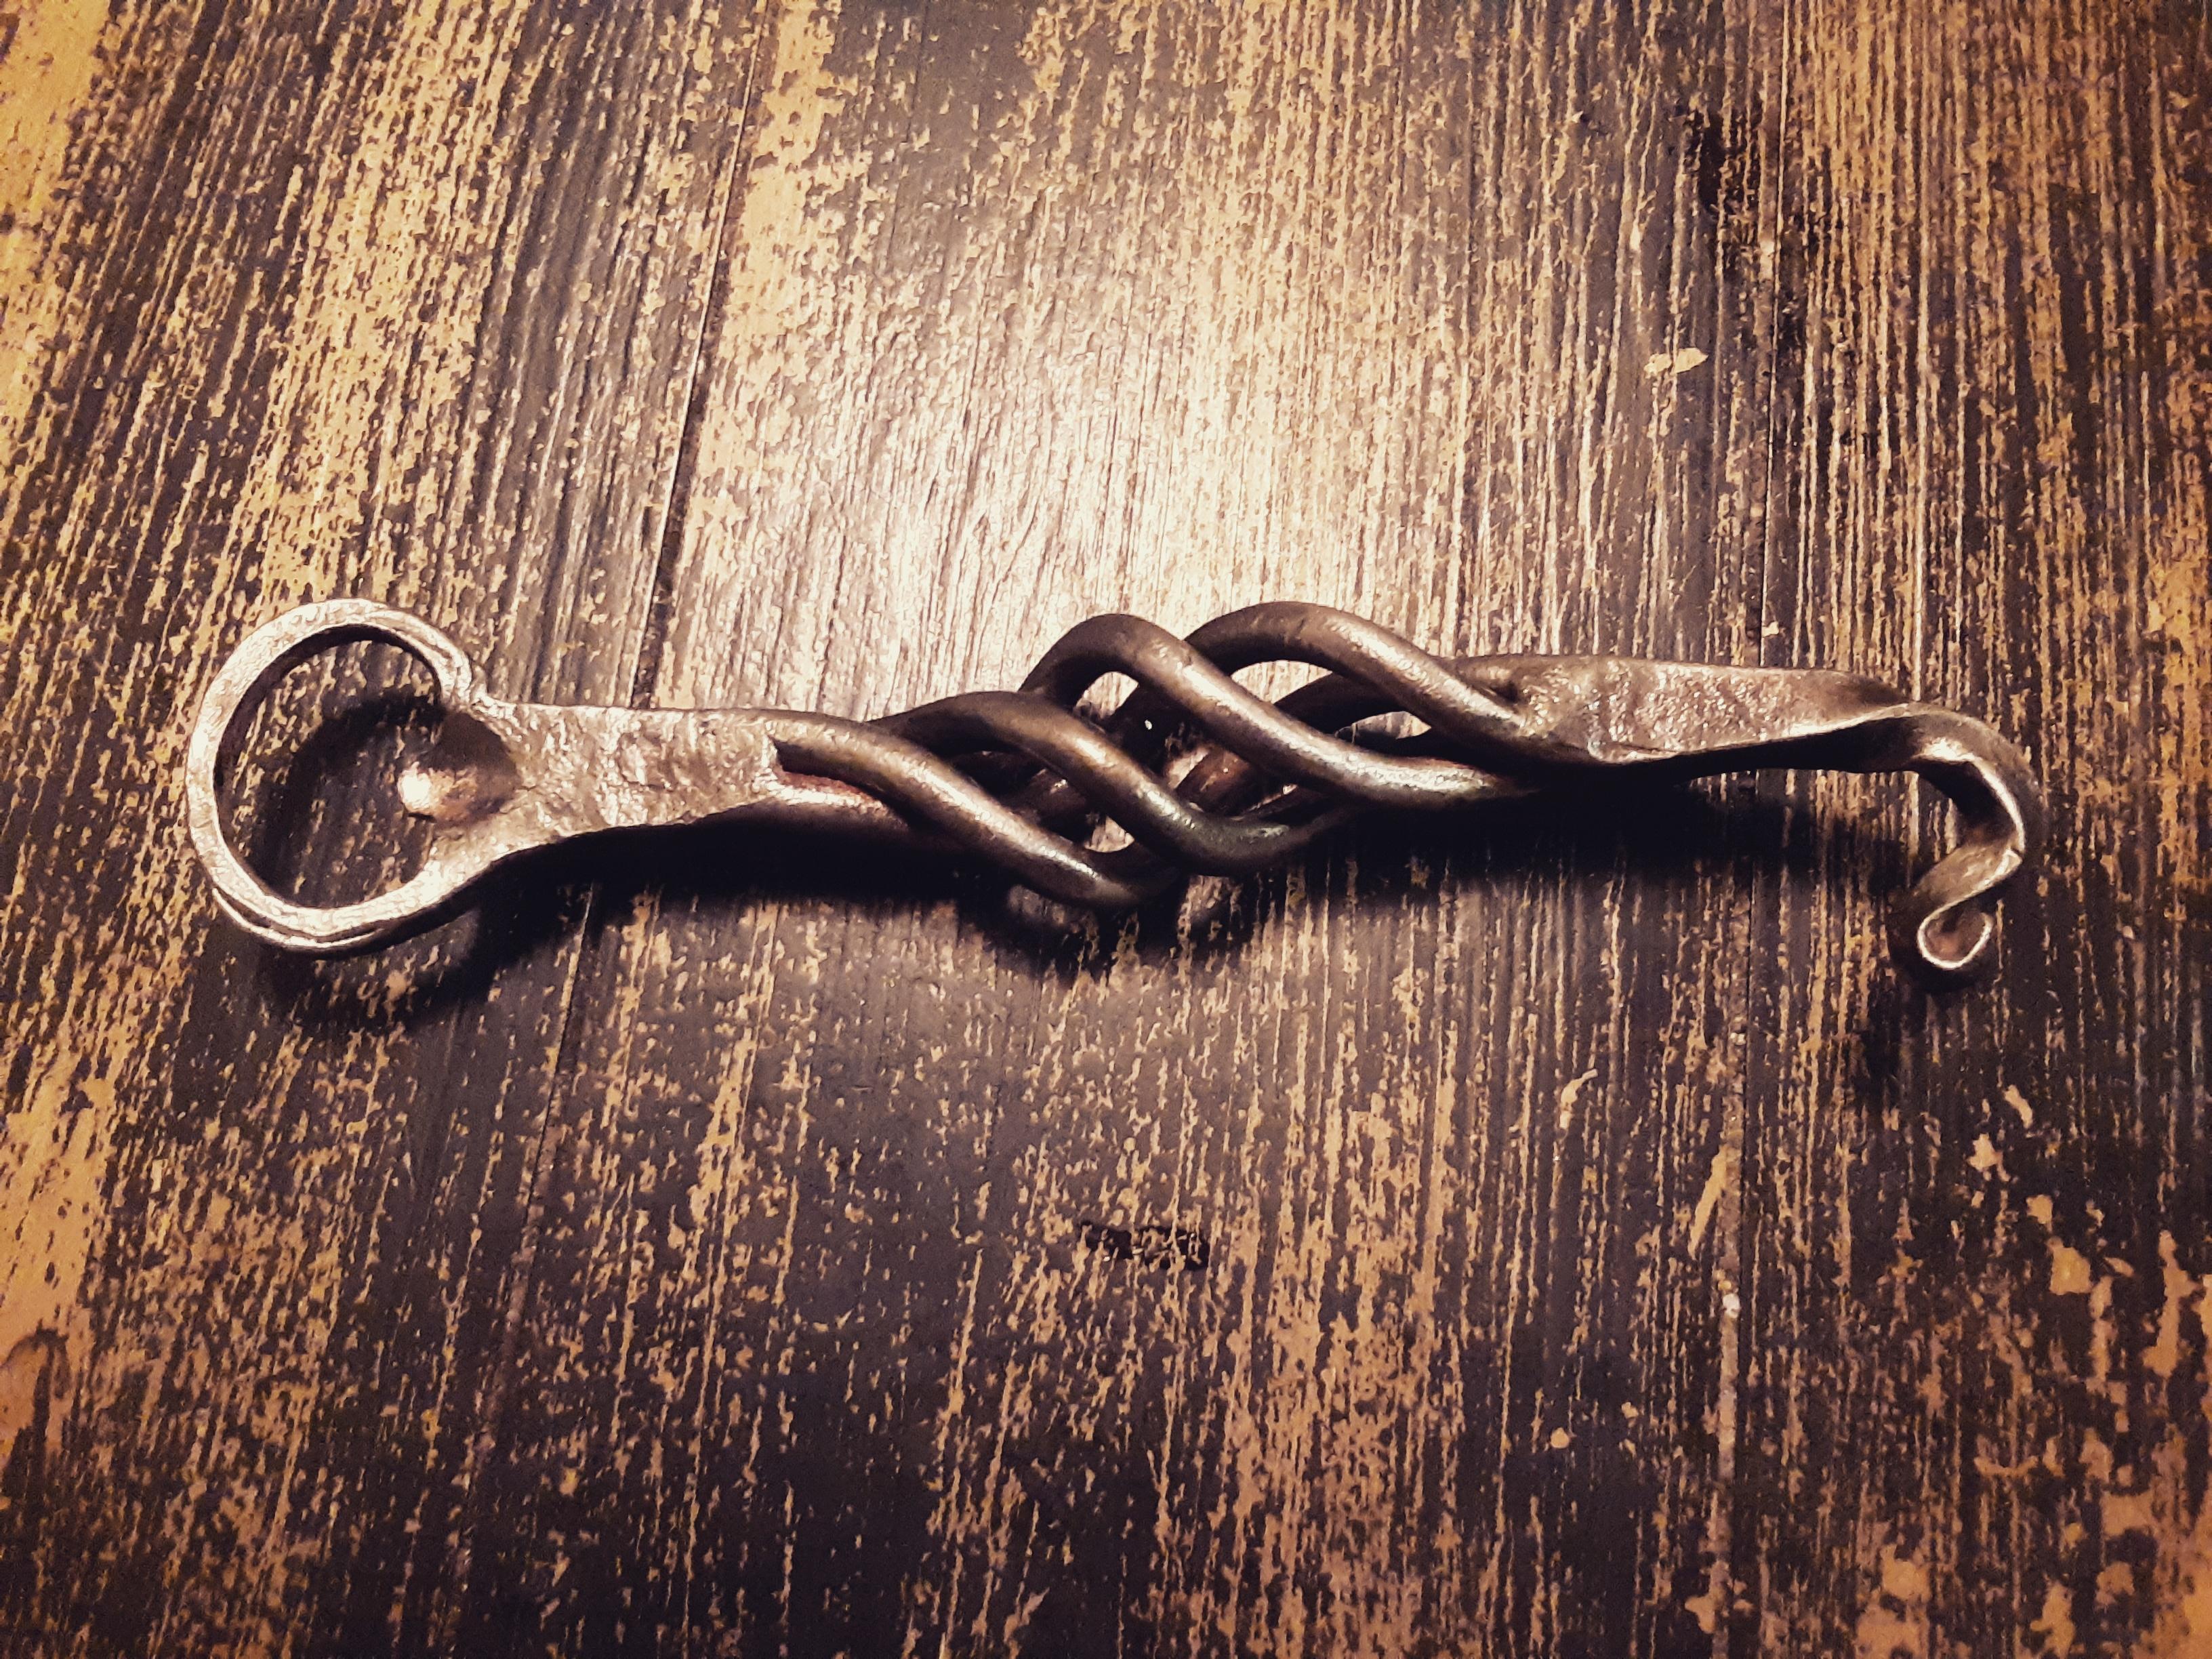
Thank you. It was actually a lot easier than what it looks. Just 2 pieces of round bar twisted in opposite directions and then the ends forge welded together. I have a video of it on my YouTube channel, Frontier Forge
-
2
-
Made from 2 pieces of 1/4" round rod

-
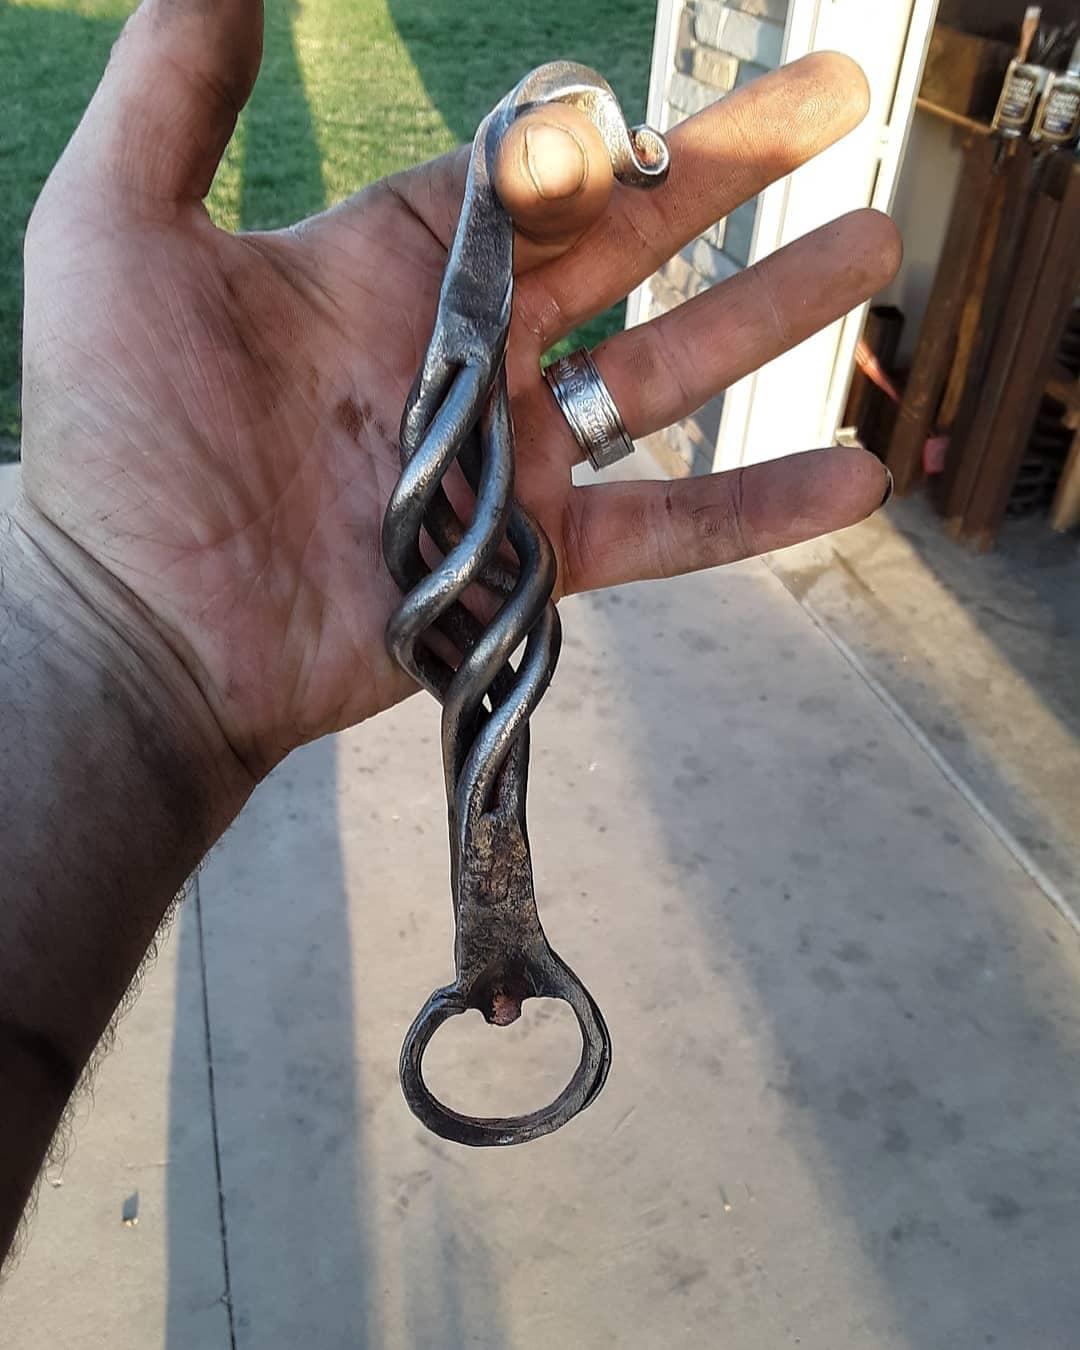
Made this from 4 pieces of 5/16" round rod cut to 7 inches in length. A few very minor cold shuts but all and all it turned out pretty good. I did make a video of it on YouTube if anyone is interested. It's on my channel, Frontier Forge. Hope you enjoy


-
 19Branden86 changed their profile photo
 -
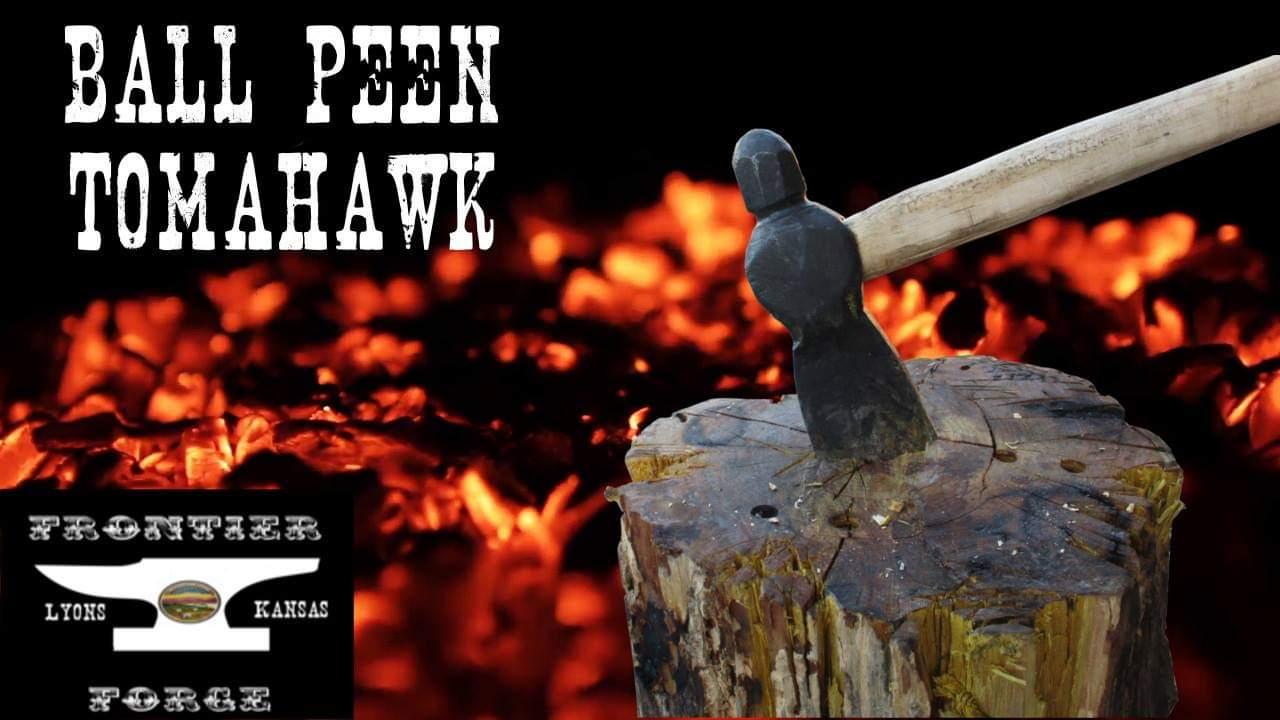
Made this tomahawk from an old ball peen hammer. Turned out pretty good. It's a good cutter and good splitter. Handy little tool.

-
I've heard that. And I've heard that 52100 is a bear to work no matter what you do to it. I've never worked it before so I couldn't tell you if there's any truth in that.
-
Yeah I kind of try and be cautious about heat treatment. If only one part needs to cut, like the end of an edged tool, chisel or something, for example, I only harden and temper that section. The whole thing is normalized beforehand. I rarely anneal unless I'll be filing on something right out of the gate. I figure just the act of heating it to forging temperature is enough to soften it for hammering on, depending on what SAE grade of steel you are working, of course.
-
Oh, I see. My bad. I thought I had said that in the original post but I see now I forgot to put the ht details in. My apologies, my friend!
-
I only quenched the tip. Only about an inch or so from the very tip. The back is soft so it doesn't shatter upon striking I only quench the working end of my tools. As you can see on my cold chisel from one of my videos that gets used very regularly at work, the strike end is soft and slightly mushrooming while the cutting end is still as was after quench and temper.


-
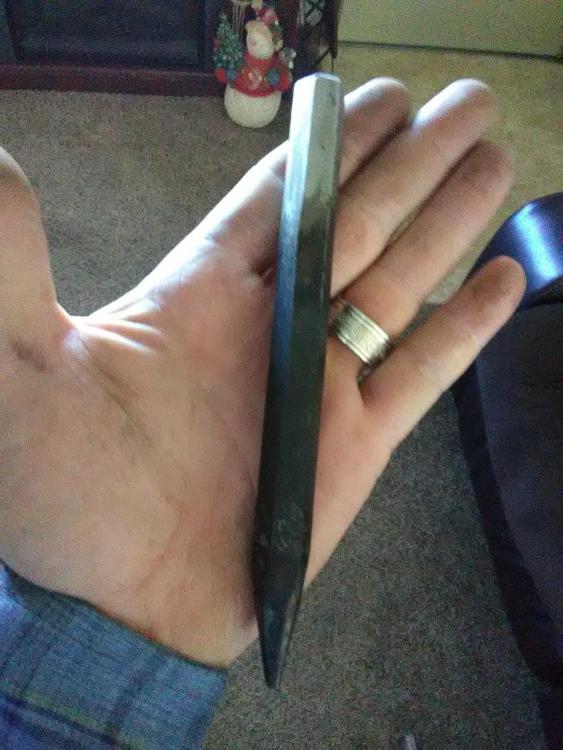
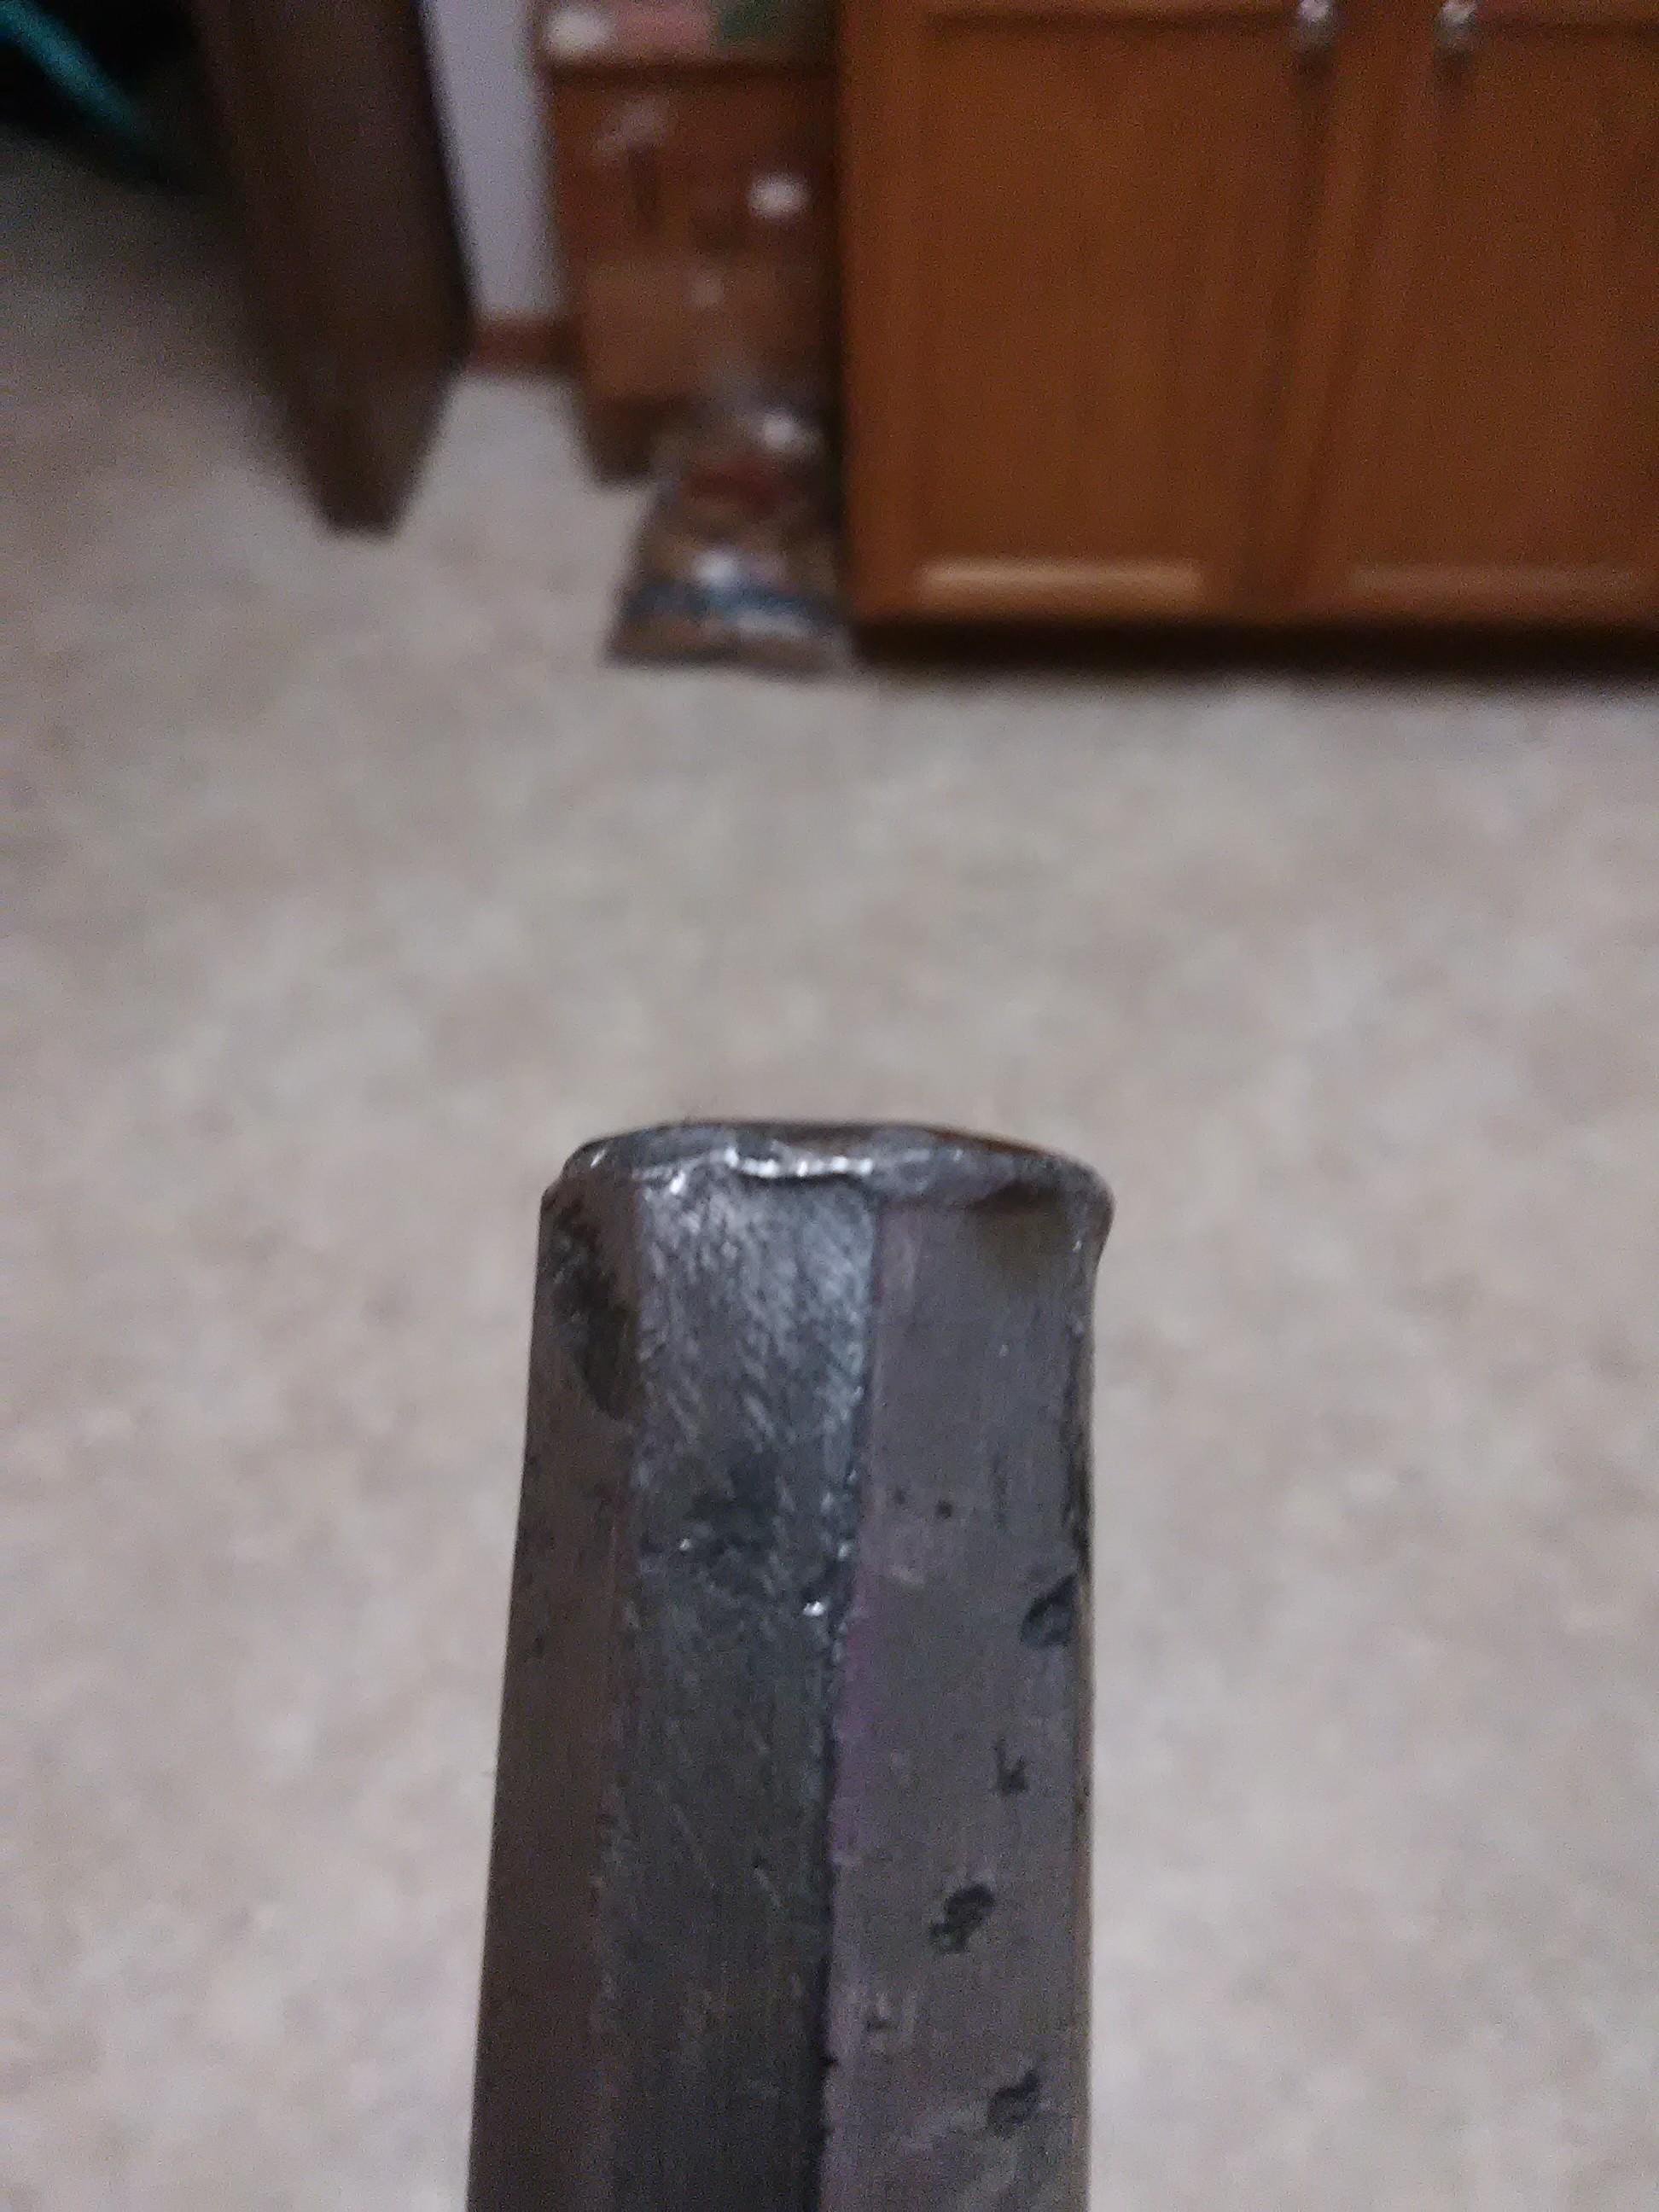
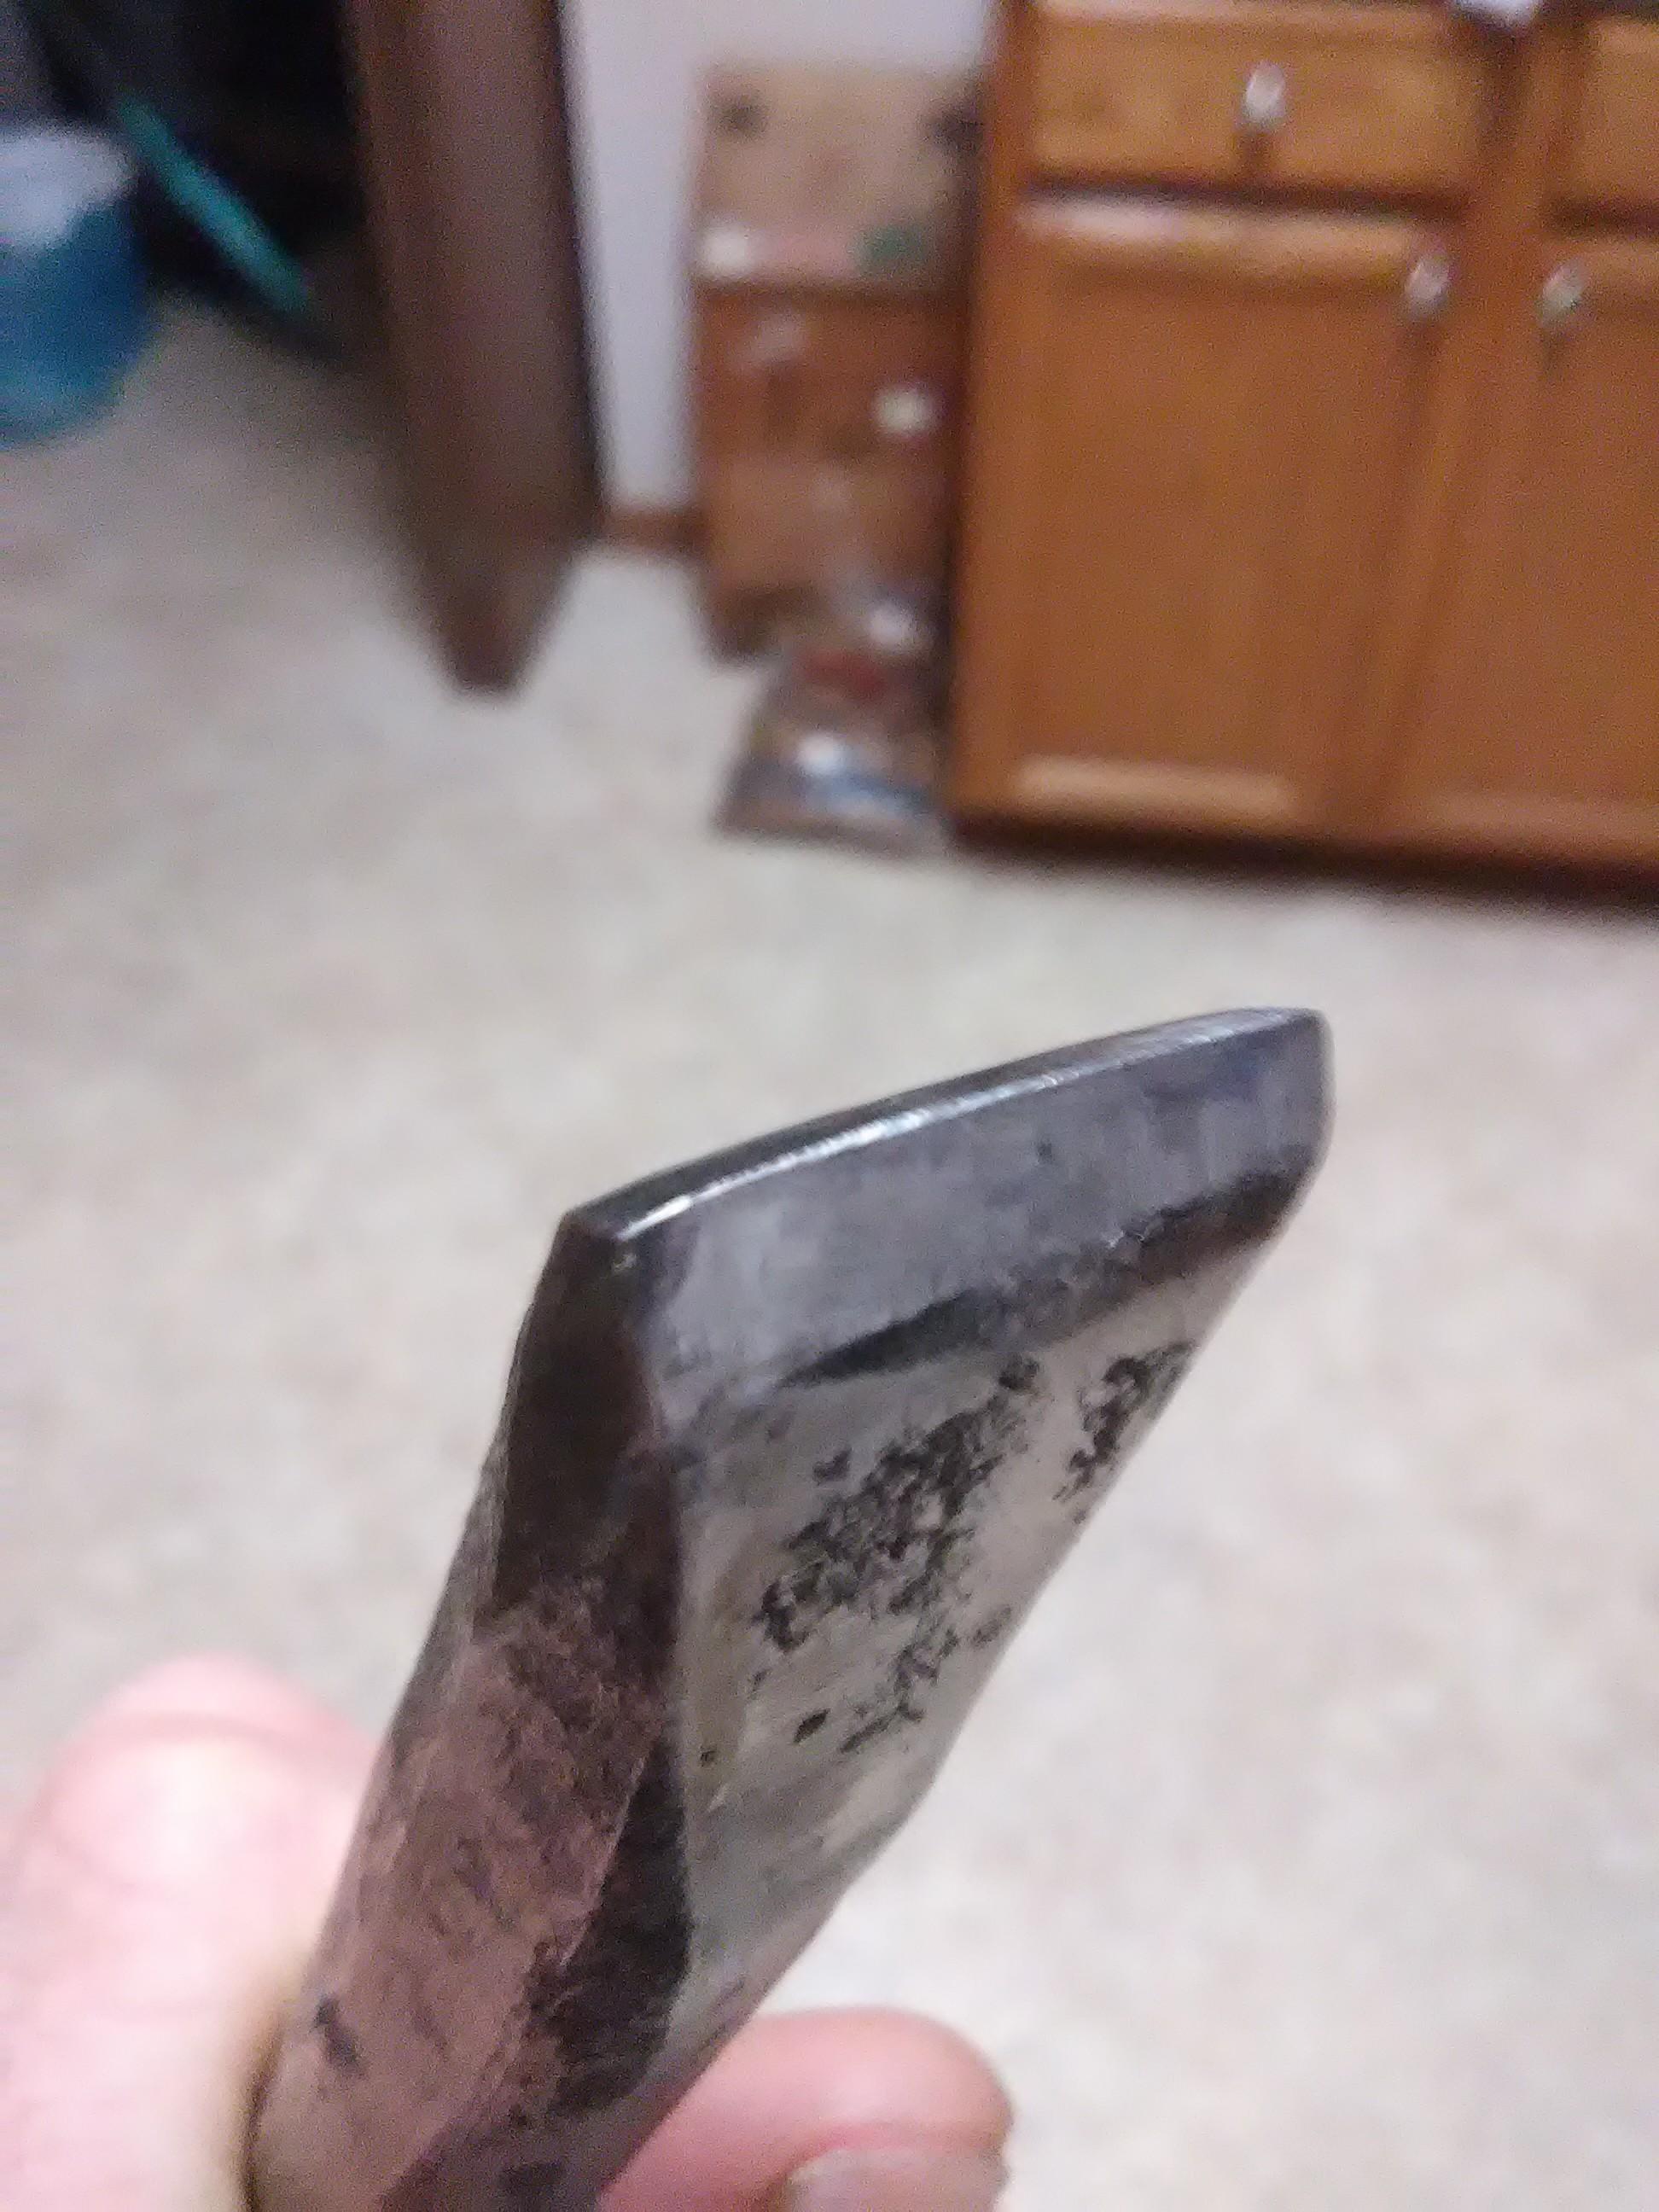
Thank you, Dave. I tempered the point to straw yellow. I had normalized the entire thing before quench. Then after I quenched it, I took my little propane torch to it a few inches up the shank and ran the colors. I couldn't tell you if that is the proper method or not but it seemed to work. It holds a point well. I actually recorded this one as I made it to upload to my YouTube channel. I made a channel in the hopes that I could get some critique of my processess as I'm working. I can make something that looks good but maybe I used a harder than should be way to get the result if that makes sense. And, that's actually how I came about trying that hexagon. I have a pry bar and cold chisel video that a smith from Indiana had commented on trying a hexagon, and that resulted in this center punch.
-
Thank you very much. And I am indeed a beginner. Not quite 2 years into the craft.
-
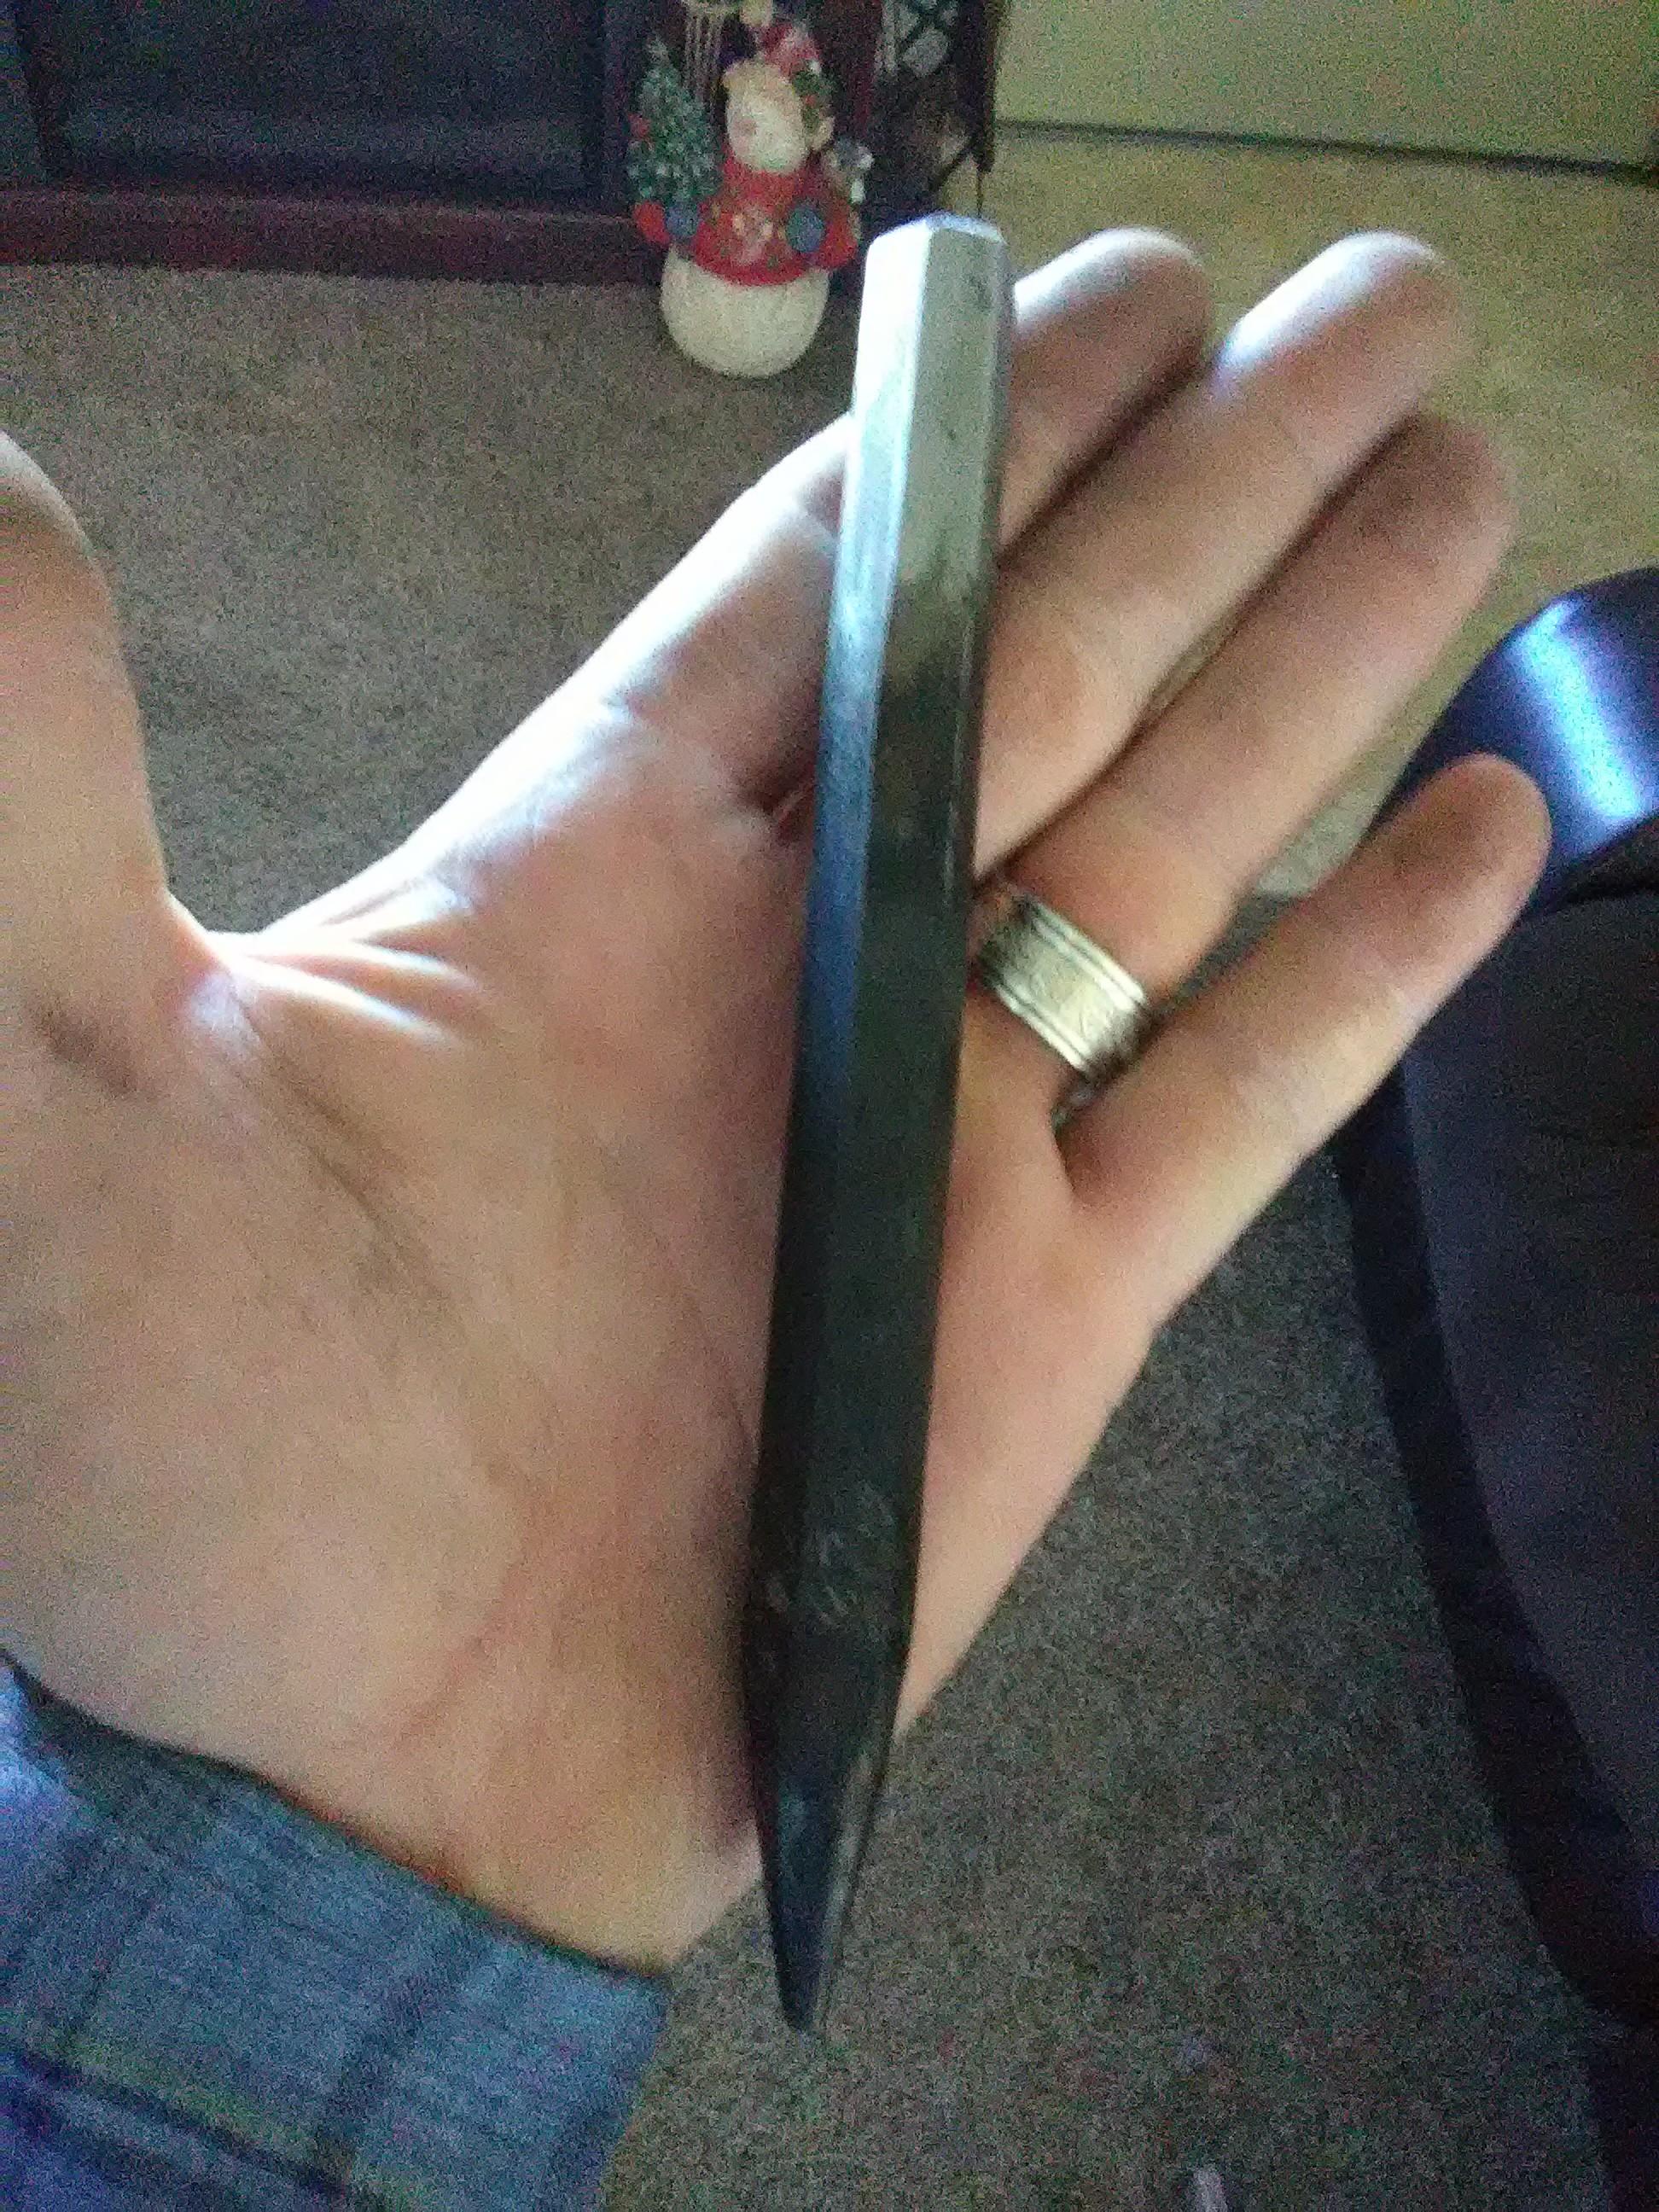
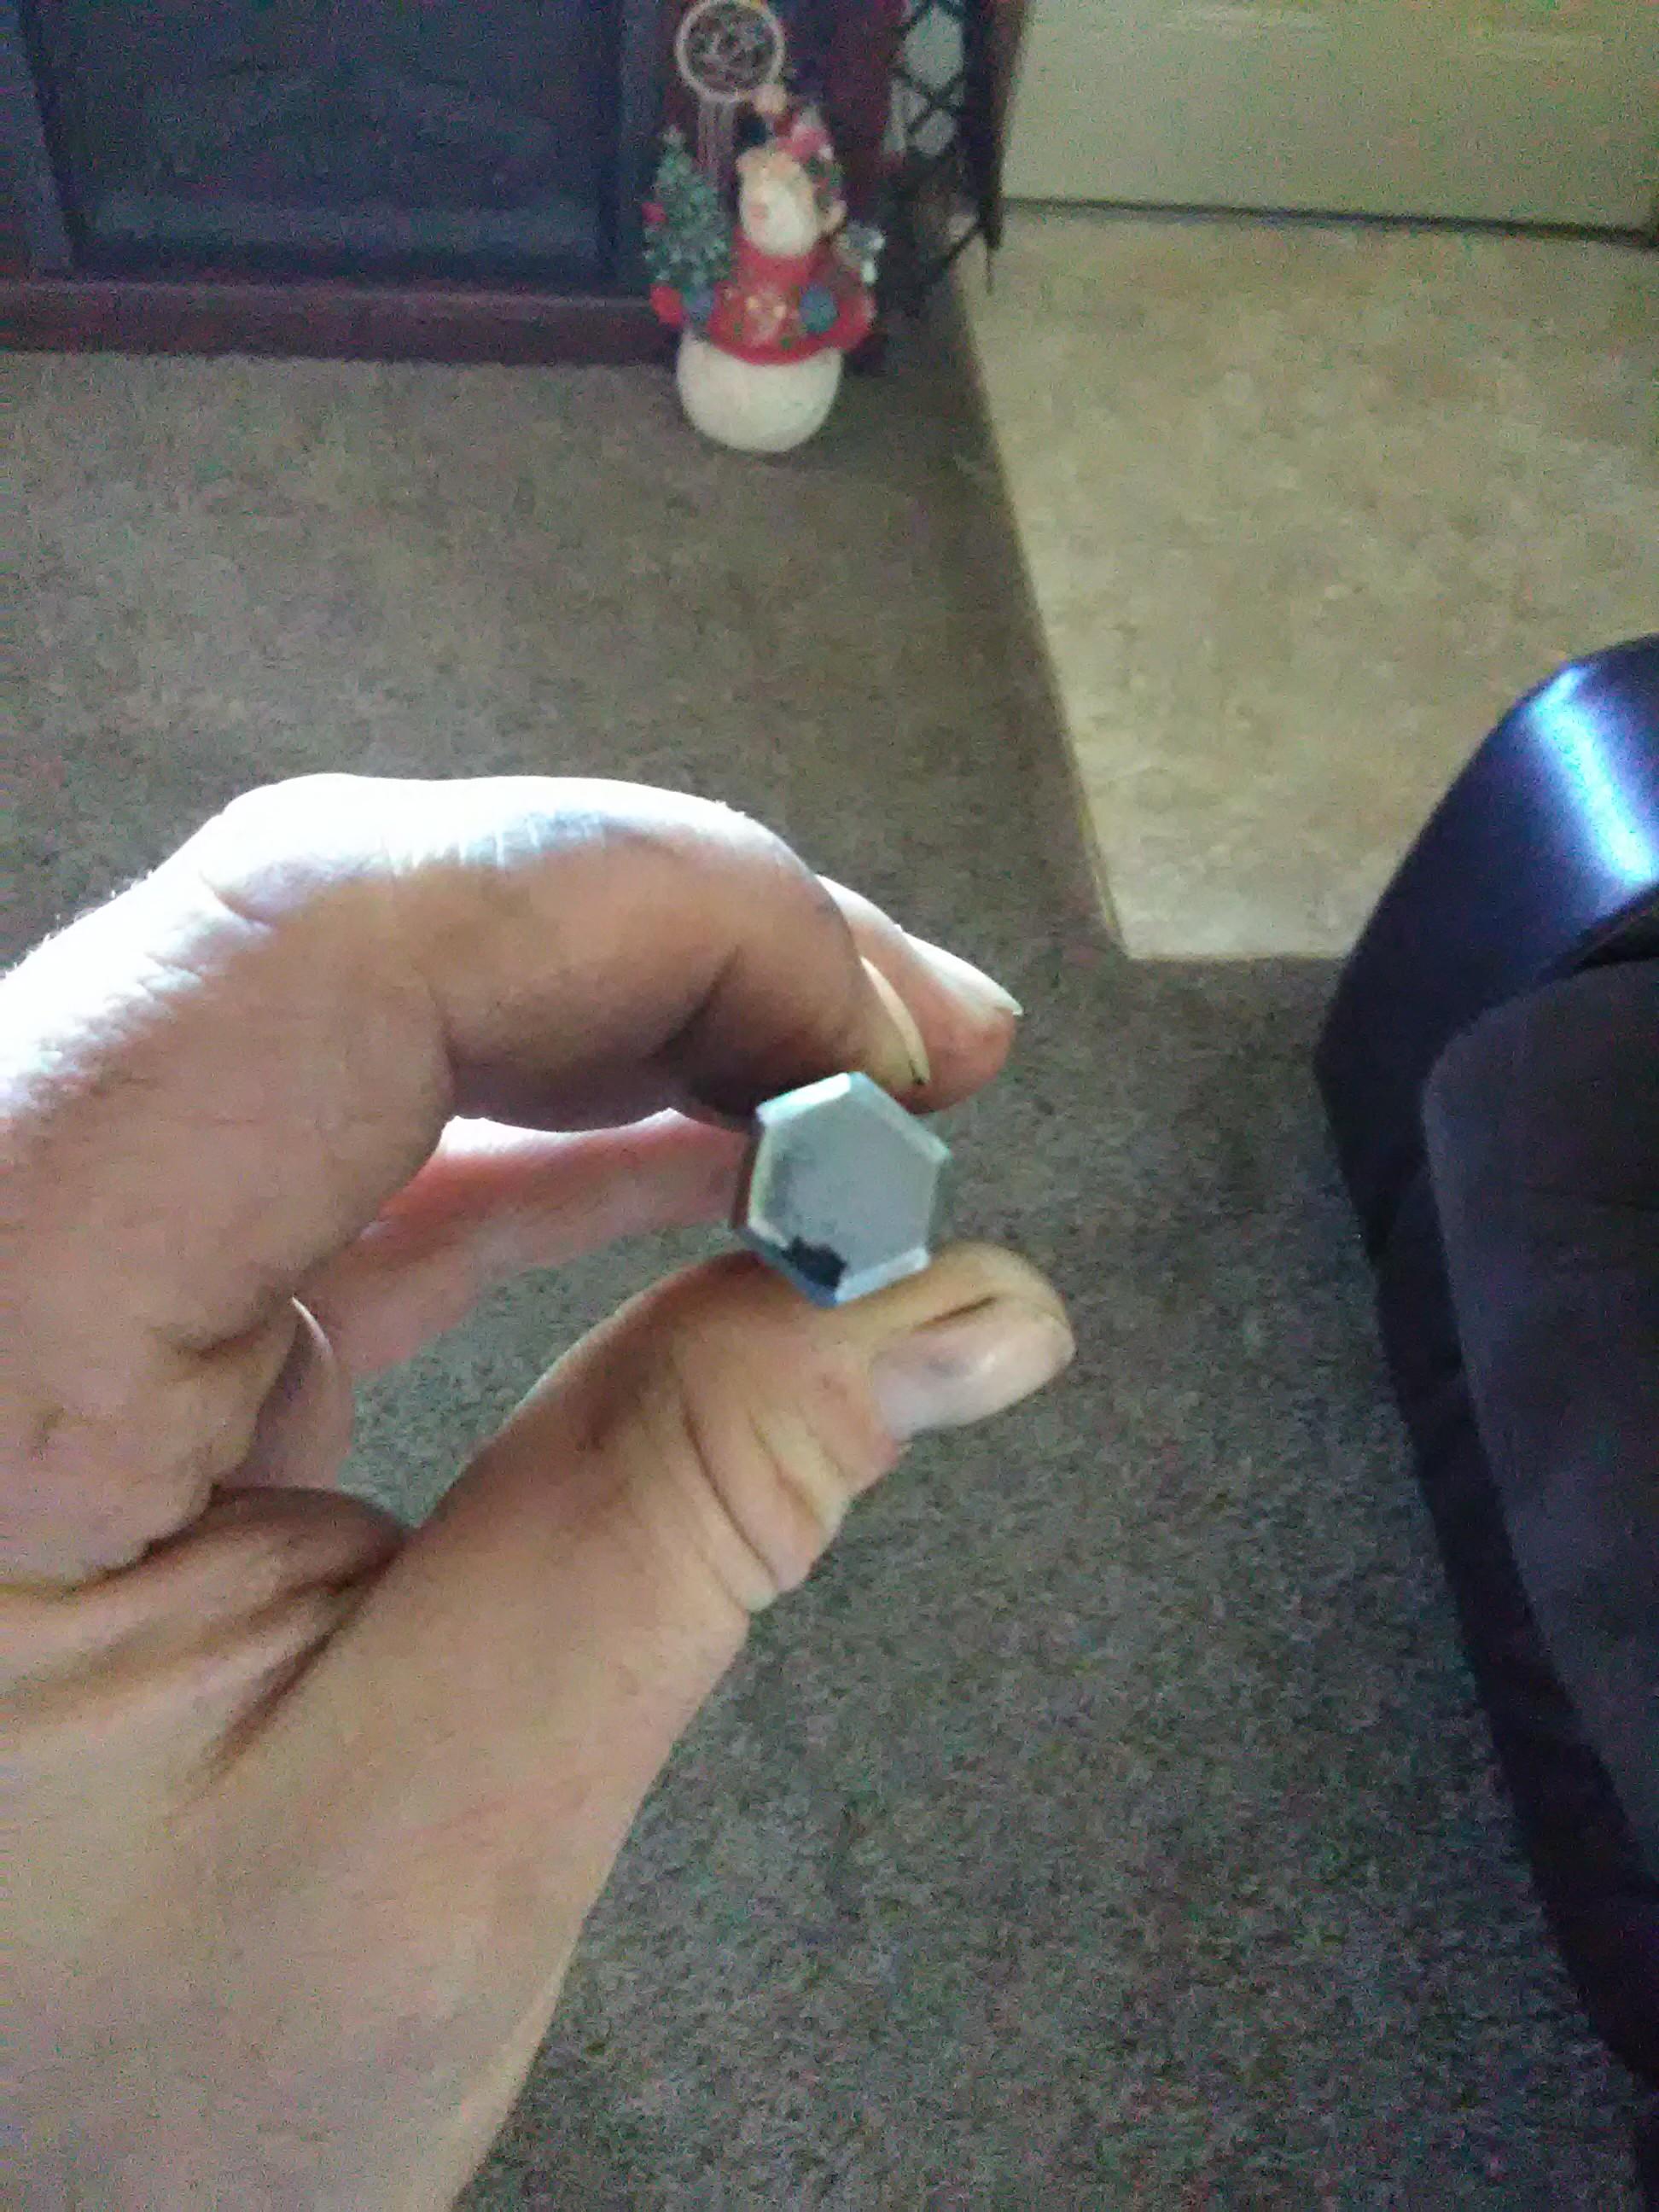
I needed a center punch to replace my Harbor Freight one so I decided to just make one. Forged from automotive coil spring. Forged it down to hexagonal, tapered and rounded the point, then of course normalized, quenched and tempered.