forgemaster
Members
-
Joined
-
Last visited
Everything posted by forgemaster
-
Hi I've been a ticketed welder for most of my trade career as well as a tradesman blacksmith, I have had in that time weeks upon weeks upon months of welding experience in all situations, indoors and out, on the ground and in the air, on dry land and on the water and I still have not been able to crack the stick pipe pressure welding classification of the pressure weld regime. If you can crack it in 5 days straight from being a fax machine peddler, then you are truly "a better man than I Gungadin".
-
The bigger the material usually the easier it is to fireweld as it keeps its heat longer, it takes more work to forge the job and longer to take to welding heat and do the scarf but it makes for an more successful fireweld, I'm hopeless at firewelding 1/4 dia rod but I'm fairly successful at welding anything over 3/4 dia. As noted make your weld on the end of the link, they only used to weld on the sides when it got up to about 1 1/2 dia and over.
-
Ironfest is on again this year same place (Lithgow Showground Lithgow NSW) dates this year are going to be April 22 and 23rd 2017 with a preview on the 21st (friday arvo). Anyone who wishes to call them selves a blacksmith needs to attend this event as it is fast becoming the biggest gathering of blacksmiths in NSW anyway. For info on the weekend use the contact details already posted in this thread for the last few years. http://www.ironfest.net/ See you there. Phil
-
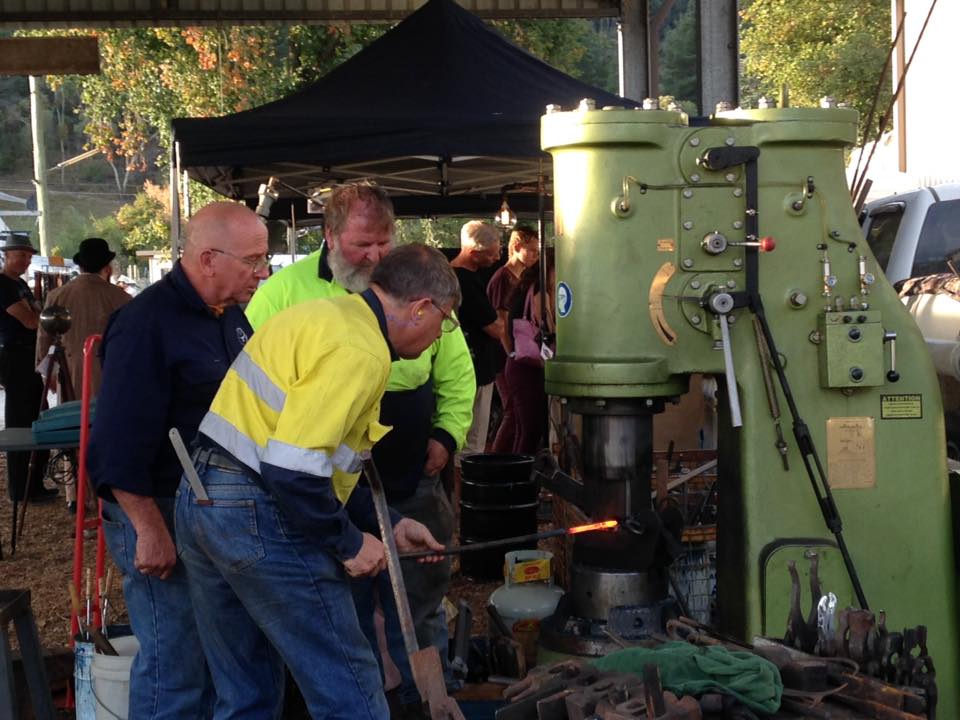
You will need to pump it. Often. As I also said on the face book power hammer page, these things love oil and grease. Make sure you give them heaps of it. We have fitted a grease line going to the little end to all the hammers with slides that have come through our workshop. A few pumps with the grease gun every hour or so when you do another oil round and those bearings will last forever.
-
We have a few tools in the shop that have the broad arrow on them, I tell the apprentices that they were made by convicts that came out on sailing ships in chains. So far they have all believed me for a year or two.
-
-
I don't know if I said it before or not, but it is a good idea to leave the pockets on the ends of the bolt tubes long enough so there is still room if you break a head off a bolt after a while, to get another bolt in there without having to go fishing for the broken off head in the bottom of the pocket. Don't ask me how I know that this is a wise move.
-
Turned down quite a few forging jobs now, glad I did too, been told a few times now, "its not the jobs that you turn down that send you broke, its the jobs that you accept that do that". Last one turned down was a job for tension bolts, turnbuckles and eye bolts for a restoration of an old wooden bridge out in the South west of NSW. The customer even wanted to know at the tender stage the frequency of rest stops, the route taken, the tare weight, the emission controls etc etc that the truck delivering the finished forgings to the job site was going to have, at the tender stage!!!! I figured that that was one job that we could do without.
-
-
Try heating one with the oxy to dull red for about an inch back from the end, oil quench till cold, then burn the oil off with the oxy. Test. If Ok do the rest the same way. Phil
-
Great............ so happy for you. Punches for what? What sort of facilities do you have to HT? What size are they? Are they 4140 or are they just "chrome moly" (which could also be spring steel). More info and maybe we can help you. Phil
-
Where abouts do you live Ian.
-
Hi Mullsmith I'm going to add my 2 bob. You are asking very specific questions that you want to paint with a very broad brush. I can tell you that we make a job here that is what we call a chain anchor, I can tell you that it takes 23kgs of 4140 and I allow 2.5 hours (one man) to cut it, forge it and heat treat it. That will mean nothing to you, you don't know what equipment I have at my disposal, you don't know what I have in the way of materials handling, you wouldn't even know that to make this job worthwhile in the ways of shop rate we normally forge these in batches of 10. I can give you information re the questions that you have asked, but as others have posted, that info is useless to you unless you have an idea of how long it will actually take "you" and what it is going to cost "you" in materials and consumables or a job/item similar to what I am making. Not only that but the sort of jobs that we are making would have very little bearing on the type of work that you are seeking to do, although you have asked us to "come one, come all". Do some more fiddling in the workshop, get an idea of what sort of items you are going to make, work out what it costs you in labour, materials, fuel, grinding discs etc. Then come back and ask those of us on the forum, "Guys I can make 10 of these in a day using a solid fuel forge, by hand on the anvil, on my own completed using x amount of stock and using up x amount of consumables. Is this comparable to what you guys have found"? You'd get a more realistic answer from us then. Good luck with the little tacker too, if this is your 1st you wont know what hit you. Phil
-
Had to go anyang this year, the massey is now bolted to the floor at monsters place.
-
Ironfest for 2016 done and dusted. Next year should be even bigger. Its getting billed to be the biggest blacksmith gathering in the Southern Hemisphere.
-
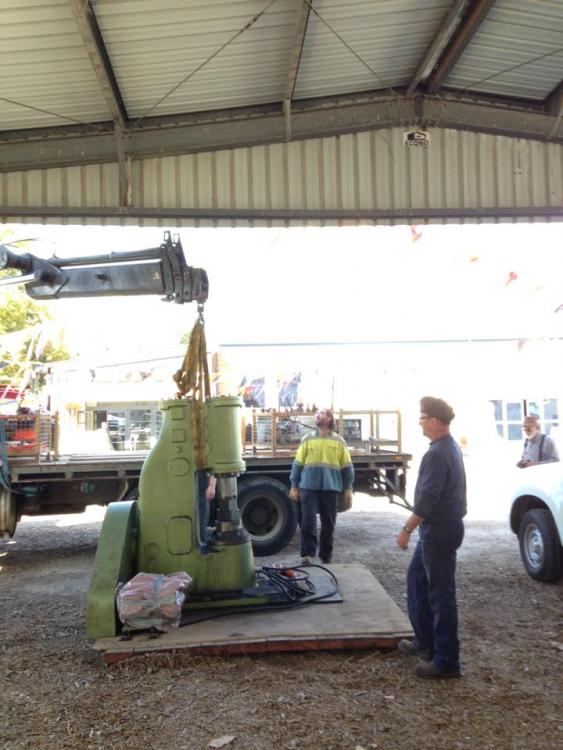
Hey Beaver Book says foundation is 1955 long x 1220 wide x 1200 deep. You'll have to work out the size of the recess to cast into the foundation to take the anvil yourself, as the book says nothing about that. (these dimensions are for ordinary good ground capable of holding 1.5 tons per sqr foot). We have not ever gone for high strength concrete in hammer foundations nor have we put any reo in either (that's up to you as to whether you want reo or not). The holding down bolts we have always installed in pockets cast into the foundation. We make the bolts so as they are removable to facilitate placing the hammer onto the foundation, and it also allows some horizontal movement with the hammer to line the dies up. What were you thinking of putting under the anvil? The proper matting, timber or something else? To lube the hammer once it is running pump grease into any bearing fitted with a grease nipple, fill the crankshaft journal oil reservoirs with oil, fill the oiler with oil and pump it into the hammer. That's about it, we use what is called a "crosshead engine oil for our hammers (only cause we got about 5 44s of it for free). Phil
-
-
Is the relief valve missing or is the unloading valve missing? I'm confused. A photo would help lots. When we want short dead blows on our 2cwt alldays we will partially open the unloading valve to blow off some of the air, giving us a nice short controlled dead blow. What is the home made flap valve made out of?
-
Hard to see from the photo but the break looks nice and clean, however it looks like I can see where the break has started from the small grey edge leading into the fracture. Radii are you friend here. Avoid sharp internal corners where your jaw meets the eye. When you have finished your tongs normalise the whole thing as best you can. (ie take to a blood red viewed in subdued light and allow to cool in still air) One point to make about allowing to cool after normalising is make sure you put it where there is no air currents, it needs to be still air, eg don't sit them in the doorway. We normally make all our forging tongs from mild steel or 1045. Phil
-
As JC said drive rivets, or tap the hole and screw in a bolt tight with some thread locker on it. Once the thread locker has gone off, cut the bolt off with only about 1/4 to 5/16" left sticking out, then cold rivet the bolt left sticking out onto the spring to hold it.
-
Almost all of these types of springs (garage door springs etc) are heat treated in the straight form then rolled into a spring cold. If you need to pull a new eye out of the end it must be done cold. Using brute force is the best way I've found of doing this. Getting the eye hot will surely result in what has already been described, it will eventually break again. If you try to re heat treat the entire spring that does not work either as the spring has then lost its "tension". Try it and you'll understand what I'm saying. Phil
-
You can apply this further, why bother cooking at home, because you can just go out and buy food already made for you to eat. The answer is because you can't always buy what you want to eat that day, you can not always afford to buy food out, and sometimes (most of the time) the food that you cook at home is just so yummy and better than food bought out and it is normally great fun to cook it yourself. Me, I blacksmith because its my job, it sends my kids to school, pays my bills, and puts food on the table. How many more reasons do you need?
-
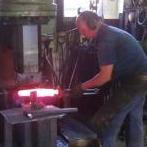
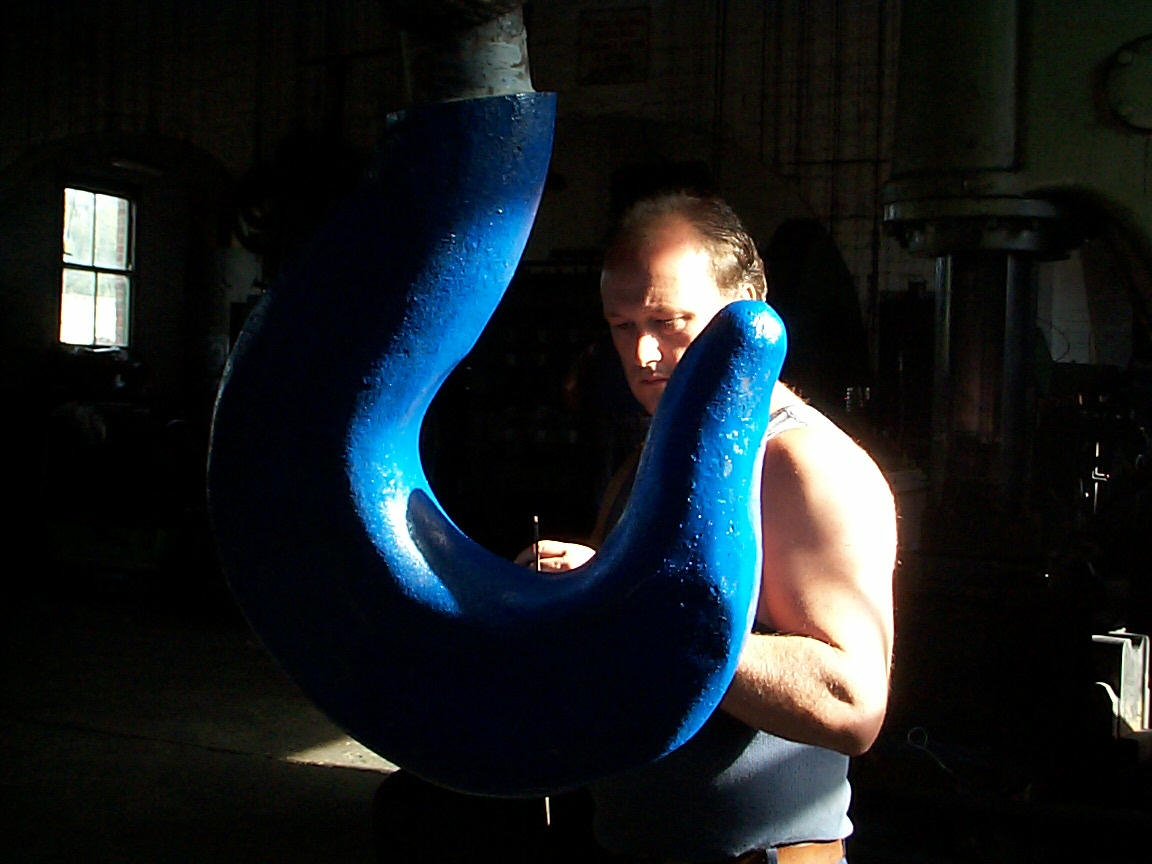
Does this qualify? Its a hook, and we made it.

-
Dont rough it up with a grinder that will only cut down on your amount of bearing surface. As mentioned you need to have the majority of the key providing a bearing surface, yes to blue, or we even use a black permanent marker to colour in the surface of the key if we don't have any "bearing blue". I also vote for the shim of soft material, we use steel strapping strip to take up most of the slack, but we also include a strip of Aluminium, to deform and as said its a little sticky.
-
I bought a second hand electric furnace from the place where I served my apprenticeship (they were closing down), it allows me to heat bars up to 83 inches, (2.100 metres). I've always got work for it, I have figured out that there are not many HT places that can do up to 83 inches long and have an oil quench bath. Seems that you have confirmed that this is not an Australia only problem. Yes I know that places like Scot Forge can handle this sort of stuff, but places like that are not in every town. Phil