MilwaukeeJon
Members
-
Joined
-
Last visited
Everything posted by MilwaukeeJon
-
Maybe it just will take some time to learn the tool. I've made a number of larger Japanese dog head hammers and they sure felt odd to begin with. However, when I finally got a sense of their distinctive feel and the proper arm/wrist movement to get them in motion, they turned out to be incredibly efficient and unusually powerful precisely because of the front-heavy balance. Not much like a regular Western forging hammer, to be sure, but now a mainstay in my arsenal.
-
Very cool. Hope you know about Rowan Taylor’s wonderful videos about reproducing tools of this sort. Can you say more about the archaeological piece?
-
I've seen that method of starting with a claw hammer or a ball peen. When doing that, what steel do you assume the hammer is made from?
-
Let me know if you come back this way. You know about Cyril Colnik, Milwaukee’s greatest blacksmith? https://www.villaterrace.org/colnik_collection/
-
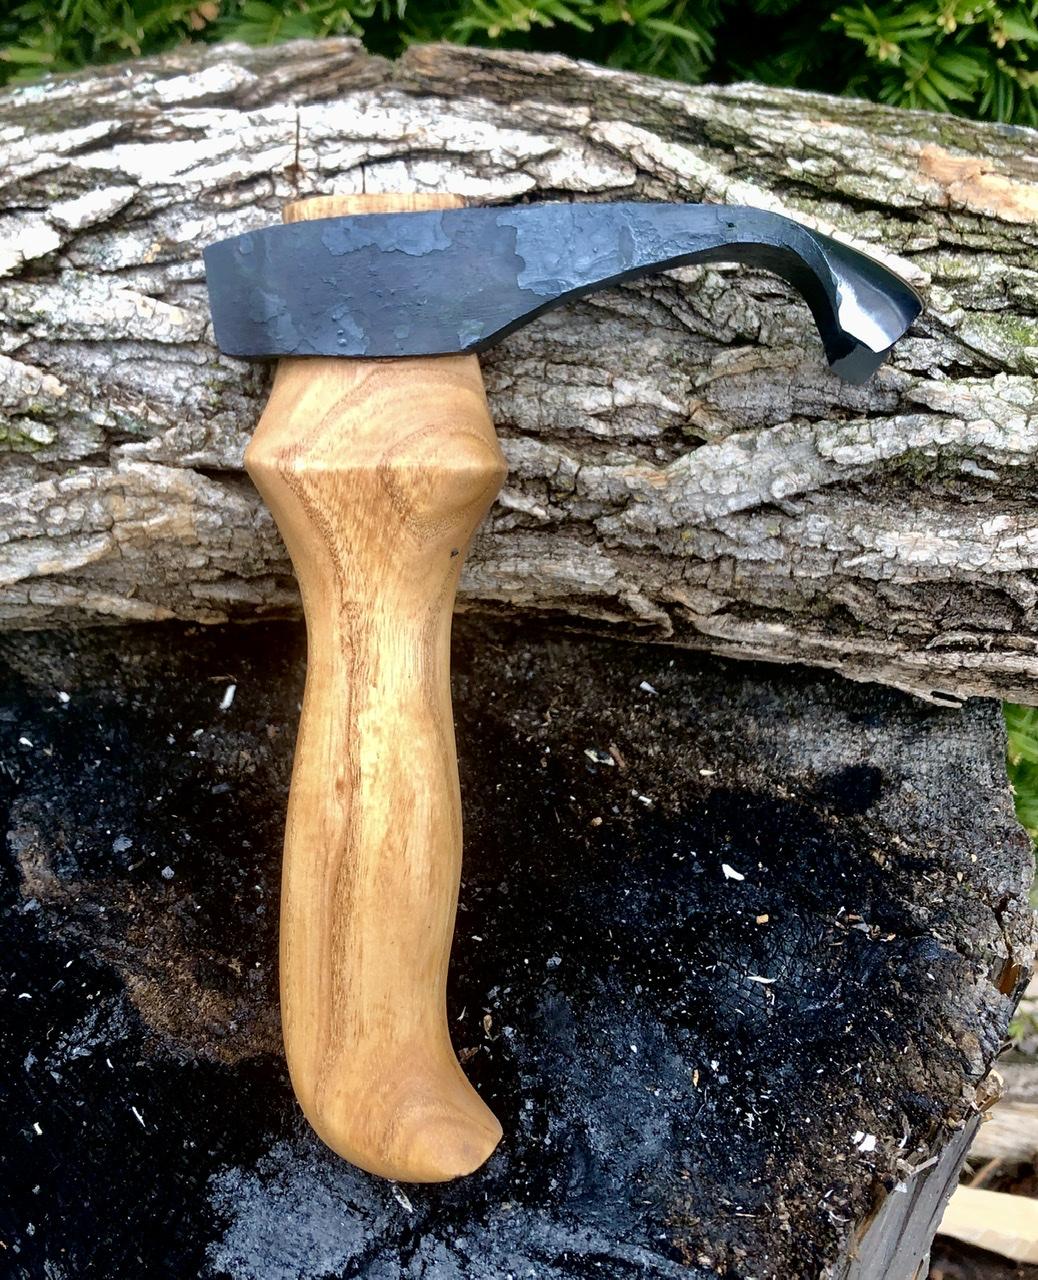
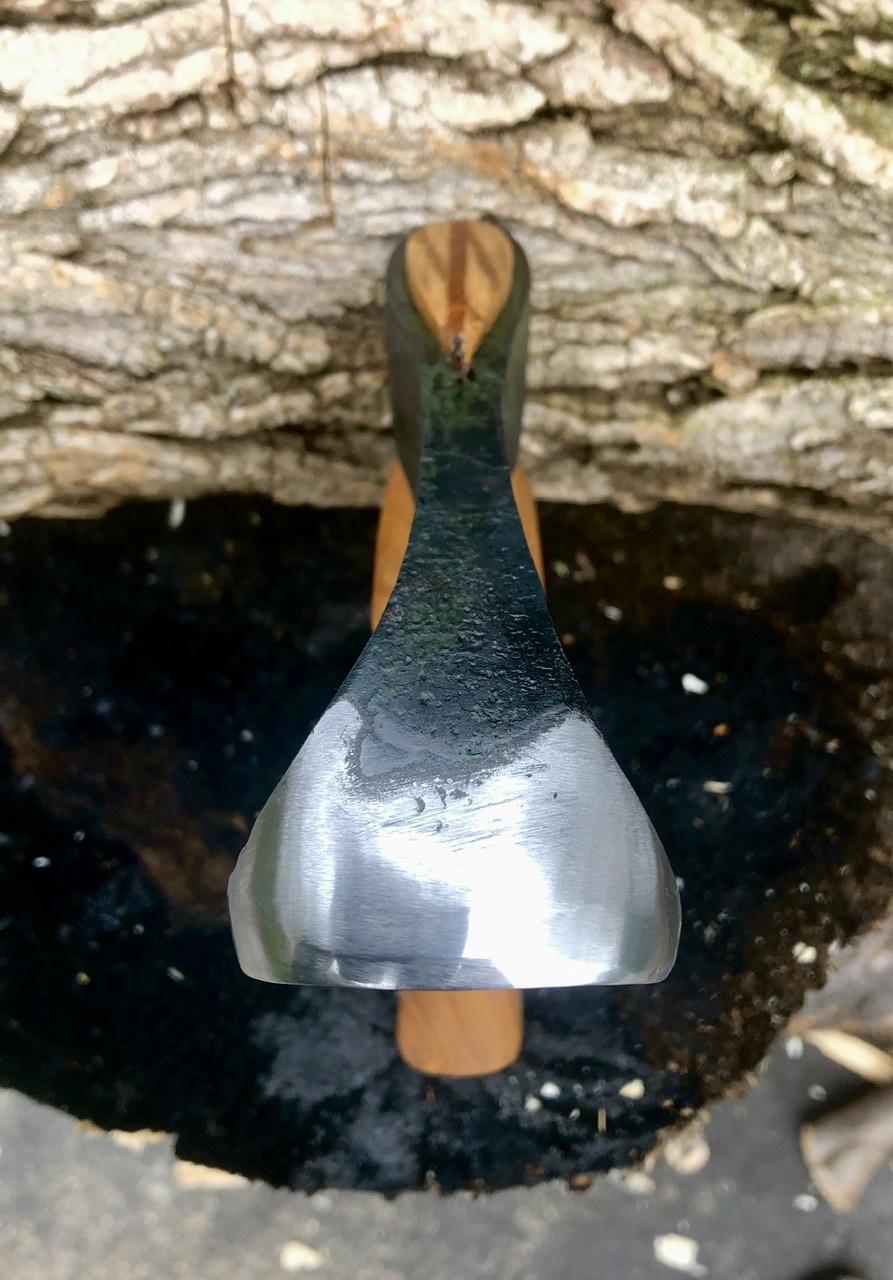
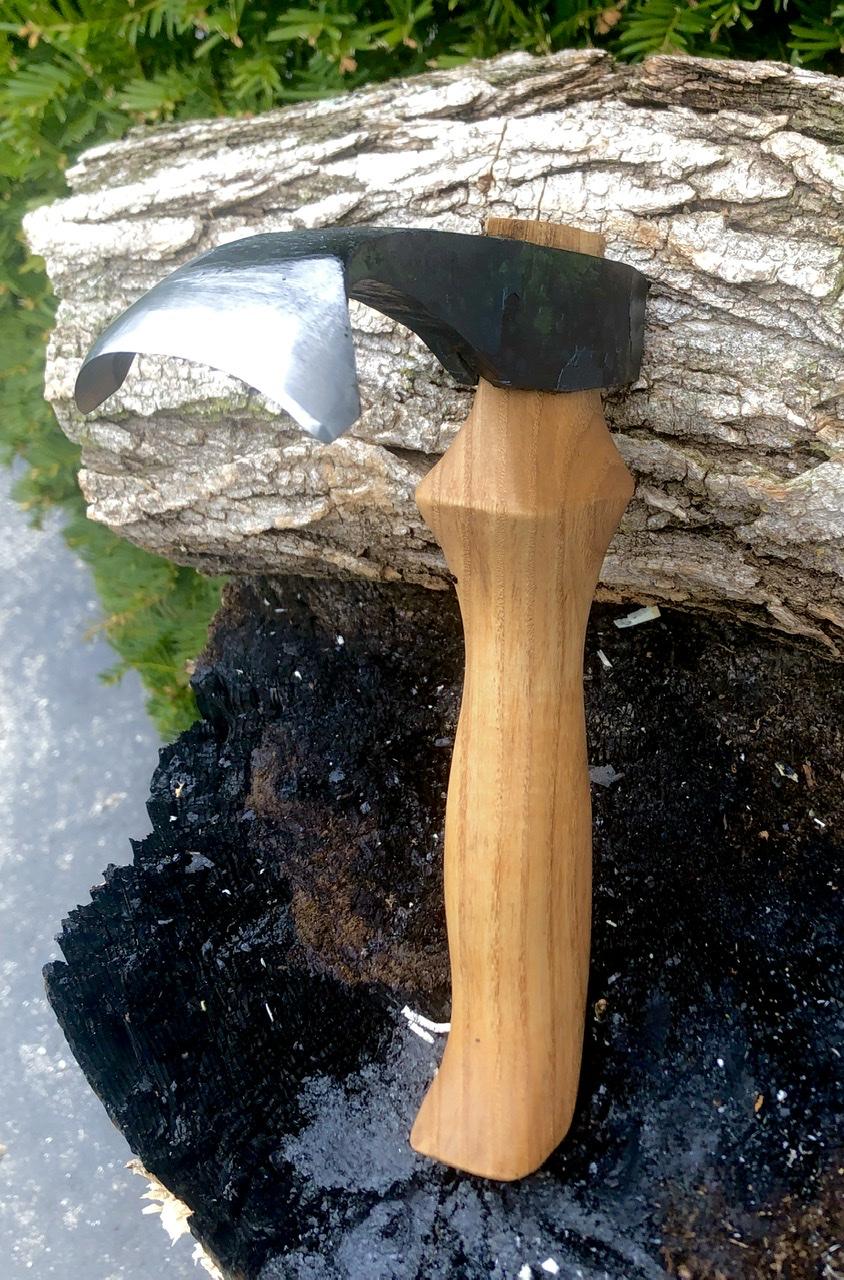
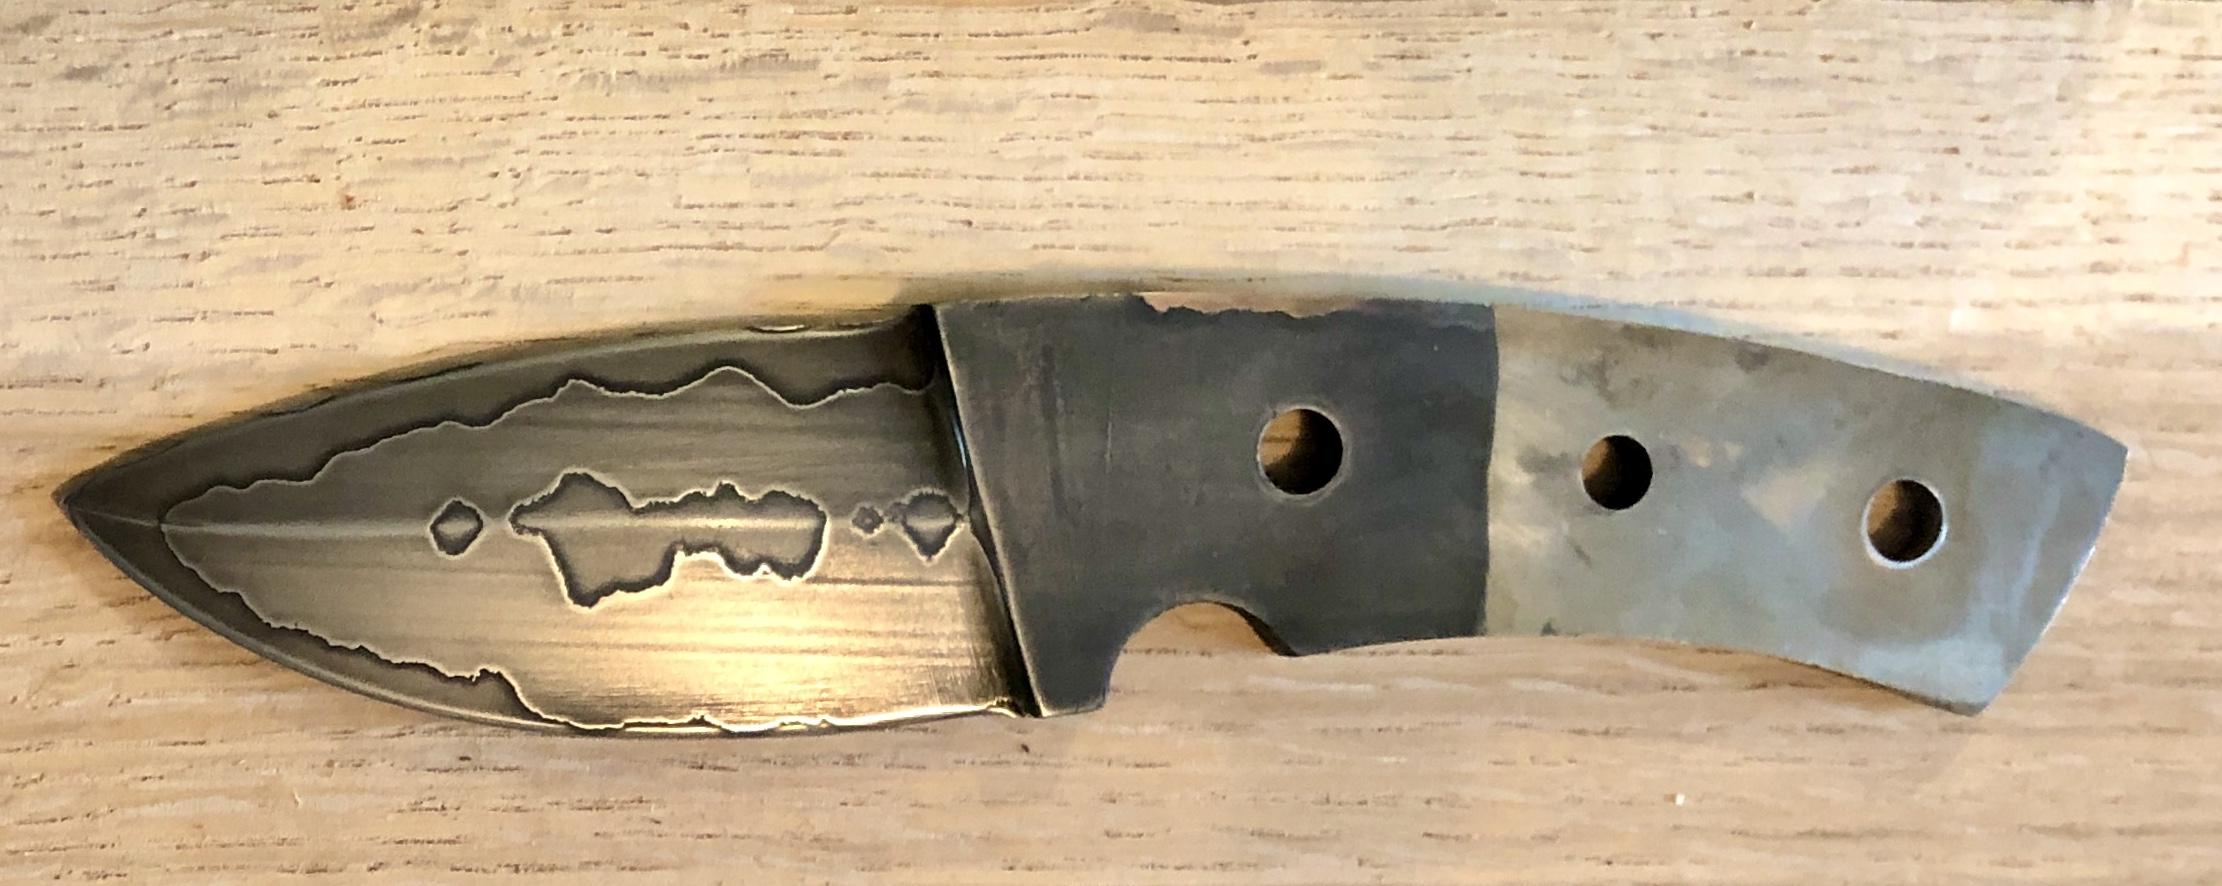
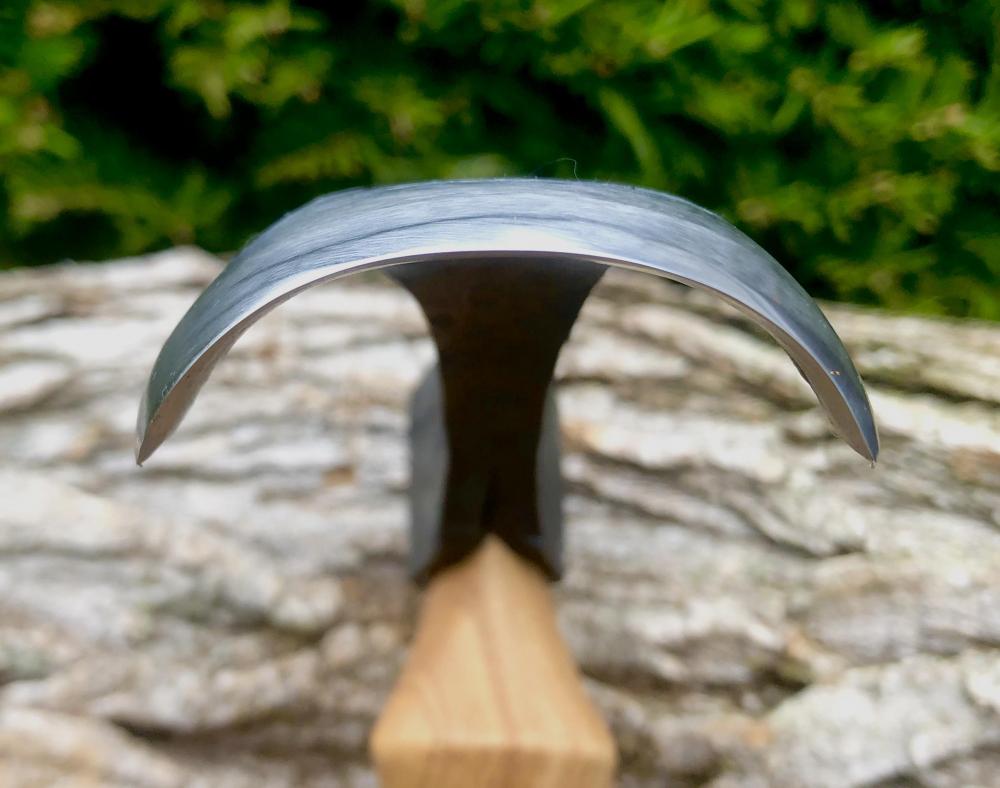
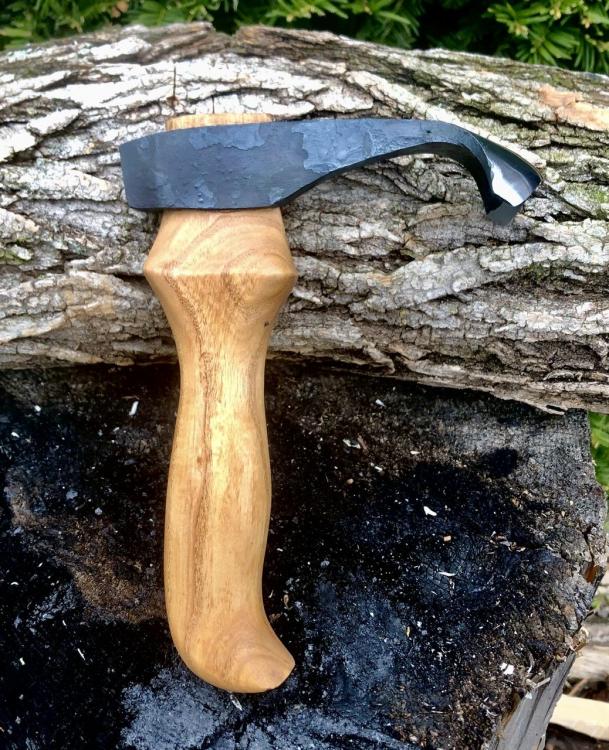
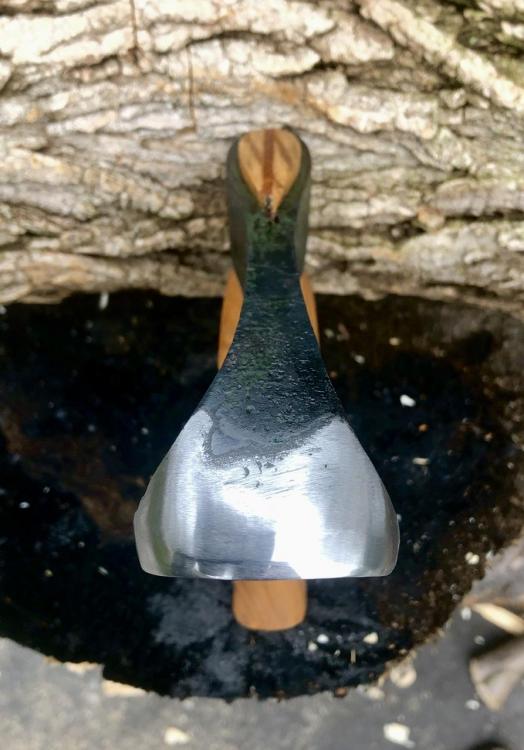
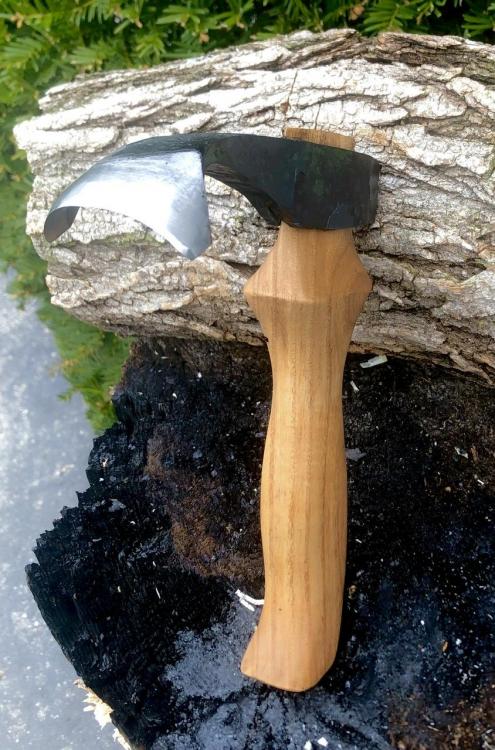
I do a lot of green wood spoon carving so it seemed logical to try making a small hand adze. Based on Hans Karlsson’s 5 cm model. Lots of curves and compound curves....kept me on my toes while forging! Features a 1075 bit forge welded into a 1018 body. The canola quench wasn’t working well so I did a 3 second water quench and then into the oil, which did the trick. From a design standpoint, I definitely learned that the top (outer) bevel has to be quite low in profile for the tool to work right. Otherwise the angle of attack is wrong and the blade bounces off the wood.
-
Lovely bit of work....
-
Lasagna could work, spaghetti not so much.... Certainly the crafting of this gave me some good practice at draw filing!
-
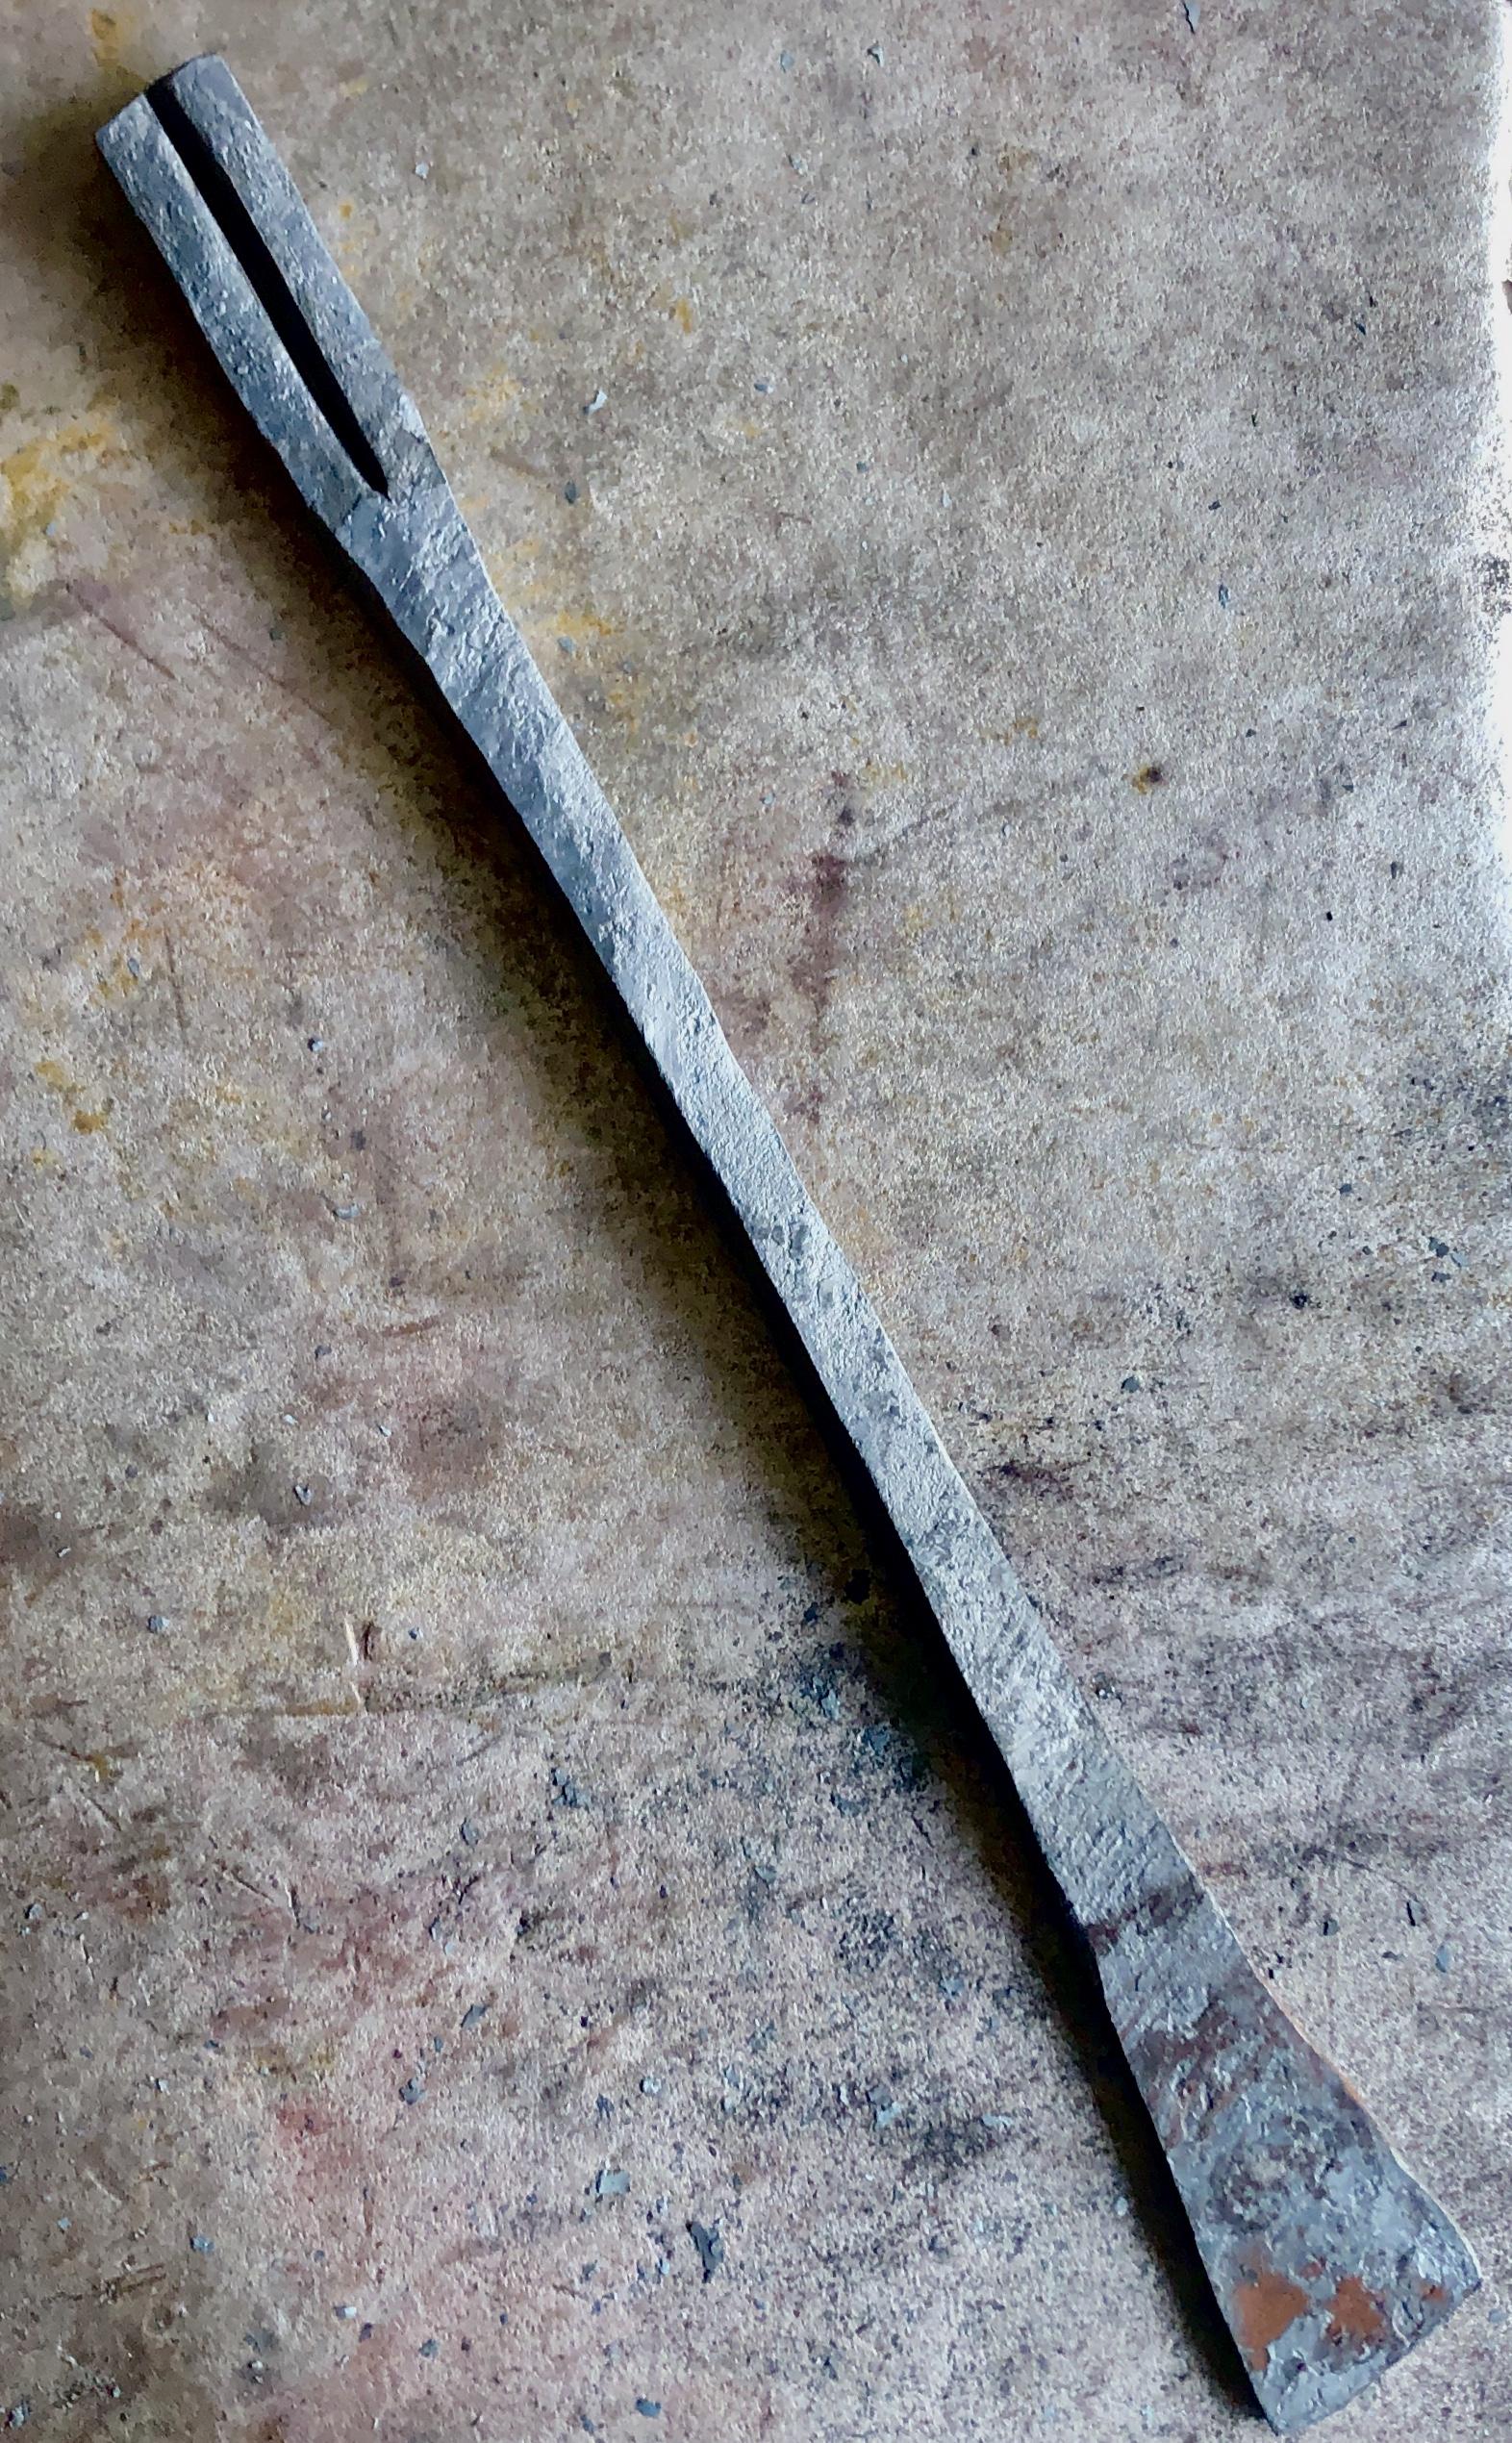
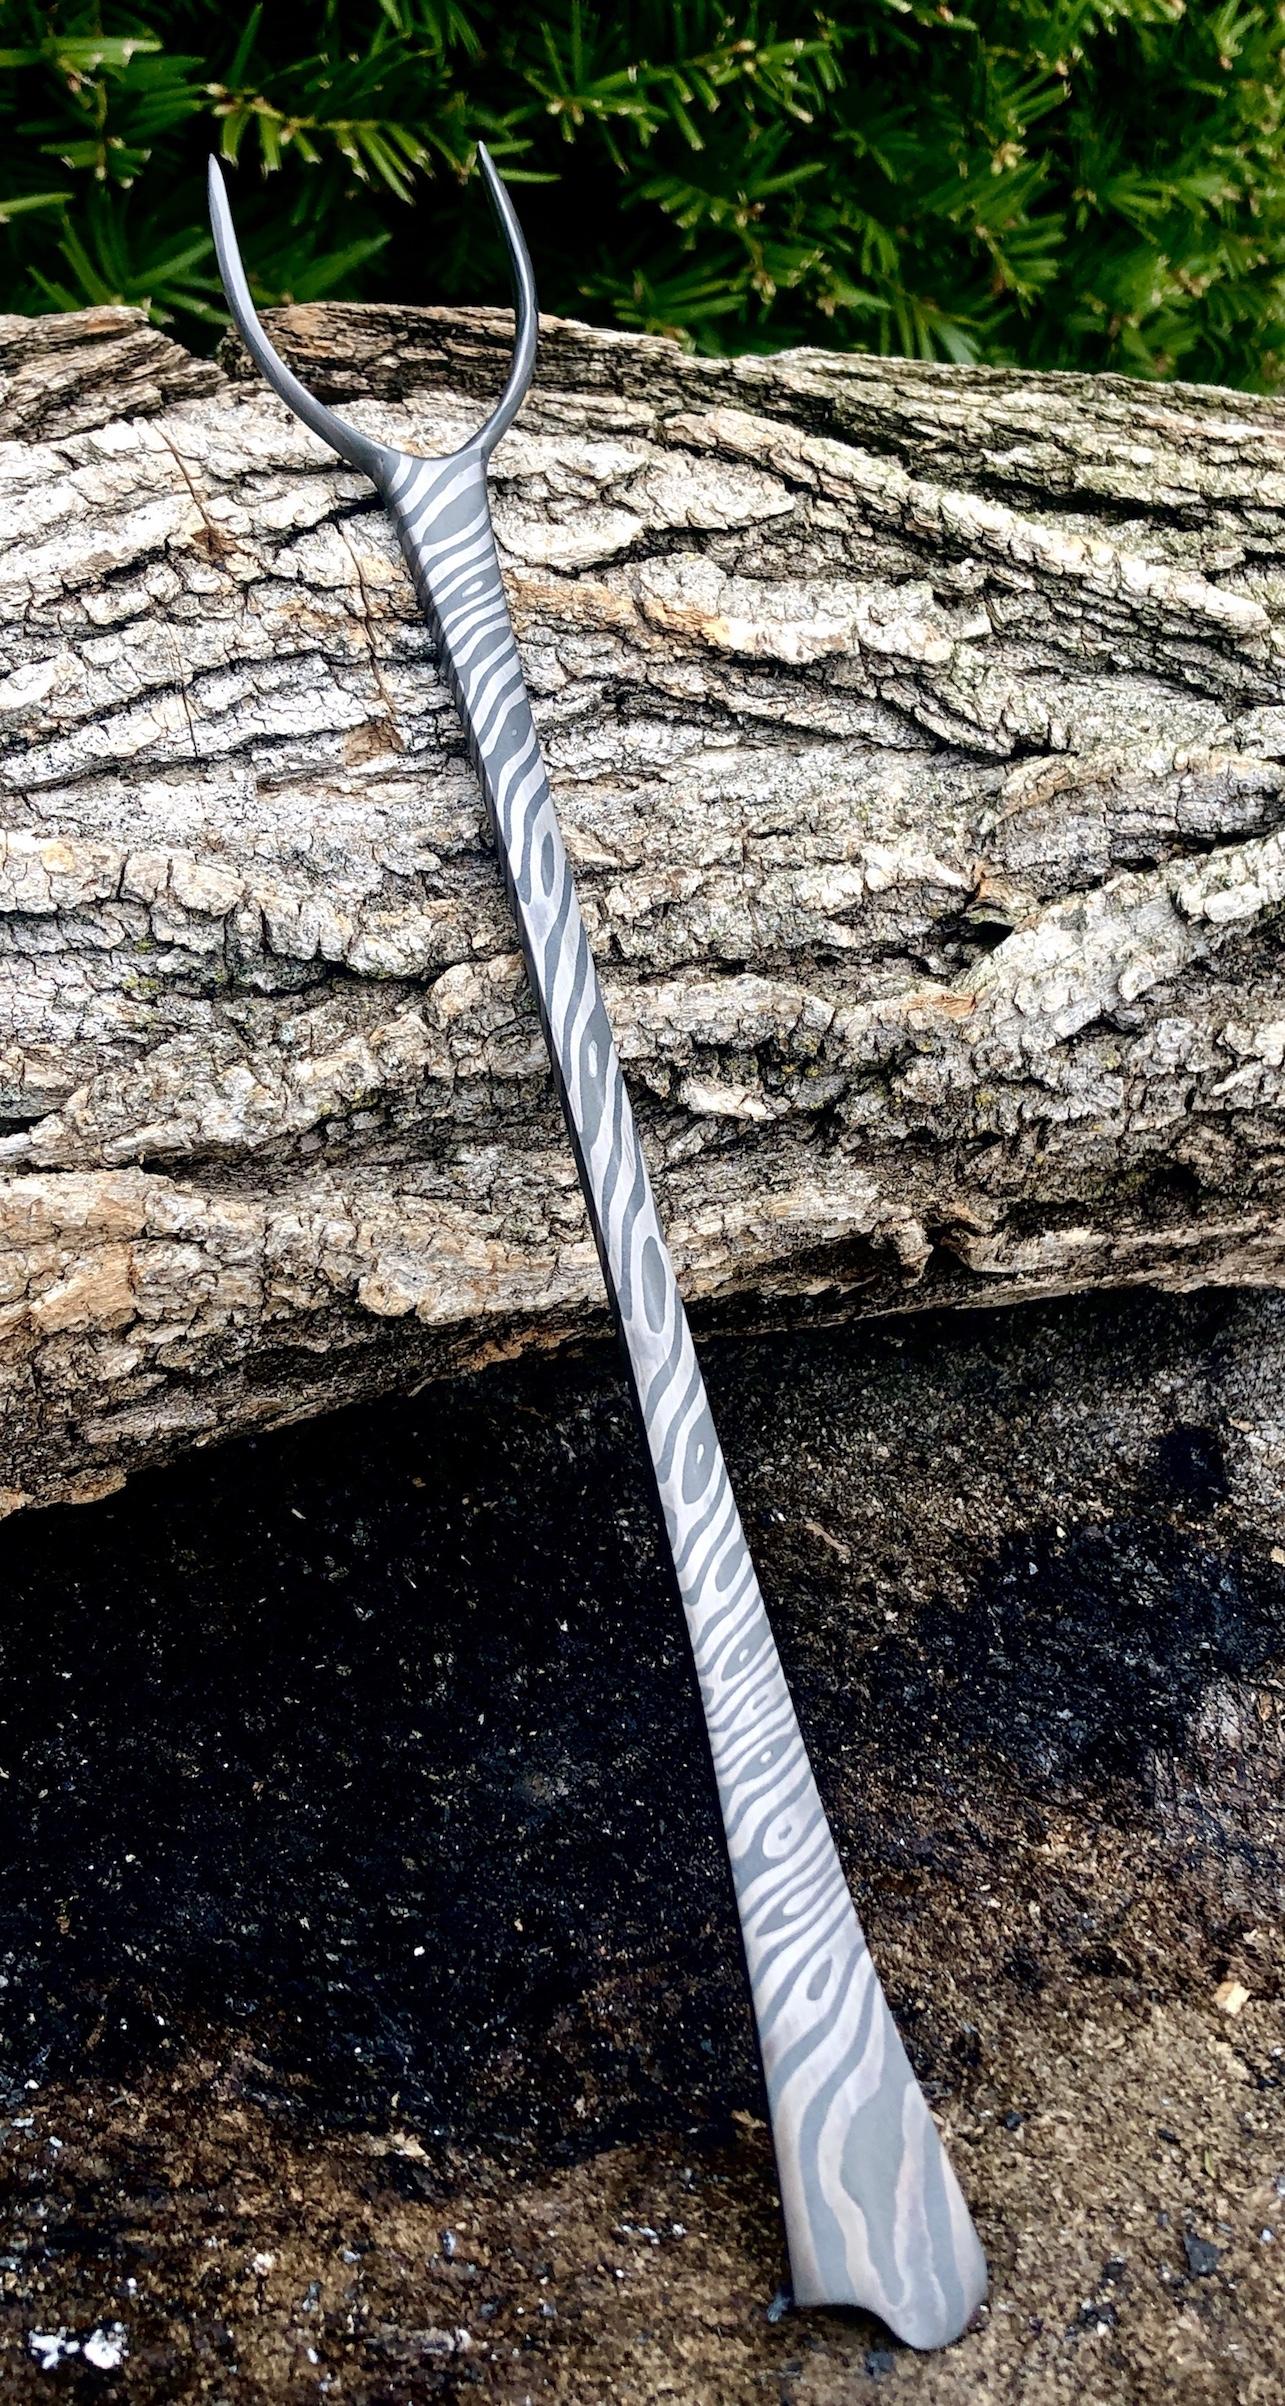
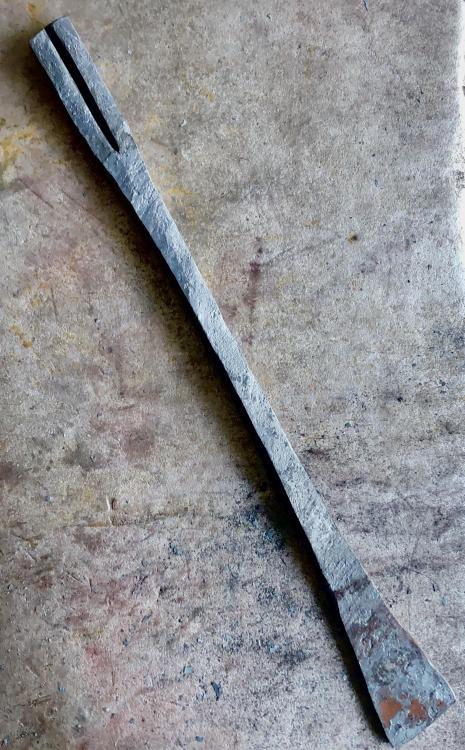
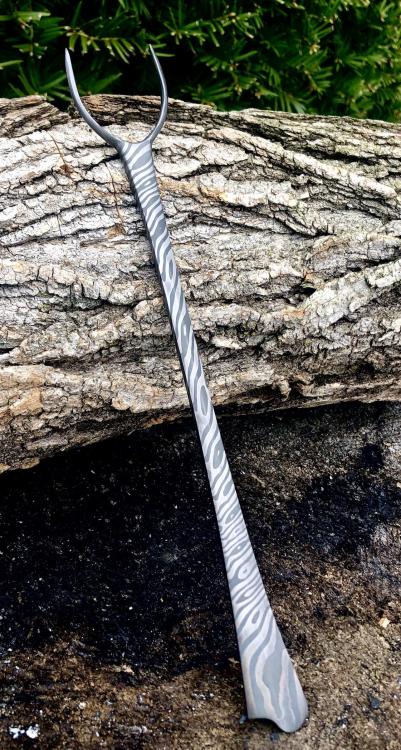
Not sure but I figure Finish and Polish for Forks goes here as well. Had a piece of twisted 15n20/1075 bar laying around so I made a traditional two-tine fork by hot cutting one end and drawing out the other for the handle. Drawing out the tines was a very delicate procedure due to the inclination of the low layer laminate to split. Had to forge weld one tip to get it back to one piece. Did a ferric chloride etch followed by a 5 hour soak in Nescafe (decaf of course).
-
-
The other thing to consider, beyond trying to figure out what alloys you might be working with, centers around what you are making. If you forge weld a lower carbon steel with a higher carbon nickel steel you might get a nice contrasting etch but it also would not make a very useful cutting edge on a knife or chisel. Because I don't have a power hammer and making a billet is a chore, I'm a bit of a chicken about all this and only forge weld with known alloys, typically ones I've bought from one of the major steel distributors used by knife makers.
-
I've read about coating or soaking in WD40 to lock in color after a coffee etch (which I'm doing after a ferric chloride etch as a way to further deepen the visual contrast between the 1084 and the 15n20 layers). Does this actually work well? And the safety question simply is this: Is it alright to use a WD40 soaked knife or fork or ladle for cooking/serving food?
-
Is a WD40 soak recommended after a coffee etch? If so I presume it’s not a good safe procedure?
-
That should help although I've never used a pyrometer. For me, getting successful forge welds simply was a matter of finding a forge that could get my billets up to a bright yellow heat--almost wet, soft looking surface, smoking hot with a little bit of sparking at times. My little WhisperBaby just doesn't get there but my Diamondack and WhisperDaddy do. It was just a matter of me cranking up the flame/psi high enough. I think when I was first learning I was never patient enough to really take the piece up to crazy high heat. Once I did and felt that nice soft tacking weld take hold under my hammer, it was an epiphany!
-
The lathe was made by a great Indiana furniture maker named Randy O'Donnell https://www.finewoodworking.com/author/randall-odonnell And I believe he repurposed the tool rest from a more modern lathe. Amazing how much control you have with a treadle lathe....which combined with my treadle hammer in the blacksmith shop has me doing considerable leg conditioning and cardio workouts!
-
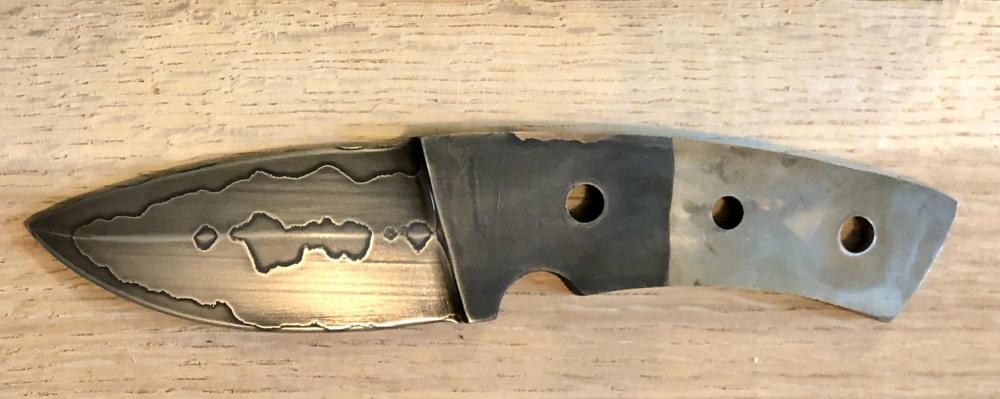
Thanks. San Mai style blades are especially fun.
-
Wonderfully skillful work. Well done indeed.
-
-
I agree fully with Thomas that being able to watch folks at work is fantastic but you will continue to learn a lot from the ongoing trial-and-error aspect of initial forge welding. YouTube was my only source of visual info when first trying to forge weld (and I'm definitely still learning!) and my early failures were very much based on not getting a high enough heat/long enough soak. Once I really got that piece smoking then I could feel the soft welding blows do their thing. And I did certainly overcook some pieces in the process and that was educational too. So do track down a live demo if you can but also keep at it in your shop. One of these days that weld is going to stick and that will be a wonderful epiphany....
-
-
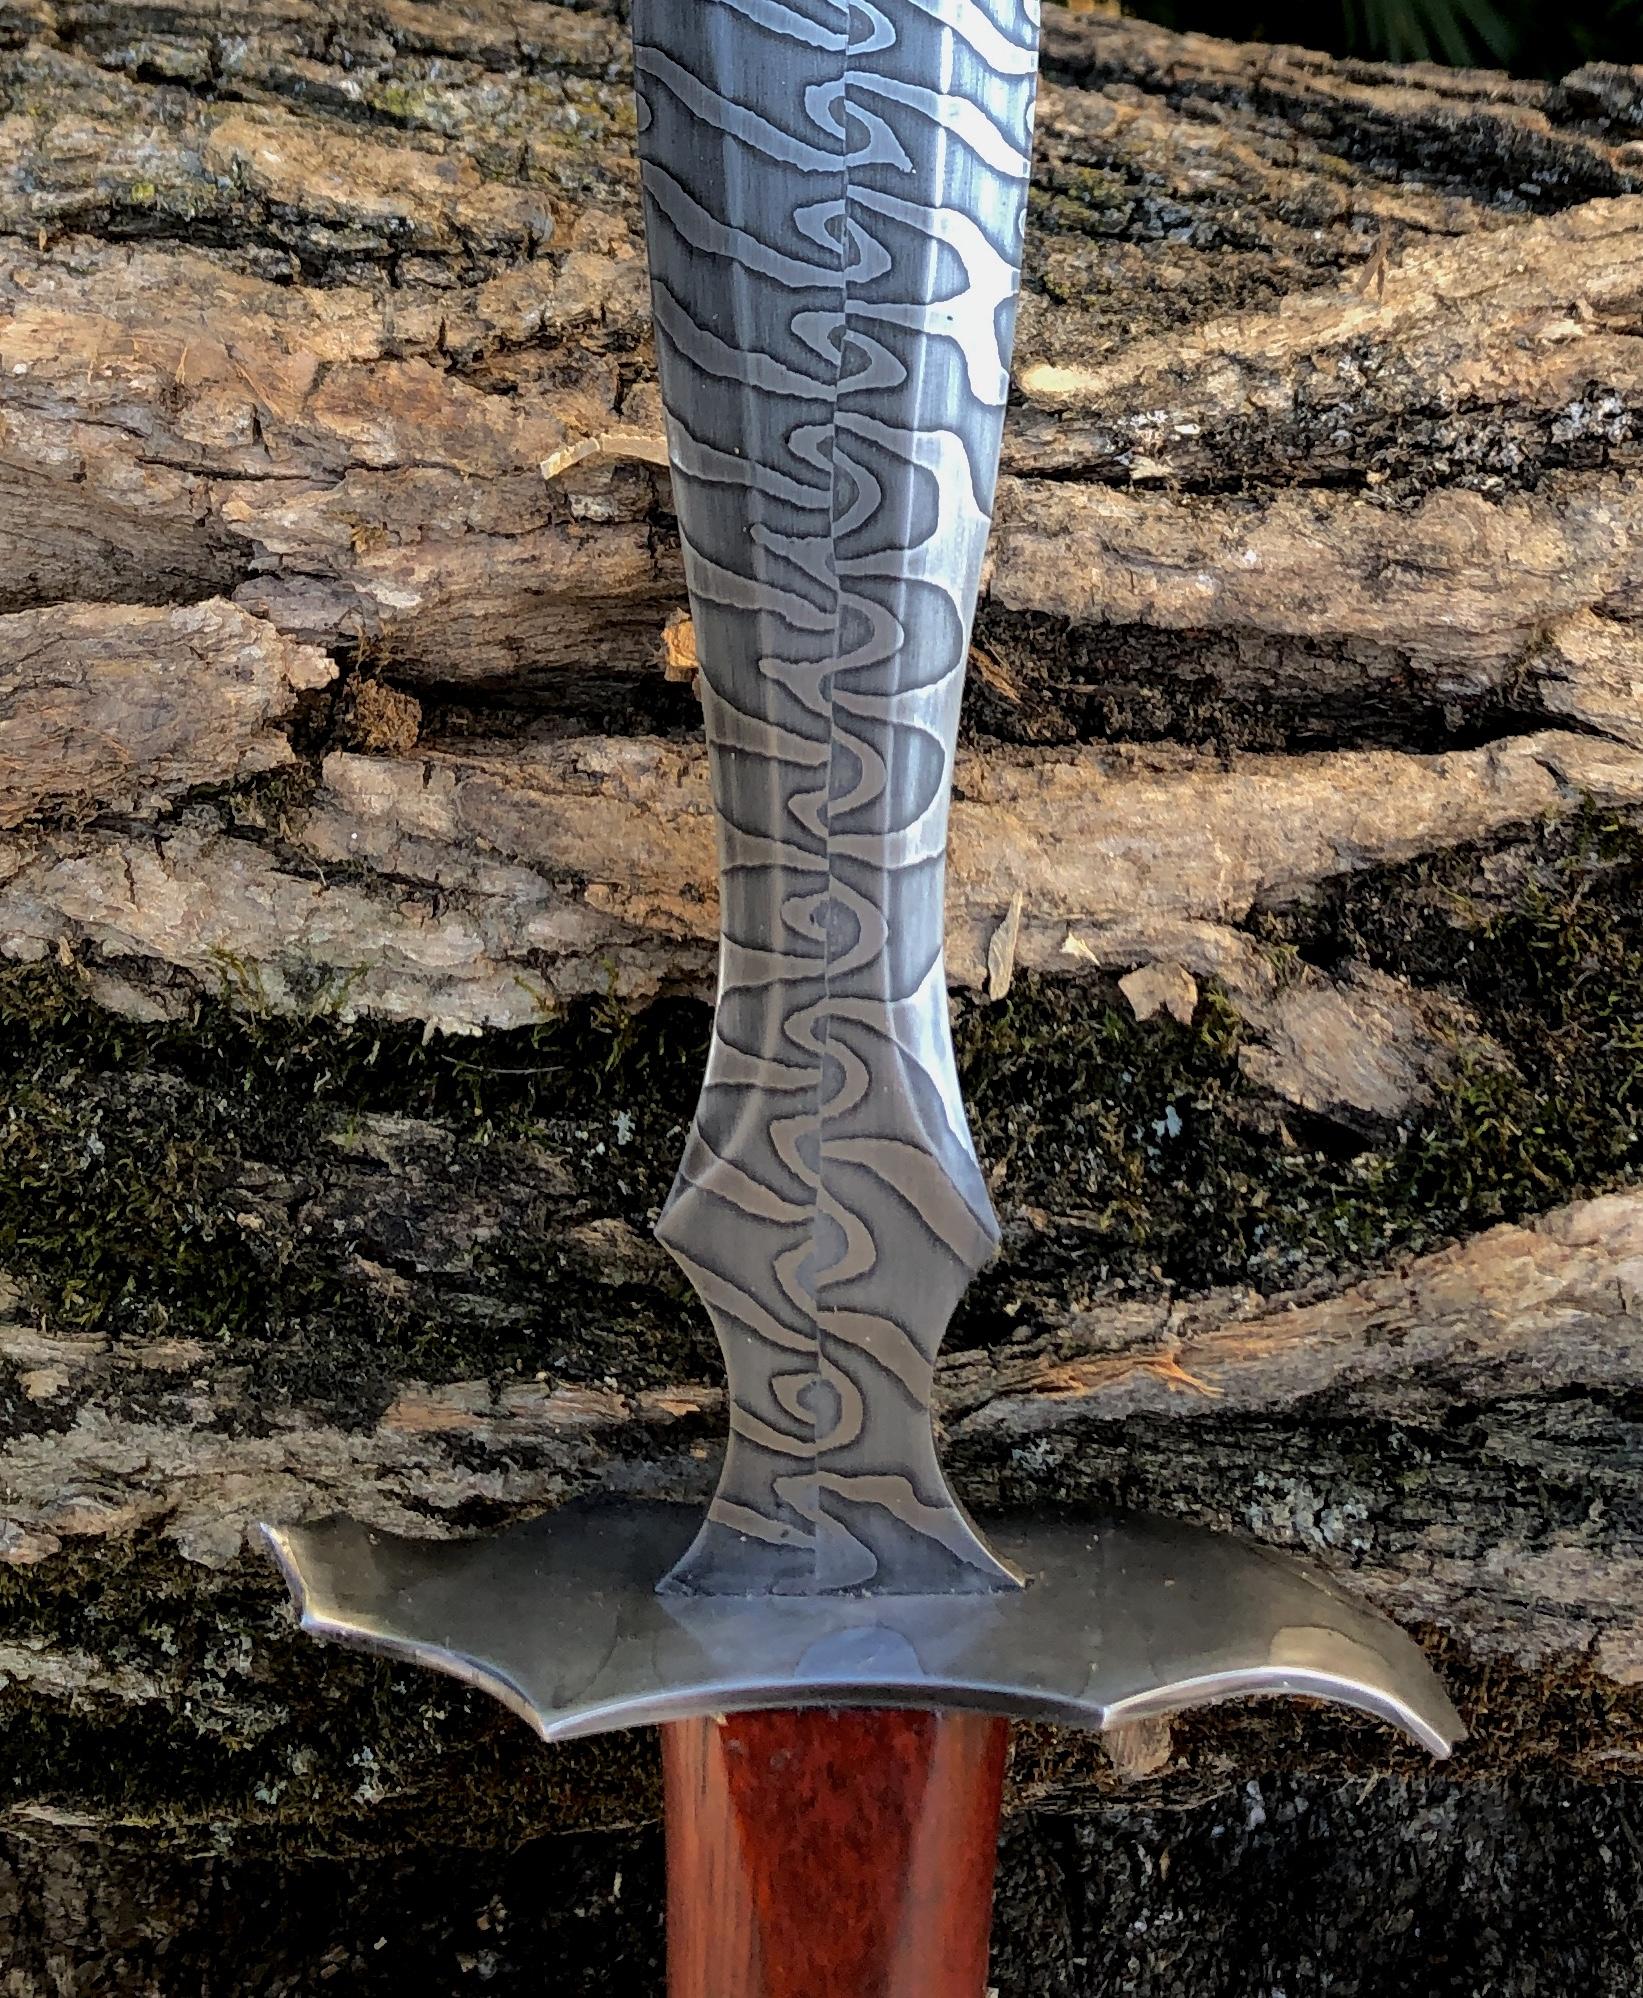
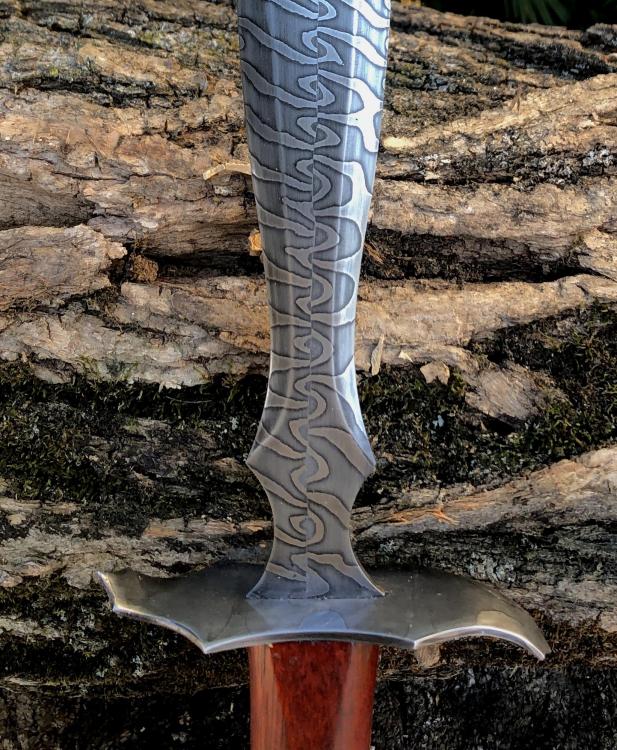
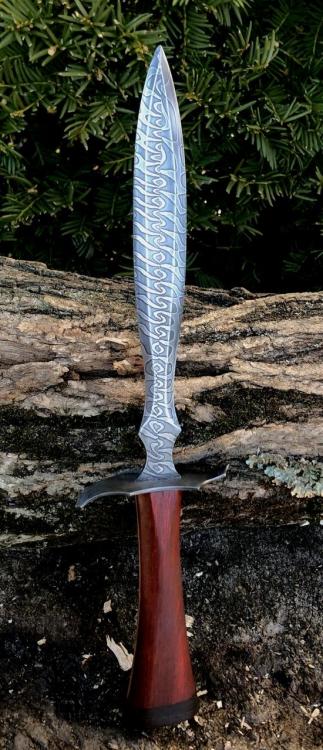
My first attempt at a dagger, for a cousin who requested a “showpiece fantasy blade”. The pattern was somewhat accidental. It consists of two twist bars, same direction, that were about 1/2” square x 7” long and forge welded together. Carefully forged the blade to shape, not wanting to open up the long seam, which after etching revealed a pretty neat pattern. I’ll try more blades like this. By the way, I would like to put up better photos from my iPad but the 5.3mb or so pics wouldn’t upload and these ones unfortunately are much smaller files. Any suggestions?
-
So do you flux the cat or dip it in kerosene before folding?
-
Sounds like you still might not be up to welding temp. I don’t use a thermocouple but have read here that 2350-2400F may be a better range: What kind of forge do you use and what is the gas pressure set at? The billet should be a really bright yellow color, possibly leaning towards a whitish yellow and even smoking a bit, and soft under the hammer for the initial tack weld. You will feel it when it’s right...almost mushy feeling when the weld sets correctly.
-
You should see my blacksmithing shop. I’m way too fastidious and tidy. Heck I actually put all the tools away and sweep the floor after most sessions. I’ll never be a true blacksmith...
-
Man I hope not!
-