MilwaukeeJon
Members
-
Joined
-
Last visited
Everything posted by MilwaukeeJon
-
Remarkable workmanship.....bravo!
-
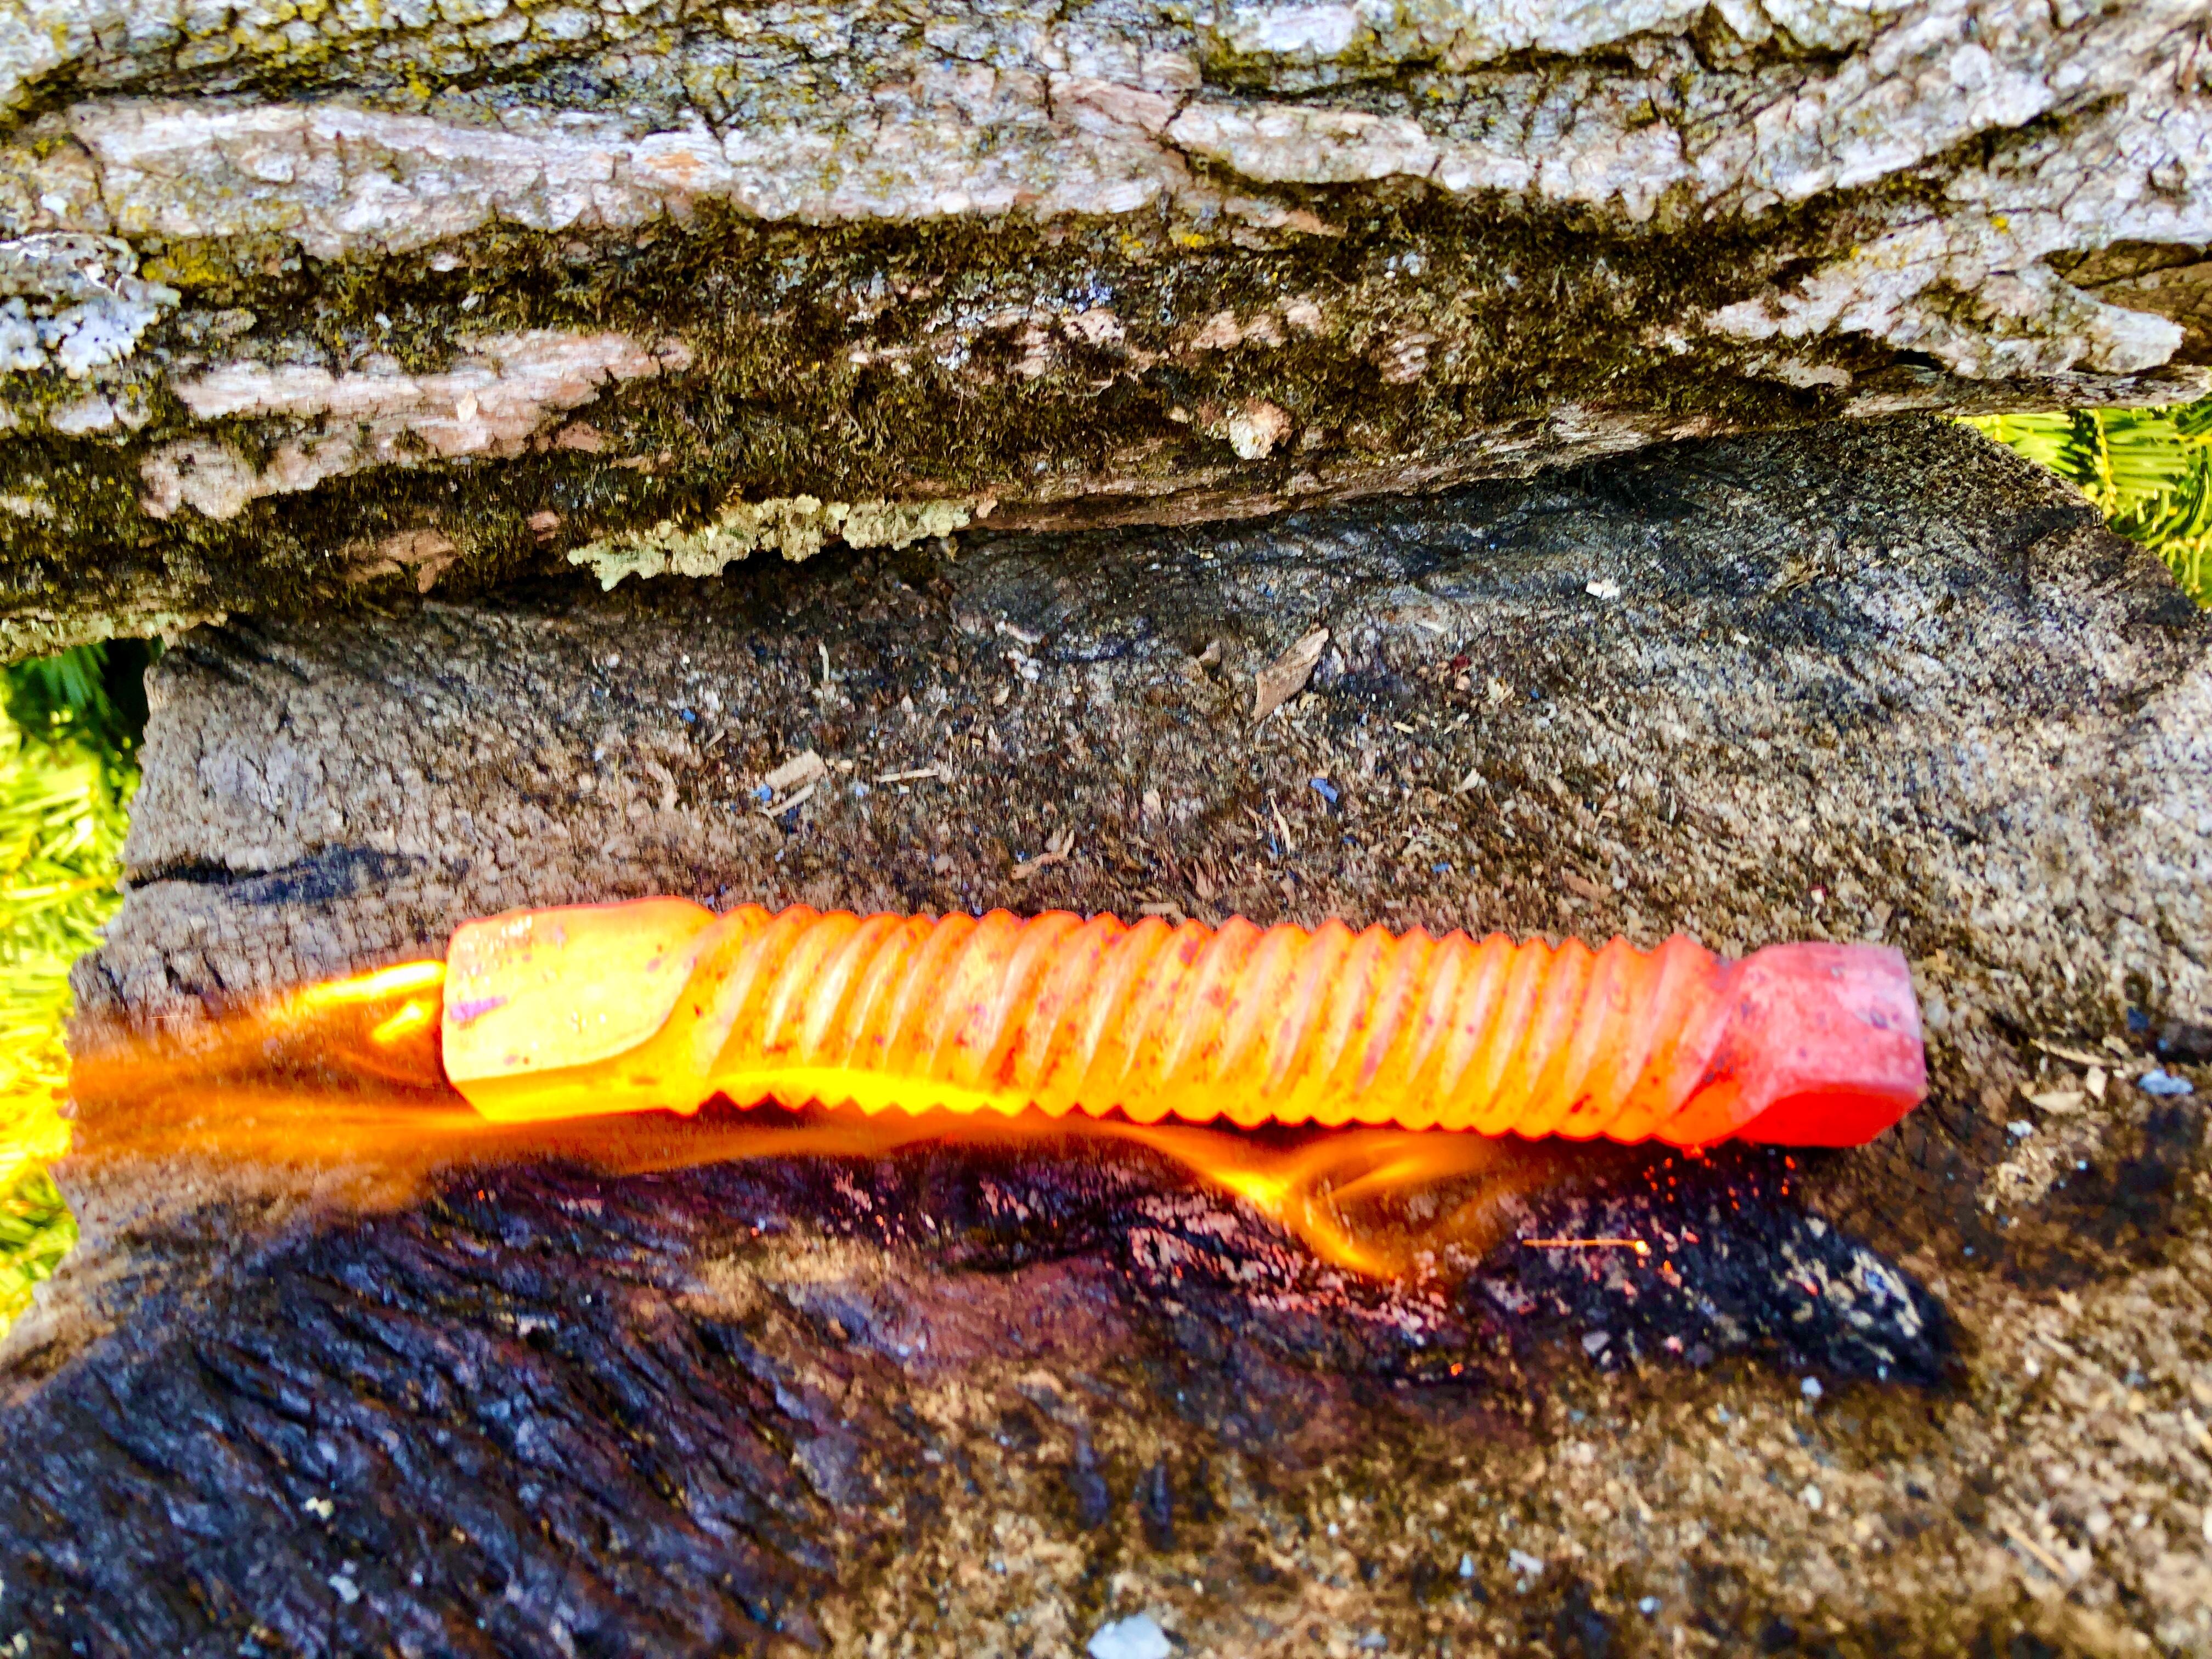
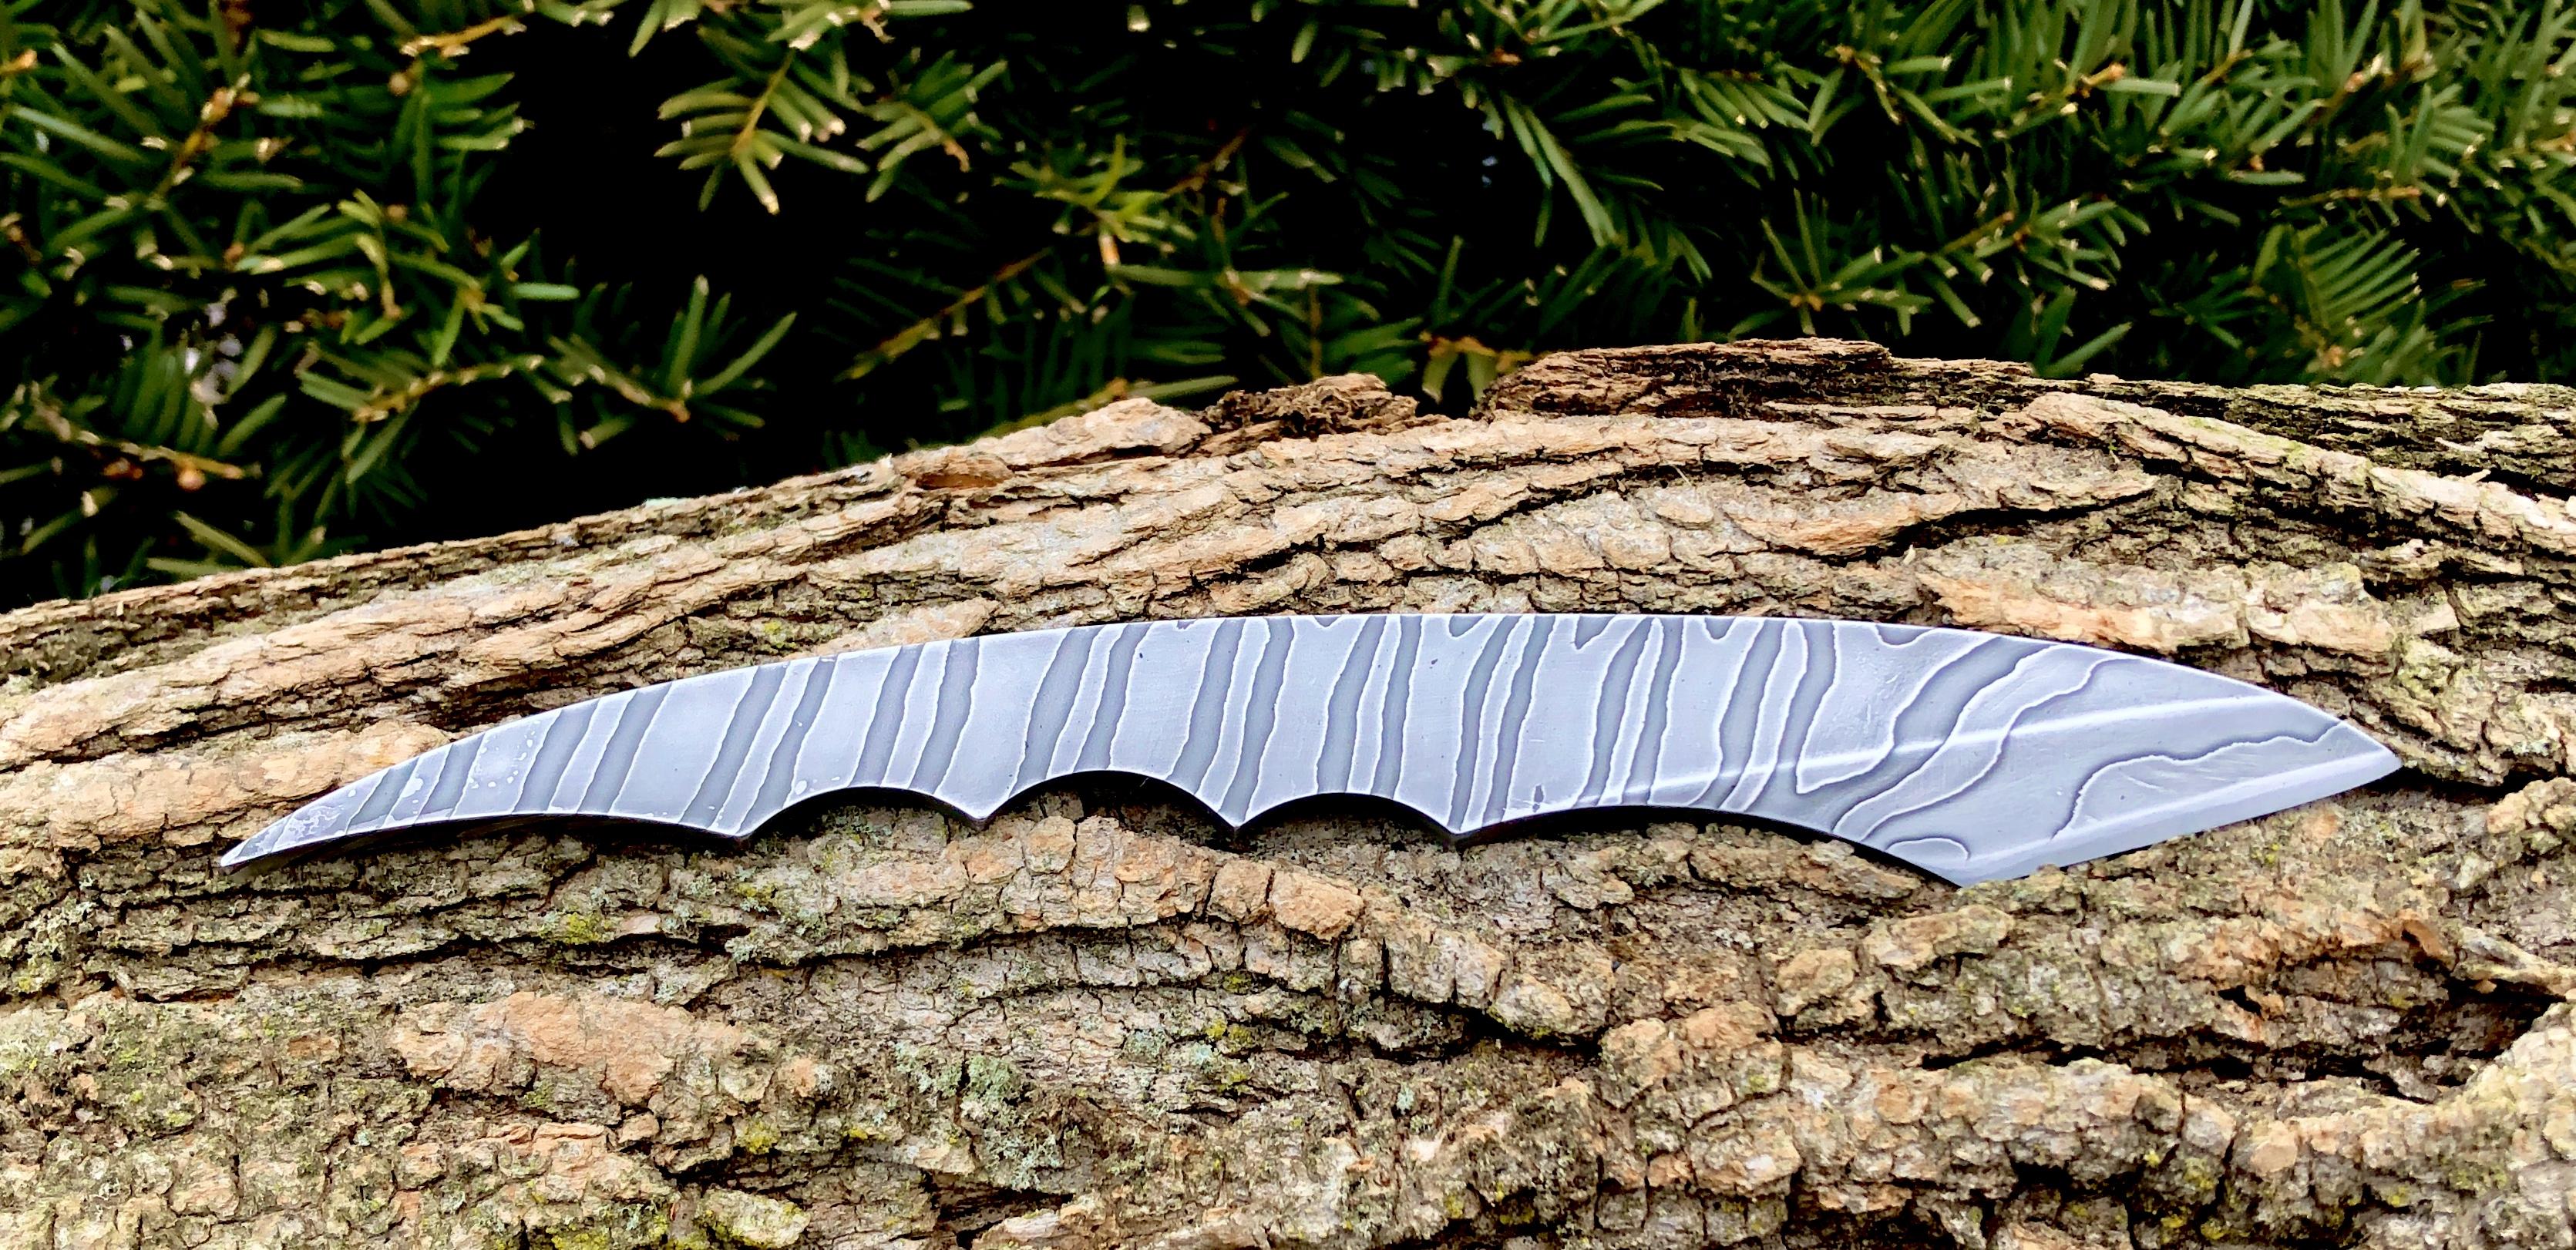
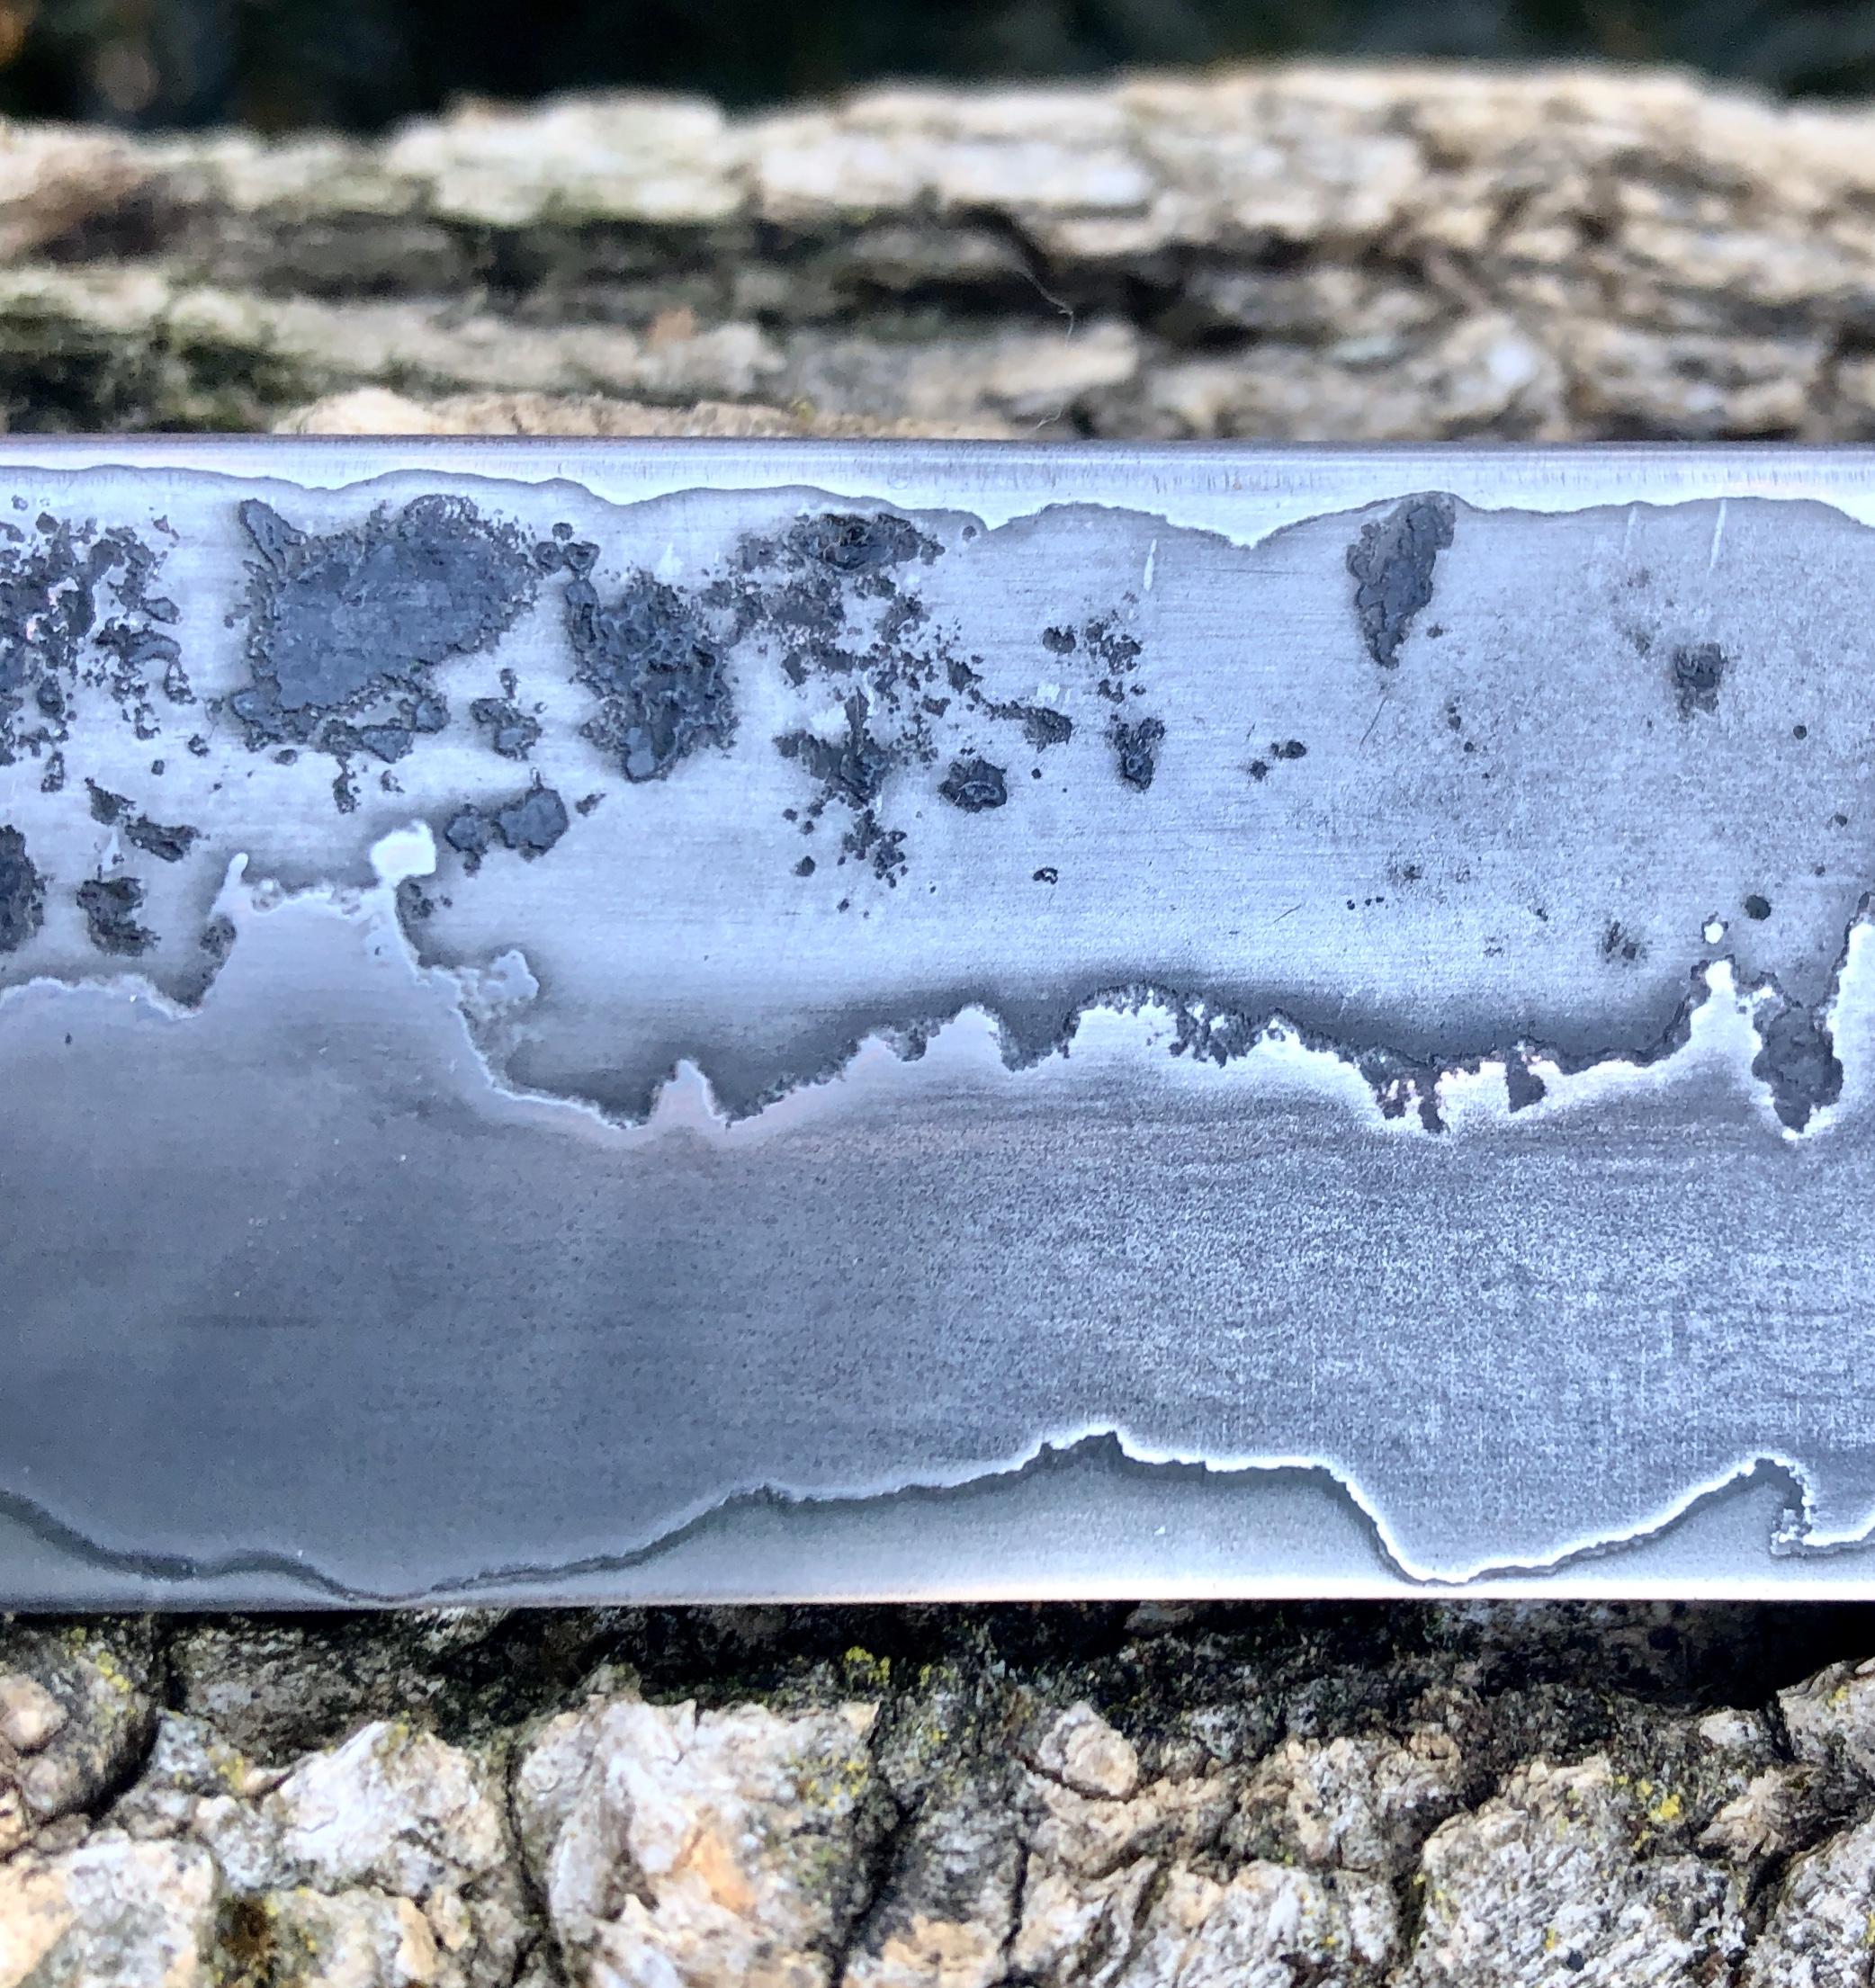
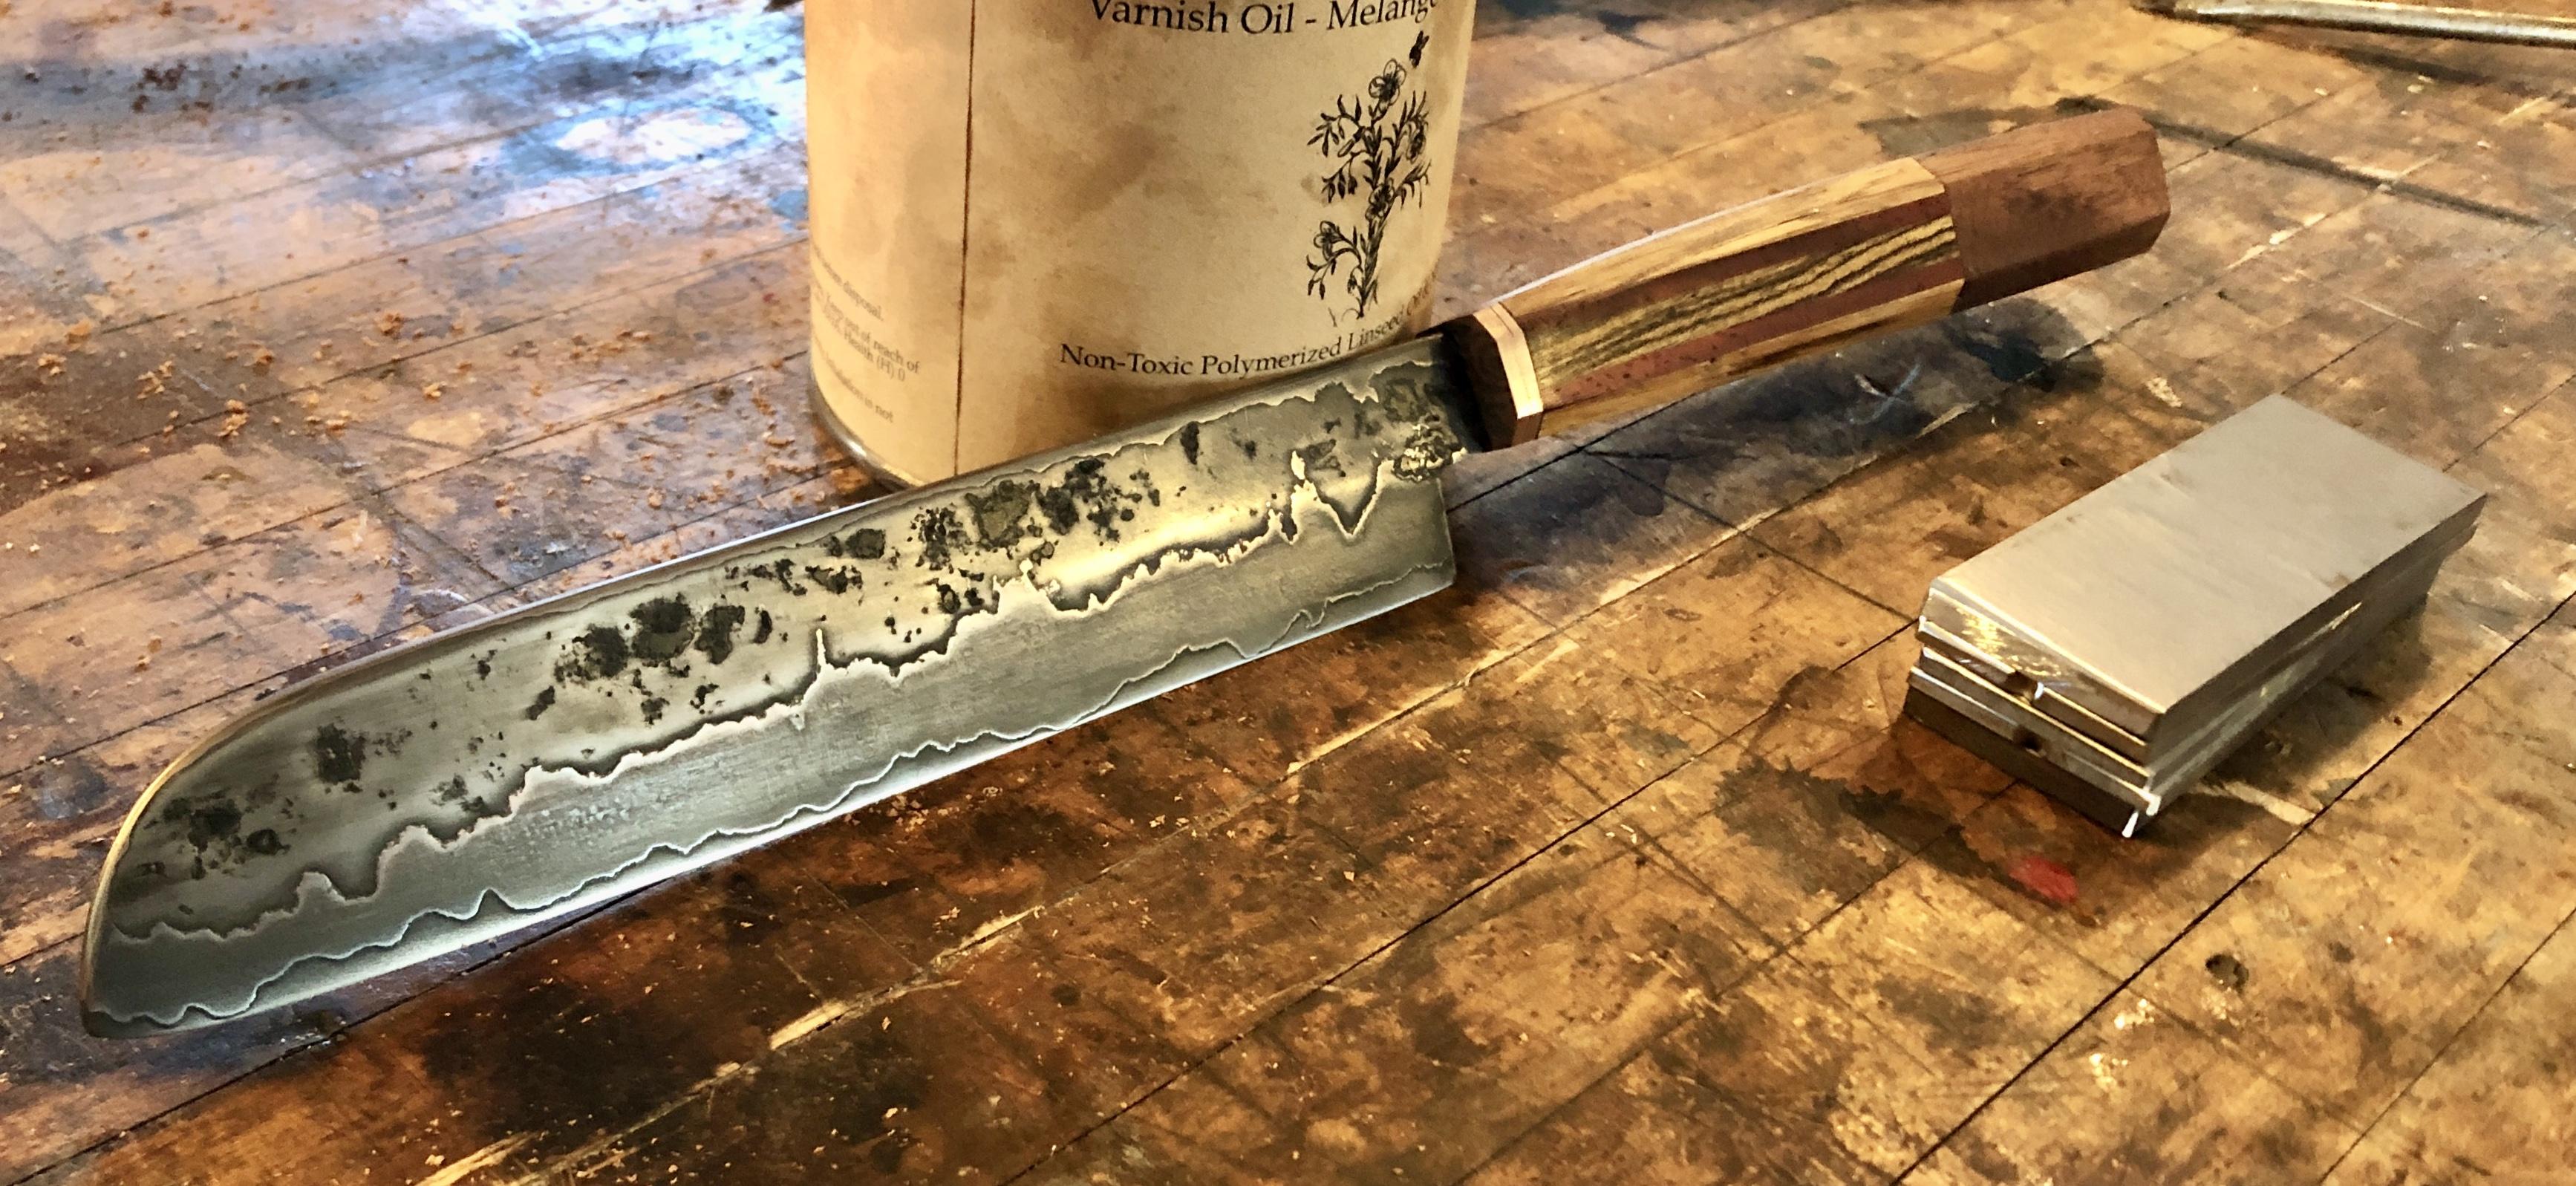
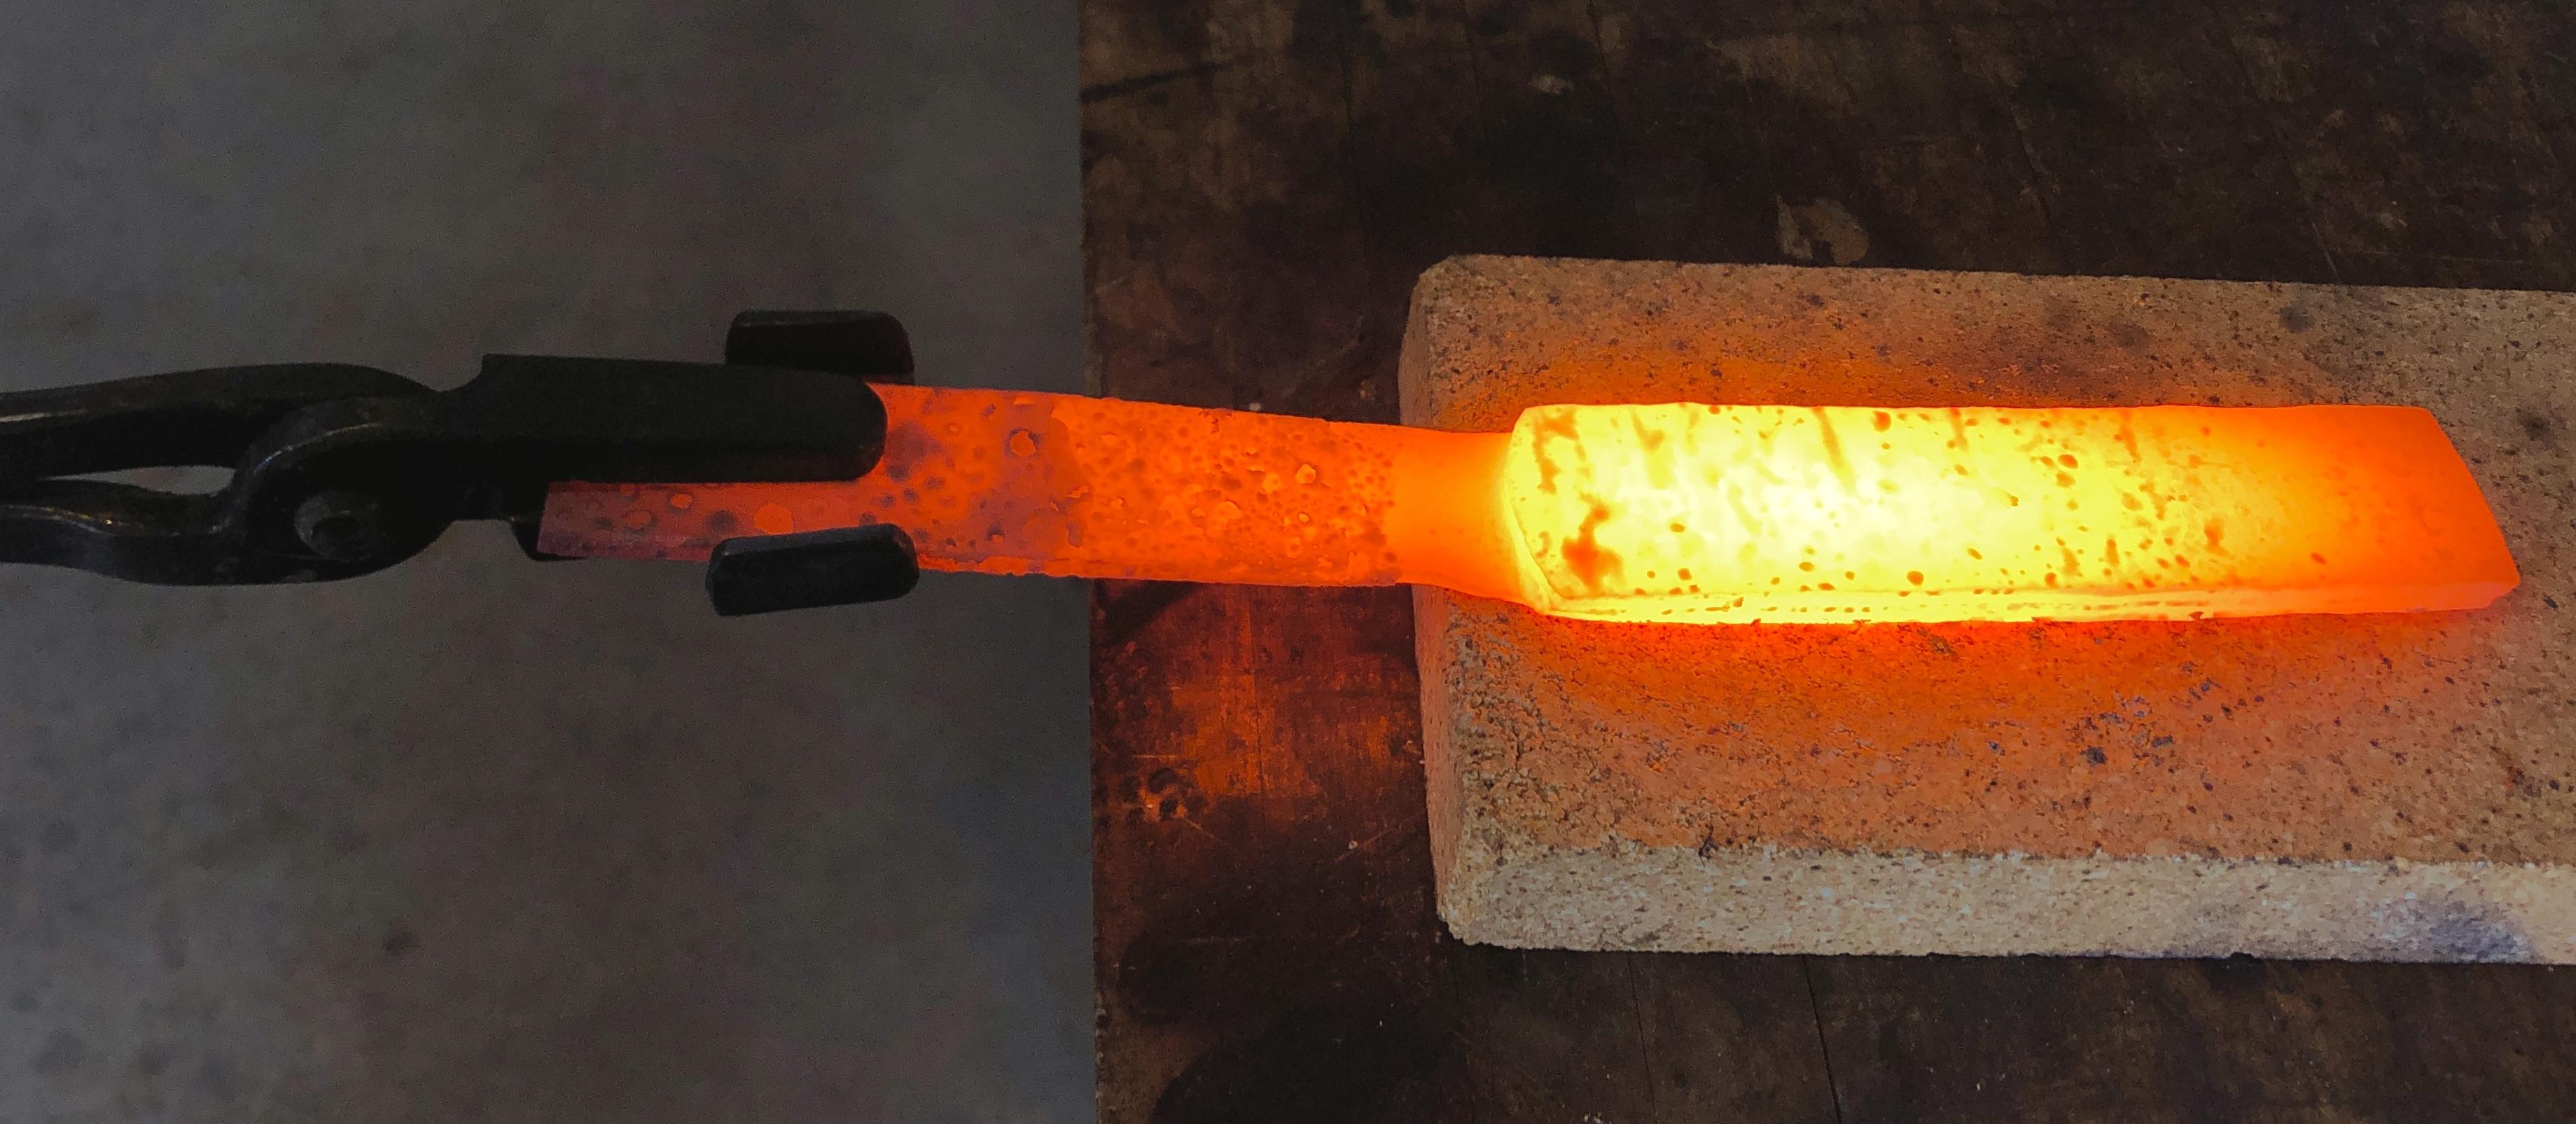
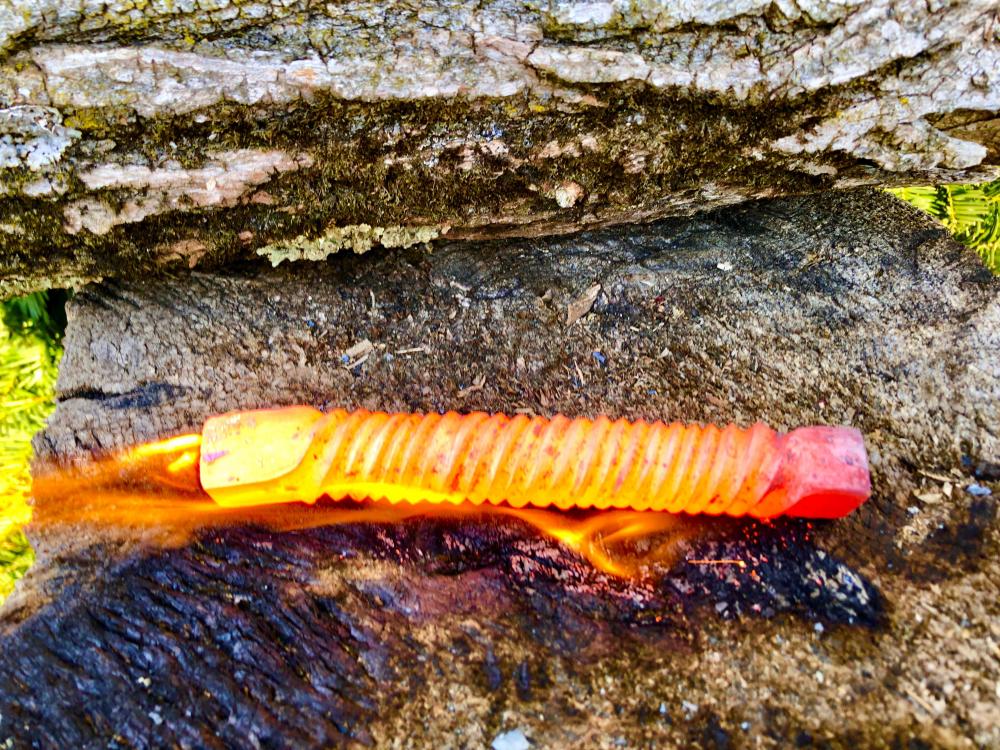
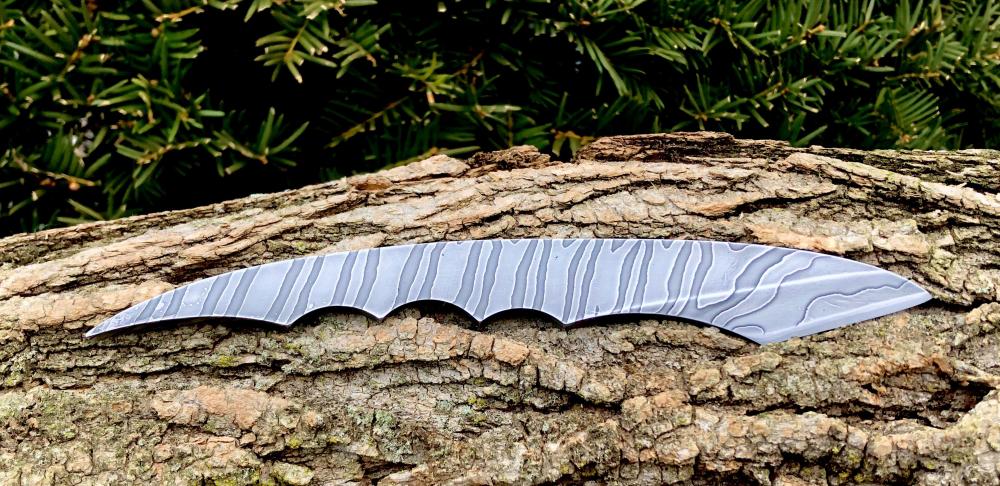
This shark-like design originated as a 7 layer billet (1084/15n20). Forge welded by hand and drew the original 3” x 1 1/4” billet out to a square bar that was about 7” by 3/4”. Being interested in lower layer count Damascus at the moment I didn’t do any folding, so what you see here is just the 7 layers. Twisted the heated bar with a monkey wrench in my big old post leg vise, refluxed (Iron Mountain), and squared again before grinding down the surfaces to remove scale and clean the edges. The simply forged out the blade using both hand hammers and my treadle hammer. Did a 30 minute etch in ferric chloride.
-
Thanks Latticino, and yes I did sharpen the spine. I’m not a hunter either, so the only skinning use for me might be chicken breasts! Thomas, tell me more about alloy banding....don’t know the term.
-
Amazing work....inspiring!
-
Yes indeed, thank you for the clarification.
-
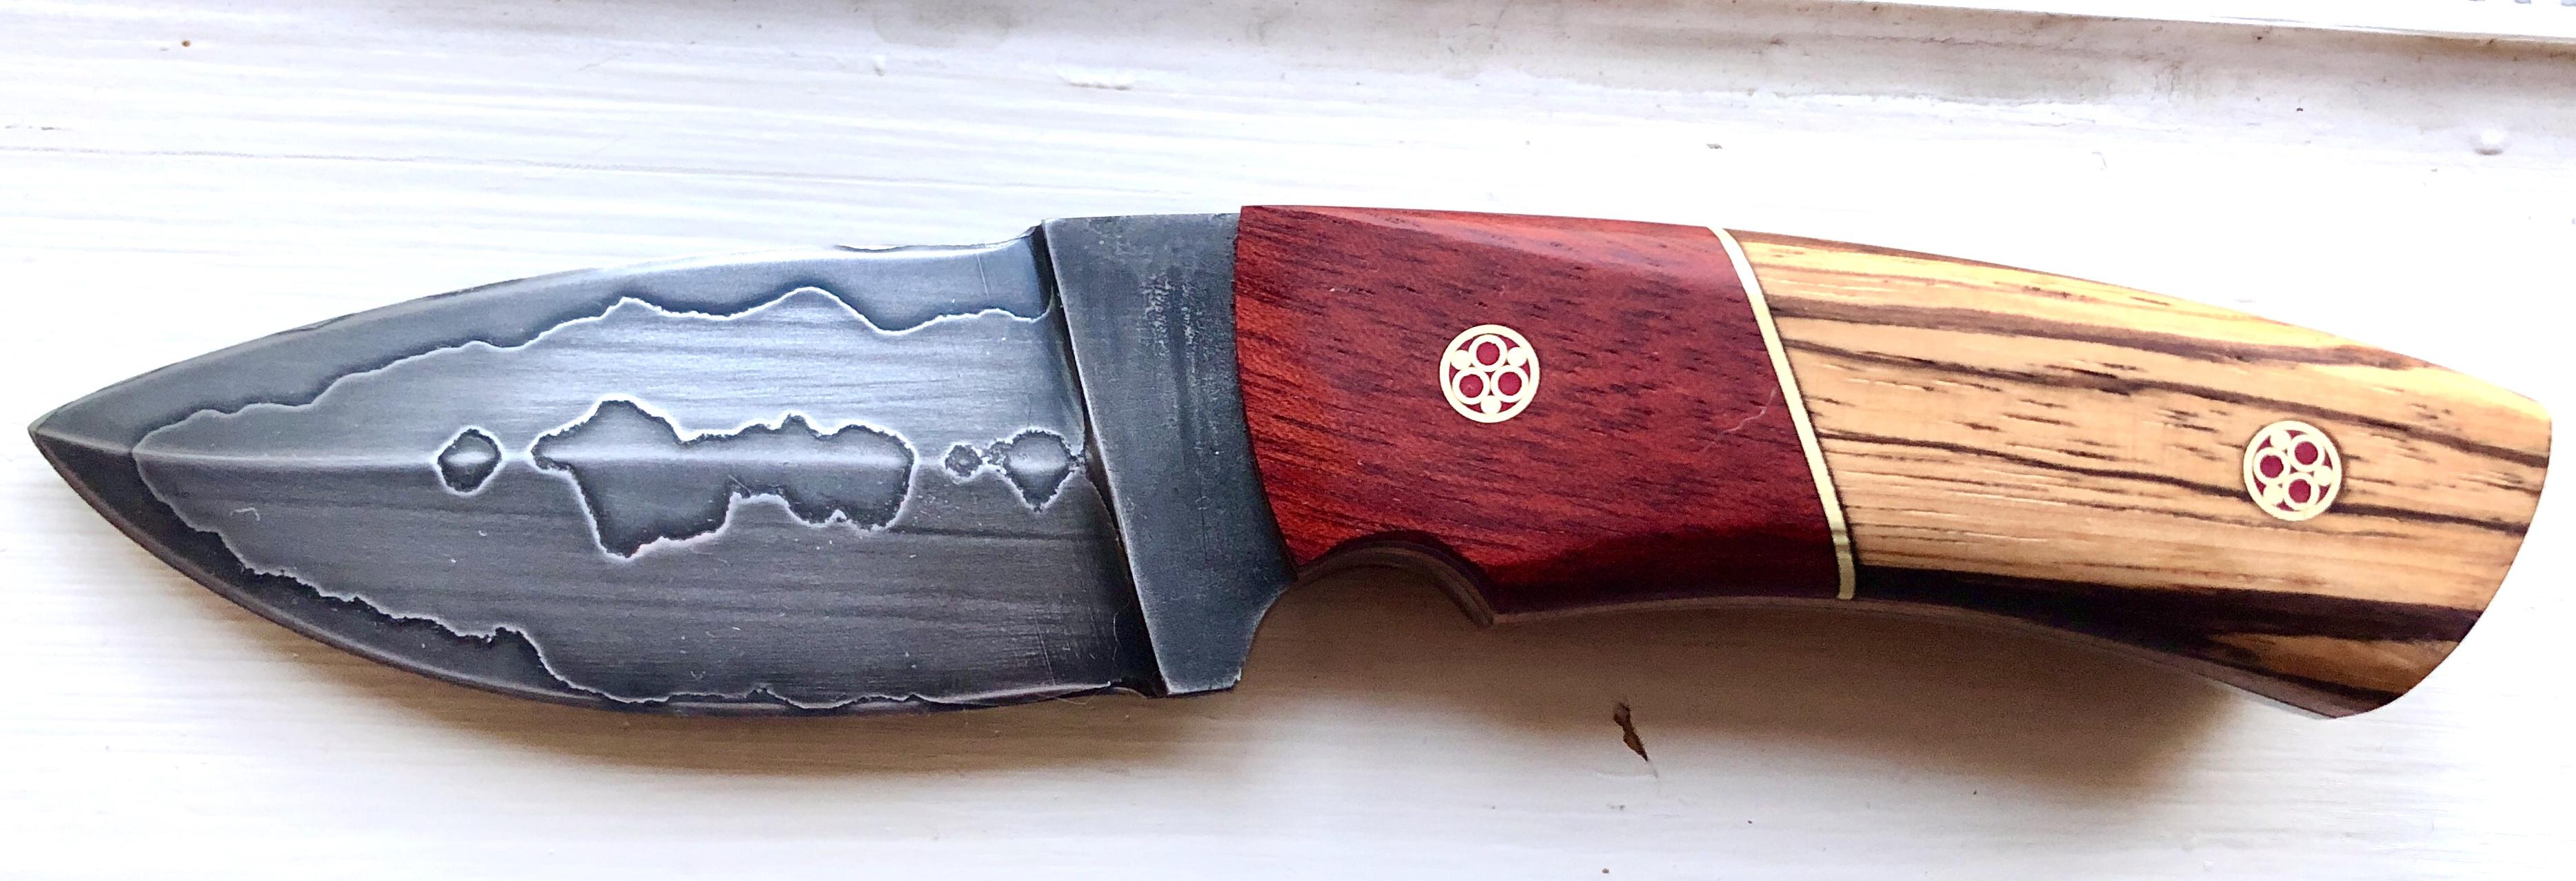
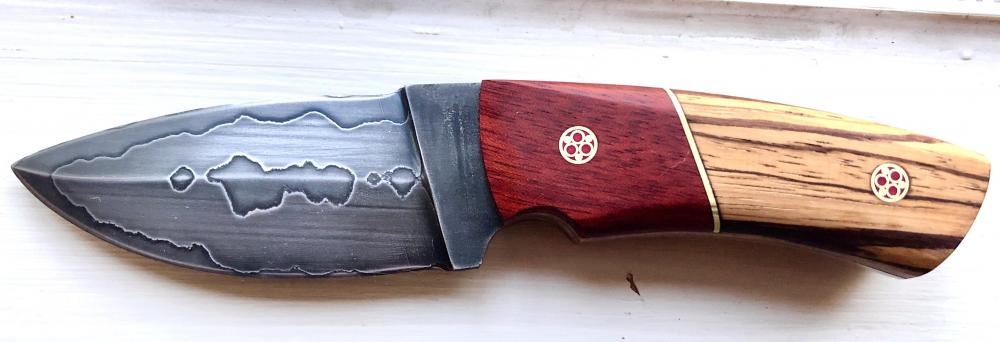
A first try at a small hunting knife using 1018/15n20/1084/15n20/1018 layering. No folding during forge welding, simply lengthened the billet by forging with a vertical peen hammer. I am curious about the striations in the 15n20 layers. They are not scratches but rather appear to be ordered color changes in the body of the steel. Any thoughts on what this is caused by?
-
Thomas, do you have a picture of that pattern (how many layers and what kind of steel)?
-
Thomas, I tried this the other day on a small 5 layer billet. Works great. Thanks for the intro to this method. I’m really interested in doing a lot more work with the simple 5 layer technique without additional folding. Much fun learning to control the designs with hammering and planned indentations, and then revealing the layers with carefully thought out bevels/edge shaping.
-
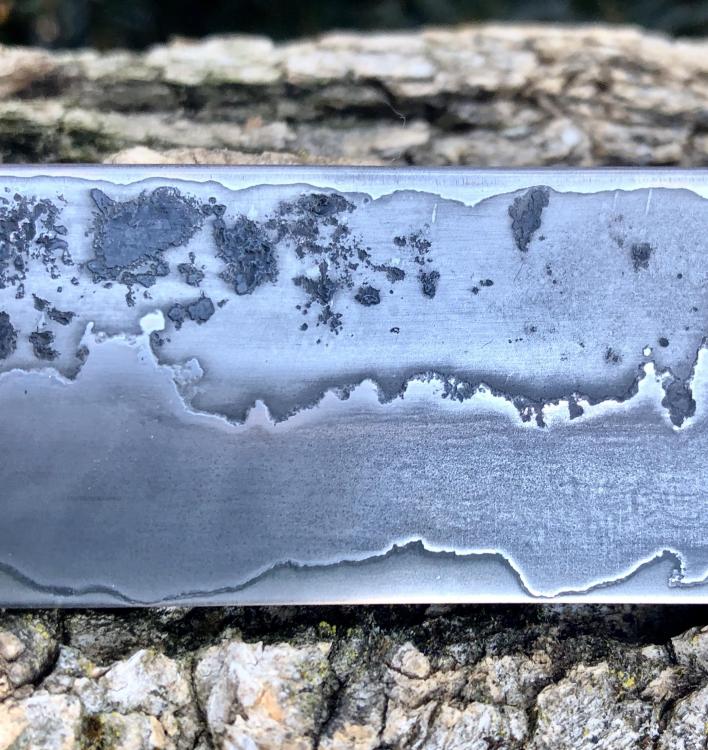
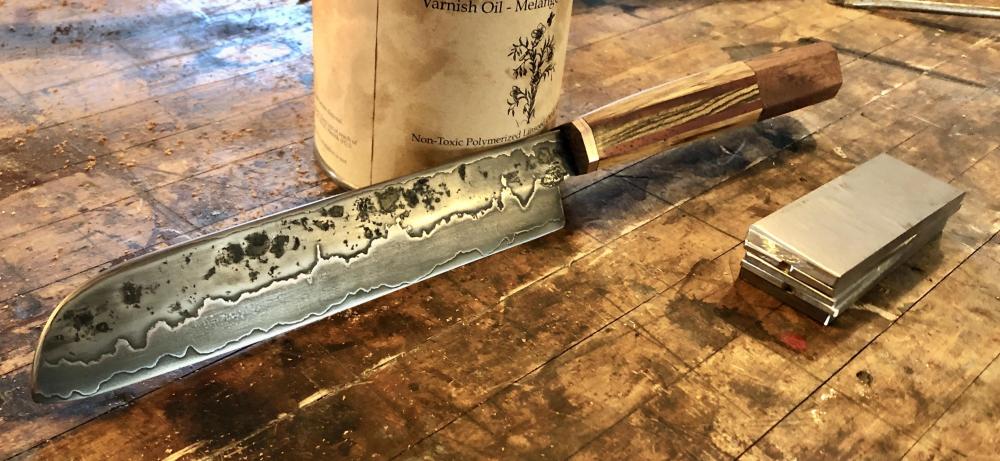
Latest San Mai effort.
-
I’ll try just a tab on the next one. Perfect fit for my box tongs.
-
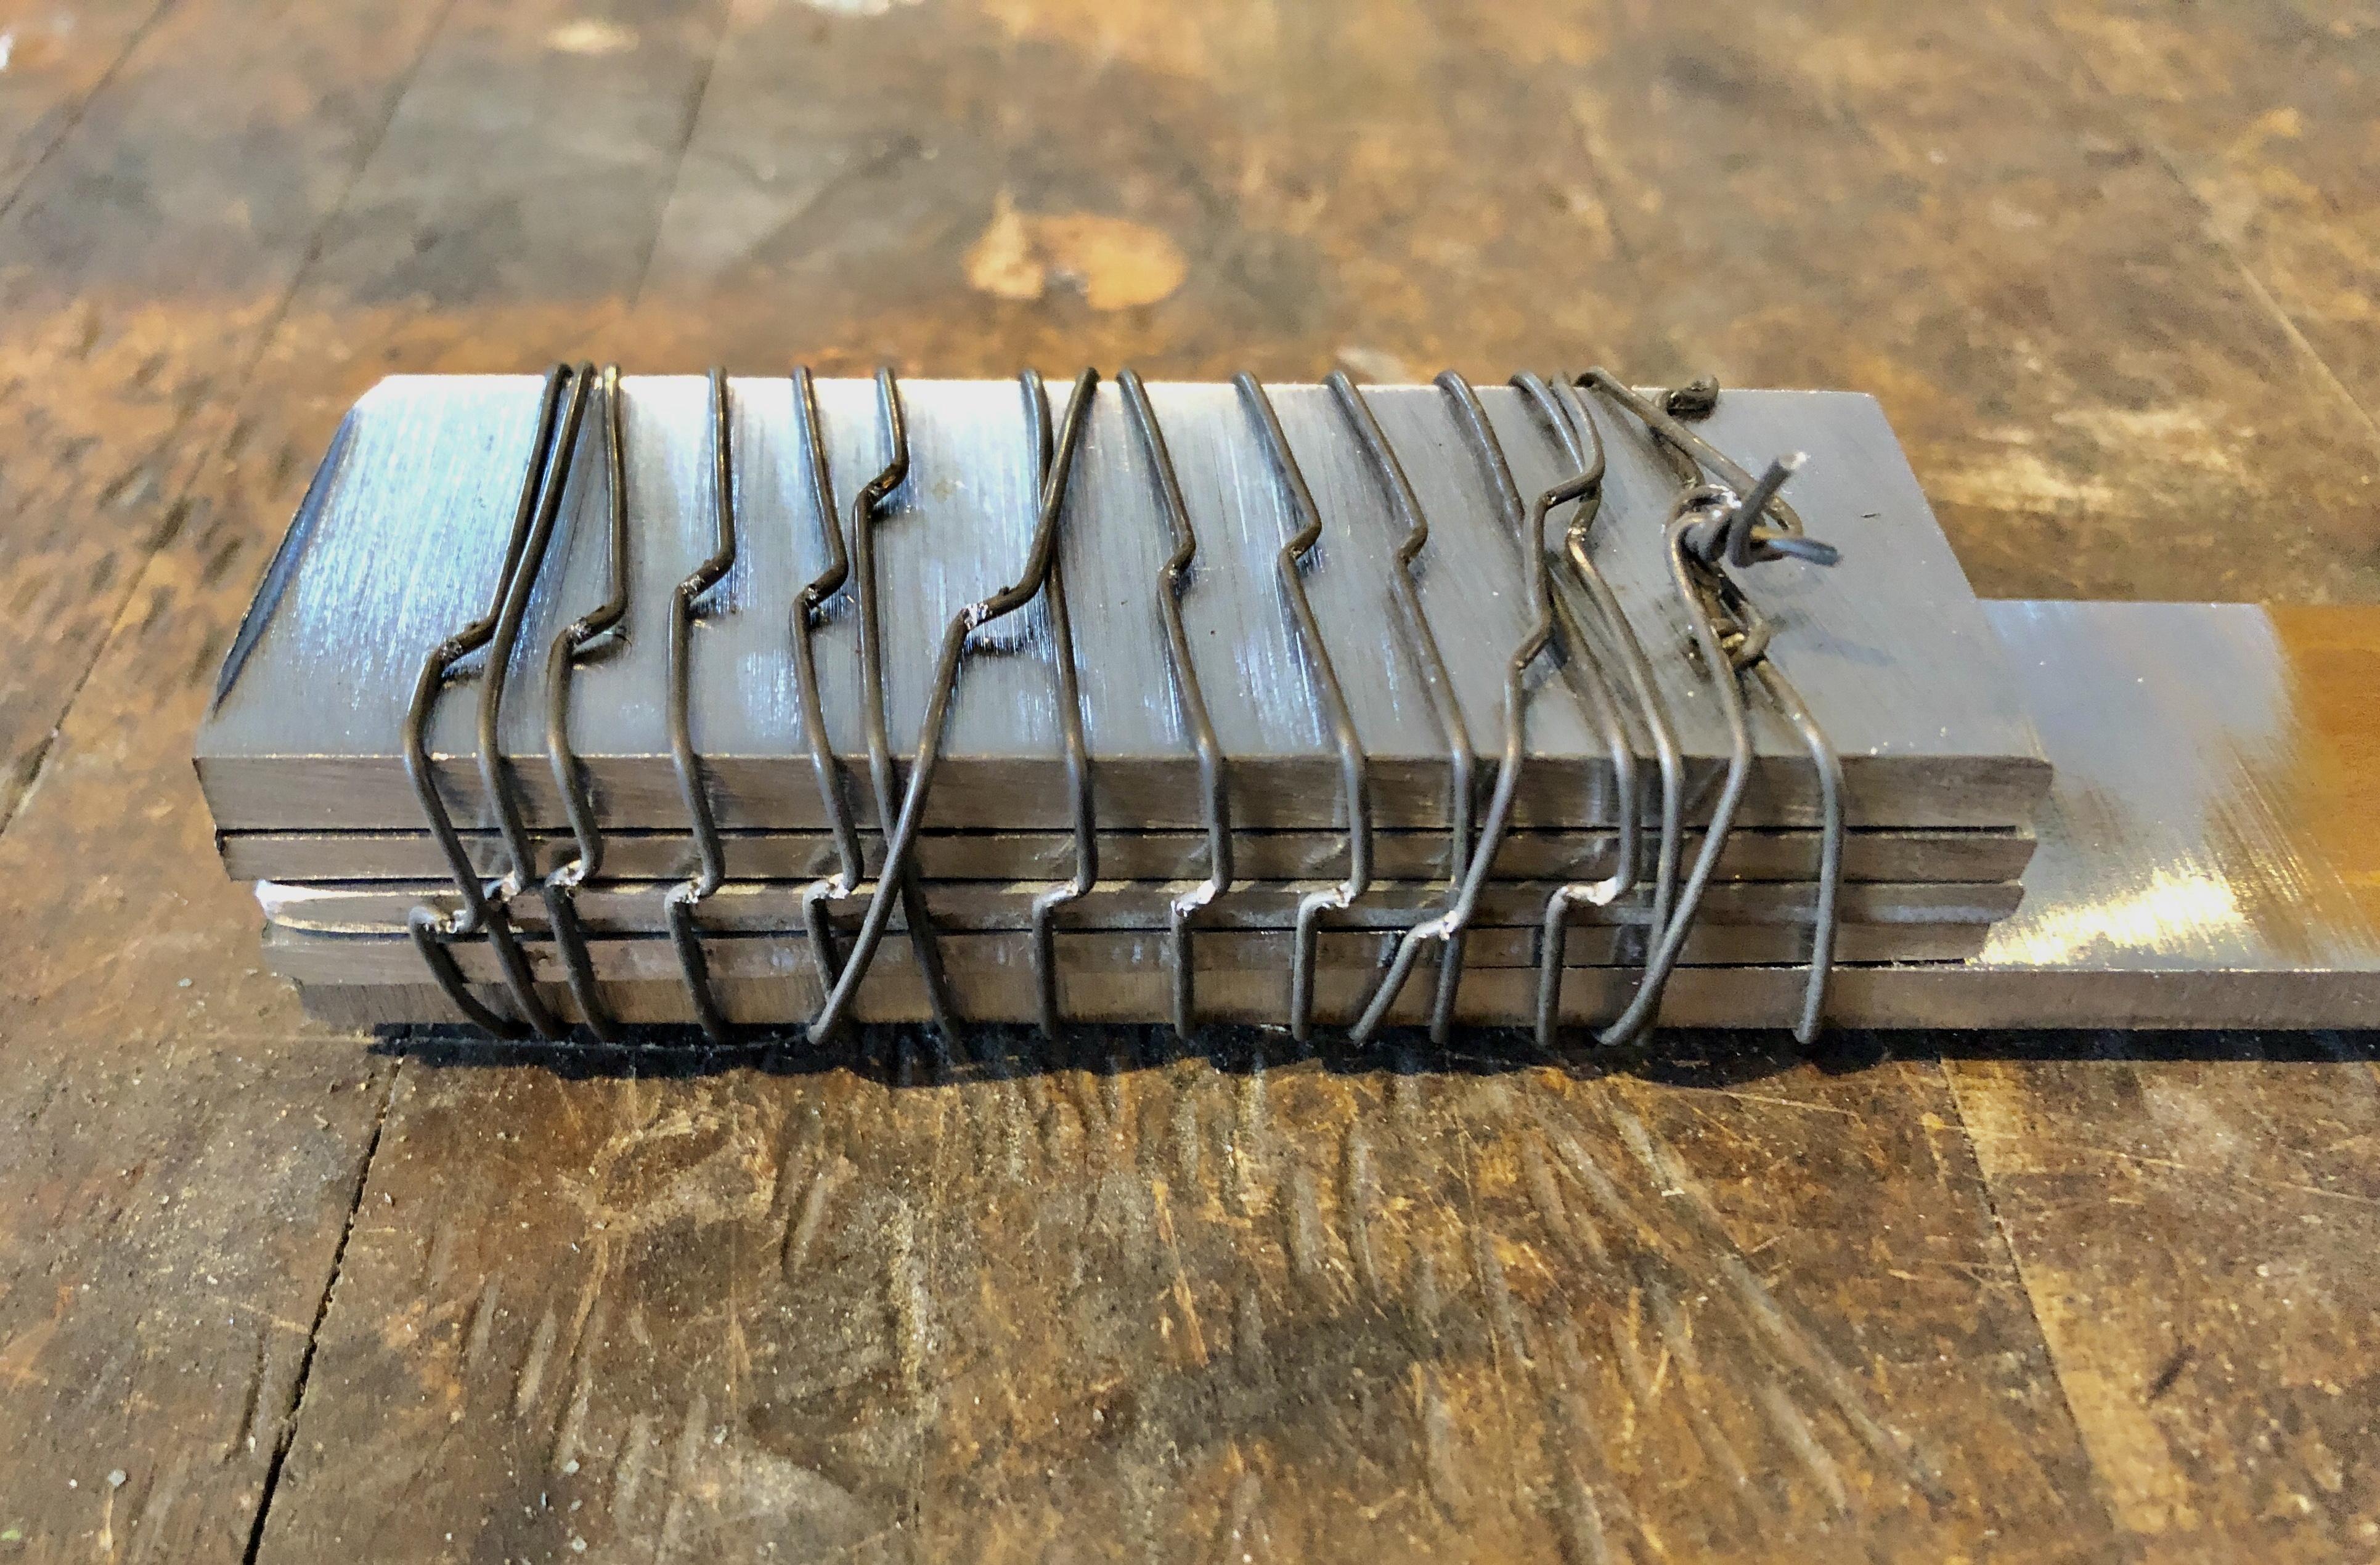
Thanks. For small billets, the wire method is kind of fun....it does the crucial initial binding and then just disappears with the first high-heat hammering.
-
Thanks, I have not heard about that method.
-
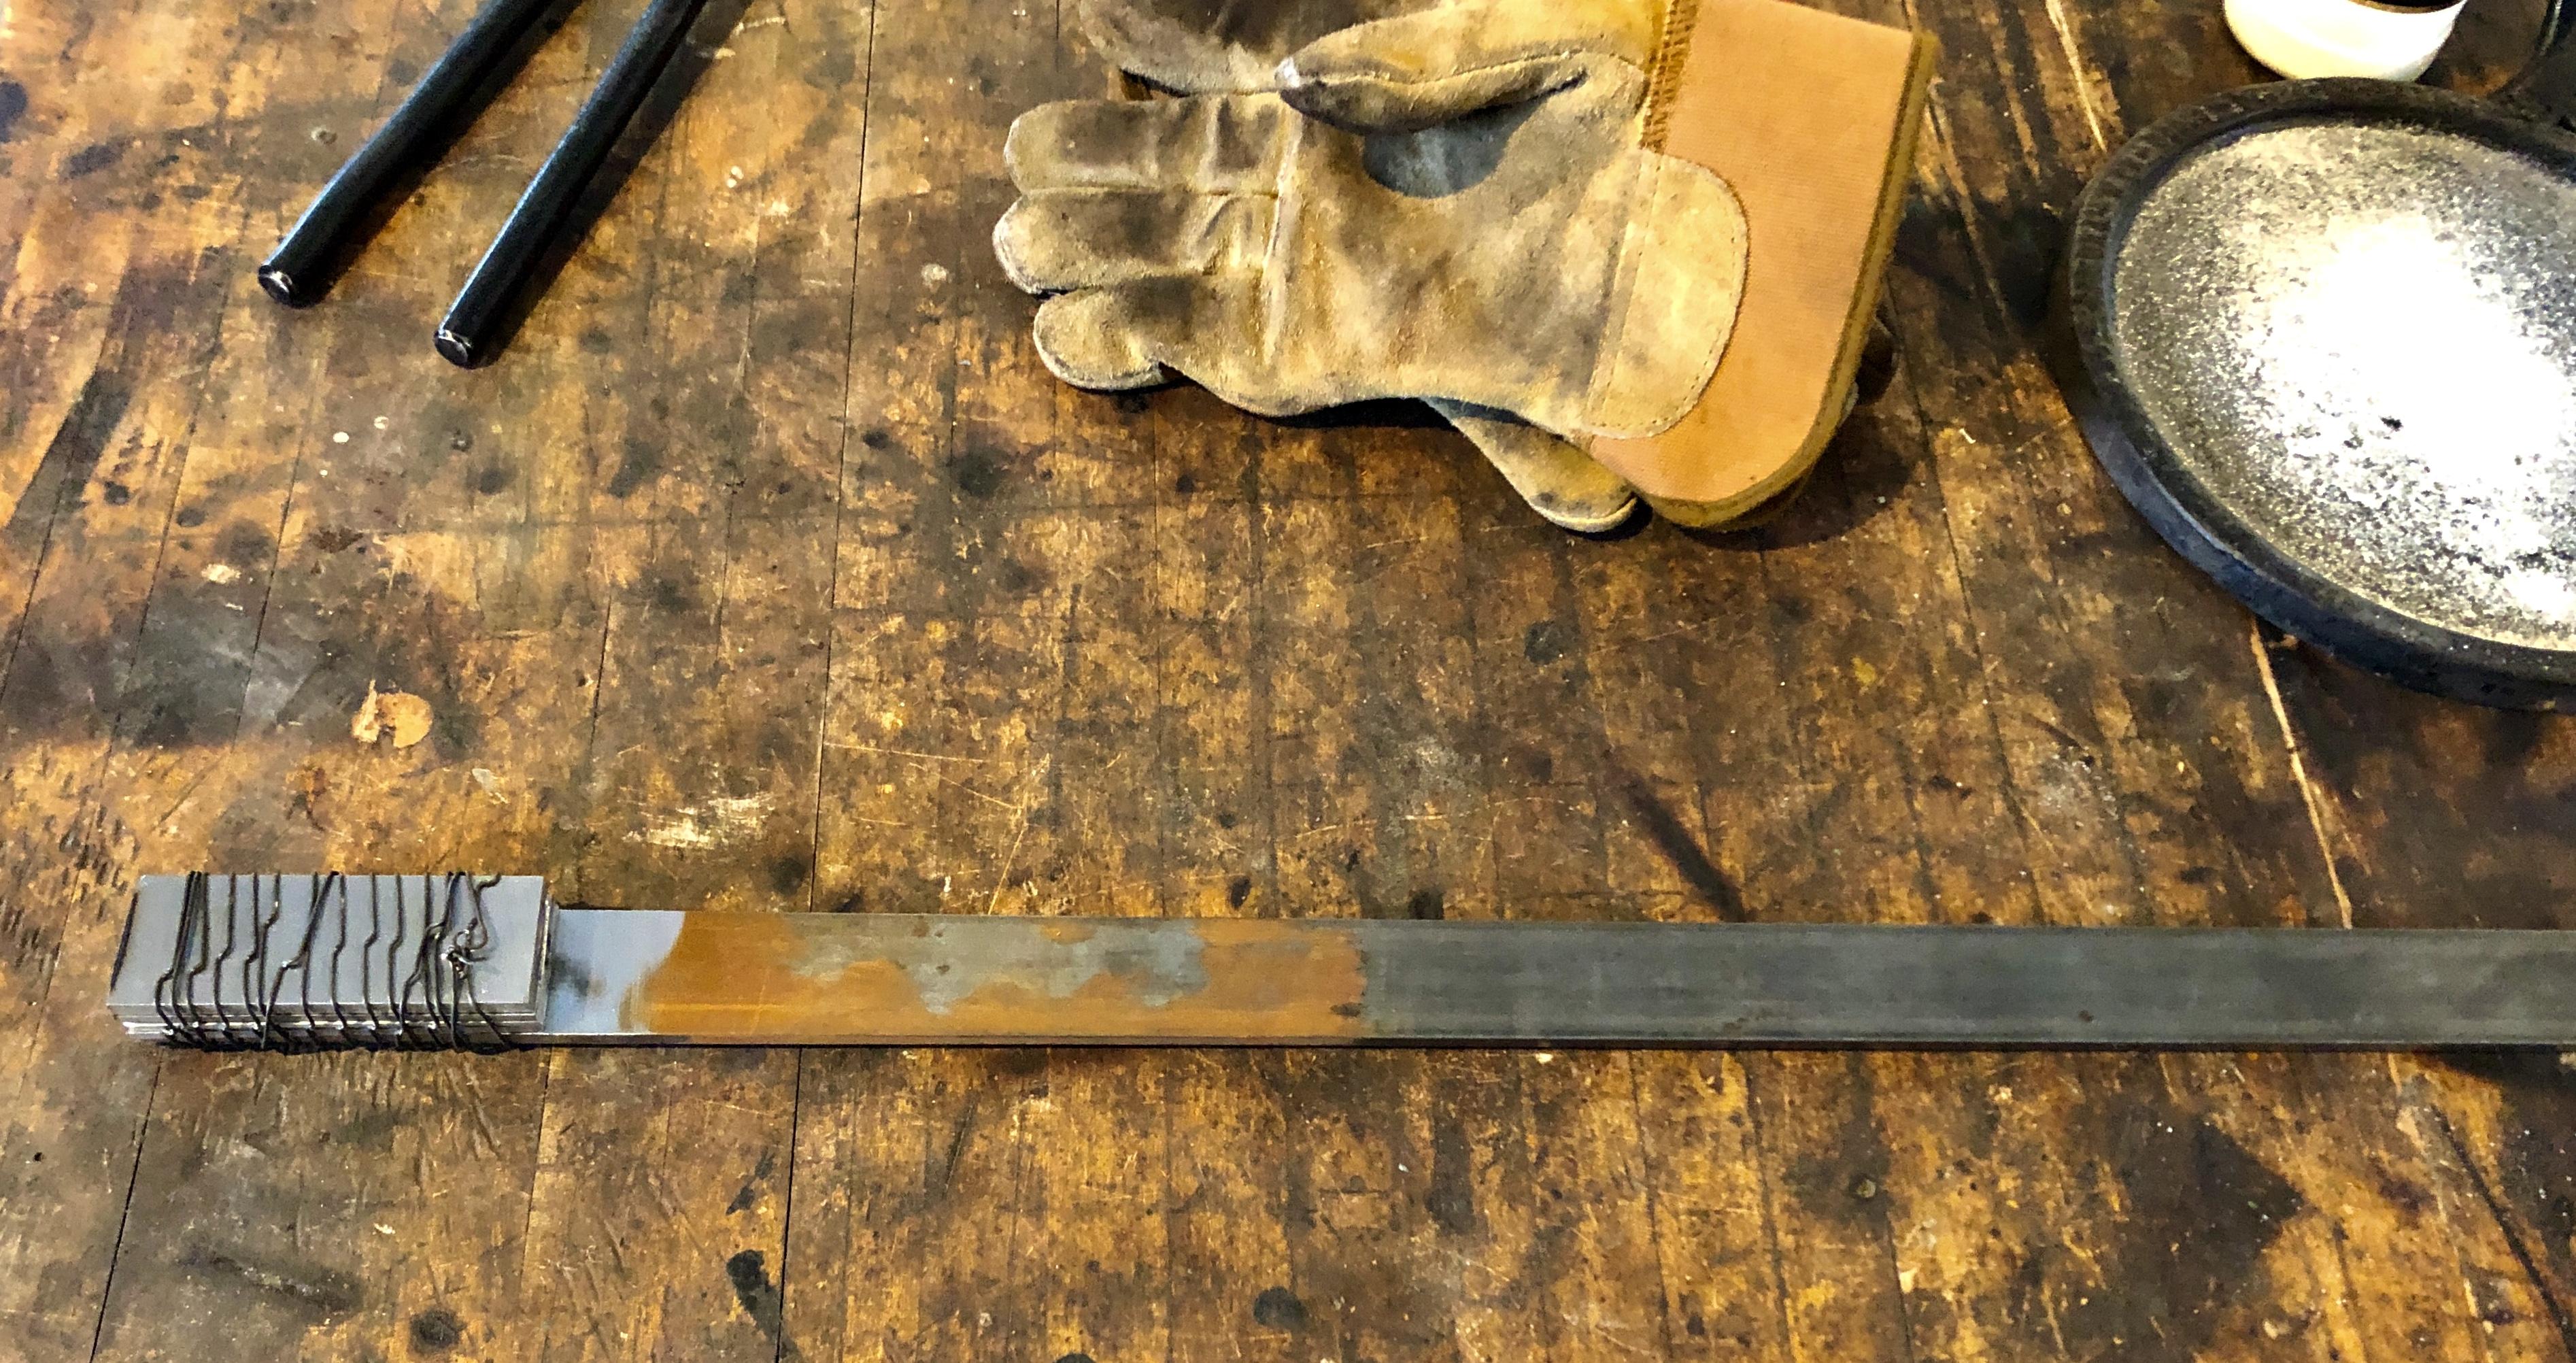
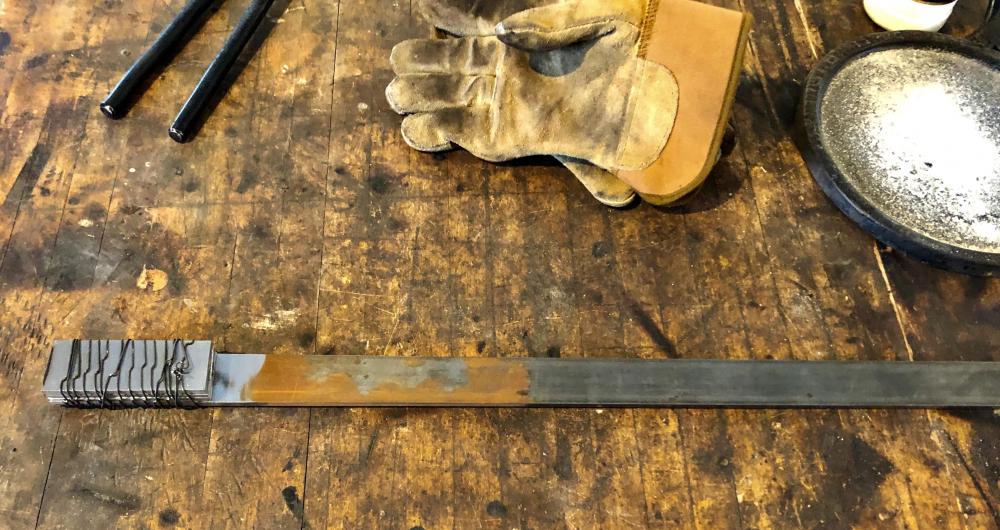
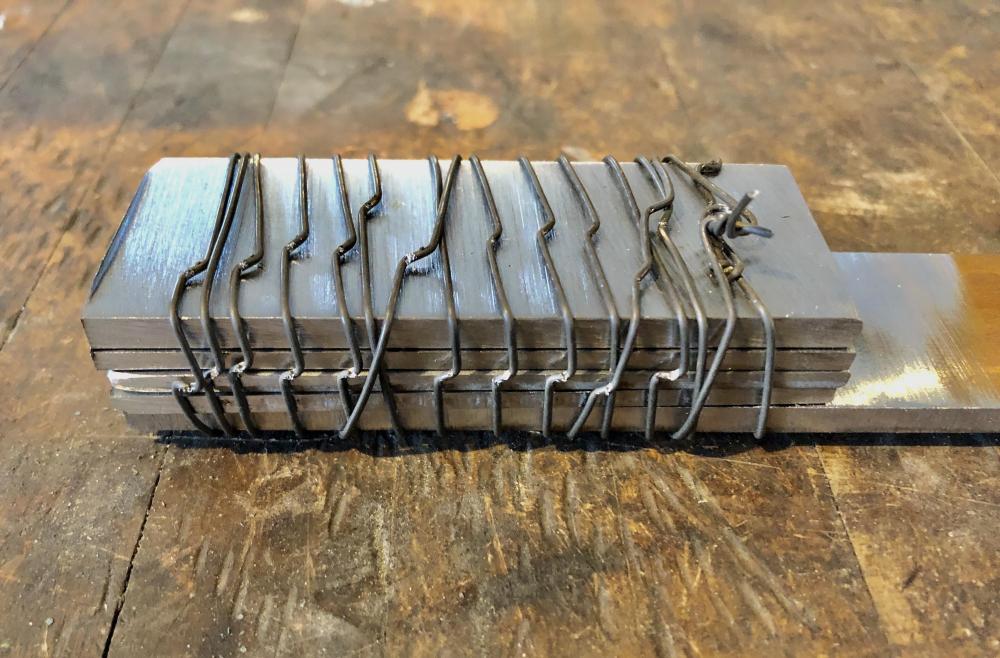
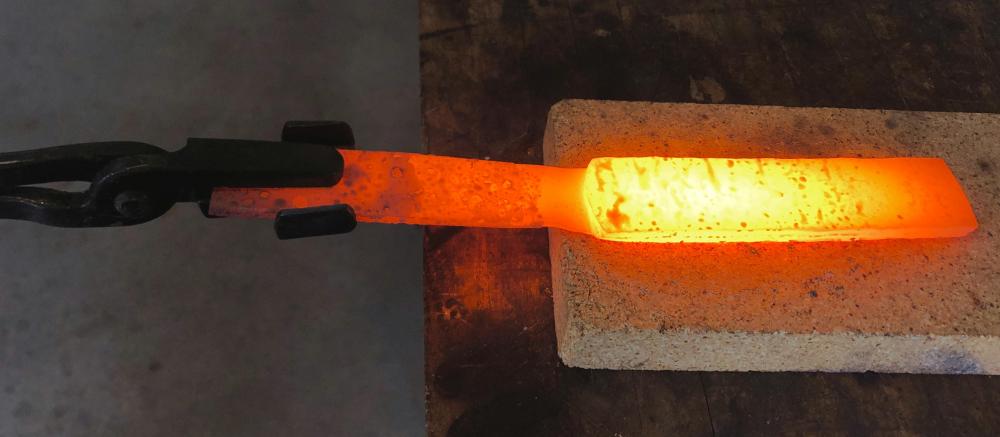
Others certainly have posted on this approach but I thought it would be fun to remind newer smiths that not all PW work requires tack welding the stack and tack welding on a rebar handle. The process for making San Mai (3 layer - 1018/1084/1018) and Go Mai (5 layer - 1018/15n20/1084/15n20/1018)) PW blades without a welding machine begins with tying the stack together by wrapping it with steel wire. Tightening the wires is done by twisting with a pair of needle nose plier (middle picture) I keep one outer layer of the 1018 at a 3ft length (top picture) to serve as a carrying bar for the initial heating, fluxing, tacking, and forge welding. Works great. When the stack is welded together nicely it is then possible to cut off the bar, leaving a 6” handle (bottom picture) that I can pick up with my box tongs. By this time the wire is gone. It simply holds the stack long enough to do the first tack weld, at which time it pretty much gets blown off by the hand hammering (I also later move to a foot treadle hammer with a 60lb head for flattening and drawing out the billet).
-
Matt, can you verify? From the photos, it looks like there is a bit of a taper, which would suggest that this tool was swung rather than pulled or pushed. The question is for what task!
-
Torbjorn Ahman’s herb chopper is a great starter project and works great with 5160. Just beware of stress fractures forming at the base of the handle....teaches you hammer control and the need to keep up the heat when forging.
-
Wonderful video, Joey.
-
Thanks. To be precise, I’m only curious about punched eyes and whether folks drift from both directions to create an hourglass shaped inner profile.
-
Do most makers here do a tapered eye (wider opening at the top) or do some of you do an hourglass shaped eye on hatchets and axes?
-
That axe in question does have a pretty small eye....smaller than I would make with a hammer drift. On the other hand, it has really thick cheeks, so those would definitely hold up as long as the axe head was not improperly hardened and tempered in that area (I don’t bring that part of the head up to critical when heat treating the bit).
-
Don’t fully know what you mean by “serious work”. I’ve made a number of these smaller axes for prepping spoon carving billets, among other things, and they’ve held up fine. Not sure I’d march around the forest chopping down giant trees with it or clean logs for a house but for conventional hatchet work they are really nice.
-
I’m enjoying this mystery and have contacted some English historic tool groups, with no success thus far. To keep the conversation going, here is a thought. To begin with, I still think that if you are creating a bevel for chinking you most likely would do it with a broad axe/hatchet while prepping the log because you have that tool in hand already and the log is well positioned for such a cut, and also it would likely be much faster than stacking or lining up the logs and using this odd tool. So here’s a thought...what if it was designed for cleaning out old chinking in preparation for new chinking? Crazy, yes, but it’s a crazy looking tool!
-
Fun conversation about this really bizarre tool! Could indeed be for chinking but it is small, and furthermore since one already would be shaping the log with a very controllable broad axe, why not bevel along the edge with the same tool? Matt, my other follow up question to your first-hand observation is this: Why would the maker put a swinging type axe handle on a tool that is meant to be pushed or pulled along the wood grain (sort of in the manner of a draw knife or a little router plane with winged handles)? Seems oddly inefficient. Finally, I wonder if the bevel is any indicator of use? It looks a bit chunky or am I not seeing that right?
-
I sent pics off to Jim Bode, the great vintage tool collector and dealer, and he's not seen anything like it!
-
Sorry, should read “Could it be for scoring arrow-like marks on timber of some sort”....