anvil
-
Posts
3,246 -
Joined
-
Last visited
Content Type
Profiles
Forums
Articles
Gallery
Downloads
Events
Everything posted by anvil
-
What a life he had!
-

"Consecration Ritual for a Blacksmith Novice among the Yakuts"
anvil replied to JHCC's topic in Everything Else
thanks,you guys. I'll check it out. If you ever see something specific about Iron in north/south America, let me know. -
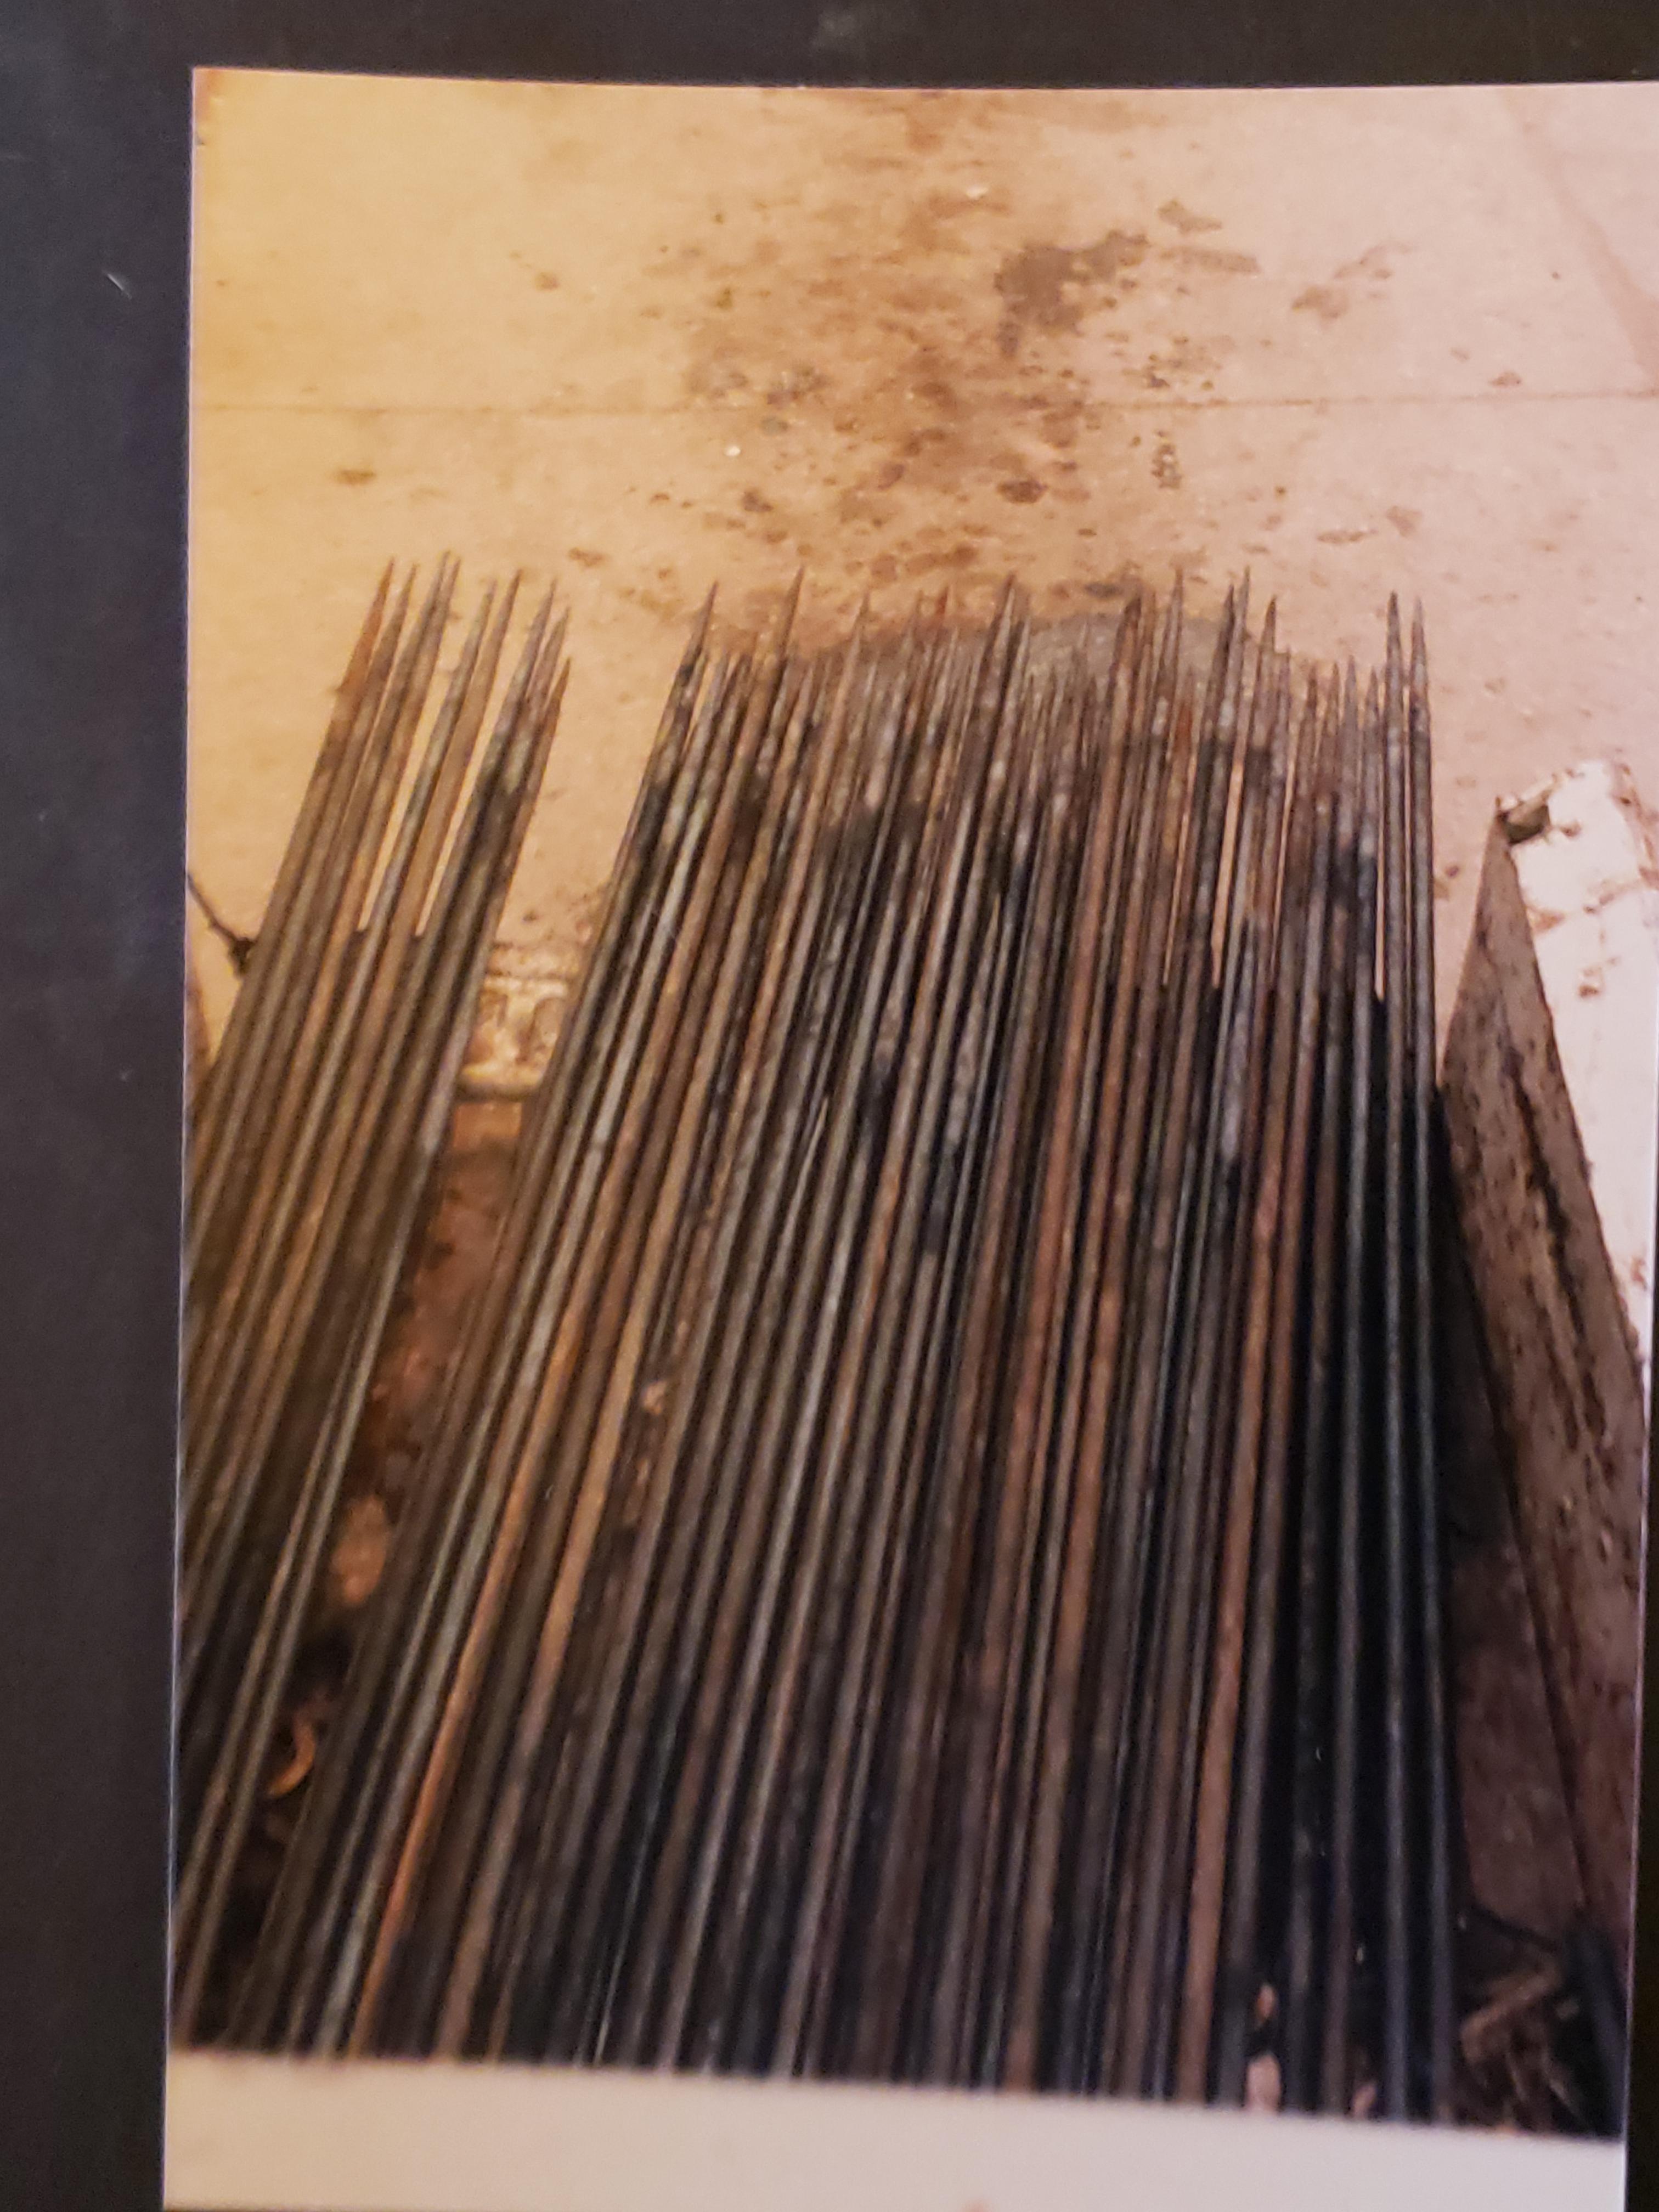
well, here's a pic of a long ago day. I was just where you are in your beliefs, or at least I was questioning what I'd been taught and read about as well. And that is that tapering square-octogon-round was the most efficient way. Over time I saw that when I forged a taper on say half square, forging it square worked! Pretty much 5/8" too. And I rarely worked larger stock. Along came this job, subbed from some friends in Denver that had literally thousands of these to do for a restoration. I did 50 or a hundred or so. This pic is delivery day in my Willys pu. I still have the pu. the job was as described above. I took it for the learning, not the money. But I did make money__ The lesson was to gain massive experience drawing out large stock by doing enough repetition in a short amount of time to get my answer to this question. You can bet that I tried and cried experimenting with every possible way I could think of! I got my answer. Your conclusions may differ. square, octagon, round. There is actually a physical reason for this. Take it as you will. It's what I was taught and makes sense. 1: steel follows the path of least resistance. 2: when tapering square, there is less resistance sideways, not in length. 3: forging on the diamond, or on narrow flats has less resistance in length. Thus it's more efficient. I'm not equipped to argue physics, just throwing out what I was taught. Also, at least for me, I have far more control keeping a nice smooth taper. Especially on long tapers.

-
actually, either way works, square or round, doesnt matter. Its just that one way may be a bit more efficient than another.
-
"Consecration Ritual for a Blacksmith Novice among the Yakuts"
anvil replied to JHCC's topic in Everything Else
Cool! I have a little cultural anthro in my background. Ive always been curious why North & South America have no or very little iron in their history. Especially post Viking ironmaking around Nova Scotia. Once you see the process, making iron is not difficult. Im sure the vikings were observed by the locals back in their day. -
Proper height for a post drill
anvil replied to George N. M.'s topic in Drills, Post drills, Mag drills, etc
the first thing your post drill will teach you is why blacksmiths punch holes. I used an industrial size for years. it was originally set up to run on a line shaft. It came to me with a pulley and an,electric motor. great tool and highly recommended addition It replaced a farm model post drill that quickly taught me lesson 1 above! -
Very nice! And especially nice to have been involved from the beginning! Thanks.
-
https://www.industrialmetalsupply.com/blog/difference-between-hot-rolled-and-cold-rolled-steel/ Heres the process.
-
If you have a good weld, it wont come apart. If not, it will come apart.
-
Ive always been under the impression that hot rolled and cold rolled are the same A36. First its hot rolled to a close tolerance, then cold rolled to a closer tolerance. An extra step and a closer tolerance equals a higher cost. Ive never checked specs at the steel yard. I wonder if some 1018 comes cold rolled? Im pretty sure that 1/4" key stock etc is cold rolled and thus work hardened A36. Intuitively id guess 1018 might not have enough carbon to work harden. Fair warned, thats totally an assumption.
-
box joint pliers / general box joint question
anvil replied to somber crow's topic in Tools, general discussion
Ive only seen box joints done by punching. Not meaning its the only way. Without a good "how to" to go by, then trial and error and taking notes is how I would do it. Your material will stretch. When you come up with a proper procedure, measure after slitting, then measure the opening after fitting the two halves together. Then on your next try, make your initial slit that much smaller. That should get you pretty close. Im pretty sure there is a Peter Ross vid on box joints around somewhere. Also in some of the old last century text books there are some pretty good descriptions of how to do this. I believe " Plane and Ornamental Forging", Schwartzkopf, has a good lesson on these. This is available in a number of places on line. When I come across my copy I will check, In the meantime, should you buy it, its a great source and worth the money anyway.. It was a text book for the NYC school system circa 1900. -
problems punching holes in flat bar
anvil replied to pnut's topic in Blacksmithing, General Discussion
I dont use lube, even on 1" or better, at least not a bought lube. A pinch of coal fines from around your fire put in when your hole is deep enough works fine. As it burns in the hole, the punch compresses the gasses and this usually generates enough pressure to loosen your punch. You may need a little tap with your hammer, but thats it. -
Also in your pics the back end(poll) is burnt. On the front end, where the bit goes, I would upset and scarf the end at least a little. If not you are more likely to get a cold shut. Lol, By the way, what are you making? If its a froe, you can use mild steel or wrought iron. If an axe, Id make it as a froe with a bit forge welded in. If its a "thang", you are right on the money and just need a bit more forge welding practice.
-
Blo, turps, 50/50 and a lump of beeswax works well. I use a quart of each and somewhere around a walnut/egg sized piece of beeswax. I heat all in my coal forge in a dedicated old paint can with lid and bale. heat slowly til beeswax melts. If it flashes in the can, put on the lid and use your poker to remove from the heat. This mix is a liquid and goes on easy with a rag, small brush, or pour it into the tight places. I would put the rose on the top of my coal fire, rotate and bring up to proper temp. The mix should both smoke off and darken your rose, when you are there. Too hot and it will smoke off and leave your rose grey, too cold and you will see a tacky wet look. Next and when cool, clean well with alcohol. Dont use mineral spirits here because it will leave a visible film on your work. Now rub a light coat of a carnuba based furniture polish(Johnson past wax) on your rose. Buff it up and note that this will bring out some very subtle bright highlights that are pretty cool. The more you rub, the less subtle the highlights. This will give you a nice matte black finish with anywhere from zero to max highlights.
-
A yellow is a good forging temp but too cold for a forge weld, depending on your experience.
-
The buffalo forge and champion blower is a great setup. Beginner or expert. Prices arent going down and the satisfaction of a good product lasts for life. If it turns out to be a lifetime hobby you are set for life anf if you sell it you should be able to get your money back. Cant lose.
-
My 125# farriers anvil stand is 4 legged and built from 3/4" angle iron. Top built for a close fit to the anvil.
-
I wouldn't forge weld it. call it a rivet or a mortise and tenon, this is how I do them. I will add counter sinking the hole on the backside. Then if needed, it will be flush on the backside.
-
Got curious, ordered a piece of 5/8 H13
anvil replied to picker77's topic in Slitters, Punches, Drifts, etc
I use number and letter stamps and stamp in date made and type of steel, size of punch/hotslit plus sometimes my touchmark. -
Lol!
-
Thats my way as well. Its pretty generic and works well with co temporary as well as old picks as well. No reason to screw up a good tool to make another. Mild steel works well for drifts.
-
For two decades his shop was west of Denver up 285 near Pine, I believe. These last bunch of years he was east of Denver. I cant remember the town. Lol, we had a competition going,,, who moved their shop the most these last 10 years or so! It was a tie. Should anybody be interested, I'll post when his memorial will be.
-
what Stash said. ATF and acetone are the least expensive and beats all the rest hands down. Somewhere I have the test results on this.
-
you can get boric acid, non roach poison, at yer local pharmacy. It's either on the shelf or just ask at the counter. Two of the three pharmacies I checked with had it. I seem to remember the pharmacy was a bit cheaper than the roach poison at the hardware store. both work fine.
-
sad to hear. he was a good friend from way "back in the day" I know he is beating iron with those greats high in the sky! Lol, back in the beginnings of RMS and their workshops at Ray R's shop near Castle Rock, we hung in the background watching the um, er, social side of smithing with many a chuckle. That should read Colorado, not California. Thanks for the headsup, Glen