rhitee93
-
Posts
252 -
Joined
-
Last visited
Content Type
Profiles
Forums
Articles
Gallery
Downloads
Events
Everything posted by rhitee93
-
Get into the habit of counting the blows, and hammering in a repeating pattern during the welding passes. The only downside is that I find myself counting blows even when I am not welding. That's helpful when forging in bevels, but not so much when drawing out the stem to a rose
-
It will depend on how much lateral load you want the user to be able to put on the knife. However, if you don't mind a guess, I would think that you could take out another 20 thou and still have something that would serve well as a 3" pocket knife.
-
To some extent, the patina helps slow down rusting. It also tells the story f the knife. When I give a kitchen knife to someone I tell them that it will oxidize with time, and not to fight it. The grey/black oxides are the good guys, and as long as it isn't red rust it should be a welcome addition to the knife. Of course, I hand polished my first kitchen knife to a P2500 grit finish. I learned not to do that after the first use. That was a bit heartbreaking
-
Very clean work! It's nice to see someone new taking the time to properly finish a knife. I'm looking forward to seeing what you do next.
-
Looks like a good start. If I am thinking about it correctly, and I may not be as it has been a rough day and my brain hurts, I think the full force of the press is going to be exerted on the stich welds holding your lower I-beam section to the main I-beam. As it is, I think you'll shear the lower section away in use. You may be intending to strengthen that connection up, but I thought I'd point it out just in case. Good luck with the build!
-
The method in your photo is pretty much what I do. Run it through a temper cycle first so that it is less brittle. Then clamp it up to correct the bend, and run it through another temper cycle while clamped up. 3-4mm is a pretty big warp, so you may want to take it out in two cycles rather than trying to get it all out at one time. I usually find that I have to over correct by about the same amount as the warp to get it straight. I make a lot of 1095/15N20 pattern welded kitchen knives. Long thin blades seem to frequently need some minor correction so I do this with good results. I don't work with O1 much, so your result may be different, but I would expect it to work.
-
Neat. I keep meaning to try something like that to make a kindling splitter for the camp fire. I should start looking for a old hammer head!
-
I don't really have the experience with axe heads to answer this one, but I would have thought bringing the edge area up just past the transition temperature (look for the shadows) and a heated canola oil quench would work pretty well. Temper it a couple of cycles at increasing temps until you get to where it can just be sharpened with a file. Of course, this assumes a lot about the steel the hammer head was made from...
-
But it is the ultimate steel for everything!
-
Dang it guys, you just caused the pot of petunias on my windowsill to turn into a whale. Now how in the heck am I going to get this thing out of he... ... oh, wait... ...never mind. It just rode away on a plaid Chesterfield.
-
Thanks all. The bolsters are soldered in place, but I use hidden pins to keep them aligned while I do the soldering.
-
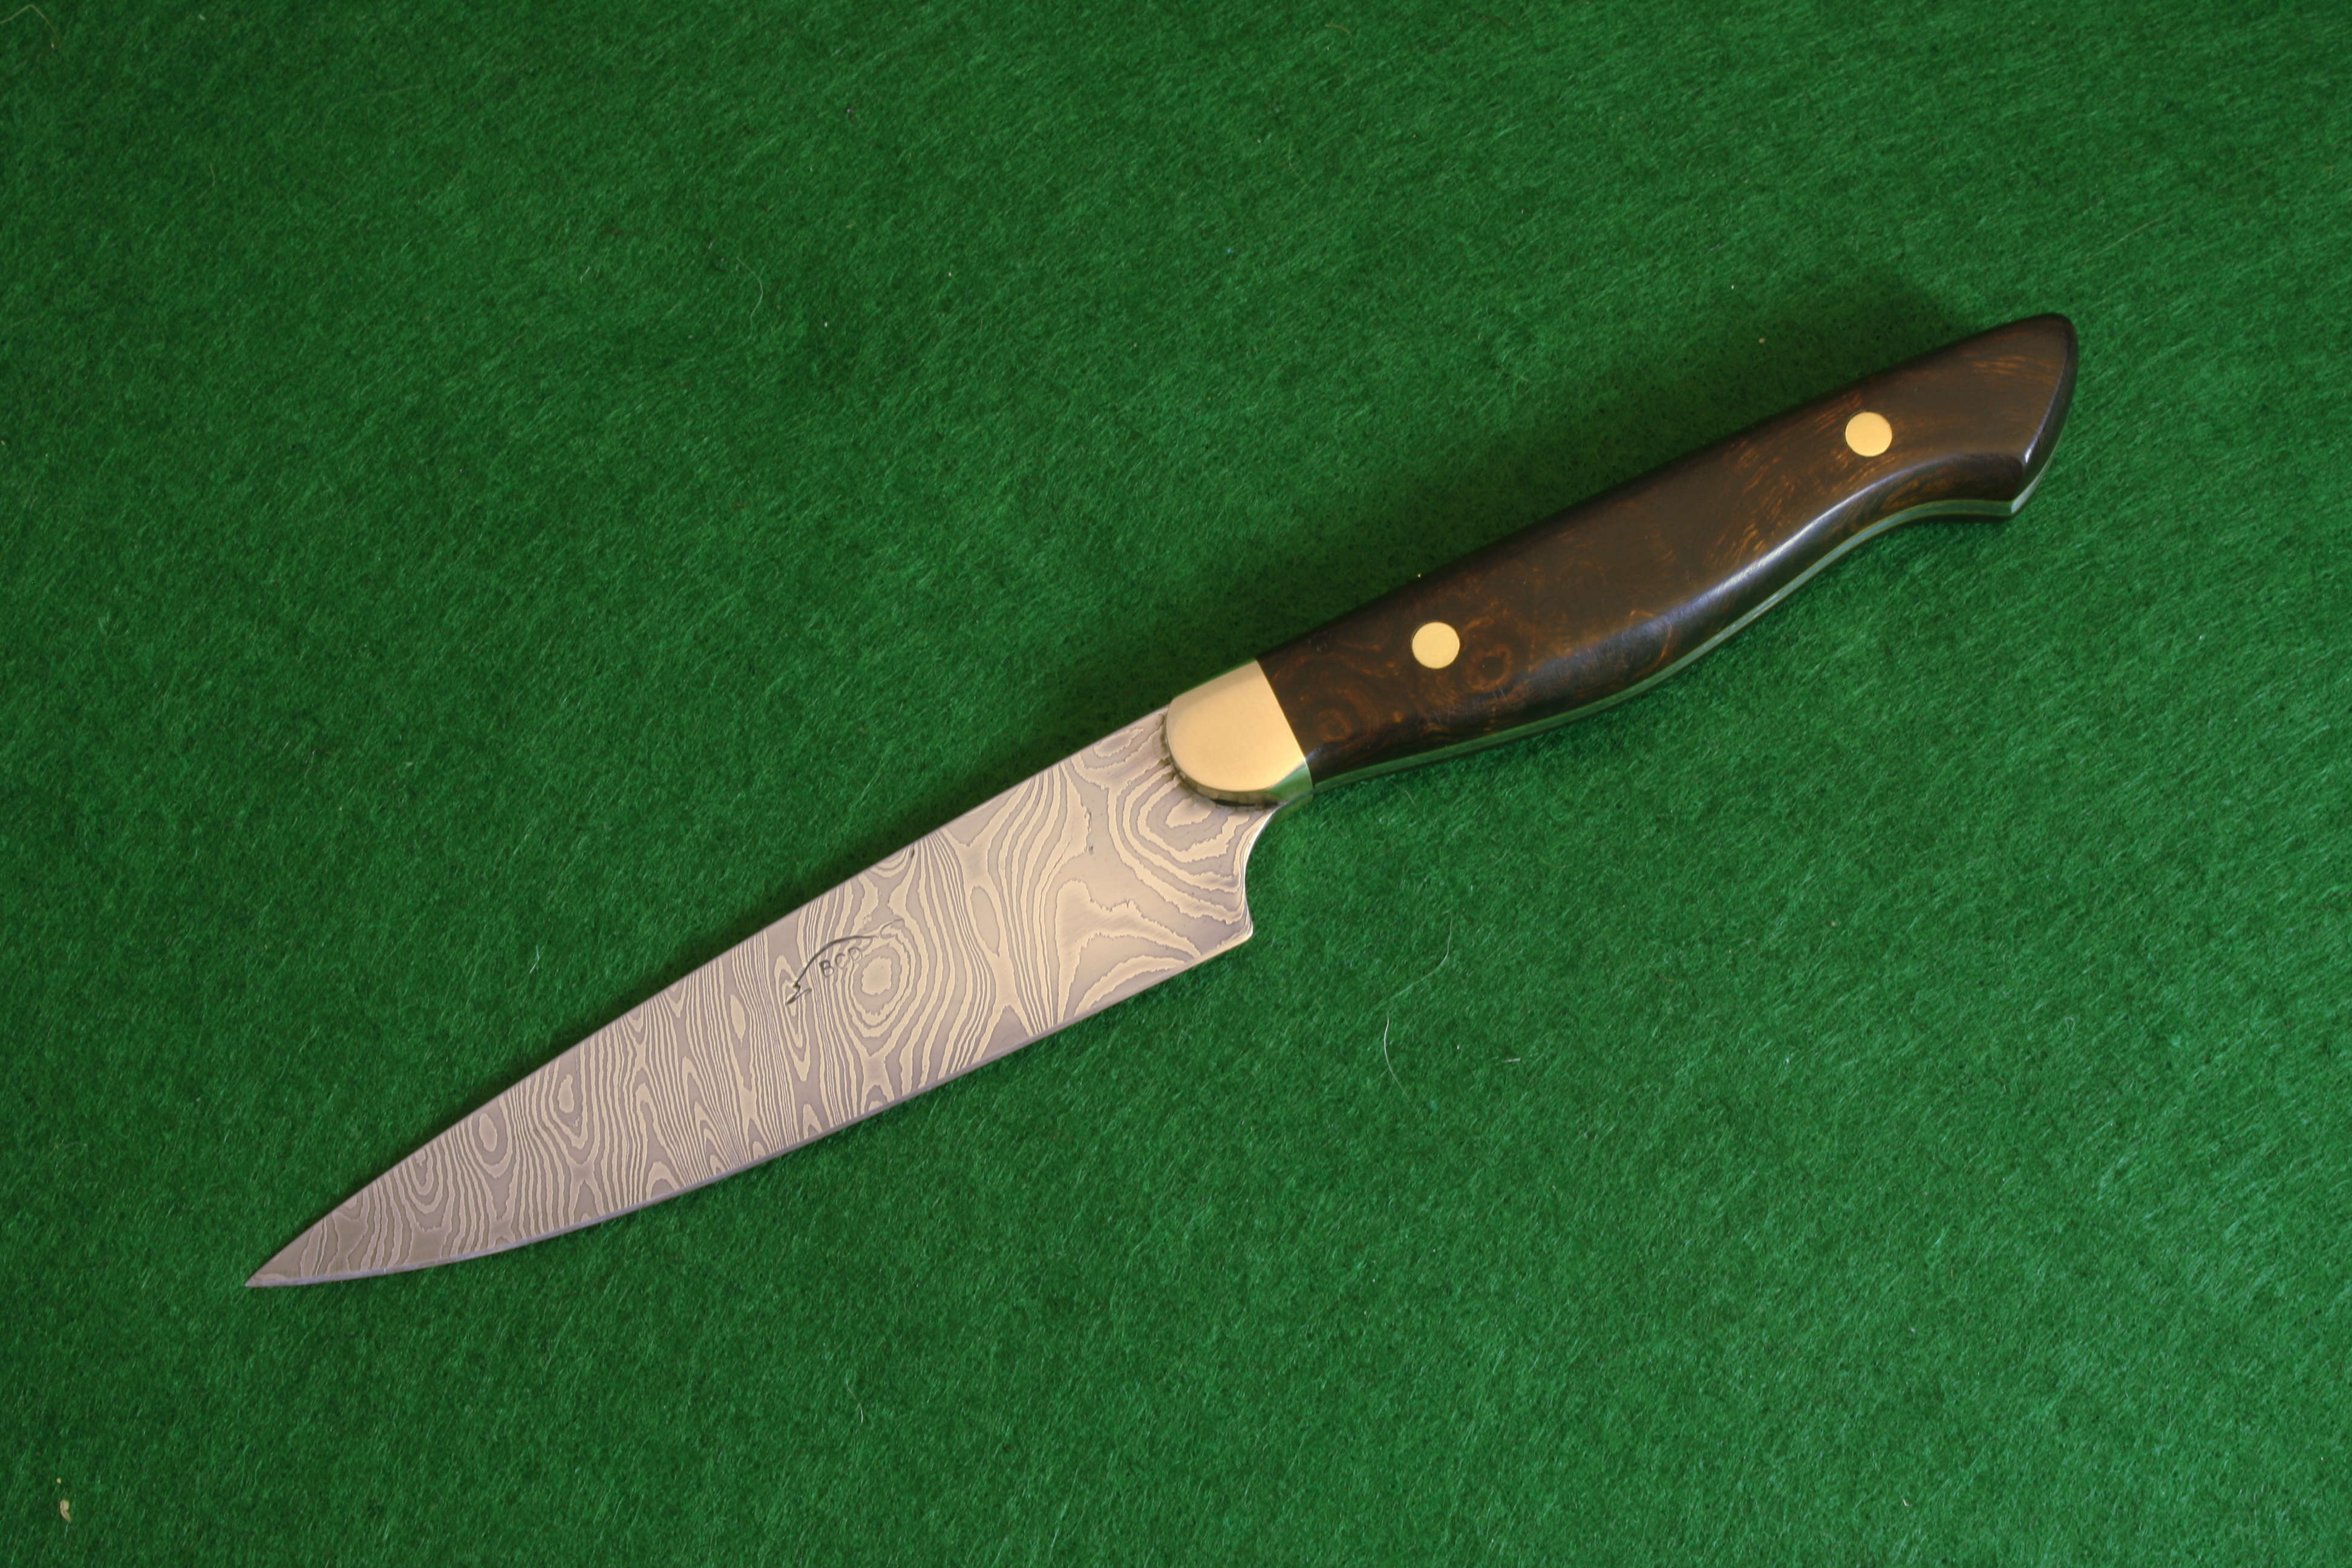
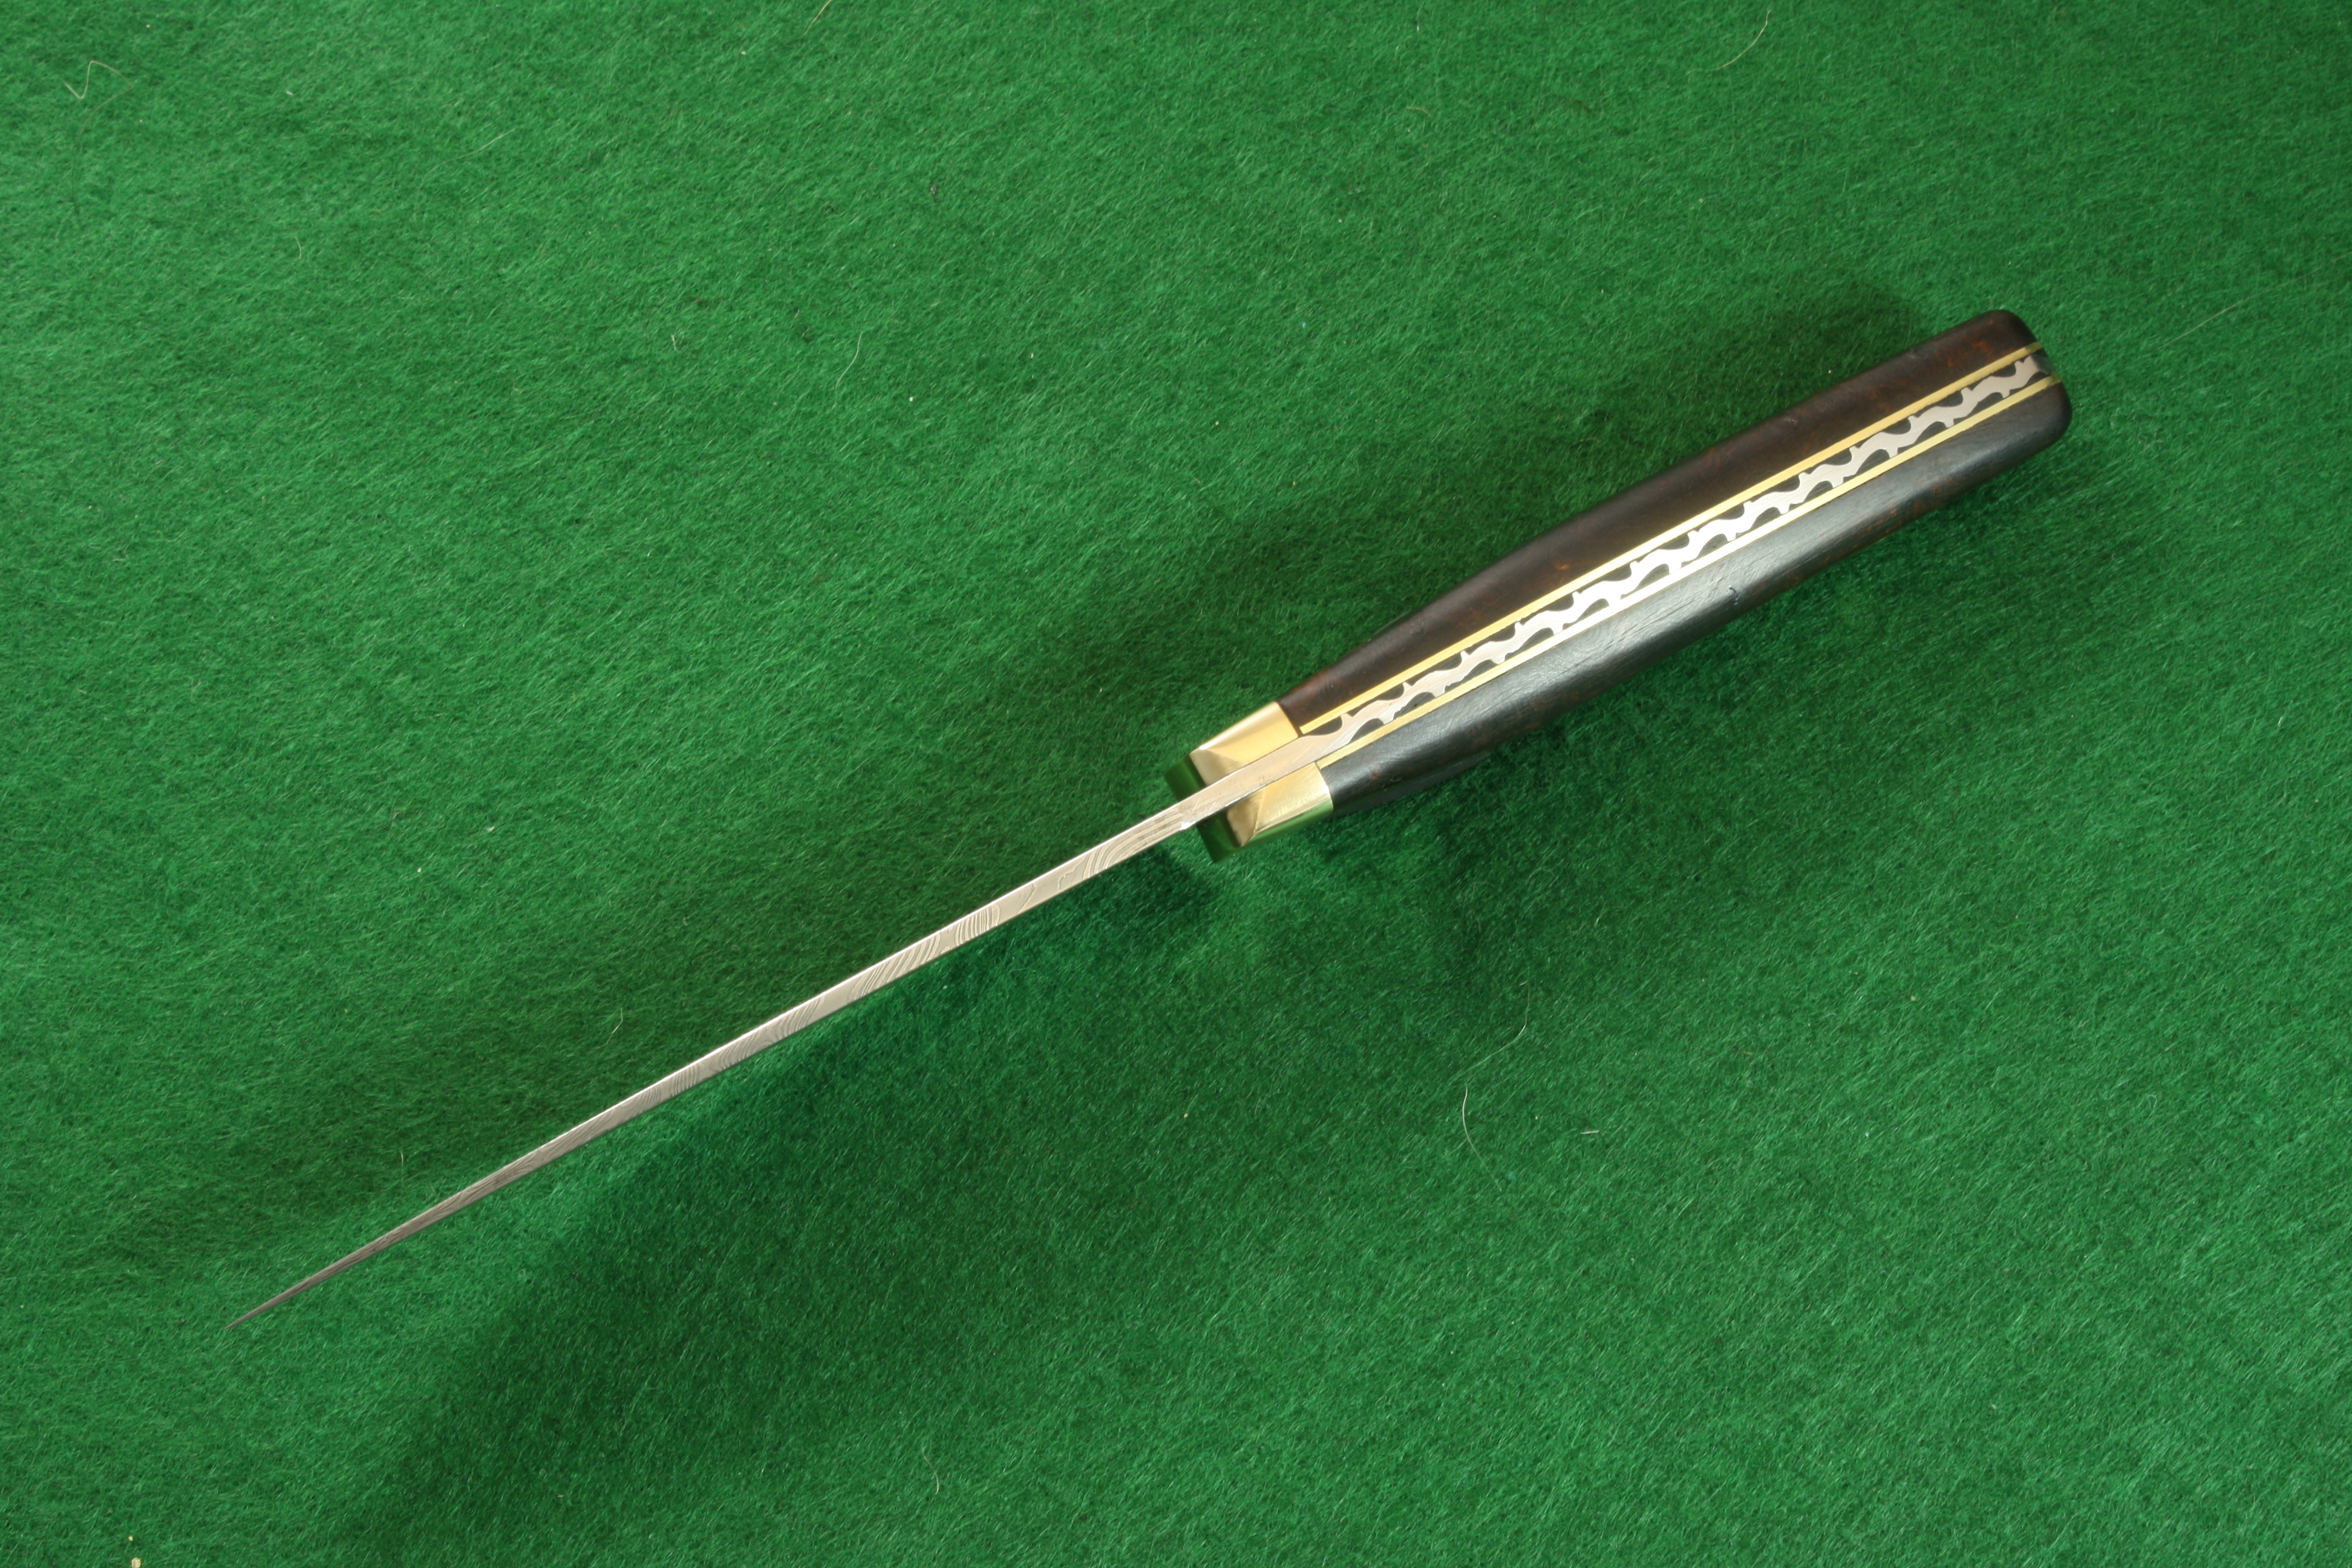
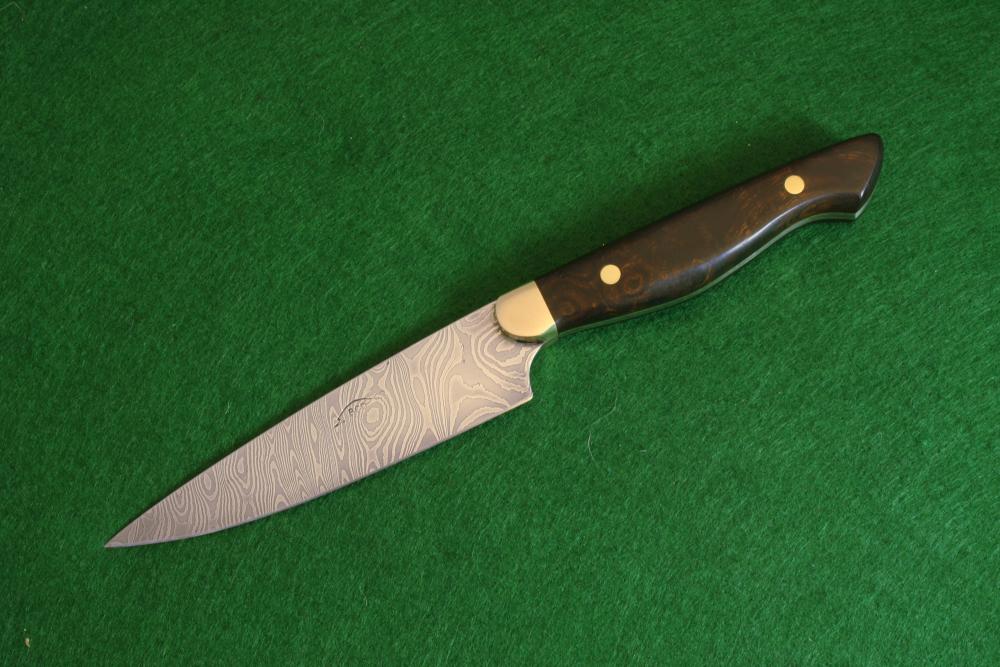
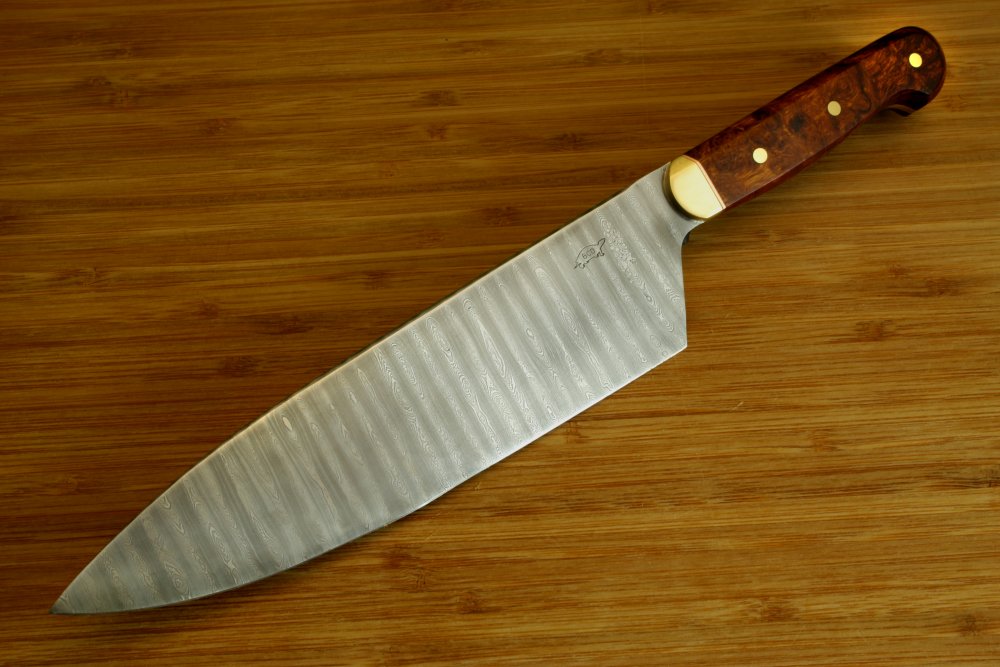
It's been a while since I've posted anything so I thought I share a couple of recent kitchen knives. One is a little 4" paring knife with a lightly twisted pattern. The other is an 8" chef's knife with a 250 layer ladder pattern. Both are made from 1095 and 15N20 with ironwood handles. the paring knife has brass liners, and the chef's knife has G10 liners. I've been using cutler's rivets lately for pins, and kind of like them.


-
New bladesmithing specific logo - looking for input
rhitee93 replied to TheoRockNazz's topic in Knife Making
Always have to embrace the nerd within! I get the 8-bit theme, but I think your lettering is going to have readability issues as you scale it up or down. It's pretty hard to make out in the pic here. -
In addition to the above responses, I'll throw out that steels will etch differently after heat treating. I only use 15N20 and 1095, but before heat treating, the 15N20 tends to etch darker than the 1095. After heat treating it will be the opposite with the 15N20 looking bright and the 1095 going dark.
-
Now that is one trick I hadn't heard yet!
-
300 series and 400 series stainless steels have completely different behaviors. The 400 series steels can be heat treated to make them harder. The 300 series stuff cannot. If fact, the only way to anneal 304 stainless is to heat it up past transition and quench it. The exact opposite of most steel.
-
That was one of the mistakes on this knife Thanks JHCC, The intent was to do as you say, but I forgot to put the holes for the bolster pins in before I heat treated the blade. (The bolsters have two hidden pins that holds them in alignment when I solder them on) I didn't realize the mistake until I had completed finish grinding so I couldn't go back and re-quench at that point. This caused me to alter the handle design a bit to move the pin locations back far enough that I felt comfortable I could soften and drill the tang without messing up the temper of the blade. (Carbide bits aren't in the budget) I had then intended to round over the edge to the new bolster point, but in my exuberance to get the bolsters soldered on, I forgot to do it. I broke the spine corners as best as I dared to with the bolsters in place, and it is quite comfortable in the pinch grip, but it is not as I intended
-
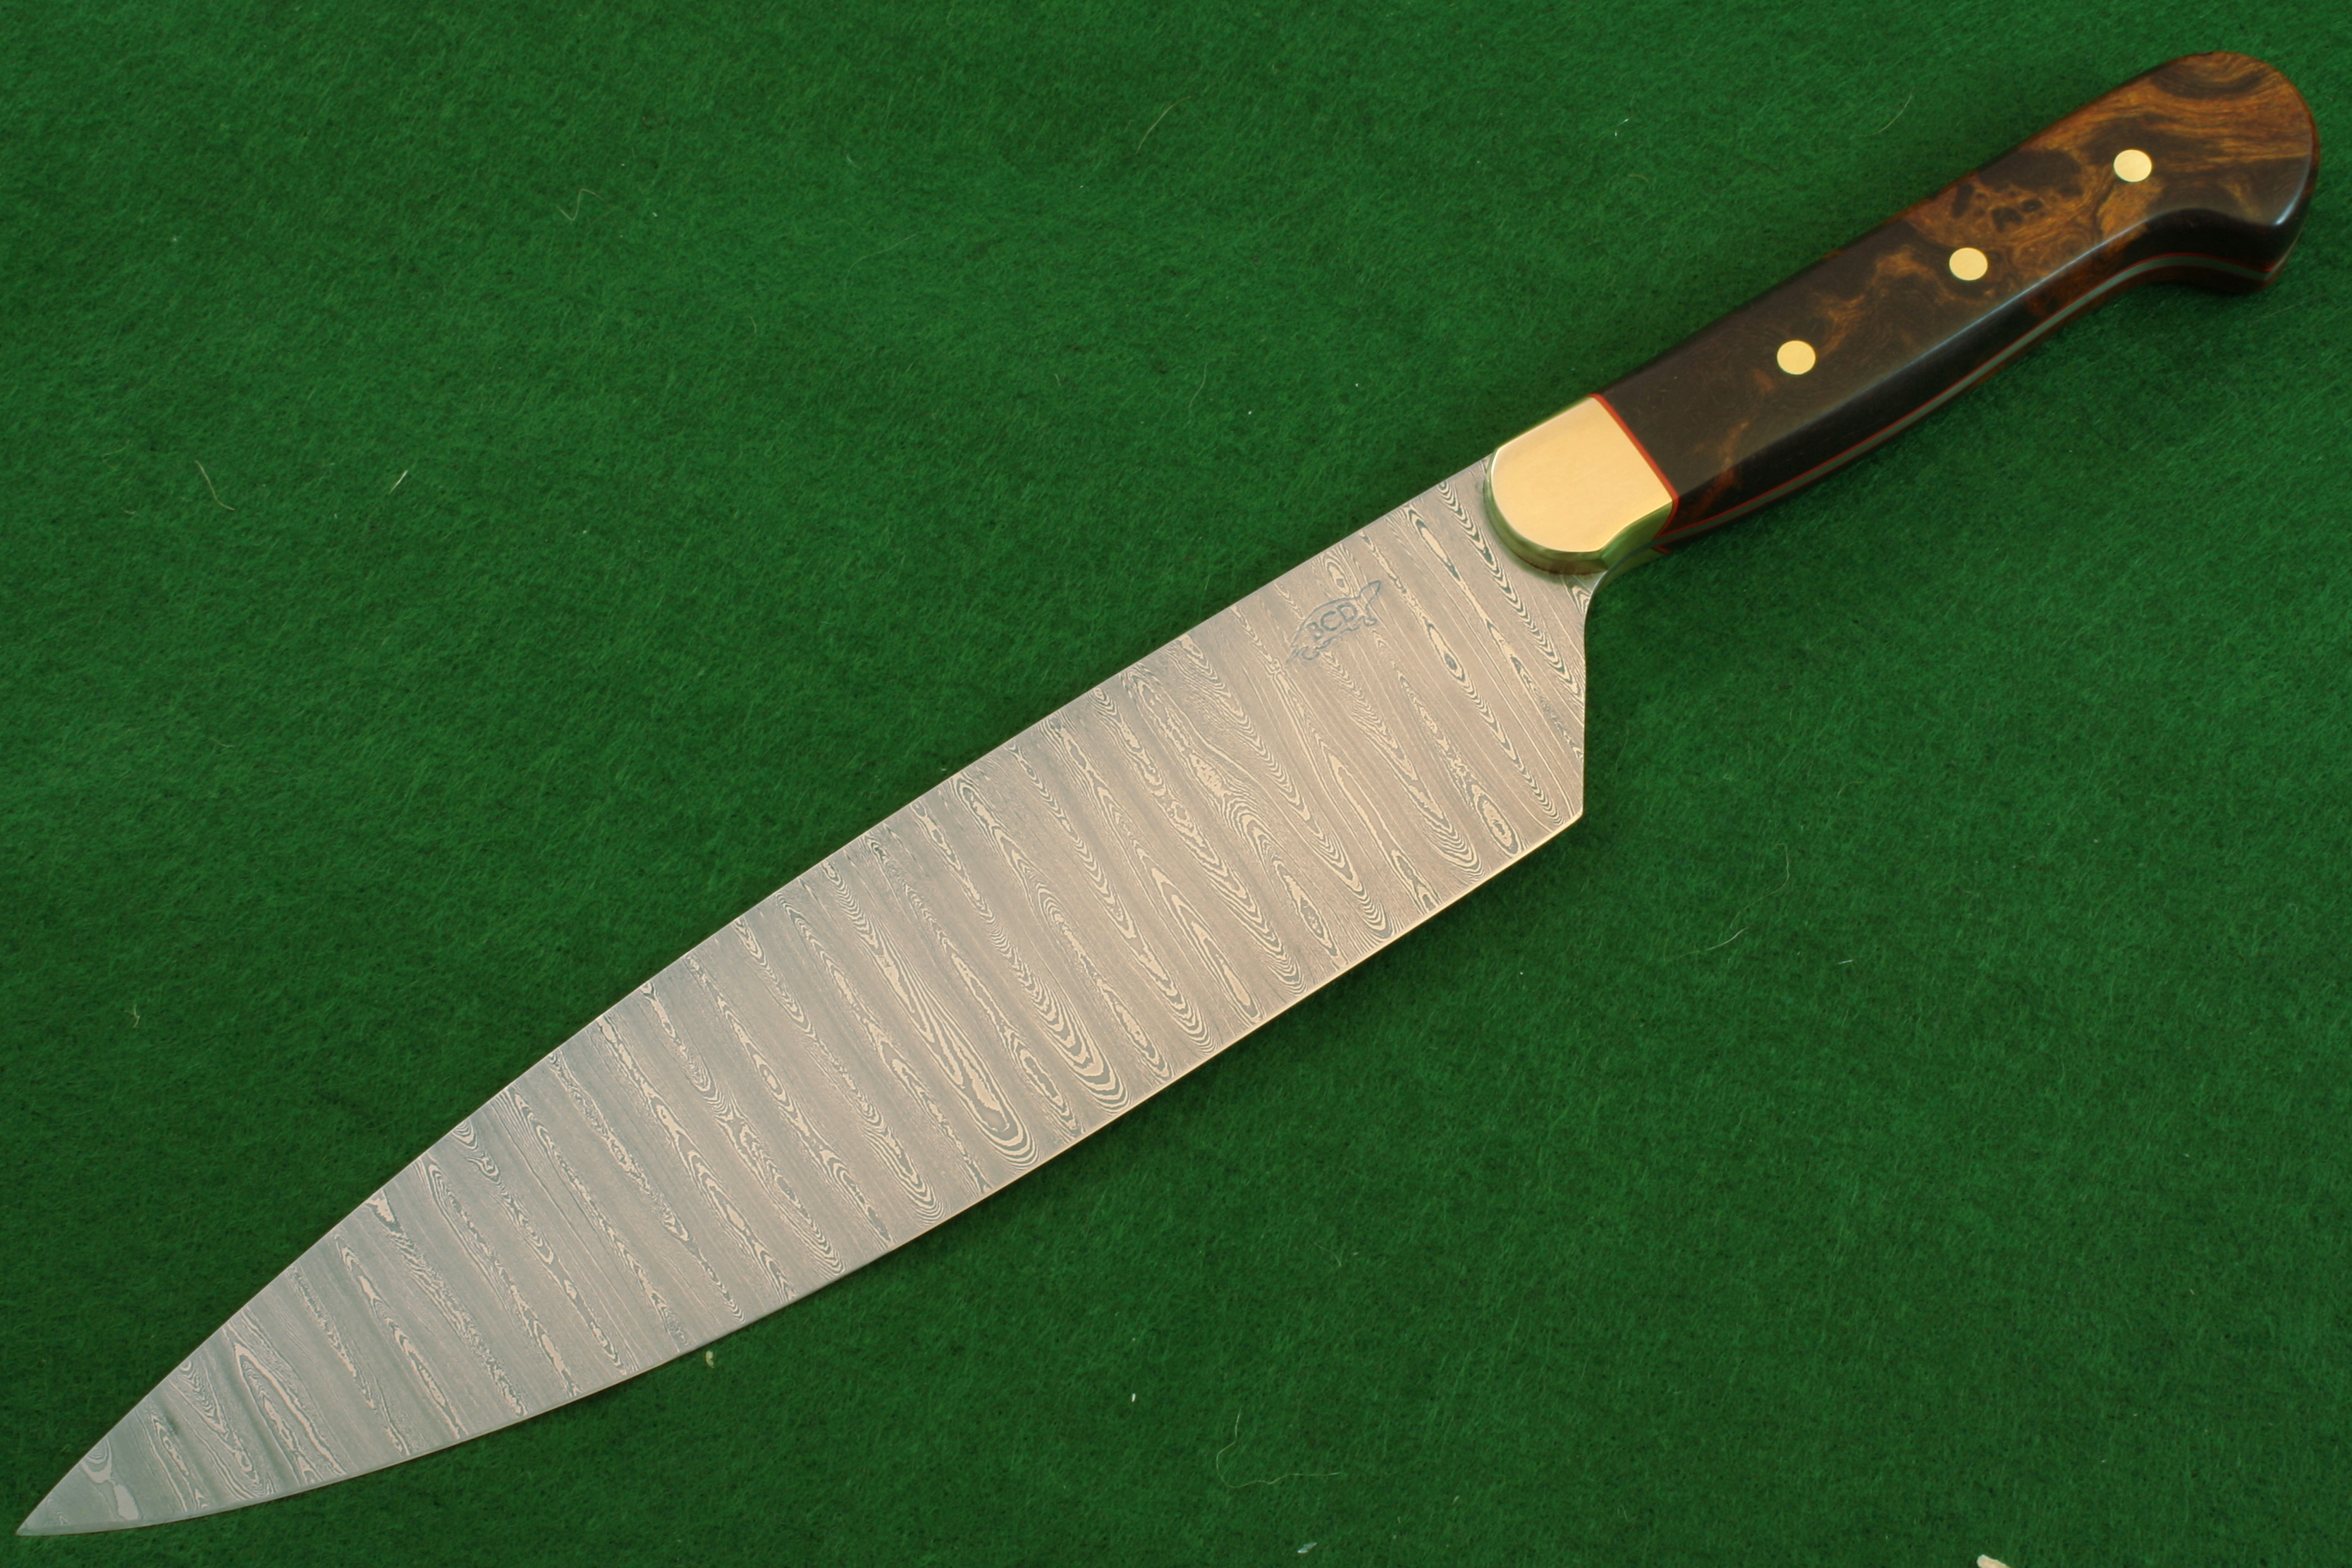
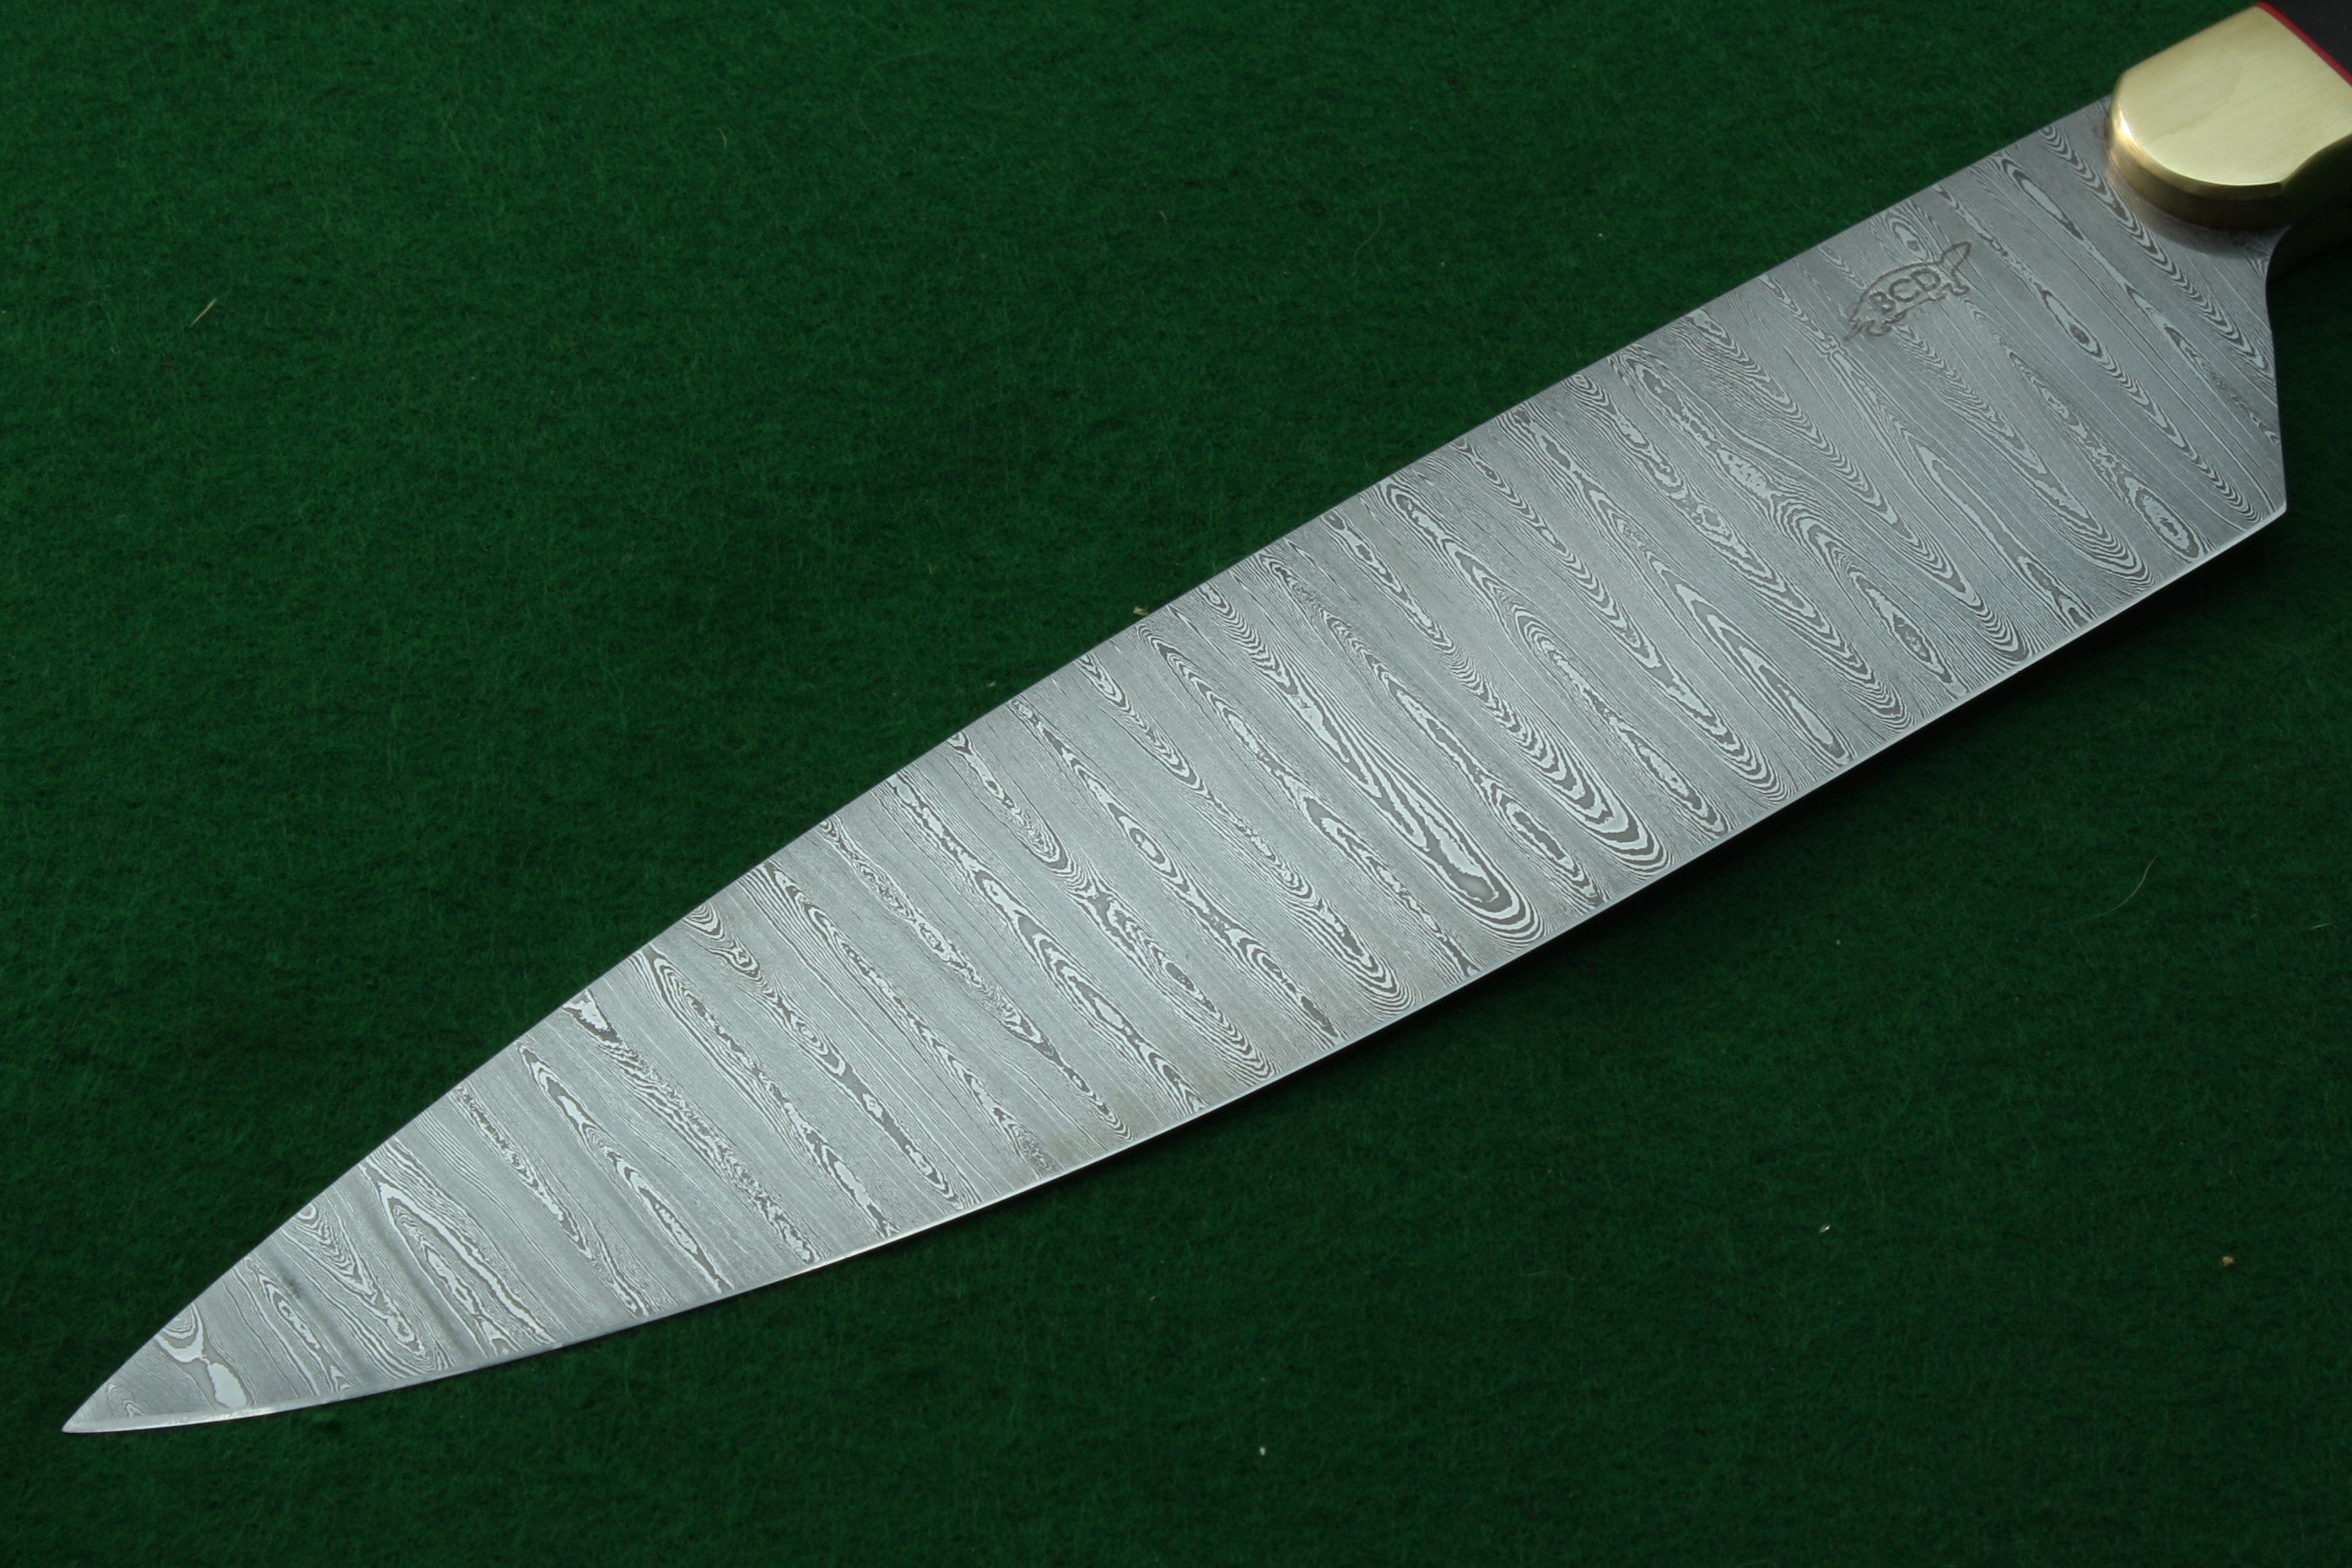
I've been trying for the last couple of days to get a decent pic of this knife, but it's proved to be more stubborn than me. 500 layers is maybe a bit too much, and the vertical pattern is so fine that it doesn't show up in the picks, and just looks muddy. It shimmers in person. (Honest ) This started as a 512 layer billet 3/8" thick that I laddered with dies that have 1/4" rods space 1/2" CTC. the handle is desert ironwood burl with brass bolsters and copper liners. The blade is at 8" long, 2" high at the heel, and about 0.150" thick at the bolster. Here is a cheesy video. I need to work on the video skills... https://youtu.be/ka3xoOMXyJM
-
I don't have my copy handy, but Roy Dunlap's book on gunsmithing has a number of recipes for blueing baths. This is an old book written in the 40's I think, but has a lot of neat metalworking info.
-
This is one of those hot ticket topic that frequently turns ugly. Kudos for not letting it do so. Since it's being civil, I'll throw in my personal motivations. I use whatever tool I have available to get the best possible outcome. For me, knifemaking is sometimes about the journey and sometimes it is about the destination. For example, I really enjoy using a good file. I find it relaxing and zen-like to slowly shape an intricate piece of metal using well maintained files. It's sort of like cruising around country roads in a convertible on a sunny afternoon. However, I have zero interest in draw-filing the rough grind in on a blade. That is more like driving past an Iowa corn field in a Yugo on a rainy Monday morning. I detest the noise and dirt of grinding, but I'm sure as heck going to turn to the grinder to get me past that Iowa cornfield as quickly as possible. Everyone has to find their own happy balance with this. Some folks dig out their own ore, and smelt the steel before they start on the blade. That is pretty hardcore (and awesome), but I bet most of them drive a car/truck to the site where they got the ore, and wore modern shoes when they did the smelt. Does that mean they are cheating? Not in my opinion, and they are about 1000% more "Manual" than me when I order my steel online. It takes all kinds to make a world, and you have to do whatever floats your boat. The problems come up when somebody decides to take a wiz in the next guy's boat.
-
wood stabilizing chambers
rhitee93 replied to Shamus Blargostadt's topic in Finish and Polish for Knives
Making a vacuum chamber is easy enough as already mentioned. However, I have to say that I have used some very high quality commercial vacuum chambers and let the wood soak for many hours under vacuum followed by twice as much time under the surface of the liquid as it was in the vacuum to let the resin soak into it. (Per the directions of the resins) However, I have never managed to get results as densely saturated as the wood I buy that was commercially stabilized. It's your dime, but $200 would allow you to have a lot of wood professionally stabilized. -
Don't let the language thing stress you. Your English is about a million times better than my Hebrew. (Aww, heck, for that matter it is probably better than my English) In my area we would also call people fabricators who do the decorative work you showed. The people who do structural steel work would more commonly be called "iron workers" around here.
-
The pump dictates the speed more than the engine. Every revolution of the pump will put out a specific volume of fluid. So, as long as you don't exceed the power output of the engine, you get a predictable speed. (There are exceptions to this) Two 5" cylinders will require about 25.5 GPM at low pressure and about 8 GPM at high pressure to run at the same speed as what I built. If you find a pump with those specs, the data sheet will probably tell you what size engine you need to run the pump. From what I have experienced with this press so far, I would guess that 22hp will be more than you need. I think I could run 5" cylinders on with the 14hp pump I have and live with the 16% reduction in speed and be very happy with the results.
-
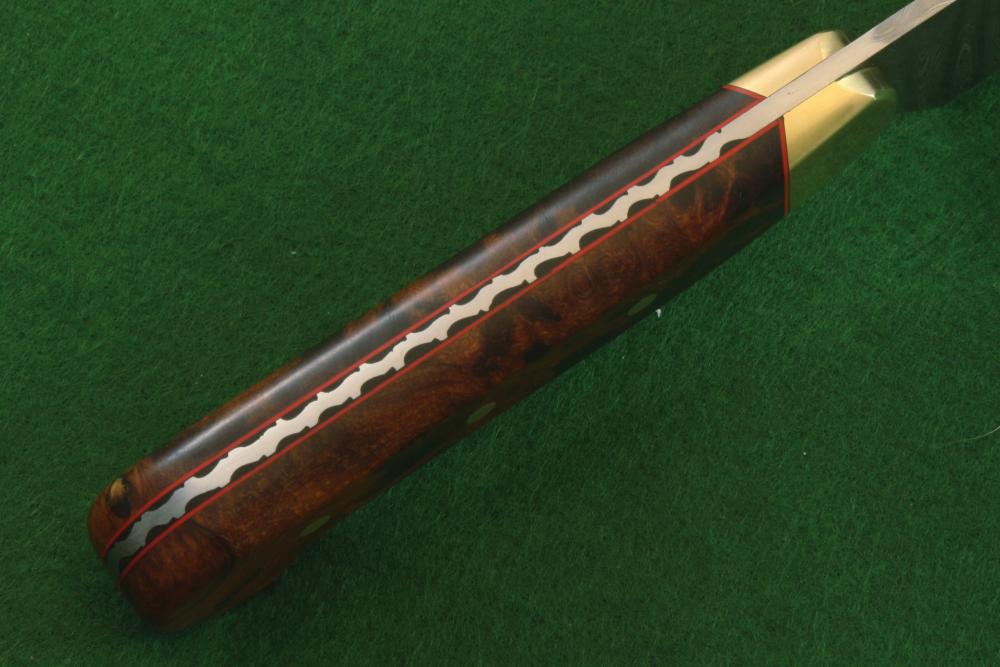
Now that my press is functional, I have gotten back to making knives. This one is for an annual knife raffle/exchange in a knife making group. It is 144 layers of 1095 and 15N20. The blade is 8” long, 0.130 (3.2mm) thick over the heel, about 0.020” (0.5mm) just aft of the tip, and has a full flat grind. It performs quite well slicing tomatoes, and chopping chives, although I wish I had put a bit more belly in it. The handle is maple with desert ironwood end caps that are tenoned into the maple with copper and nickel silver spacers. I’m not real happy with the aesthetics of a Japanese handle on a mostly western style blade. I also managed to bugger up the pin hole even though I know better. Some day I'll make a perfect knife...
-
I demonstrated this effect rather unwittingly the other day. I was using a scrap piece of leather as a backing pad for some abrasive paper to polish out a hollow ground portion of a blade. After an hour or so the leather turned black, and my thumbs are still stained