rhitee93
-
Posts
252 -
Joined
-
Last visited
Content Type
Profiles
Forums
Articles
Gallery
Downloads
Events
Everything posted by rhitee93
-
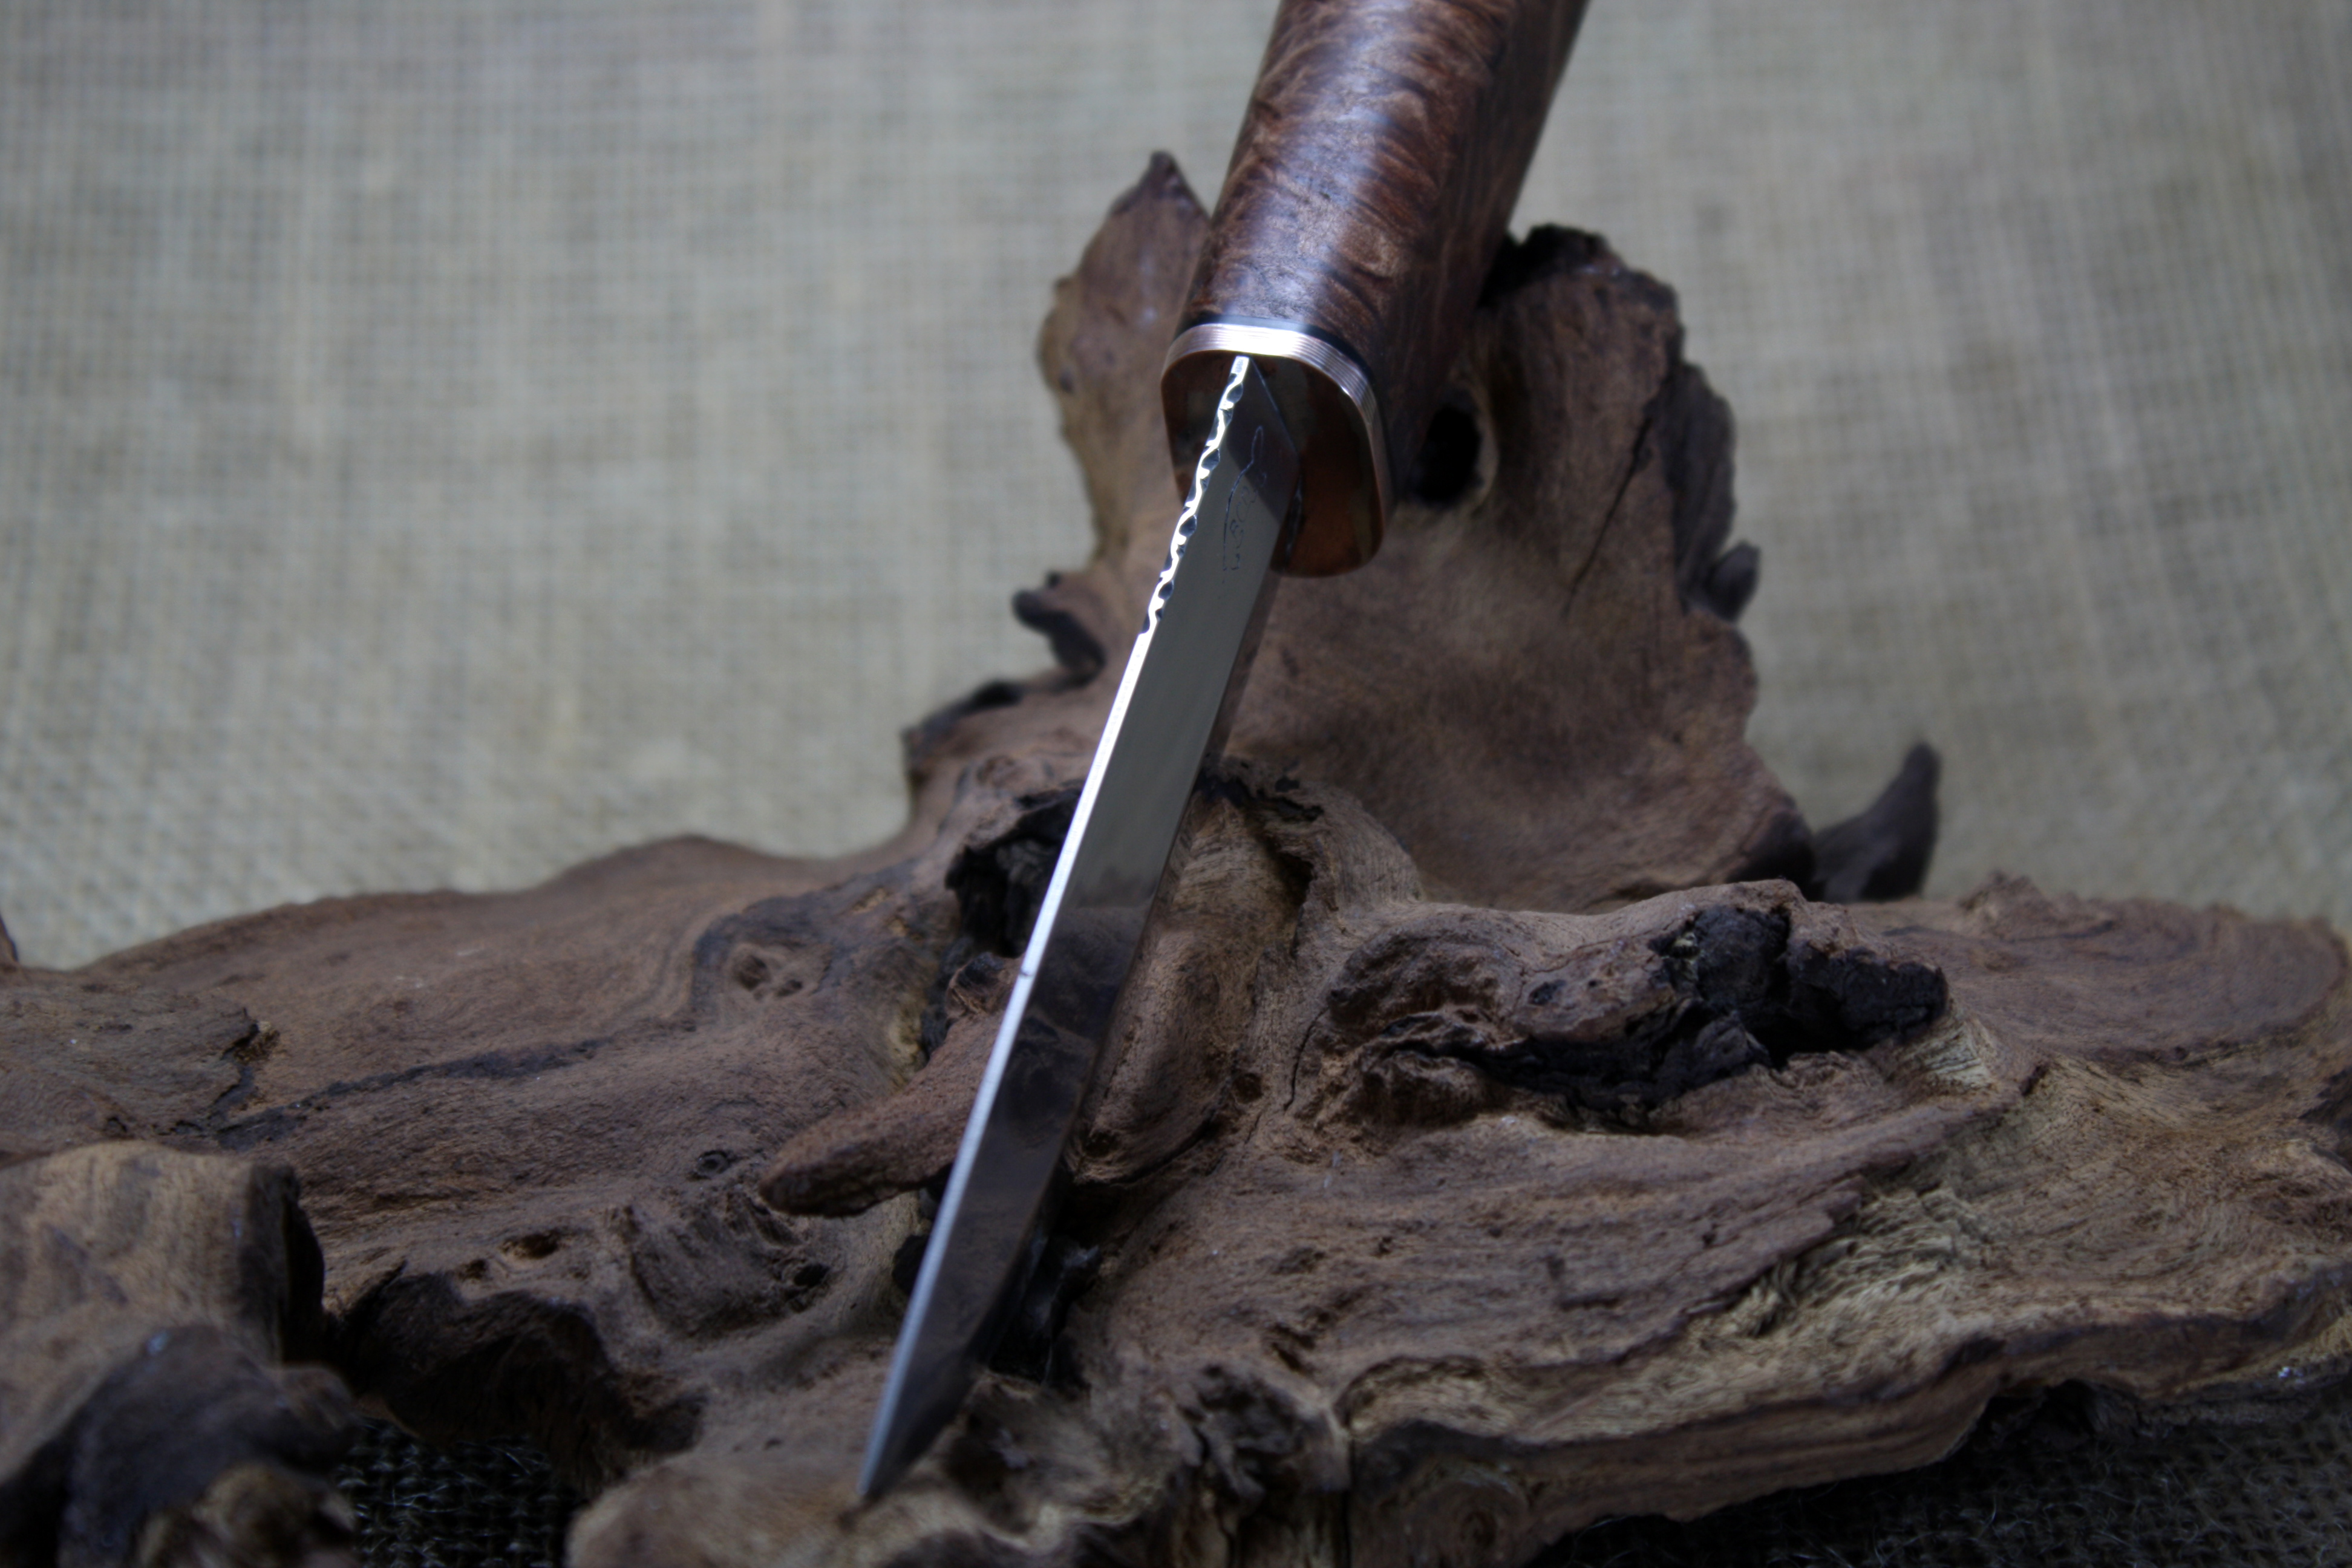
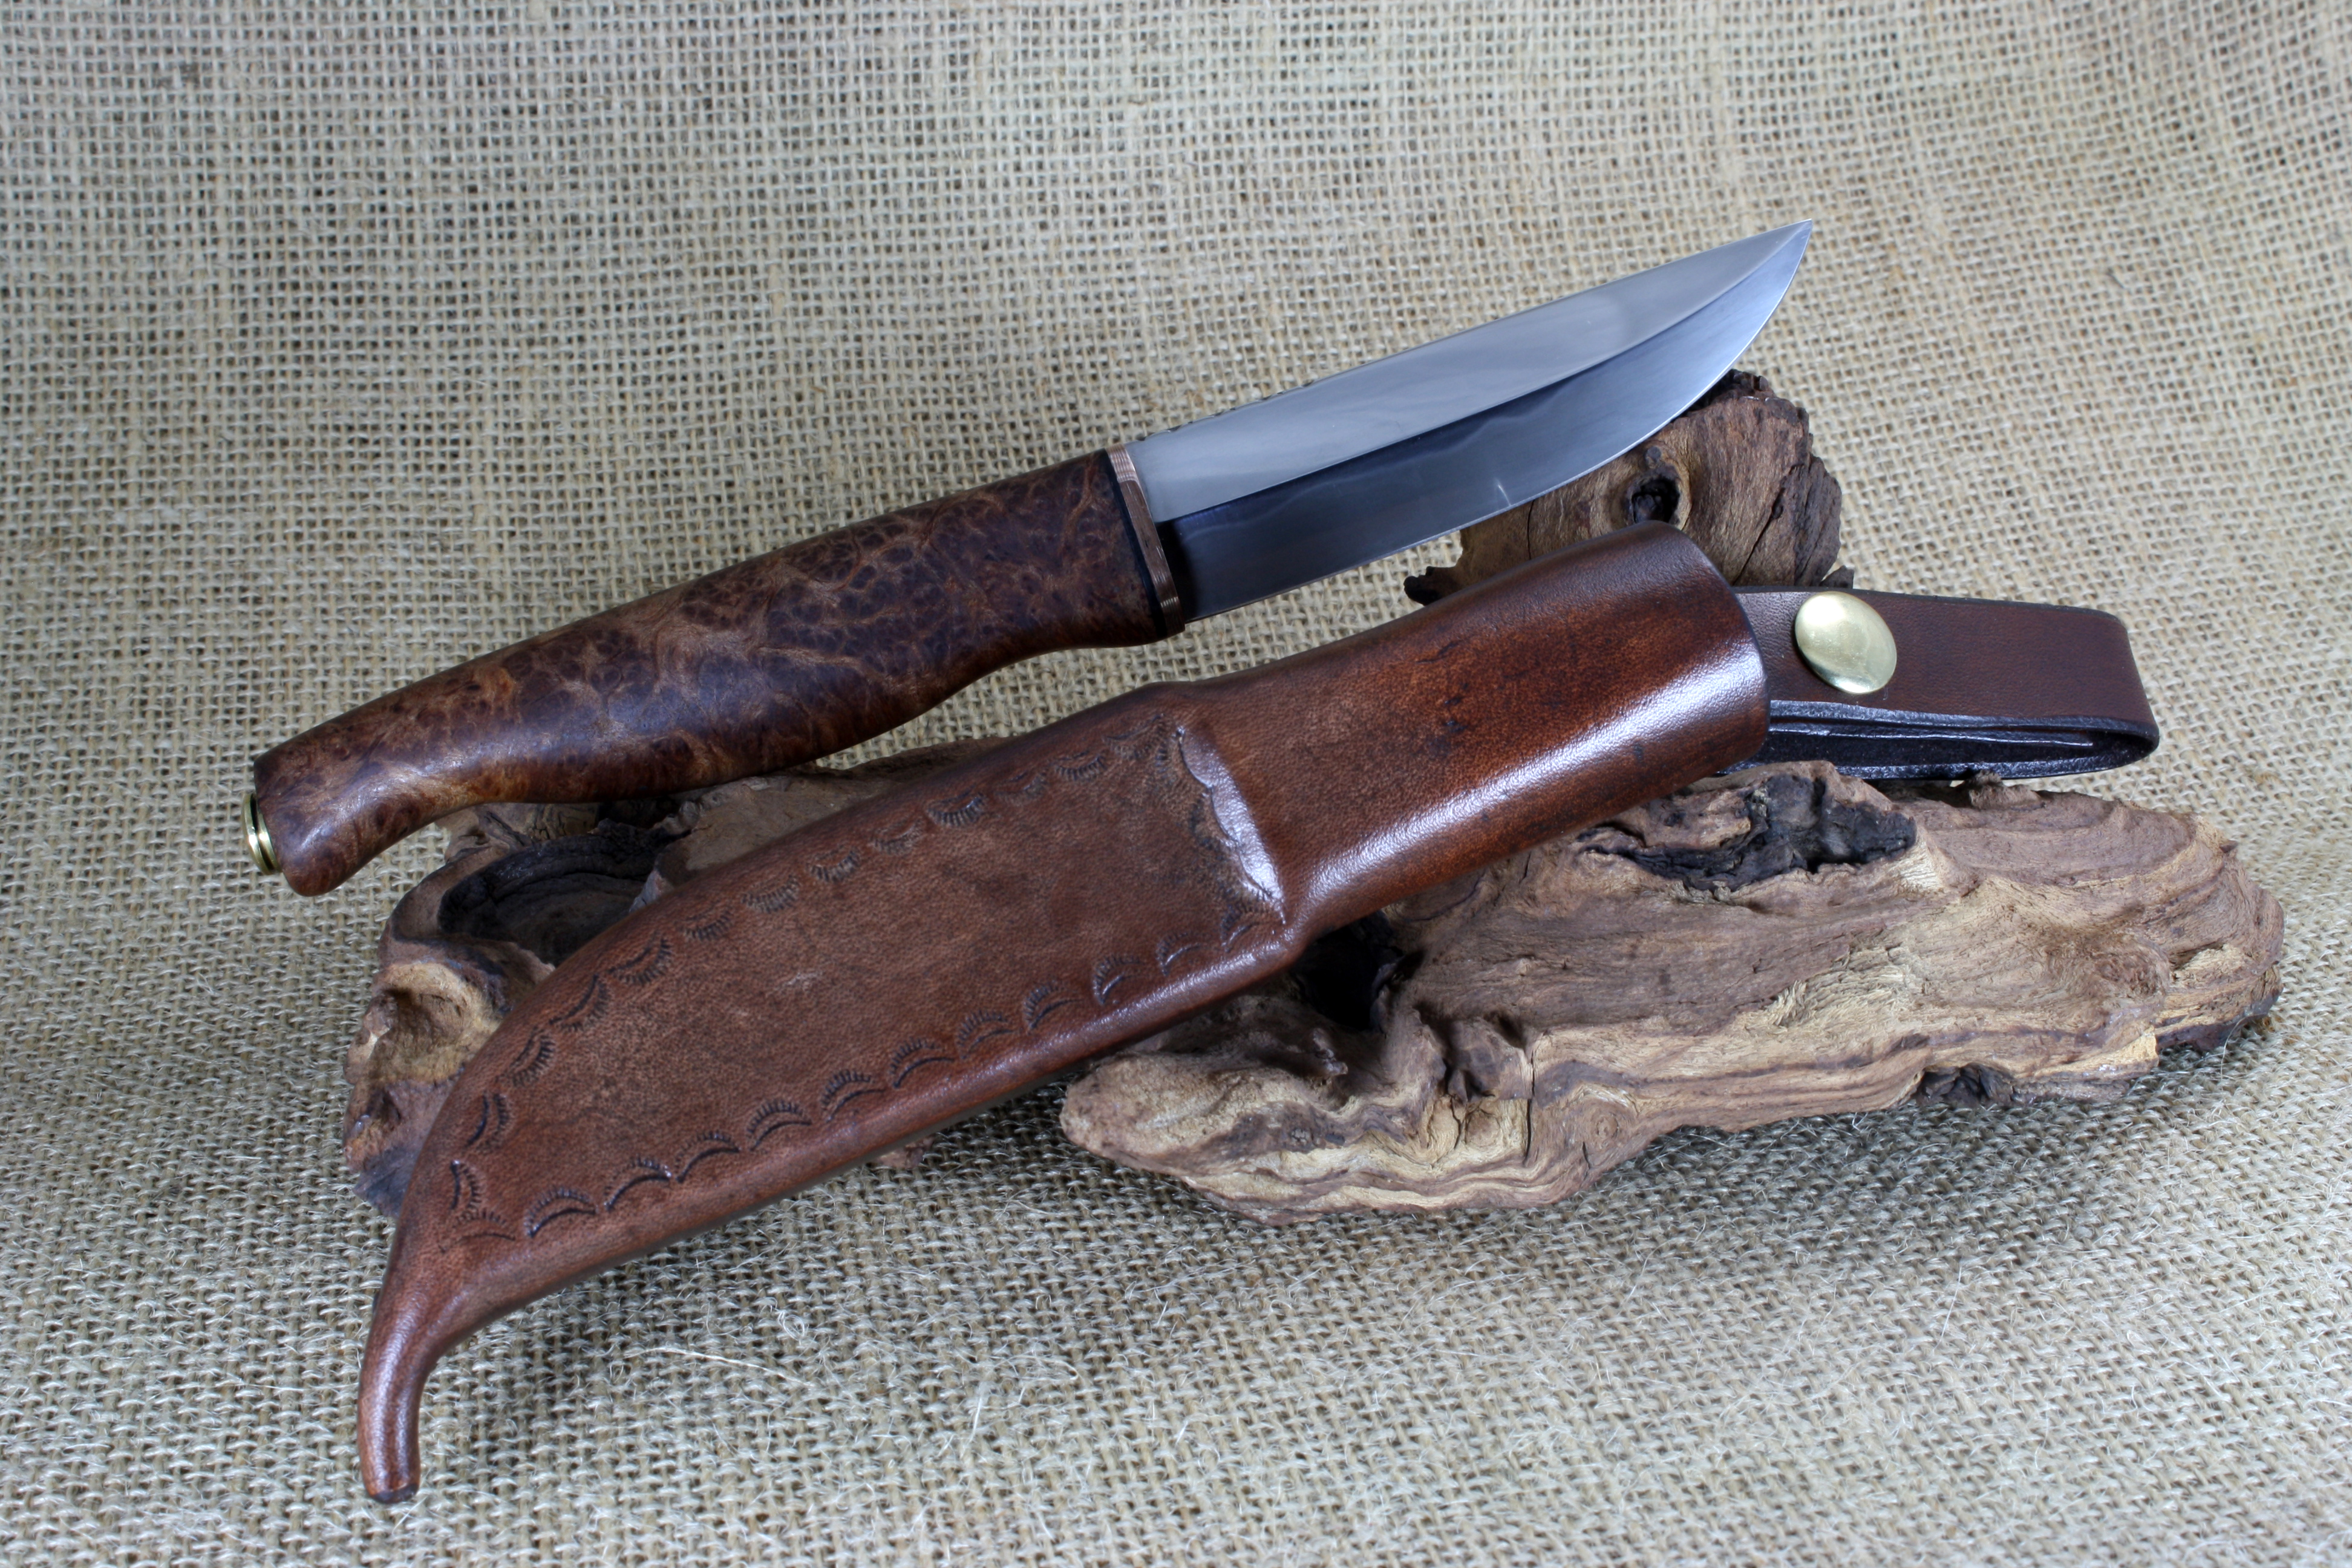
Thanks Mitch, The blade is a traditional diamond cross section so it isn't a single bevel in the yanagi-ba sense. It is however flat grind except for a micro-bevel. I should have been more clear Charles. There is a wooden insert inside the sheath that covers the blade. It is made much like a scabbard, but very thin. The leather then has to be stitched around the wood insert before the final molding into shape. Normally I'll stitch the seam and then form like you say. However, with this one I had to stitch while the leather was wet.
-
When you have to put your forge back on the rear wheel of the family car so the wife can drive to town for groceries. (Stolen from another list I saw one day...)
-
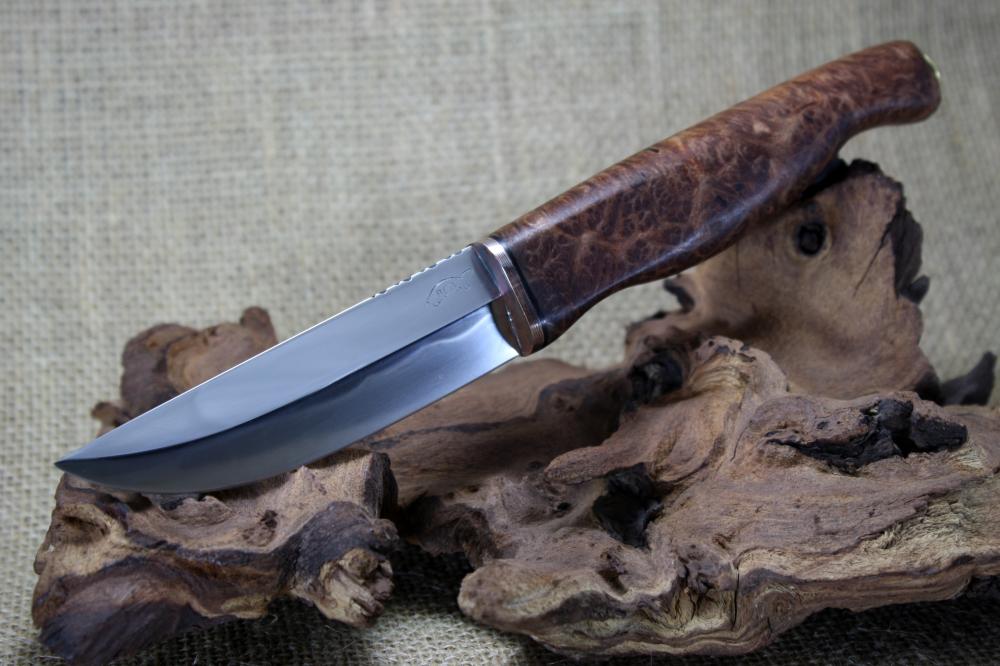
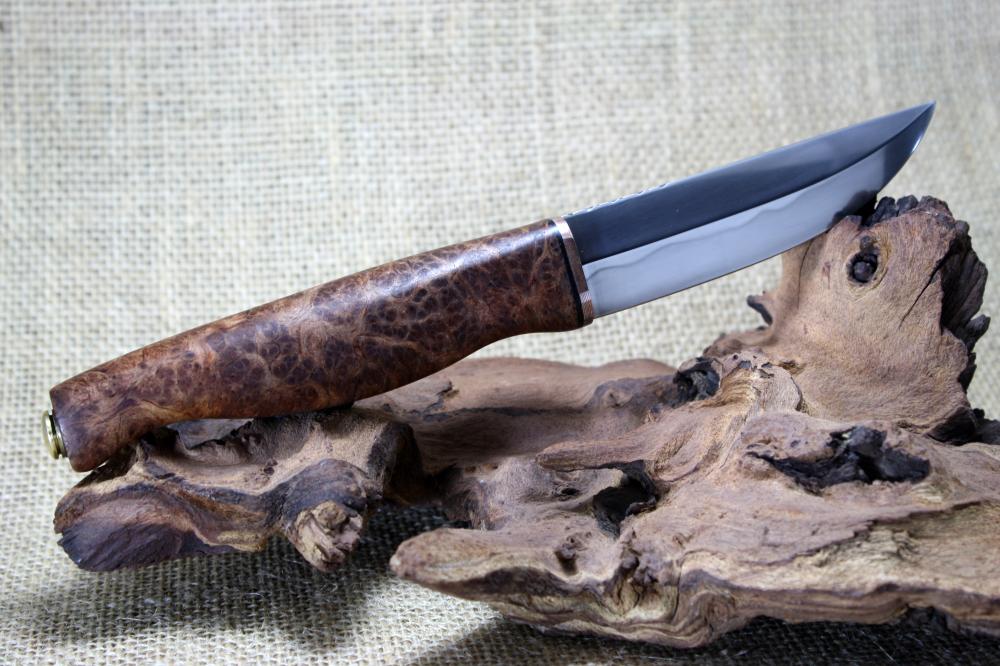
Here is my first attempt at a puukko. Since my only Scandinavian blood was deposited by the Vikings before this knife style was created, I decided to take a few liberties. I think the file-work is a plus. The handle shape was probably a fail. The blade is made from a piece of 5/8" round W1, deferentially quenched in brine and tempered at 400F. The handle is mokume gane (my first) and redwood burl. (Stabilized) This is also the first time I have tried to stitch leather around a wooden core. It is a passable sheath, but I have a lot to learn with leather work. Thanks for looking!


-
Anyone do their own wood stabilizing?
rhitee93 replied to jmccustomknives's topic in Finish and Polish for Knives
I'm familiar with the wood out gassing under vacuum for stabilization, and in this case, I'm pretty sure the gas was not coming from the wood. The wood was just the nucleation site for the chemical to boil under vacuum. I was using very dense woods - blood wood and black wood. The bubbles kept the full rolling boil for an hour, and I was loosing liquid level fast even before I released the vacuum to let minwax into the wood. I could be wrong, but even if I am it didn't behave anything like true stabilizers and was disappointing. -
Anyone do their own wood stabilizing?
rhitee93 replied to jmccustomknives's topic in Finish and Polish for Knives
I have used it in a vacuum chamber, and it was a bit disappointing. I think the vapor pressure on the stuff is so low that it boils under the partial vacuum. The bubbles (Almost a rolling boil) didn't slow down after an hour, so I assumed it was boiling and let the pressure back in the chamber. There was definitely penetration into the wood, but final product wasn't nearly as hard as what I see with "Real" stabilizers. -
It looks functional even at 9". I tired a yanagi-ba a while ago, and wish I had just used a wheel like you did rather than attempt to get the 48" radius grind. My end result was neither as pretty or as functional as yours looks to be.
-
I like them. What diameter wheel did you use for the hollow back on the single bevel knife?
-
Benton, I'm up in Terre Haute. Most people don't know where that is so I just use W.C. Indiana :) I used to say "Where the state line goes from straight to bumpy", but that is too unwieldy. Thanks for the kind words Charles!
-
There is something that I find very entrancing about that knife. It's very crisply executed. I like it a lot. Is that a Walther Alutec in the background?
-
Thanks all for the compliments. Dave, I struggle with the whole 'Perfection' thing. I know nothing is perfect, even when made by a machine. However, I have a warped sense of what is good enough. Because of the near mirror finish, this knife highlighted my issues more than ever. I don't think I am capable of making a truly flawless knife. This knife isn't anywhere close to flawless, but even if the gross errors weren't present, there would be some aspect that I think should be better. I am struggling with this right now because I have two friends who are interested in having me make something for them. Both have discerning taste and a good eye for quality and craftsmanship. The thrill and honor of making something to go in their collections is highly motivating, but I'm not sure I will ever be able to make myself comfortable with the outcome.
-
I thought I'd post a pic of the knife I finished over the long holiday weekend. It was primarily an excuse to try doing some filework which I found to be enjoyable, and certainly hope practice it some more. The blade is 1095 quenched in brine from 1500F for 4 seconds and finished in canola. It was tempered at 400F for 2 hours. The handle is stabilized ironwood and brass. The blade is about 7" and the overall length is about 12" Here is the glamor shot: And one with low angle lighting to show the hamon a bit: ...and of course, the filework which has it's issues, but turned out fair. I'll do better on the next one :) I'm new at this hobby so feel free to throw out any constructive criticisms :)
-
Online literature about metal qualities contributions to edge holding
rhitee93 replied to jacobd's topic in Knife Making
See if the library of the school you are in has a book called "Metallurgy for the non metallurgist". It's pretty pricey to buy, but most colleges seem to either have it, or have an online version that you can read as a PDF. Then there is the ever popular ILL... http://www.asminternational.org/materials-resources/results/-/journal_content/56/10192/05306G/PUBLICATION?gclid=CI2T6bywz8ECFZc2aQodMXYAJg -
Well, that makes a lot of sense... Some could summarize me by the following: Intelligence - I have. Street smarts - Well,not so much. Common sense? Naw, I don't carry spare change... FWIW, here is snap-shot of the finished sheath:
-
Beautiful. That is the sort of art that sucked me into wanting to make knives in the first place, and something I hope to work my way to.
-
Thanks for all the compliments. I learned a lot, and will bring those lessons to bear on the next one. The flux issue was interesting. I am pretty aware of the flux-less welding that people have been doing. I had actually intended to try it that way, but seeing the scale form when I removed the stack from the forge and put it on the anvil caused me to chicken out. I'll get around to trying it that way soon. For the other novices out there, here is my encounter: I realized I had some sort of inclusion because there was this darker spot when the billet was otherwise up to temp. It almost looked like a bubble or bulge in the billet. I figured I had nothing to loose so I brought the hammer down on the spot with heavy blow, then a lot of molten flux splurted out the side. It created some cracks in doing so That I ultimately decided to cut away. Had I been a bit more careful in welding from the center out, I wouldn't have gotten the inclusion...
-
Thanks for the nice words. The coach got her to believe in herself. That is a debt a father can never repay...
-
I made this knife as a gift for a coach who has made a big difference in my daughter's life. The blade was going to be just 1095 and 15N20, but I ended up with a big flux inclusion when drawing out after the second round of welding. By the time I cut out the bad part, I was short on material. I drew what was left out to about 8”, cut it in half, and welded the pieces on either side of a piece of 1084 - san mai style. I was pretty diligent about keeping the hammer blows even on each side after this step, but the result is still a bit off center. The blade was quenched at 1500F in 140Fmcanola and then tempered at 400F for 2 hours. The guard is nickel silver, the handle is a piece of ash burl, and the pin is 316 stainless. This is my 3rd knife attempt, and the first time I have tried a knife with a proper ricasso and guard. I’m really new at this, so feel free to throw out some constructive criticism. I’m starting work on a sheath now. I’ve never done leather work before, so this should be an interesting experience. Thanks for looking!
-
I don't have the credibility you should be looking for in a responder, but I'll paraphrase some advice I was recently given with respect to hammering along the shear plane of your welds: If your welds won't hold up to hammering at the proper temps, they aren't good enough. You can't be afraid of breaking your welds apart at forging temps if your end result is supposed to be a blade.
-
Holy smoke! Watching the craftsmen cut those teeth is the most humbling thing i have seen in a while. Thanks for posting this.
-
My Split Cross Pic Tutorial
rhitee93 replied to ANGRYANVIL's topic in Blacksmithing, General Discussion
OK, that is much simpler than the methods I was dreaming up. Thanks! -
Neat. Were the spikes welded together, and then the normal pierced cross process? Oh, and I say you definitely succeeded in CROSSing that off your list :)
-
Gotcha, thanks. That makes sense, but I wouldn't have put it together on my own.
-
Thanks for the compliments guys. Darren I appreciate the advice. This was my first billet attempt, and I was a bit timid with it. I have another project that is at the heat treat stage now. I was a bit more forceful with this one in terms of keeping it square. I realize now that if it won't stand up to my hammering then it won't work as a knife. By curve, do you mean in a plane parallel to the anvil surface? I don't see much of that, but I try to straighten everything out with the last few strikes of every heat, so I may be erasing any indication. I do have some hammer issues. I've been drawing these out by hand since I don't have any other means. My little 2lb hammer doesn't make much progress with a 1" thick stack, so I have been using a 8lb sledge to do a lot of the grunt work. There are two problems with that. I'm all of 140lbs with the upper body of a school girl. The control I have with that hammer isn't the best. Second, the hammer shape just mushes metal in all direction so it is hard to control the draw unless I try the edge of the anvil or the horn which gets me back to problem number one. I hope to find a nice 3 or 4lb straight peen hammer in Ohio this weekend. If I don't find a straight peen, I'll make a fullering tool for drawing out. Thanks again. This pattern welding stuff is addictive.
-
Hi folks, this is my second real knife attempt, and my first attempt at ‘Damascus’. It was made to be my gift for the office Christmas party dirty Santa exchange. The blade is made from 1095 and 15N20. I started with a stack of 7 layers and then drew it out and quartered it a couple of times to get to 112 layers. The handle is a piece of stabilized black elm burl. The blade is 5.8” and 1.4” high at the heel. It is 0.085” where the spine meets the handle, and that tapers to a few thousandths at the tip. The blade has a flat grind from the spine to the edge until I got the edge to about 0.010” then I ground/honed in a final bevel. The final honing was with an 8k Norton stone, and resulted in a pretty keen edge. It is certainly shaving sharp. The pins are 316 stainless, and the little maker’s mark medallion is nickel silver. There are lots of little flaws and lessons learned with this knife, but I am rather proud of it at this point. I’m sure a few knives down the road I’ll look back at this one and think differently. I’m certainly open to criticism… For the Damascus rookies out there: those parallel lines you see at the edge on one side of the blade, and at the spine on the other are what happens when you let your billet get trapezoidal rather than keeping the edges square.
-
Bringing High-Tech to Blacksmithing
rhitee93 replied to DigitalMechanic's topic in Blacksmithing, General Discussion
I was a test engineer in a past life, and enjoy instrumenting things just to see what is really going on. I'm curious to see your setup. It sounds as if you are using a tri-axial accelerometer, and if so I'd like to see what the non-normal forces look like. I don't know that you can ever equate the accel data to metal movement, but I think it is a neat and harmless way to get some feel for how changing your hammer strokes changes the total energy in the equation which is what it sounds like you are after.