rhitee93
-
Posts
252 -
Joined
-
Last visited
Content Type
Profiles
Forums
Articles
Gallery
Downloads
Events
Everything posted by rhitee93
-
Thanks guys It was a fun project to be a part of. I just went back through my pics, and I somehow let this one get away without taking a photo of the file work It was kind of neat looking with the two silver stripes of 15N20 running down the back.
-
She is thrilled. I took a bunch of in progress photos, and she is combining all of those into a hard bound book to go with the knife. It's going to be quite a package when it is all together.
-
A friend asked if I would help her with an anniversary gift for her husband. She wanted a railroad spike themed knife... ...yeah, I wasn't going to go there. What she really wanted was a knife to go along with a rifle and pistol he already has that were made in 1969 to commemorate 100th anniversary of the driving of the last (golden) spike at Promontory Point, Utah. This is what I came up with. The blade is 5 layers of 1095 and 15N20. I was hoping for a narrow skunk-like stripe. I like what I ended up with, but will use much thinner 15N20 next time I try to achieve that effect. The Spike themed guard was forged from 464 brass. I've had a hard time forging 360 brass lately so I tried the 464, and it was much easier to get along with. The handle is desert iron wood with copper, brass and black-wood accents. The coin in the sheath was minted in 1969 to also commemorate the Promontory Point event, so I created a pocket in the sheath to display it.
-
I don't like the tone of this thread, but I'll chime in with what I have done. I am fascinated with hamons, and have not been able to find much about what really causes them to tick. It seems like the people who have really figured out how to get a lot of wispy activity have done so by trial and error, and that small variables keep you from creating a procedure that will work for everyone. I have been using Rutland's black furnace/fireplace cement. i water it down to a thin paintable consistency, and put a very very thin wash coat over the entire blade. (basically a painted on coat) When this is dry, I use a slightly thicker coat to create the hamon line, and try to add some ashi lines. My clay is probably a little less than 1/8" at the spine, and about 1/16" nearest the edge. I do all of this with Aldo's 1095, and quench from 1500F into brine for 3 seconds and then finish cooling in canola. I get nice wavy hamon lines that mostly follow the clay, but not a lot of a activity. The transition from the hard to the soft steel is very abrupt, ie the transition line comes out very narrow. After seeing a few pre-quench pics from some great hamon makers, I think my clay is way too thick. My next attempt is going to use very little clay to see what happens. I think a lot of this comes down to understanding how to tune the process for your particular setup. Good luck! Here is a pic of the last intentional hamon I did: http://i1262.photobucket.com/albums/ii601/BriansEngines/Blacksmithing/Knifes I Made/IMG_3315_zpsd8f85d46.jpg
-
Home Built 2x72 Belt Grinder Finished
rhitee93 replied to tdriack's topic in Finish and Polish for Knives
Nice looking grinder! I run mine on a 1HP with a VFD, and it is certainly under powered. However, I have some power limitations in my shop and have blow the breaker a couple of times as it is. I also have some grinding skill limitations so it may be just as well I don't have extra HP capacity at this time Regarding babying the belts: Some belts, especially the high performance ceramic ones will go dull faster if you don't use enough pressure. The belts will last a long time when used correctly, but that requires enough pressure to keep the ceramic particles fracturing as they wear. Otherwise they get rounded over and become useless. If you start using the Blaze type of belts, and I recommend you do, you have to lean into them pretty good to keep them cutting. -
Let's face it, the knife was designed as a wall hanger. It's an art knife. It's properly heat treated, and honed to a good edge; it could be used, but it never will be...
-
Thanks all. I'm highly critical of my work (as many of us are), but I am pretty happy with this one. There are a few little problems that I am kicking myself over. I'll get those things right next time. Oh, yes the "Hoof" was intentional. Thanks for noticing
-
Nice looking blade. It going to have a great pattern.
-
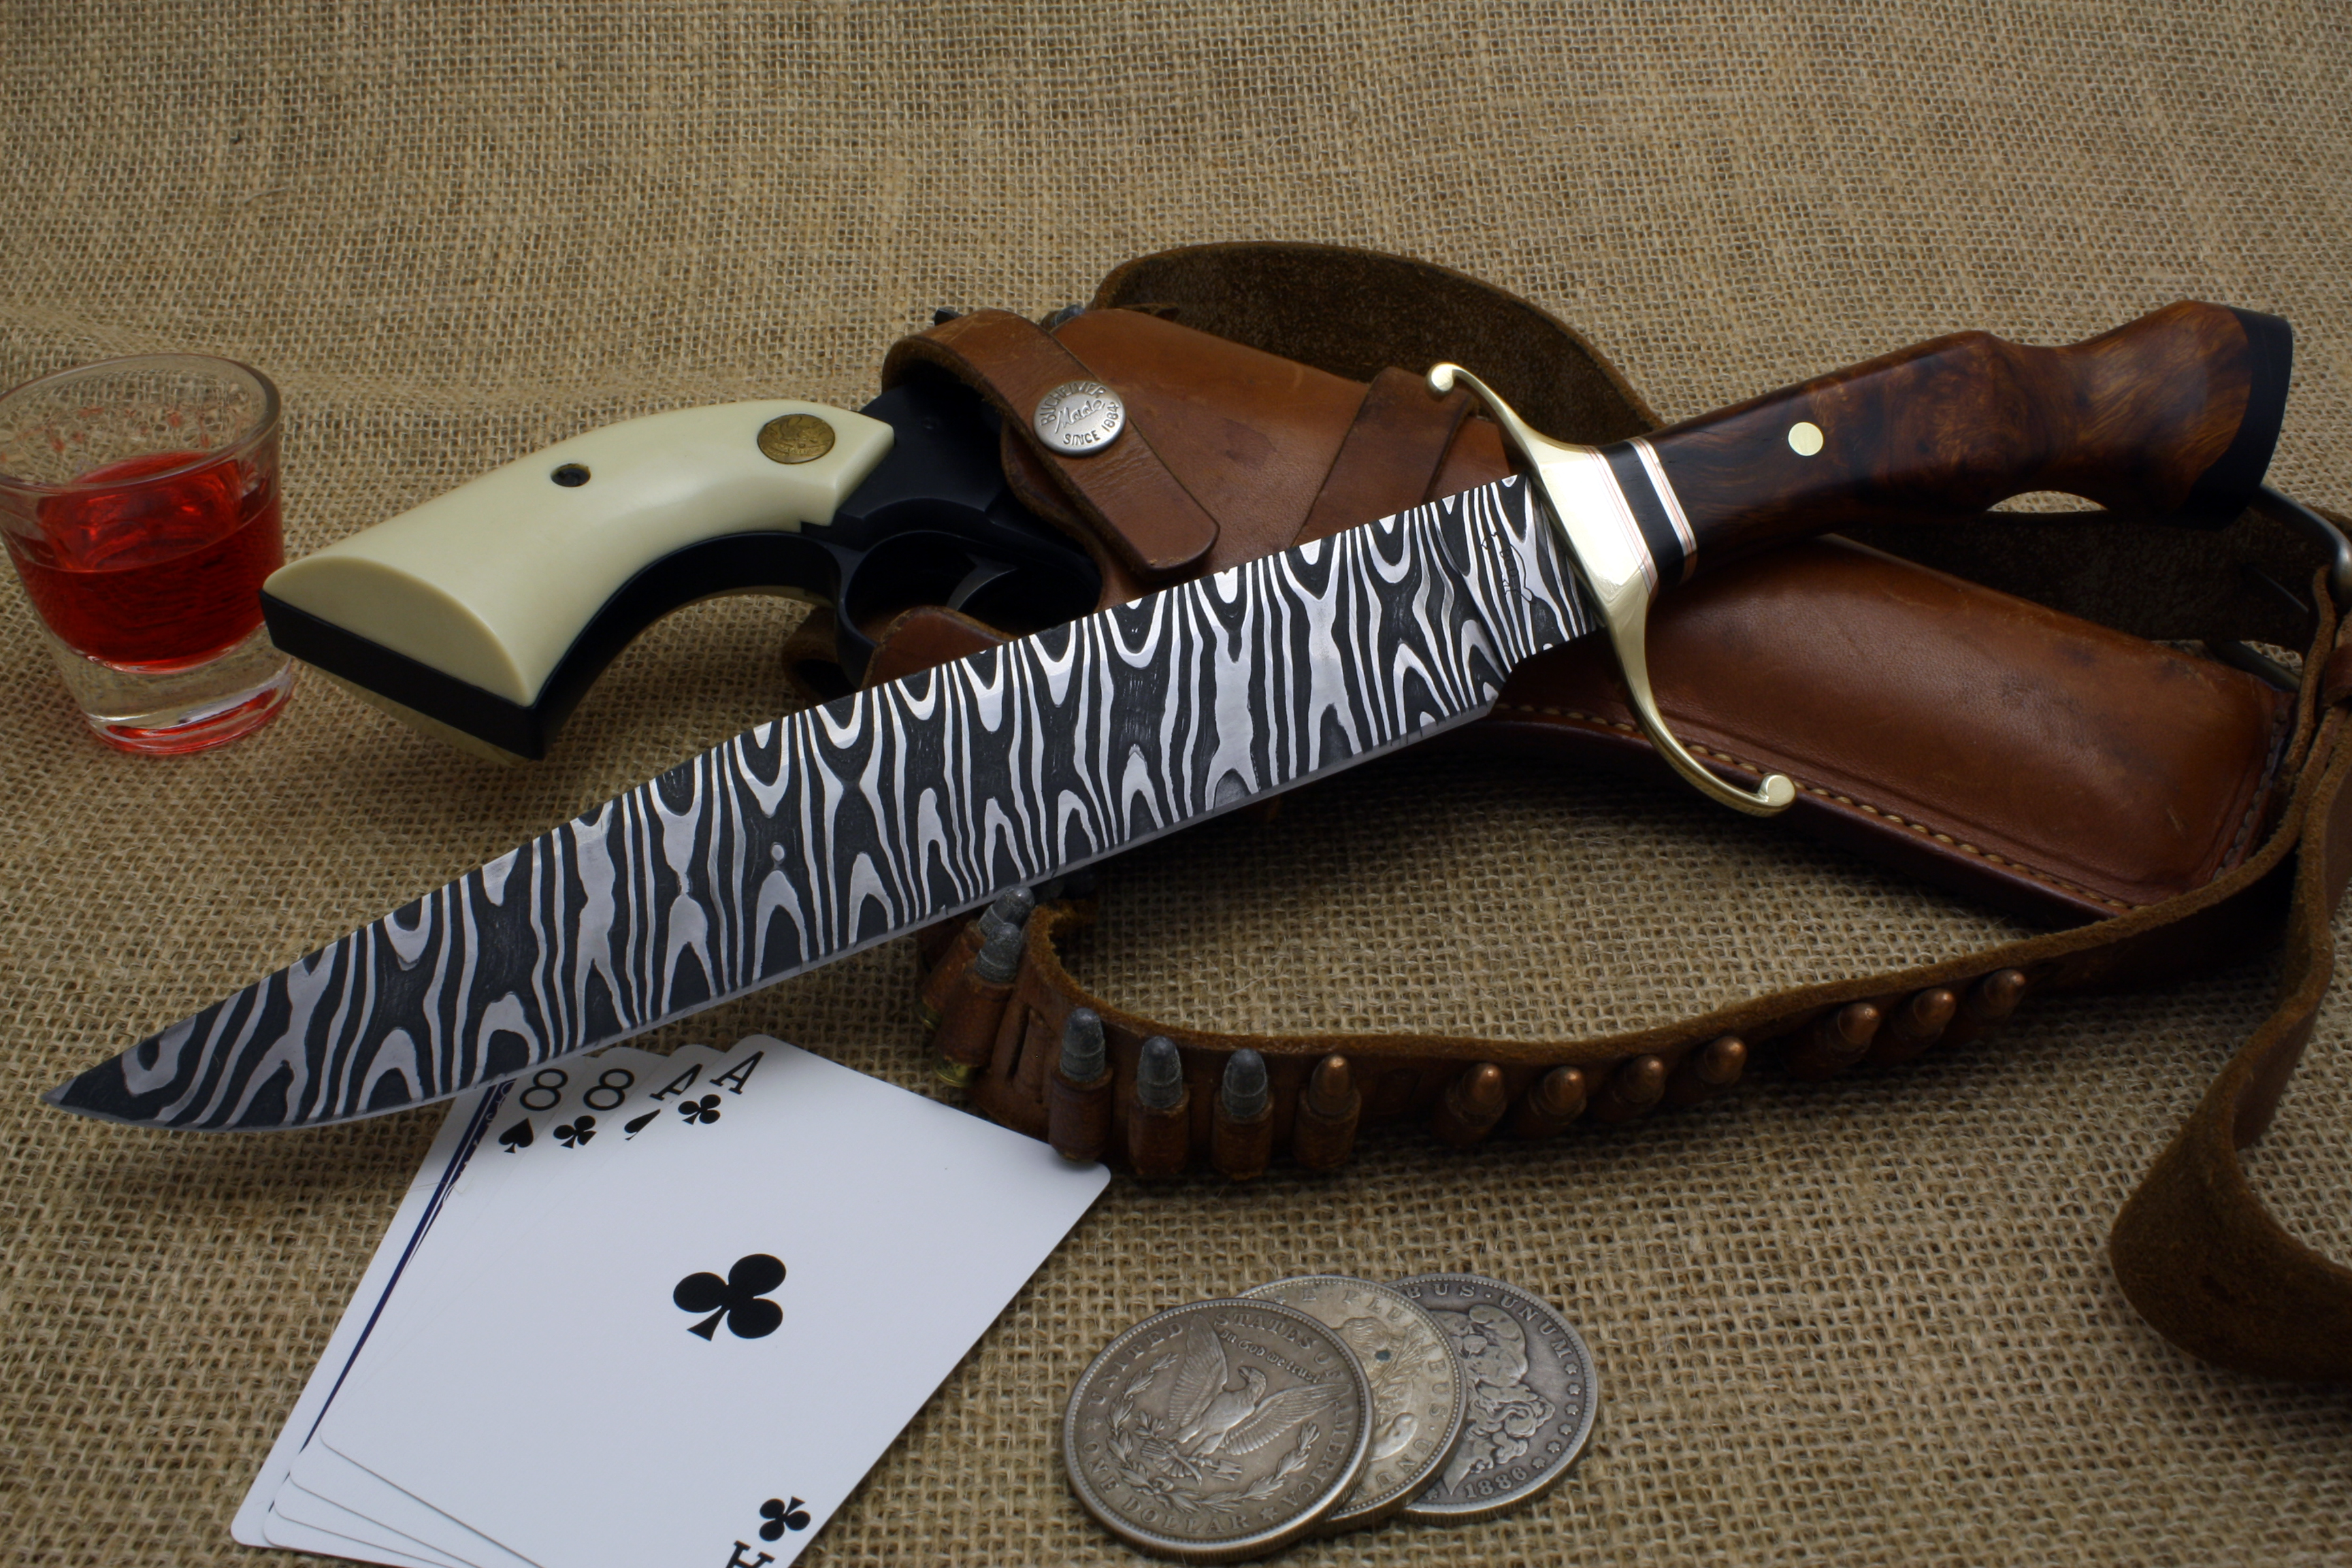
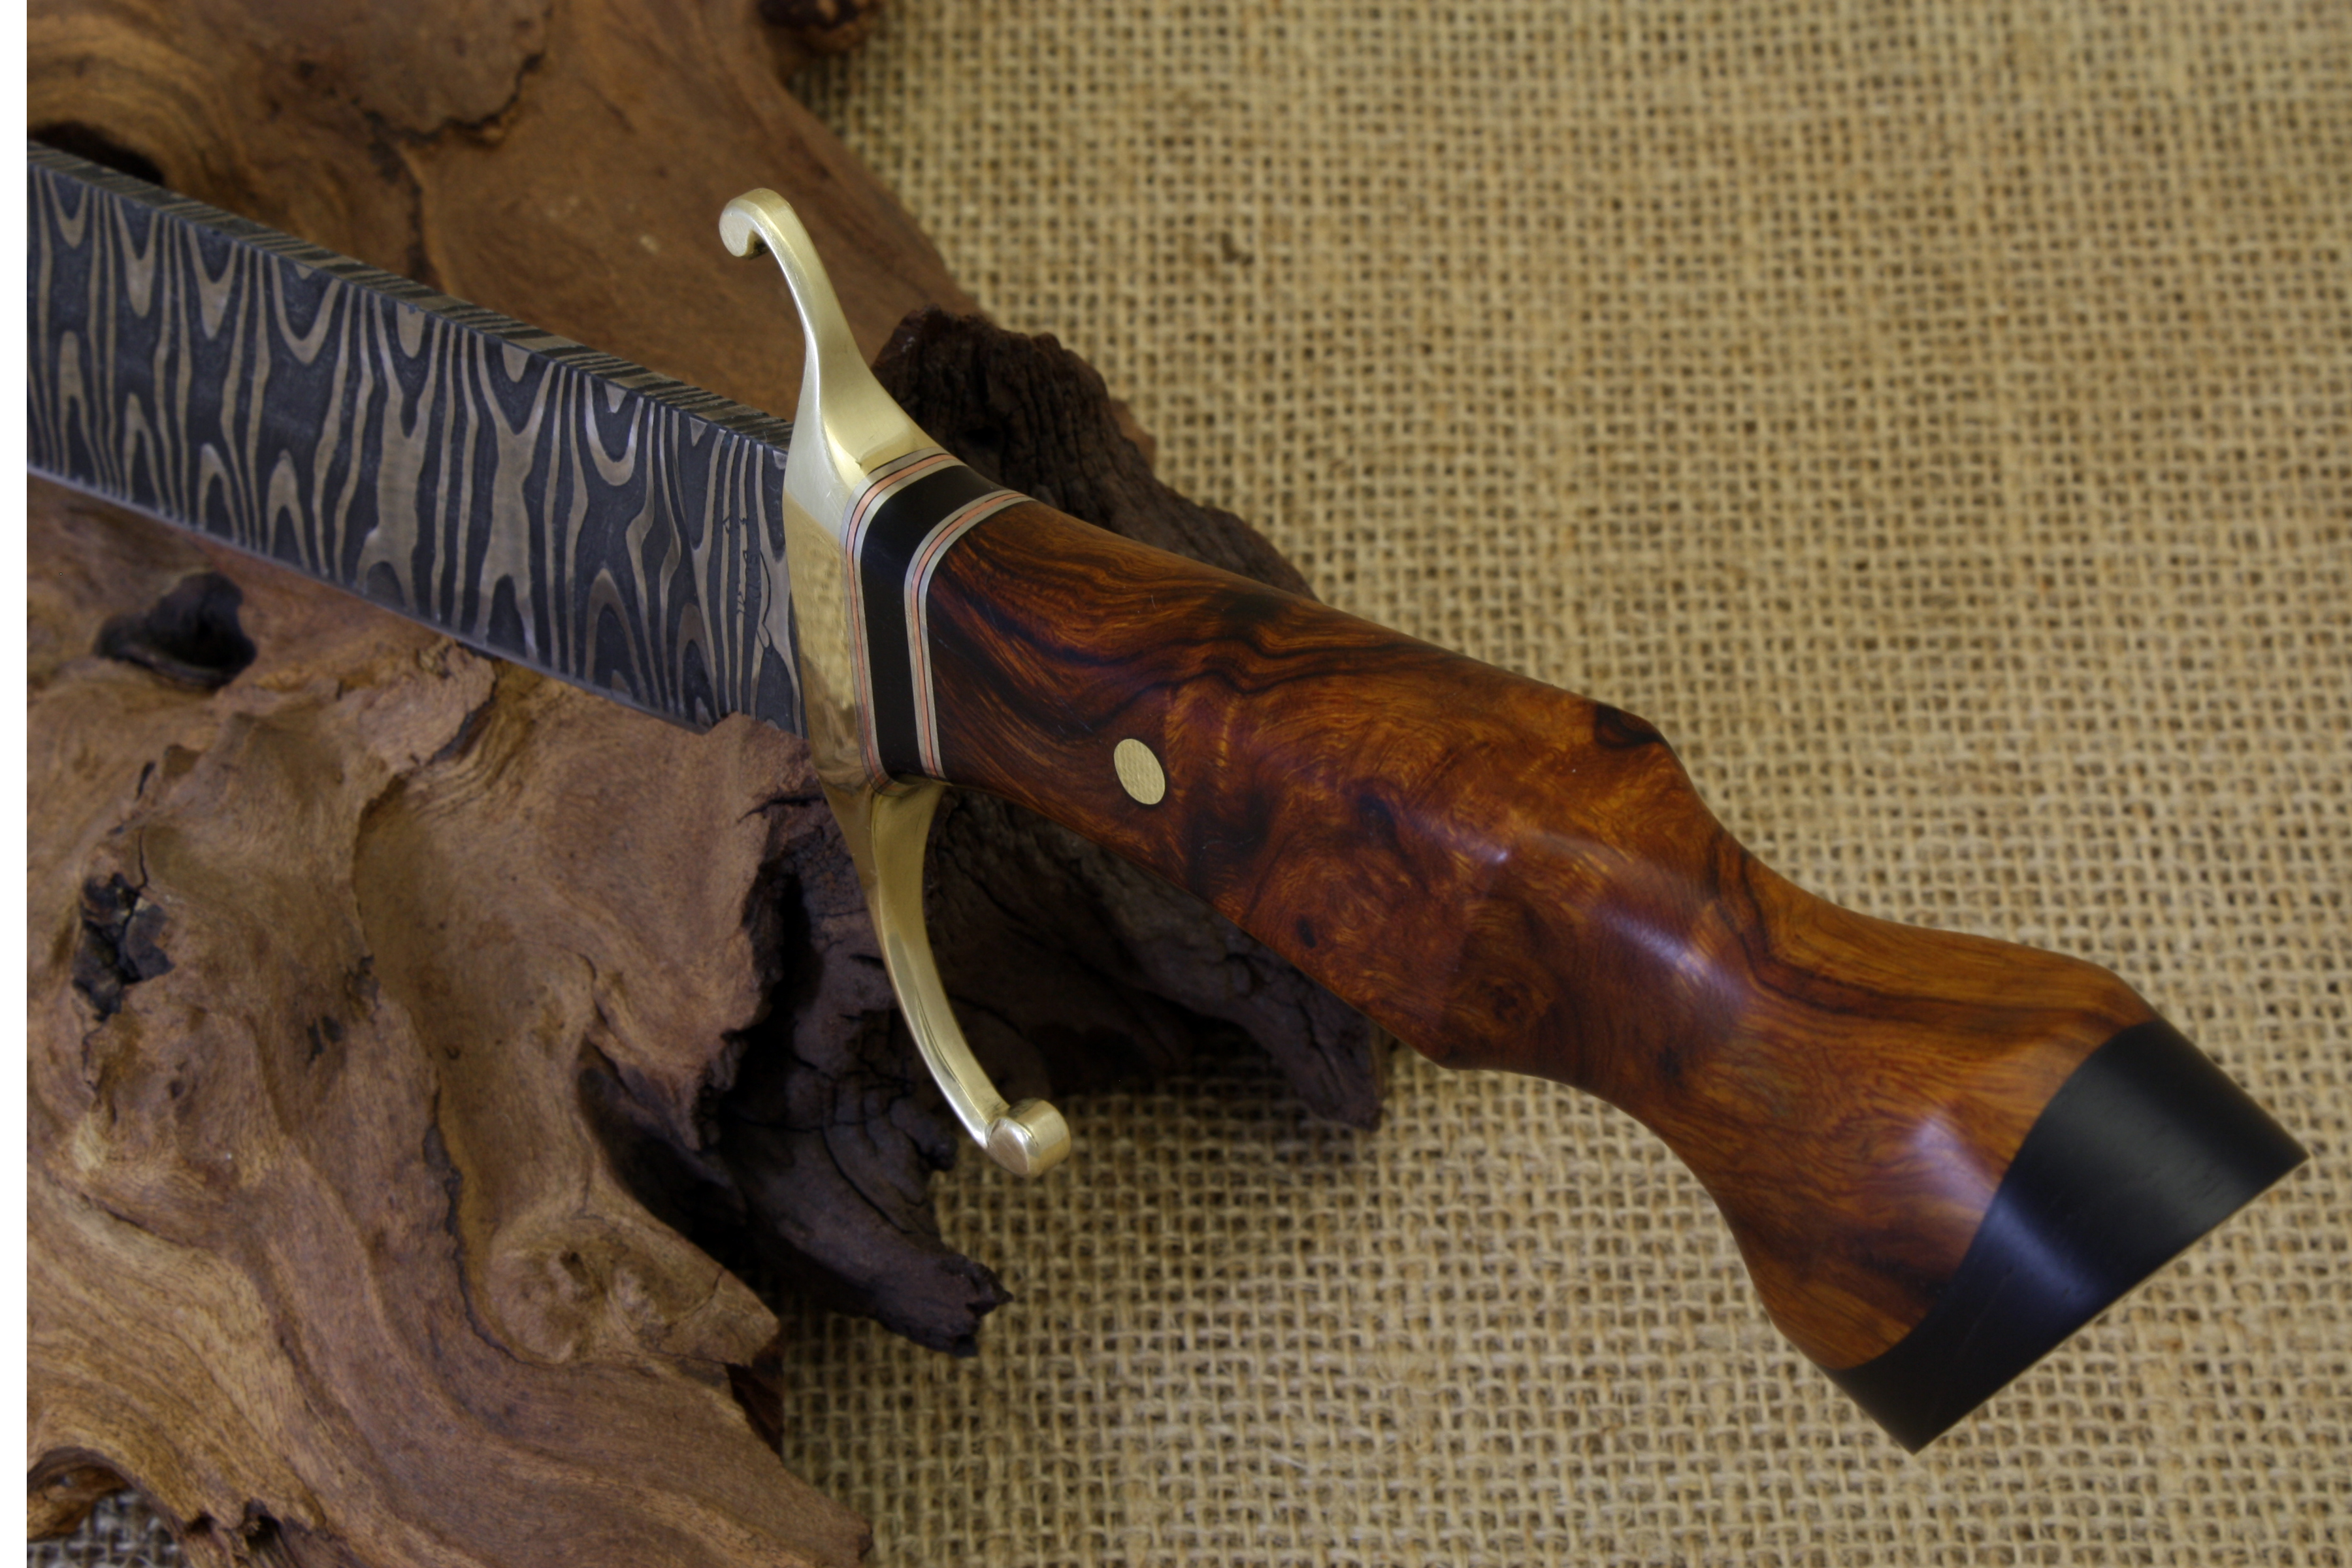
Hi all. I wanted to share a pic of a knife I just finished. This is a Christmas gift for my father-in-law. It's a low layer count twist to create a bold zebra like pattern. This is my first attempt at a true pattern rather than random, and it was pretty educational. Actually this is only knife #9 for me, so they have all be very educational. This one is 13 layers of 1095 and 15N20 twisted about once per inch. The guard is brass, and the handle is desert ironwood burl with African black wood, nickle silver, and copper accents. I'm still working on a sheath, and it will probably go straight from finished to under the Christmas tree, so y'all get a pic of the incomplete setup... Thanks for looking! Here is another pic...

-
That is a pretty bold hamon. I am surprised you got that much contrast with coil spring material. Did you have any problem with the sword wanting to turn back into a coil spring (warping) during the quench? regarding your question about the hamon color: Different enchants will result in different light/dark combinations. I've never used ferric to bring out a hamon, but I suspect, from your results, it simply makes the hard steel dark and leaves the softer steel lighter. Lemon juice would probably do the opposite...
-
Nice work. Was it done as 1 piece, or did you weld the socket to the blade?
-
-
Very nice!
-
Hey Russell, I hate face stubble, and go for a BBS shave every morning. It's funny, but even though blacksmithing seems be dominated by dudes with heavy beards, I have bumped into a lot of fellow shaving enthusiasts on here and another forum I frequent. I only have a couple of straights that see any regular use, and I avoid going to the hone as long as I can. My results aren't very predictable, but the last time I sent one out, i decided I liked my honeing better so I guess I am improving. I have been getting lazy for the last several months and have been using a '20's open comb double edged razor. The wife and kids take up a lot of morning time, and these days I tend to shave in the shower. I won't use a straight without pants on! (or a towel) best... -Brian
-
I shave with a straight razor pretty often, and I find I have to take mine up to an 8000 Norton stone to get them to a usable sharpness. Otherwise, they just tear the hair out of my face. As others have said, you can't go from 100 grit to 8000 in one jump. You have to hit the grits in between. I dry strop, but a lot of folks swear by using various pastes for this step. Stropping is a very different technique to honing, and honing a razor is quite a bit different from sharpening a knife. It is very technique dependent, and isn't a process for someone who is easily frustrated by failure. There are lots of good guides on the shaving forums like "Badger and Blade" if you are up to the task.
-
Sorry to hijack this thread, but How long ago were you in Columbus Mr. Powers? You didn't happen to volunteer as a blacksmith at the little pioneer village they have there did you? There was a guy there in the early 80's that was awfully kind to me when I was a kid. That started a spark for blacksmithing that smoldered for 30 years until I could get to trying it on my own.
-
Hi Dave, I have an old commercial K-Bar that I bought when I was about 18. (Over 25 years ago) I beat the snot out of that knife as a camping tool for many years. Used it for cutting down small trees and splitting firewood among other abuses. The finish was supposedly "Parkerized", but it looks like a pretty thick and very black coating for being parkerized. If you can find out what ca 1989 K-bars were treated with, you might give it a try. What ever it is, it has held up remarkably well. It certainly doesn't look new and shiny, but then again the blade would not look new and shiny even if it had no coating at all.
-
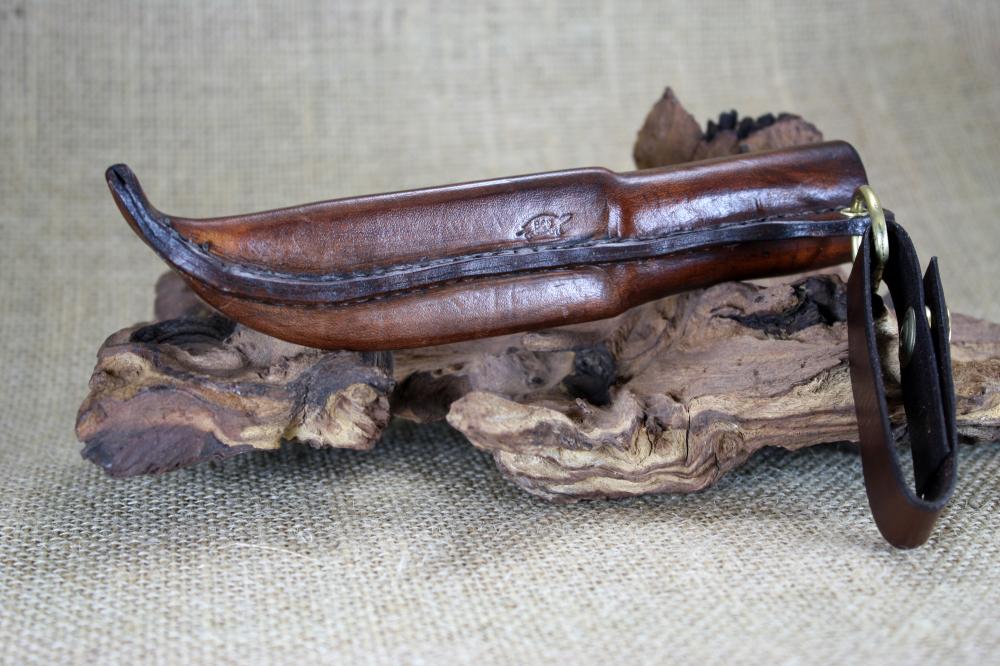
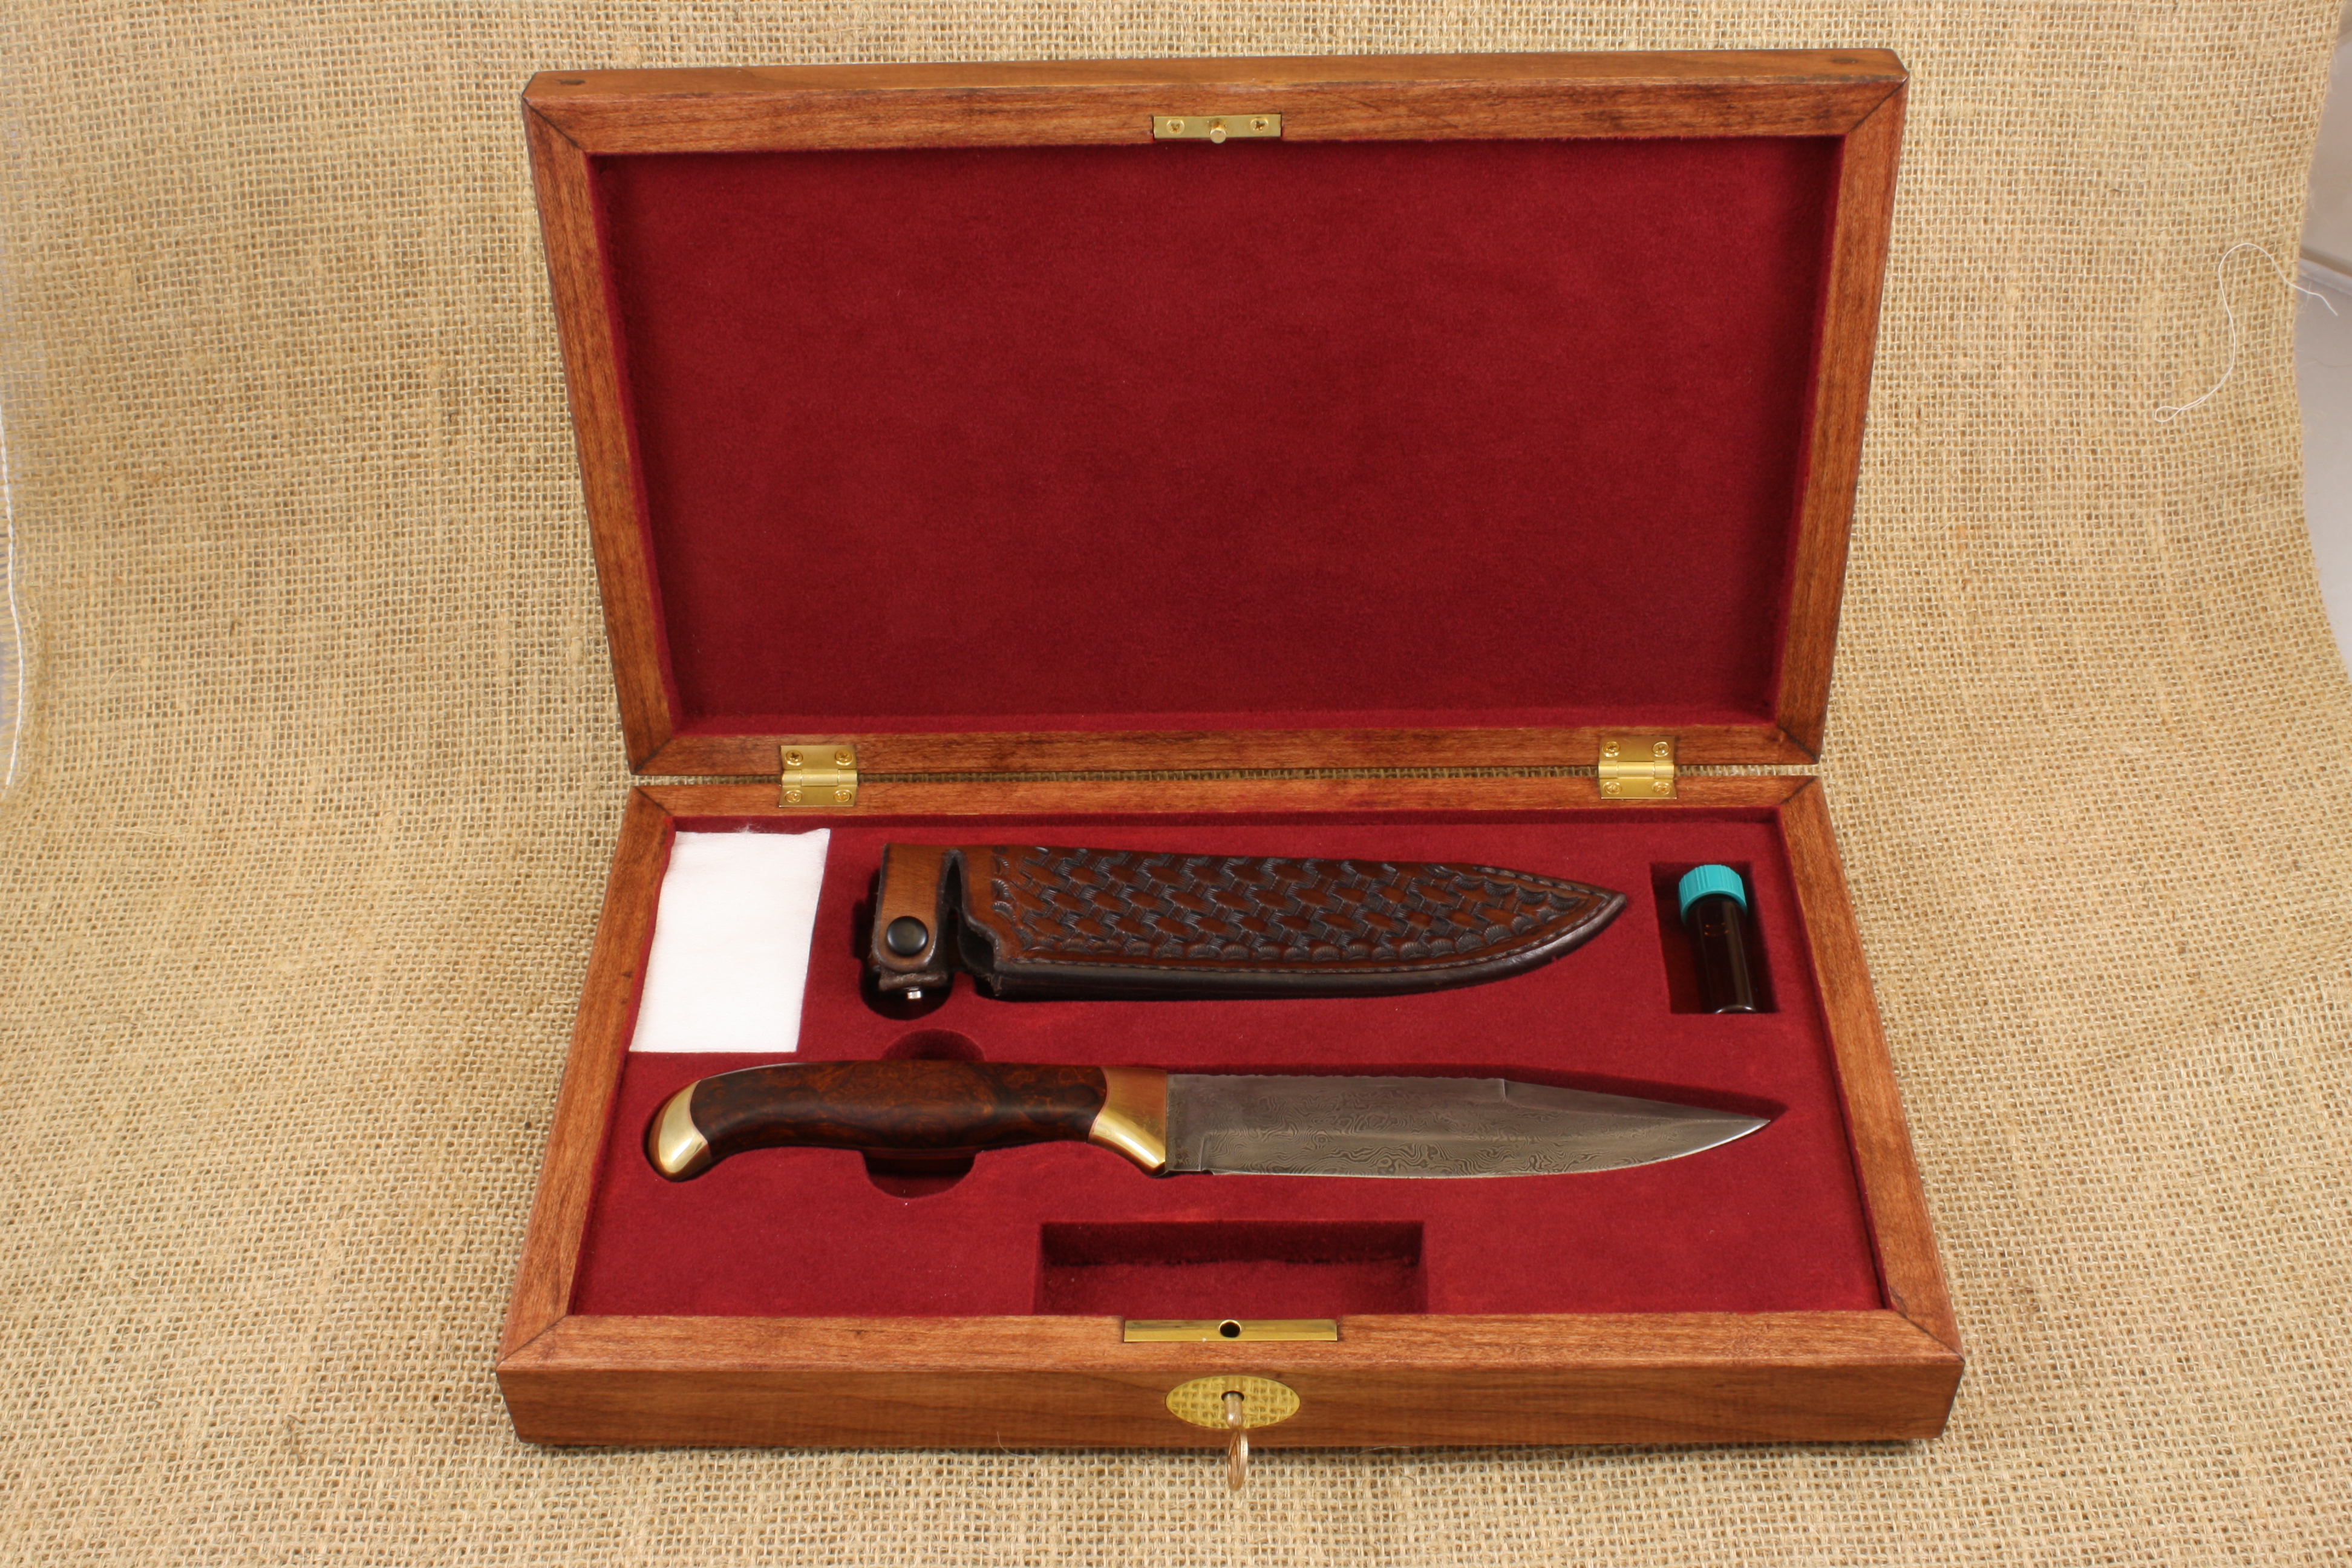
Ha! I should have explained that Dave The little bottle has some gun oil in it, and the white things in the other corner are patches to use while occasionally oiling the blade. I admit that it's kind of silly. The inspiration came from those old pistol sets where the pistol, caps, powder flask, balls and patches were all in the same fitted box. BTW, your only a stones throw from me. I drive through Danville any time the kids have a sporting event in Avon or Brownsburg.
-
Thank you gents. A few years ago I was working on a model steam engine. That project was the first time I managed to slow down and pay good attention to the details. It took me 40 years to become patient enough to do that, but once I did, I realized I was happier working on a few projects a year and pushing myself to be as good as I could be than I was getting several projects done that had mistakes. I have taken that philosophy into my knife making. I'll probably only ever be able to make a few knives a year, but I want to make each one as good as I can. This one had some issues, but I'll make the next one better.
-
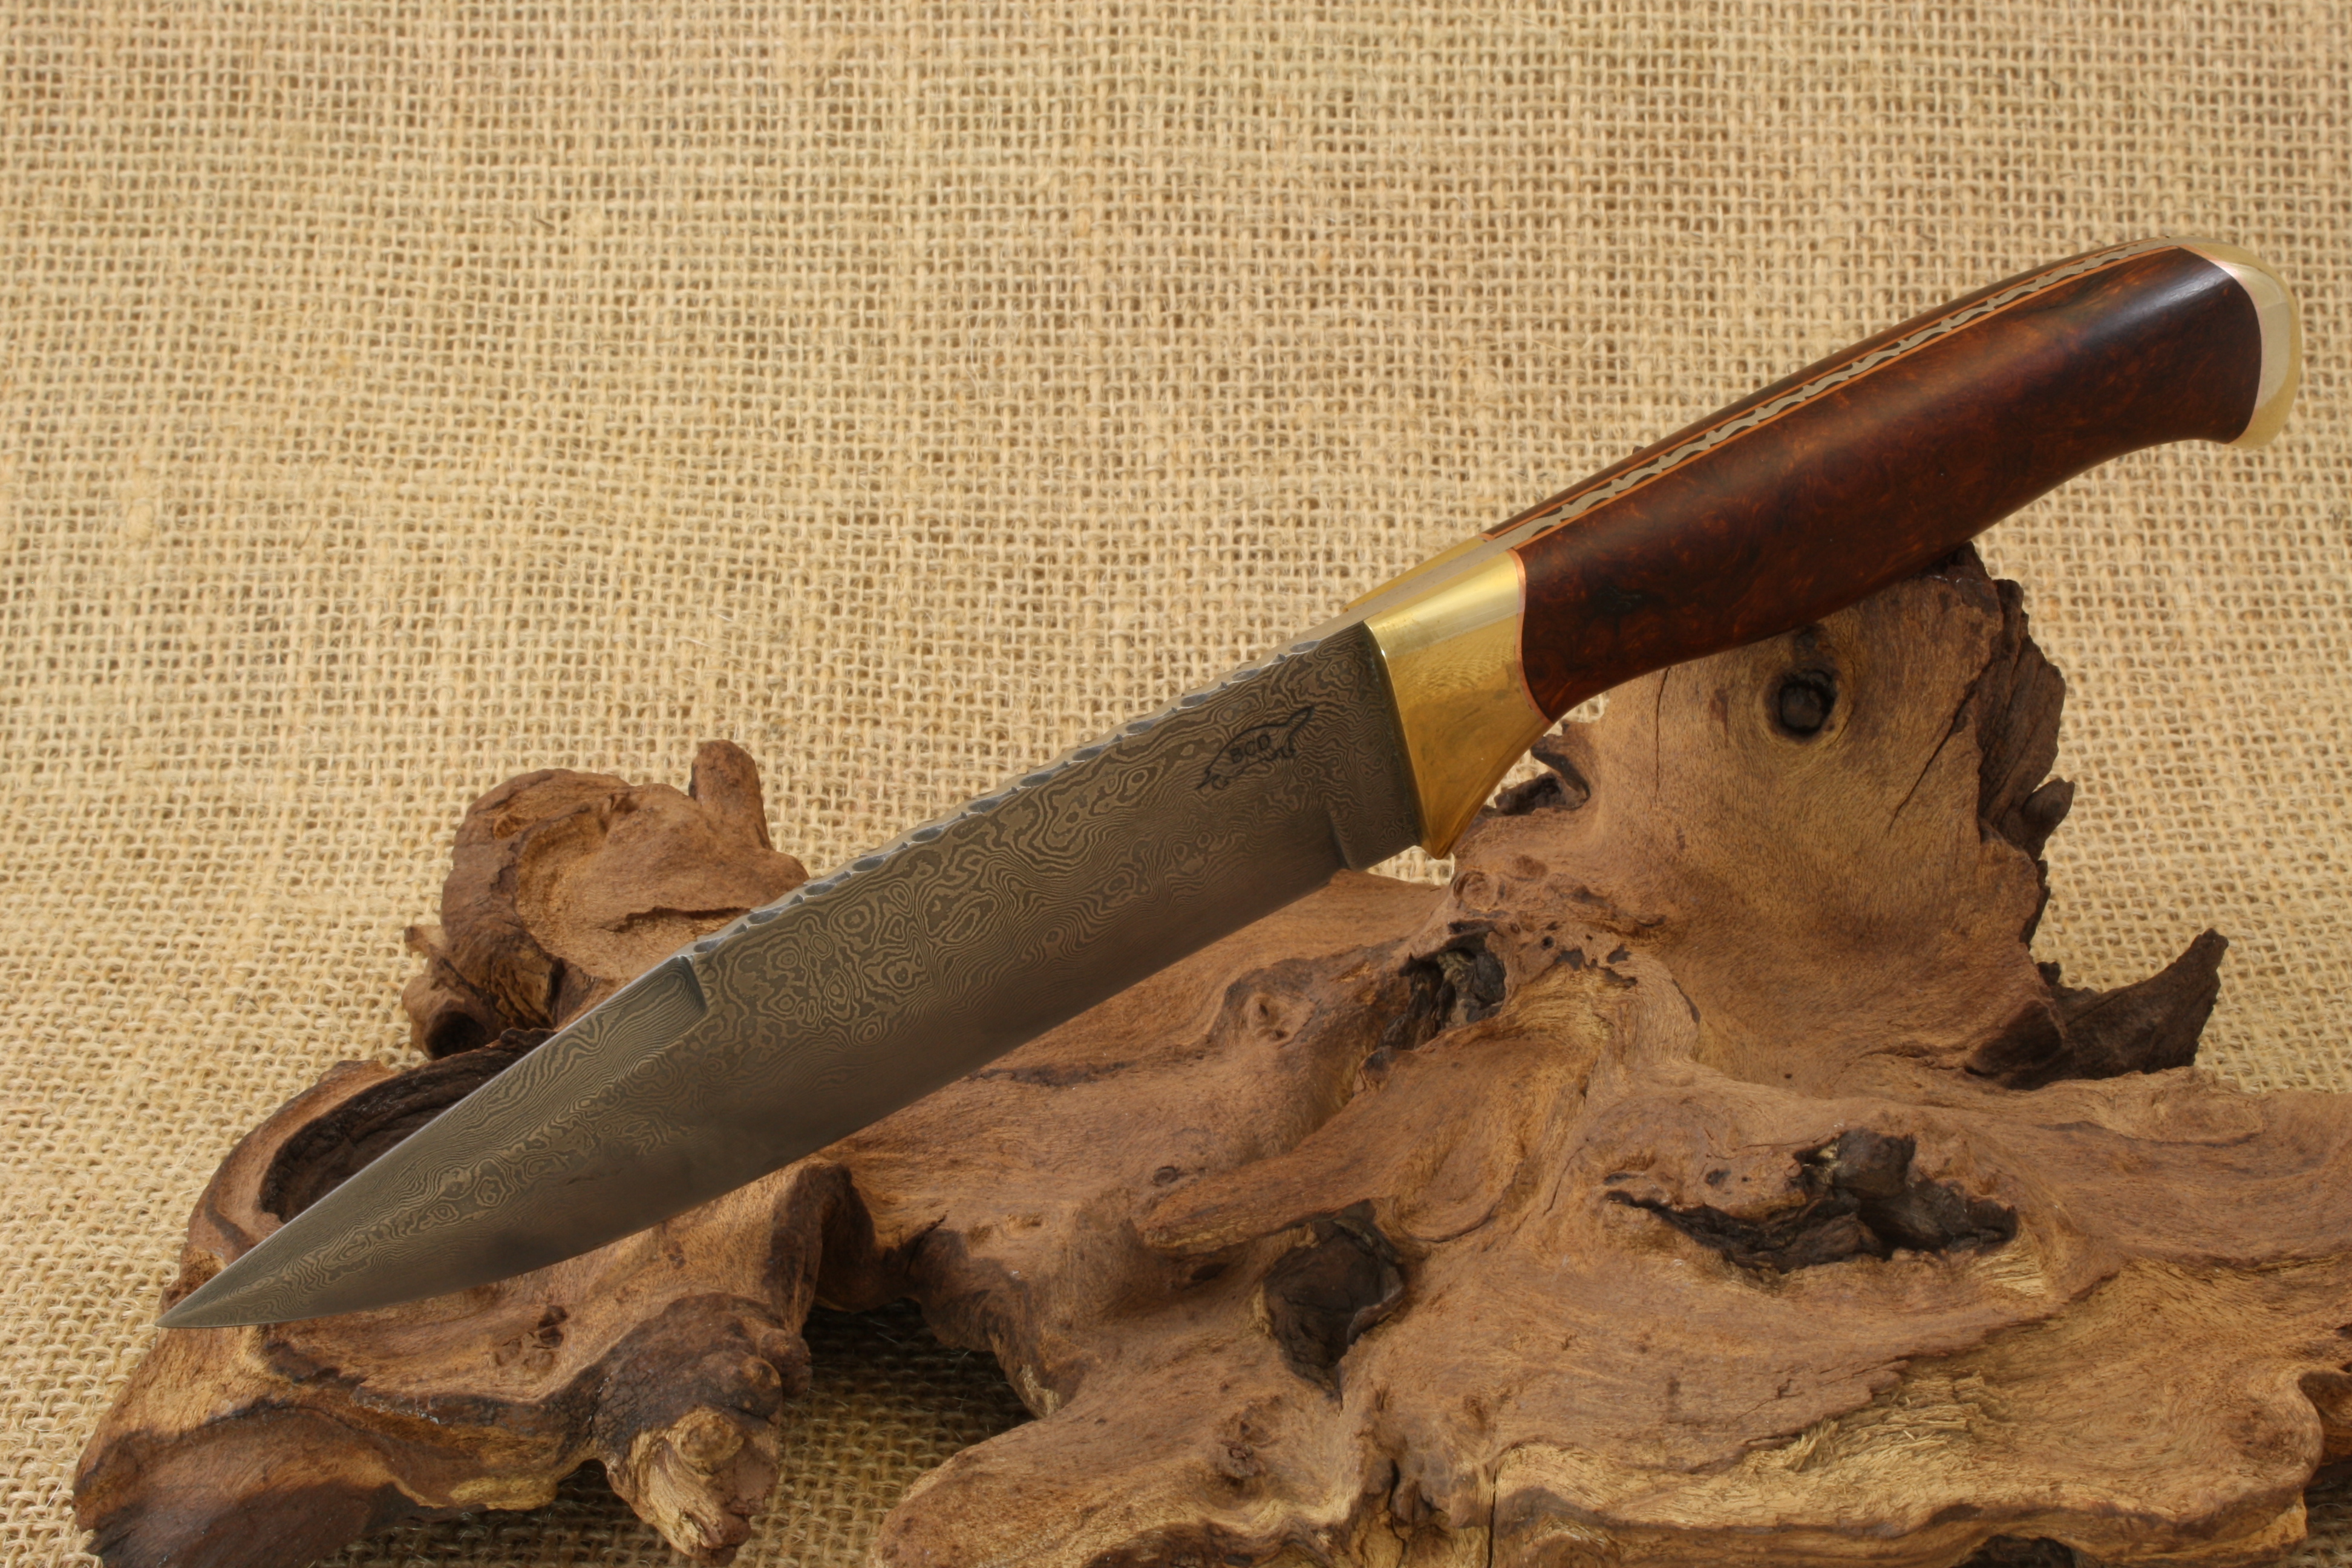
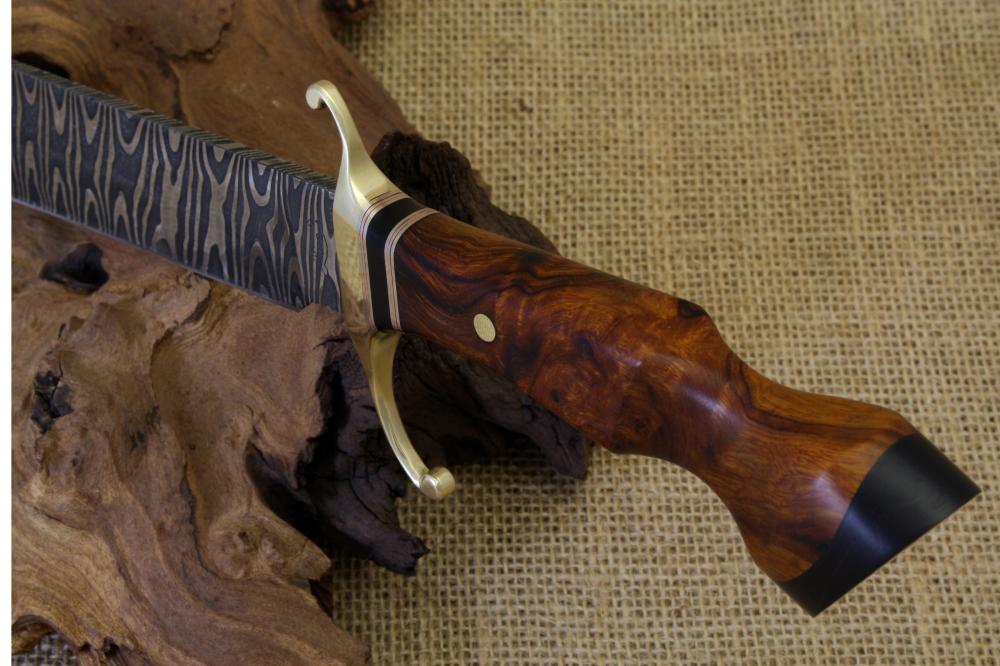
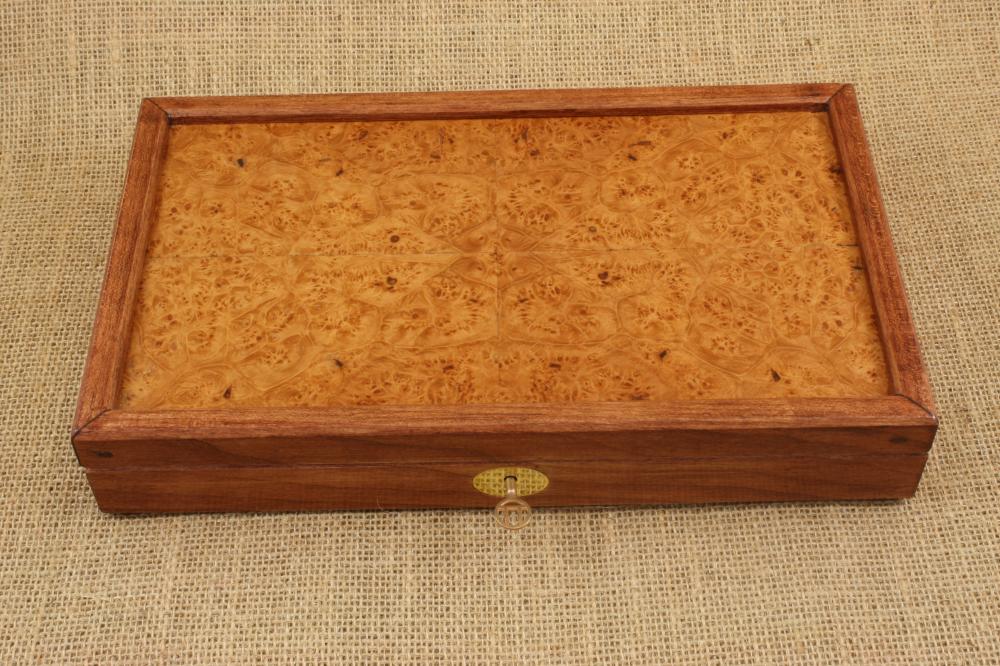
This is my first ever commissioned piece. The owner took possession this week, and was quite happy. It is going to sit with some of his other collection on his back bar so I made a case that is sort of reminiscent of an old pistol case. The blade started out as 9 layers of 1095 and 15N20 that I stacked my way up to 432 layers before forging to shape. Quenched from 1525F in 140F canola and tempered for 2 hours at 400F. Then I polished it up to 2500 grit before etching. That may sound excessive, but I find it pays off big time after etching. The handle is desert ironwood burl with brass and copper. The bolster and pommel pieces are soldered on with hidden pins to maintain alignment during soldering. The wood is epoxied in place also with hidden pins. The box is cherry with quarter matched maple burl on the top and bottom. Thanks for looking!


-
I never said it was a good idea
-
Forge a piece of rebar out of some round O1 stock, then forge it into a knife...
-
Polish to show hardening line.
rhitee93 replied to Charlotte's topic in Finish and Polish for Knives
There are a couple of major schools of thought on this. Most non-Japanese methods involve carefully polishing the blade up to very high grits. I go to 2500. Then using variations of acids to add contrast between the different steel structures. Good polishing techniques are a must, but I will let you find a better reference than me on those. One quick pointer, however, is not to let a buffer anywhere near your blade. The polishing must be done with open abrasives a buffer will blur the line. The Japanese method uses a variety of water stones to bring the blade to a high level of polish. Conventional "Internet wisdom" would have to believe that the use of these stones as opposed to synthetic abrasives causes the hamon to pop out all on its own without etching. This is a bit misleading. If you read sword polishing texts, you will find that Japanese artists do not use acid as an etchant, but do use different abrasives above or below the hardening line to accent the different steel as well as materials that tend to darken one steel structure more than the other. -
No, it is just a button I turned to use as a decorative washer around the end of the tang that got piened in place. In hindsight, I wish I had just used a flat plate that covered the end of the handle. Next time...
-
Gergely, Thanks for taking time to post. I appreciate your thoughts and kind words. Especially coming from your part of the world where there are so many fine craftsmen. I feel your pain with loosing your post. I have made the habit of typing long posts out in Word, or some other word processing program. I'm a poor speller, so this allows me to fix my spelling and grammar as well as keep a copy in case something goes wrong when I post it. Charles, I'm not sure I know what casing is, but here is the process I used: First I carved out the wooden scabbard. Then I wrapped the knife in plastic wrap and inserted the blade in the scabbard. (The bolster of the knife rests against the top of the scabbard. Then I soaked the leather and stretched it around the knife and scabbard. I pulled it tight and stitched it as I went. Here is a pic of the back side of the sheath. All of the other sheaths I have made (all 3 of them ) were roughly formed (folded over), all of the holes drilled, and then stitched. After that, I soaked the leather and formed them to the knife. This one I had to use an awl to make each hole as I stitched.