JNewman
Members
-
Joined
-
Last visited
Everything posted by JNewman
-
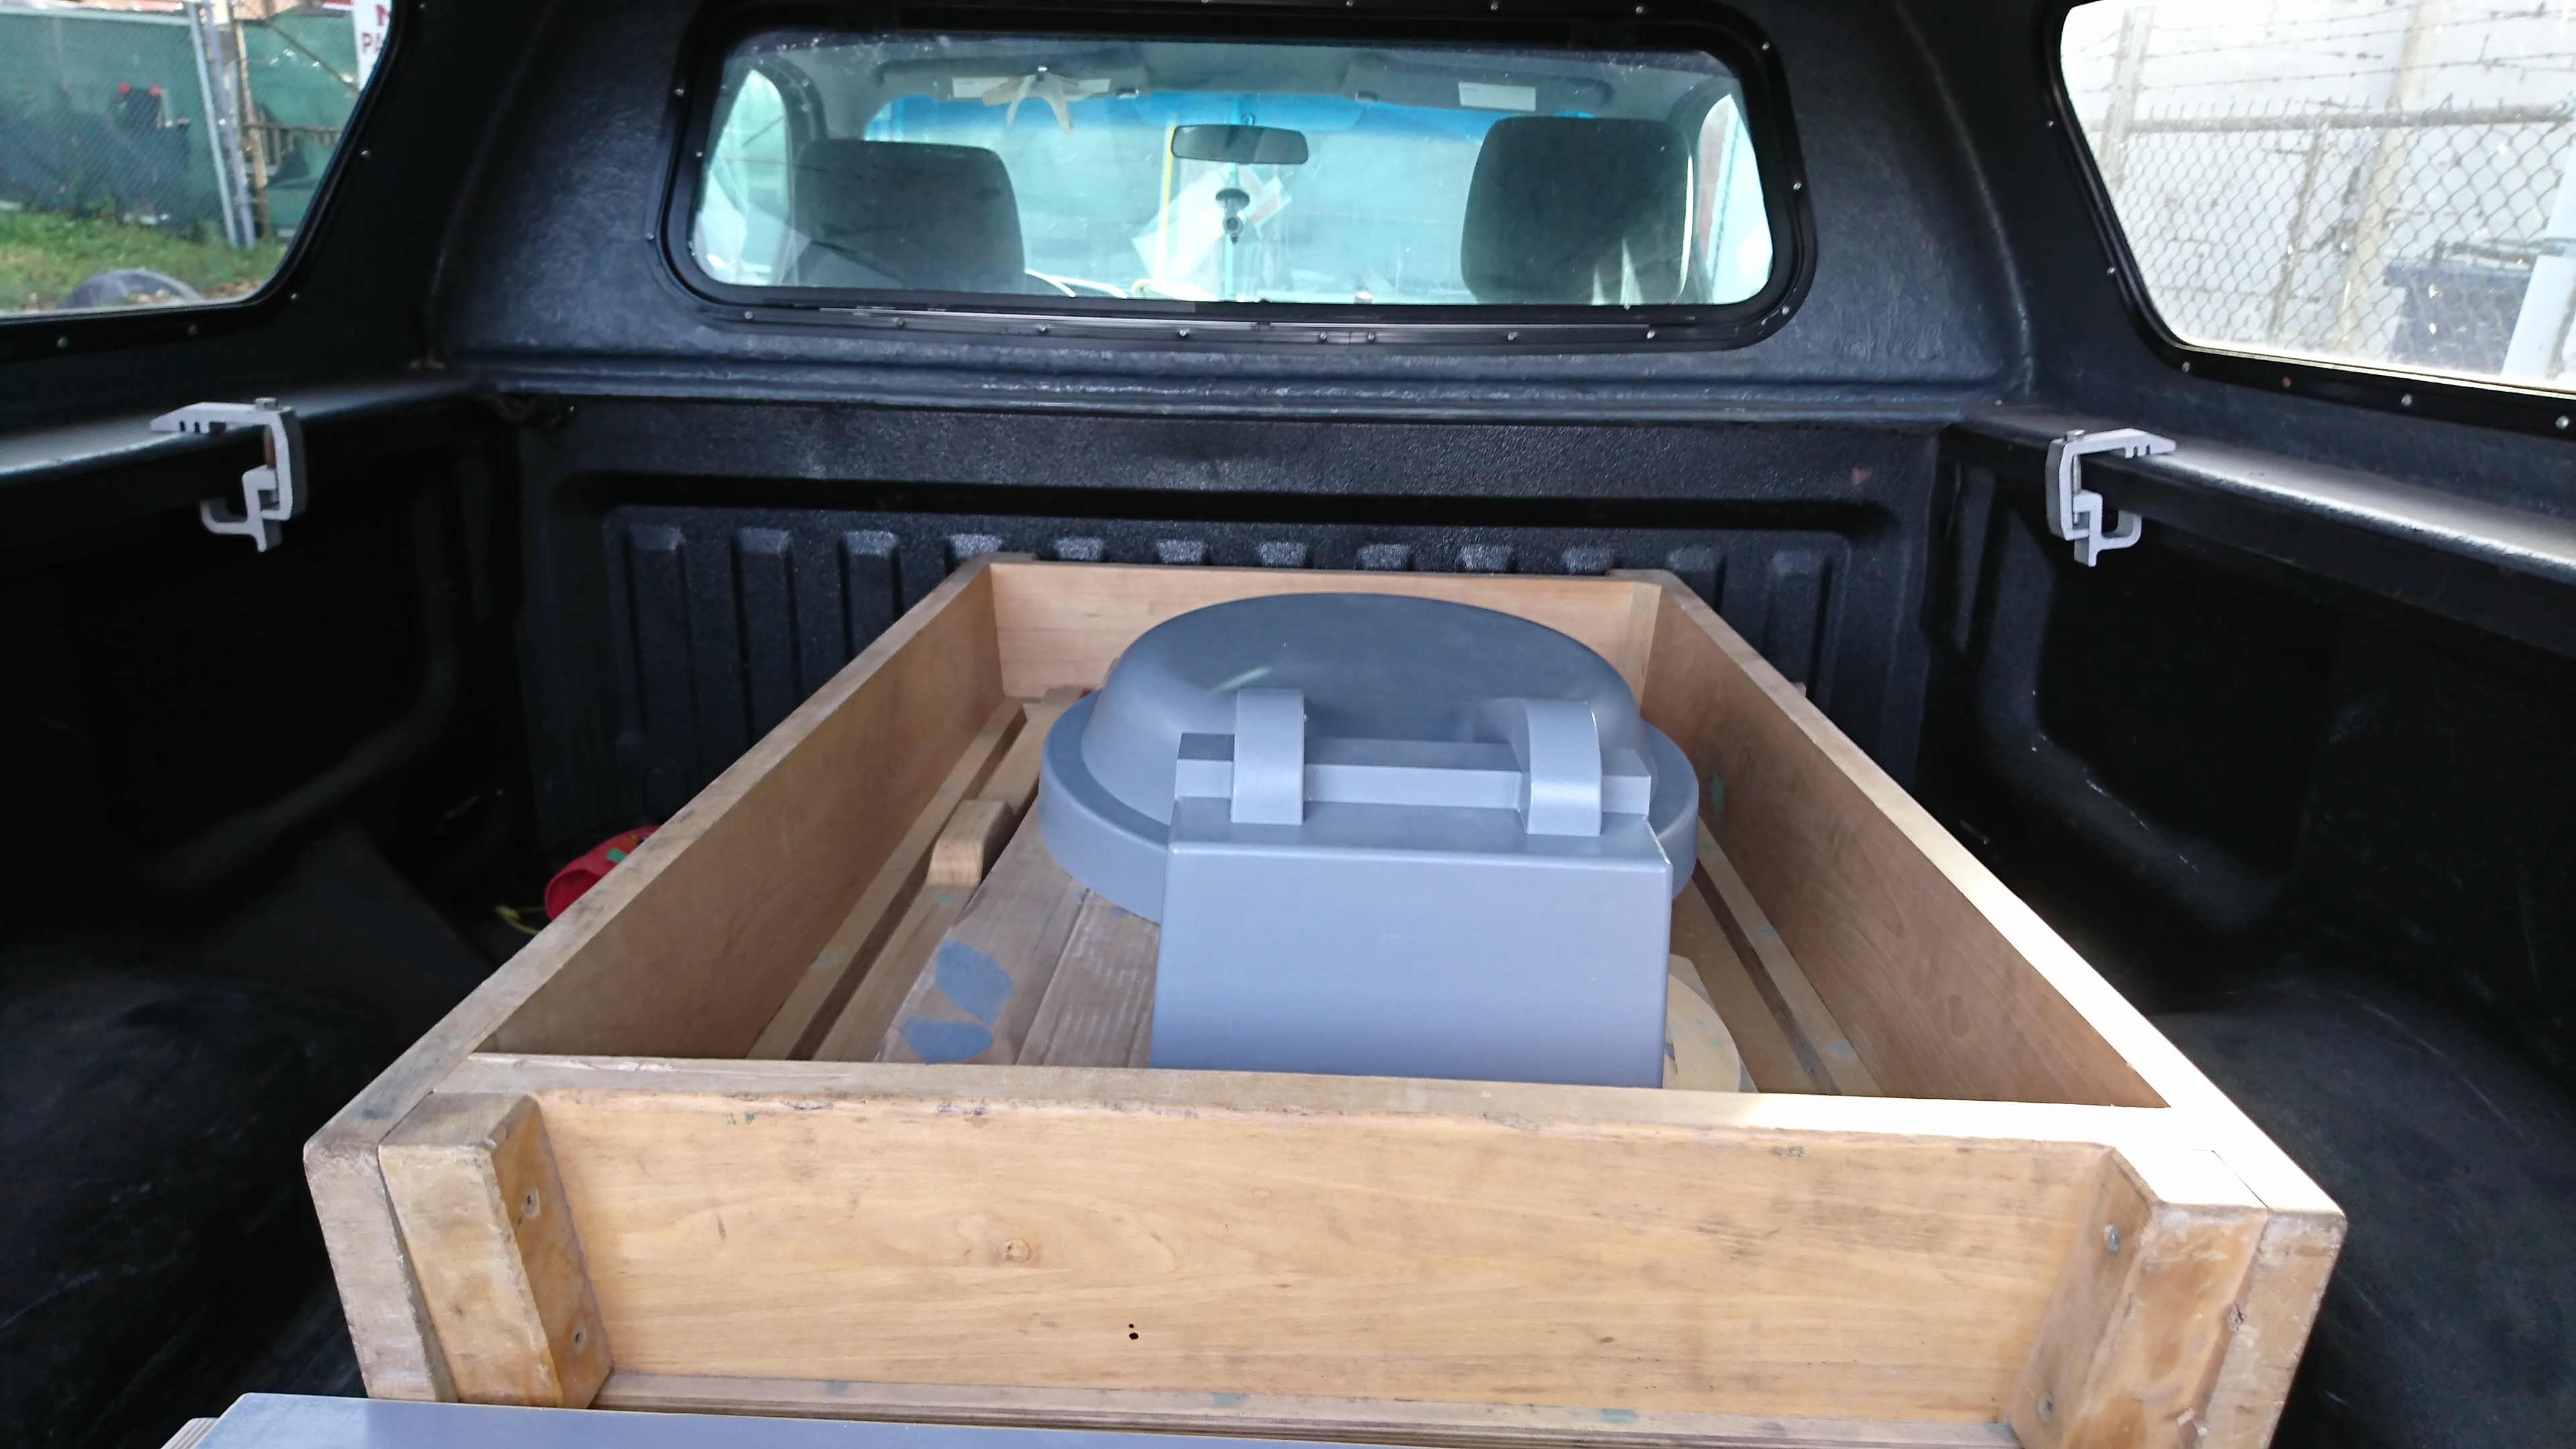
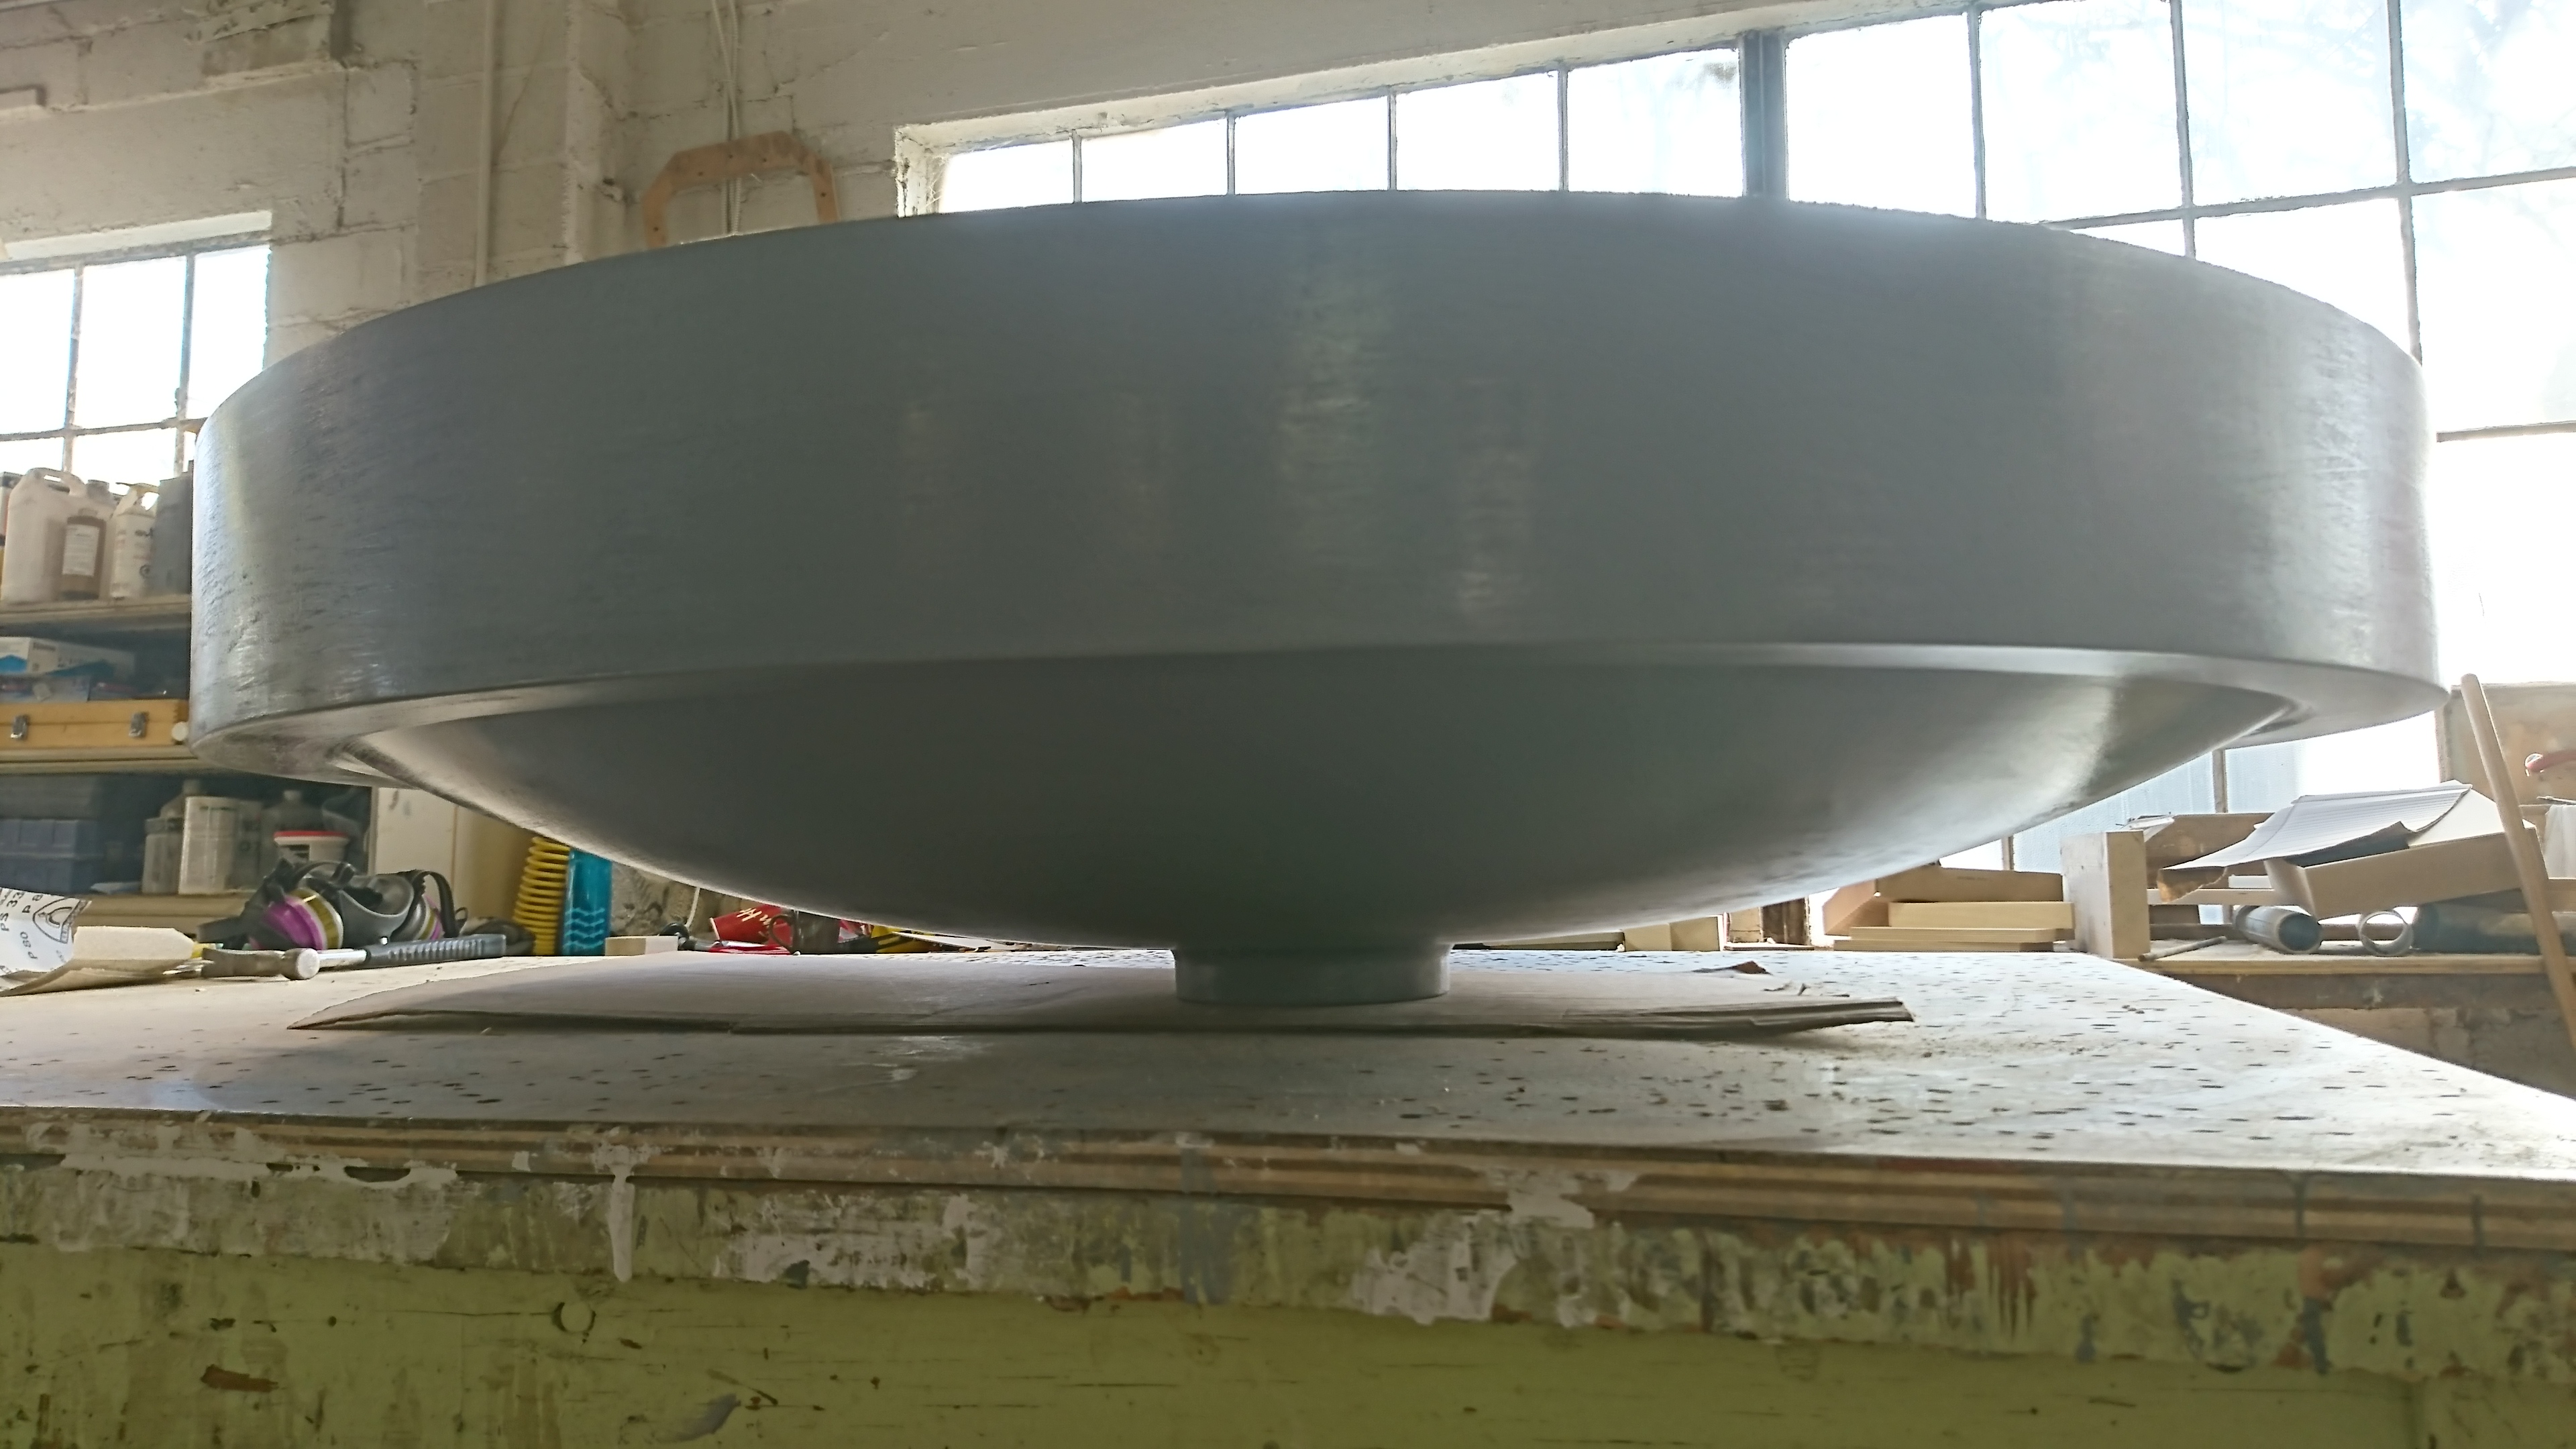
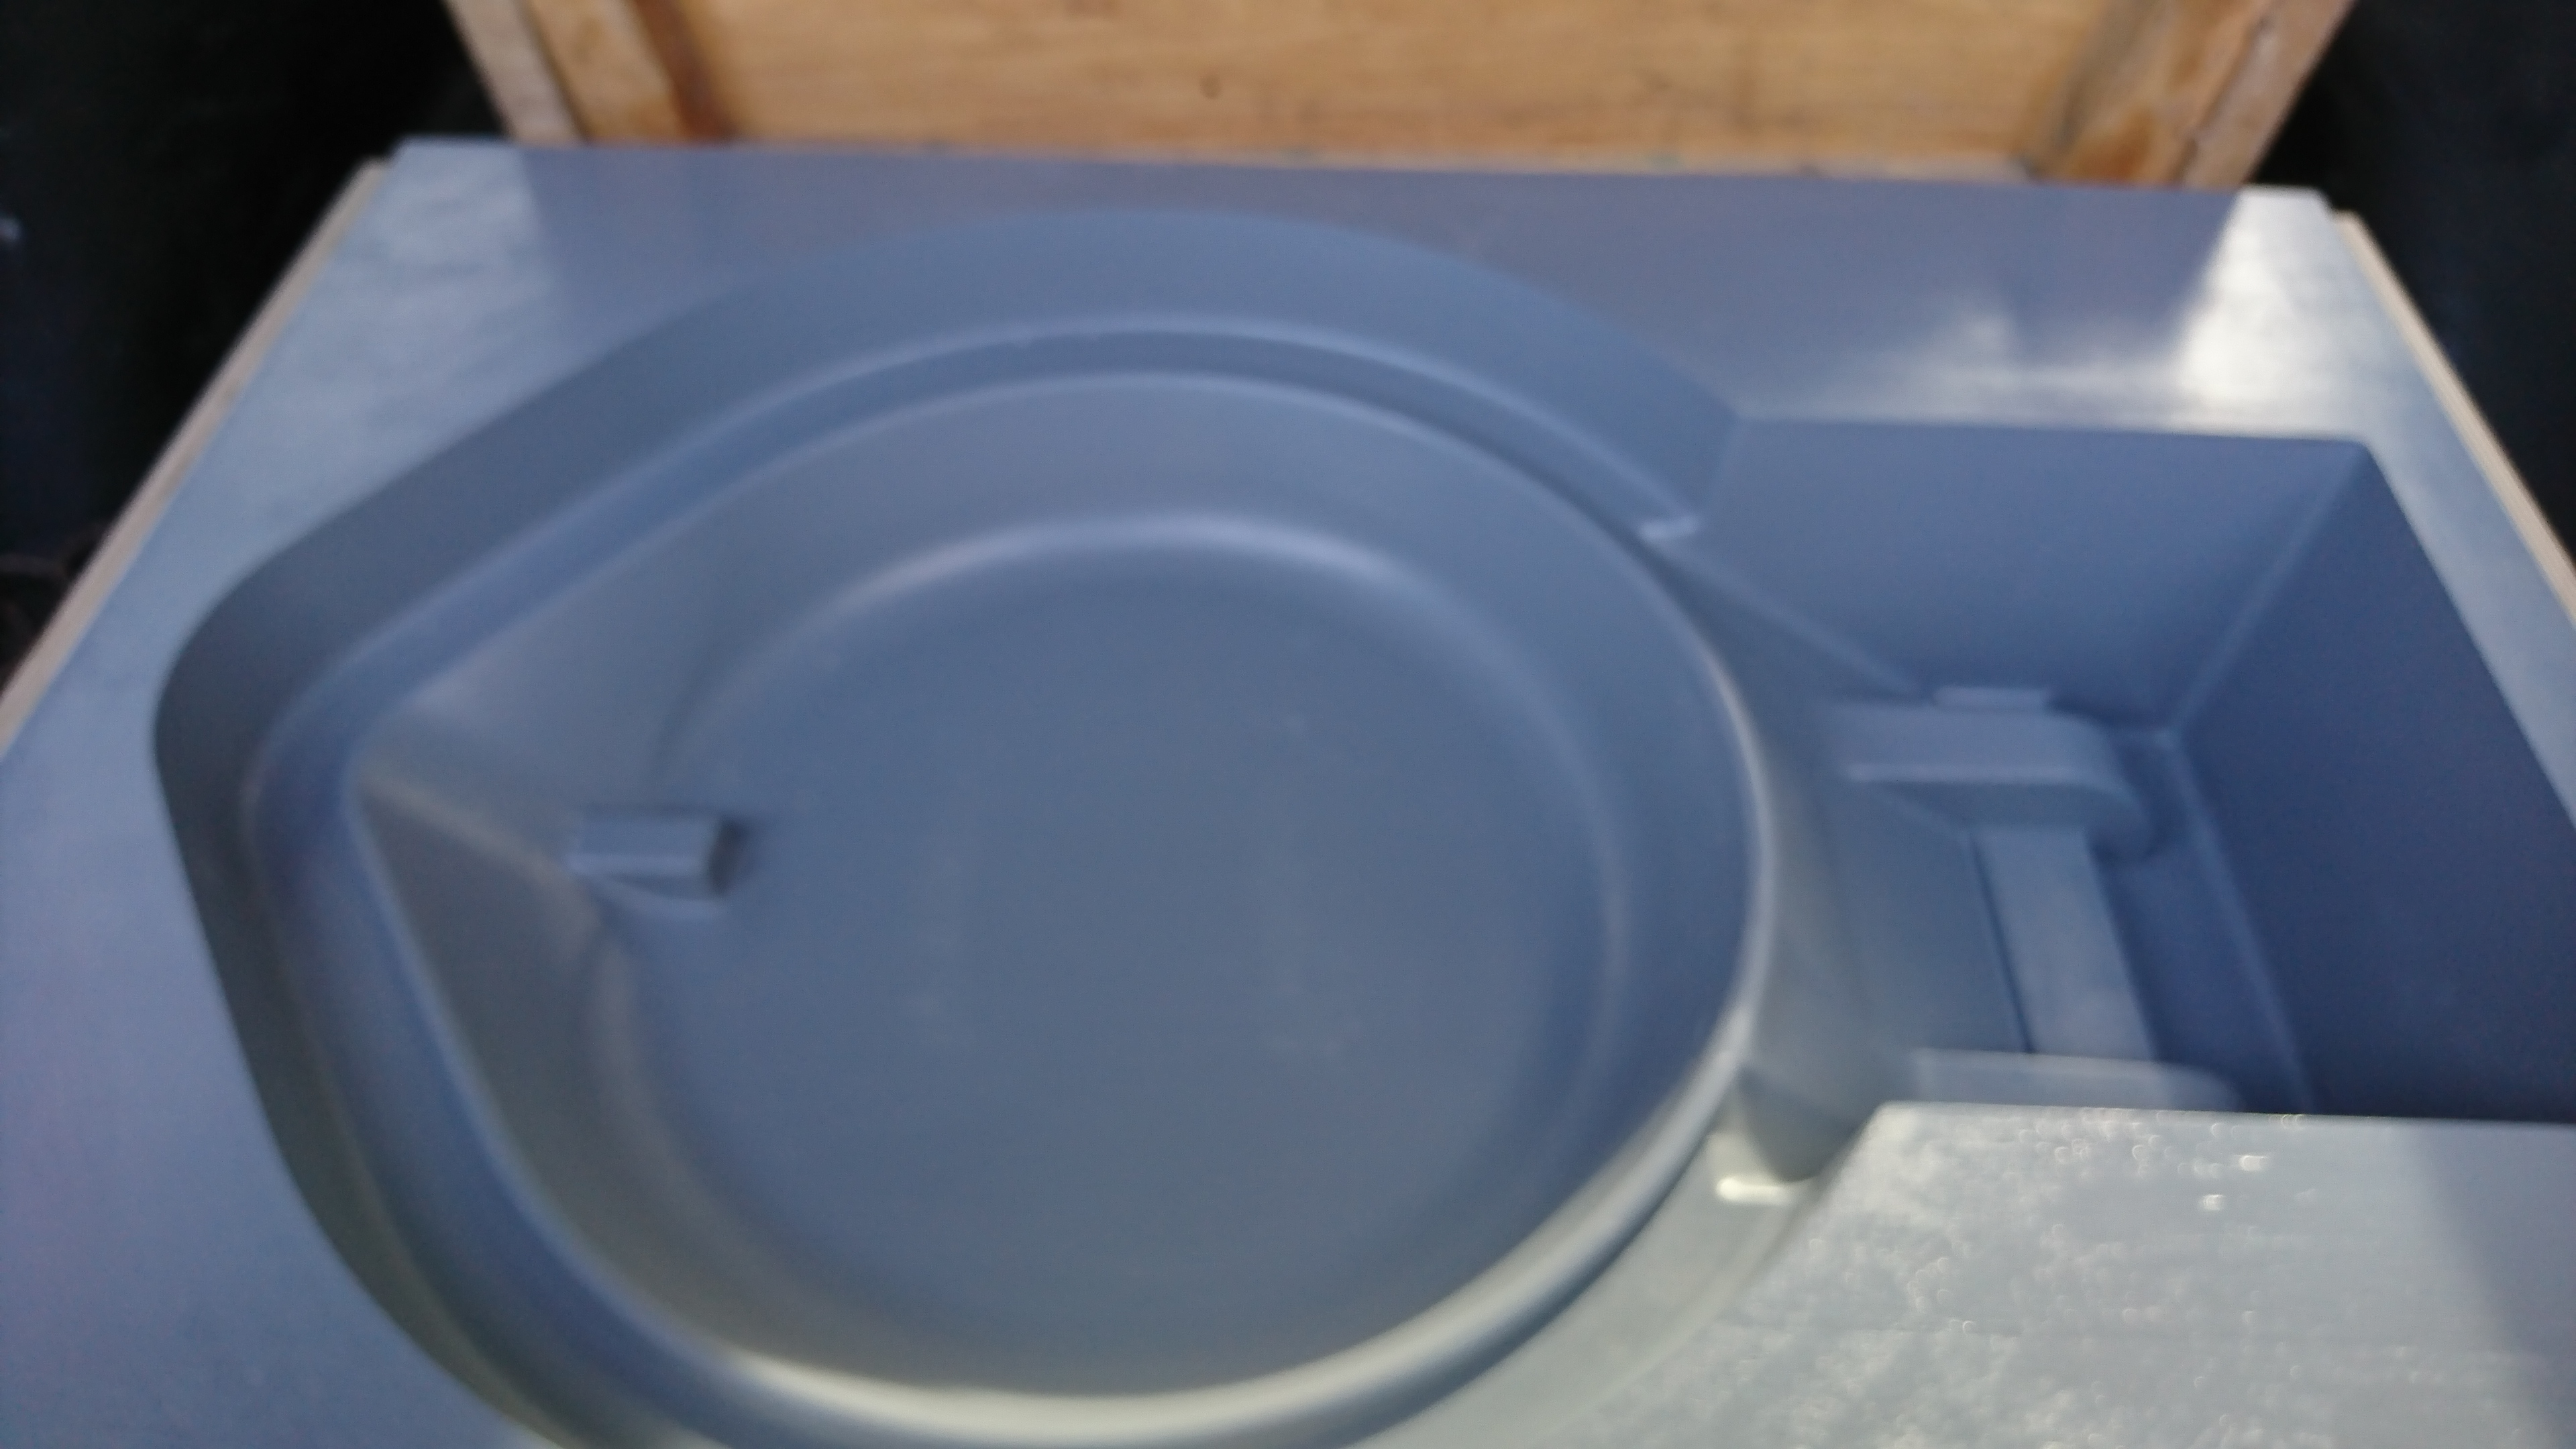
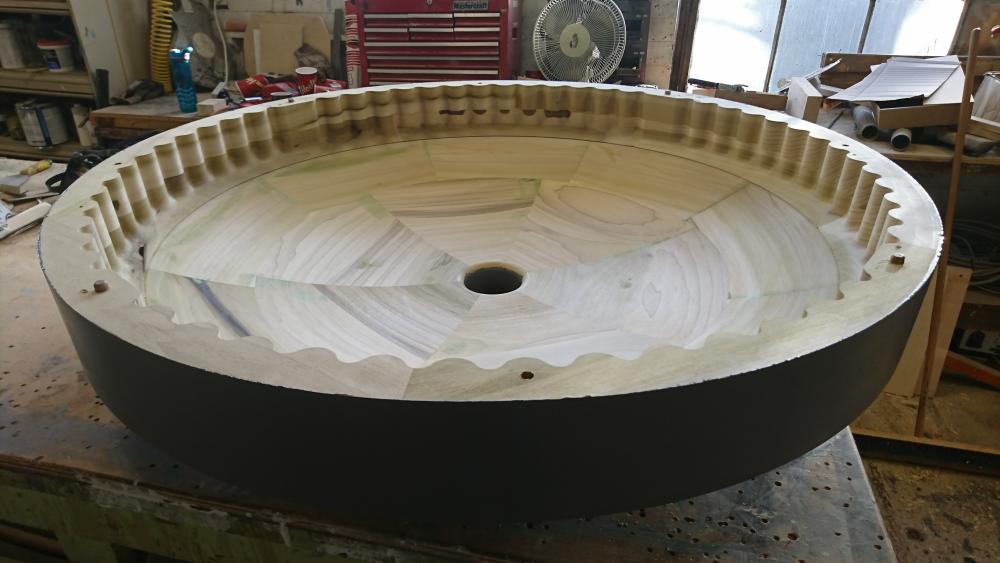
Take a picture I can likely tell you if it is pattern or notI fully understand that material expands and contracts will temperature change. Any working day I am not forging I am anticipying the changes in size of constrained and unconstrained metal. I still have to disagree about the change in length. I will try to explain better. I hope we can all agree that if you squeeze a cube of steel on 4 sides beyond its elastic limit it will get longer. The volume remains the same. This is the basic concept of constant volume forging. Heating the cube with it constrained on 4 sides is squeezing the cube, the force is applied by the temperature increase rather than by moving the constraints like you would with a press or hammer. This will cause the cube to lengthen on the unconstrained sides exactly as if you squeezed it with a press. To explain it another way if you had a 1x1x1 cube at room temperature. This is 1 cubic inch. Then we Did your constrained heat. Let's say that the sides end up 0. 01"smaller at room temperature so that it falls out of your vise which I fully agree will happen at the return to room temperature. If the cube does not get longer the volume at room temperature will only be 0.9801 cubic inches. What I am saying is that the average length will be 1.02" long As to your 3/16 plate I don't think you will be very successful flattening the amount of curve you will have from a coil. That is a lot of curvature. I have straightened an I beam somewhat with heat but plate is something of an art. It is easy turn the plate into a potato chip. 3/16 plate is not very expensive, I suspect that you will spend much more money on gas than you would on a new piece of plate even if you were able to flatten itYou can't compress a solid. Where does the metal from the sides go? Assuming immovable vice the material draws out/extrudes to the top and bottom.In this theoretical situation your top and bottom would not return to the original position as the cube would now be bigger in the height. The metal displaced from the sides has to go somewhere.A Blacksmith who put in 55 years in the blacksmith shop at Stelco Steel stops by my shop weekly. . He started as an apprentice at 15 and retired at 70. Leo is 91 and demos blacksmithing at a local Conservation area historical villiage. He occasionally borrows my power hammer to rough out things that they will be forging at the village He tells me about the how they used to buy welding flux by the 45 gallon drum. Every few months!!!A few more. A cast iron dome for a cooling system. And part of a coke oven. The dome is a loose pattern and there will be a follow block made for the hole in the middle. The coke oven part is a loose pattern with a cover core to form the inside. It is sitting on top of another pattern which is mounted in a moulding box. The other pattern is one we made some modifications to.


 Radiusing the corners will get rid of most if not all the weld on the visible face. You will still have weld on the inside edge but that face is hidden by the round piece (rowel ??).Great video, I have made eye bolts the same way. No welds allowed!!!How long is the bar? Is it possible to use a long bar and then cut the part you don't need after upsetting? The reason I ask is using the rest of the bar as the anvil or as the hammer works really well and you get less bending than if you back the bar up and then hammer it. Striking the end of the bar with it just laying across the anvil and you holding it rotating a 1/4 turn every blow works well for upsetting the middle of a bar. You do need enough on the opposite end to provide some mass. The other way is holding the bar and driving it into a heavy plate or anvil on the floor. 2 of us taking turns upset the middle of a 2" bar to almost 4" square using this method. Again rotate 1/4 turn every blow to help keep it straight. We left extra stock on the bar to act as extra weight and a cool handle. Once we were done upsetting we cut the bar down forged the ends and bent in the middle of the 4 in section. Bending it 135 degrees thinned it back out to around 2 in square again.I have never heard of a foundry using resistance coils for melting ferrous metals. All the ferrous foundries I have been in use either induction, or arc furnaces or they use a cupola. Smelko foundry products in Milton will have thermocouples crucibles greensand or Petrobond. But keep in mind the thermocouples that they have are designed for industrial foundries and will be very robust but not cheap. They may be able to help you find a place in Canada that has a metal casting course as I do know that they have sold to several schools. I hesitate to mention them as I hope people don't waste a bunch of their time. They are great guys there and they are running a business catering mostly to commercial foundries. They are very willing to help out and sell small quantities to individuals but they make there living selling industrial quantities of supplies.A blacksmith ht for H 13 I have used is after forging heat to a yellow heat quench with a fan or even wave it around till the colour is gone. Let it cool to room temperature then temper by heating to a barely visible dull red that is visible in a darker area of your shop. I have heard of using an oil quench to get a better hardness but have never done it.Hi Hans did you pour through the side/ parting of the mould? Some high volume moulds are poured on their side but typically moulds are poured through the cope into a well in the drag. The metal then flows through a runner bar parallel to the casting and finally enters casting cavity through ingates. Pouring directly into the casting cavity you often end up with sand erosion where the metal hits the cavity. Pouring through the gating system helps slow the metal down preventing erosion. Pouring perpendicular to your mould will also help prevent burning your flasks. I assume you left them in place while pouring?The biggest problem I see with these tongs unless they are a box jaw is squeezing the reins closed will OPEN the tongs. Putting your fingers between tong reins while forging which you would need to do to close these tongs is potentially dangerous. Unfortunately Universal tongs don.t exist. To forge steel efficiently and safely especially under power hammers the tongs have to fit the steel. A tong design that is harder (more expensive) to make is not a good design. I have well over a hundred pairs of tongs and still find it necessary to make or modify tongs. (not for one off parts)I once heard a story about someone admiring the patina that Picasso had on a statue at the unveiling. His response was to say I am going to miss p....... On that statue off my balcony every morning.Regarding the math for the length of the bar you are using the inside radius. You need to be using the centerline radius of 9/16". The center line is close but if you want to be exact you need to use the "K factor" which is variable influenced by bending methods, material properties and thickness , angle bent and radius. K factor charts are often produced in large shops by doing test bends. Center line will get you close though.I would say you are over engineering it, and setting yourself up for problems by machining the round bar before welding, especially if machining before bending. You are going to struggle to get the pockets lined up. I do a fair bit of bending and unless I have a lot of pcs to do I leave the ends of the bars a little long and trim them to length after bending if they need to be accurate. If you are making a lot then you can do test bends and fine tune your process and eliminate the cutting the ends off. I think you are on the right track with flat bar rather than the tubing but a good weld in that area should be plenty strong and likely even stronger than your plan. The roundness of the 3/8" bar is helping you with giving a built in weld bevel. By machining a pocket you have eliminated the built in weld bevel and you just have a surface weld. Instead I would grind a bit of a bevel on each end of the flat bar where you are welding it to the round bar. I would probably use 3/8" flat bar rather than the 1/4" so you don't need a jig to center the flat bar on the round bar. As well it will wear the shackle less. I suspect a longer bearing edge is why the manufacturer uses a piece of tubing. Cutting a filet in the edge of the flat bar will be nice and will help eliminate stress risers but you will need to start with a wider flatbar.I have some tongs i make for a customer I used to forge weld the reins on. The first time I did it I did the destructive test thing on 2 welds and bent the weld area 180 degrees cold. I figured this was more abuse than the tongs would see in use. 2 heats was usually enough. More than that and you risk forging the reins undersized, Which then have to be upset back to full sized, which is not a fun job. Reliable forge welding requires practice. It has been quite a while since I welded reins on, I would probably have to do a couple practice ones to do a good job now.I know a lot of books recommend using square stock for tongs but I almost always use round, as did both of the blacksmith shops in the 2 larger steel mills here in town. It is easier to avoid cold shuts in round and 3/4" round is easier to draw out than 3/4" square. 3/4" round is plenty big to make tongs for holding stock for 1" and under. 5/8" round actually can make nice tongs as long as you offset them before flattening them and punch the eyes. I like 1045 for tongs but mild steel is good especially when you are starting out. Watch this video and ignore the jig and the fact he is using a power hammer. Offsetting the stock before flattening like he does allows you to use slightly smaller stock. Working by hand this could be done with a bending fork, or 2 blocks of steel and a flatter(or large piece of heavy flat bar) or 2 pieces of steel and a vise.Been a few years since I have been able to get to quadstate. Unfortunately this fall is not looking good for going, but how about someone who has a registration package letting the rest of us know who the demonstrators are this year.Be careful with HSS for struck tools especially with imperfect Ht. I recall Grant Sarver mentioned a competitors shop having a fatal accident with a HSS tool shattering under the power hammer. This was under a large hammer but I remember him saying that this incident made him wary of using HSS tools under a power hammer. That said in the right application with proper Ht they can give incredible results. I have a pair of 1" square lathe tool bits that are in holders that I have cut thousands of 4140 and 4340 chisel points with. I have never had to sharpen them. They are heat treated as purchased and they are supported in and pressed by soft mild steel so safer from shattering.There are a fair number of blacksmiths in the Maritimes. Where about are you in NS? Paul Fontaine in NB has some courses as does Grant Haverstock on Cape Breton. The guys in the Maritime blacksmith group are a great bunch of guys and I suspect that you will learn lots going to their meetings.I have heard that PLA can be used like lost foam but have no actual experience with it. 3D printing he can make the print with minimal plastic internally with a honeycomb internal structure so there is less to burn away. If you have any core sand like a SO2 you can take the time and mould just about any shape with time and lots of parting dust. The traditional moulder journeyman test was to mould a teacup sitting on a saucer with a teaspoon and sugar cube in the cup. I had a customer who had 2 castings of this test sitting on his boardroom table who asked me if I knew what they were. I am a patternmaker not a moulder but I think I could pull it off in airset sand but not in green sand. .I picked up a French anvil book by Evelyn et Jean-Patrick Boye called Enclumes Et Bigornes Anciennes. It has quite a few highly decorated anvils and a with carved faces in it. My favorite is a stake anvil with the devil on one side and Jesus on the other. The book is has a lot of beautiful pictures of all different types of anvils. It was a little expensive and the text is only in French but I recommend it if you like pictures of Old anvils.WCB is cast steel I think it is basically a mild steel. While the cast metals industry has taken a beating over the last several decades there are still lots of foundries around in North America, Canada US and Mexico. I can easily think of 5 or 6 foundries within an hour of me that could and would cast those in quantities of 4-5 to hundreds. The number that would only cast one is smaller but there are another couple that typically cast larger castings but would cast them in higher volumes. While you would have up front Pattern costs, I suspect they could be cast for less than they could be fabricated if you are talking any volume. As well you would not be restricted to stock sized pipe for the diameter. You guys need to calm down about the patent infringement issue. This is a filter body hundreds perhaps thousands of companies make something similar. It is a ring for a dogged door a feature that has been used on hundreds of applications for centuries. This is significantly different from copying a piece of art or a new invention.