Bhutton
-
Posts
120 -
Joined
-
Last visited
Content Type
Profiles
Forums
Articles
Gallery
Downloads
Events
Everything posted by Bhutton
-
Anthracite Forge Cold Spot Help
Bhutton replied to TimDorn's topic in Solid Fuels: Coal, Coke, Charcoal, Wood, etc
Frosty...Can the shale sometimes look like thin barks of wood (Coal with rust staining)...Ive been burning some anthracite and noticed the thin shale goes straight to clinker. These are the rust colored pieces. Ive been tossing them out. I like bituminous much better. I think its a more consistent heat. That dang anthracite has temps that jump all over the place on me...Guess i should just probably leave the blower fan run continuously? No air = No heat TimDorn...Ive encountered the same problems as you have...One thing im learning is fire management doesnt happen over night...Or at least in my case it doesnt...Bruce -
Tubbe...Great video! You are very proficient in your work! Really enjoyed it. Sir Coke...Nice piece! Is the leaf forged with the stem? DId you leave material at the end of the stem to form the leaf or is this welded on? (Iv'e gotta know how you did it) Amhas...Nice work...I might copy your idea. All the Tea Cup holders are awesome! Thanks Guys...Bruce
-
Very Kool! Is that your scrap pile behind the torch? Holy Moly you got it going on! Guess im in need of a larger scrap pile? LOL Thanks Das!
-
Kozzy...Butcher of metal / Clamp Master...LOL I like it...Love the handle idea. Nice Build! Im pretty much a newbie but what i'm wondering about is...Is there enough room on the table (Blower side) to coke up coal? How come the firepot wasnt centered? Just to have a work surface for tools? Are those pnuematic tires? Ill be making a new set up sometime next year when I tear a wall down in my shop to add a stationary forge and double my size. Ive been thinking ill brick up the base and flue and provide a plate and firebox (Like you've done) that can just sit on or into the brick work. It sure looks like this will serve you well. Best of luck!
-
Right on!
-
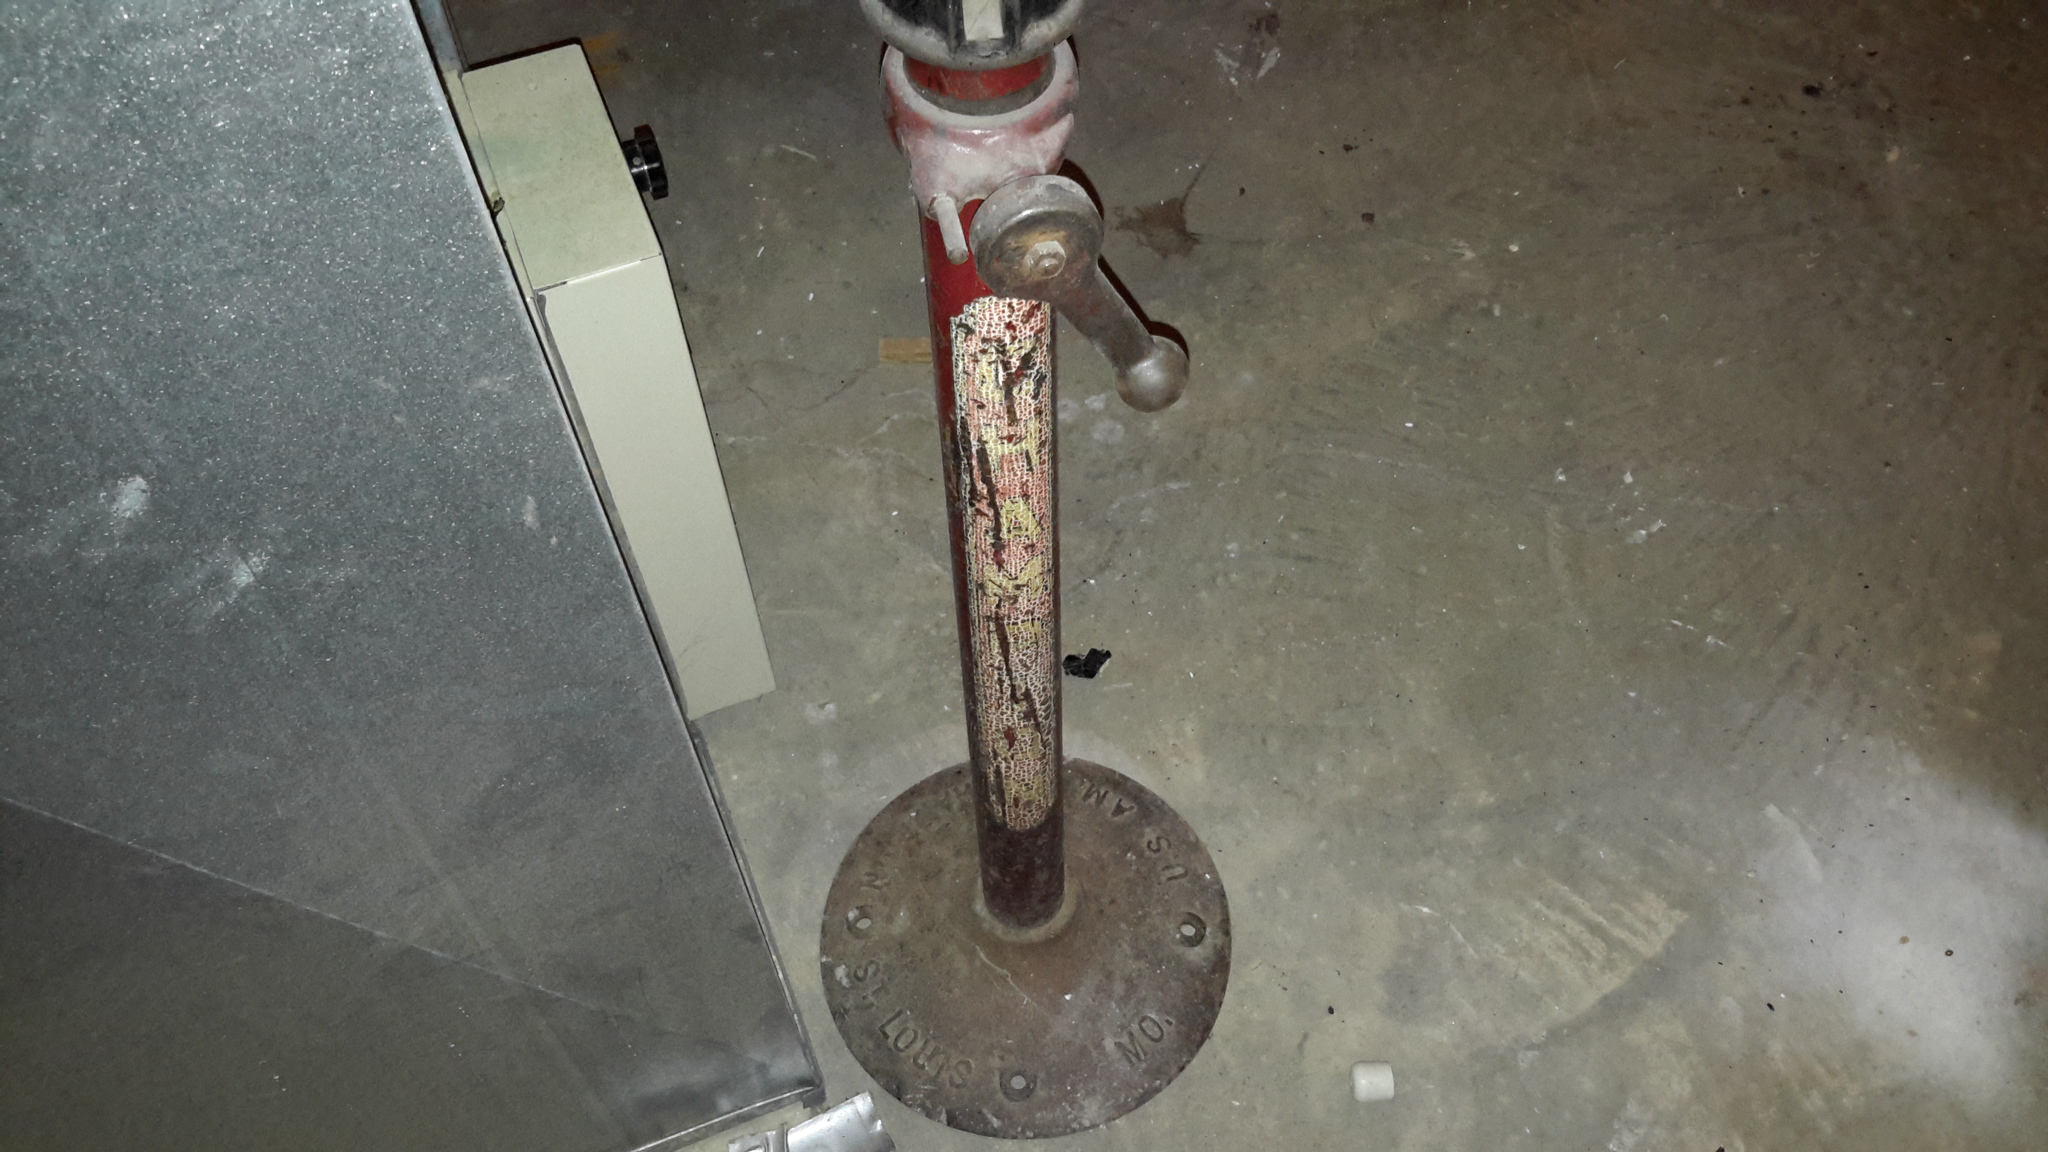
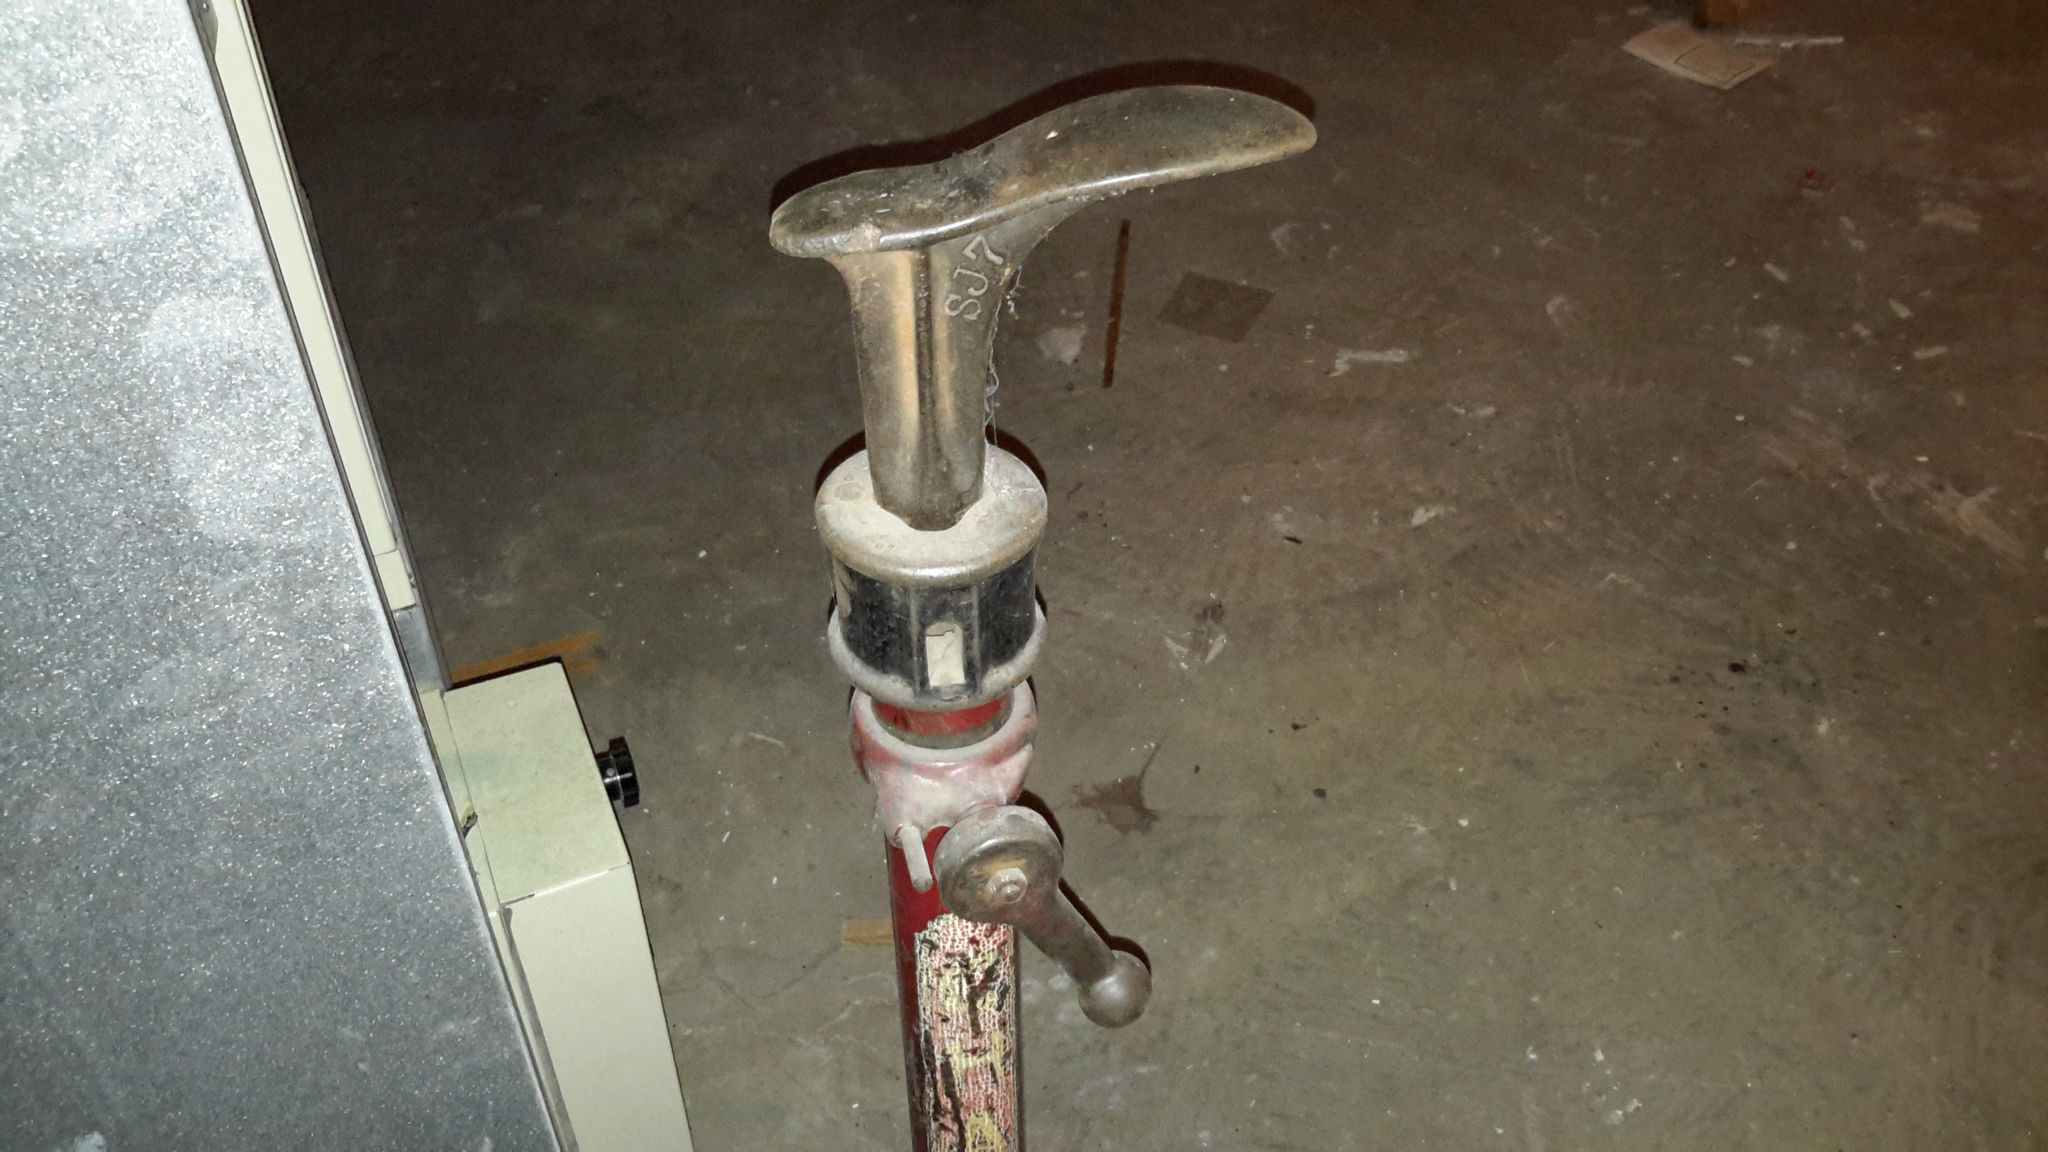
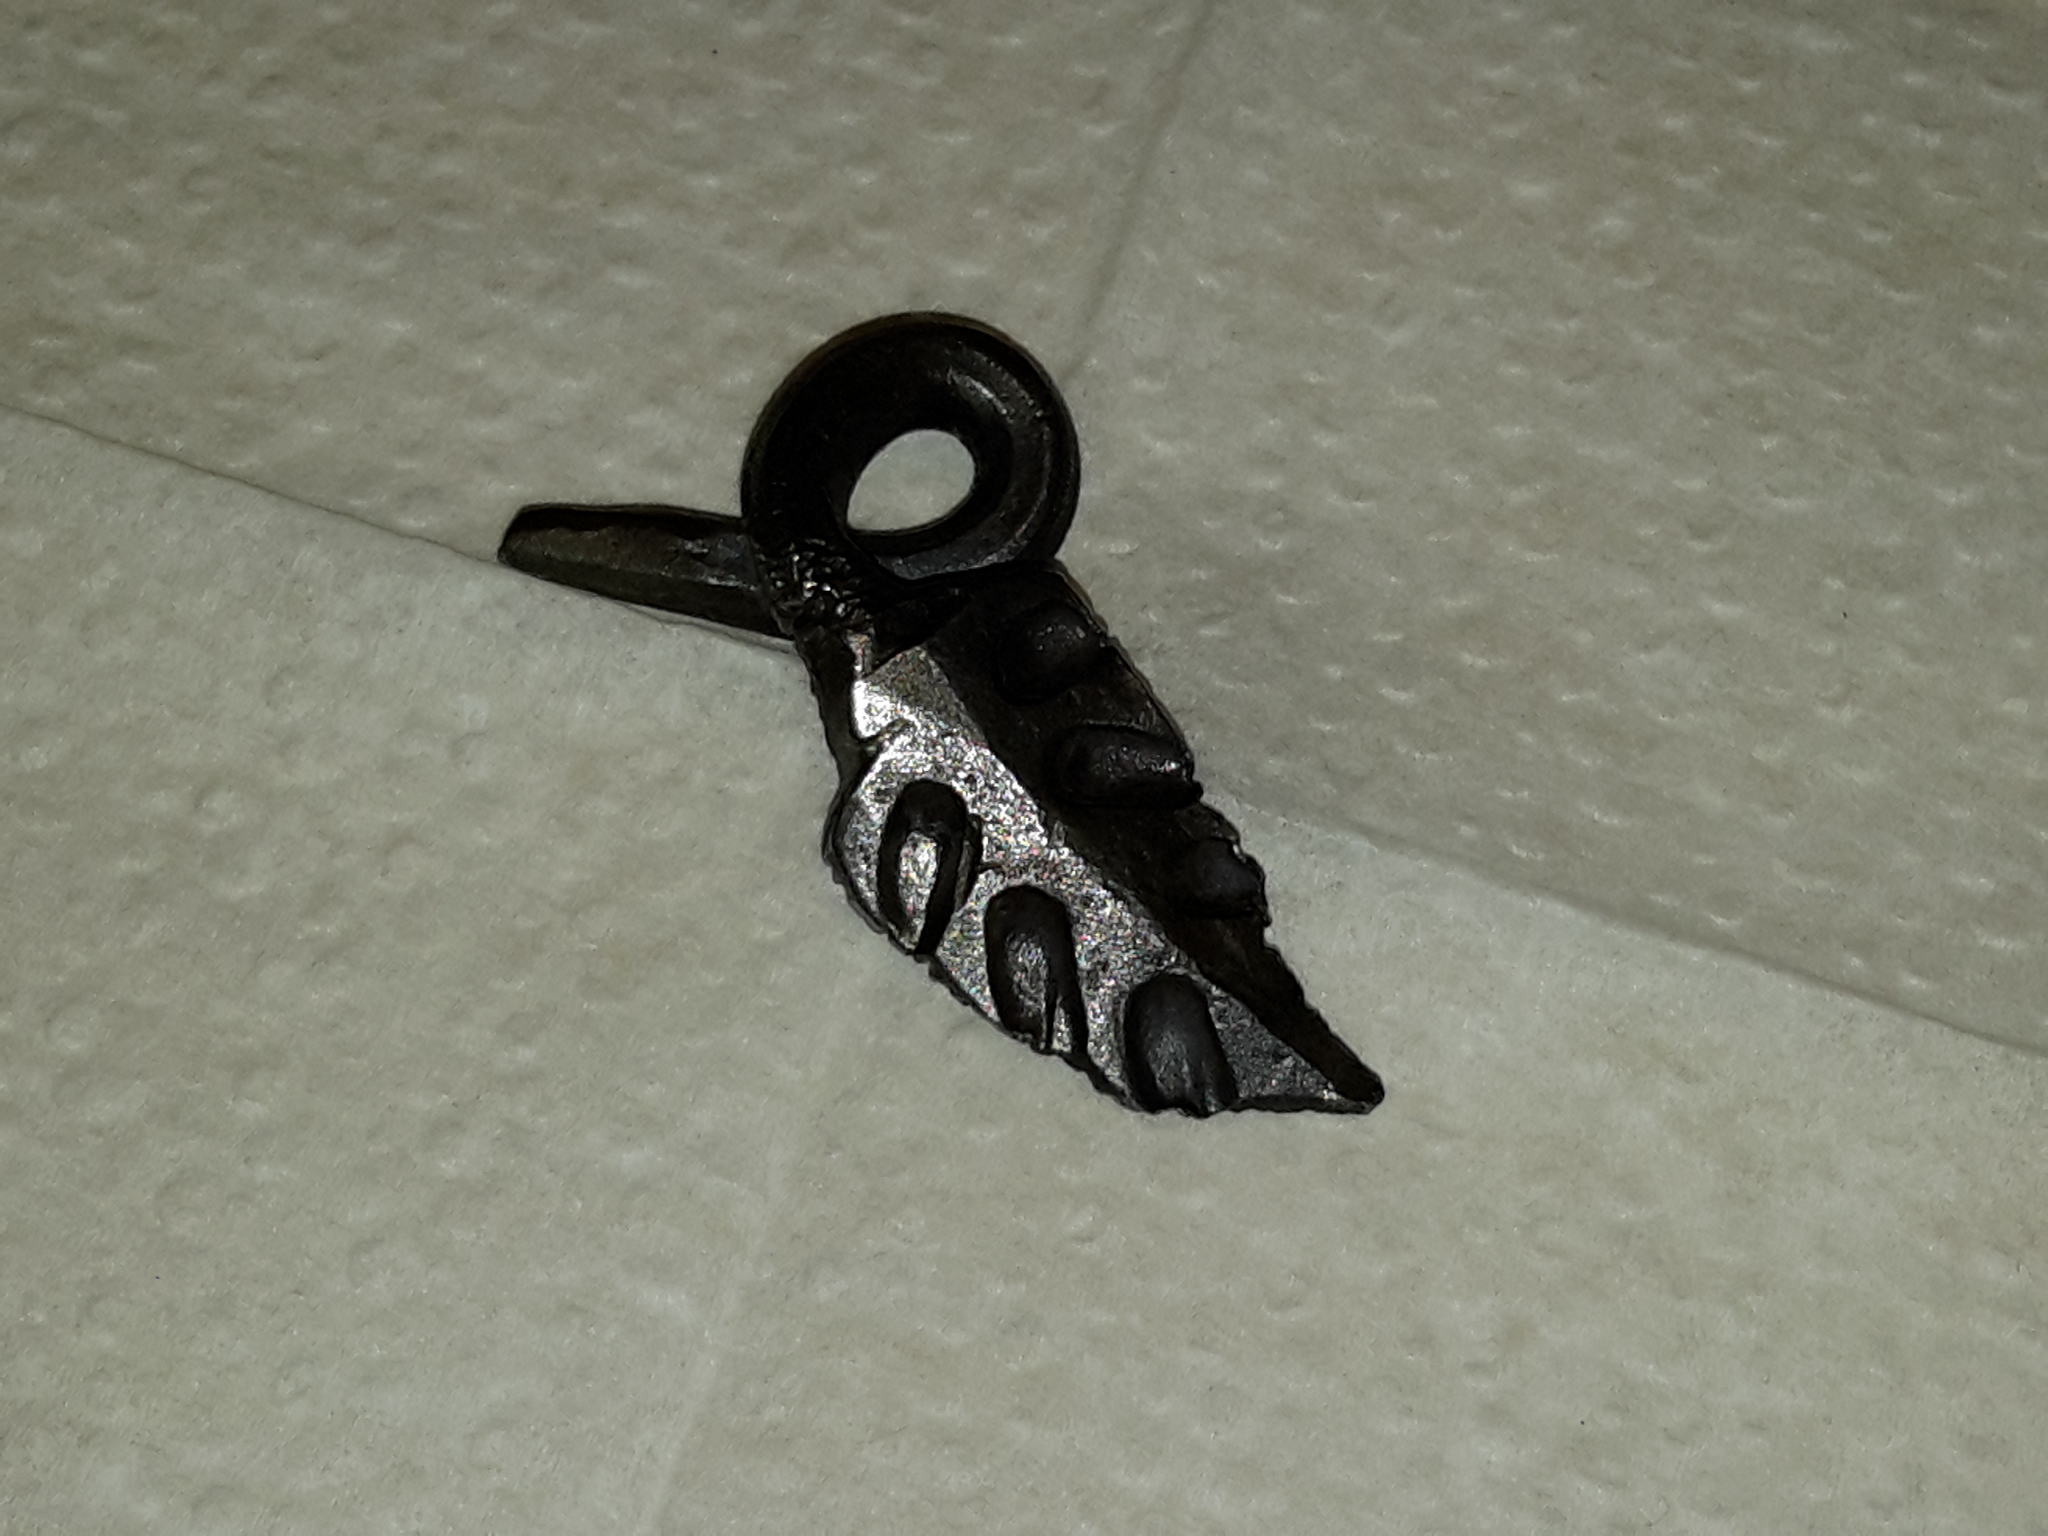
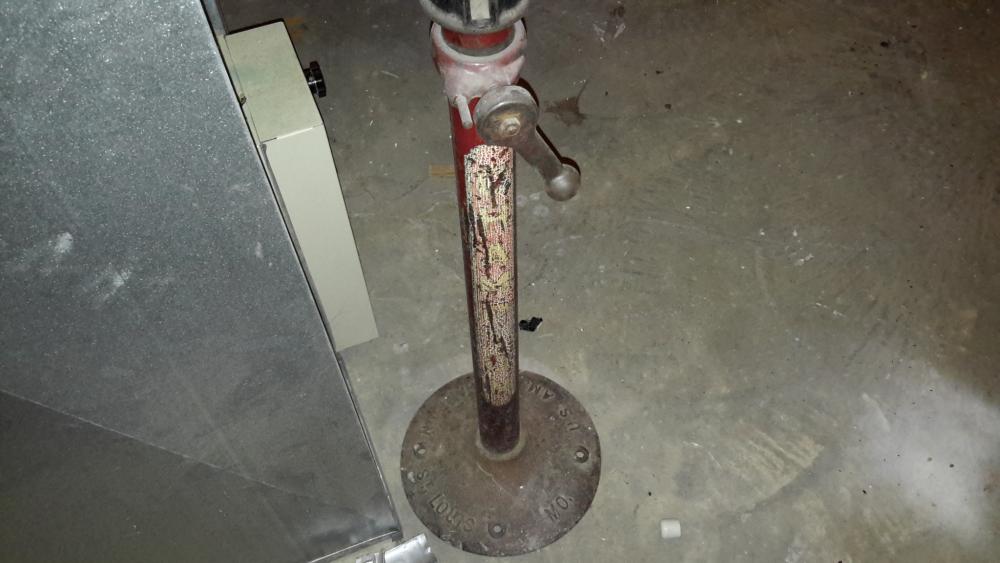
I just figured the shoe anvil wasn't made for the stand...thinking these were 2 different components slapped together...currently the anvil is stuck in the base. when I get it apart I'll be looking for grinding marks on the anvil to see if this was a retrofit of the 2 items. I scoured the Web last night and couldn't find anything that looked like this. so I'm unsure if this is an original item or a retrofit of 2 items. I'm with the frost...this will become a chasing stand...I am still convincing the lady to sell it to me. Thanks guys!
-
Is the base made specifically for the shoe horn to slide into?
-
Ran across this little thingy today...anyone know what it is? Thanks The base says Champion St. Louis Mo.

-
Jrigoni...Excellent video! Your a master at the power hammer...Well done! I don't know much about hammers but I'm guessing the height set dies are wonderful (Used often). Thanks for showing / sharing with us! ... I loved it!
-
Finishing a knife and have a few questions.
Bhutton replied to Blacksmith noob's topic in Heat Treating Knives, Blades etc
Noob...I'm like you I would have been offended at one time too. Keep in mind (Do as they suggest...Pack the lunch...read, read, read) when asking questions direct it straight to them and let them know they are the expert...for example... ask...What kind / type of oil do you guys use when quenching 4140 for blade making / utility knives and why? You'll get good knowledgeable results...These are a bunch of good dudes on this site...Their just kantankerous curmudgeons...And they take pride in it...lol -
Awesome! Very nicely done!
-
To all those smiths who told me railroad spikes were useless
Bhutton replied to Forging Carver's topic in Knife Making
I liked the video!!!! I love this site...I have learned so much on here...Including you better be thick skinned cause the gum bangers (self indulgers) on here will let you know everything about everything, wether you want to hear it or not....Bunch of dang ole curmudgeons for sure! Lol -
I like it...I'm getting good ready to build a vise stand...I may have to copy that idea...thanks!
-
Keep in mind that CO is heavier than oxygen (Oxygen pushes CO downwards) so keep your CO detectors down low...Not 5'+ or higher. I like knee height or electrcal outlet height.
-
I dig it! Excellent idea! How you do those seed pods? Kool!
-
You might consider moving the blow torch to another location in the latest video...LOL Nice work on all the videos. You keep things moving along I like that.
-
Coal prices, I found some locally
Bhutton replied to Shogun71's topic in Solid Fuels: Coal, Coke, Charcoal, Wood, etc
I pay $19.00 for 50 lbs...An hour away in Missouri. -
NIce stuff man! Nice!
-
Thomas your title should have onery in front of it (Onery master curmudgeon)...LOL......You'd be a good mate in warfare. Das...Tell you pal to do what Thomas suggested and call it...Shocker!!!
-
Brazeal-style hot cut hardy question
Bhutton replied to JHCC's topic in Hot Cuts, Anvil devils, metal cutting on the anvil.
Try this...Clean all surfaces (Hardy and hardy hole) rub some paint stick or crayon on the sides of the hot cut shank...Insert shank into hardy hole. Now cut a piece of hot metal...Then remove the hardy and look at the shank...The shinny surfaces will be the high spots...File these down...(Caution if grinding) This is what is holding the hardy tight in the hole. Repeat this process 4-5 times and you should have a super fit that does not get stuck. When finished one can wrap a piece of masking tape around the shank and re-fit if you'd like a bit of clearance. Masking tape mics out at about .006-.007 if i remember correctly. -
a different style leaf key chain, atleast for me.
Bhutton replied to Mark Ling's topic in Member Projects
LBS...Looking good...I'll have to try those...I like the look!!!!! -
Thats a darn good looking table...I love the wrapped leg design...Then how could you go wrong when you top it off with walnut! Very Nice!!! Thanks for sharing with us!
-
a different style leaf key chain, atleast for me.
Bhutton replied to Mark Ling's topic in Member Projects
Heres one of my versions...Instead of veining the center i leave it raised. I will be trying your technique next time...I like the center veining.
-
Way Kool! Good looking pieces there! I wanna see those coffee table legs!
-
I love the bench...As others have said...way to utilize / up cycle old materials. I can't imagine drying this out another hundred years would make that much difference for the use of a bench. I'm with frosty forget Thomasville furnitures...off to the burn pit. Again I really like the bench...This is now on my to do bucket list