Michael
-
Posts
1,061 -
Joined
-
Last visited
Content Type
Profiles
Forums
Articles
Gallery
Downloads
Events
Everything posted by Michael
-
What did you do in the shop today?
Michael replied to Mark Ling's topic in Blacksmithing, General Discussion
A buddy of mine in SoCal recently got into forging, built himself a little gas forge with a naturally aspirated burner and has been pounding rebar scraps on an on-end RR track anvil. His oldest had the family van in SF moving into a post collegiate apartment, so I took the opportunity to send the kid home to his dad with a bucketful of my spare hammers, tongs, punches and better steel scrap than rebar! Some coil spring bits, leaf spring, rail clips, along with a bundle of mild steel bar in 1/2 inch and 3/8 inch square. Soap stone, wire brush and a chunk of mild steel, 4x4 and 12 inches long on end to use as an anvil. Threw in a couple of RR spikes for fun. -
Helping an older friend with some heavy bookbinding gear that was left to him by another binder. Lent a hand, mostly a strong back, to some of the other binders and caligraphers sorting thru tons of type, printing gear etc in a house filled with stuff. When we were done the executor of the estate offered me the rolling scaffold and dolly for free for the help. I'm painting my house and the scaffold couldn't have shown up at a better time. It'll save me a lot of ladder work, and the dolly is heavy, I think a printing press was on it, 18 by 20 inches, 5 inch solid steel wheels. Not sure what's going on it yet.


-
What did you do in the shop today?
Michael replied to Mark Ling's topic in Blacksmithing, General Discussion
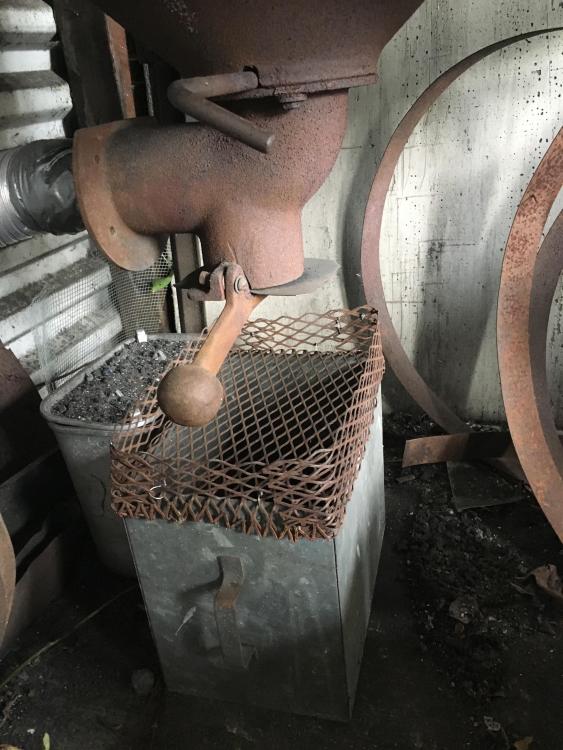
Bent some expanded metal into a screen cover for the bin under the coal forge ash dump. The idea is that ash will fall through and still burn able coke will get caught to be tossed back in he fire. Idea stolen from another Smith I was helping out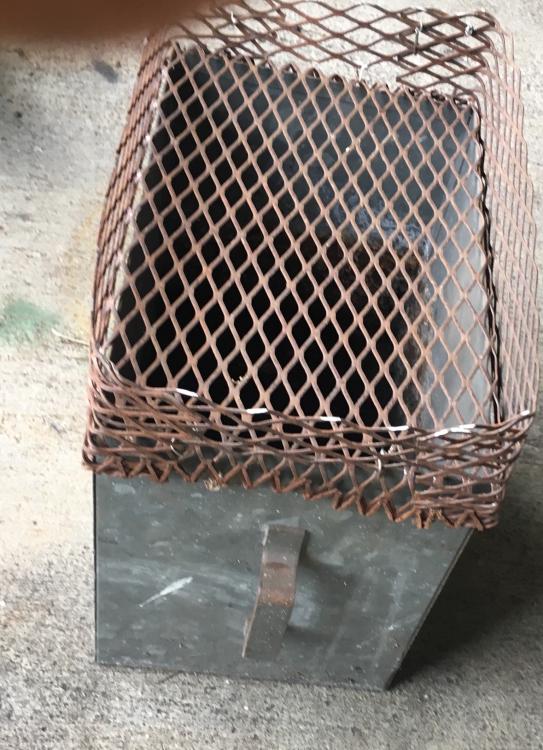
-
What did you do in the shop today?
Michael replied to Mark Ling's topic in Blacksmithing, General Discussion
I learned these from another smith, Monica Coyne, at the last Hammer In. Half inch bolts and nuts, the balance can be tricky. Fun to do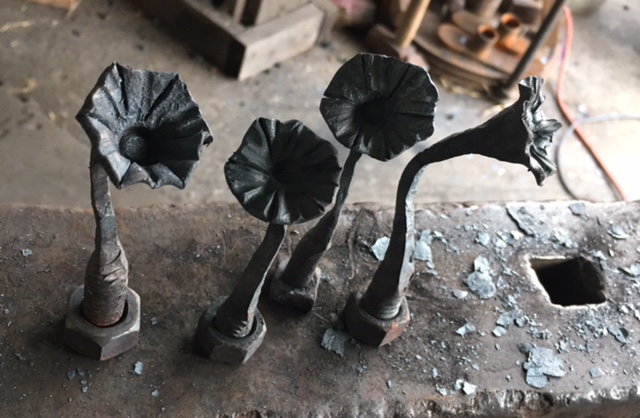
-
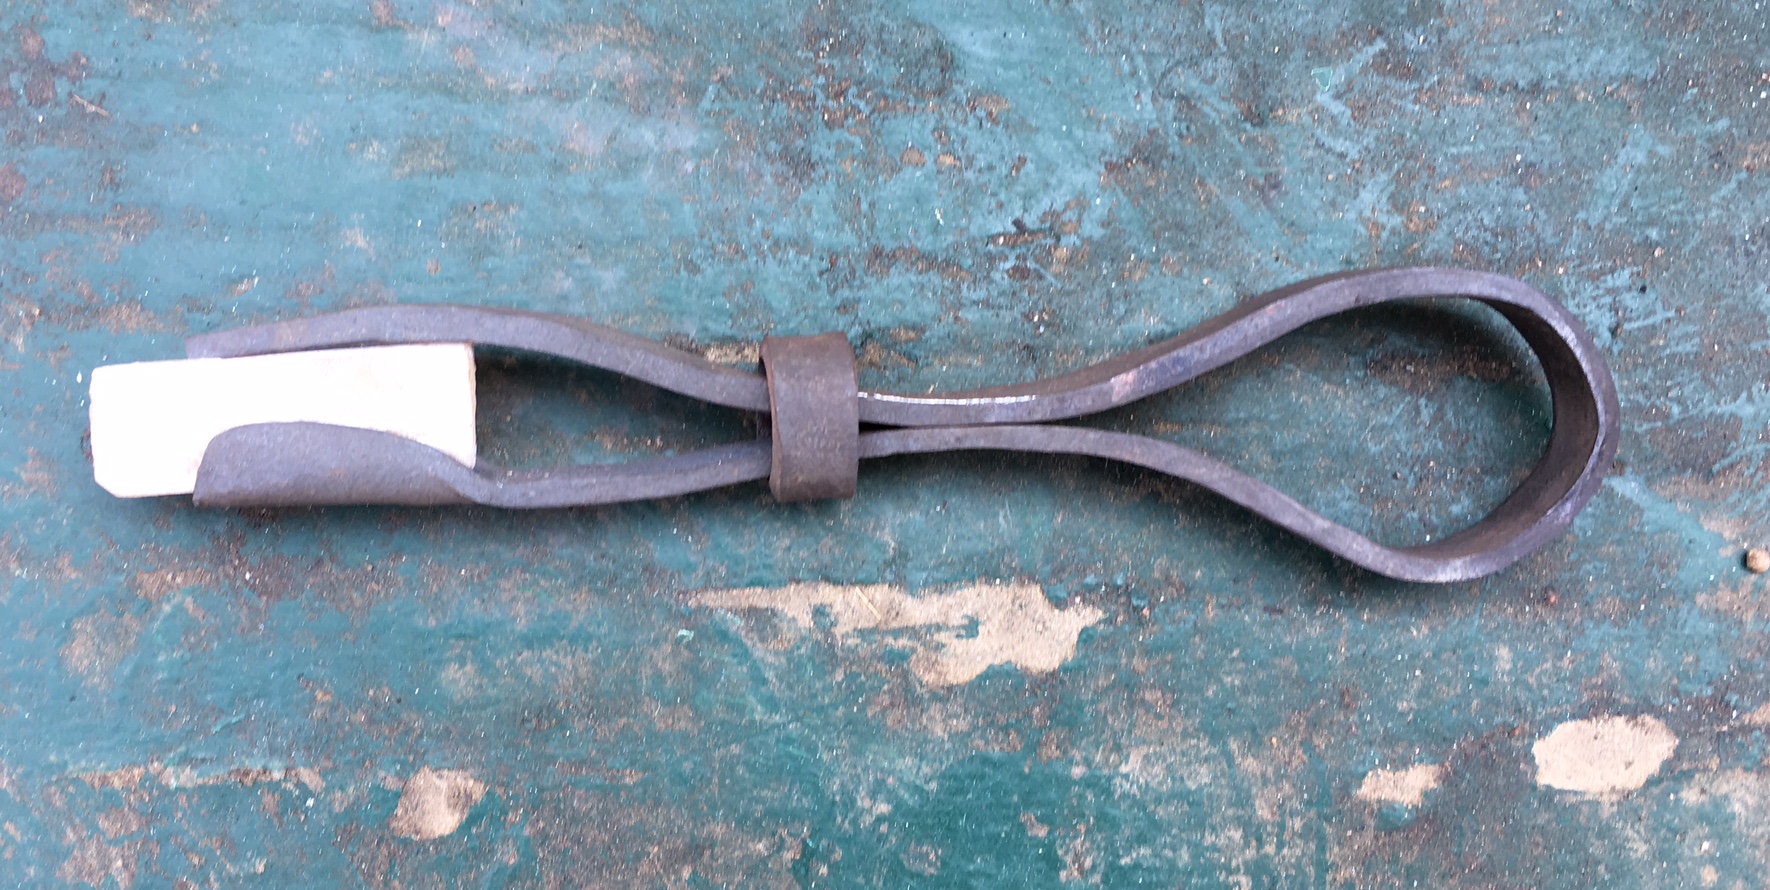
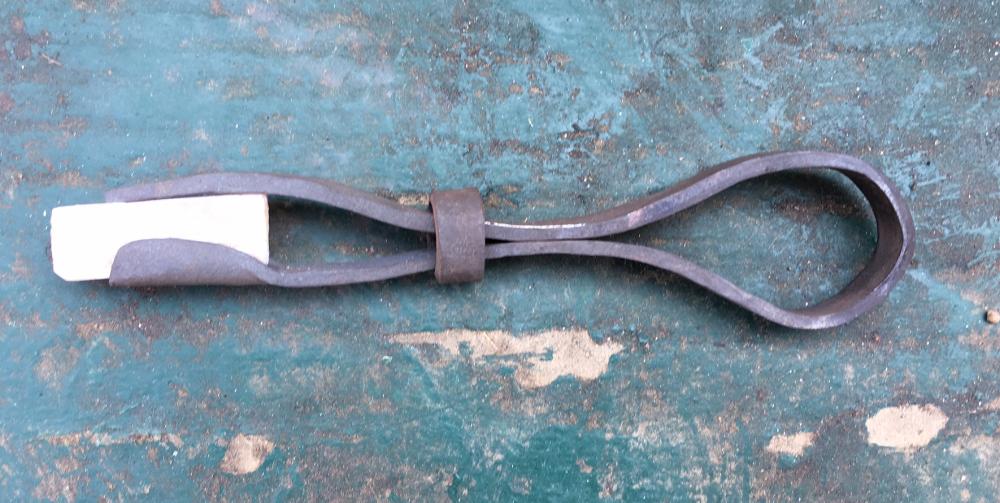
This was a demo by Kirk McNeil of Freedom Forge in Santa Cruz, at a Hammer In at Roaring Camp this past weekend. A soapstone holder out of 3/8 square stock. Of course, what was provided was 3/8 round Stainless, so it took a little longer than expected. About 6 inches long with the soapstone. The collar took 3 tries, one just because the little bit flew off into nowhere (at least no where I could find it) as it was being cut off the parent bar. Collar slides to lock the jaws. Others did the collars in brass or copper wire. Final fitting of the stone holder bits was helped when another smith made an iron blank the size of a soapstone for the final fit.
-
What did you do in the shop today?
Michael replied to Mark Ling's topic in Blacksmithing, General Discussion
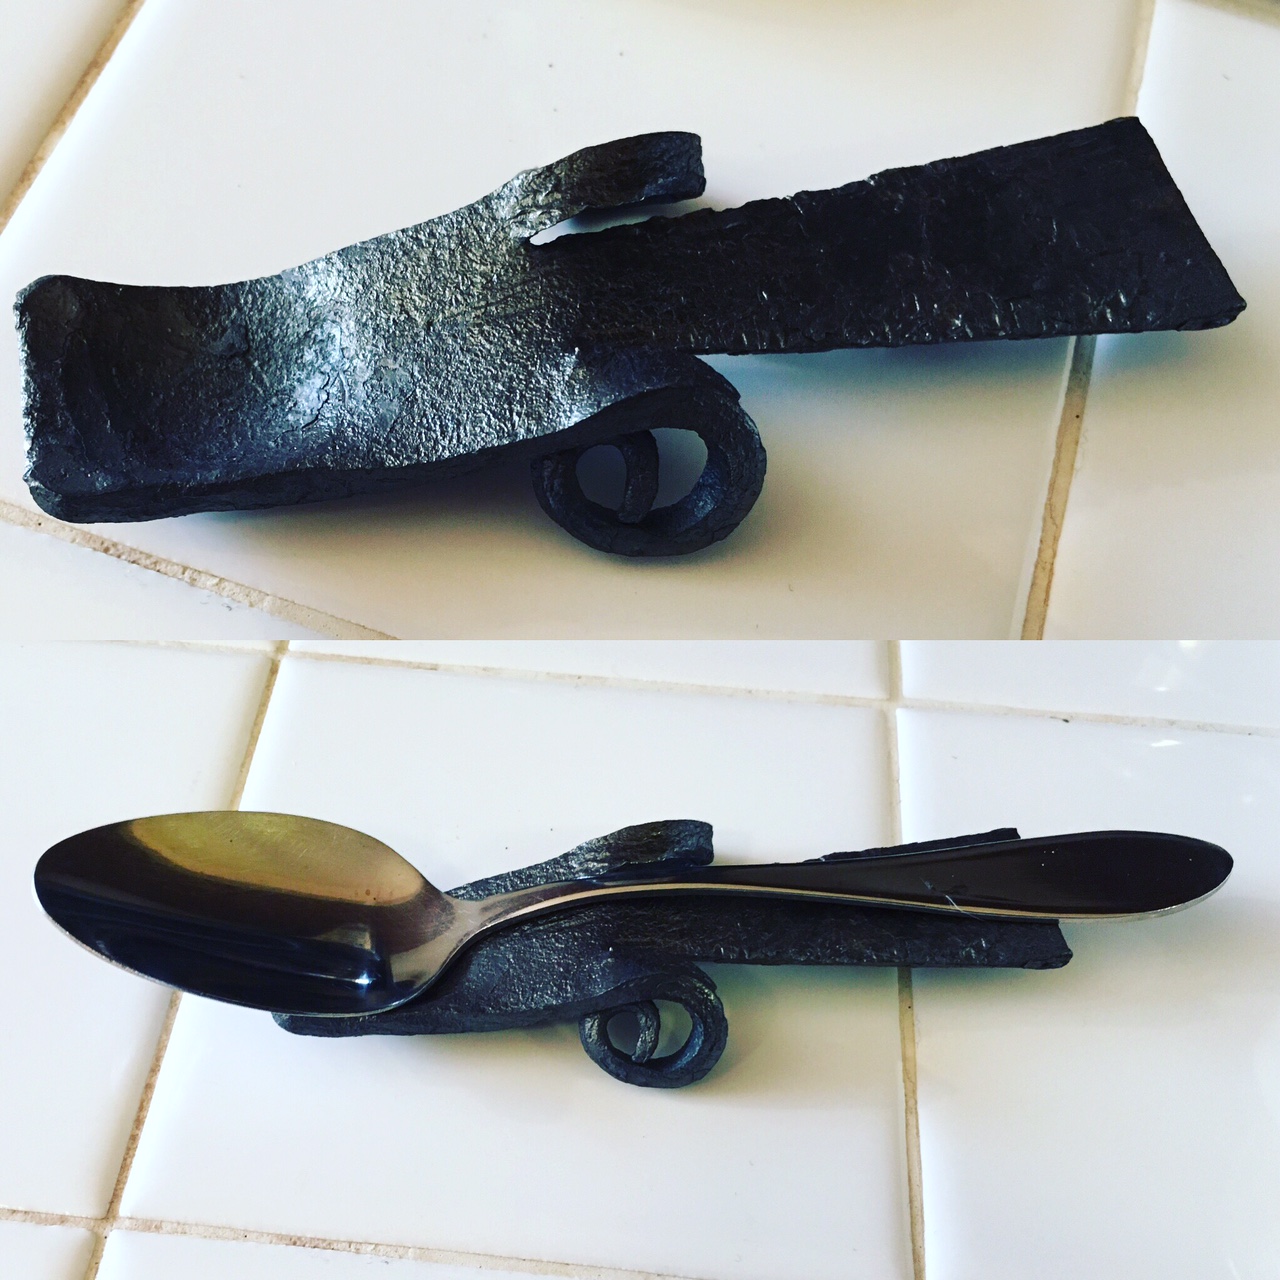
got an hour at the gasforge on sunday. Made a little spoon rest for the coffee maker. Should have brought a spoon out with me, it's too short.
-
What did you do in the shop today?
Michael replied to Mark Ling's topic in Blacksmithing, General Discussion
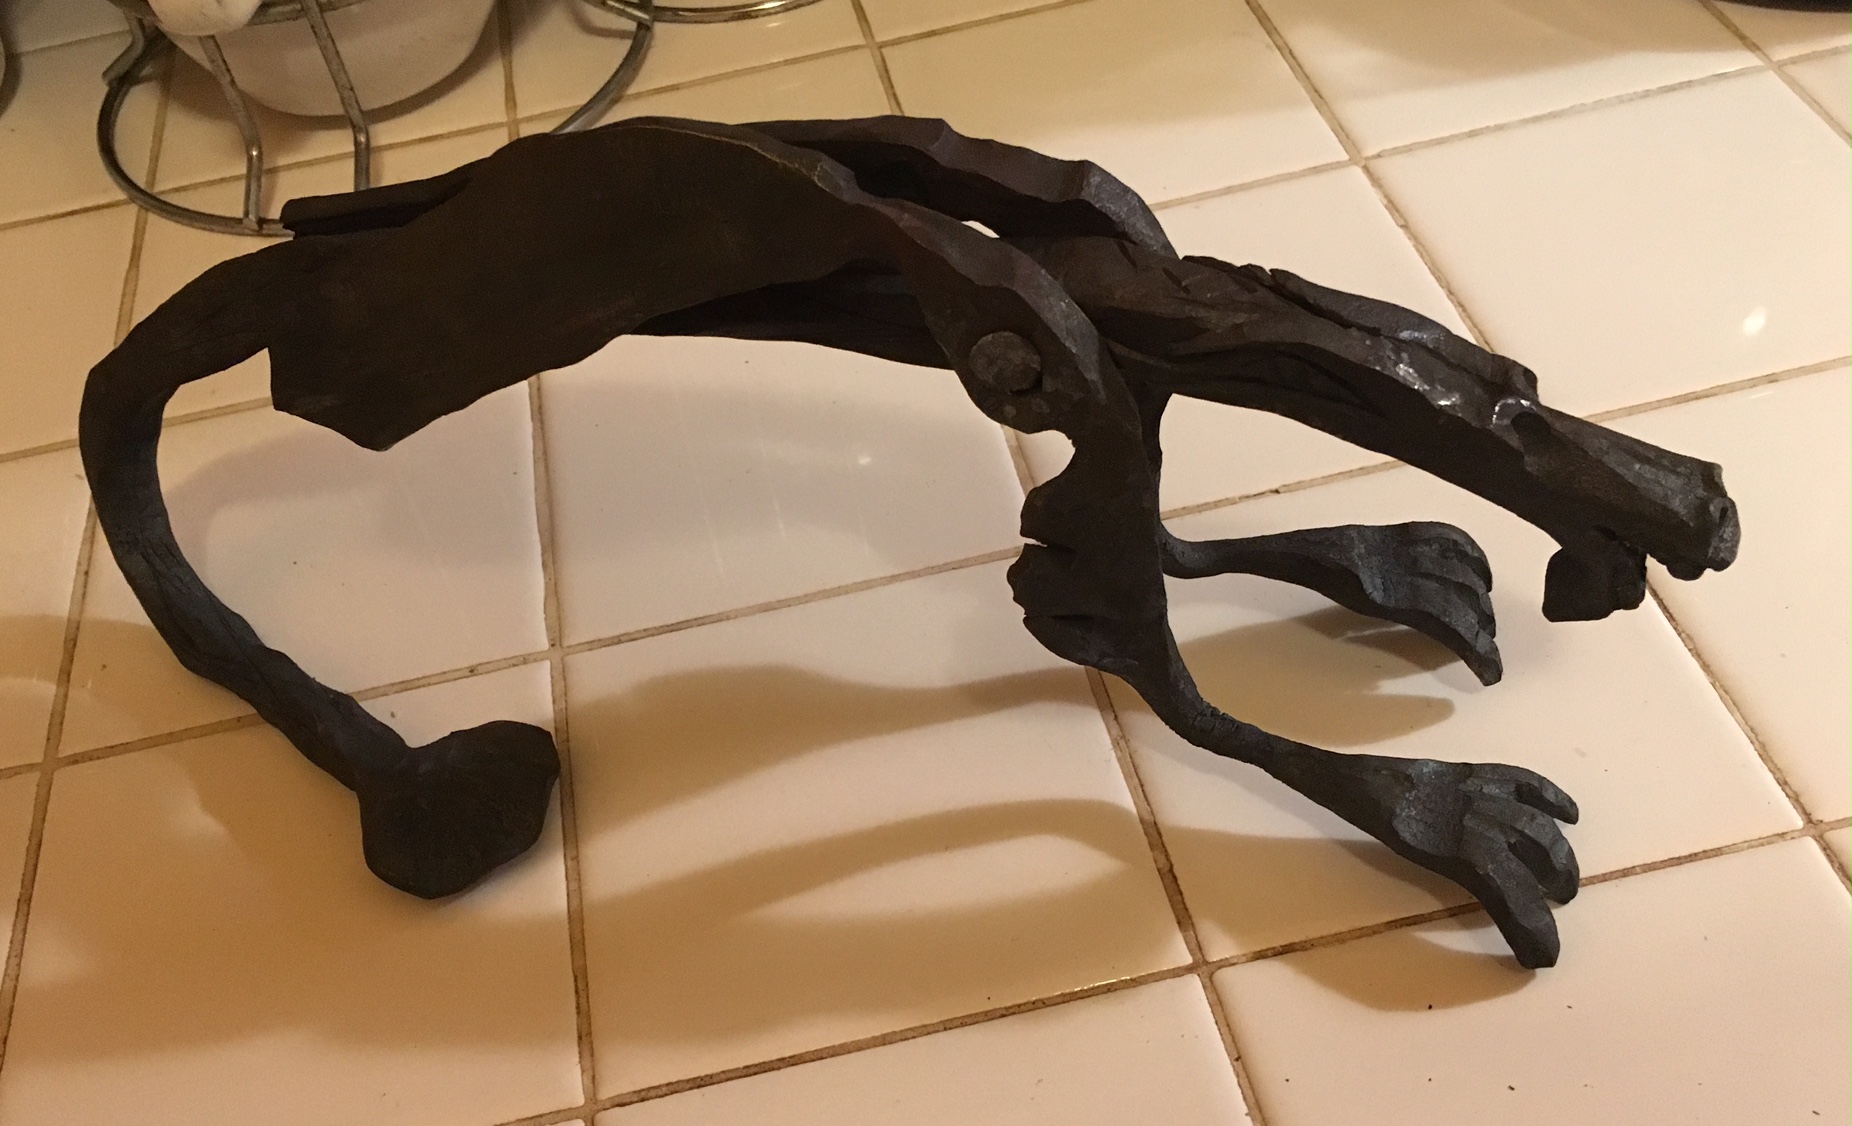
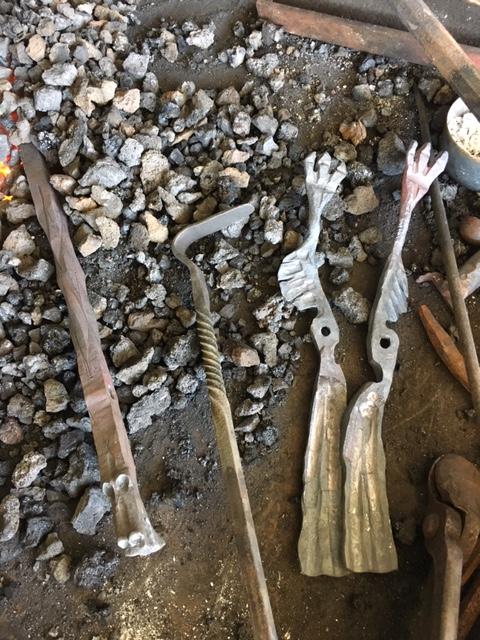
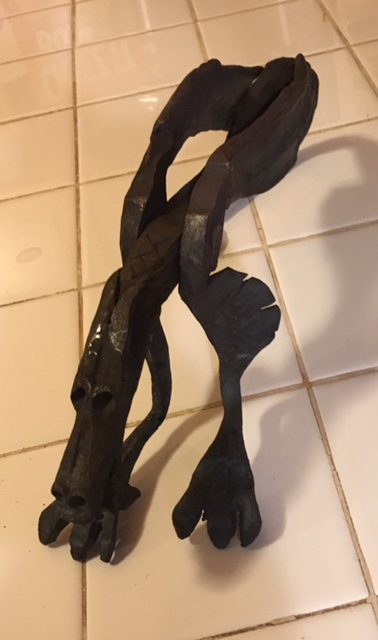
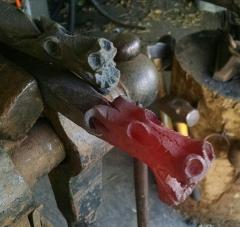
Here you go Andrew, I took a half day off yesterday (fewer neighbors around mid week when I'm burning coal in the suburbs) and finished the dragon. Pineapple twist on the body, another on the tail. forged out the wings and curled them around the back. Tried for a fishtail sort of look but it came out as a lump, may go back and trim it to a traditional spade shape. Middle shot is the leg/wing combo straightened out to make fullering the wings easier. More a proof of concept that's been banging around my head for a while. Next one will have a more pronounced scales on the body, bigger wings and smaller feet. Maybe the wings and feet separate parts riveted to the shoulders.
-
What did you do in the shop today?
Michael replied to Mark Ling's topic in Blacksmithing, General Discussion
Sure, go right ahead. I'm borrowing ideas (at least 3 or 4) from other smiths in this project. -
What did you do in the shop today?
Michael replied to Mark Ling's topic in Blacksmithing, General Discussion
Got about half a dragon done over the weekend. Made many dragon heads, but not the full thing. 5/8 bar, about 2 hours for the head in the coal forge and another hour each for the feet/legs/wings. Went back out Sunday for an hour or so with the gas forge to refine the shape of the legs, make them a bit less chicken-like. I'll wait till I'm almost done to cut the horns, need a little practice first. Plan is to pineapple twist the body for scales, only realized after the fact I could punch the shoulder hole (legs are temp riveted on) after twisting. Notes to self for the next one.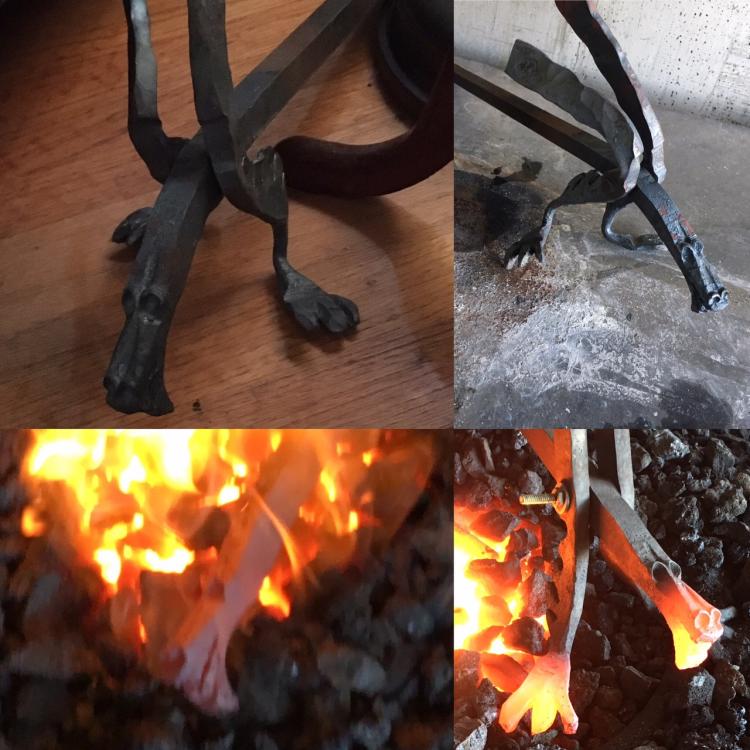
-
Neighbor was tossing out jars of rivets. A bit short for tongs, but I know a lot of artists and metalworkers, and there's a forged Dalek I have in mind.

-
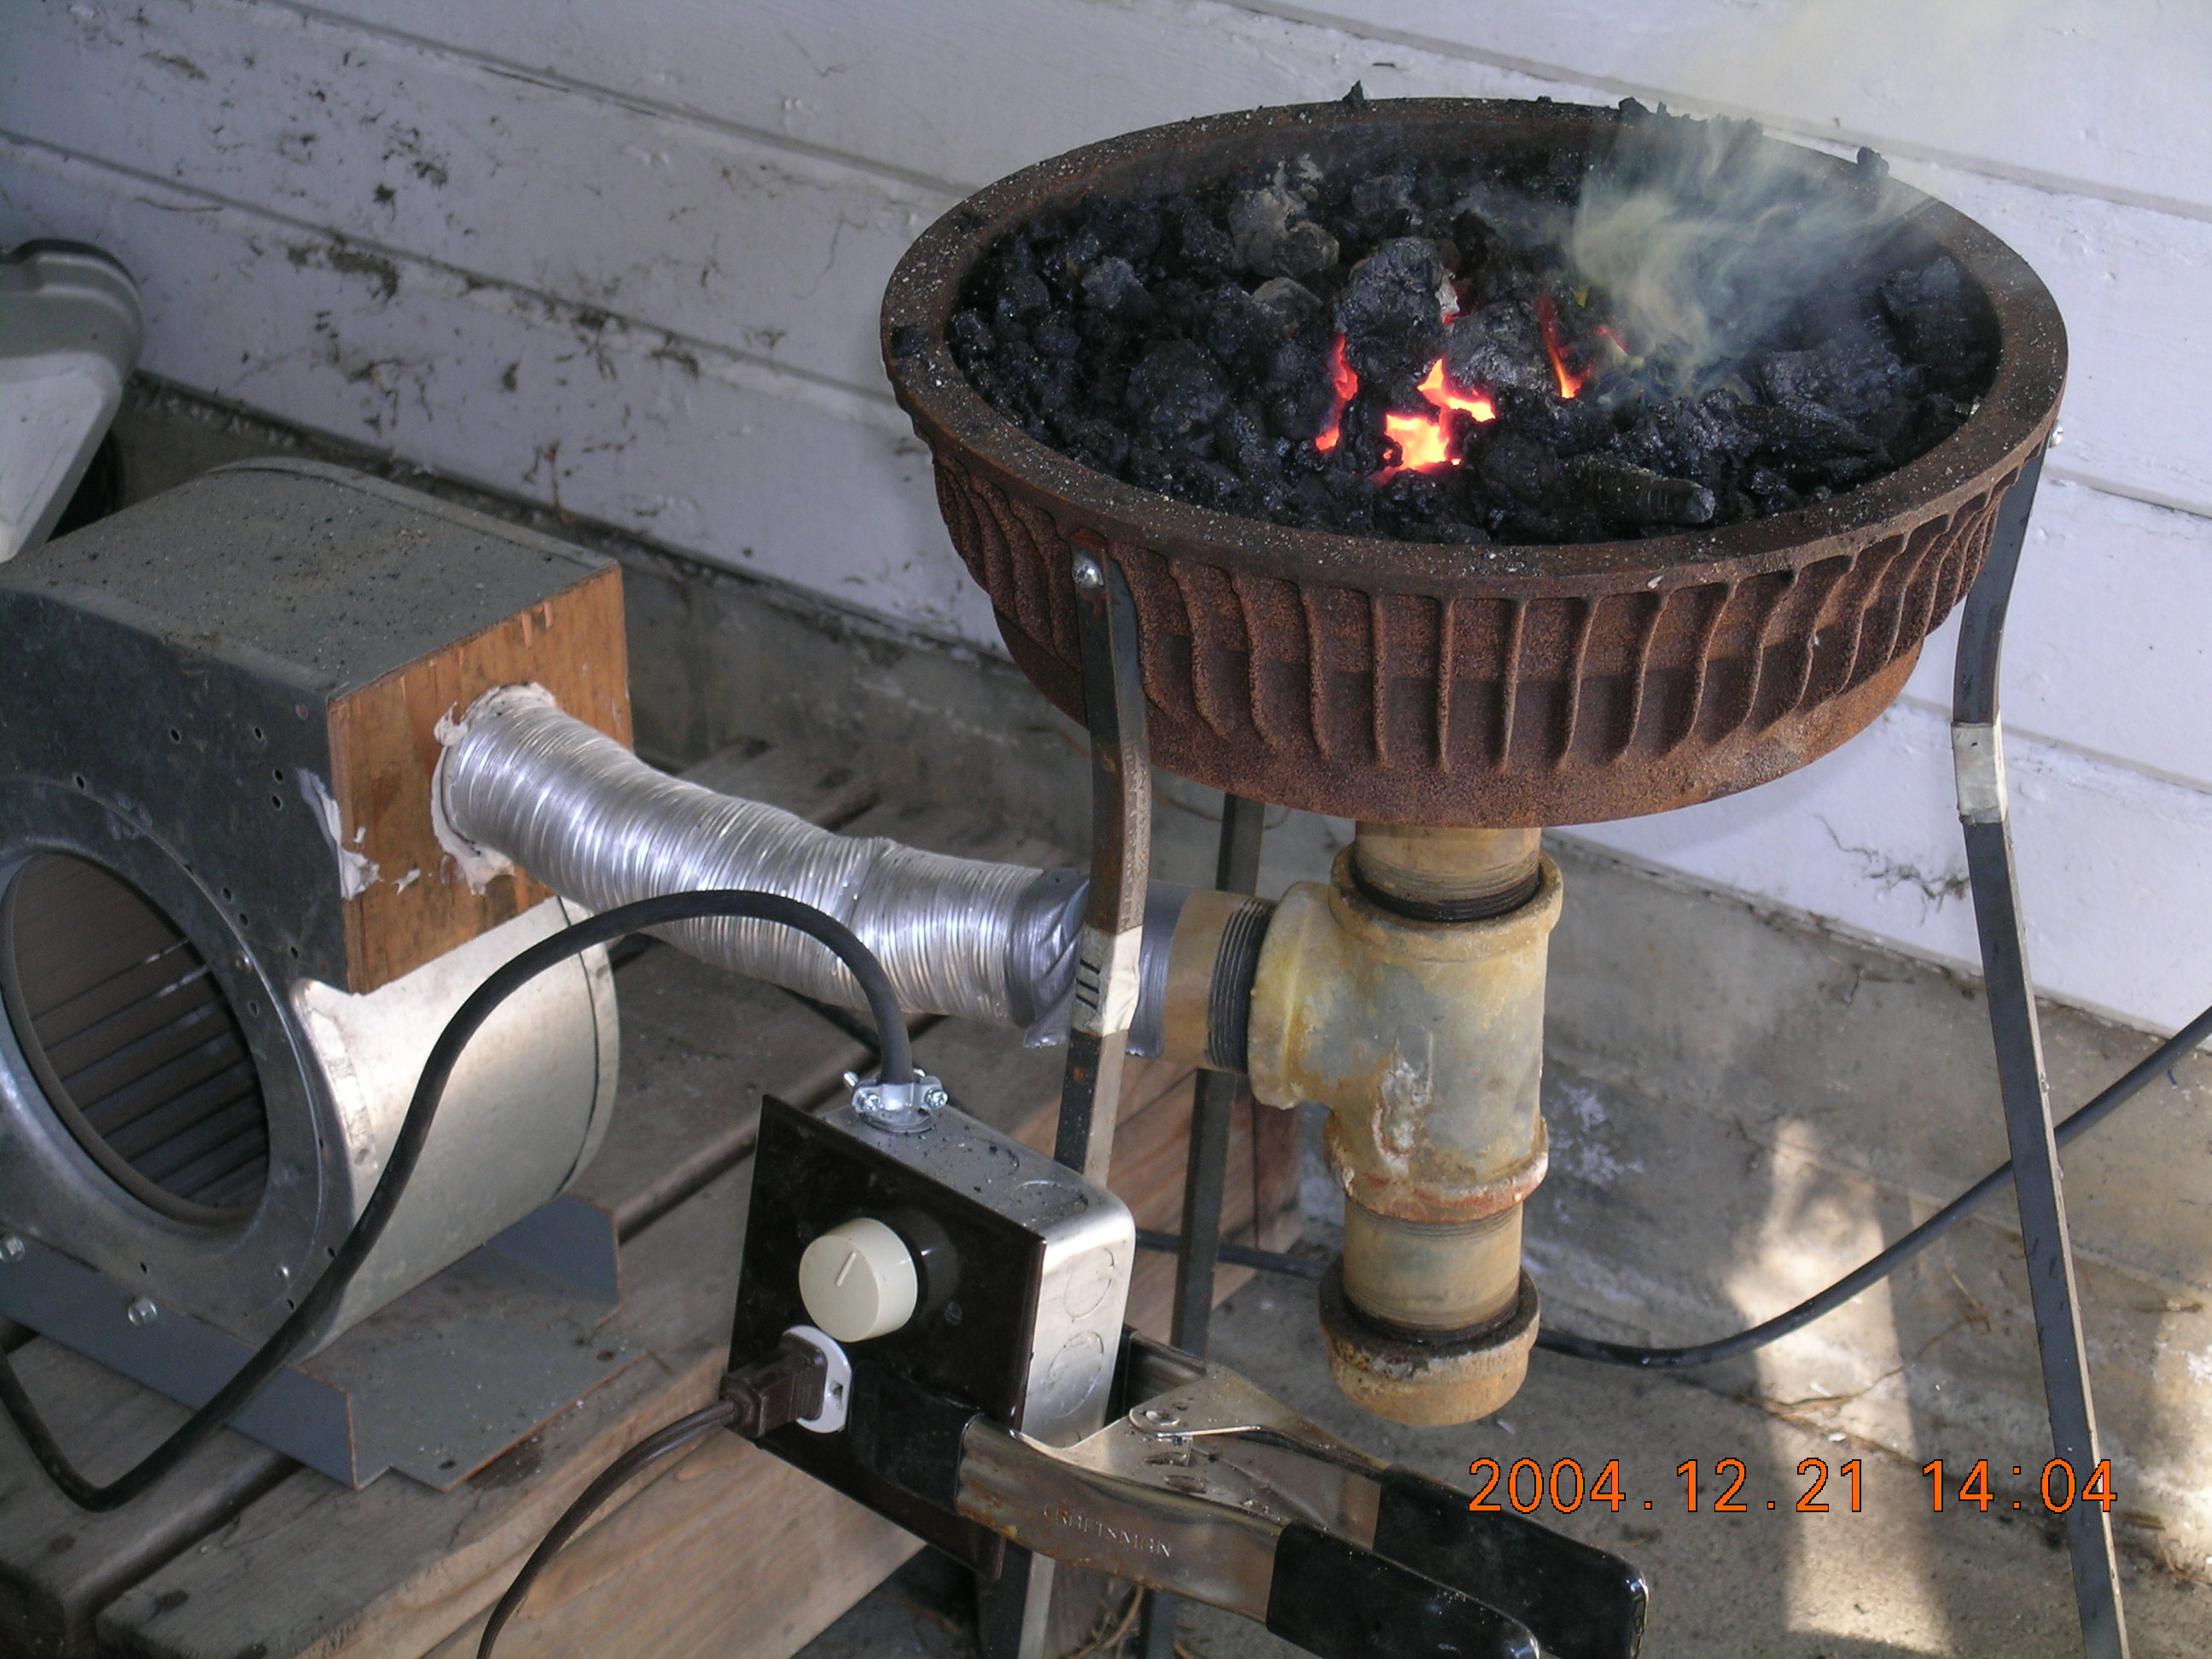
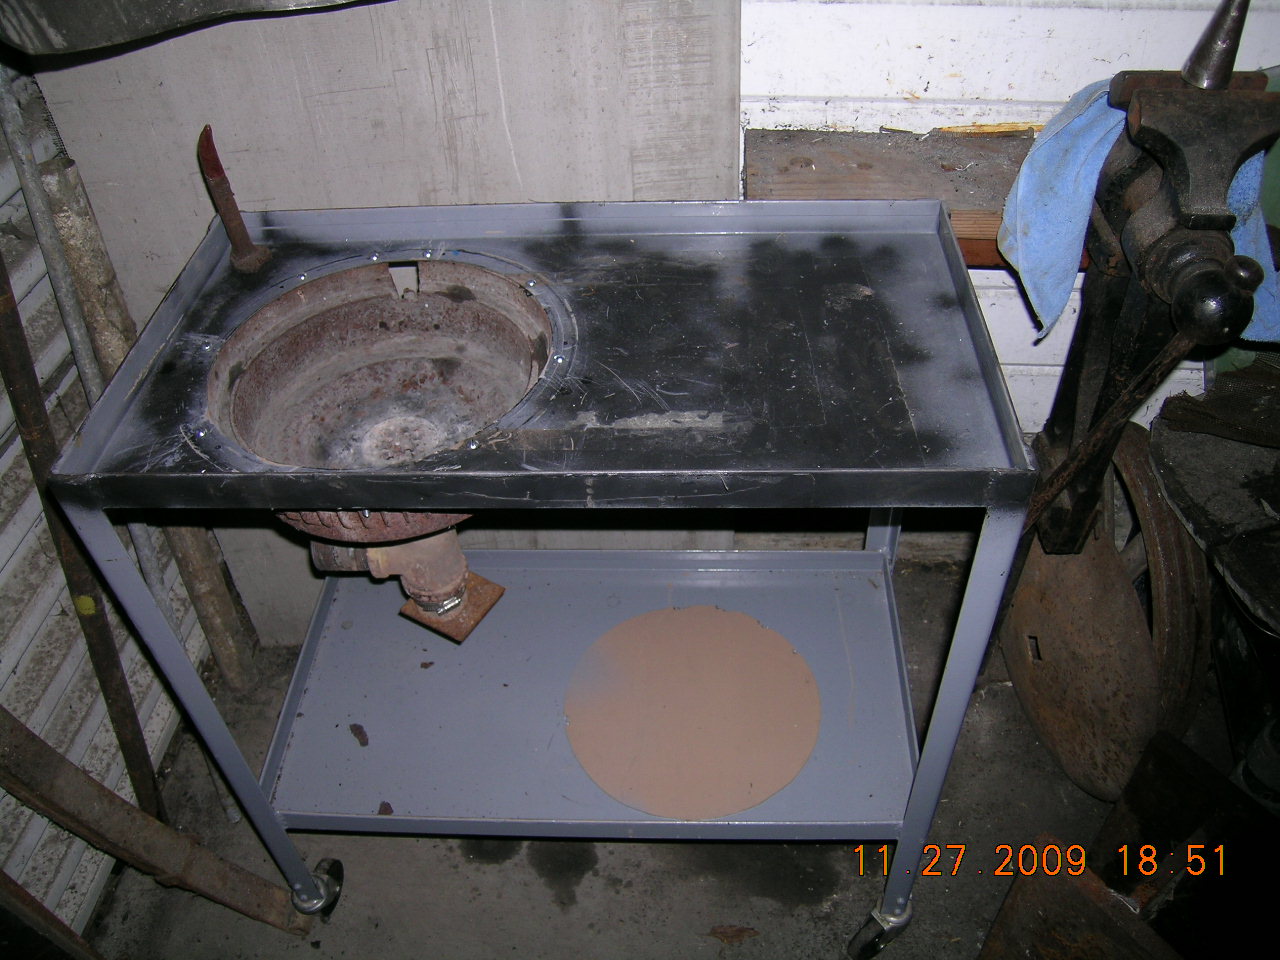
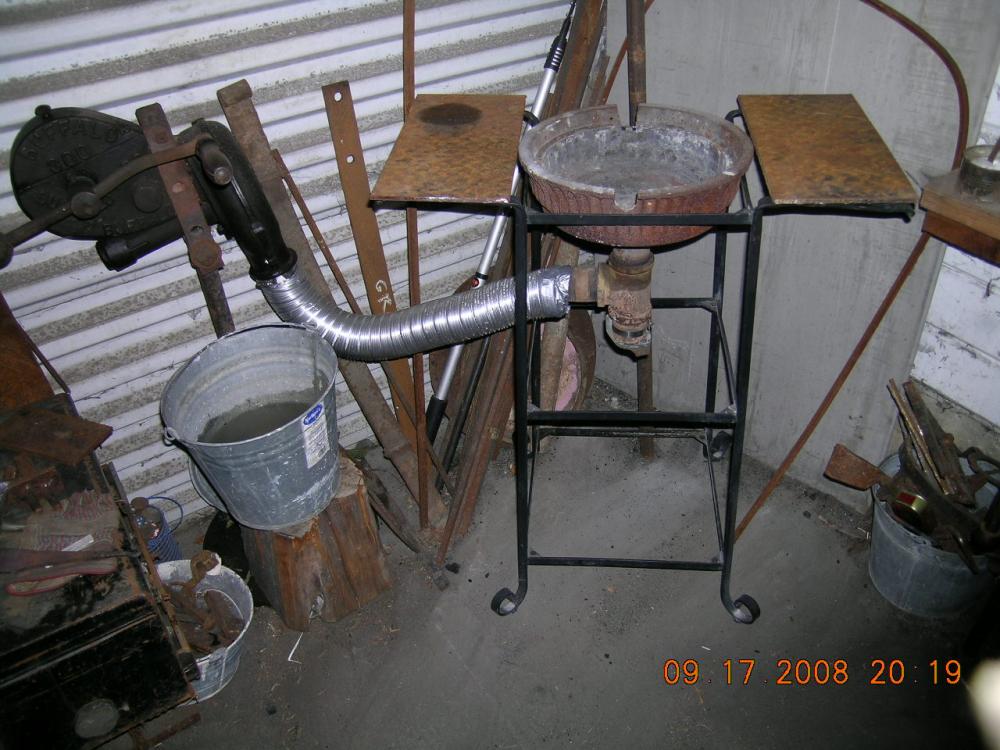
Hi Donald, Just saw your post. No idea who made my forge pan, the firepot in it is a Centaur forge and I"m pretty sure its not original. Found it (along with the Blower and a post vise) in Northern California, covered in motor oil and left in the shed of a rental house. Owner wanted it gone. I've never clayed the forge, the cast iron is pretty thick. I briefly clayed a brake drum forge years ago, but didnt' find the claying to be all that useful or durable.
-
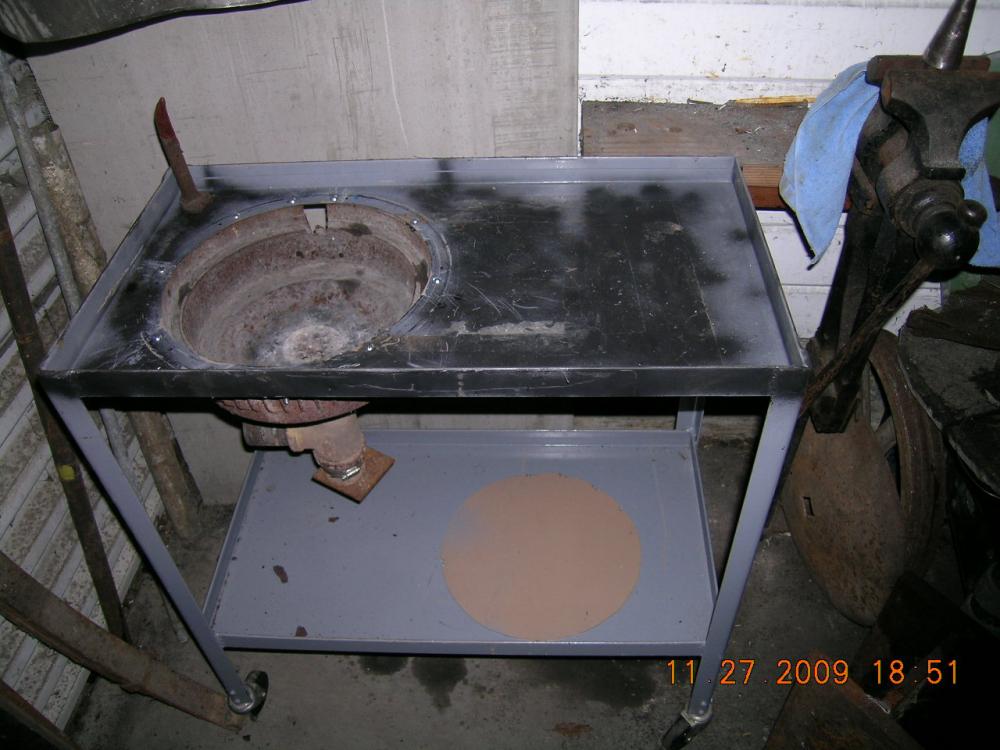
Version one, version two, version three, all with the same brake drum and tuyere piping. By the time I'd bolted the drum into the metal cart, I'd cut off the ash dump end of the piping and put a bucket of water under the ash dump, full enough to cover the end of the pipe, that ended all rusted up ash dump issues. that last version was hauled to a Hammer In and donated to the Iron in the Hat event. Replaced with a cast iron forge and firepot.

-
Yes, left handed, charge 20% more. Or keep it around so the next one you can twist the other way.
-
Drift/Chisel Storage
Michael replied to Panday's topic in Hot Cuts, Anvil devils, metal cutting on the anvil.
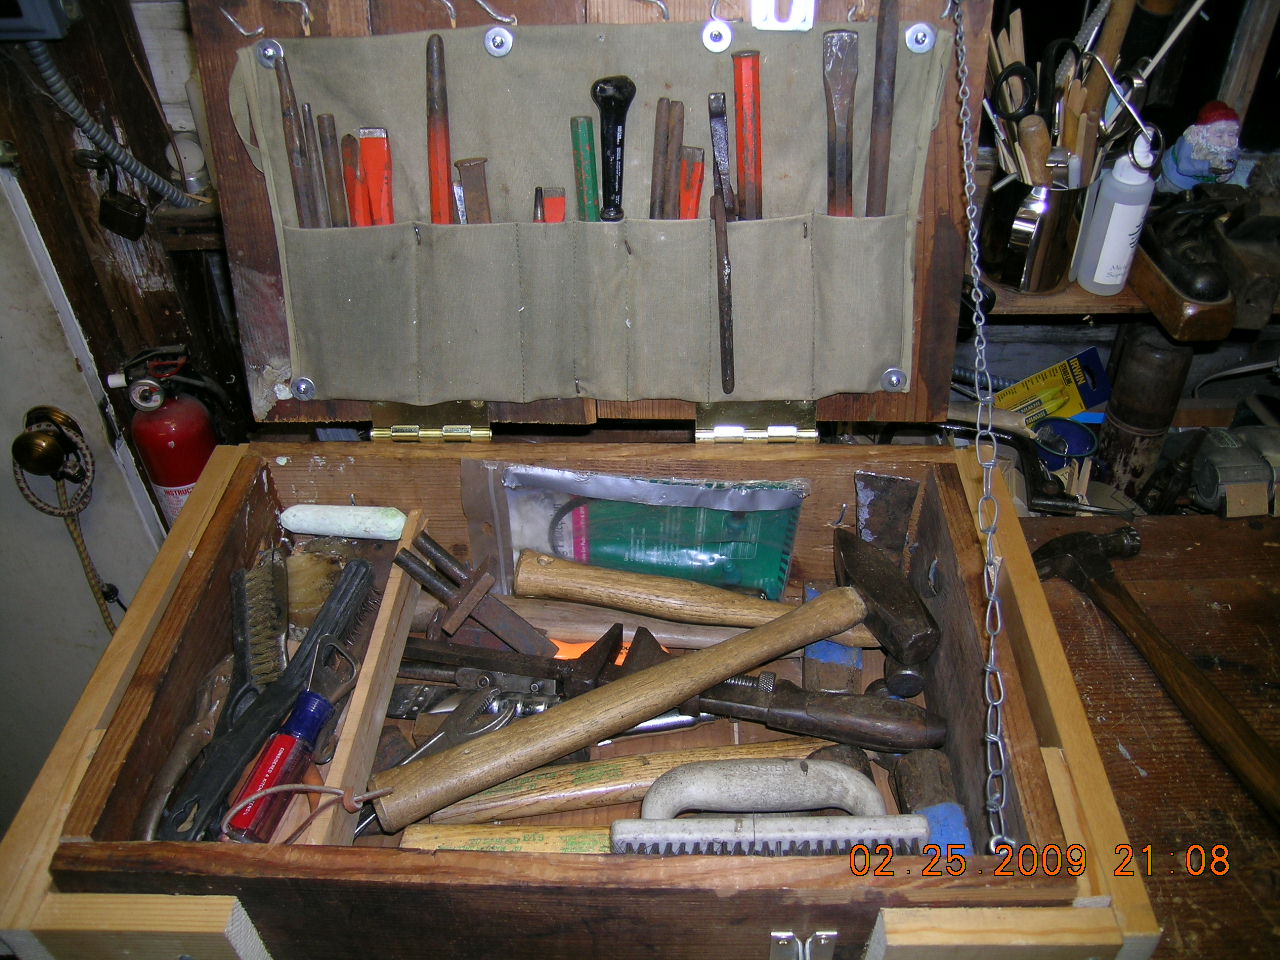
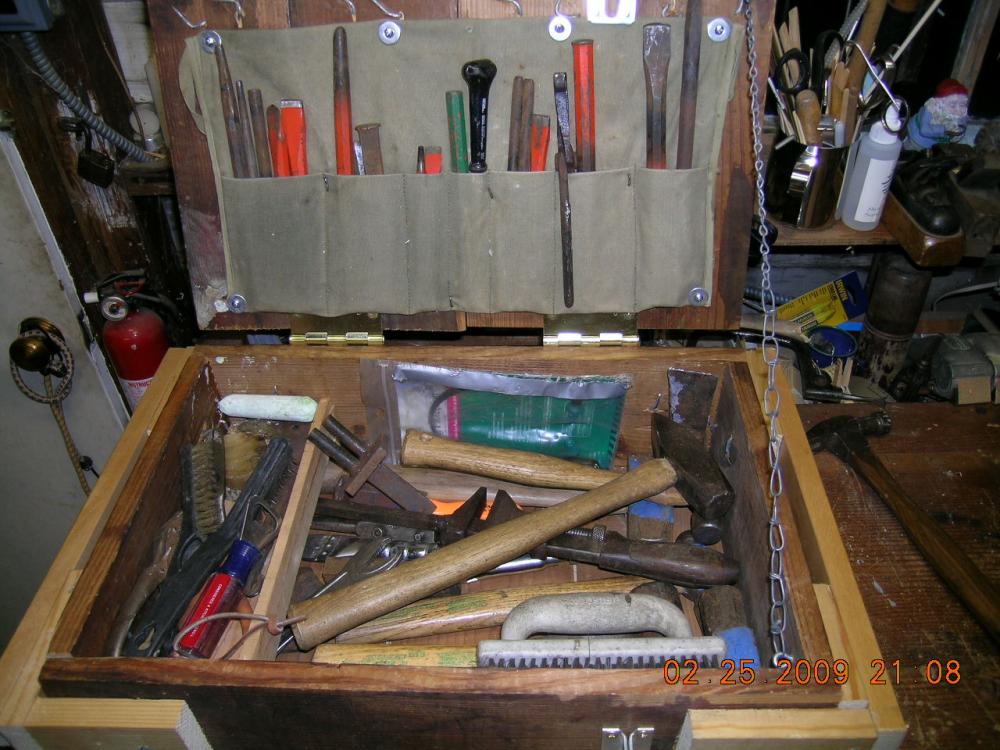
I made a punch block out of sections of 2x4, held together with glue and a scrap of sheet metal bent around the bottom and nailed in place. Keeps getting filled up. in the portable tool box that goes to hammer ins and demos, a cloth roll screwed to the lid of the toolbox works.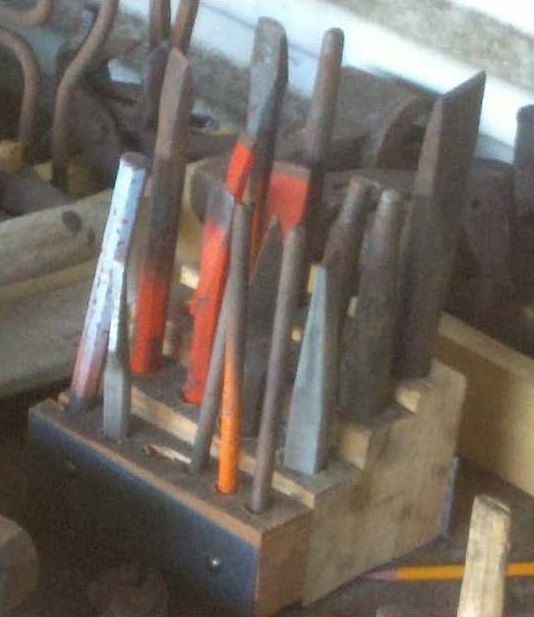
-
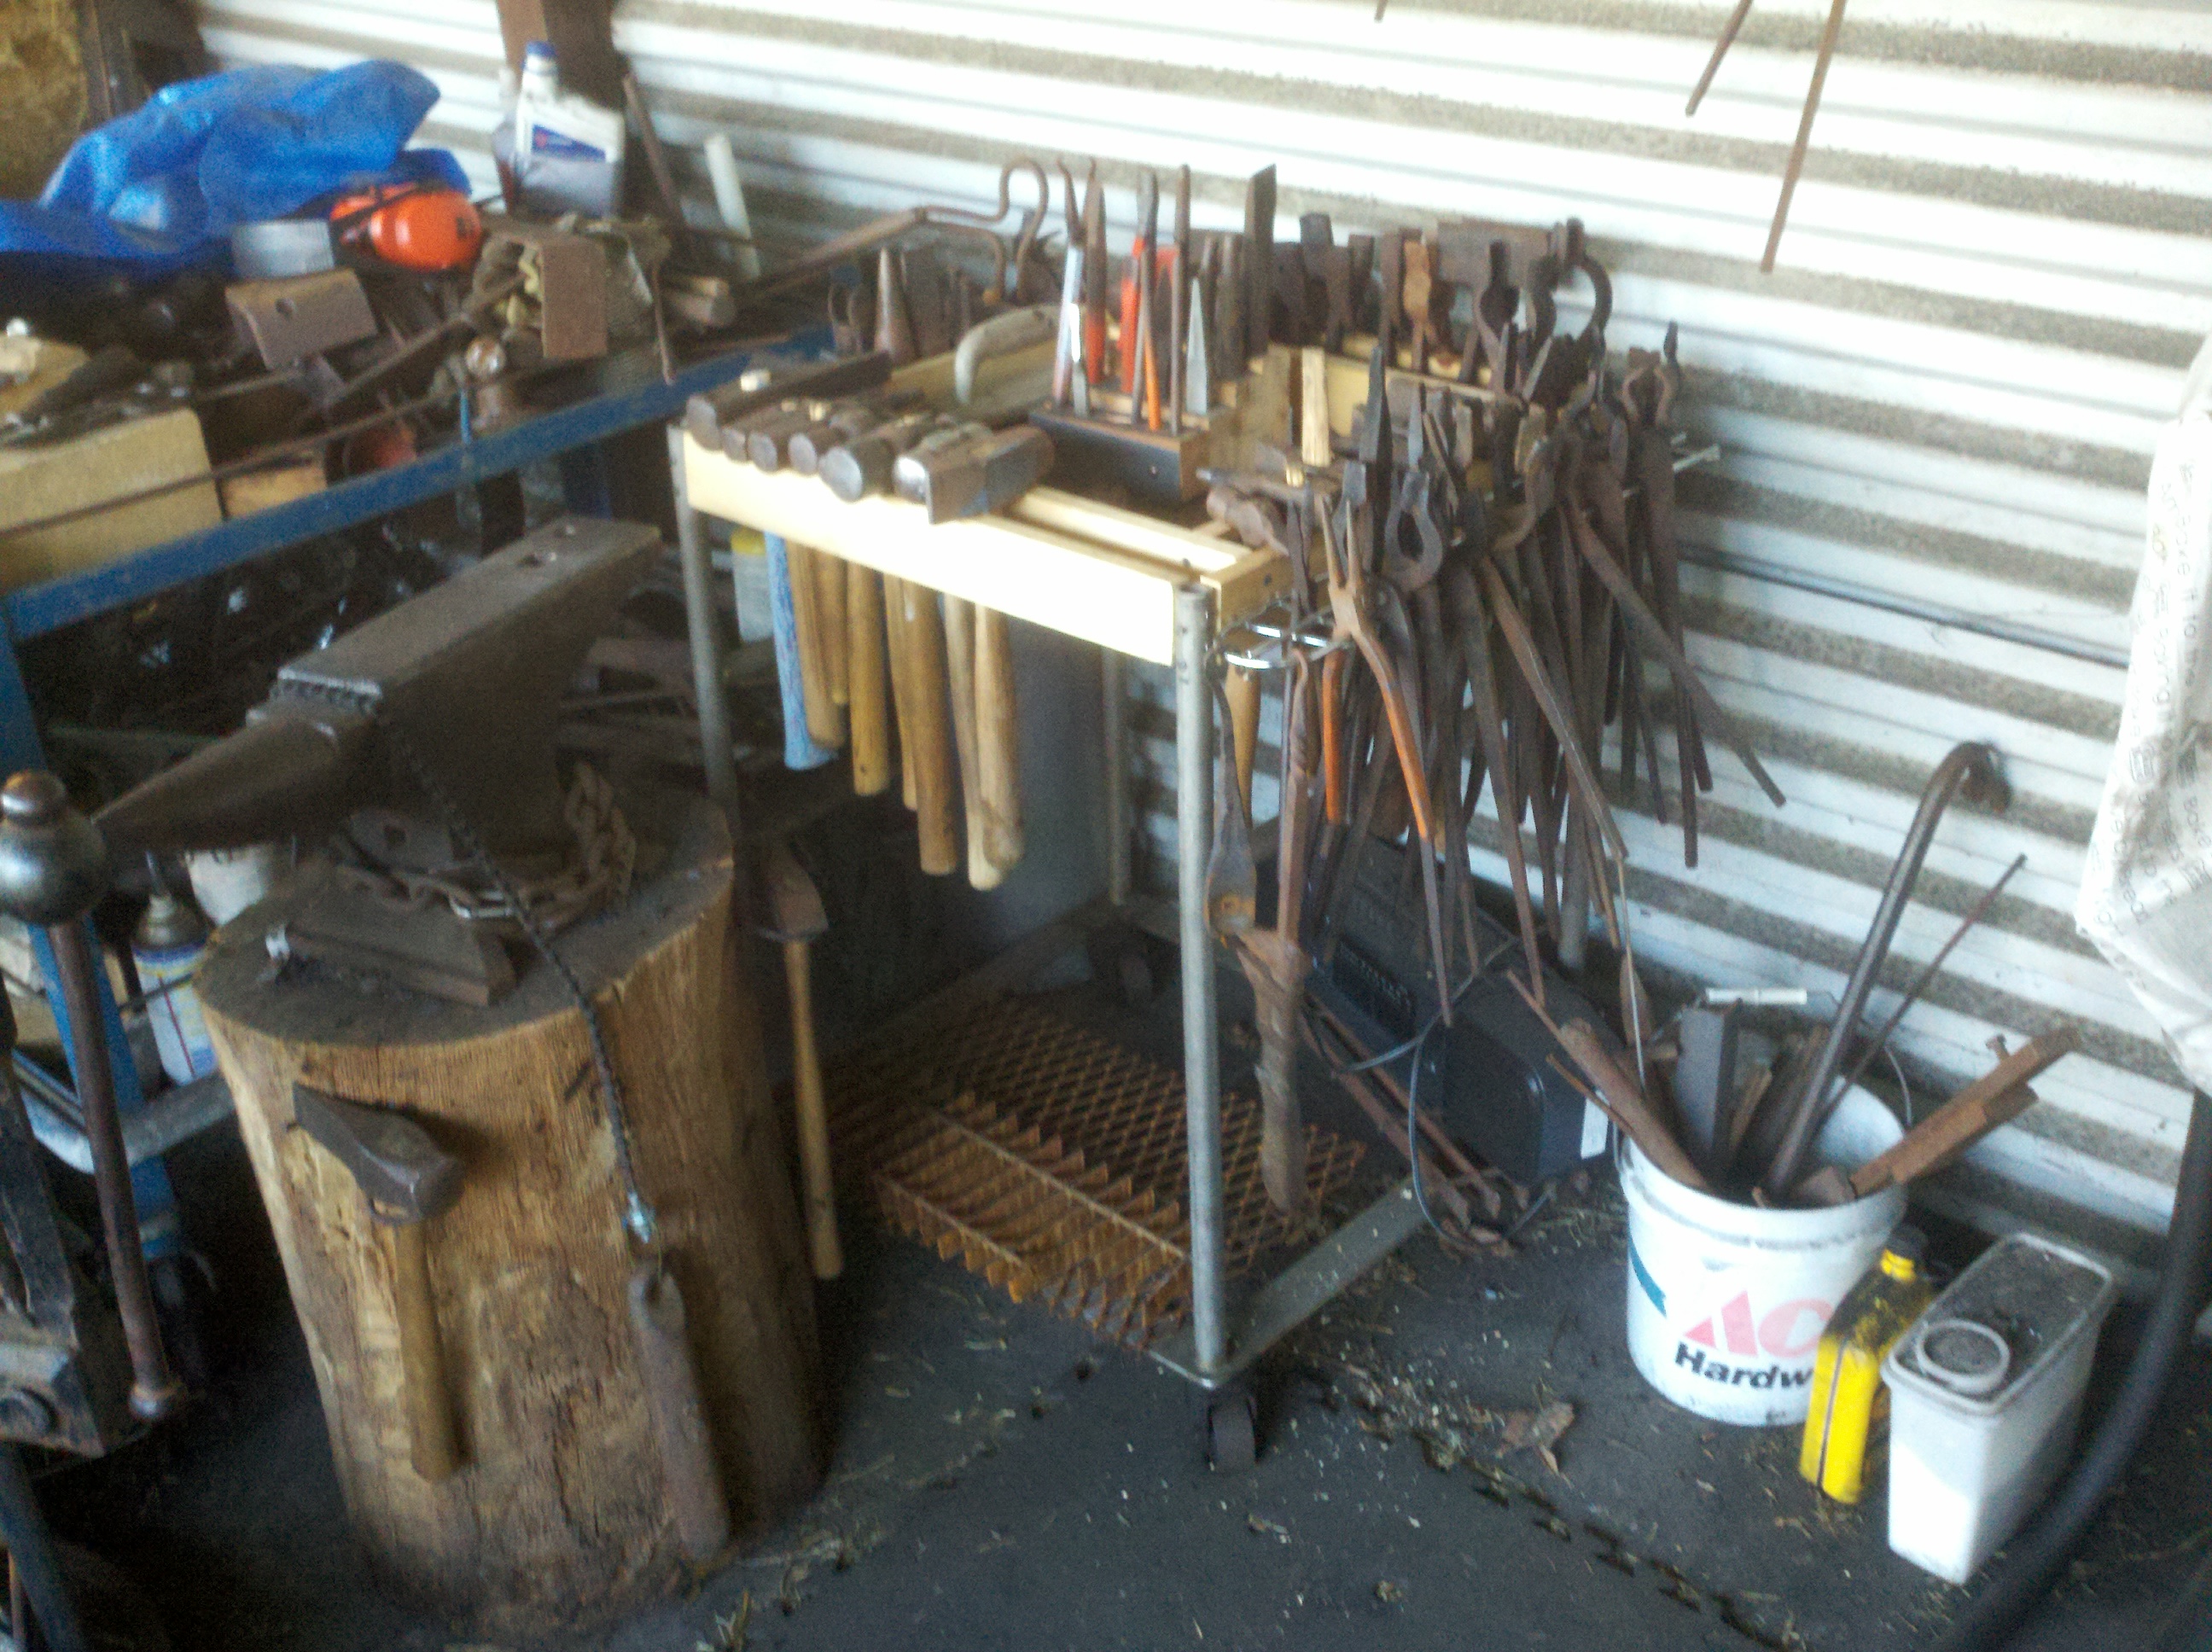
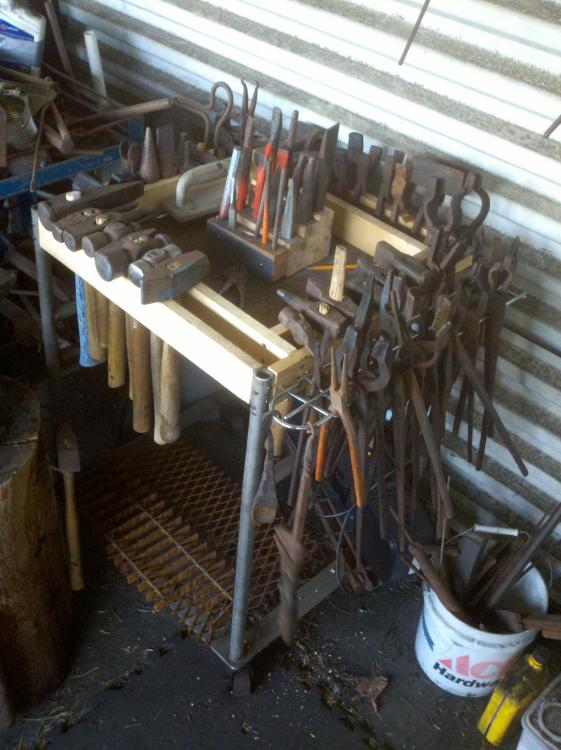
All good advice above. Even if its on casters, your tool rack won't move much, unless you have multiple forging stations around your shop. Keeping one side open so you can get at the shelves is a great idea. I wouldn't bother trying to make your tool stand a support rack as well, Solid metal for the top tray, expanded metal for the lower trays, where you are less likely to clean up . Making the punch rack portable on the other hand, could be handy. Here's mine, mocked up in scrap lumber and never redone in metal. Fuller now than when the pics were taken. You will always expand the tool collection beyond any capacity to store it.


-
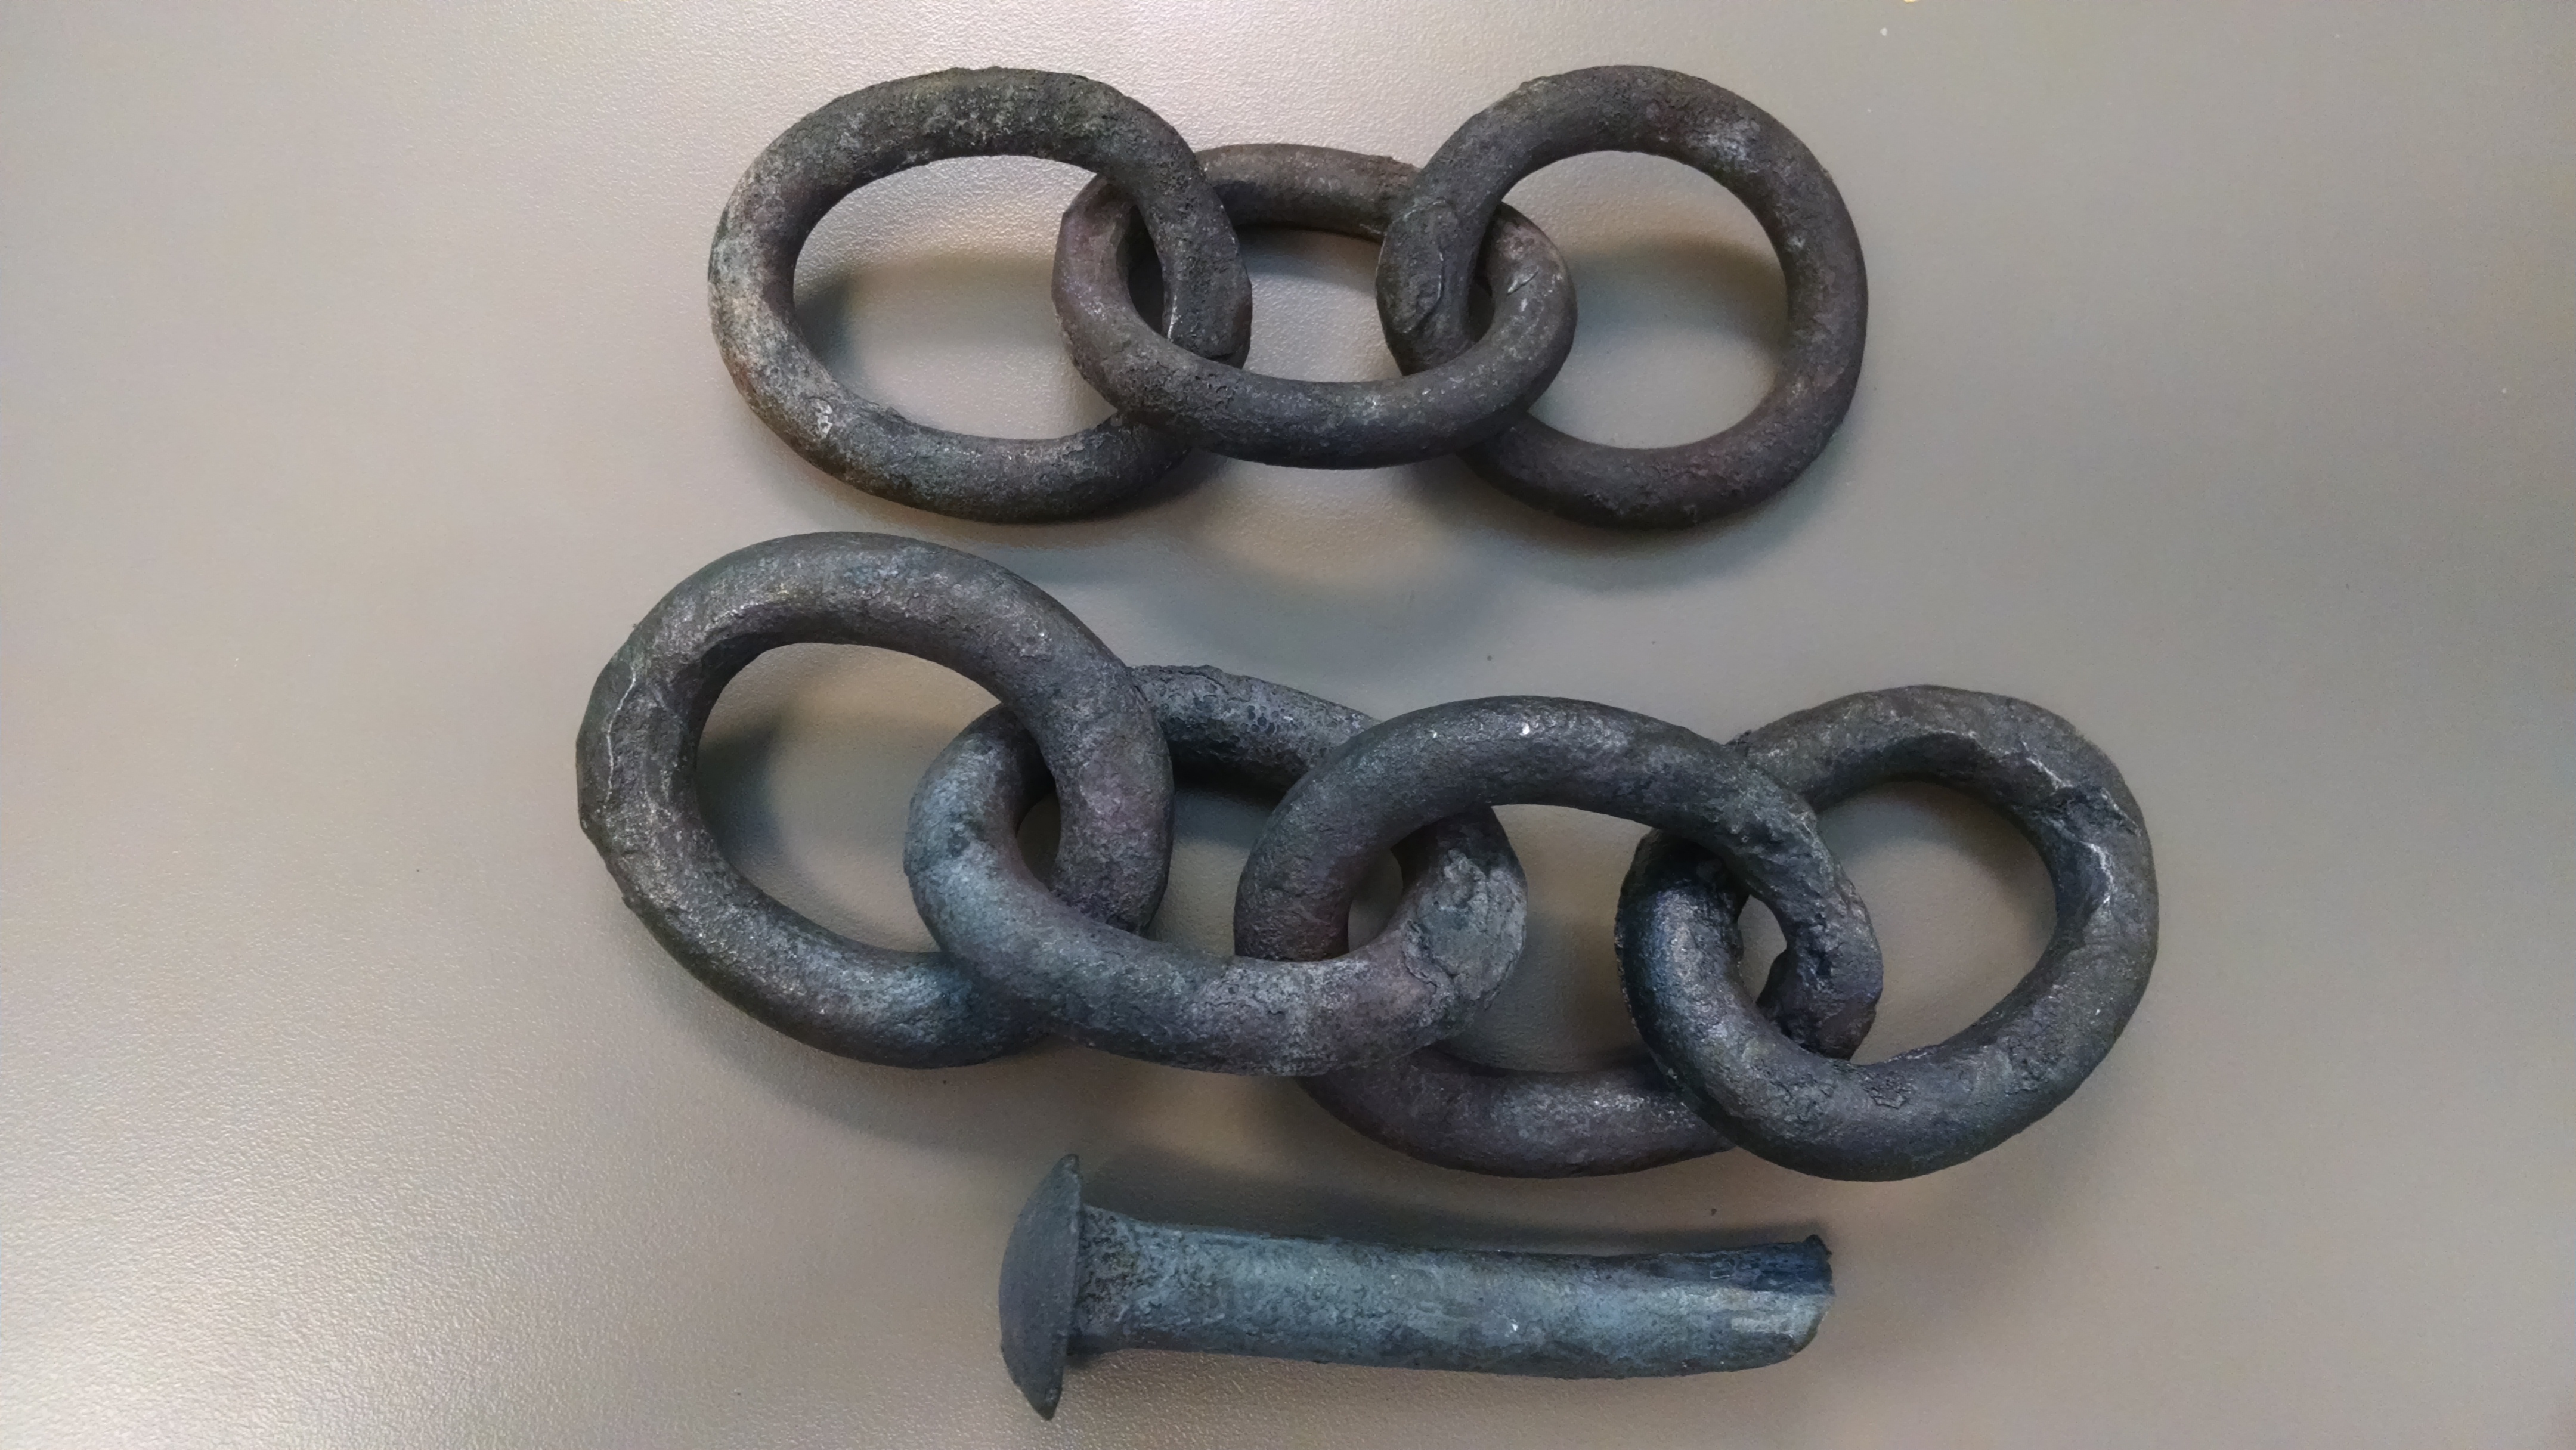
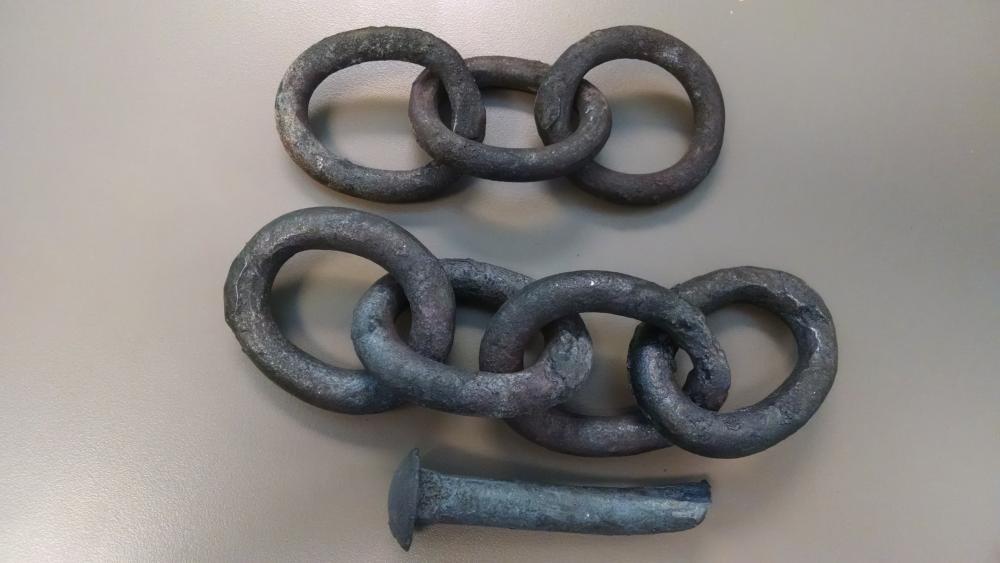
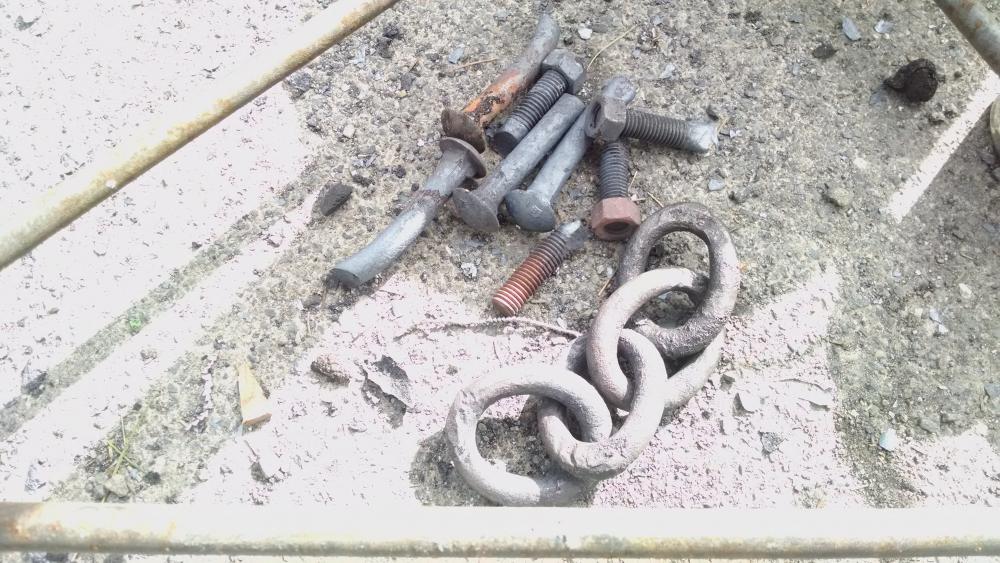
Bolts weren't plated, though they did have an odd sheen at red heat, Like silver spray paint (if paint wouldn't boil off at red heat) , before the metal went up into the oranges and yellows. None of the yellow or whitish dust that you see when plating is burned off. We were working in a very windy locale. Maybe that had something to do with it. Tone of links made from the bolts is higher and brighter when they bang together, compared to the mild steel links. The links didn't weld till they were up right at sparkling, Could they be some other alloy? Doesn't really matter, the welding practice was good.
-
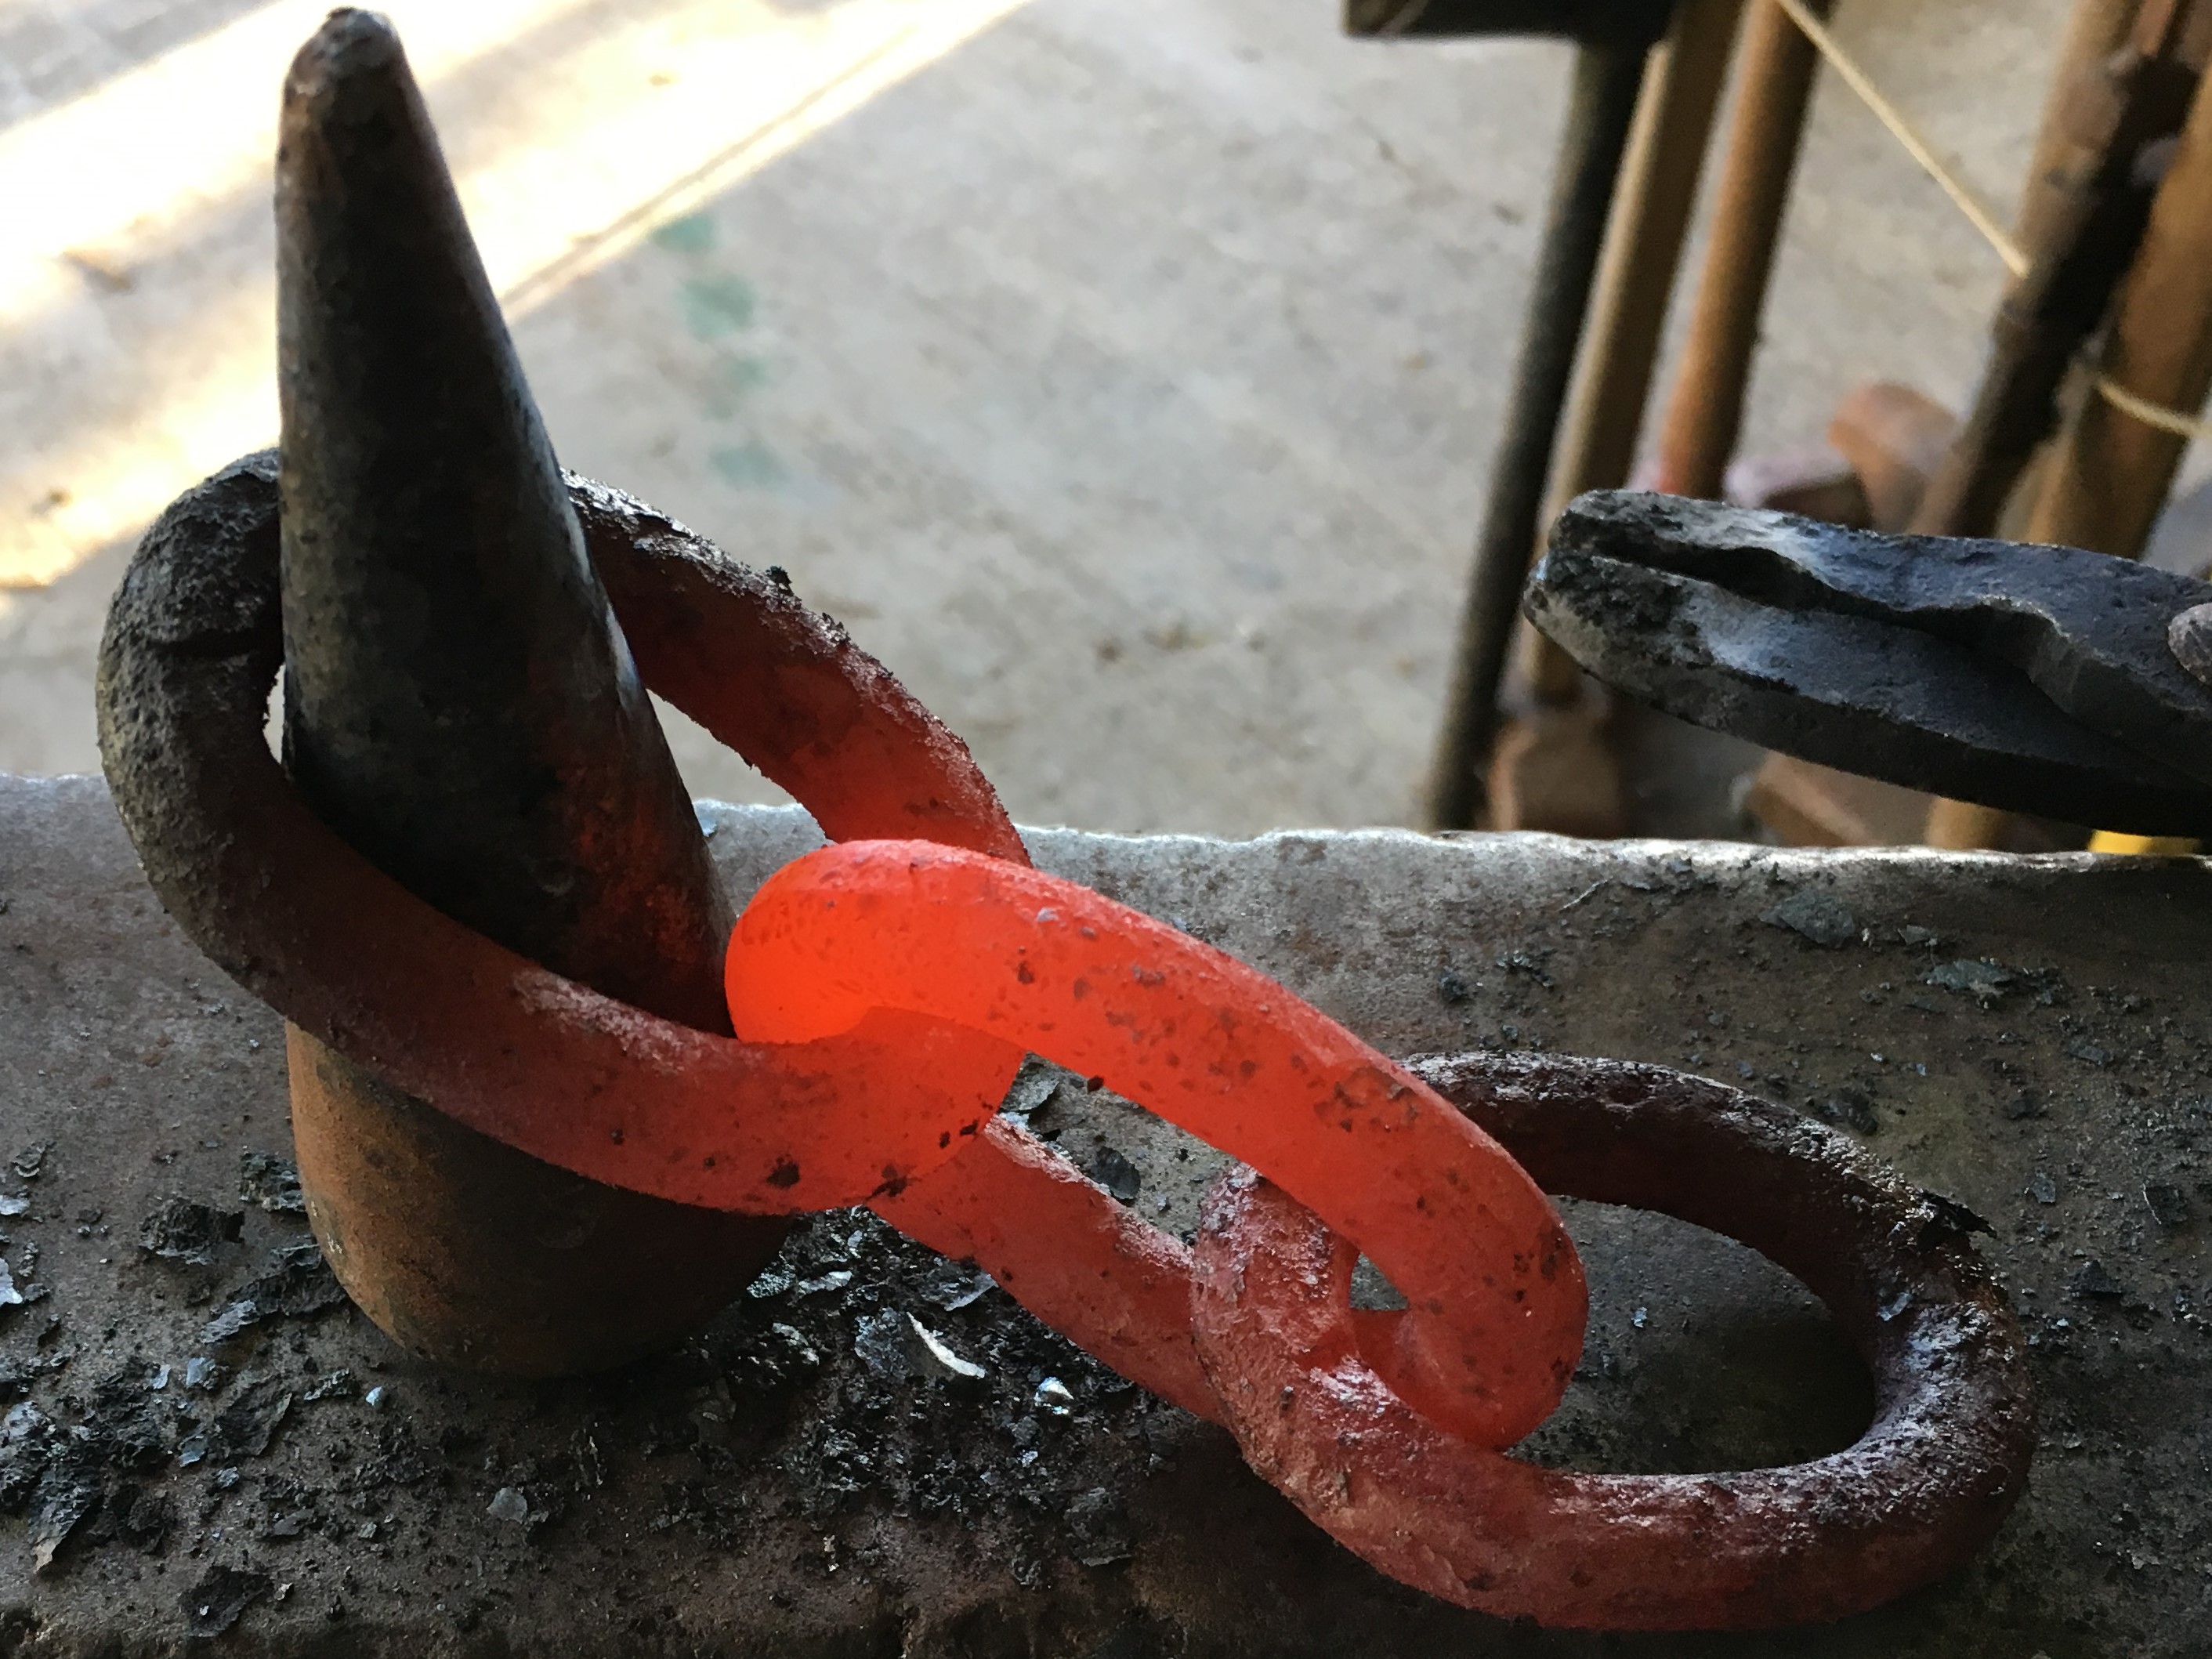
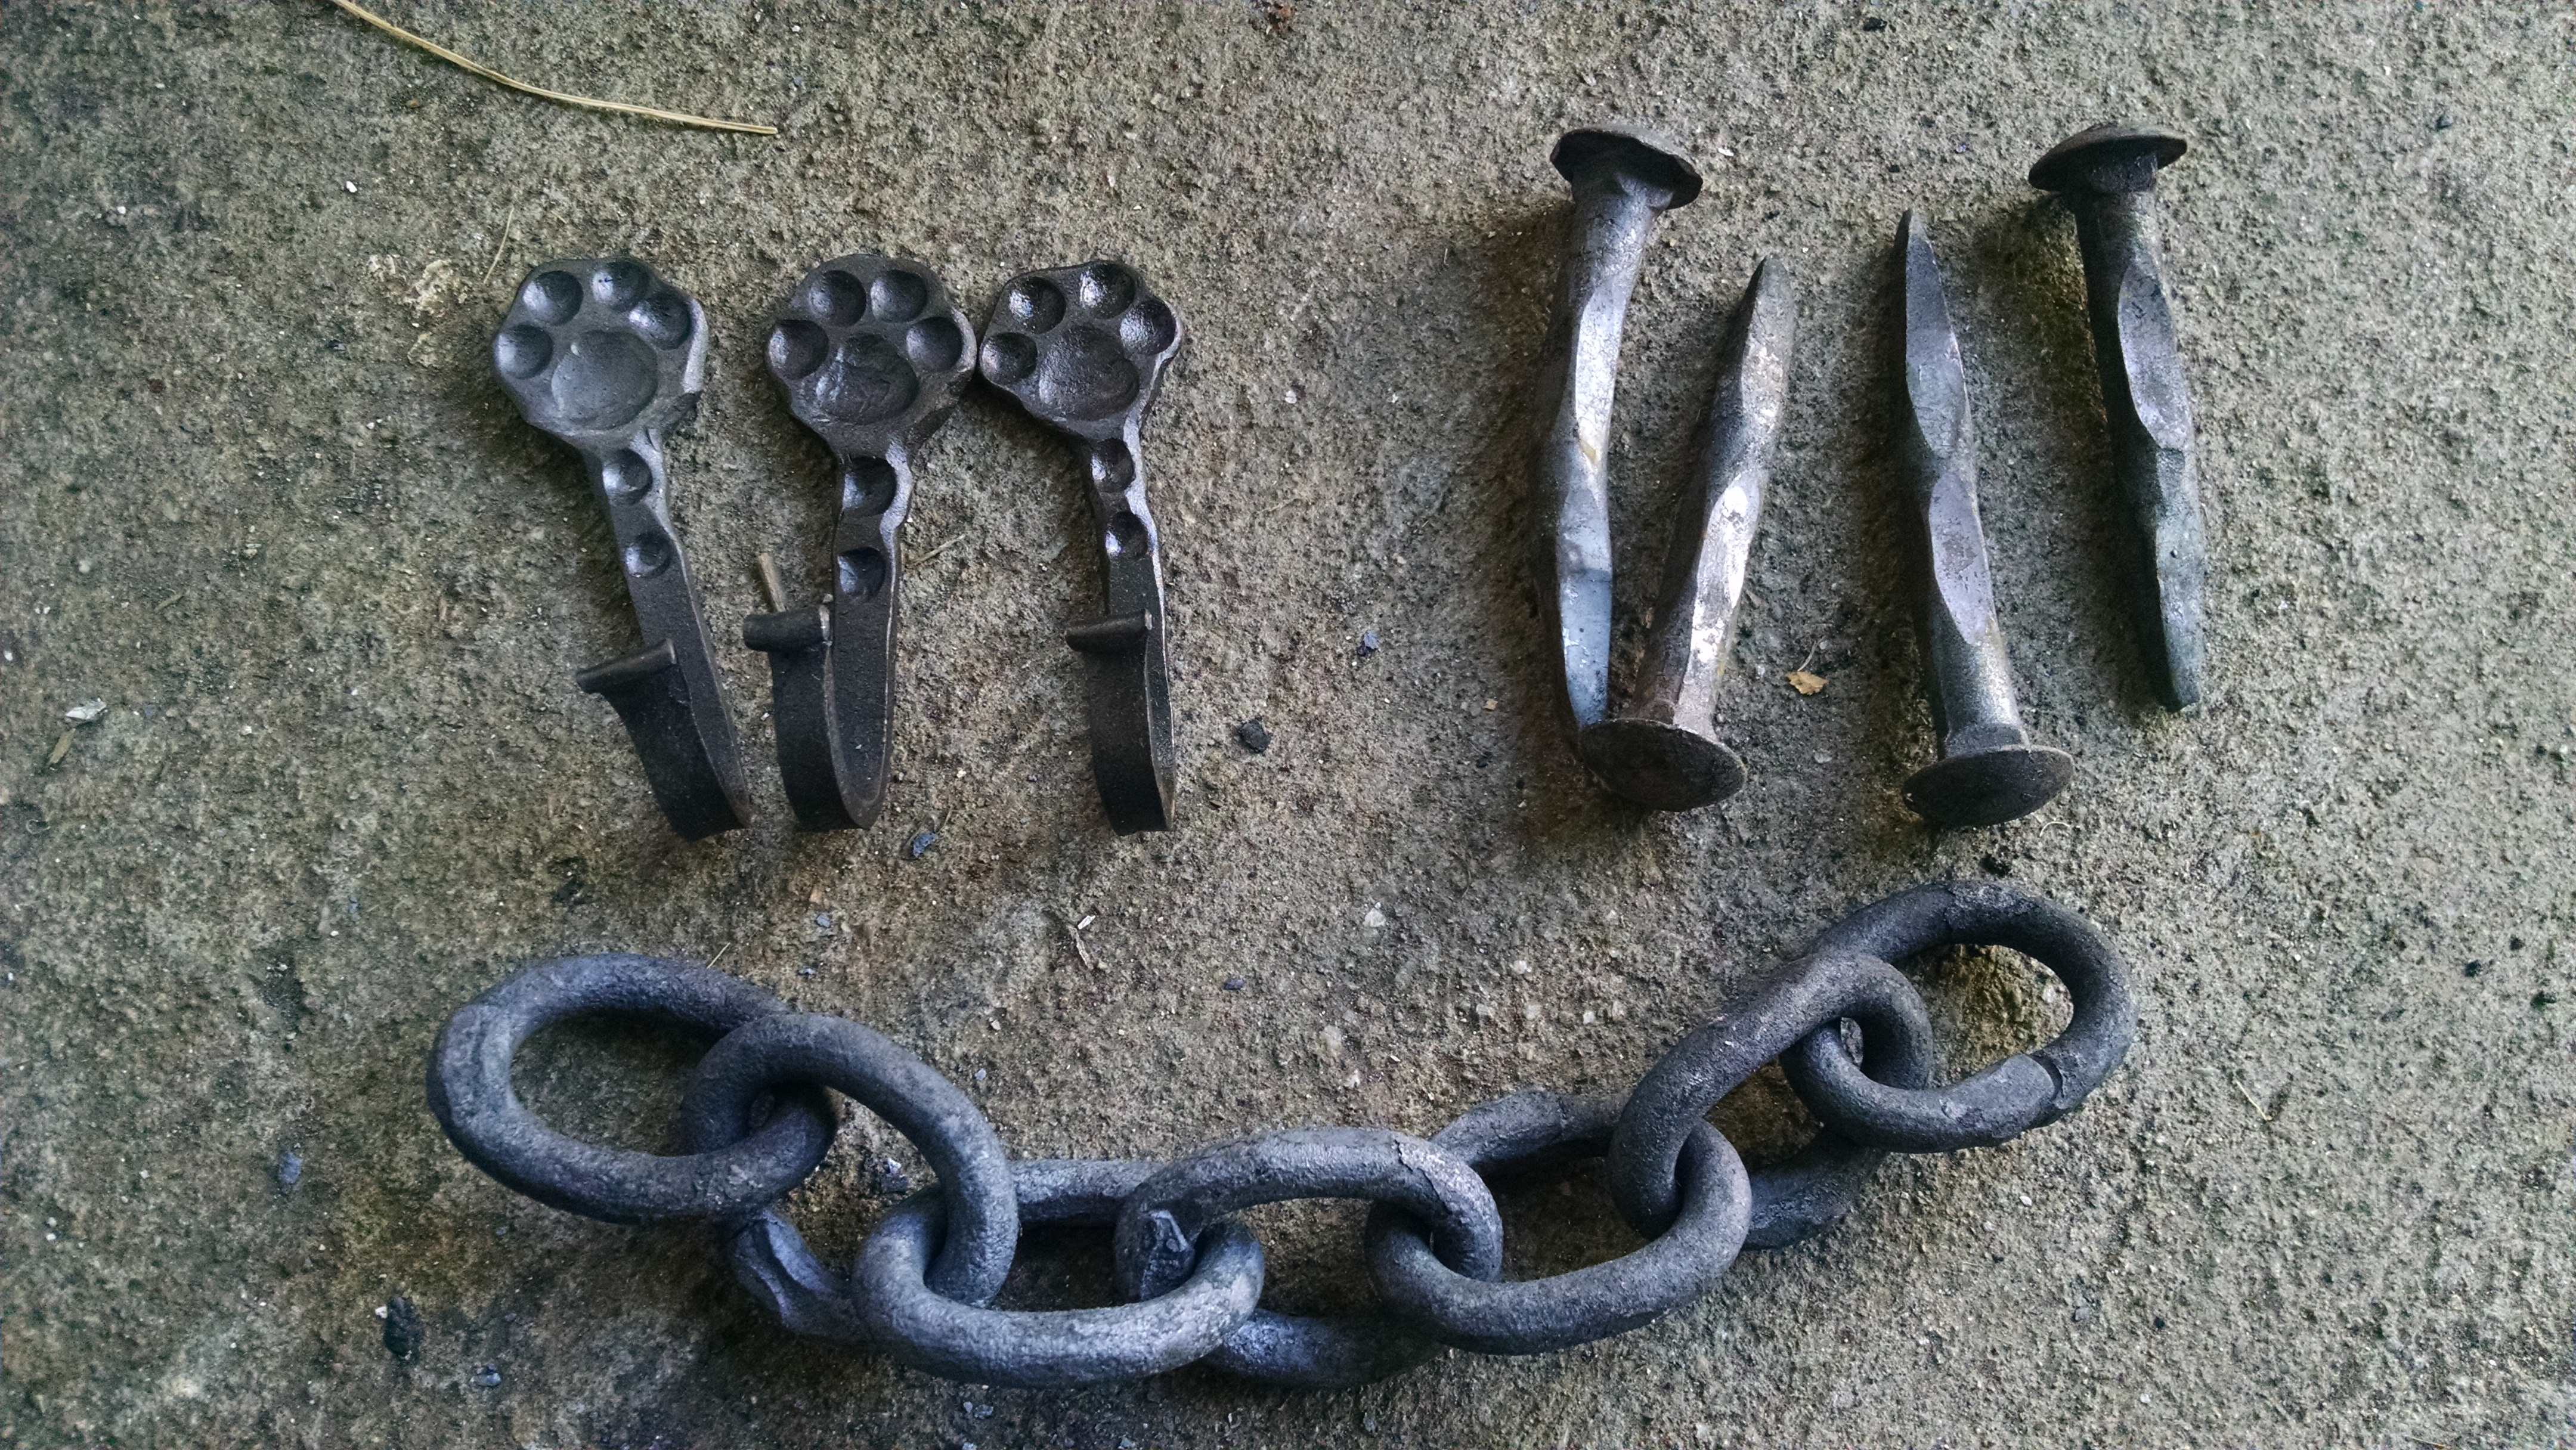
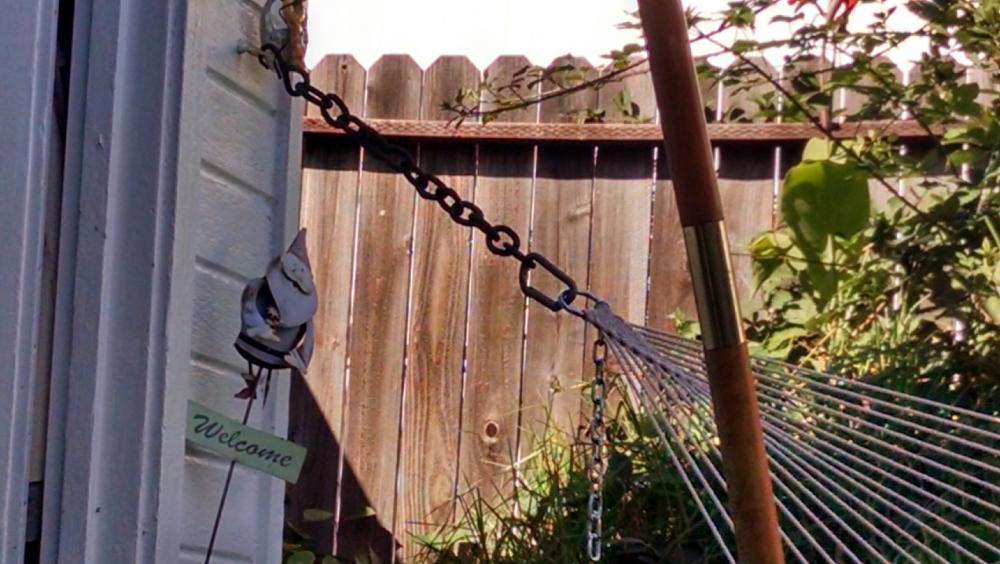
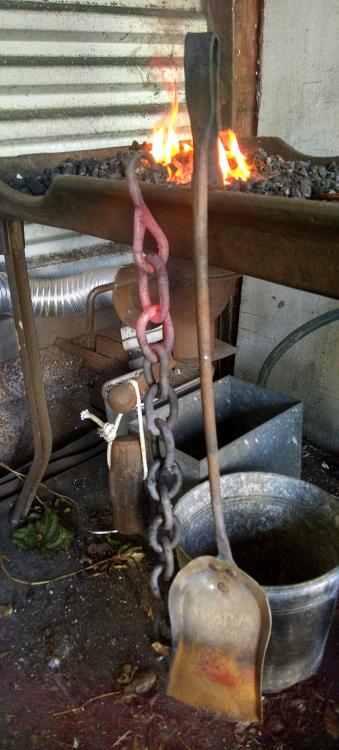
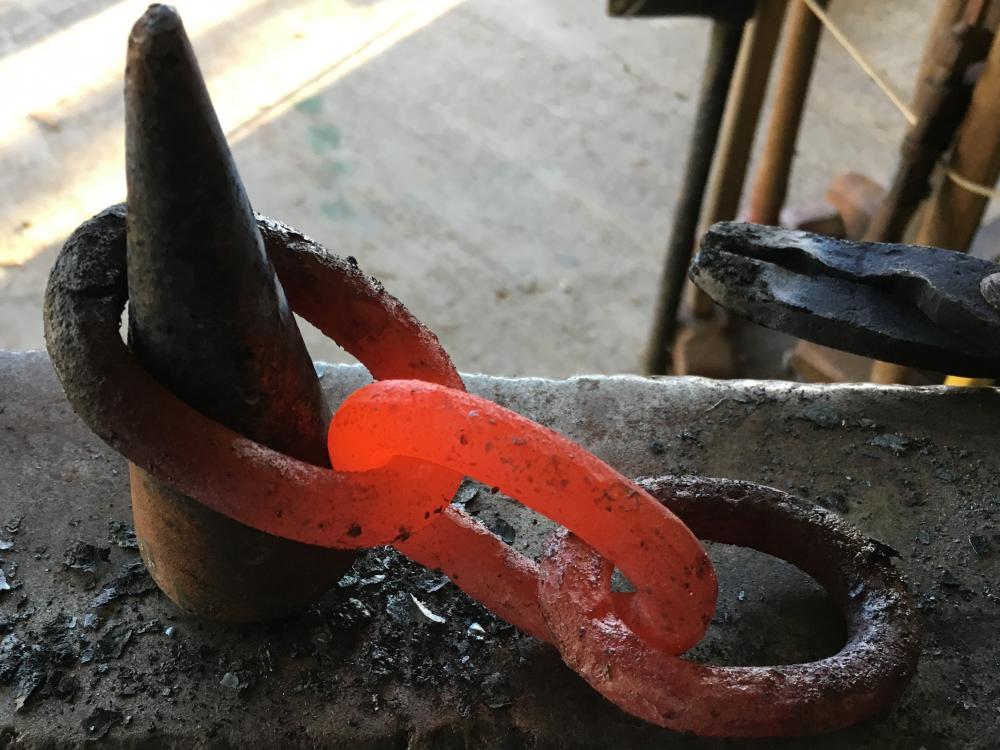
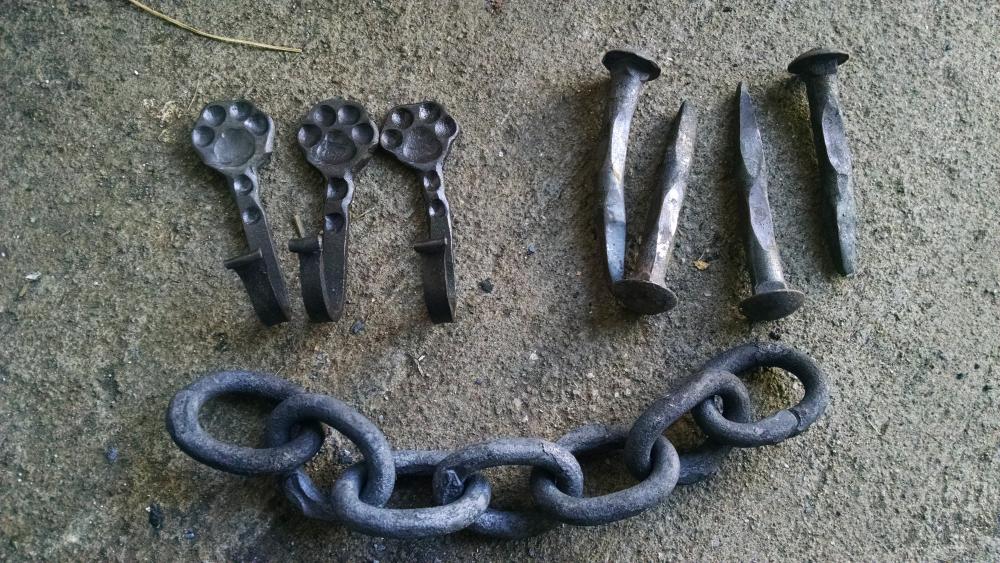
I just learned how to make chain at the last CBA Spring Conference. Showed up for the demo late, with the gentle coaching of a very experienced smith, got walked thru the forge welding process. The admonitions to '' be gentle', 'get it back in the fire, and shape the link at welding heat' made a huge difference. I'd been hitting the links too hard in the past. Later that conference, they ran out of 3.8 mild steel so I pulled some long carriage bolts brought as scrap stock. Turned out they were Grade 8 bolts (hi carbon steel)! That was a lesson in forge welding! Had to get them to sparkling heat, deep in a "cave" fire to weld, burned all the hair off my hands that weekend but now I can weld chain! The hi carbon links sound different than the mild steel Now instead of making nails when I fire up the coal forge, I make my practice chains longer. Forged a hook on the end of the practice chain and hung the hammock from it. Of course, every time I post a chain pick, my siblings response is 'you know, you can just buy chain at the Home Depot!"
-
Lovely stuff to look at on beautifuliron, but a lot of opinion as well. I found the dismissal of the brake drum forge on that site to be a bit of a nudge 'oh yeah, well lets just see about that!'. My brake drum went from spindly legs to a converted plant stand (that now holds my gas forge) to a metal rolling cart that has since been passed along to a budding smith at an iron in the hat. On the other hand, I really liked the forge chimney section of beautiful iron.
-
Heather McClarty is an artist blacksmith who works out of a teepee in the Los Angeles area. I'm pretty sure she's off the grid as well, interesting in such an urban area.
-
I wear gloves, on both hands. If you can find goatskin or pigskin gloves, they will last longer than cowhide. I cut the fingers off my right hand glove, my hammer hand, so I can still pick things up. At a fleamarket up in Napa (Northern California) I found what they called "roper's gloves' tough leather gloves made fingerless, supposedly so you can protect your palms but still tie and untie rope, never seen them anywhere but Napa though.
-
Halloween Pumpkin Pattern - Skeleton Blacksmith
Michael replied to Dustin Quade's topic in Everything Else
Nice pattern, Have to remember where I save it for next year. Reminds me of the CBA Old Guys Conference from last Spring.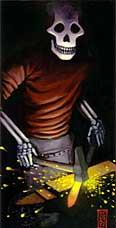
-
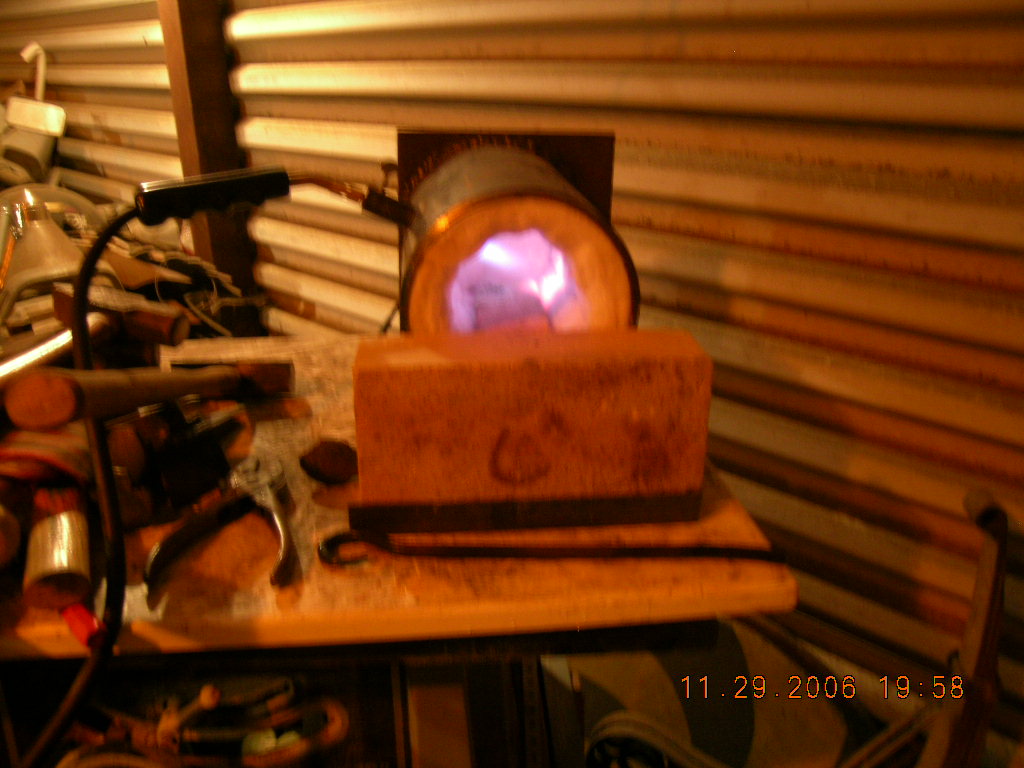
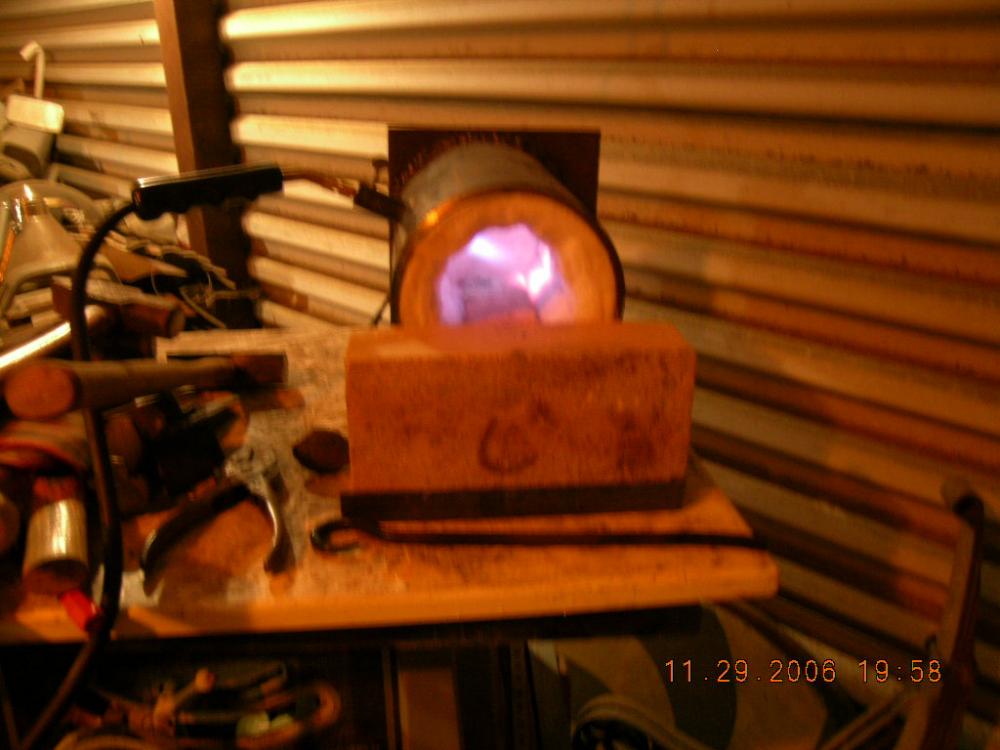
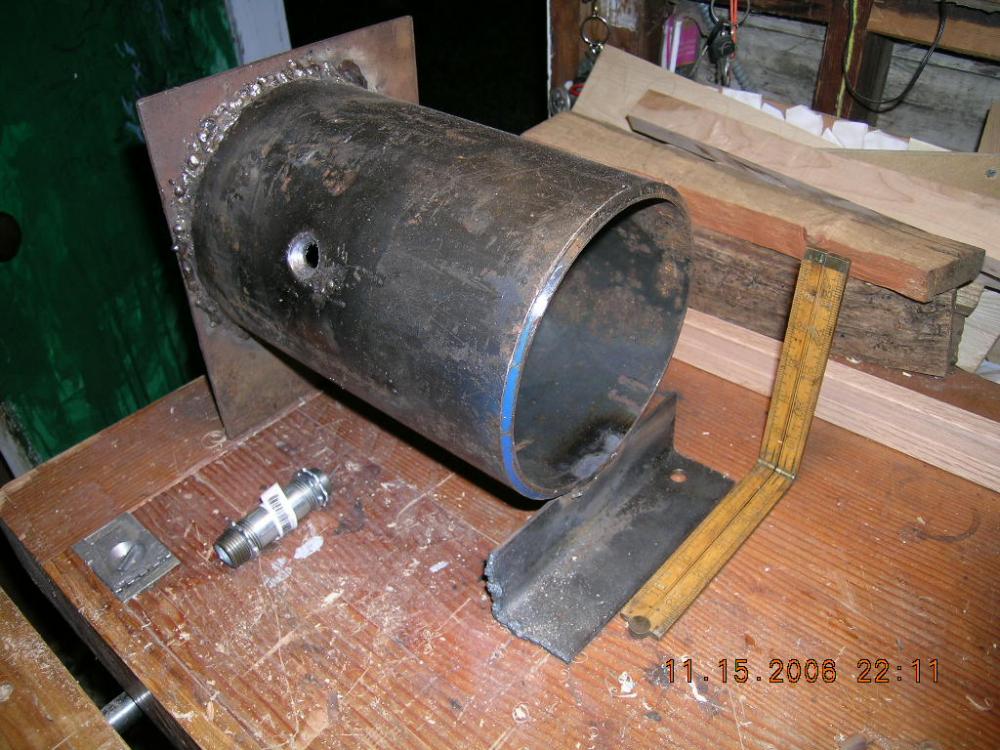
MAPP gas works better than propane in a little coffee can forge. A plumbers torch with a hose is a great addition to the set up. No welding and I wouldn't want to work more than 1/2 inch stock in here. It also gets expensive, with the cost of disposable cylinders. MAPP is getting harder to find nowadays (on the Left Coast anyway) and I look in garages and under workbenches at estate sales, for yellow MAPP cylinders. The safer, but cooler MAPP/Pro will still heat metal. A bit sturdier than a coffee can, this was welded together at the Community College "Art Welding" class (best access to equipment and scrap that a budding smith can find!)
-
I'd stand it on end like Thomas says, that'll get more of the mass under the hammer and, you'll be hammering on it sooner, instead of messing around with wedges and concrete. It might be a little tippy stood on end though. got access to a chainsaw and some tree trunk? A slot sawed in a stump, as wide as your anvil and at the right height for working would go faster than waiting for the concrete to dry. what are the dimensions by the way? looks maybe 3 inches wide?
-
 Same friend who puts ball bearings in his dragon eye sockets demo'd this technique, based on Eric Clausen's demos, of dragon heads. Need to work on the horns a bit.
 -
 A friend of mine inserts ball bearings into the eye sockets of the dragons he makes. I make a lot of dragonflies and the BBs are great for bug eyes as well.