Michael
-
Posts
1,061 -
Joined
-
Last visited
Content Type
Profiles
Forums
Articles
Gallery
Downloads
Events
Everything posted by Michael
-
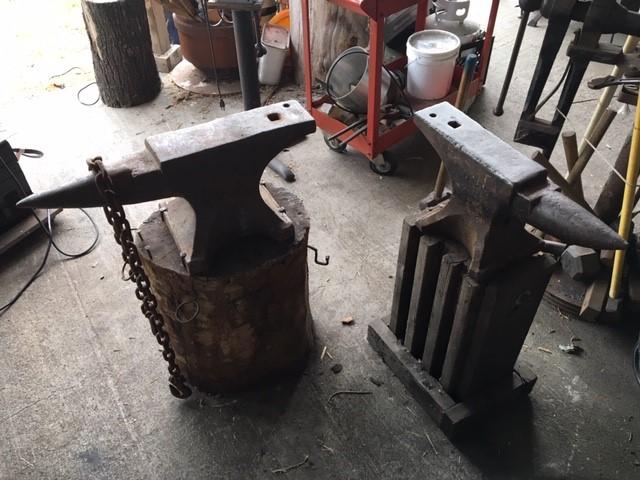
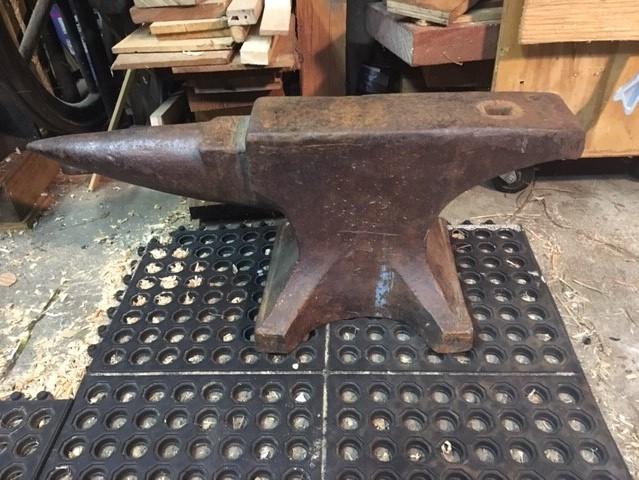
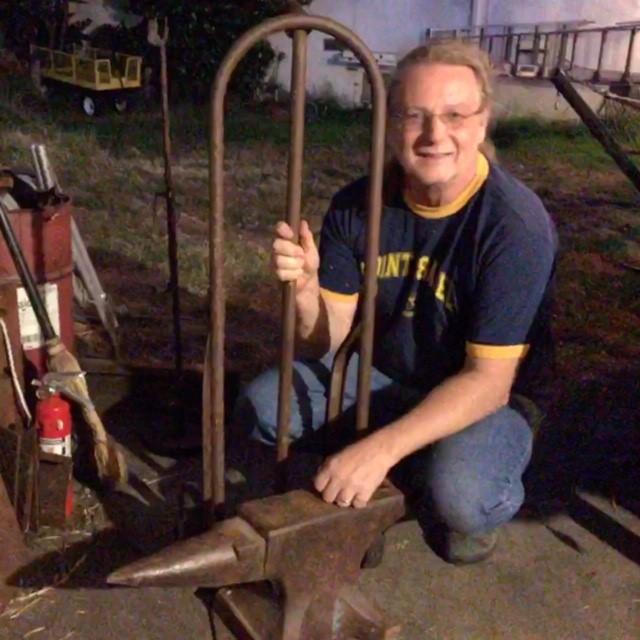
My wife asked if I was going to get rid of the smaller one? I was honestly dumbfounded!, why in the world would I get RID of an anvil, they are not that easy to find! Ended up just filling in the routed depression in the stump with a scrap of 1/2 plywood, held down with liquid nails and mounted the new anvil on top of it. Couldn't find a pulley and the rope was all in the lovely wife's car so I ran a comealong up the the rafter and lifted it that way, not ideal and I"m in the (flea) market now for a small chain hoist. Spent both afternoons of the weekend hammering away. The extra mass is nice, the unchipped far edge is nicer and having both close to hand is nicest of all!
-
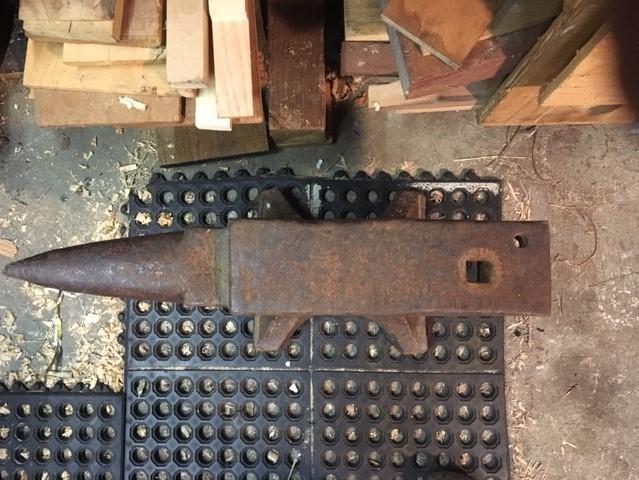
I won't have a chance to play with this new toy till tomorrow, but the plan is to re route the cutout that fits my 104 PW in the live oak stump to fit the slightly larger base of the 161PW and then use it a bit! New anvil is about an inch taller so it might be too high. I could fab a new stand but I'd rather forge now and fabricate later. Always been a fan of wooden anvil stands, but the scrap pile might have enough stock to fab up a tripod stand from square tube and plate.
-
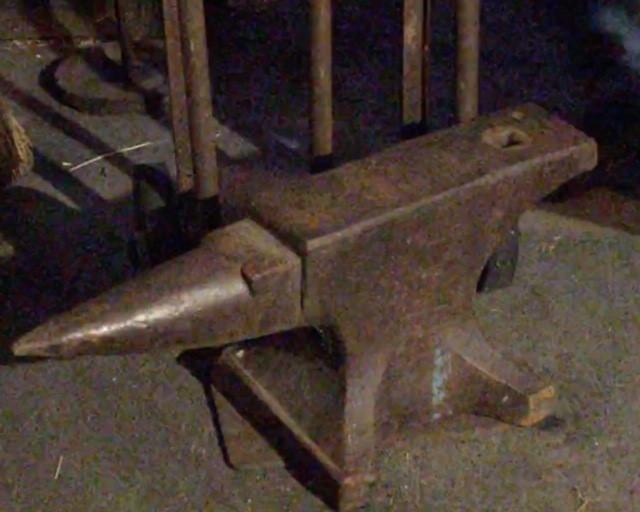
I just got a deal (by Left Coast standards anyway) on my second anvil! I was getting ready to take the dogs to the park, my phone was close to dead so I sat down to let it charge a bit before heading out. Saw the craigslist ad for a 161 pound Peter Wright, (my current anvil is a 104 lb PW), fired off an email and then, reading the listing more carefully, actually texted the guy as per the instructions, 'is this still availabe?' text fires right back 'yes it is'. Check the traffic and its 30 minutes south of me (San Francisco Bay Area) Hop in the car, text the guy I'll be there soon and hit zero traffic on a Sunday afternoon! Kismet! He's got it loaded on a handtruck already, the cash flew out of my wallet so fast it may have broken the sound barrier! No traffic on the way home either (almost unheard of). A bit heavy to lift by myself, but the pre 1910 (no Patent England) PW loaded into a wheelbarrow and then to the grass outside the smithy, where I could get a hand truck under it. The dogs were really excited when I got back, having seen the 'get ready for a walk' posture before I ran off to buy my 2nd anvil. Been looking for a 150-175 lb anvil for a while now. A double horned German or French Pig anvil would be ideal, but I've been smiling about this 2nd Peter Wright for 3 days now!
-
Here's mine, rolling metal base with wooden upper bits, made before I had a welder. It'll be rebuilt with metal and welds if it ever falls apart

-
I have a friend who maintains and repairs industrial lasers. He has a stack of stickers in his toolbox that say 'Do NOT look at laser with Remaining eye". The maintenance clients get fresh stickers every year.
-
Mine is just above waist height, about 40 or 42 inches off the ground. On a rolling cart with some firebrick and steel plate under it to bring it up to there. I'd had it both higher (PITA to support long bars in the forge) and lower, but the current height for my 6 foot self works well. I can lean my head and upper body backwards to see the heat the steel has. Now I need to figure out a good door configuration for the Freon canister gas forge, the firebricks piled in front of the opening are falling apart.
-
Nice! I’d be digging in that shed to see what else might be in there
-
What did you do in the shop today?
Michael replied to Mark Ling's topic in Blacksmithing, General Discussion
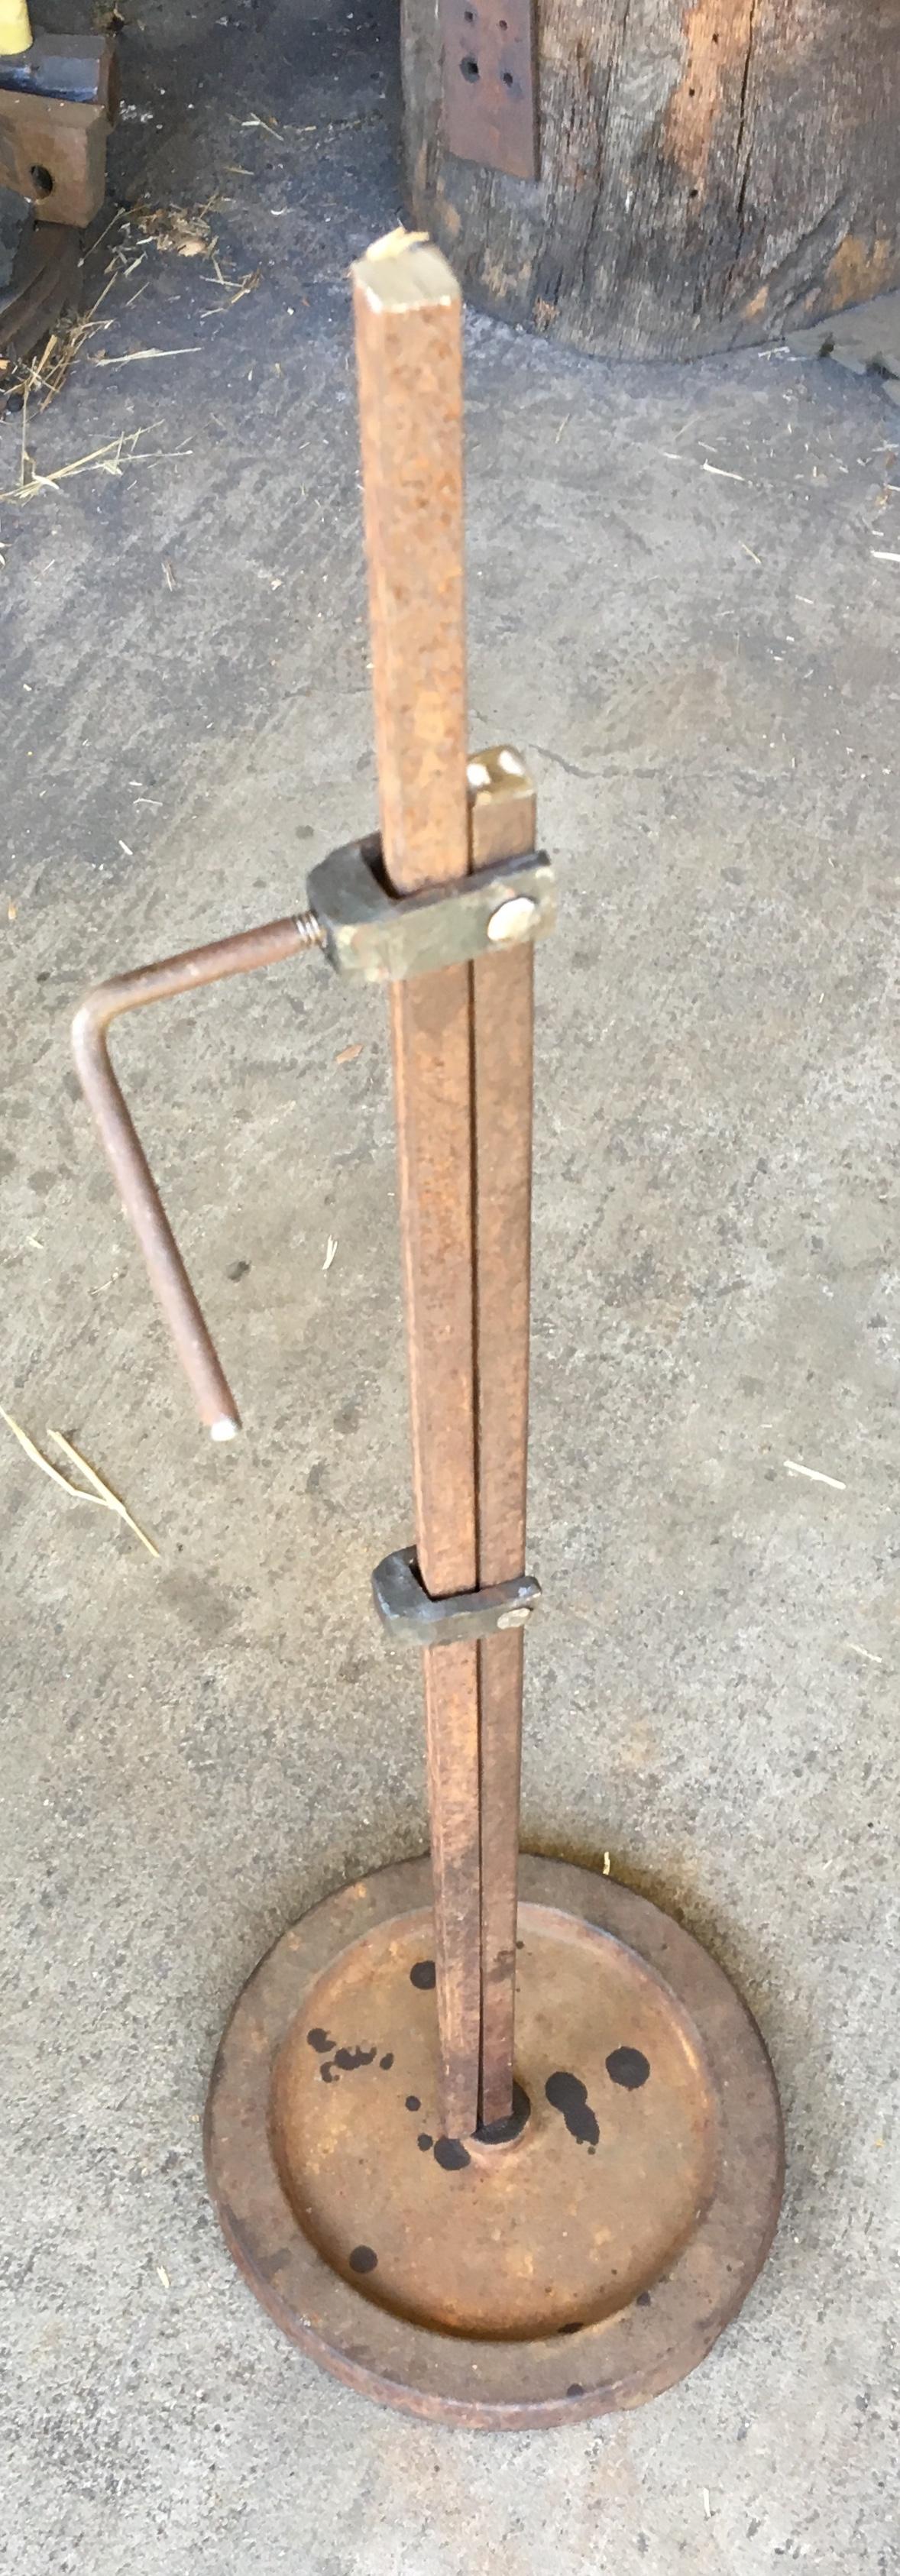
Finished up a ‘blacksmiths helper’ stock stand. 1/2 inch square and a scrap cast iron base from a commercial fireplace set. Topped with a test piece for a sea dragon that’s another WIP. Should have made a monkey tool for the riveted tenon, it might have gone on straighter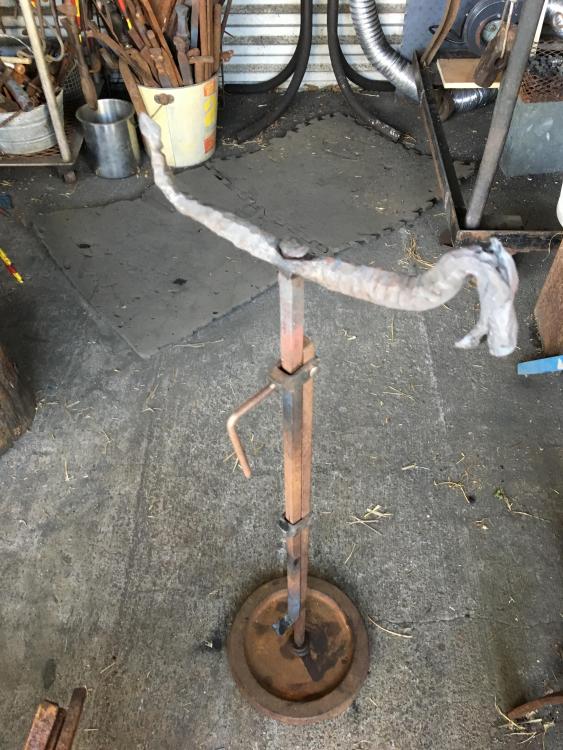

-
What did you do in the shop today?
Michael replied to Mark Ling's topic in Blacksmithing, General Discussion
Thanks for the tip, Forge and Clay (I have a friend whose business is Clay & Steel, having started in ceramics and moved to ironwork) Never saw the need to clay this particular firepot, it's a very thick Centaur forge cast iron model, and I"m not really running really big or days long fires that would justify claying it up. I did once clay line my old brake drum forge in an attempt to better direct the airflow and fuel burning, but the clay would start to expand and come apart after a half dozen uses. Ended up cutting and shaping firebrick to get me the firepot shape I needed. Last year some friends were forging a 5 foot tall, 200 pound anchor from 3x3 square, running 100 pounds of coke a day for a few weeks in a big, heavy railroad forge. They cracked that firepot and the forge table before they were done. Lead smith on that project said he'd clay the forge next time (after they got it welded back together). The long, soaking heats to get 3 inch square up to working temps, and the amount of fuel they were burning day after day, really took a toll on that cast iron forge. -
What did you do in the shop today?
Michael replied to Mark Ling's topic in Blacksmithing, General Discussion
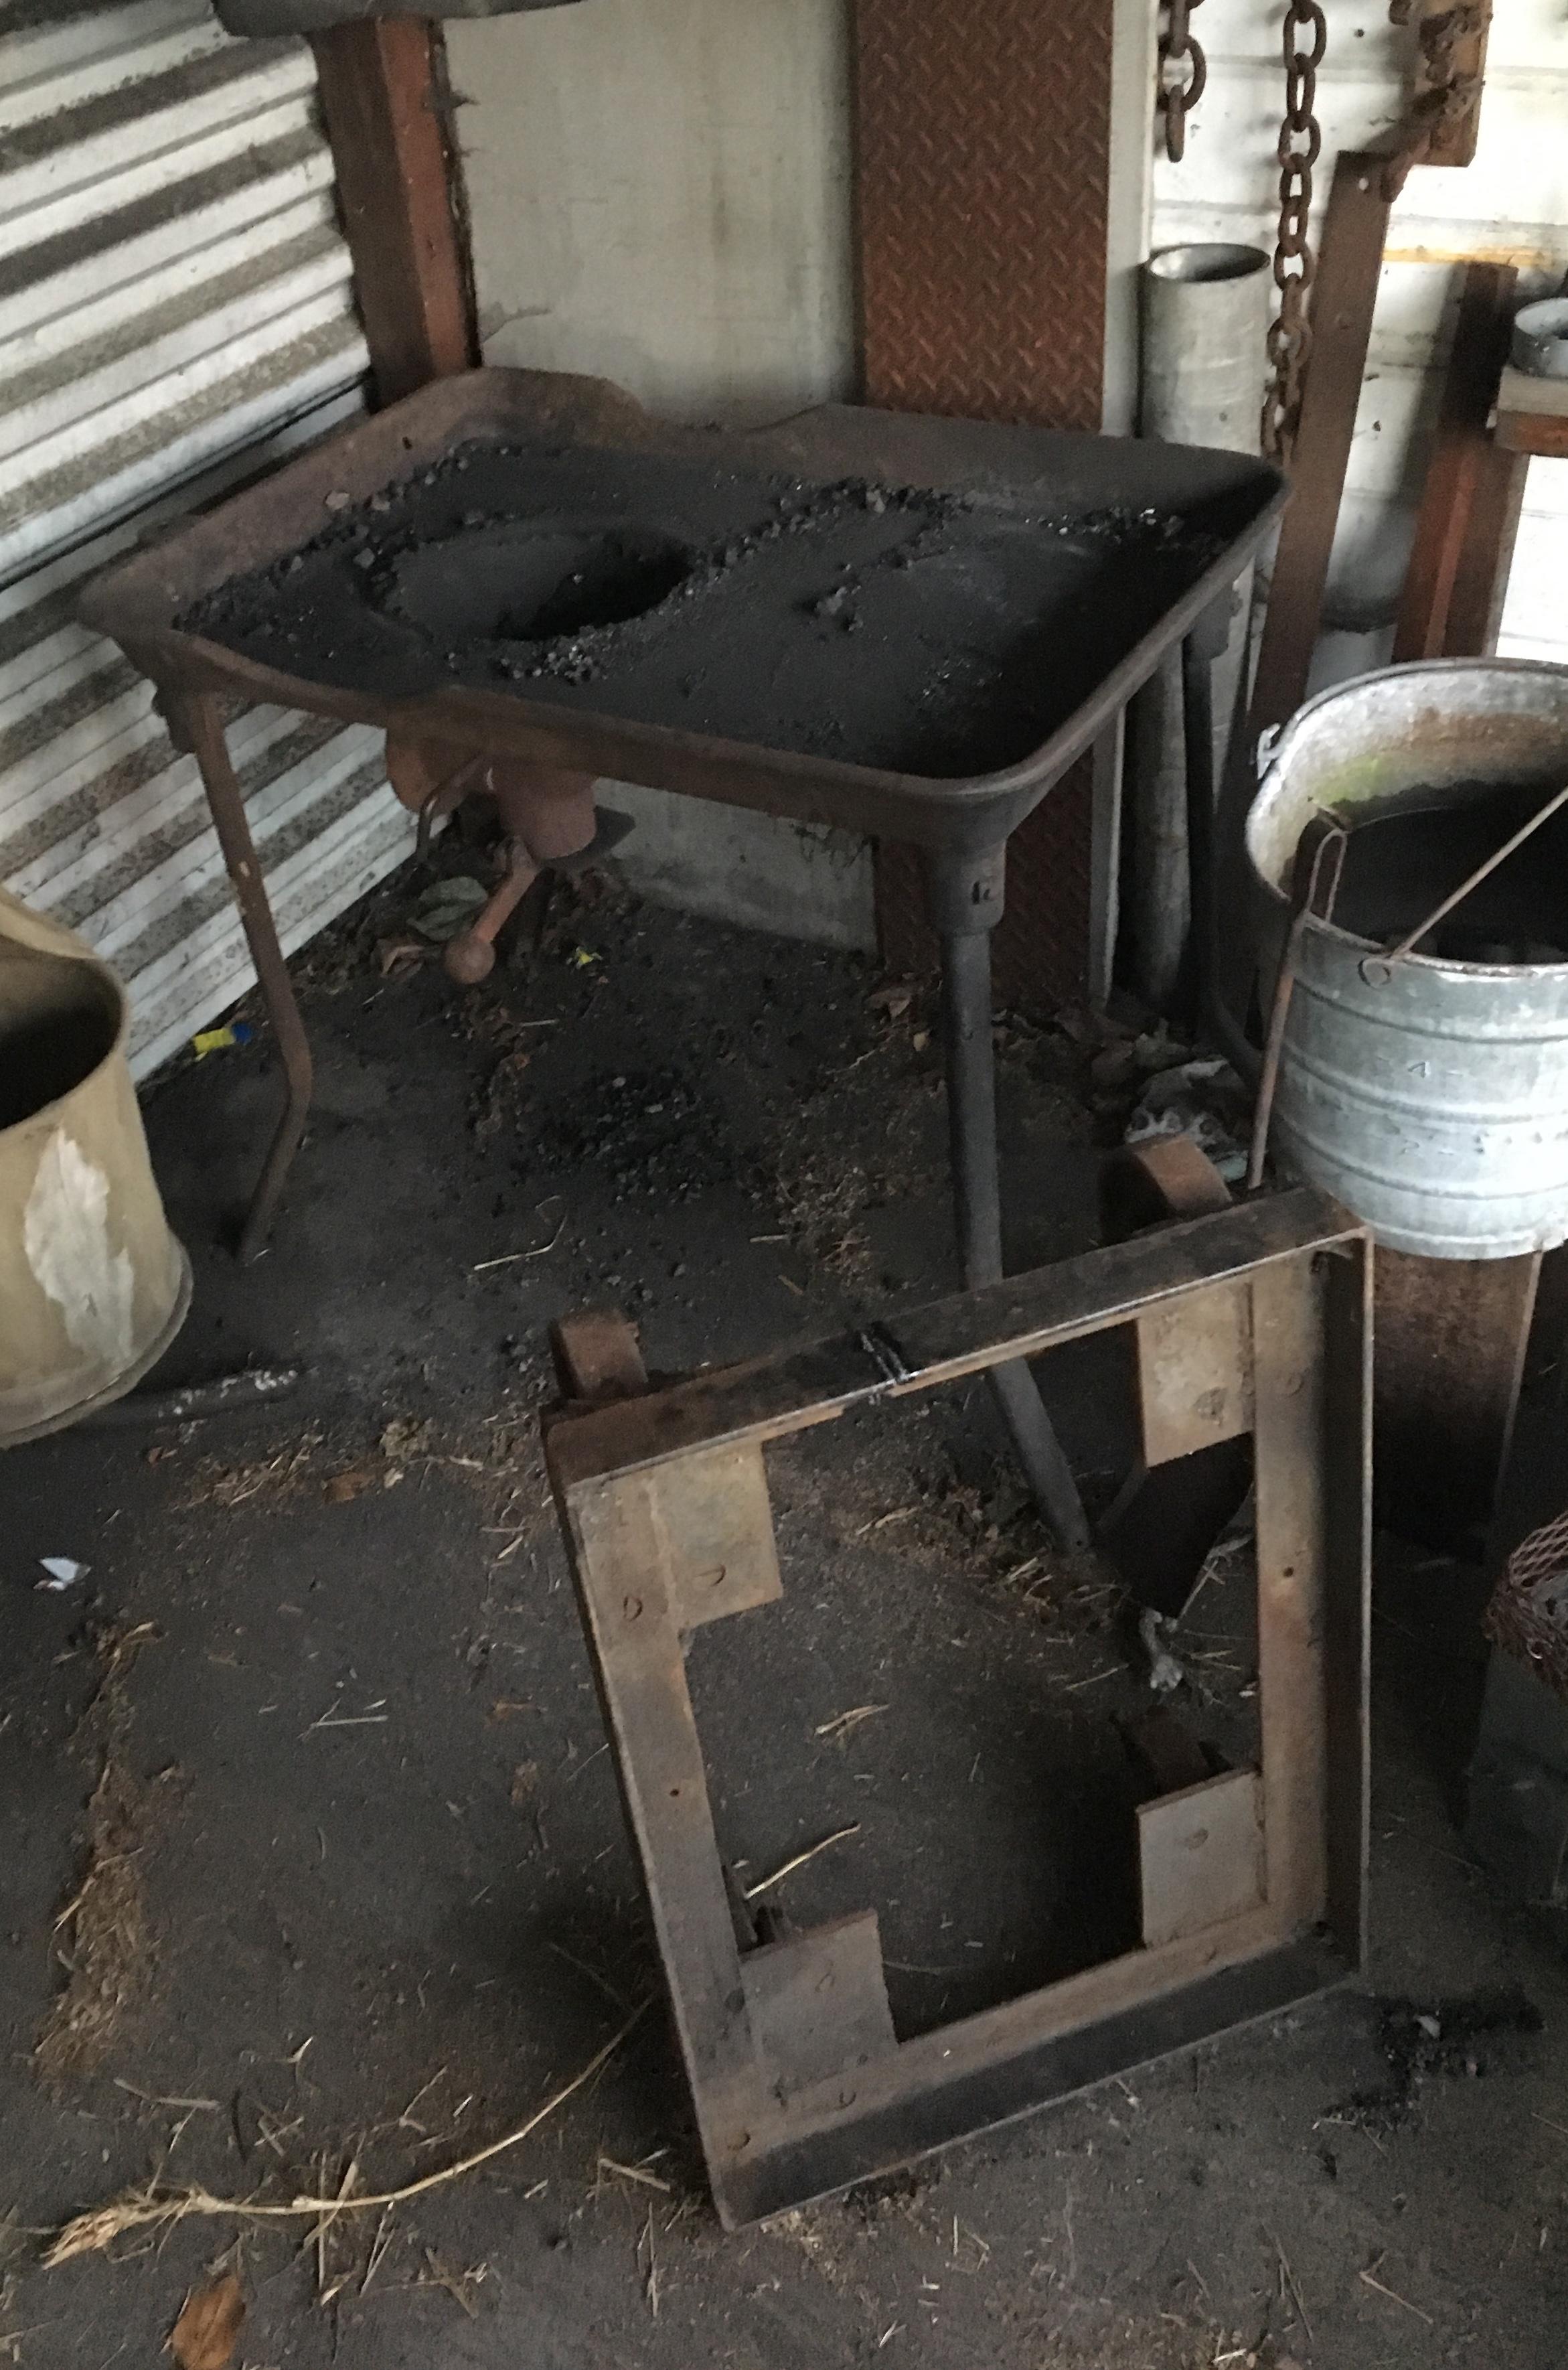
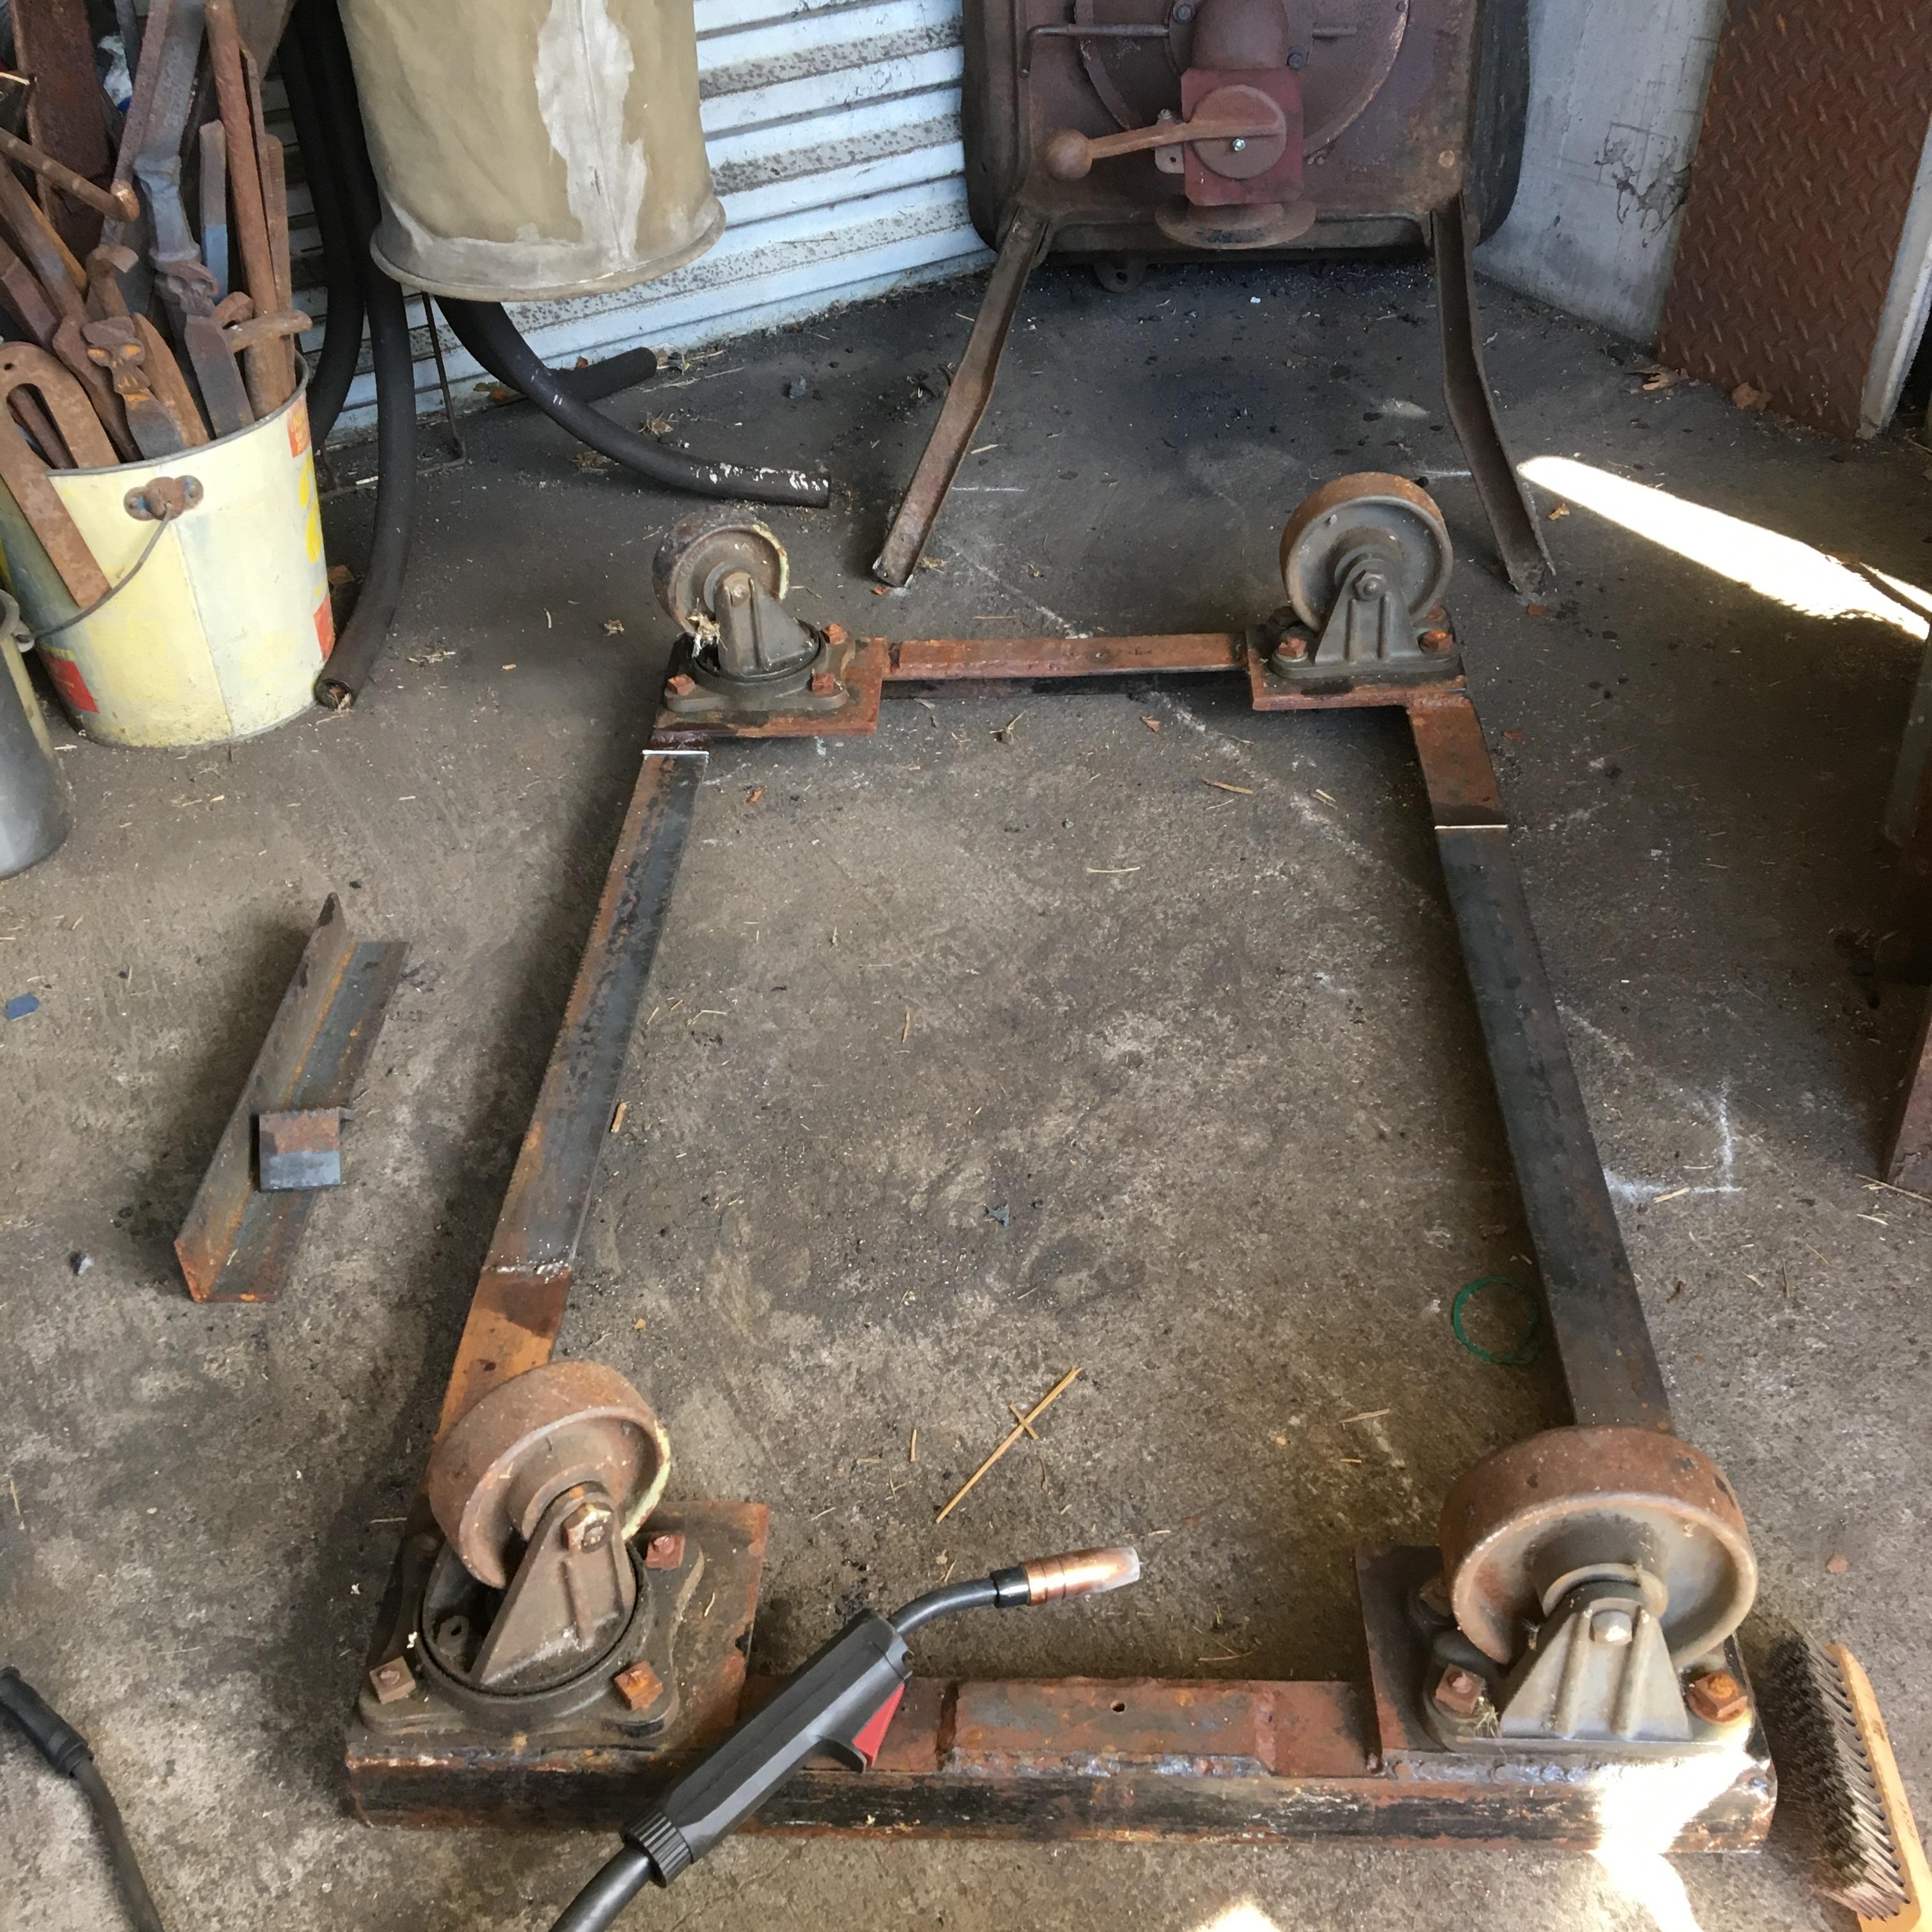
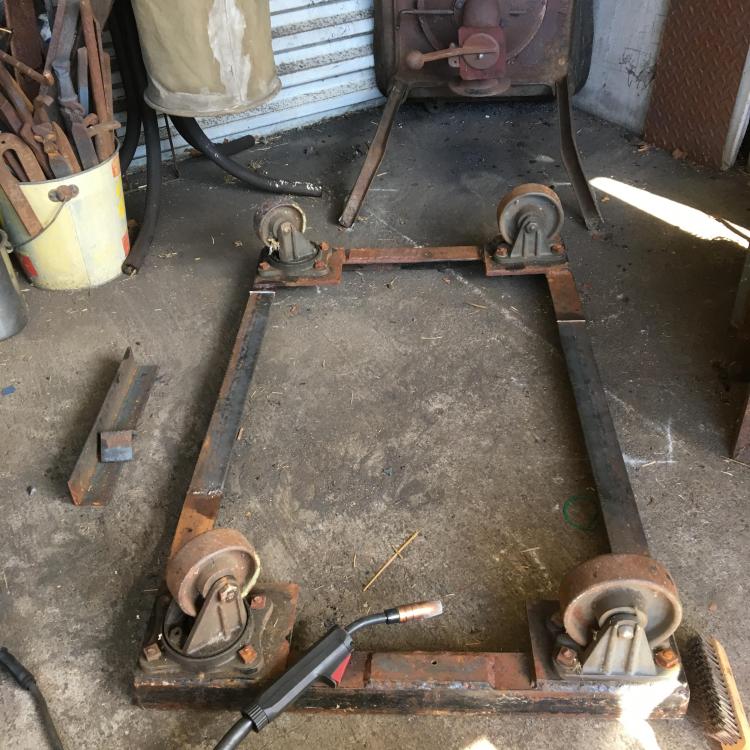
Got this great heavy dolly for free a little while back. And the forge table has been feeling low at 28 inches to the rim. Cut the dolly and welded in some 2 inch angle so it fits under the forge legs and brings the top up to a nice waist high 36 inches. Plumbed and ducted an electric blower for those projects (thick wrought and bloomery iron) the hand crank, and my arm, are not quite up for. Too hot to light a fire and try it out yesterday, but maybe this weekend

-
all us California smiths are dealing with the loss of Uncle Joe. He will be missed
-
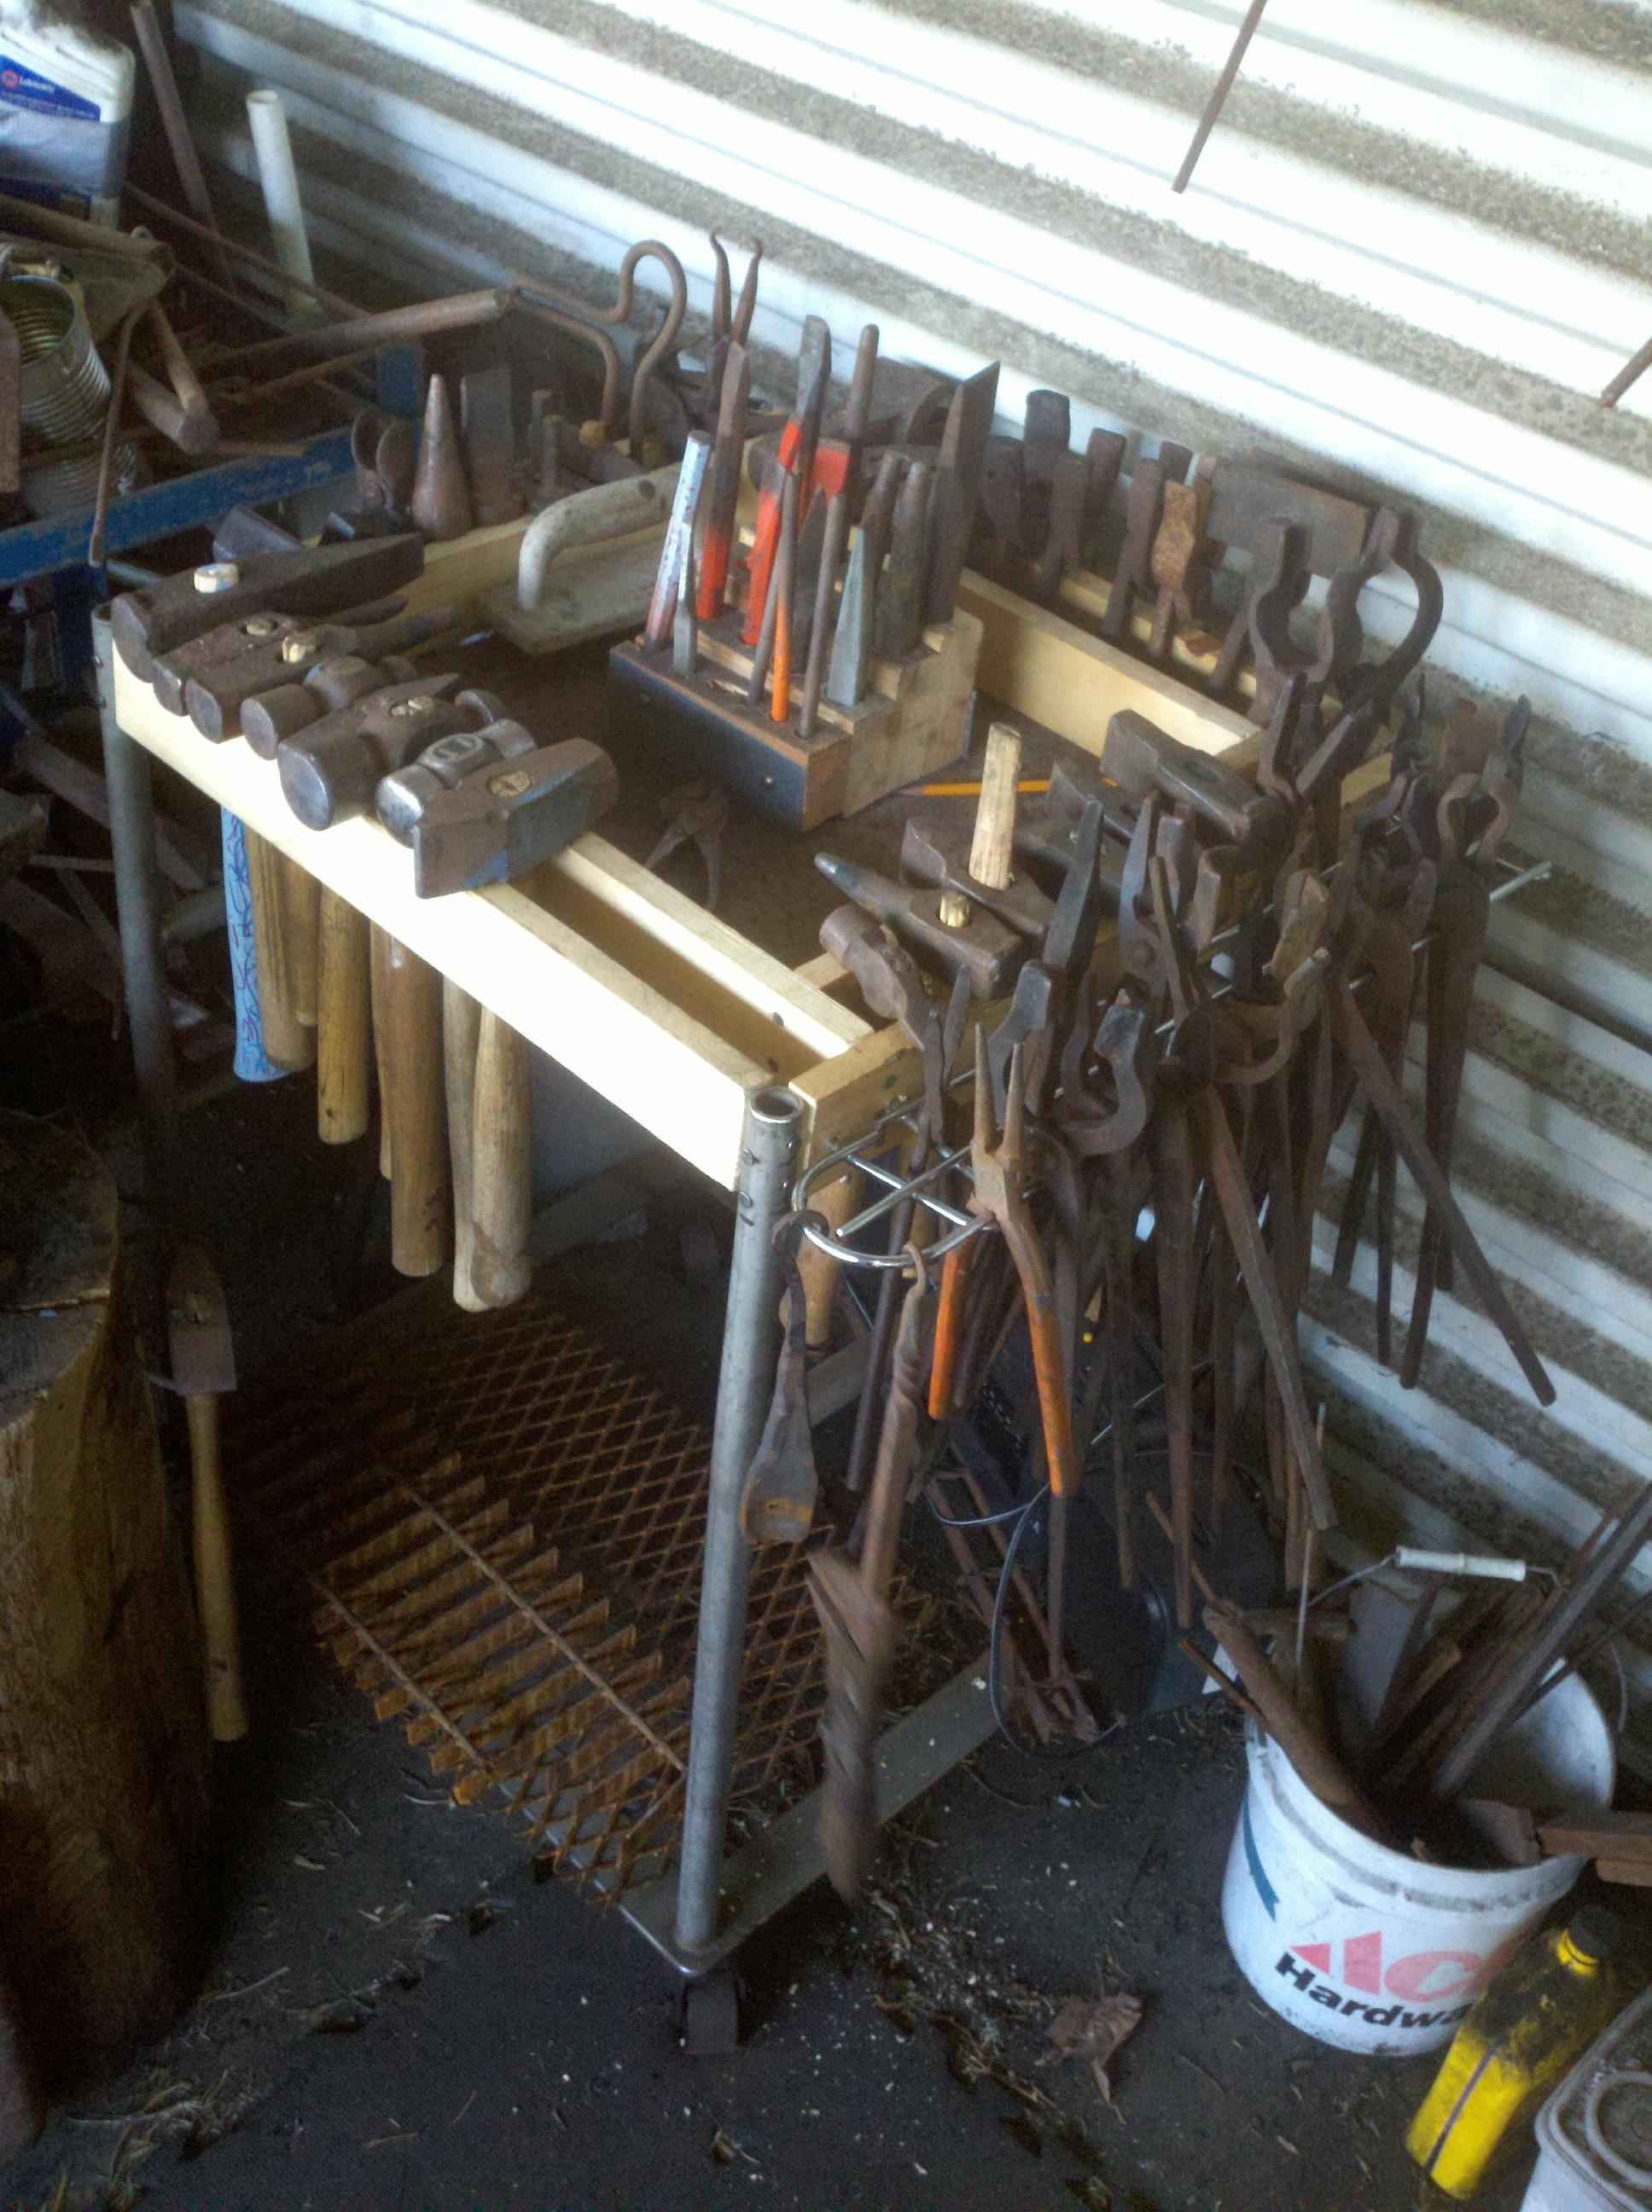
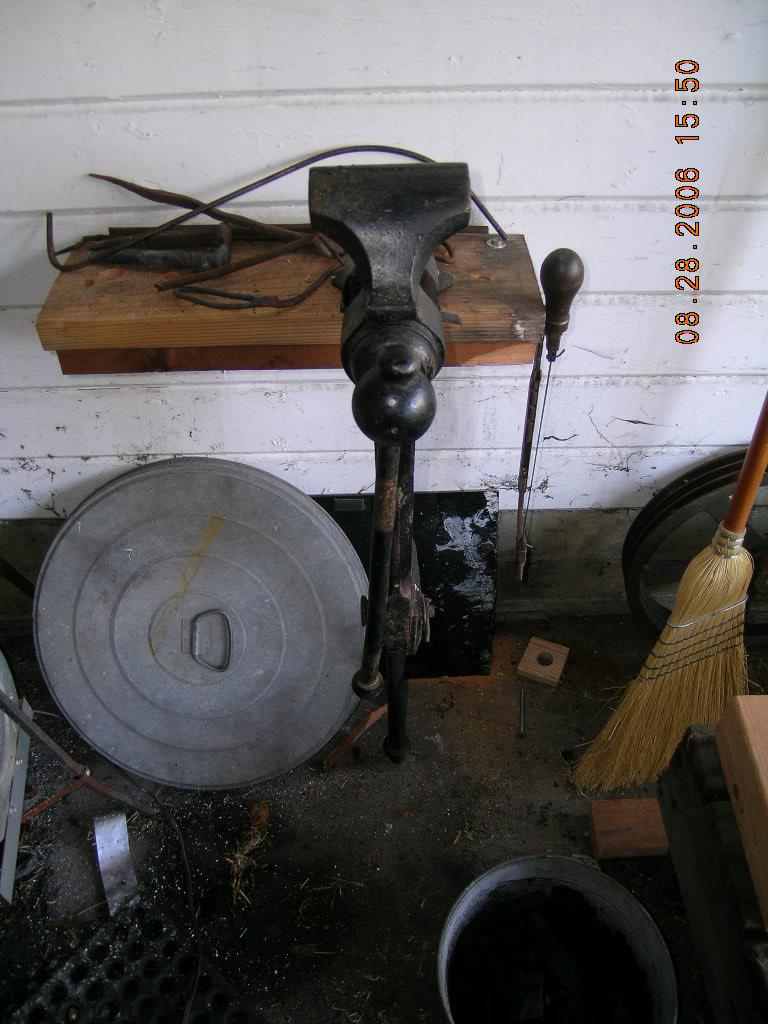
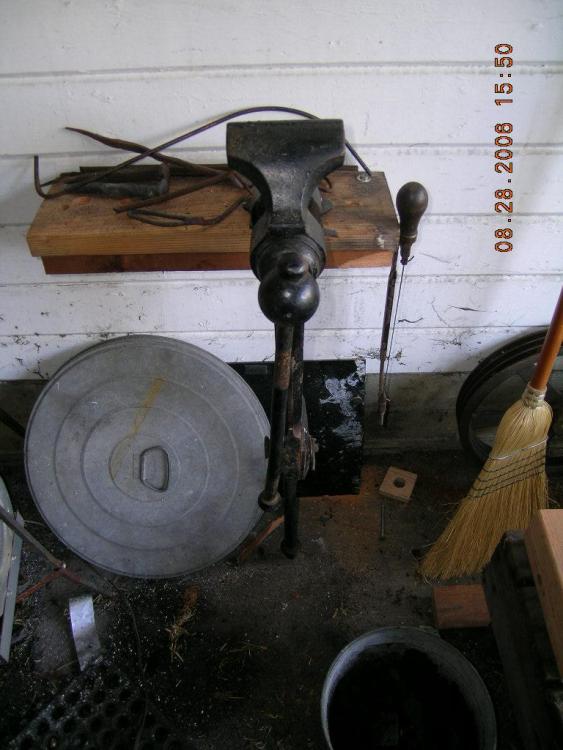
the big post vise (5 inch?) was mounted to a section of 2x6 lag bolted thru the studs on the shop wall. Stuff kept coming OFF the wall in the shop so a free standing vise stand was bolted together (pre welder) from a cafe table stand, some random diamond plate I had on hand and a big cast iron sheave pulley for the base. The sheave pulley was a failed flywheel-on-a-treadle-lathe project. Second vise, a 4 inch and was mounted at right angles to the bigger one on the stand.

-
Thanks, I appreciate the endorsement. I've got a hand cranked blower but lately I've been working with some 1.25 inch wrought iron and some chunks of bloomery iron and I just can't seem to crank fast enough to keep those big chunks at welding heat.
-
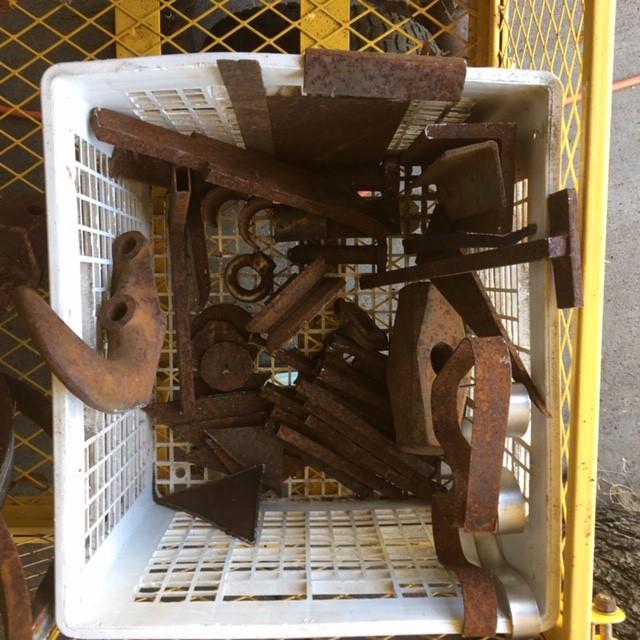
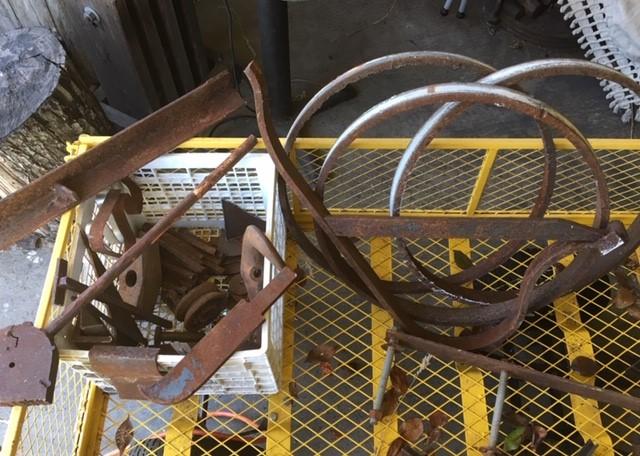
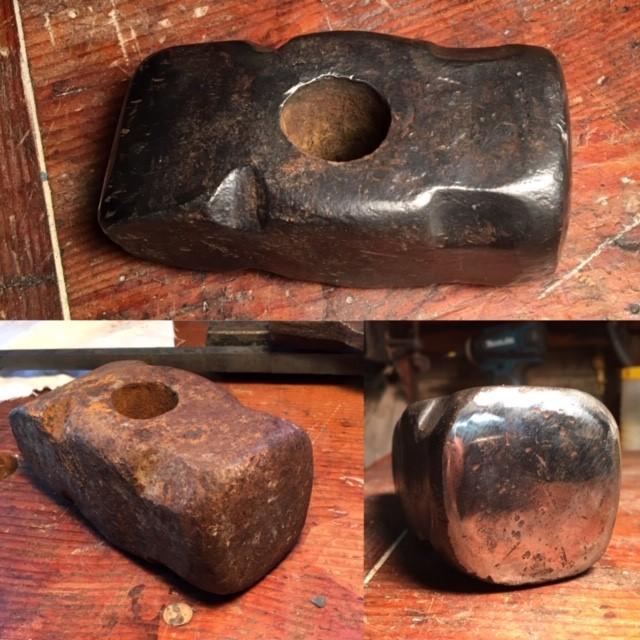
Pile of scrap free for the taking from a neighbor a few blocks away. some 18" pipe sections, lots of 1/2" square shorts, triangular off cuts, heavy bar and rod. Also cleaned up an 8# sledge head. when the rust came off the face and peen were nicely hardened and polished up to the limit of the sanding disk I had. Will swap out to a belt grinder to get the nicks out. The sledge came with an electric blower that will be nice to mount on the forge.
-
Congratulations! I've also got a 7/8 hardy hole (104# PW) and finally got around to making a 7/8 hole in a plate of thick steel to act as a bottom swage for making tooling.
-
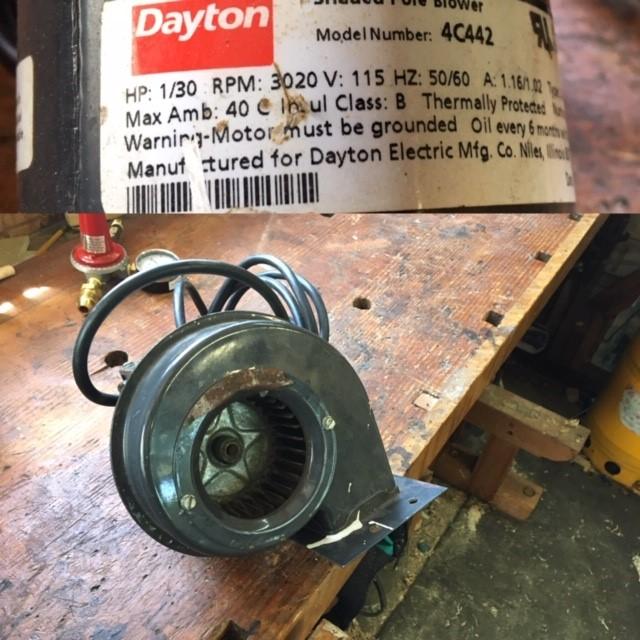
Garage sale near home showed up on Craigslist. Picked up the old sledge hammer head and a Dayton electric forge blower, both for $10. Had to drive the broken handle stub out of the eye, which looks like it was punched by hand. I'm guessing 6 or 7 lbs, but haven't put it on the scale yet, need to clean it up, grind out the chips in the peen and handle it. Very compact and I really like the round notches style of these old hammer heads (I find a lot of them in garages, the narrow spaces between the garage door and the wall always seems to have a sledge or two in there)

-
Here's the link to a manual for these machines. they were made under a couple of different labels, I think the one I have is a Craftsman. They do take regular 12 inch hacksaw blades but they wear pretty fast in a power hacksaw. If you can get the slightly thicker Power Hacksaw Blades (one of my bookbinding buddies uses the used ones for knives) they will last longer, but the 14 inch blades seem to be more common than 12's. Great tool! very easy to set it and forget it but also easy to get mesmerized by the slow, back and forth as it cuts.
-
Chris, nice that it has the vise on it, those go missing most of the time. I have that same saw (sans vise of course) and that wagon.
-
What did you do in the shop today?
Michael replied to Mark Ling's topic in Blacksmithing, General Discussion
A friend of mine taught me this joinery technique last week. Bolsters and punches and a drift sized to the stock. Easier than I thought going into it. Just a practice piece for fun, though the lovely wife thought it would make a nice trivet.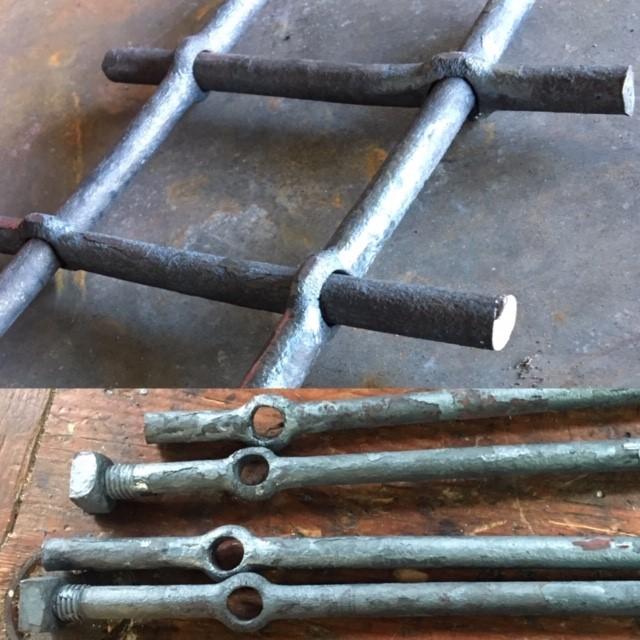
-
What did you do in the shop today?
Michael replied to Mark Ling's topic in Blacksmithing, General Discussion
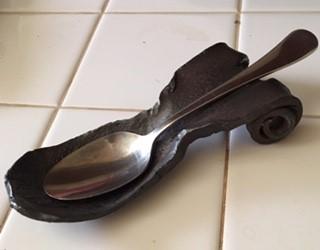
Spoon rest for the kitchen from some wrought iron wagon tire. Bottle opener from a wrench, miscalculated the amount of steel for the loop, afraid it was going to be too thin so the loop was annealed twice in vermiculite. No one notices a coal forge in the suburbs on the 5th of July!

-
What did you do in the shop today?
Michael replied to Mark Ling's topic in Blacksmithing, General Discussion
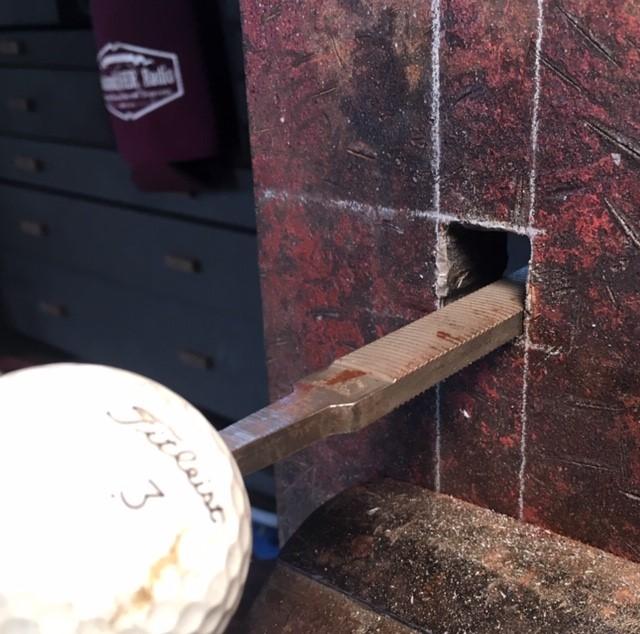
It seemed to work alright on the mild steel of the 1 inch plate I cut the square hole in. I didn't notice any significant dulling of the teeth and the inside surfaces smoothed and flattened pretty well. Most (if not all) of my files come from garage sales and flea markets and I'll send the interesting ones off to Boggs File Company in Los Angeles to get them sharpened. I have a buddy who is much worse than me in terms of bottom feeding filestock and he sends 3 packages a year off to Boggs, my stuff just piggy backs along with his. What I'm saying is I don't have a lot invested in this vixen file, maybe $2, and was pleasantly surprised it worked so well. -
What did you do in the shop today?
Michael replied to Mark Ling's topic in Blacksmithing, General Discussion
Spent some quality time with a couple of angle grinders, grinding disk and flap sander, cleaning up the two stakes tools I'd made at a hammer in a few weeks ago. The lovely wife commented 'you don't usually polish that much'. making a heading plate from one inch plate to make bottom tools with, after laying out the odd ball hardy hole size (7/8" go figure!) and drilling out the corners and then some, took a cape chisel to the webs, got as close to the line as I dared and then found a safe edge 'dreadnought" file, curved single teeth, to finish up the sides.
-
What did you do in the shop today?
Michael replied to Mark Ling's topic in Blacksmithing, General Discussion
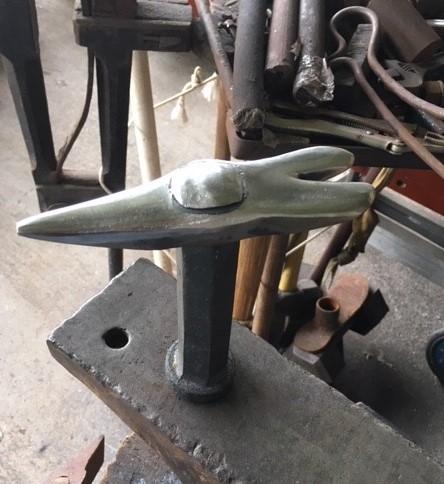
Made a stake tool out of jackhammer bit over the weekend. My friend Angelo opened up his shop to a bunch of (sort of) locals and a bunch of tools were made.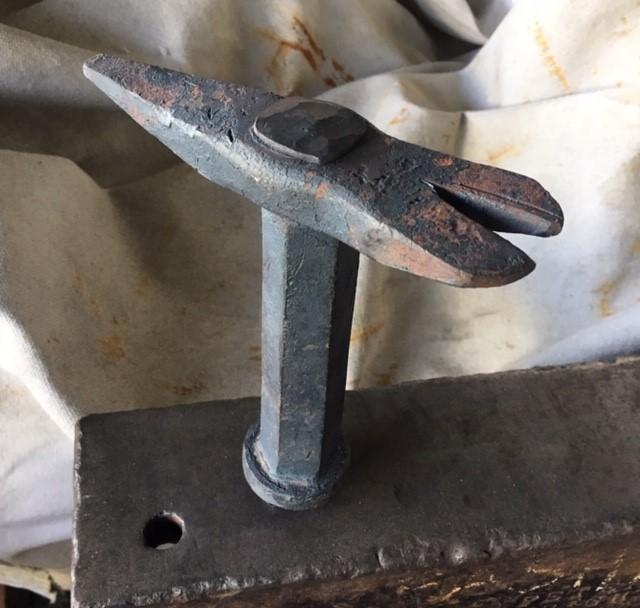
-
Spring Fuller (Or so I hope it will be)
Michael replied to Donal Harris's topic in Tools, general discussion
Glad to inspire someone, leaf looks good, love the texture you got on it. Couple of tips on the spring fuller from the person who showed it to me, the top bar should overhang the bottom bar about an inch, so that you can lift the top bar with the hot material to get it under there, and it should look like a duck when its done. -
I pull out the scythe when the grass in the yard gets too tall to mow. The combination of sunny weeks and rainy weekends and before you know it you've lost the dog in the grass again!