Michael
-
Posts
1,062 -
Joined
-
Last visited
Content Type
Profiles
Forums
Articles
Gallery
Downloads
Events
Everything posted by Michael
-
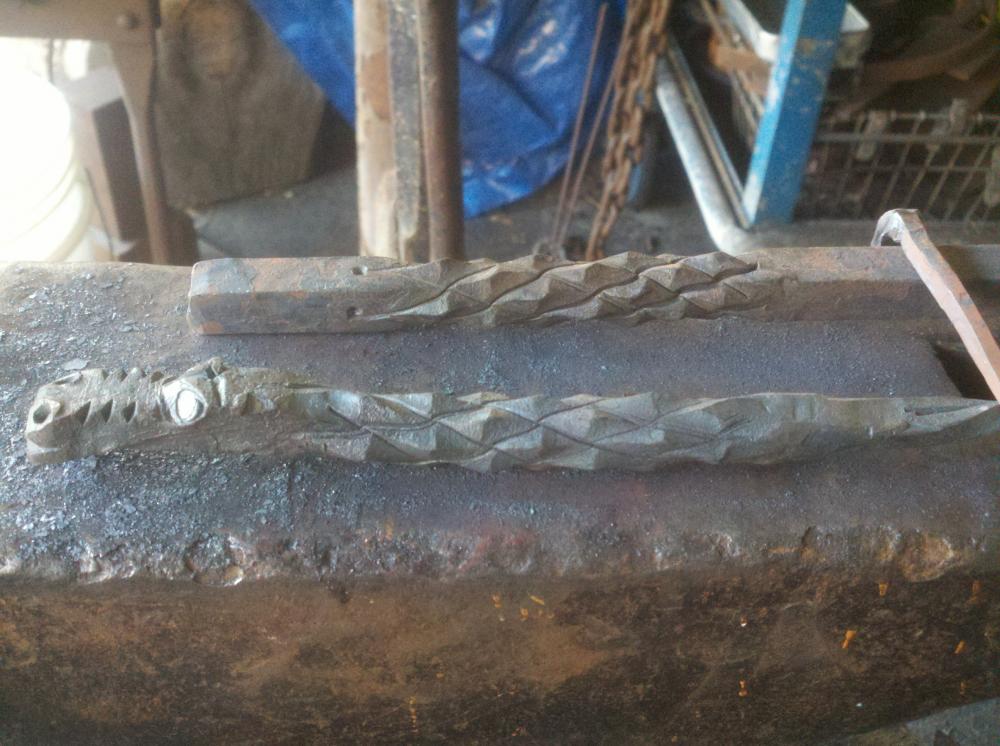
Nice!Especially the pineapple twist. A couple of cuts with a narrow chisel, between and over the eyes, along the snout, make things more reptilian. Never been able to make horns that long, we'll done. With a chisel?
-
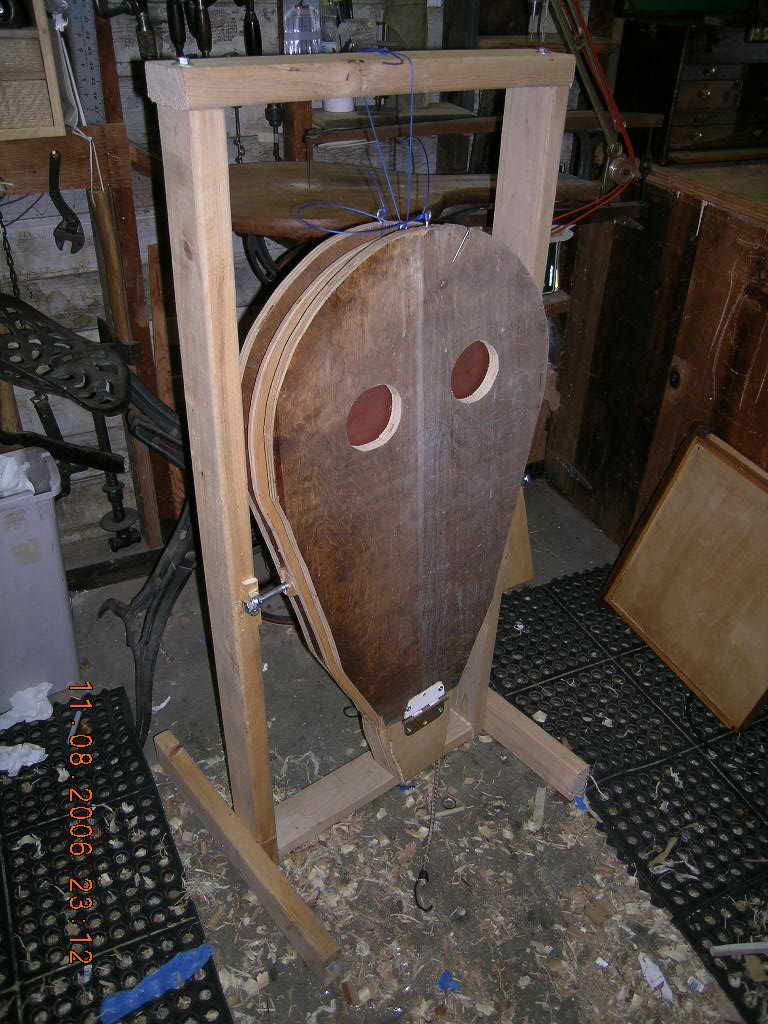
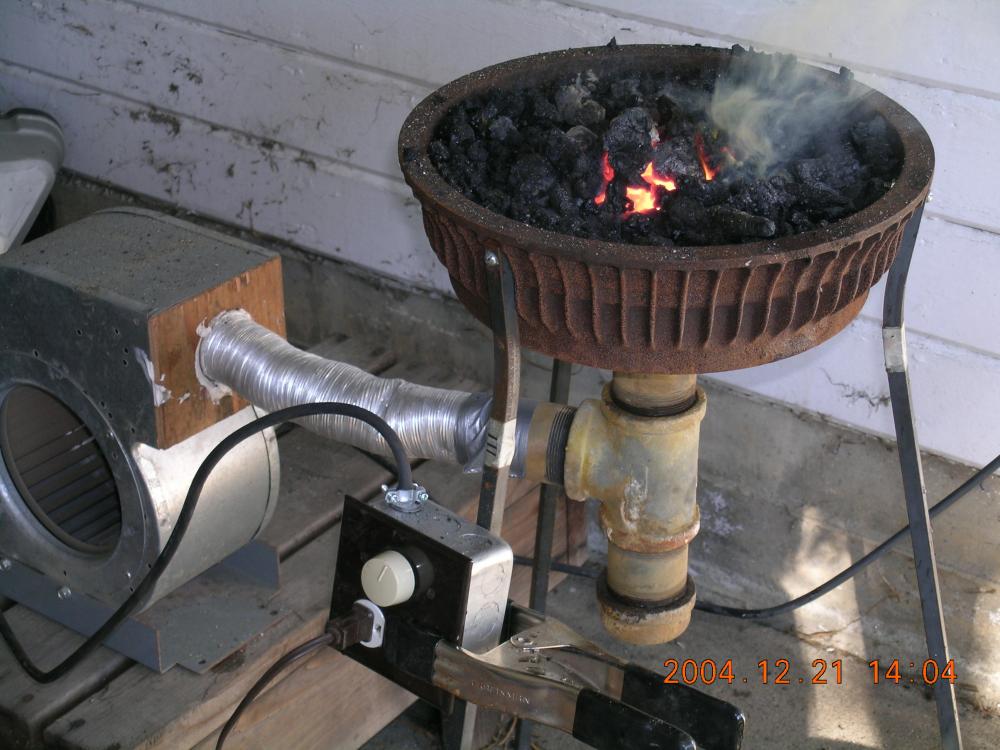
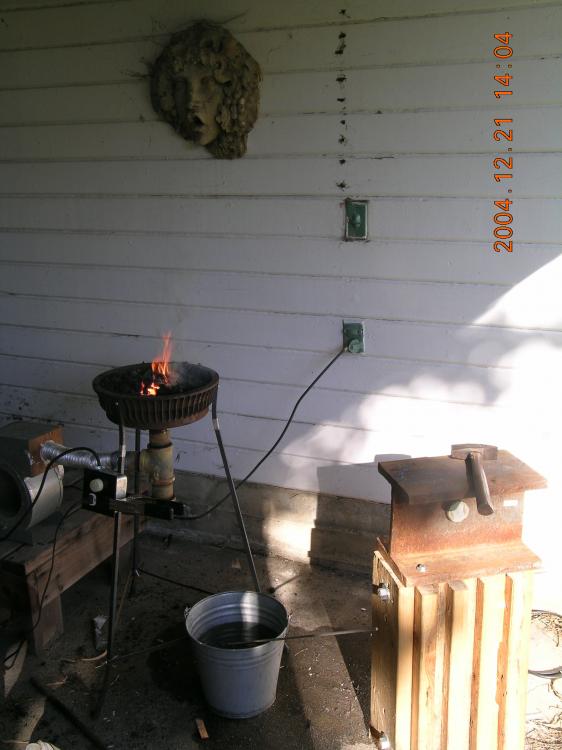
Here's my first forge, took me 4 months of scrounging, drilling and bolting (no welder) to get to there. Anvil was an I beam, fuel was charcoal. I took me YEARS to find a blower, $80 at the back of a garage sale. Tried to build a plywood bellows in that time. Didn't work, too heavy, and the naugahyde instead of leather wouldn't seal against the plywood, messy caulk and nails, ended up tossing it after hours and hours of work and pondering. Experience is what you get when you don't get what you want. I just saw a box bellows in use at Western States. Don't discount that route, dead simple, effective and you get a surface to lay your tools on, less stooping.
-
Apologies Frosty. While I have an intense interest in the lovely bride and my new son in law, I didn't want to speak for everyone else. Monterey, CA wedding on the beach


-
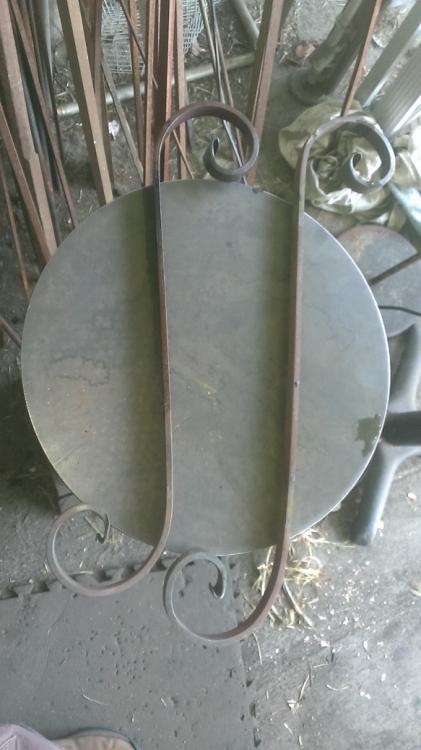
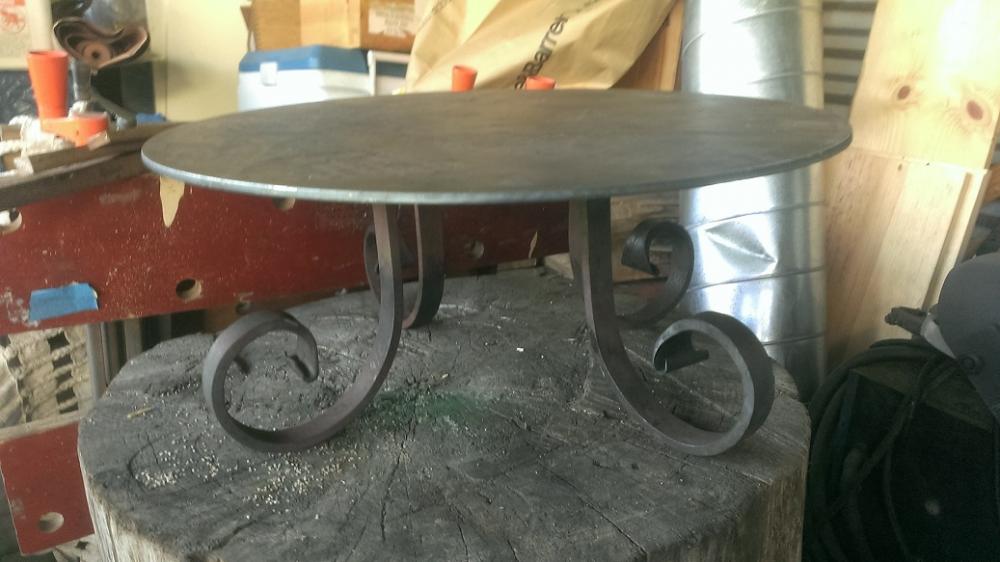
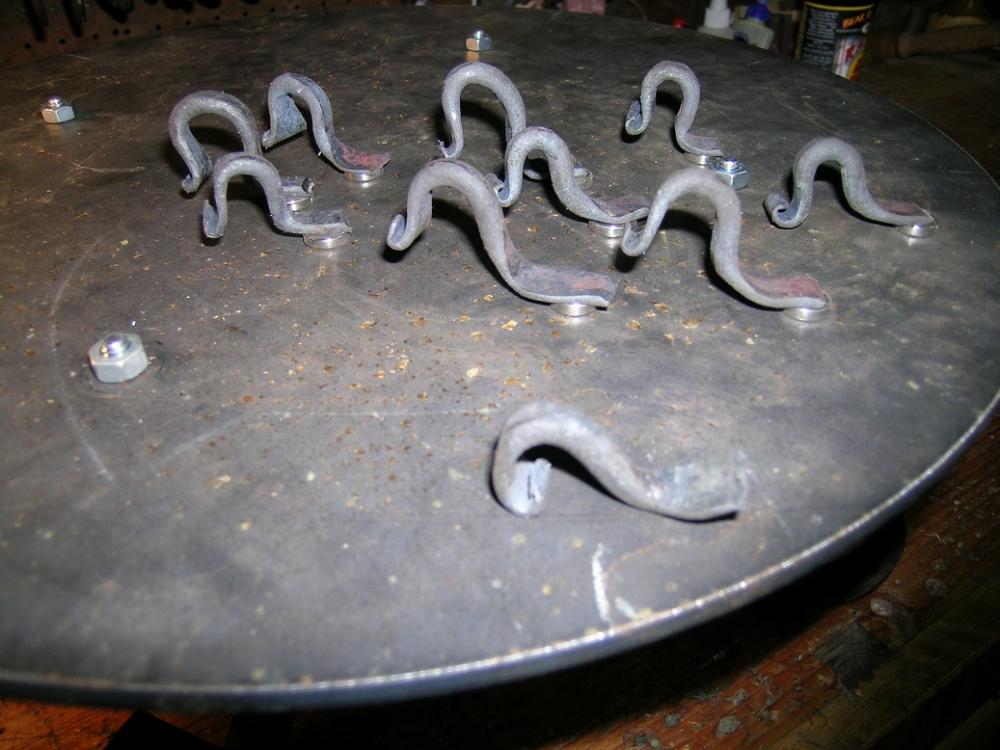
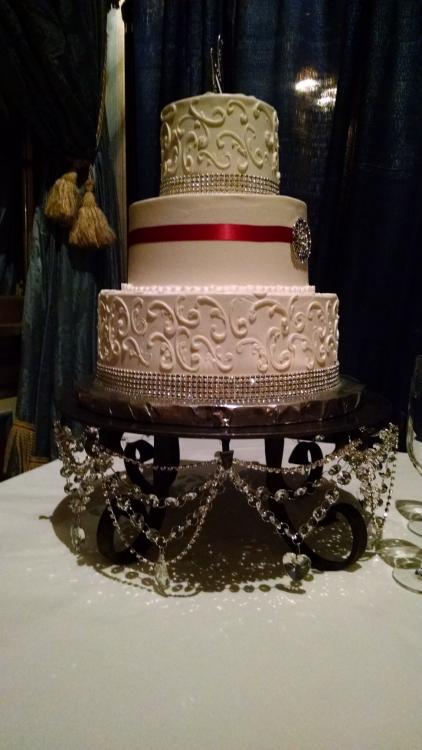
The eldest daughter was just married and the father of the bride (me) was tasked with: 'make a swoopy iron plate for the wedding cake, lots of hooks to hold the bling, and strong, the cake is heavy!'. Yay, something substantial (for a wedding), requiring forge time! Pen and napkin design and off to the scrap yard. Didn't have much hope of finding 7 gauge plate in a cake sized disk, but you never know (7/8 octagonal tool steel? Yup. Steel plate, not so much) Supported a local business, Albany (California) Steel. They plasma cut a 16 inch disk on a phone call. Money well spent as the wedding day was approaching. 1/4 x 3/4 bar stock for the legs, fishtailed and scrolled on a jig from another smith's moving sale. Used a handful of rare earth magnets to temporarily attach the legs to the plate. Happy couple review: "maybe a little shorter?" They thought I'd have to remake the legs. Re-bent the right angles at the tops of the legs, added another scroll and drilled rivet holes to temporarily bolt it all together. Next were hooks around the rim to hold...stuff. The designers request an odd number of hooks, spaced 'a napkin width' apart. Came up with 9 hooks, and ended up making twice that many to get 9 that were close in size and shape. Soft iron rivets for the legs, peened into countersunk holes. Each hook was riveted with a cut off box nail, using a 3x3x12 inch block of steel on end as a bucking block under the rivet head. The last few were a little complicated to get over the anvil. And here it is in use! It holds my 15 stone with no flex so the cake was fine. I understand the happy couple have covered the plate with large candles that are melting into one massive, multiwicked candle. I thought it would make a fine pizza platter.
-
Spring Conference/Western States Conference
Michael replied to Chinobi's topic in California Blacksmith Assoc
Great Spring Conference! There was more to see and do than I was able to take in. The E.A. Chase exhibit was amazing, with large scale photos of the gates he's made and the drawings the they were based on. Got to see a japanese box bellows in action, try some drop tong welding, make a SeaHawk bottle opener (and me surrounded by Packers and 49ers' fans) at Darryl Nelson's direction. Best of all, got my first attempt at using a power hammer. A Nazel 2B, very finely tuned up (I was told by other smiths) by Mark Krause. Great fun!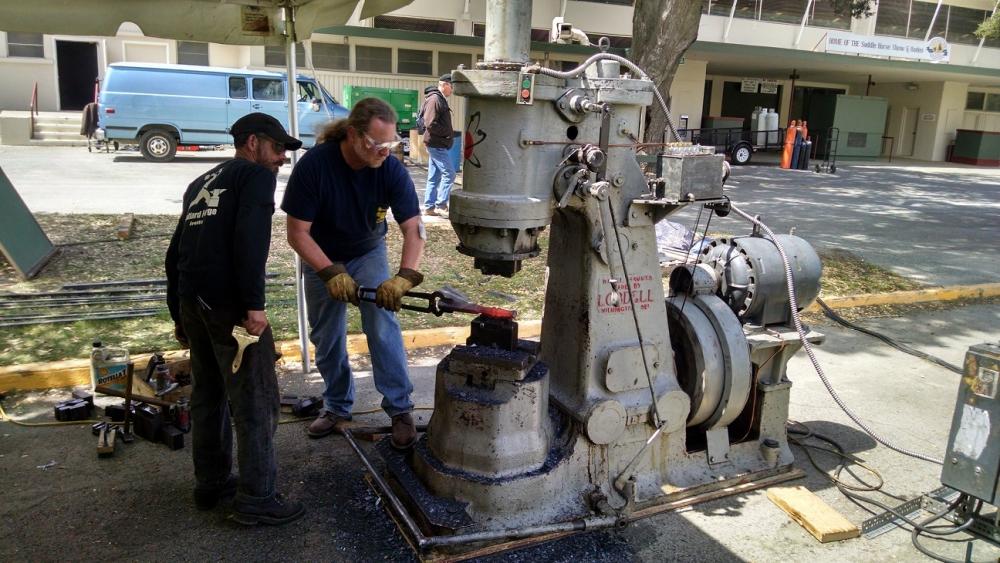
-
Should be ready to go tommorow.
Michael replied to redd1981's topic in Blacksmithing, General Discussion
Those big nails will make nice hooks. Use the nail head as the end of the hook that you bend up. You could make a leaf on the pointed end of the nail. Flatten the nail shaft a bit and punch (or drill) a couple of screw holes. My experience with RR spike knives has been disappointing, but your mileage might vary. Have a bucket of water and either a small can on a handle or bundle of rags on a handle to wet down the charcoal around the outer edges of the fire. A charcoal fire wants to spread and you have to keep it contained with the water. You are off to a good start. -
Not sure if he originated it, but Toby Hickman (R.I.P.) is known to have said that.
-
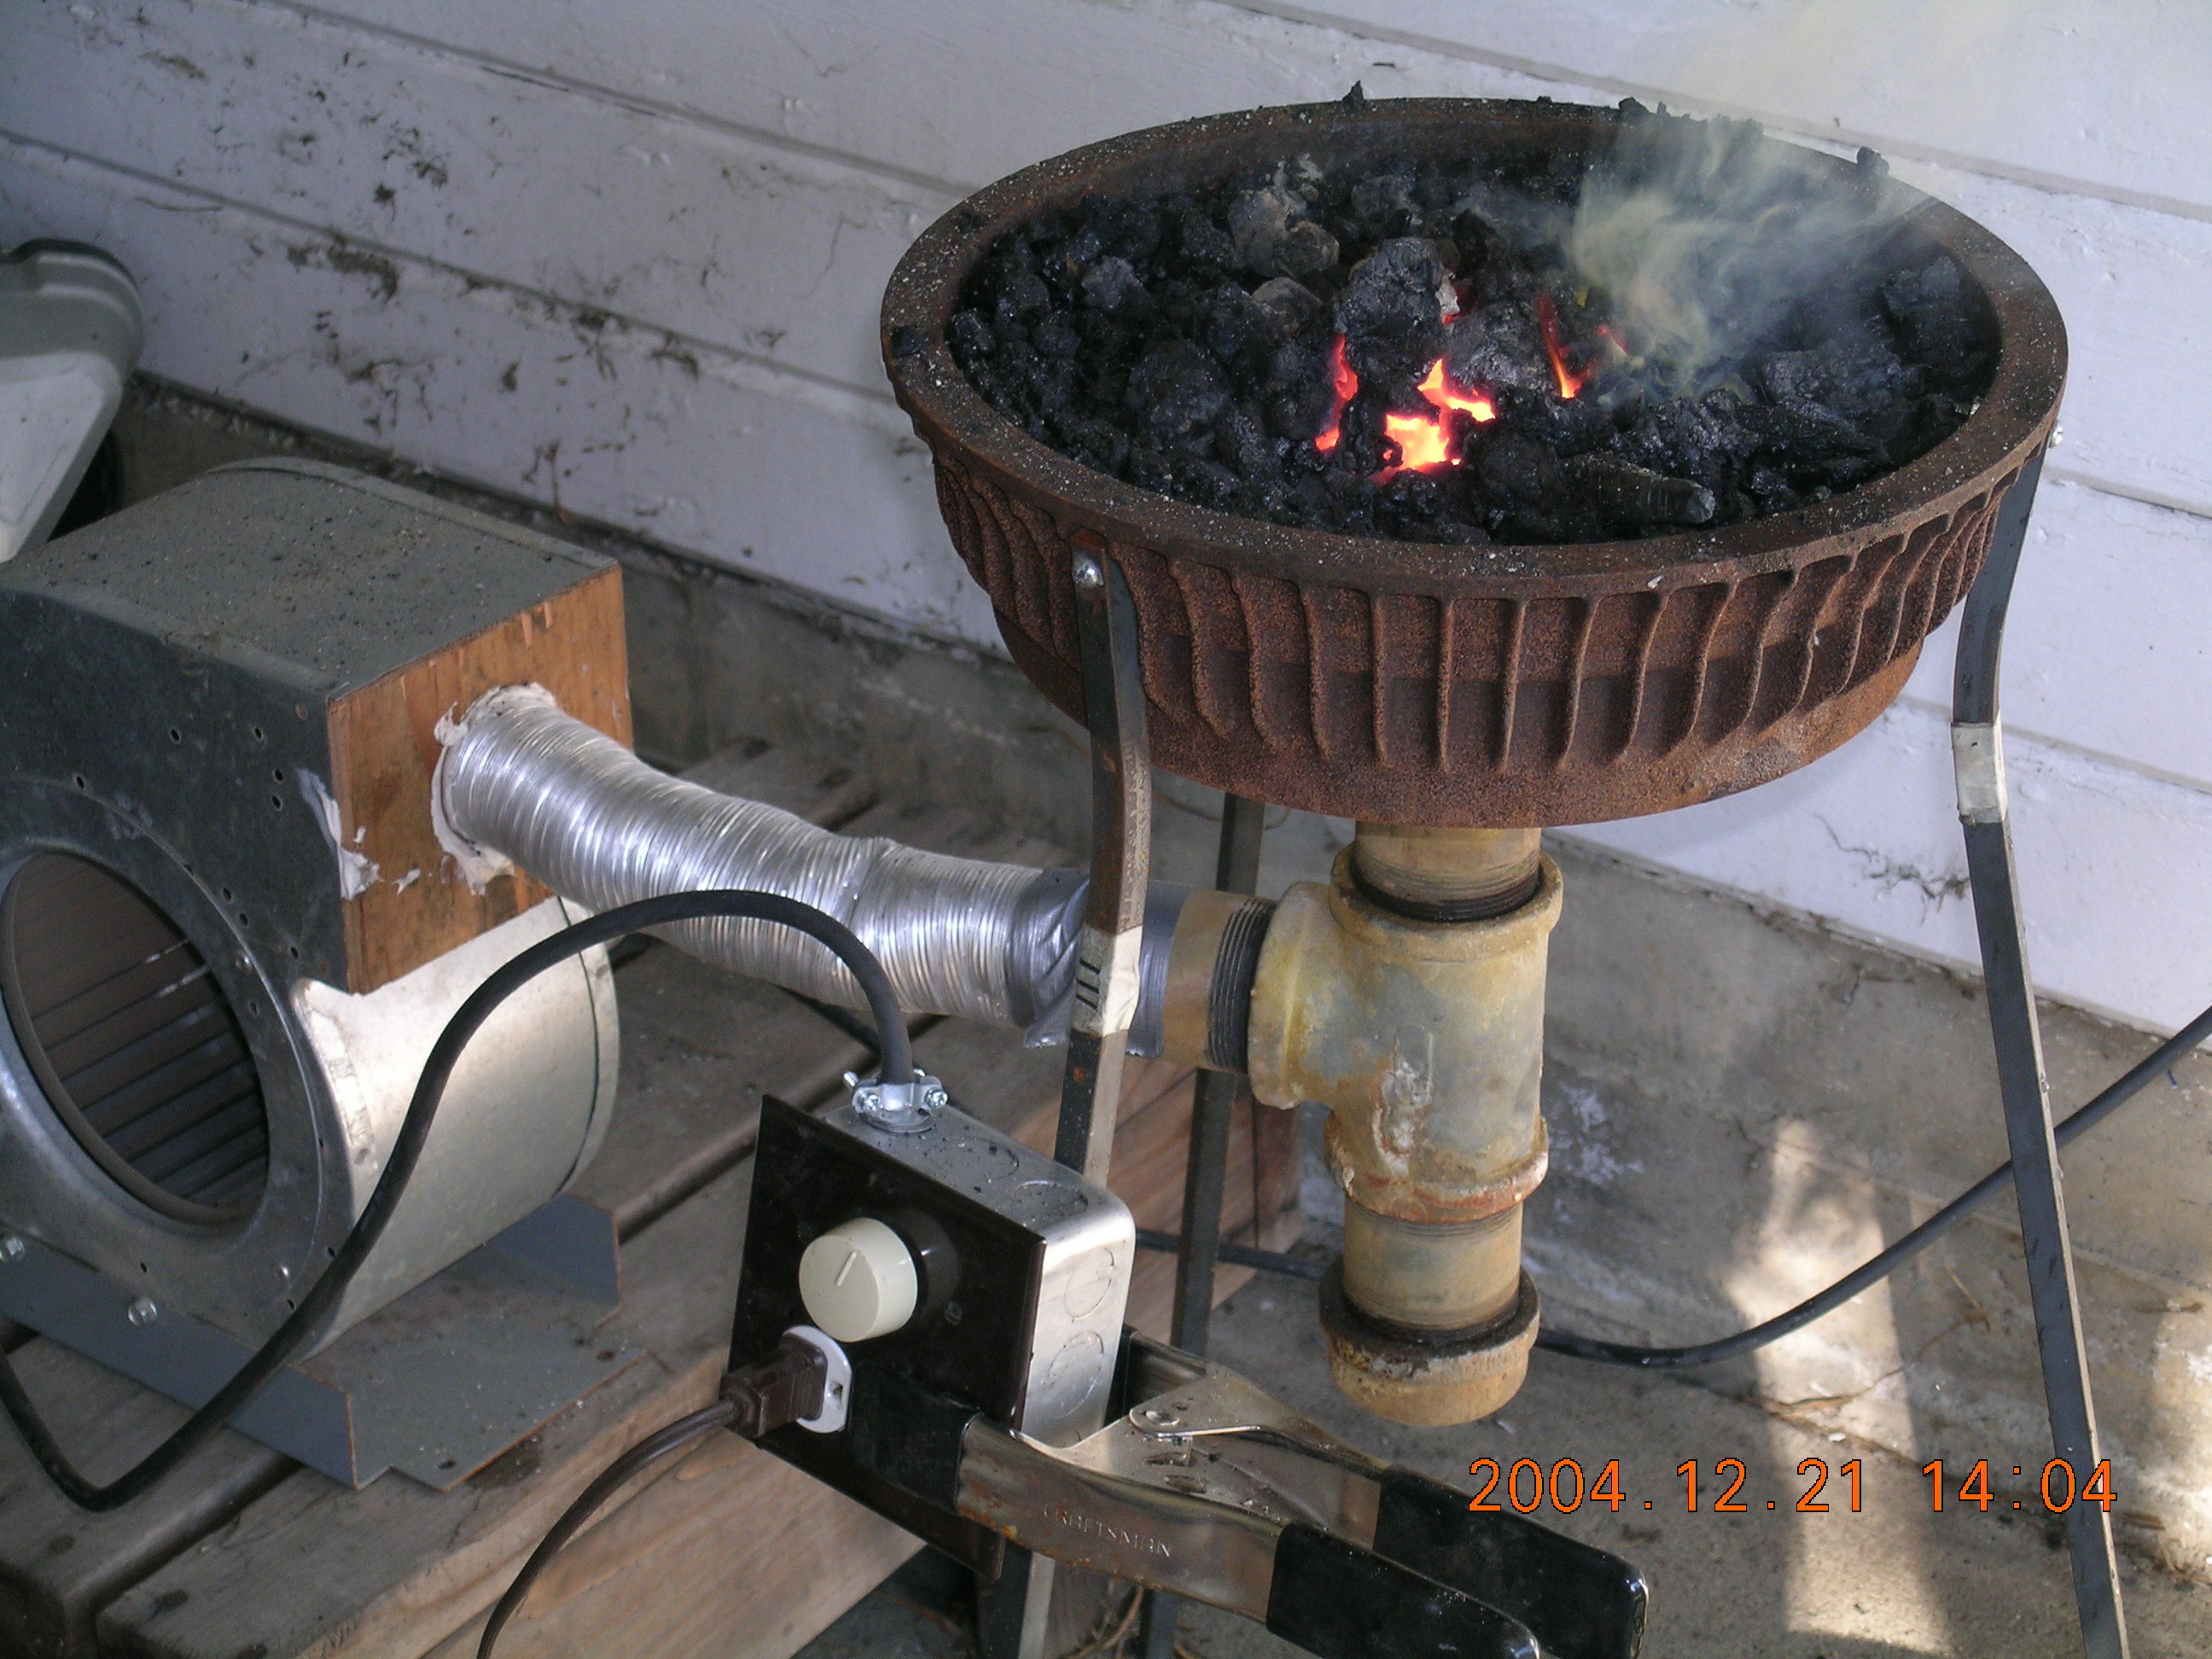
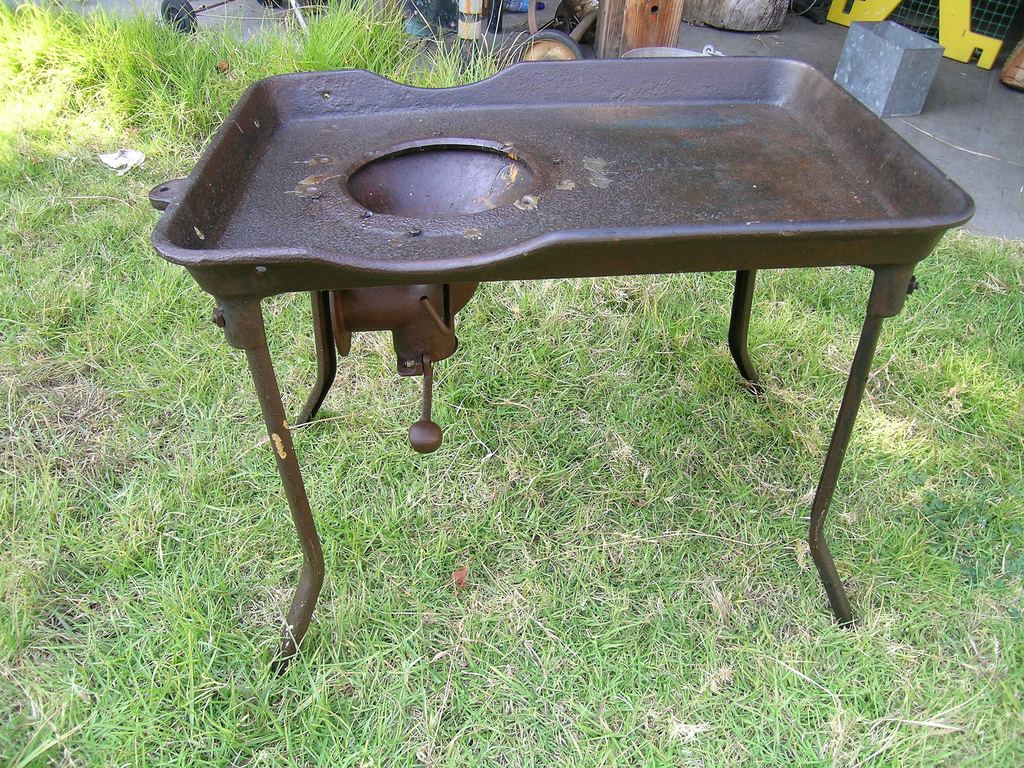
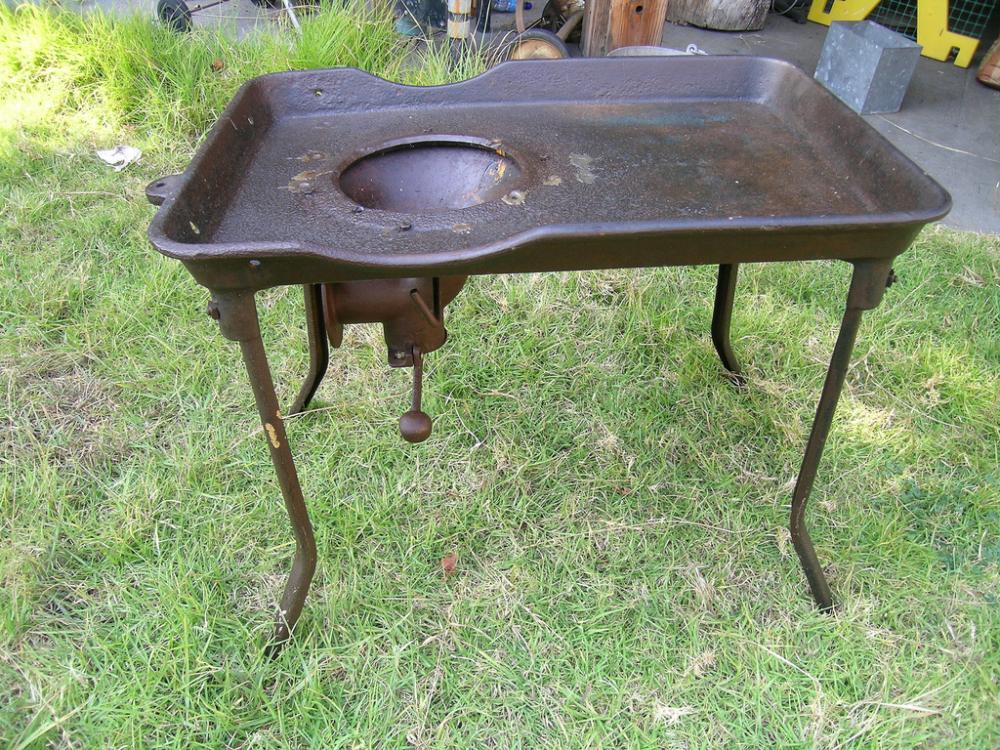
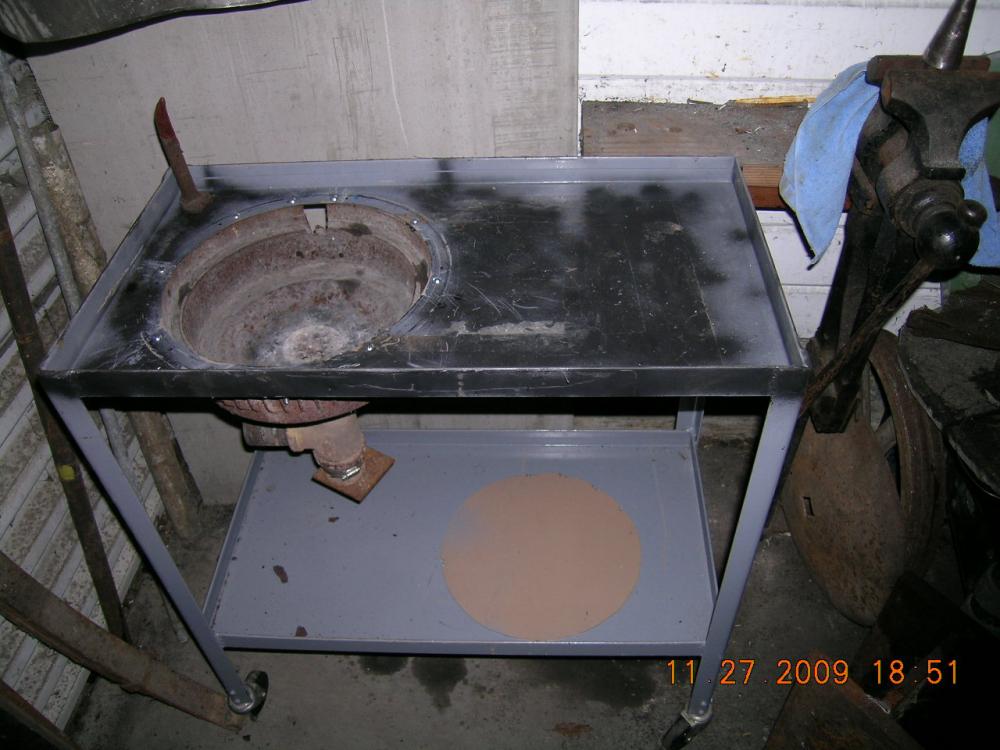
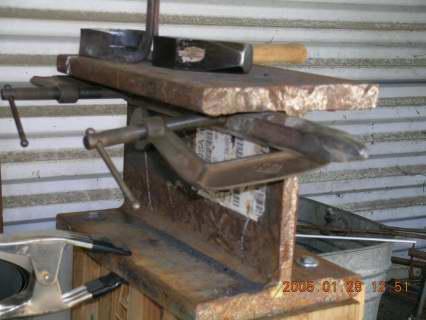
Oops, pics reversed. Oldest form of the brake drum forge at the top, newest cast iron forge table at the bottom.
-
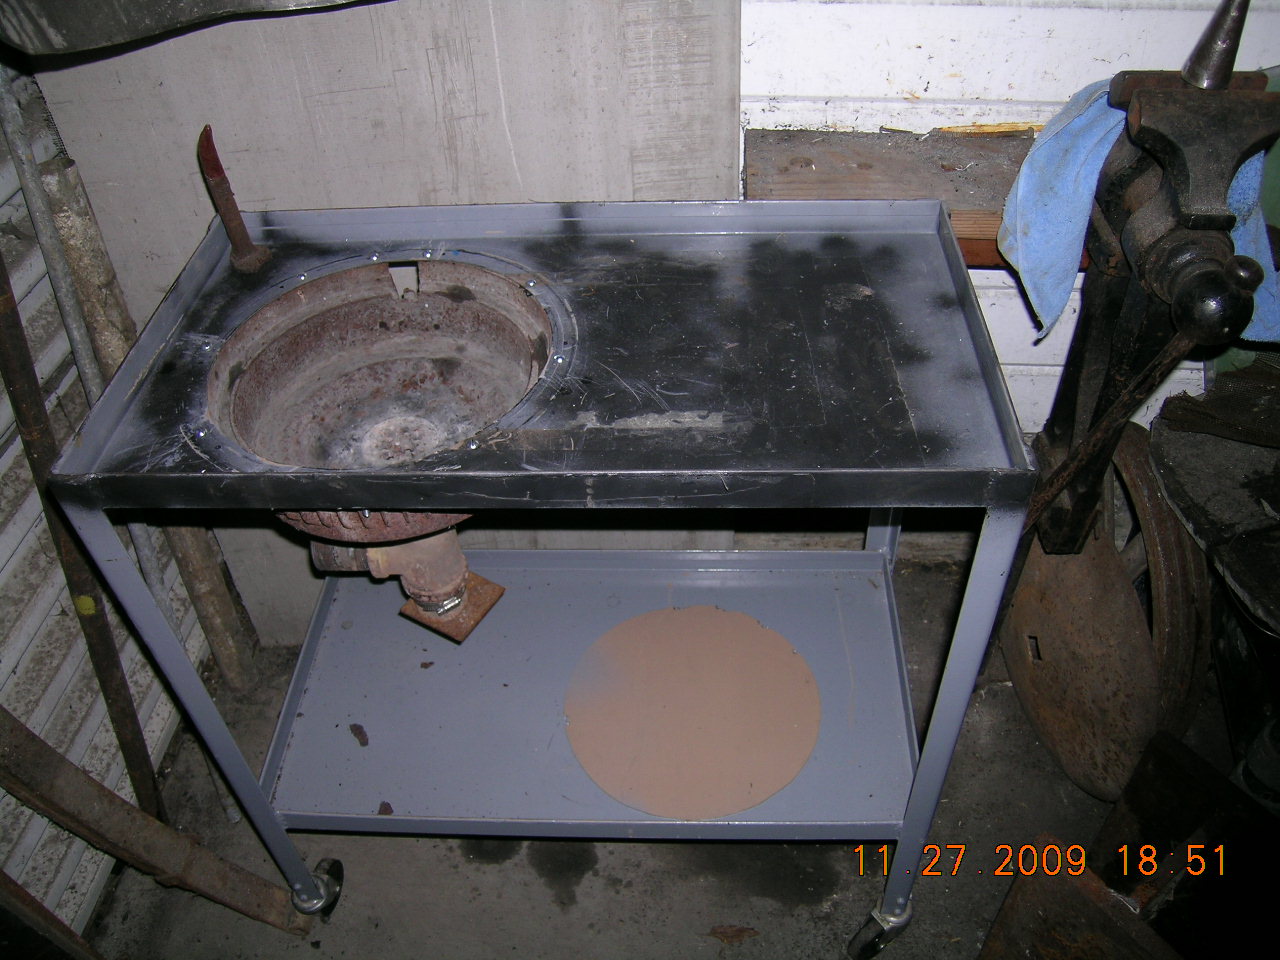
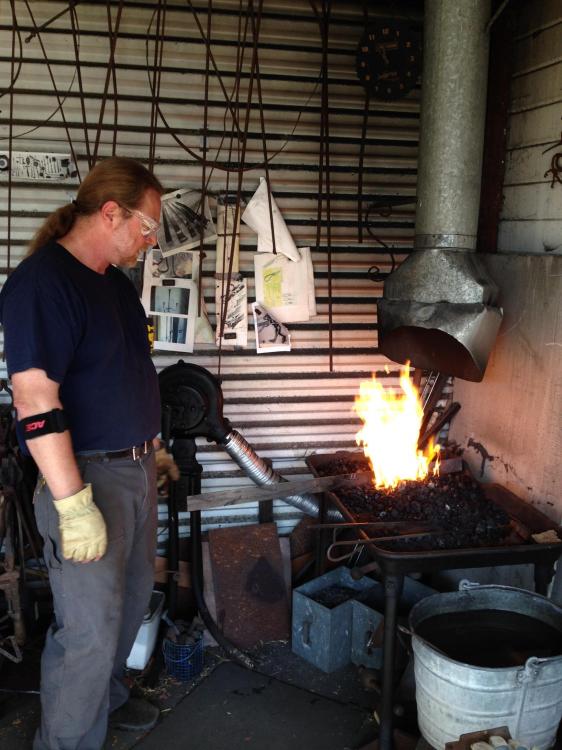
Here's my forge, cast iron table with the firepot. Great Craigslist deal (lousy, sideways photos). In use, though I'm in the process of rebuilding my hood/chimney contraption. Before the cast iron table, I re configured the same brake drum forge a couple of times. First with bolted on 1/2 inch square legs, then I dropped the brake drum into a plant stand and added shelves. Finally a steel utility cart came my way and I bolted the brake drum under a hole cut in the cart (gave that forge away to an iron in the hat collection)


-
Nice coupler by the way! Excellent substitute for an anvil. I looked into acquiring one of these back when I got started and the restoration railroad enthusiasts were aghast at the idea of using such a precious bit of necessary equipment to pound on.
-
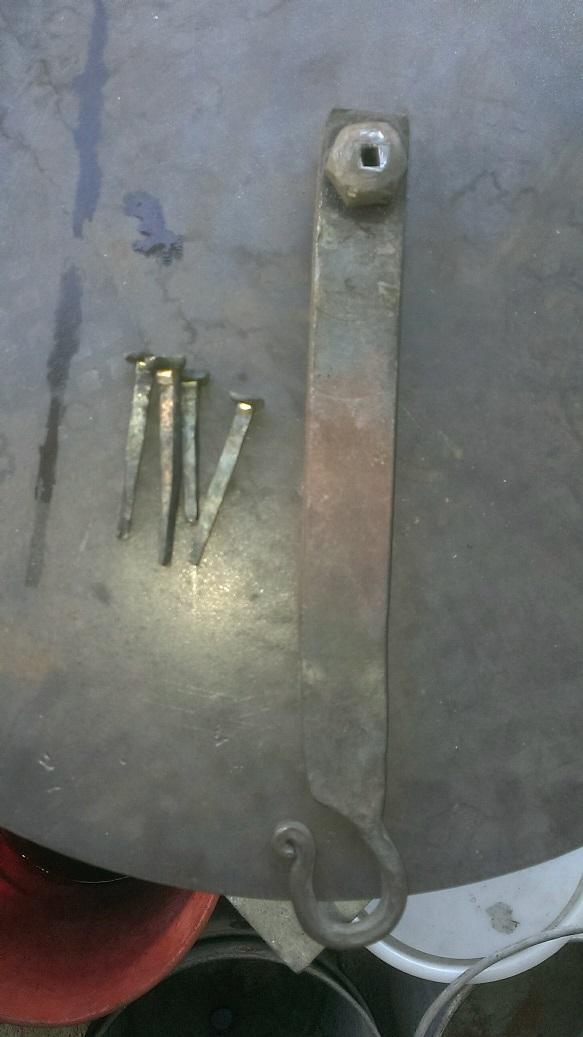
Frosty, I have to ask, just how big are the pictures you're hanging? These "picture hooks" are still an inch and a quarter long, small enough to be useful in the shop for nailed together projects. I may be overdoing this for some simple little nails, but every time I light the forge, I make a few nails. Just about the only thing I make a lot of, other forging projects are all over the place. Trying to make them well has become an itty, bitty personal goal. thanks for the tips, nice to know the little ball peen I've been using is appropriate.
-
That's a nice wide stump! You've almost got some table-like surface around the anvil, that should come in handy.
-
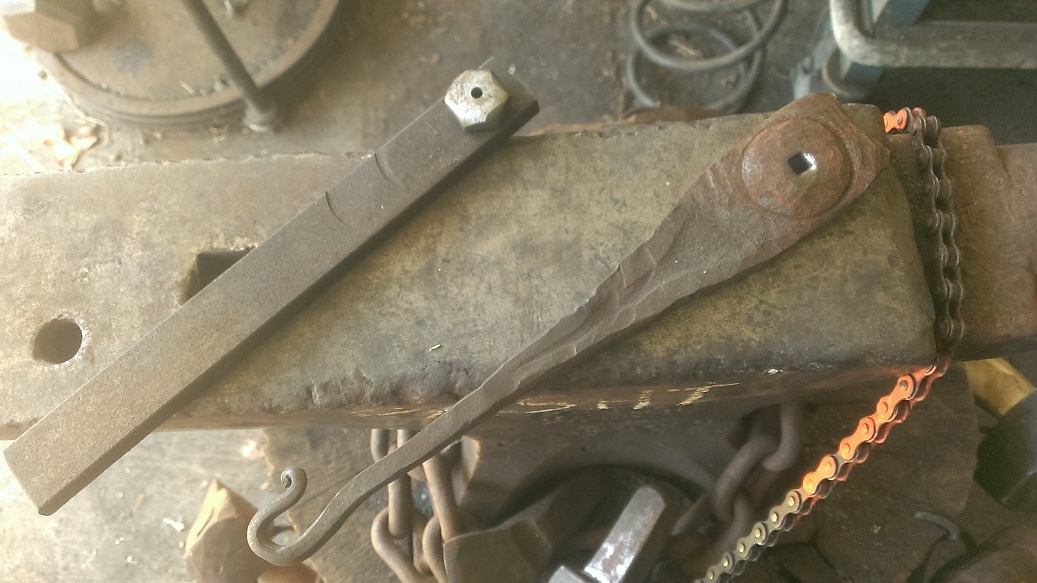
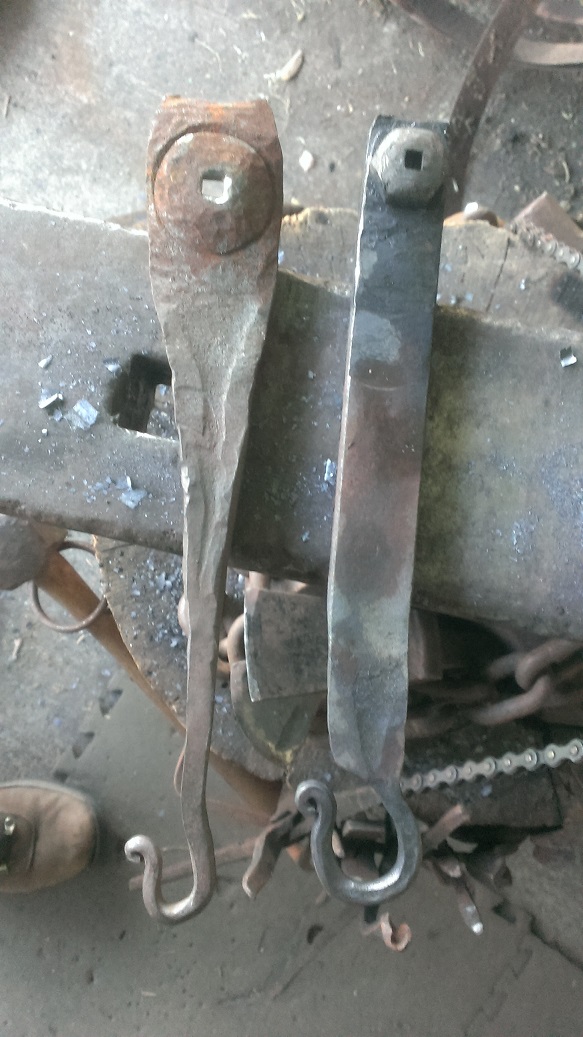
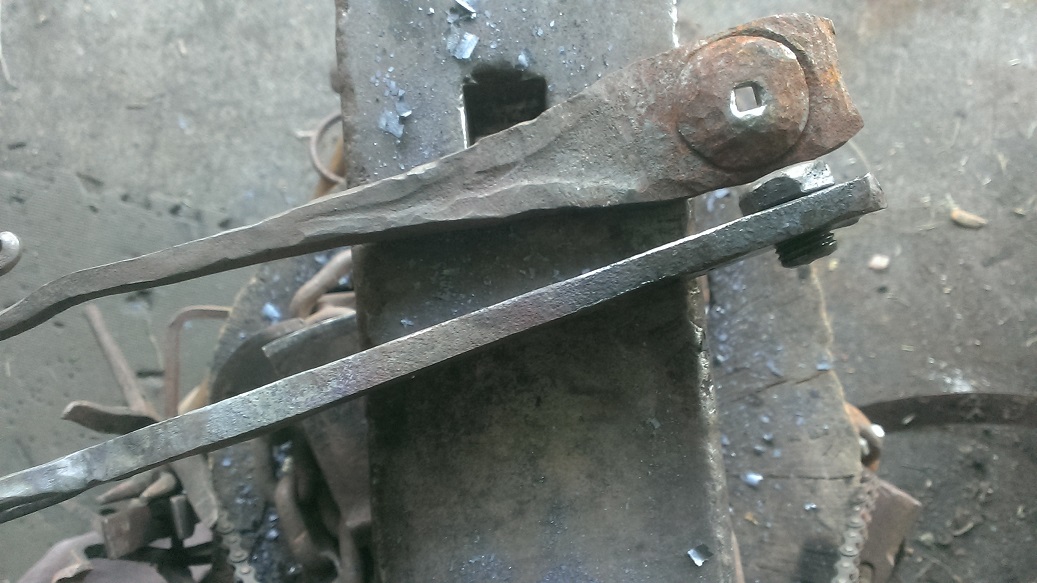
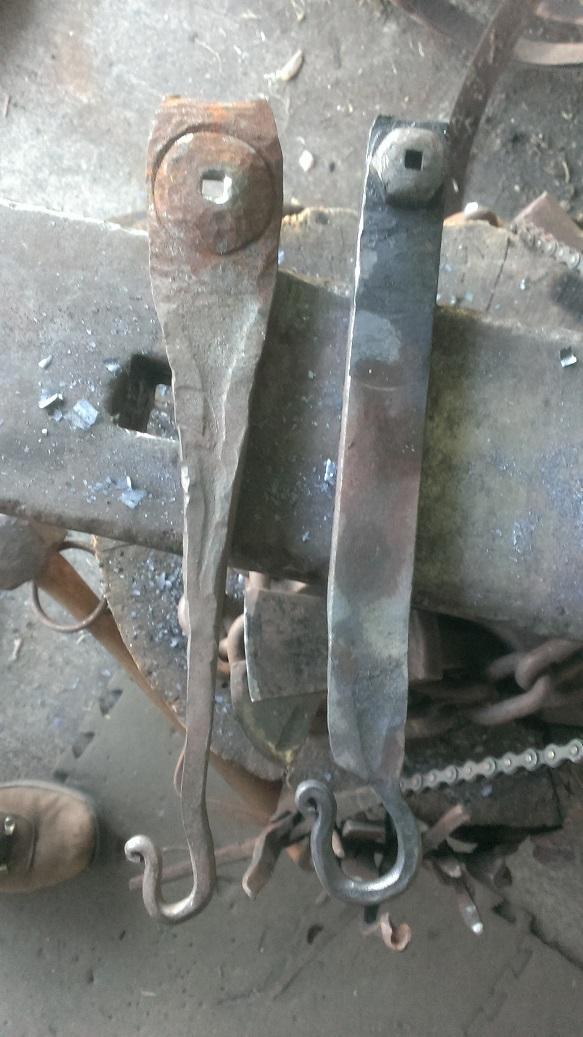
Finally got around to remaking a header the other day. My original, on the right, made 6 or 7 years ago, with a crooked, asymmetrical hole, slams into my hand when I put the head on a nail. Numerous mods haven't helped. First attempt at this I tried to screw a Grade 8 bolt into an undersized hole in an orange hot handle, to cut threads. That didn't work, not sure where I got the idea it would. Even after filing a notch in the bolt threads, the hole in the handle ended up polished, not threaded. Second attempt with a Grade 5 bolt, (didn't have a tap that would fit the Grade 8's) screwed in to a tapped hole in the handle stock. After drilling a stepped hole and rounding the top of the bolt on the grinder, got the bolt hot and drifted the hole square with a teeny tiny punch made from an old sharpening steel. Quenched from red and put a loop on the handle. The threaded end of the bolt that sticks out under the handle is a loose fit in the pritchel, and the high dome of the bolt head seems to make it easier to center the nail head (80% of my nails have L shaped heads, despite my best efforts). Having just figured out to pivot the header around in the pritchel after the first blow might have something to do with that as well, but this new header sits flat on the anvil which is nice, and doesn't jump up to poke me in the palm.


-
Swapmeet scores this morning! Add to last weeks!
Michael replied to b4utoo's topic in Tools, general discussion
Nice big fuller there. got a striker? -
I had a big jack hammer bit clamped to my makeshift anvil to use as a horn. Big C Clamps, section of I beam, it all worked pretty well until I was able to find a real anvil (PW 0-3-20)
-
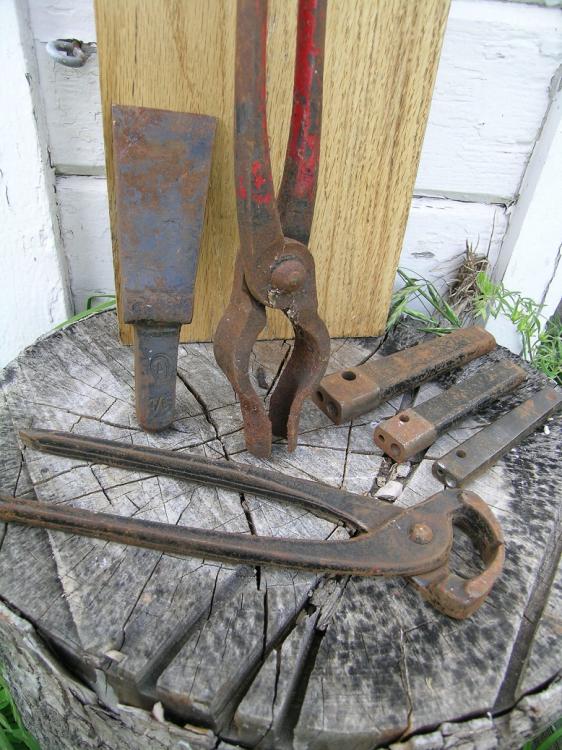
Never seen an Anvil at a garage sale, maybe I don't live in the right place... I find tongs and set tools everyone once in a while, few and far between. Best I've done at a garage sale in the SF Bay Area is this.... Tongs, nippers, rivets sets and an Atha hardy that fits my oddball 7/8 Peter Wright hardy hole. Post pics when you can.
-
Nice trick on the ball holding the striker in the bight of the upper loop. Never seen that done before.
-
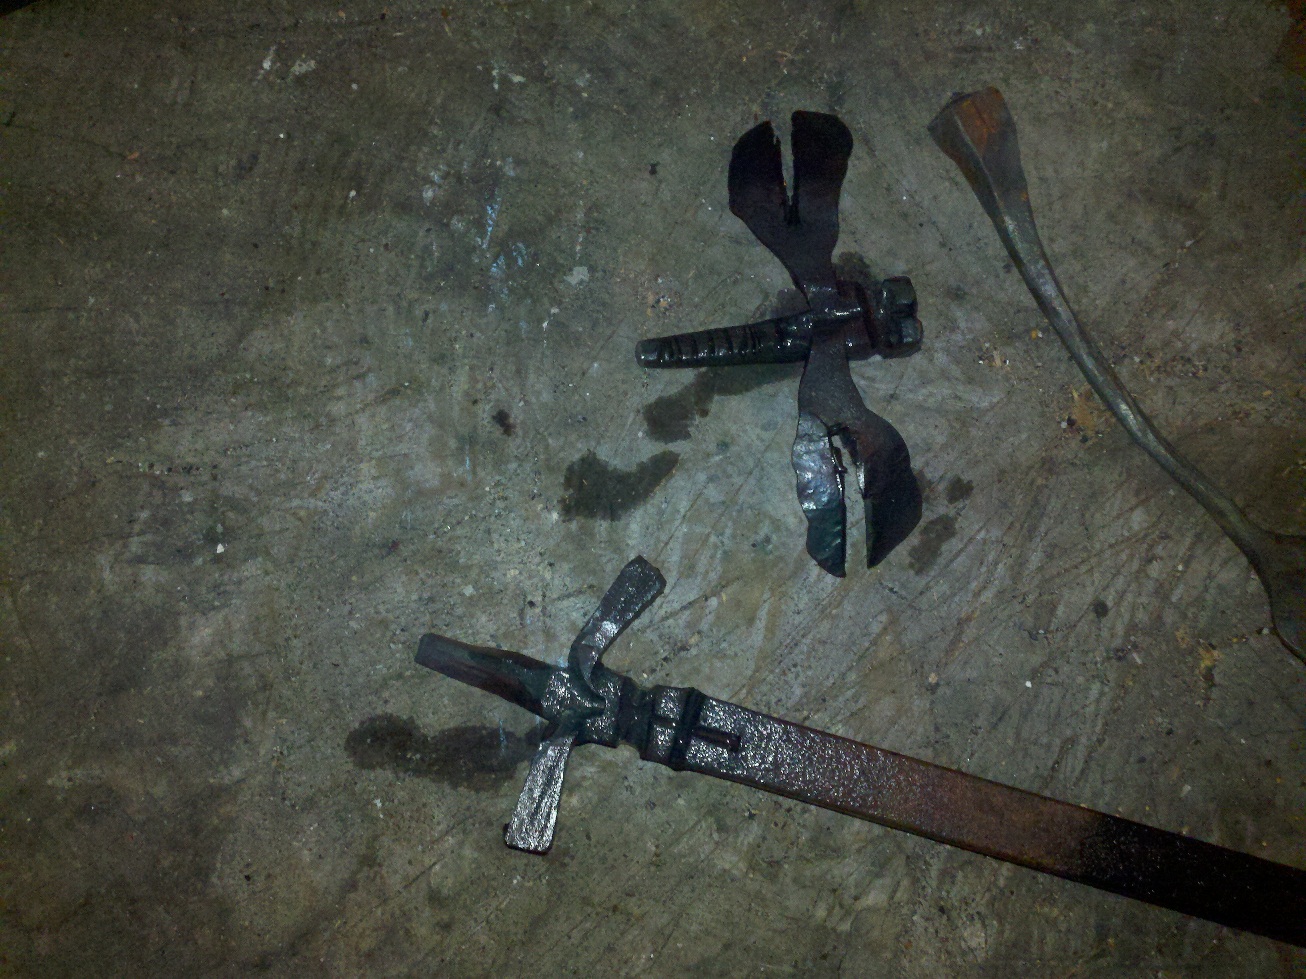
when I've done dragonflys I'll hacksaw down from one end at an angle, the wider end of the cut leaves more material for the wings. That wide section is then bent up out of the way of the "tail" and, after it cools off, sawn in half again to make the two sides of the wings. I've seen guys do it with a thin hot cut chisel but I have to use the saw.

-
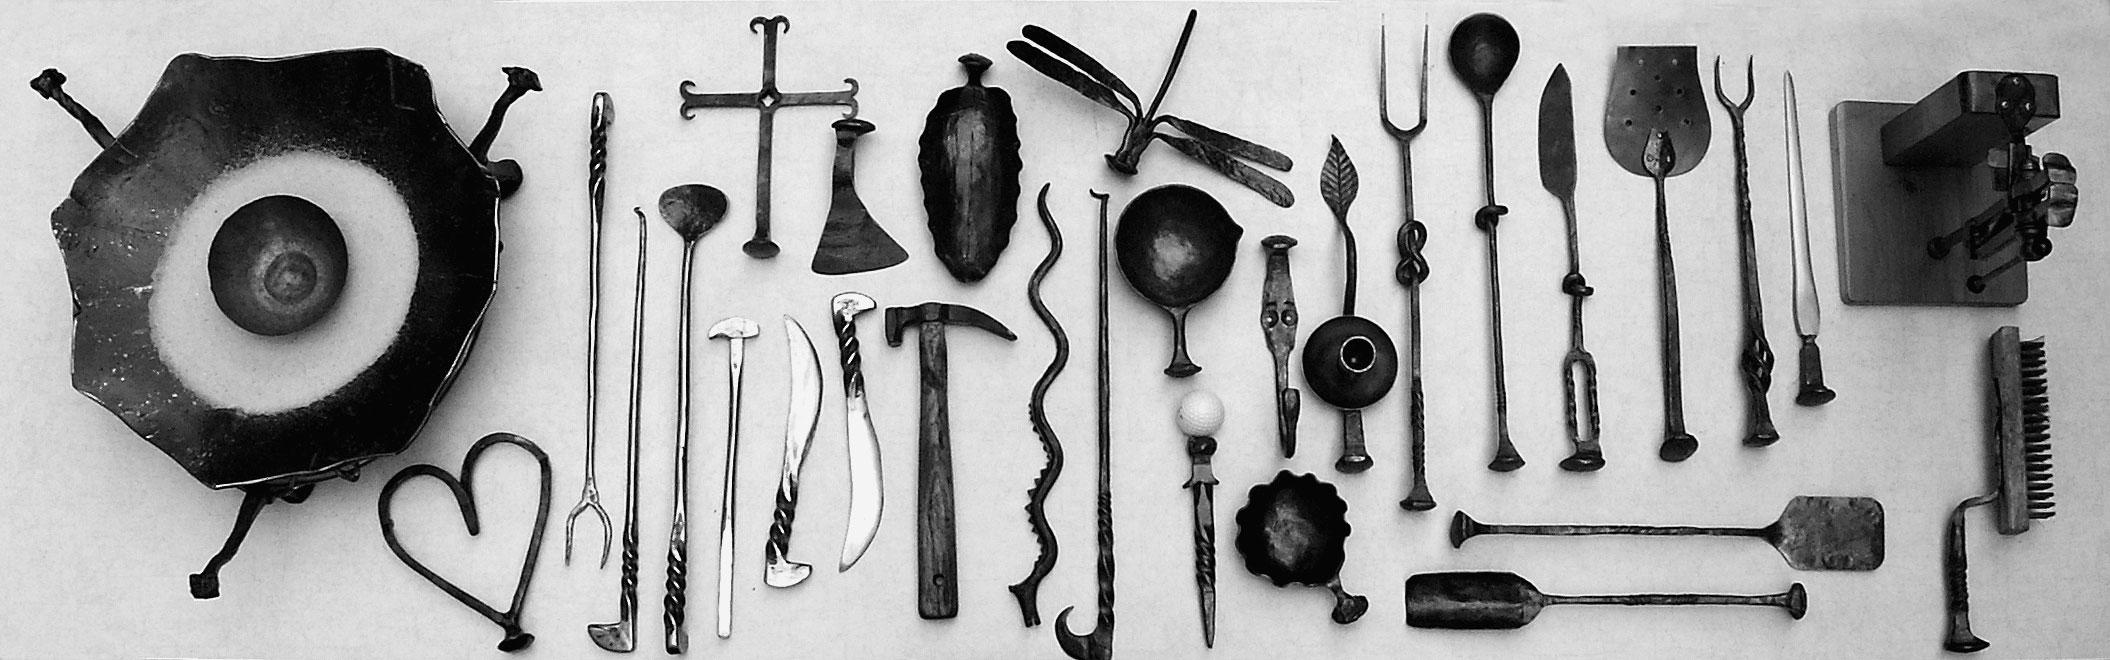
With proper credit to the Kootenay Blacksmiths Association. I keep a print of this out in the smithy for inspiration.
-
That's a very thoughtful gift for a woodturner, nicely done.
-
Anvils, they stack so well.
-
Well, ya gotta start somewhere
Michael replied to AddictedToSwedes's topic in Building, Designing a Shop
Off to a real good start. Got a hammer? -
Walking back from lunch, past the loading dock, three of the these turbine vents were set next to the dumpster. I guess they finally broke down the second floor restaurant that closed last year. Grabbed the best looking (ie non bent) and tucked it under my desk till the end of the work day. Trash bag for the train ride home. Nice 12 inch turbine vent to match the 12 inch spiral duct in the background. This will replace the inadequate 6 inch stove pipe over my coal forge. On the way home, the other two were gone. For Free!!!!
-
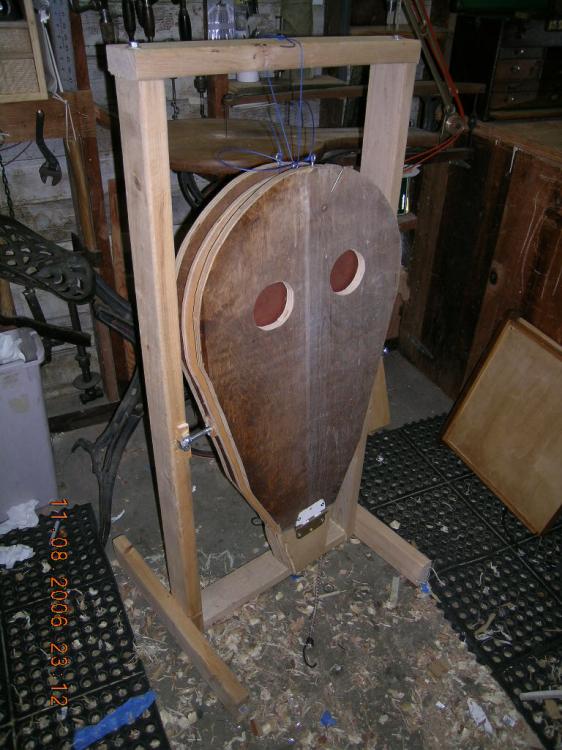
Great work, it looks fantastic! Would you care to elaborate on the production process? is the dragon body forged, laser or water jet cut? How much welding? How did you make the head? How much trial and error to get the balance right? and with wings that big, is anything holding it down on the pivot?
-
Traveling/ portable anvil stand?
Michael replied to Everything Mac's topic in Stands for Anvils, Swage Blocks, etc
If this is for a portable set up, then make the wooden stand. When you take the anvil off you can flip it over and use it to carry tongs or shorts of bar stock. Make the "top" a little wider so its more stable when upside down, couple handles on the sides and it will do double duty when loading up your demo gear. I could knock out a wood stand like that in an hour or so, a little envious that you'd have an easier time cutting and welding up a steel stand. I came to smithing from woodworking though.