Michael
-
Posts
1,061 -
Joined
-
Last visited
Content Type
Profiles
Forums
Articles
Gallery
Downloads
Events
Everything posted by Michael
-
From the album: Michael-SF
-
From the album: Michael-SF
-
From the album: Michael-SF
-

From the album: Michael-SF
-
From the album: Michael-SF
-
From the album: Michael-SF
-
From the album: Michael-SF
-
From the album: Michael-SF
-
From the album: Michael-SF
-
From the album: Michael-SF
-
From the album: Michael-SF
-
From the album: Michael-SF
-
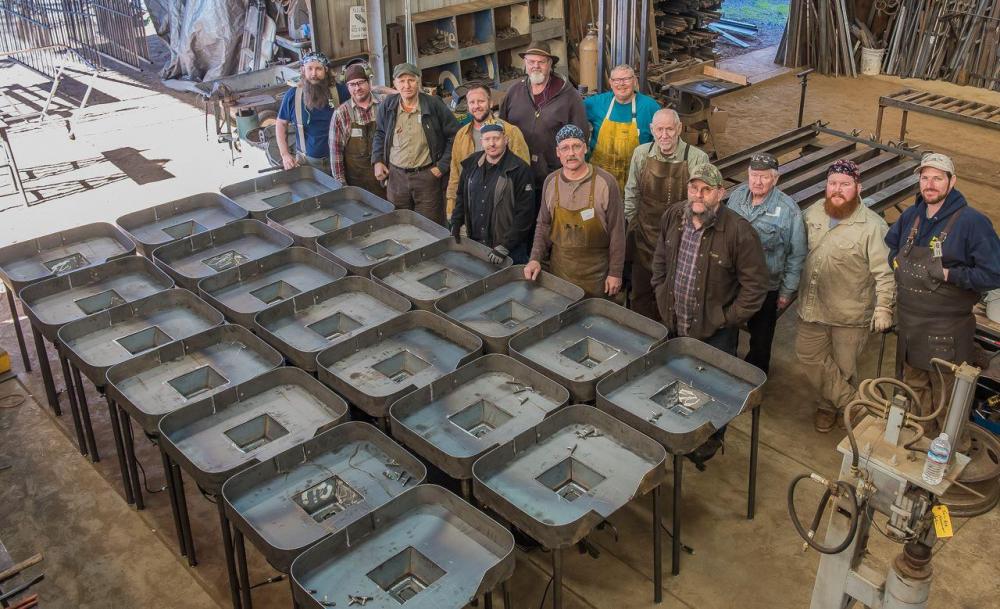
I think that 21st one was either the prototype or was left at the shop. McLelleen Blacksmithing in Loomis CA teaches classes and has a semi consistent set of solid fuel forges. I don't know the the shop owner was there that day, a lot of the CBA workshops at McLellen's go that way.
-
I looked thru my CBA pictures folder and it doesn't look like I have one. The legs are pipe (stored in buckets)and fit into sockets in the table, the sockets are inset so the tables all stack together. Pokers, rakes and watering cans go in the tables as they are stacked. Firepots are stored in angle iron racks on the walls of the trailer (the flange keeping the firepot in the table fits in the angle iron) I'll see if I can get someone to take a picture of them broken down. There's an event this weekend and I "think" the trailer is there. Here's a picture from the volunteer workshop when these were built (Photo credit to Paul Boulay, our VP and Photographer extraordinaire!) I was mistaken, they built 20, 10 for the trailer and 10 for the workshop participants.
-
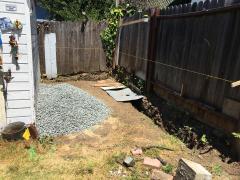
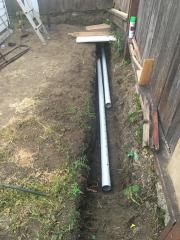
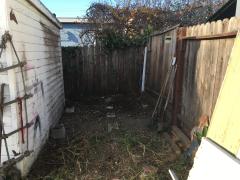
I'd consider either concrete footers under the corners to tie the whole thing to the ground. Not wanting deal with cement I can understand. Setting up my own crushed stone shed, 8x16 in a corner of the yard, I buried pier blocks to tie the posts to. Under the piers is a 12 inch deep trench with drain pipe and gravel. I'm at the bottom of a hill with dense clay soil so drainage was necessary.
-
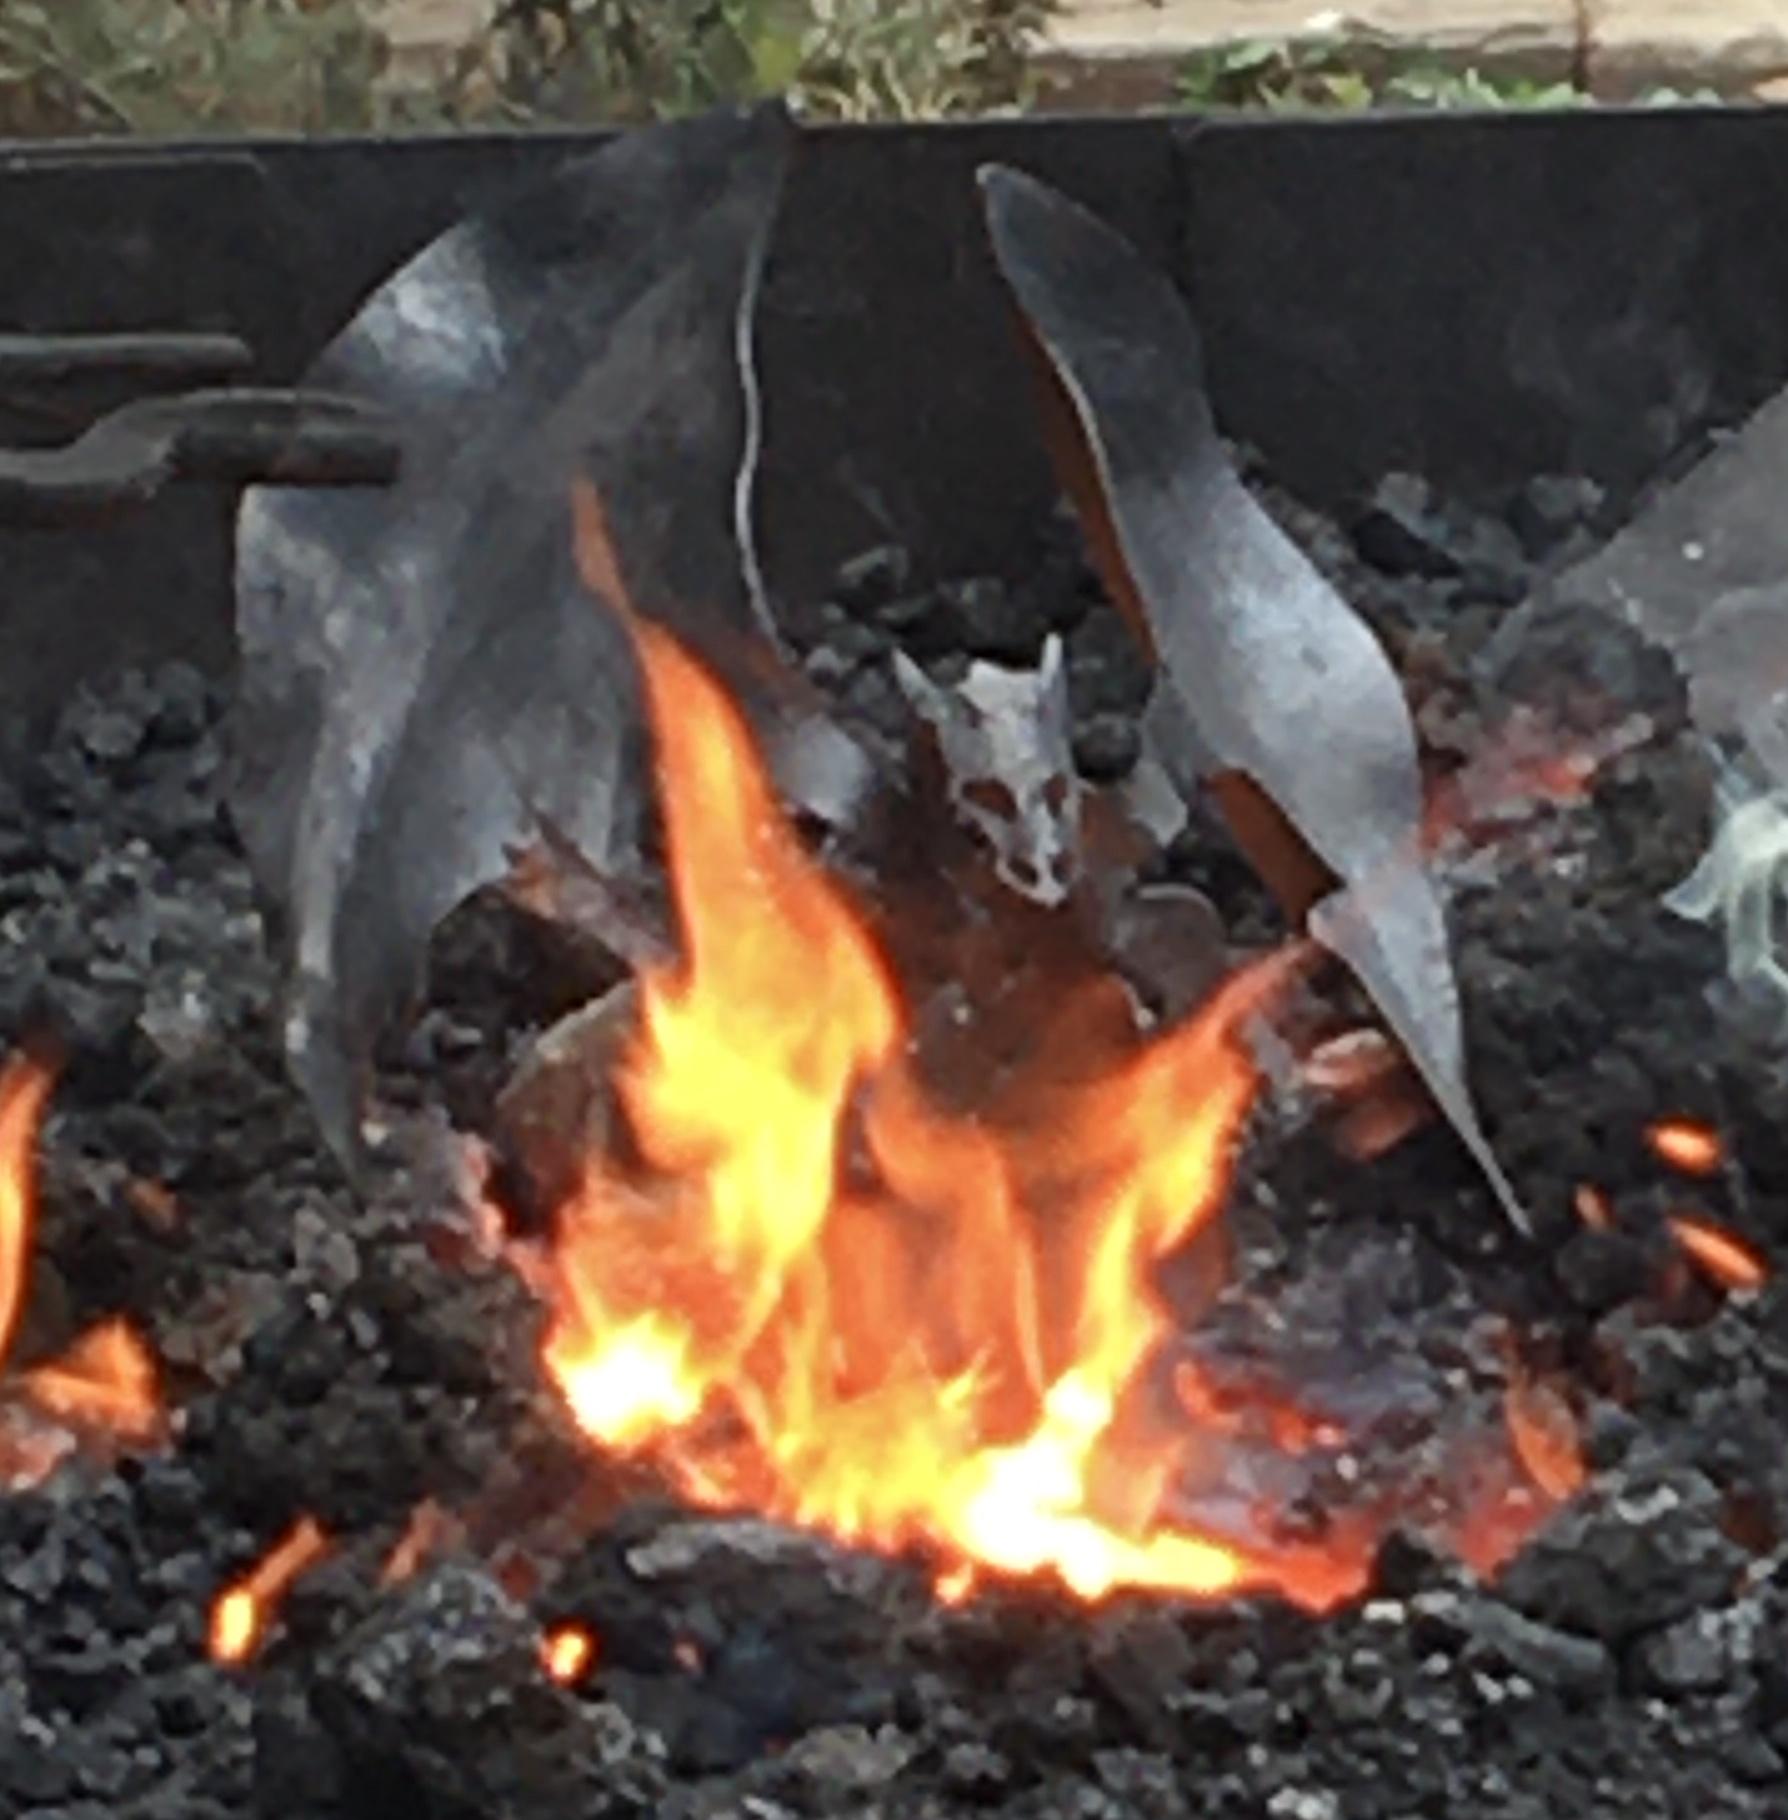
Hi, I've used these specific firepots a lot. CBA has 10 teaching forges set up like this. We transport them in a trailer to hammer ins and they set up (the forges, with the firepots) in just a few minutes. The design was for both consistancy across all the forges, CBA had a trailer of mismatched coal forges before this, and ease of build during a workshop-I think 15 were built over a weekend, with 10 slated for the trailer and the others went home with the crew members. These are also designed to drop into the forge tables and come out easily during breakdown. Here's what the whole forge looks like. Having worked on and demonstrated with these forges, I don't think I've ever used the clinker breaker. Each forge comes with a poker, rake, shovel and watering can and we just pull the clinkers out with the poker. These are also teaching forges, I wouldn't say they are abused, but they do see a lot of students new to solid fuel. So, blowers get left on, fires get too big and clinker builds up. That said, I started out with a brake drum forge, originally in a plant stand, then a rolling metal cart and finally found a nice case iron table forge with a round Centaur forge firepot that I use now.

-
Ideas for budget-friendly smithy?
Michael replied to AndrewCobill's topic in Building, Designing a Shop
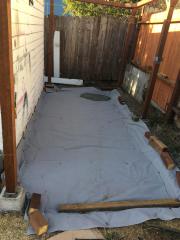
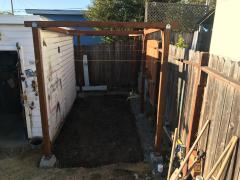
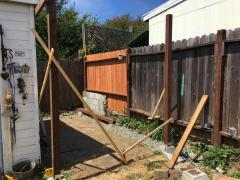
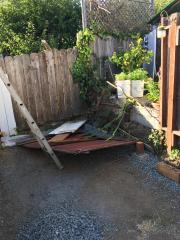
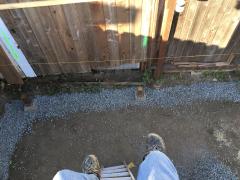
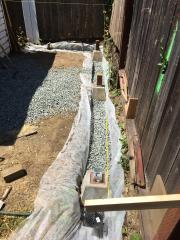
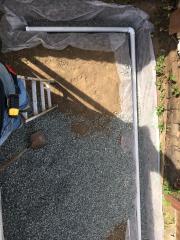
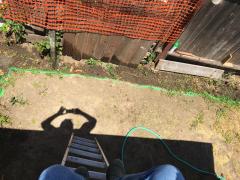
for covering a full sized table forge, I use those sheet metal "driveway saver" drip pans sold at the auto parts store, though I've always found them at garage sales. usually 3x 4 foot or bigger, they cover the whole forge and overhang the edges quite a bit. I'm currently rebuilding the patio space my smithy has been on for years. The 60 year old corrugated metal roof has rusted through, but the sides are still good. New space on the other side of the yard. 4x4 posts, decomposed granite "floor" goes in today! Michael -
I've brought donuts to the yard more than once. Showed up with my six year old in tow once (this was more than a few years ago), they said 'keep her close to you and it's fine'. Her small pink work boots, overalls and safety glasses might have had something to do with it.
-

-
I got a copy from ILL a few years back and scanned all the Peter Wright pages (can you tell I have PW anvils?)
-
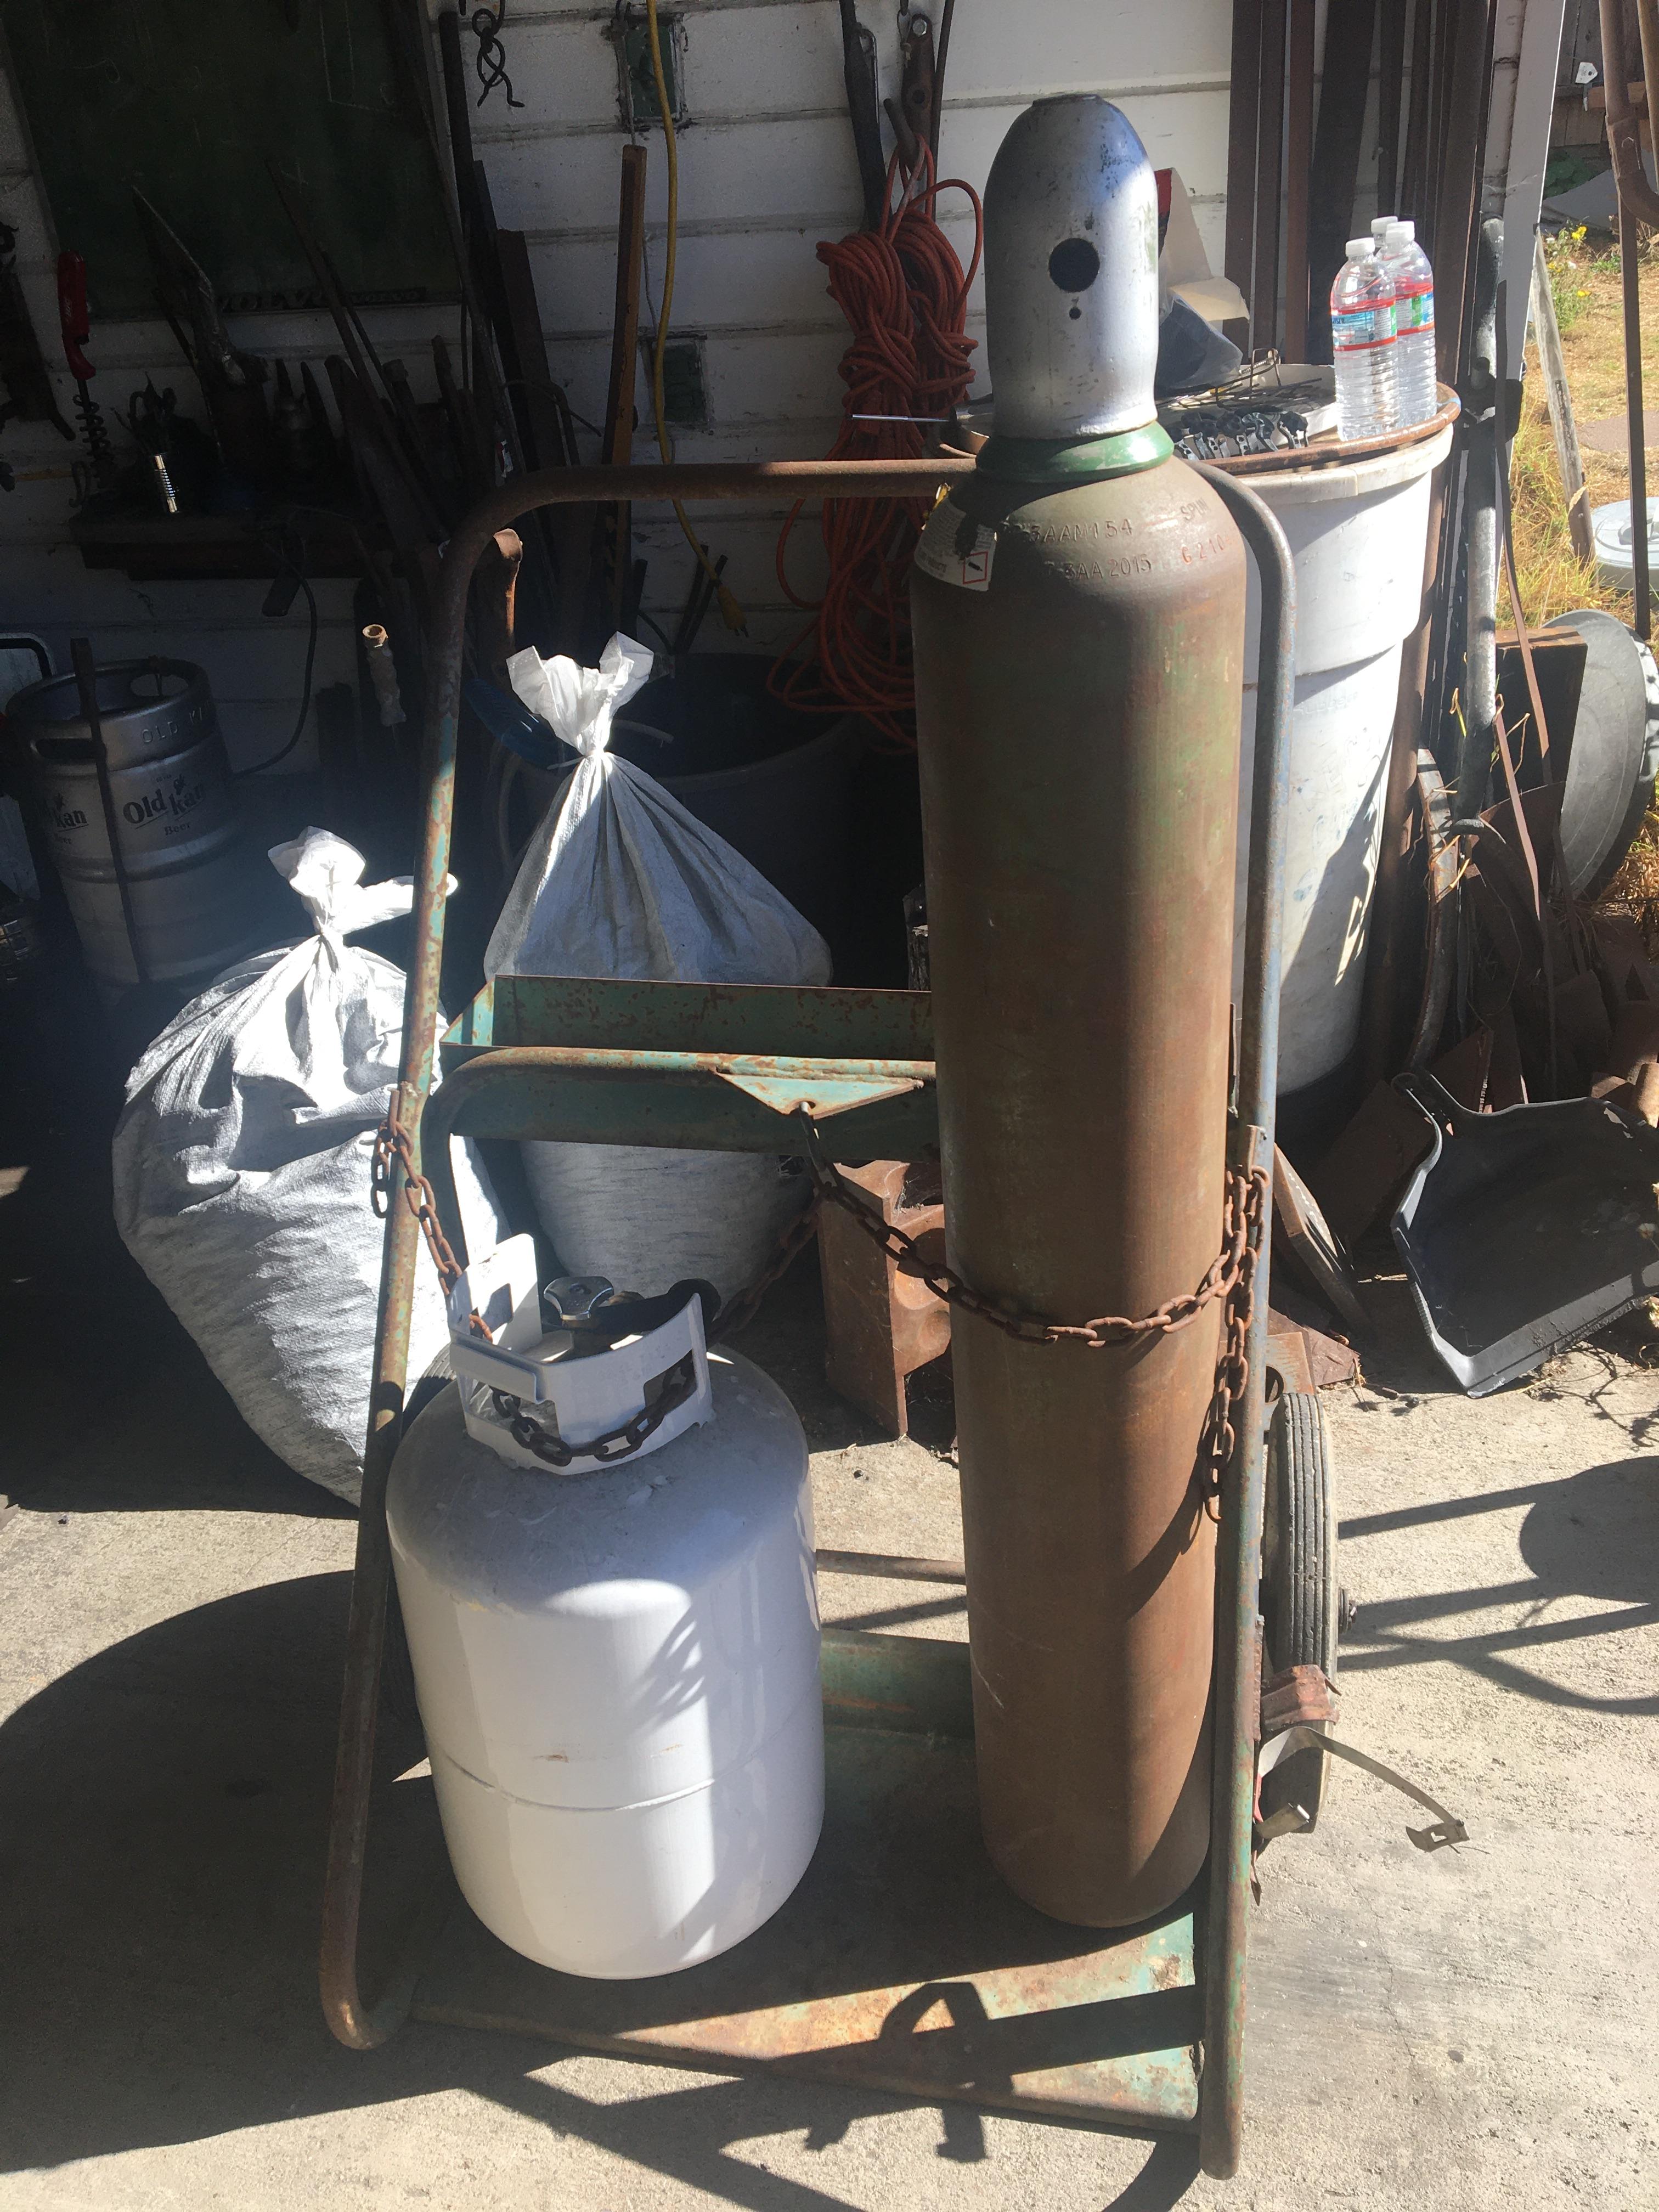
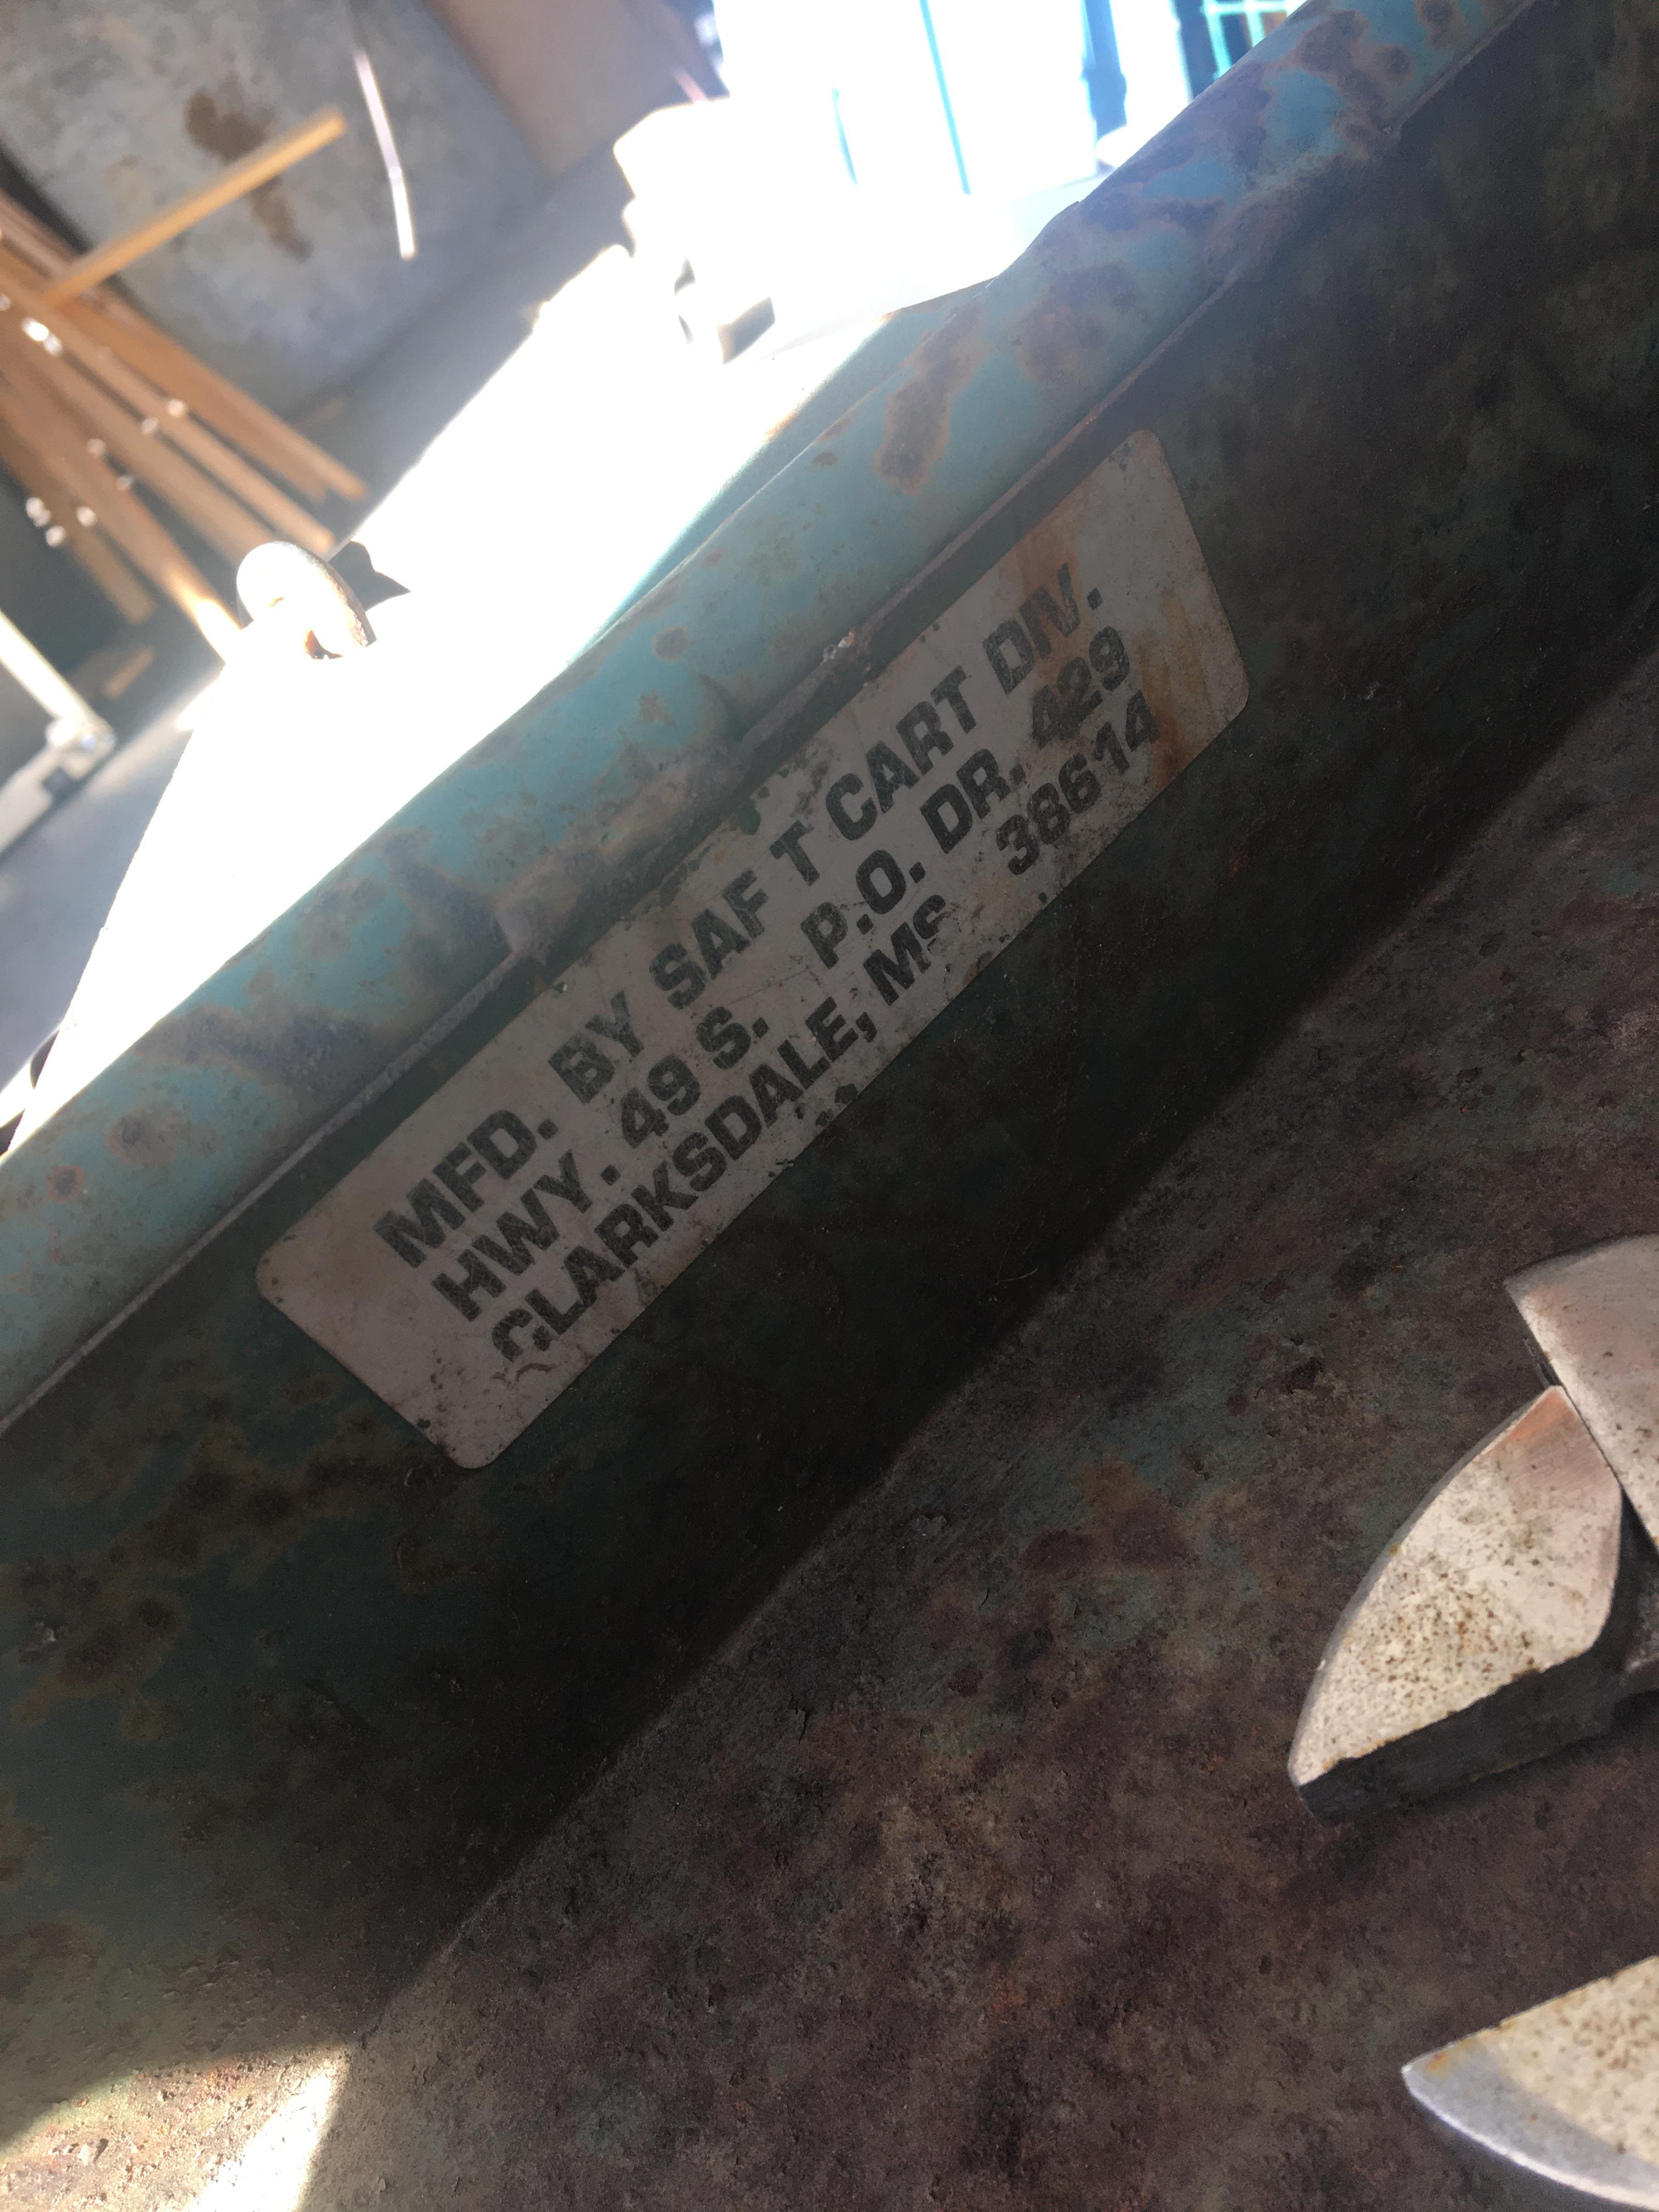
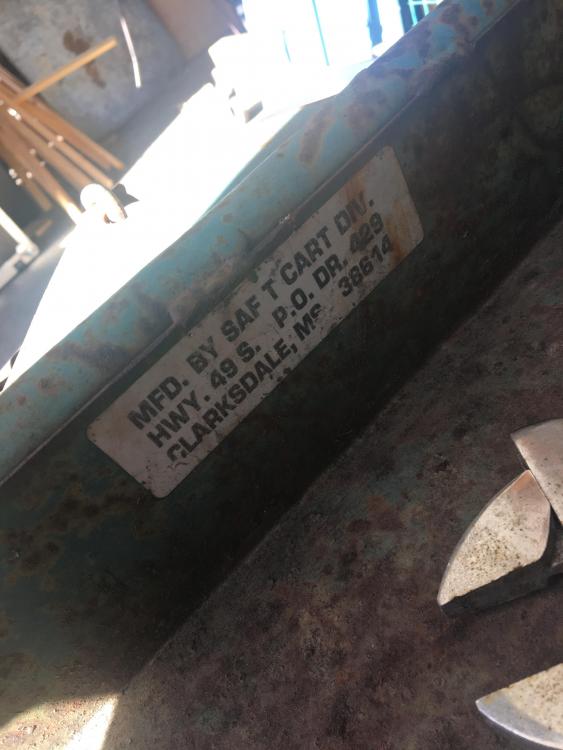
I've had all the parts to set up an oxy propane torch for months now. Regulators and torch from a PraxAir exchange deal, hoses from Amazon, Oxy tank from an estate sale last March, 30 lb propane tank from the local supplier, (the gas forge drains the 20 lb exchange tanks too fast). But no cart. Local salvage yard had this wide one out in the yard with a $150 tag on it for a few months. Walking thru after donating some stuff the other day, didn't see it, 'someone must have bought it finally' Poked around behind some lawn furniture, it's still there! Untangling the cart from a cafe table and rolled up to the check out, 'how much?' '$50' , and into the truck it goes! Could probably use the next sized propane tank, but this will get me started.

-
Building a New Smithy (picture heavy)
Michael replied to Bantou's topic in Building, Designing a Shop
An old friend, who started me in smithing back in the early 2000's, would run a sprinkler in the grass next to his shop while forging, against stray sparks. Grass in my yard is dry as a bone and I'll spray it down with the hose before lighting up solid fuel, along with topping off the slack tub and filling a bucket I can get my whole foot into (don't ask), a charged hose is part of the regular smithing setup. Not something you can always do at demos but it works at home. Ember blocks, just screening screwed in at the top and bottom of the chimney, also help. -
Nice find! Looking forward to seeing it back together.
-
What is your flooring material and did you do much ground prep before laying it down? I'm on dirt at the moment, with about a ton of gravel filling a french drain around the perimeter of the space. Need to level the dirt a bit more and then considering decomposed granite for a 'floor'. Michael
-
Nice progression of your space from then to now. I like being able to see the same trees (and the roof cut out) in both shots. I'm getting ready to erect a similar cover over an unused portion of the yard to move my smithy, 17 years on the patio, to a space where I can leave stuff out instead of packing it away and tarping after every session.