Goods
-
Posts
1,158 -
Joined
-
Last visited
Content Type
Profiles
Forums
Articles
Gallery
Downloads
Events
Everything posted by Goods
-
Cape May Light House, Cape May, New Jersey.
-
Not quite Sunset…

-

A Way to Guesstimate Material Loss to Scale
Goods replied to 4575wcf's topic in Blacksmithing, General Discussion
Rather that weighing the displaced water, just weight the part. A lot less math that way… -
What did you do in the shop today?
Goods replied to Mark Ling's topic in Blacksmithing, General Discussion
I like that gnome pendant! Nicely done. -
Blacksmith Basket twist poker challenge... Video
Goods replied to jlpservicesinc's topic in Blacksmithing, General Discussion
Got a chance to give this a try after the hammer-in today. My time was a disappointing 2hrs and 8mins. Should have used 3/8” square for the for the poker. 1/2” didn’t match up well with the basket I made of 1/4” and it really didn’t want to weld. Thanks for setting this challenge. This was only my 2nd successful (after many attempts) drop tong weld, and third basket twist. Yes, I was fun! David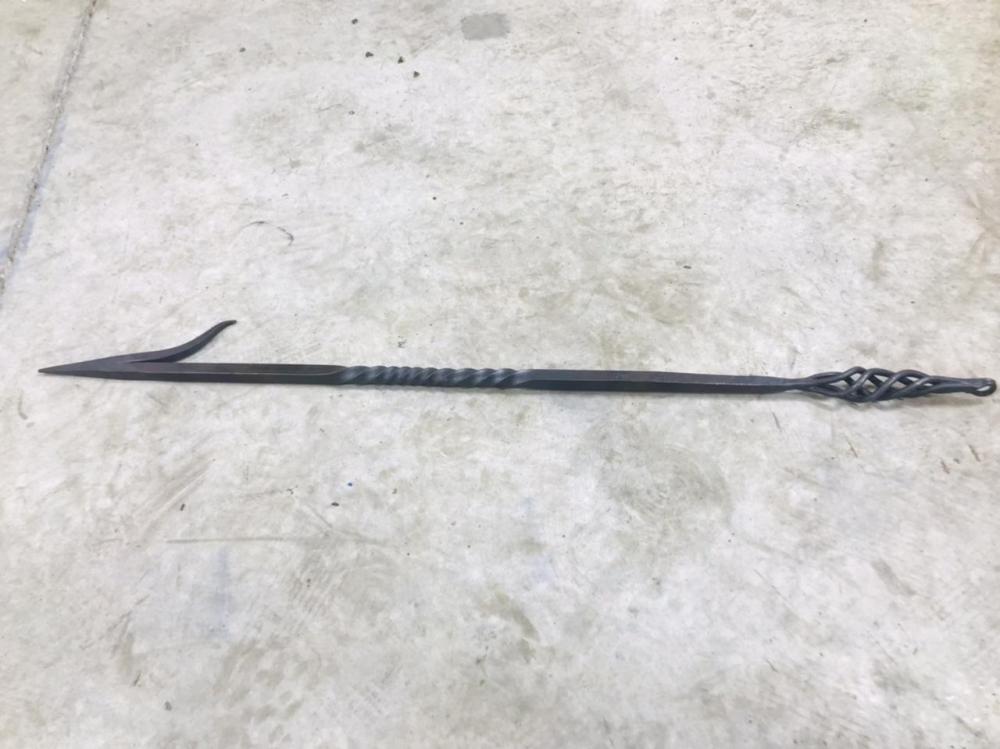
-
What did you do in the shop today?
Goods replied to Mark Ling's topic in Blacksmithing, General Discussion
Spent time setting up the shop for our hammer-in tomorrow. I think I’m ready?! Keep it fun, David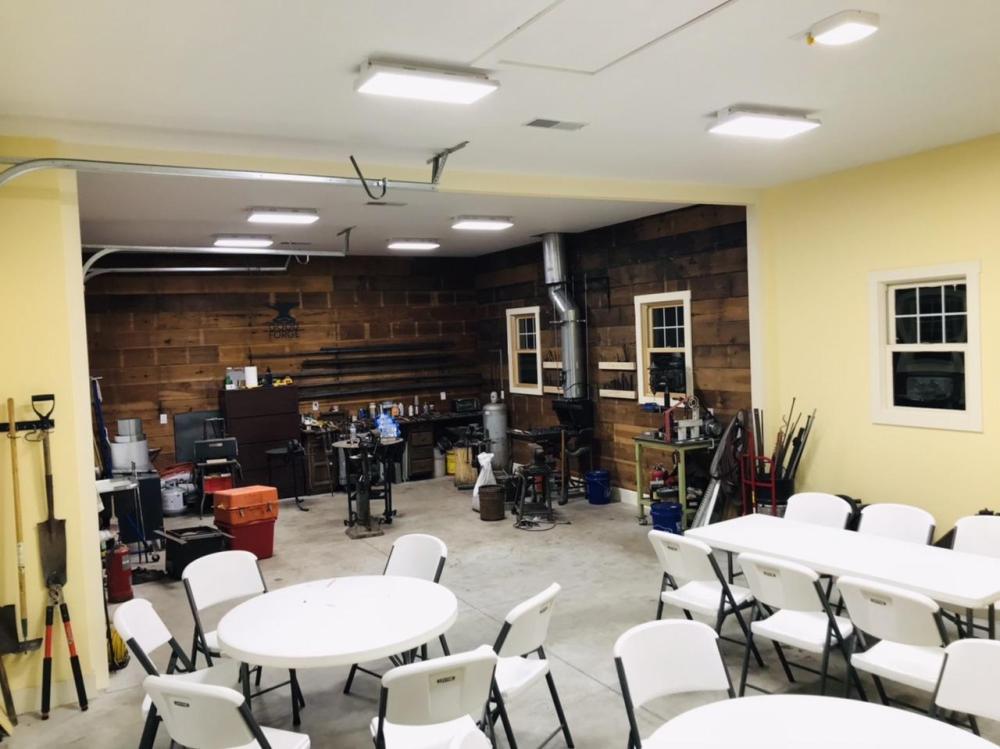
-
What did you do in the shop today?
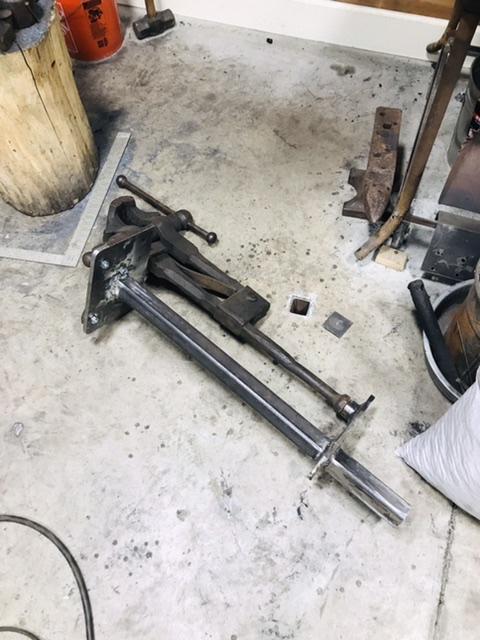
Goods replied to Mark Ling's topic in Blacksmithing, General Discussion
I finally took the time to make a new stand for my post vise yesterday/today. It’s pretty basic, but it’s the first stand to utilize the goesinta’s in the shop floor. Probably not it’s permanent location, but it’s pretty solid (even with this goesinta being a little crooked). I’ve still got a lot of work before the hammer-in here next weekend… Keep it fun, David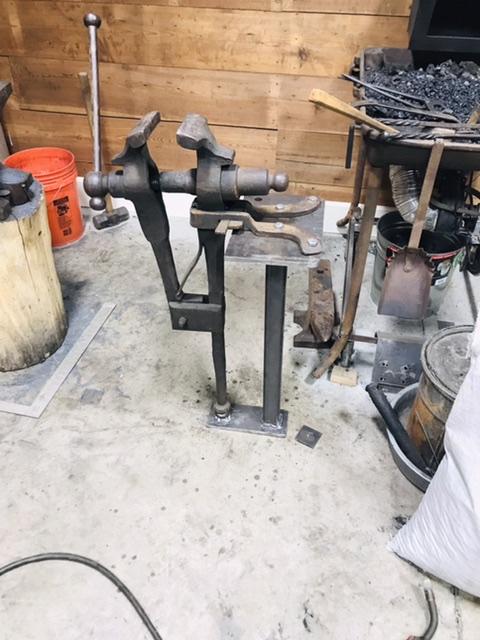
-
Merry Christmas to all of you, and may the New Year bring many joys! David
-
With my luck, I would get sued for the pain and suffering a thief endured due to a back injury from stealing my equipment … David
-
I had my anvil face milled flat
Goods replied to Trilliumforge's topic in Repairing and Modification to Anvils
Do you have any S7 plate available? One option that has been discussed, but not proven is to mill the face smooth, and silver solder an S7 face on at the hardening temp for S7. I’m not sure how well this will work, but an considering this method for an anvil that has a “new” face perimeter welder on. I can tell you that the previous owner that did the perimeter welding ended up with an anvil with only a 35% return with a ball bearing at the sweet spot. Trust everyone, you want the face fully bonded. D2 is air hardening (as I remember), so it make work for this method, but the tempering could be much more problematic. Not to mention that S7 is much more impact friendly. Go the direction you choose, it’s your anvil. Just be safe about it, and make sure to get a good temper on the D2. I don’t want you getting injured from flying chips from the new face. Either way, let us No how it works out! David -
What did you do in the shop today?
Goods replied to Mark Ling's topic in Blacksmithing, General Discussion
Today, I truly appreciated having the forge at my disposal. Went the change the bulbs for the headlights on my wife’s van. Talk about a crowded. I could barely get my hand in to get to the bulbs let alone release the catch for the wire connector. The wire harness was so short couldn’t even get I into a good place with the bulb out but still connected. 5 minutes later with a piece of 1/4” square stock, ball peen hammer, a little grinding, and post vice for making a compound bend; I had an offset pry bar/screwdriver to easily pop the release tab. Never thought that would come out of my shop, but it saved many hours of cursing. (Ok, it never left the building…) David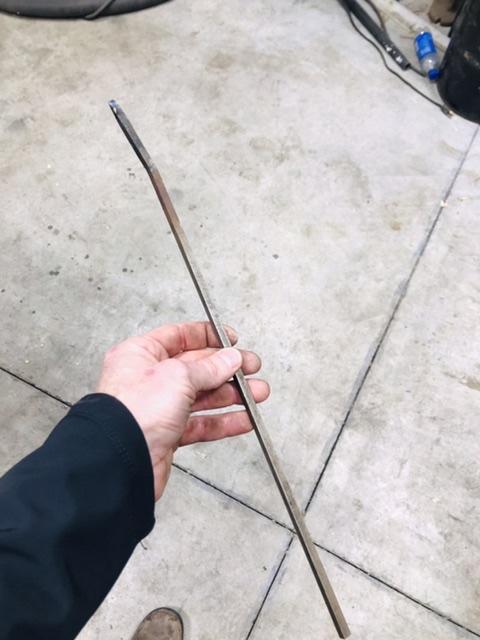
-
What did you do in the shop today?
Goods replied to Mark Ling's topic in Blacksmithing, General Discussion
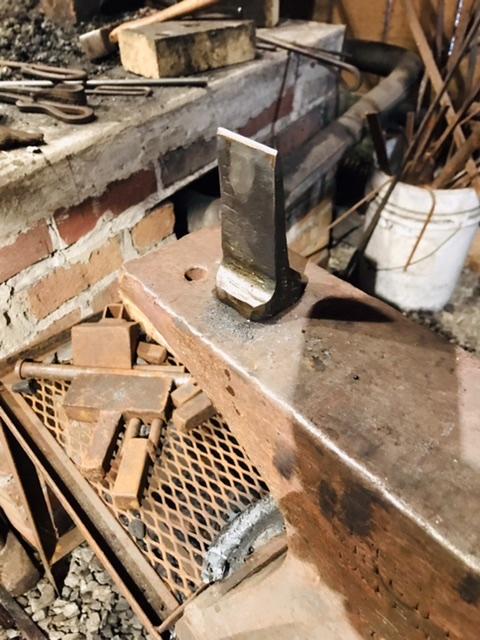
I finally got some shop time in and finished up some brackets to get my stock up off the floor. I’ve more stacked steel and wrought iron in the other corner. So, I guess I need to make more to put that up and try to organize it all by size… A lot of work to do before the hammer-in here in January. (And I have got to replace that horrible vise stand in the picture) Keep it fun, David
-
I thought someone else might bring this up, but 4340 can be tricky on the heat treat. 1045 is much easier to heat treat and will give the need results. Should also be less expensive…
-
Forge hood design with 10 inch pipe
Goods replied to Jobtiel1's topic in Chimneys, Hoods, and Stacks
I would just be worried about the opening. Adjusting the opening size is not that difficult to experiment with. Clamp some sheet metal on when you first fire it up. You can keep moving it around till it works best, then trim it up and weld it in place. (I still have 2” strip clamped to mine…) David -
Forge hood design with 10 inch pipe
Goods replied to Jobtiel1's topic in Chimneys, Hoods, and Stacks
Scale the opening of the hood down to keep the same area ratio between the side draft opening and the stack. You’ll want the smaller area to create a higher air velocity at hood, but not small enough to restrict the air flow. David -
You could always try a water quench or supper quench… David
-
Should I get a training anvil for blacksmithing?
Goods replied to SupaConducta's topic in Anvils, Swage Blocks, and Mandrels
All, correct me if I’m wrong, but aren’t Refflinghaus anvils know to have pretty hard edges? Could lead to pretty significant chipping if a new blacksmith hasn’t yet developed hammer control… Just something that should be kept in mind. -
Location? Not sure if gundog84’s experiences in Kent, England will help you in (?). If you here in the US, look up your local ABANA (Artist Blacksmith Association of North America) affiliate. These affiliates are usually state based and often have small chapters through out their state. My local IBA (Indiana Blacksmith Association) chapter has been very good to/for me, and we try to help anyone out who checks in… We’ll try to point you in the right direction here as well, but you can’t beat in person experiences. David
-
Good place to start on the cheap is with the JABOD (Just A Box Of Dirt) thread. (The PoP and sand mix is a no go…) Welcome aboard, David
-
What did you do in the shop today?
Goods replied to Mark Ling's topic in Blacksmithing, General Discussion
You’re tools for that type of hot work don’t have to be hardened, but they won’t last to long out of mild. If your going to put a lot of work into shaping them, I’d use something pretty tough, coil spring or maybe some rail road clips. Both of those materials can be hardened and tempered easily, but will last fairly long if you keep you work hot and the tool cool with only normalization. David -
What did you do in the shop today?
Goods replied to Mark Ling's topic in Blacksmithing, General Discussion
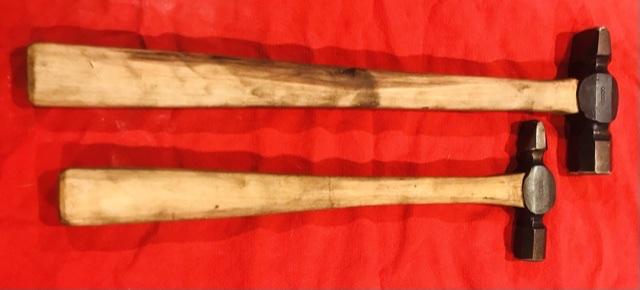
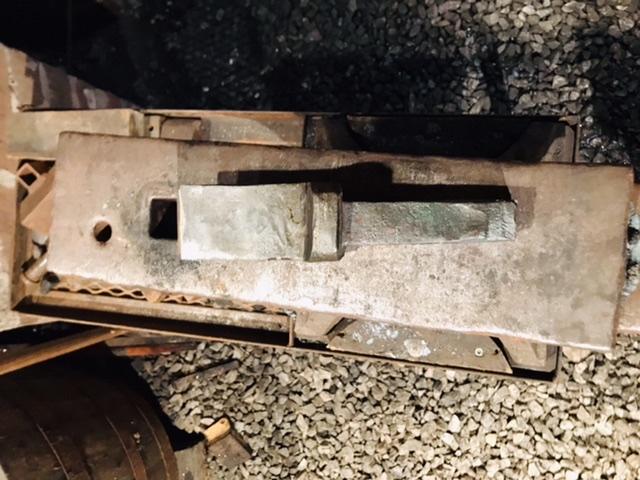
Gandalf, could you elaborate on you question? Again not today, but last week. I liked the form of my little 10oz hammer I made two weeks ago, so I decided to make a bigger version. This one is right at 1.5lbs. I planned on working on a 3lb version at our hammer in on Saturday with the aid of a power hammer, but wanted to make a hardie for one of the shop anvils with an odd size hardie hole first. Well, I fought both of our power hammers the whole time. Couldn’t keep the dies top or bottom in the 50#, but on the 25# only had to tighten the top die every heat, so most of the work was done on it. (It was a little undersized of 2” 52100.) Finished the hardie and called it a day. I spent the rest of what time was left hanging out with the other smiths. Sorry, hardie pictures aren’t the best, left them at the shop in the poor lighting…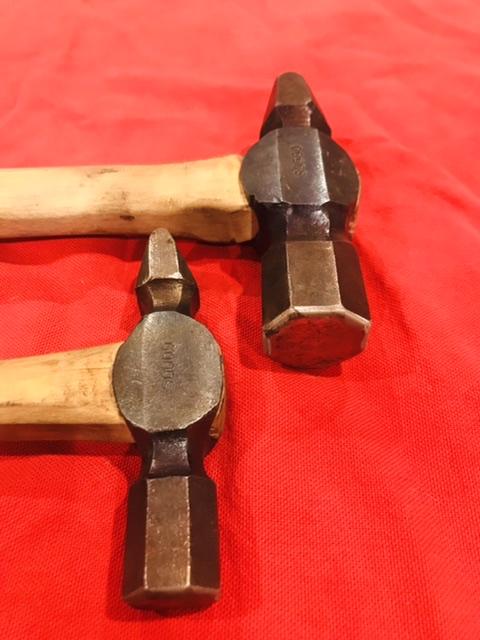
-
I used a combustion air fan from a natural gas furnace, very quiet but needed a speed controller. (A waste gate would probably be better…) Sound like they get tossed all the time with system upgrades, if you have a friend in the industry, hit them up. David
-
Something looks off with it. Almost looks like the screw is too short. (Maybe it’s just the camera angle…) I wouldn’t offer to much, maybe $50. A lot depends on you area and how much effort it will take to get it into working order. David
-
What did you do in the shop today?
Goods replied to Mark Ling's topic in Blacksmithing, General Discussion
Yes, the wedge did crack the handle. I’m still really happy with it. I’m looking for large stock to make a couple more stepping up in size. I’d like one of these at 1lb and 2lbs. David -
Don’t put separate layers of clay and sand, mix them together. If you have ash available, mix that in too. The ash will help with clinker sticking to the mix, and the sand helps with shrink checking. David