4575wcf
Members
-
Joined
-
Last visited
-
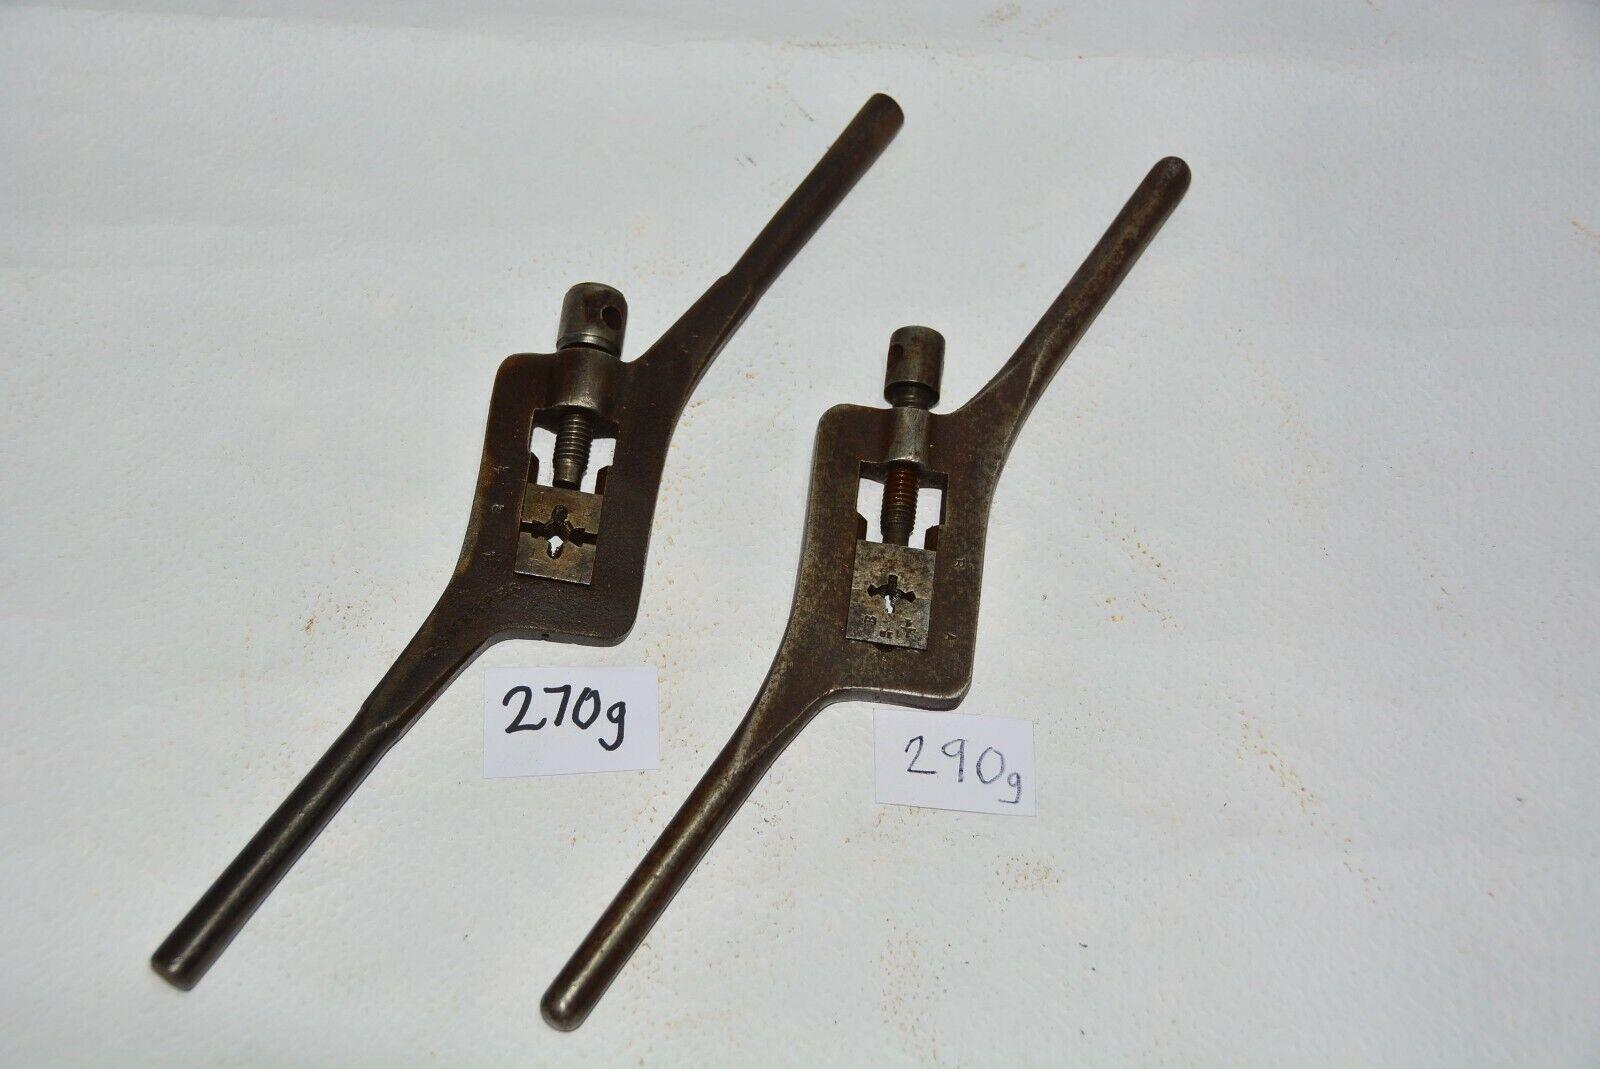
Here is a picture of a couple of original screw plates. I like this design. I have some forged leaf springs and similar remnants I have squirreled away, perhaps quenched in canola oil blocks made from this material mounted in a mild steel carburized frame would do the trick.

-
Anyone familiar with fabricating the old fashioned flat screw plates that were replaced by dies and handles. I watched Wallace Gussler in the Colonial Gunsmith of Williamsburg using one he made to fabricate a breechplug for a muzzle loader. He said he makes them, but didn't say how. I have an odd ball 11/16 x 20 breech plug thread in a section of rifle barrel I thought making up a screw plate might be a good starter project to get out a suitable threaded plug. Anybody know any of the tricks before I start reinventing the wheel?
-
Well for sure the heat treat is an issue, although as a rule barrel steel is rather softer than receiver steel. A complete anneal and a slow cool down in the furnace is the general rule before any rifling is cut. Definitely need a means to keep the punch concentric as possible, the belled section would have to be turned just enough to be trued up to the OD of the tube, the pilot on the chambering reamer in addition to being held centered by the tailstock trues the chamber to the bore same as always. The rifling in that part of the tube is cut away in the process of cutting the chamber regardless. The throating reamer tapers the bullet seat into the rifling at least 1/16 or so forward of the bullet bearing point, and no swelling of the tube is needed forward of the shoulder of the cartridge. A matching cutout in the breech end of the barrel proper for the belled end of the liner with a lapped fit to avoid any air spaces...well that is all we can do. I read that the difficulty of applying liners to higher powered rifles is they usually move. This one ain't going anywhere, at least forward it isn't, and the pressures would be limited to suitable cast bullets.
-
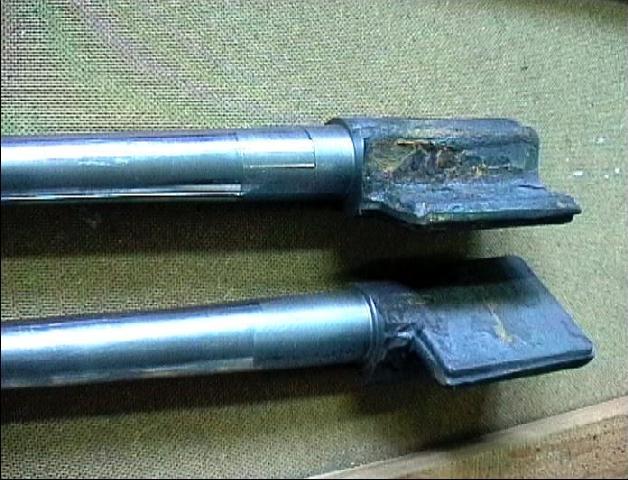
Hello I was looking on some input on whether or not a rifled barrel liner could be flared at the chamber end? I need the twist rate for the 32/40 black powder barrel 1-14" but I want to chamber for a larger diameter cartridge. If the chamber area of the liner could be expanded to a diameter somewhat smaller than the chamber, then reamed as normal you would not wind up with the thin barrel wall around the chamber where you need metal most. These liners are designed for straight wall cartridges, and they have limitations for anything ese. Near as I can tell the liners are constructed from 4130 tubing, probably barrel quality stuff. A blacksmith would make up a proper shaped punch, heat the tube to red heat and knock it in, but would the tubing tolerate this without splitting or structural weakening?
-
I did learn a hard lesson about going over the top with the '76. I always have collected shooters, mostly abused specimens that I can set right, and then shoot in moderation. Usually they leave me in a better condition than they came. There is a reluctance to put any honest wear on the Winchester. I recently drew on a wild pig hunt, I should take the '76 and blood it, but I will take another lesser piece as usual.
-
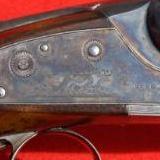
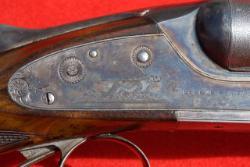
I am the proud owner of Winchester Model 1876, 1 st Model open top serial # 1144 in 45/75 WCF. I bought the gun from a gunshop in Portland OR in a reblued condition. It came in from a collector's widow. All through my 30's I took it to the "doctors" in Oregon and spent money on it until it was mechanically sound. The rifle is a "whos who" of Oregon talent from the '90's, the several gunsmiths who worked on it are very elderly now, or are gone. It is fully restored, stocked in magnificent walnut, and carries the last engraving job performed by the late Winchester engraver George Sherwood. I don't shoot it much these days, I am afraid to leave it in the rack to set targets! Thank you very much for asking, it is one of my passions.
-
I have been absent from this forum for awhile, I am still fitting parts and doing stock work and the like. I have to have the frames mechanically operational in all ways prior to fitting up a real set of barrels. For now I am making up wooden barrels with extruded aluminum lugs and bites. This gives some jointing practice fitting the barrels to the frames and provides a "try barrel" to fit the buttstocks, get the latches locking up, and the locks, triggers, and safeties all working properly. The try barrels also provide a model to get any ejector mechanisms designed and functioning. I am definitely going to need a long forge to heat about a maximum of 30" of shotgun barrel blank for the annealing and soldering operations.
-
Yessir that Wallace Gusler is something. To learn all the trades required to scratch build a flintlock and to be able to put all that knowledge together as young as he was is astounding. Making barrels by forge welding, either with a single skelp, double skelps, or wound like damascus all went out of style with the advent of smokeless gun powders. I have loaded and shot quite a lot of black powder shotgun shells through various antique shotguns; however. the receivers I have today were either smokeless or very late black powder era so I am sticking to the tool steels. Either shorter bar drilled, forged and drawn out, or solid bar forged to shape and deep hole drilled, I am not sure which at this point.
-
This is a pretty good picture of what the forged halves should look like. The first outside tapered cut has been turned. The forging are one piece 30 inches or so long.
-
Thanks JHCC. I'm studying up watching all the videos I can find on folks forging these barrel halves, trying to get set up with a starting plan. I see the smiths brushing the scale off with a wire brush occasionally to keep it cleaned off the forging, the anvil and any swage blocks. From what I can gather so far I think the important part must be to watch closely for anything and everything going wrong at every moment. Watch the heat, watch the fire, watch the metal, watch for scale, watch for cold shuts, watch for cracks . . .Sort of like machining in that way, looks like you gotta bring your game. The video from the 1920's of the Belgian damascus makers is really impressive since they are using nothing but a huge anvil with multiple tapered grooves, and two guys. The offhand guy with the big hammer managing the mandrel, and the smith with the smaller hammer keeping the forging turning, all the while timing their alternating blows not to smack anybody's knuckles. The offhand guy tending the bellows, and the smith tending the fire and the forging. Talk about 90 percent skill and 10 percent equipment. Wow.
-
Thanks very much guys. I guess I should have been a bit more specific, I have received a warning from a moderator for posting in the gunsmith forum. If any of you have followed my other posts you would know I am researching shotgun chopper lump barrels, and the forging therof. I encountered a thread that suggested 1045 as a suitable steel for a set of pre WWI shotgun tubes, simply because 4140 did not exist prior to 1930's and Winchesters M21 was the first to use it. My "Guinea pig" is a Stevens 335. This early model 335 has a long straight sided notch in the water table with the bite in the rib extension, and offers about as straightforward work for jointing as such work gets. I thought to start with 1045 annealed hot or cold roll, no chrome plating. The cost of the material is a bit less, I am familiar with the stuff, and I am liable to scrap a forging or two getting the process working. Once the process is off the ground, of course, 4140 will be the stuff. I wanted to be sure the 1045 wasn't going to develop hard spots after the forging operation, because it will need a great many precise machine cuts, inside and out. You fellows have answered the question nicely. I will give the first set of successful tubes a very thorough proving by the way.
-
Hey All Has anyone done much hand forging on this particular alloy? During my nearly 40 year career as a machinist I have run a ton of the stuff, 1040, 1045, 1050 mostly in chrome plated and induction hardened chrome plated rod, making various replacement rods in the hydraulic industry of all sizes. These steels weld pretty well, they are not that much different from other tool steels, with the exception that they have a cutting surface speed of about 25sfm using high speed steel, whereas 4140, 8620, 1144 or similar will have a surface speed approaching 50 surface feet. Like any of the spring steels they will work harden if you get them hot in the bottom of a drilled hole, or a milled surface, and you are all done. I am wondering how this property would effect forging. Thanks for any information.
-
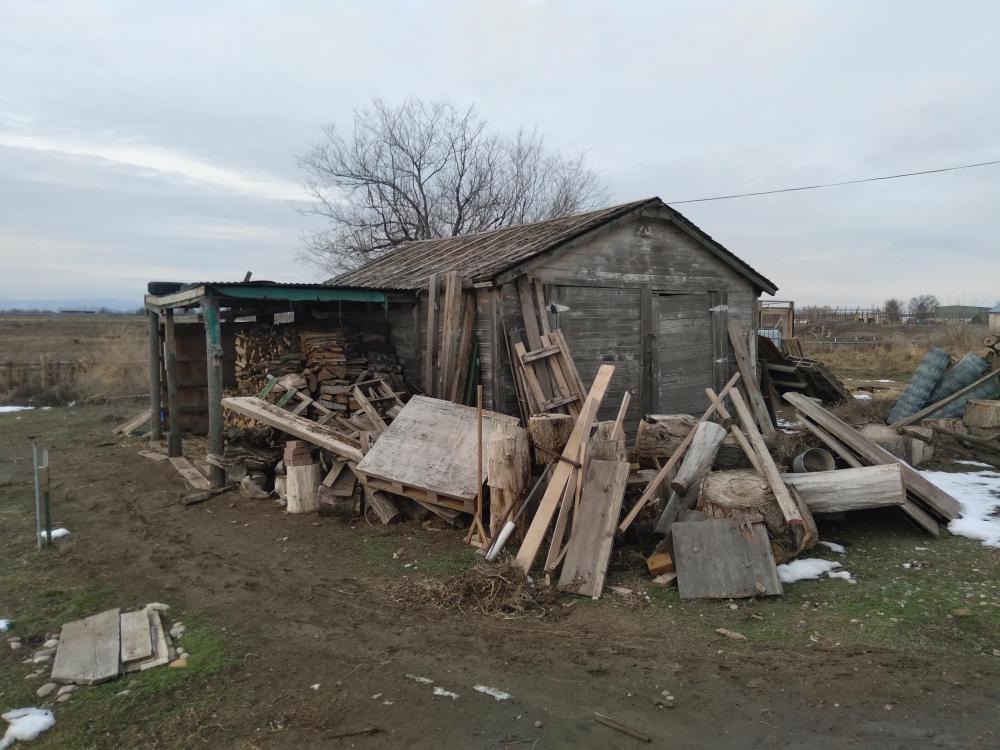
I really like this water displacement idea. With a rectangular graduated tank of know dimensions about any weird shape could be calculated for volume/ weight very quickly, very easily and very accurately. 45wcf is just getting started alright! This is the smithy. Chock full of years of collected building material scraps, unprocessed firewood all around and farming junk. Needs work on the foundation, framing, walls, and roof. Other than that she is "sound" : ).
-
Never thought of that. Makes sense. Thanks.
-
This is very useful information. I ran the volume mathematics and I ran the weight mathematics both using calculating aps online. There seems no real difference, both results end at 16 inches of 1 1/2 diameter bar weighing almost exactly 8 lbs. What is the advantage to calculating by weight?