Goods
-
Posts
1,159 -
Joined
-
Last visited
Content Type
Profiles
Forums
Articles
Gallery
Downloads
Events
Everything posted by Goods
-

Does my old Fisher have significant sale value?
Goods replied to Gravydavy's topic in Repairing and Modification to Anvils
My son made this stake anvil: Of course I was there to supervise his work on the power hammer. The face would need cleaned up a lot more for the work your planning on doing, but just this and a stump and you’d be good to go. It was a fun project to work with him on. Maybe you could get hooked up with a local smith and make it into a fun project… Some nice copper work as a “thank you” maybe? David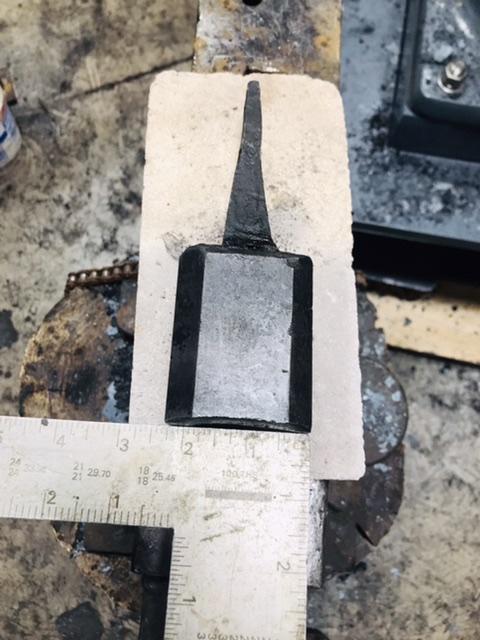
-
What did you do in the shop today?
Goods replied to Mark Ling's topic in Blacksmithing, General Discussion
I got good results with an instant coffee etch after a long etch in vinegar on welded cable. Might give that a try. David -
Cam, if I understand right, you planned on using the hard bricks as the “body” of the forge, then line with KOA wool, Right? That use for the hard bricks is just fine, but sounds like more work than needed. If framed up right, it should be pretty stout. Just, make sure to use Mizzu(sp?), Kastolite30, or something similar over the KOA wool. (Typically, we see new members trying to use the hard bricks as the insulation, so that is what everyone is just to…) David
-
Yesterday, while I was in the forge, the sky just opened up and dumped quite a bit of rain. Thankfully, the storm was not violent. The best part was as it started to calm down the sun started streaming brightly in the west window of the shop, but it was still pouring down with even more lightening. I thought it was a good view from the forge. Our neighbors across the street send this picture later that evening. I guess I missed the best view! David

-
I would call that a “set” tool. Used similar to a flatter, but used to actually forge with. Like getting into a tight spot where the hammer face is too large or (in my case) where lack hammer control runs a risk of damaging nearby features. David
-
Possibly a shoe thrown from a draft horse of a logging crew a long time ago?
-
What did you do in the shop today?
Goods replied to Mark Ling's topic in Blacksmithing, General Discussion
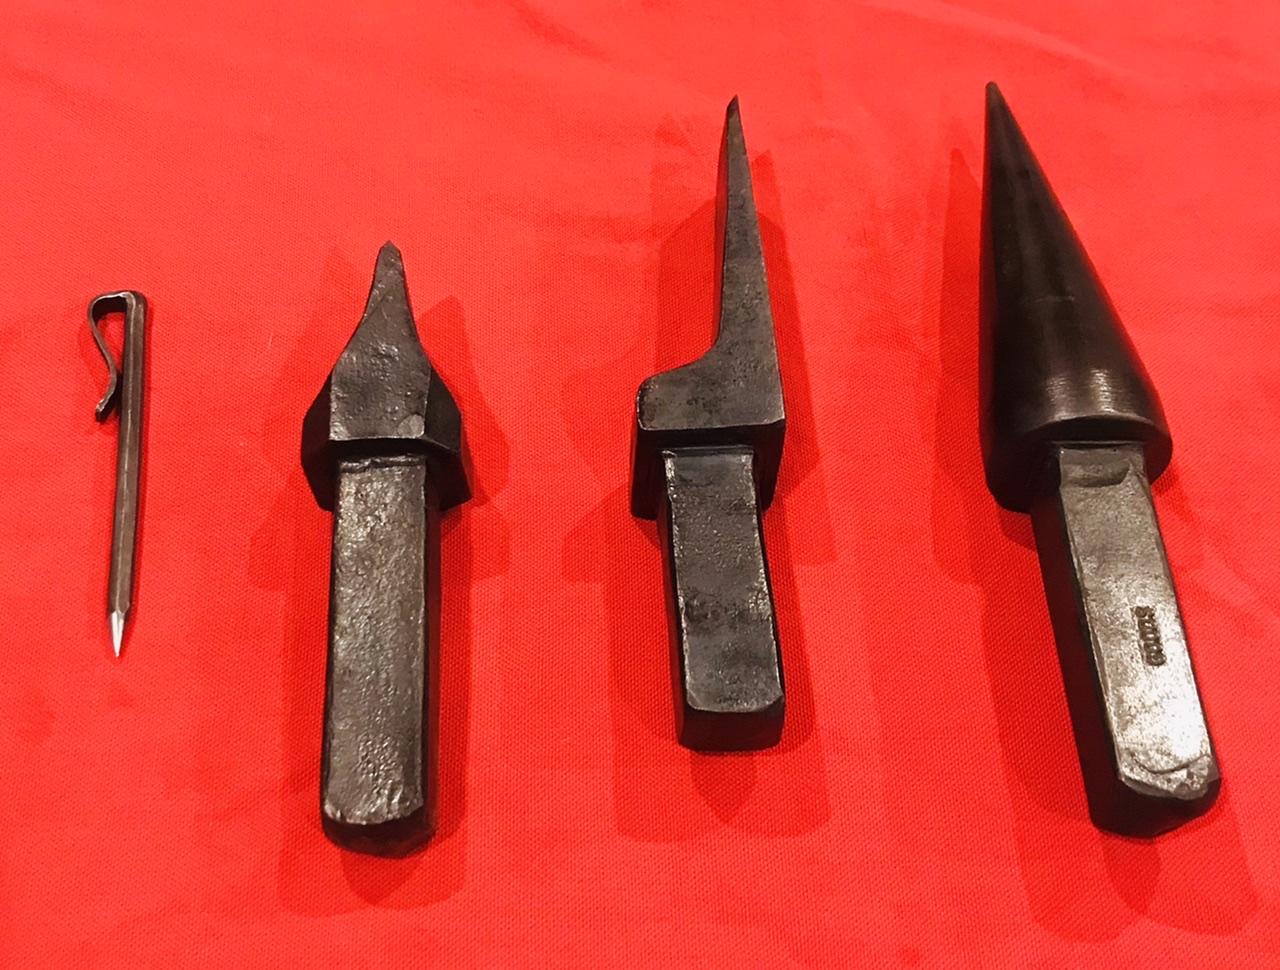
The IBA’s state conference is coming up soon and my local chapter is making tools and a tool box to go into the auction (50%/50% profit split, owner (in this case chapter)/state). I finished up 3 hardy tools and a scribe to turn into the group at our hammer-in tomorrow: Left to right: Small scribe from a garage door spring, cold cut from medium carbon shaft with forge welded coil spring bit, hot cut and cone bic from same medium carbon shaft. None are perfect, but hopefully will bring a decent price. Either way, I’m starting to get better with my new power hammer. (Not sure if the scribe is a good fit for the auction, but it could be bundled with another item from our chapter if needed.) Keep it fun, David
-
You may want to look into electrolysis. Should convert a lot of the rust back into steel. I’ve not tried it, but have spent a lot of time looking at the system setup.
-
Power Hammer that I did.
Goods replied to MerlincMan's topic in Power Hammers, Treadle Hammers, Olivers
If you were worried about ever needing to work longer stock, you could always come back weld some bent tube arches to the frame a cut the center of the frame out. Basically, make a “pass through,” similar to this old Williams and White: Keep it fun, David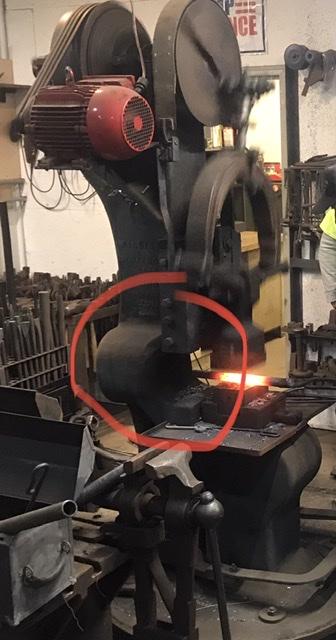
-
Stands stands stands!
Goods replied to TWISTEDWILLOW's topic in Stands for Anvils, Swage Blocks, etc
Any concerns with the sand getting saturated with water and rusting out the stand, considering it’s an outdoor site? (Side note, I was looking at the photos thinking “nice setup… just needs a roof to keep the rain/sun off… what about rain in the stand…” It’s funny how the mind works!) Keep it fun, David -
I don’t think anyone ever said the box had to be large… experiment with it and see what will work for you. Maybe a 3gal metal bucket lined with clay and sand with the air blast from the side you can remove easily. Drop it into a round hole of a custom folding table from pallet wood and stick in the air blast from below the table. Sounds pretty portable. (May want a piece of sheet metal on the table surface…) Just try something, but think about what could go wrong… David
-
If you want to build a forge like that, look up the JABOD (Just A Box Of Dirt) Thread. Lots of help and ideas to be had there. Keep it Fun, David
-
I love red beet picked eggs. It’s one of those things I grew up with and only get here if I make them myself. Of course I’m the only one who will eat them… David
-
John, you forging is just to precise, may need to put a couple erratic hammer strikes in them. You could try using a rounding hammer with well space strikes for you final smoothing. That would give a nice finish, but still vary to thickness slightly. (More questionable advice from a non-knife maker…) Keep it fun, David
-
The Maumee Valley Blacksmiths chapter of the Indiana Blacksmith Association meets on the 2nd Saturday of each month. I’m not familiar with that chapter, but if that is close to you look up the IBA newsletter for more information. Keep it fun, David
-
What did you do in the shop today?
Goods replied to Mark Ling's topic in Blacksmithing, General Discussion
Dave, I do plan on being at the IBA conference in June, just Saturday though. Maybe, I’ll see you there. David -
What did you do in the shop today?
Goods replied to Mark Ling's topic in Blacksmithing, General Discussion
Dave, no, due east in Vernon, Indiana. It’s at the Vernon Group IBA satellite’s home forge. The Sassafras Tea Festival (with a civil war reenactment) is the event and the forge site is right at the edge of the festival. David -
What did you do in the shop today?
Goods replied to Mark Ling's topic in Blacksmithing, General Discussion
George, no, I started with 1/2” square and only showed the 1st step as a blunt taper. I feel like I skipped a few steps at the end though… David -
What did you do in the shop today?
Goods replied to Mark Ling's topic in Blacksmithing, General Discussion
Realized I have a demonstration to do this Saturday and Sunday, and I have no inventory. Well, I really don’t have to sell anything, but I do end up making a lot of leaves for the crowd. I thought a story board could help explain what I’m doing. So, that is what I made today. There not perfectly matching and had to bend the one step to fit the board, but I got some practice in and it should get the idea across. I’m thinking I may leave it at the group forge, we’re often teach newcomers the steps… Keep it fun, David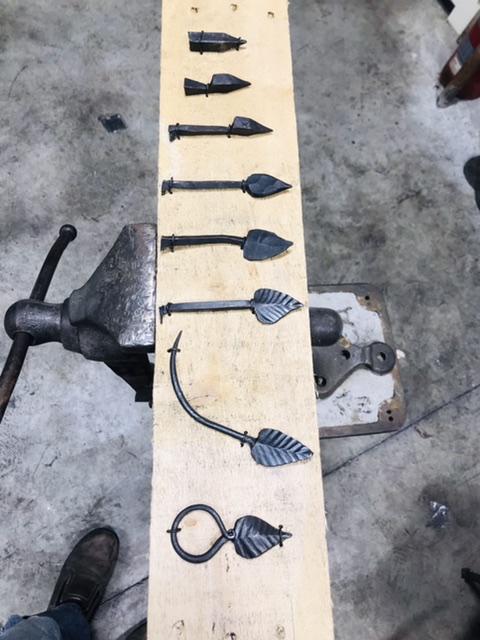
-
What did you do in the shop today?
Goods replied to Mark Ling's topic in Blacksmithing, General Discussion
Stunning work as always Alexandr! My son is home from college for a break and wanted to make a stake anvil. I was there to give direction, ensure safety, do some striking and managed to let him do 95% of the work. I think it turned out pretty good: He still need to clean up the stake and face, but that will have to wait till the semester is over. I enjoy working with him. Really good day in the forge! Keep it fun, David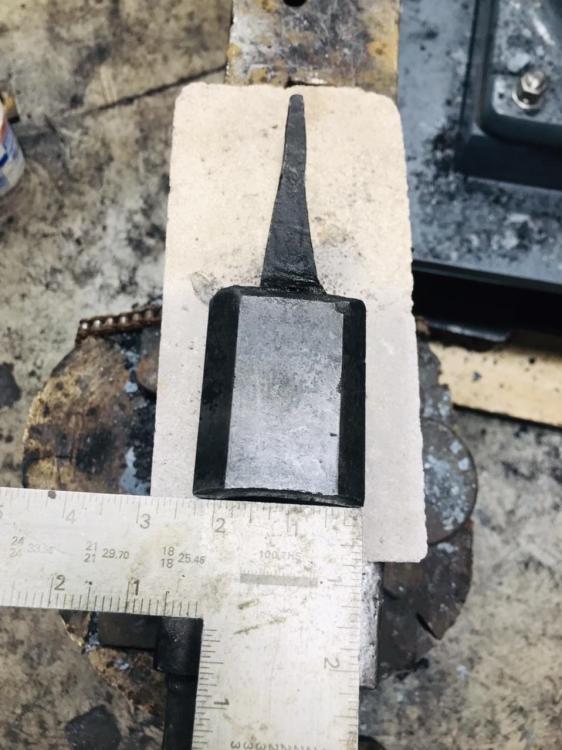
-
What did you do in the shop today?
Goods replied to Mark Ling's topic in Blacksmithing, General Discussion
Still growing my power hammer tooling inventory. I also made the first not tooling item using my new hammer. That cone would have taken my days without the hammer. Still getting used to the power though, it’s not quite an even taper and has a couple “bites “ in it… Keep it fun, David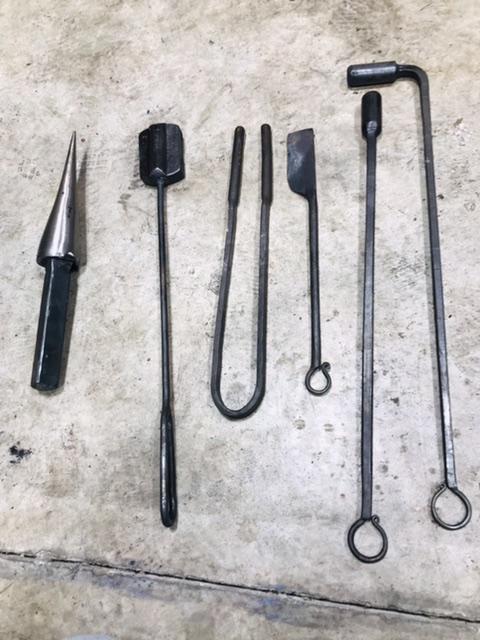
-
What did you do in the shop today?
Goods replied to Mark Ling's topic in Blacksmithing, General Discussion
Frosty, it might be a while… I’ve used several different hammers a lot, but this is a game changer for me. It transitions from light to hard hits smoothly, doesn’t require constant adjustments, can switch stock sizes without worrying about double hitting. I need to get better at feathering the “throttle,” but I really need to adjust to the hammers speed. It’s fast enough that I’m having trouble rotating stock back/forth and making those quick repositions between strike. I’m rambling… guess the smile will last for a while. David -
What did you do in the shop today?
Goods replied to Mark Ling's topic in Blacksmithing, General Discussion
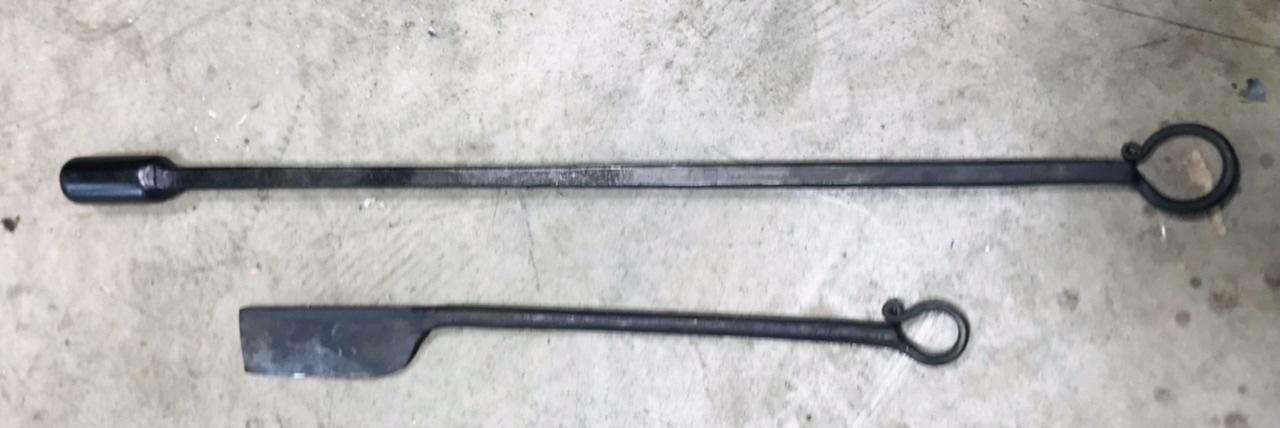
Today was the first forging session with my new power hammer. What better than to start tooling up? Started with a hack from a piece of railroad clip. Hack was used to cut a section of 2” dia med carbon rod to make a flatter (not show, annealing overnight). Finally moved to a fuller. Good day in the forge and I’m getting a good feel for the hammer. keep it fun, David
-
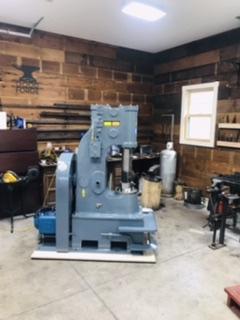
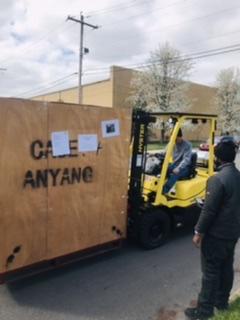
It’s finally here. (Didn’t follow me though.) Anyang 108#, with COVID19 issues delivery was way longer than I expected, but nothing that could be done to prevent those delays. Finished the shop side wiring, powered it up, and did some testing. I’m really happy with it so far! Tomorrow will be the first forging session. David

-
Randy, that is exactly where I was coming from. (The “eye” would rotate with the cutting direction…)