MilwaukeeJon
Members
-
Joined
-
Last visited
Everything posted by MilwaukeeJon
-
That’s about what it was.
-
Well I did look closely although didn’t really know what to look for. Looked rather evenly granular to my eye.
-
So pleased to hear that you are doing better.
-
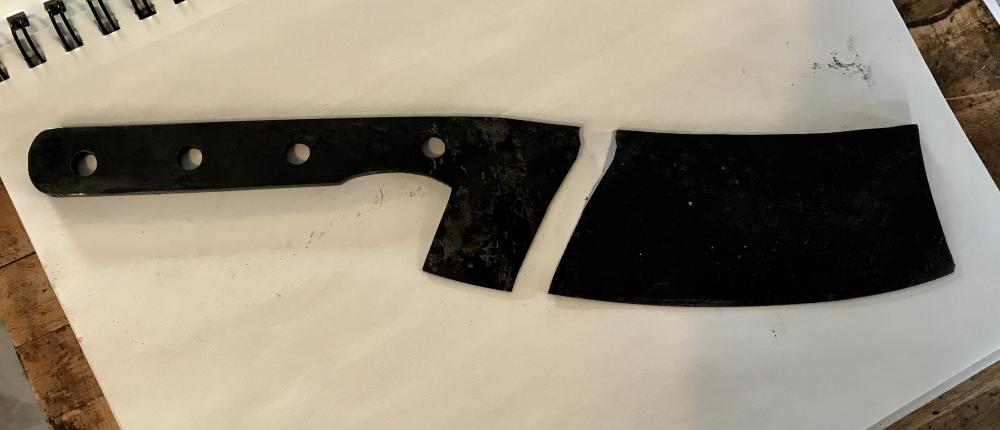
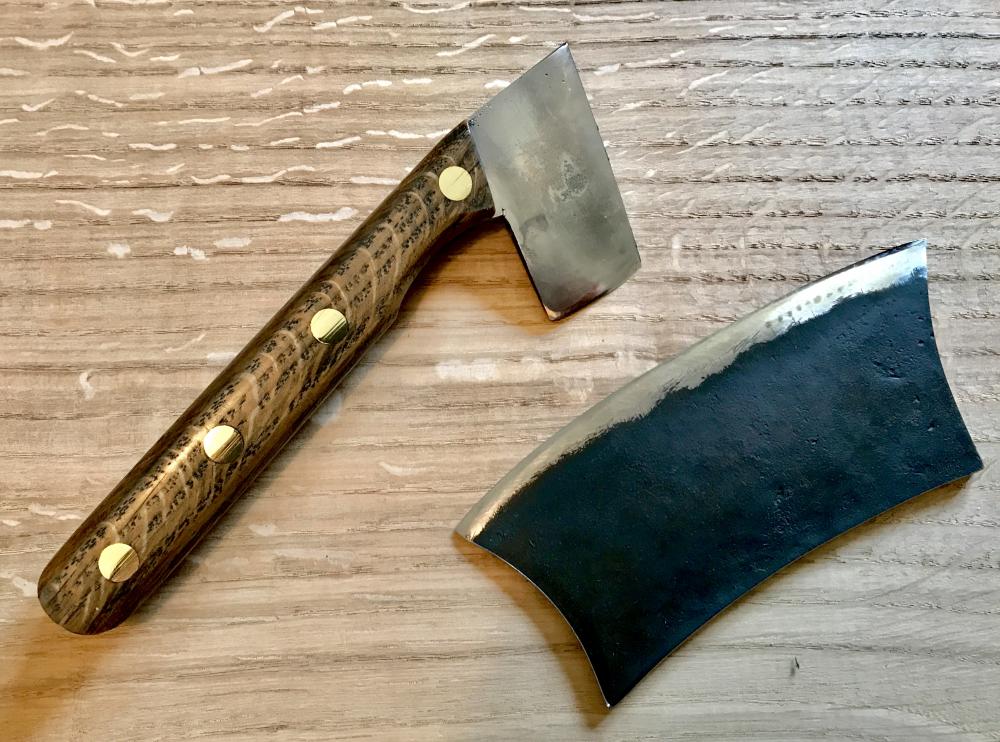
Relatively new to knife making and made a brilliant boo-boo yesterday, stupidly trying to straighten a quenched blade prior to tempering. The result was not good but I was not upset because frankly I needed to learn this lesson about the brittleness of hardened (5160) steel. And on the good side the broken bits were still usable. Tempered them and then made a marking knife and a kitchen chopper.
-
Thanks for the info, bigfootnampa. I understand that one can work the annealed blade but am more curious as to the logic behind this smith’s fairly aggressive working of the flexible thin blade on the wood stump (at least I think it is a stump given how much the blade curves up with each hammer blow). Is he simply planishing or is there some other reason for this process? Seems to be rather aggressive cold working. Thanks in advance. To my eye, it looks like the annealing is done in charcoal slivers that then get lit from the heated blade and burn overnight, turning into ash (from 5:37-5:55 in the video). Would there be some carbon adding effect from this or is it just another way to assure slow cooling? (Sorry for the dopey question but I’m not very well informed on the scientific side of all this). The sen is pretty amazing.....may be troublesome and inefficient but I want one!
-
https://m.youtube.com/watch?v=TgtFgJR-U_E I’m not an experienced knife maker so several questions came to mind after watching the linked video? Is this Japanese bladesmith annealing his fully forged knife blades in charcoal to add carbon content? And then when he is working the blade, apparently cold, right after that on a wooden stump, is that to work harden the steel? His use of a drawknife to shave the bevel also is something that I’ve never seen before. Amazing concept.
-
Made a kitchen knife from 5160 and it seems very prone to staining. For example, if you slice an orange a dark stain shows up on the blade and almost looks as if there is very minor pitting. Any suggestions? I know that these can be cleaned and the blade oiled but is 5160 known for this problem?
-
The taper is very slight....no more that 1/8” top to bottom. The hot cut sits very snuggly in a hole in the stump that is 1/2” shorter that the shaft. Additionally, the bottom of the hole is lined with several coins to provide a solid base for the tool. Works great for nails and other small cutting needs (under 1/2” stock or so). I realize this this is not a normal approach but was intrigued by the notion of shaping a Brazeal style hot cut out of flat stock. It was never intended to be used for heavy cutting in a hardy hole.
-
This hot cut along was made to go in an elm stump where I specifically make nails (includes some smaller hammers, a 4” block stake anvil, and my nail headers) not in an anvil hardy hole.
-
Just bought a vintage blowhorn stake and was wondering about setting it in a stump instead of a stake plate. If one does this, do you drive it into a hole snugly or put it into a larger hole where it stays kind of loose?
-
JHCC is indeed a most impressive font of knowledge!
-
Terrific deal....well done
-
Congrats, that’s s great find.
-
I agree!
-
That’s a beauty!
-
-
-
Glenn (GSTongs) talks about the benefit of heat treating his 1045 hammers heads twice in water to achieve the desired hardness. I’ve done this several times now as well and it does seem to yield harder faces/peens. I’d be interested to hear what others here have to say about this approach. Thanks in advance.
-
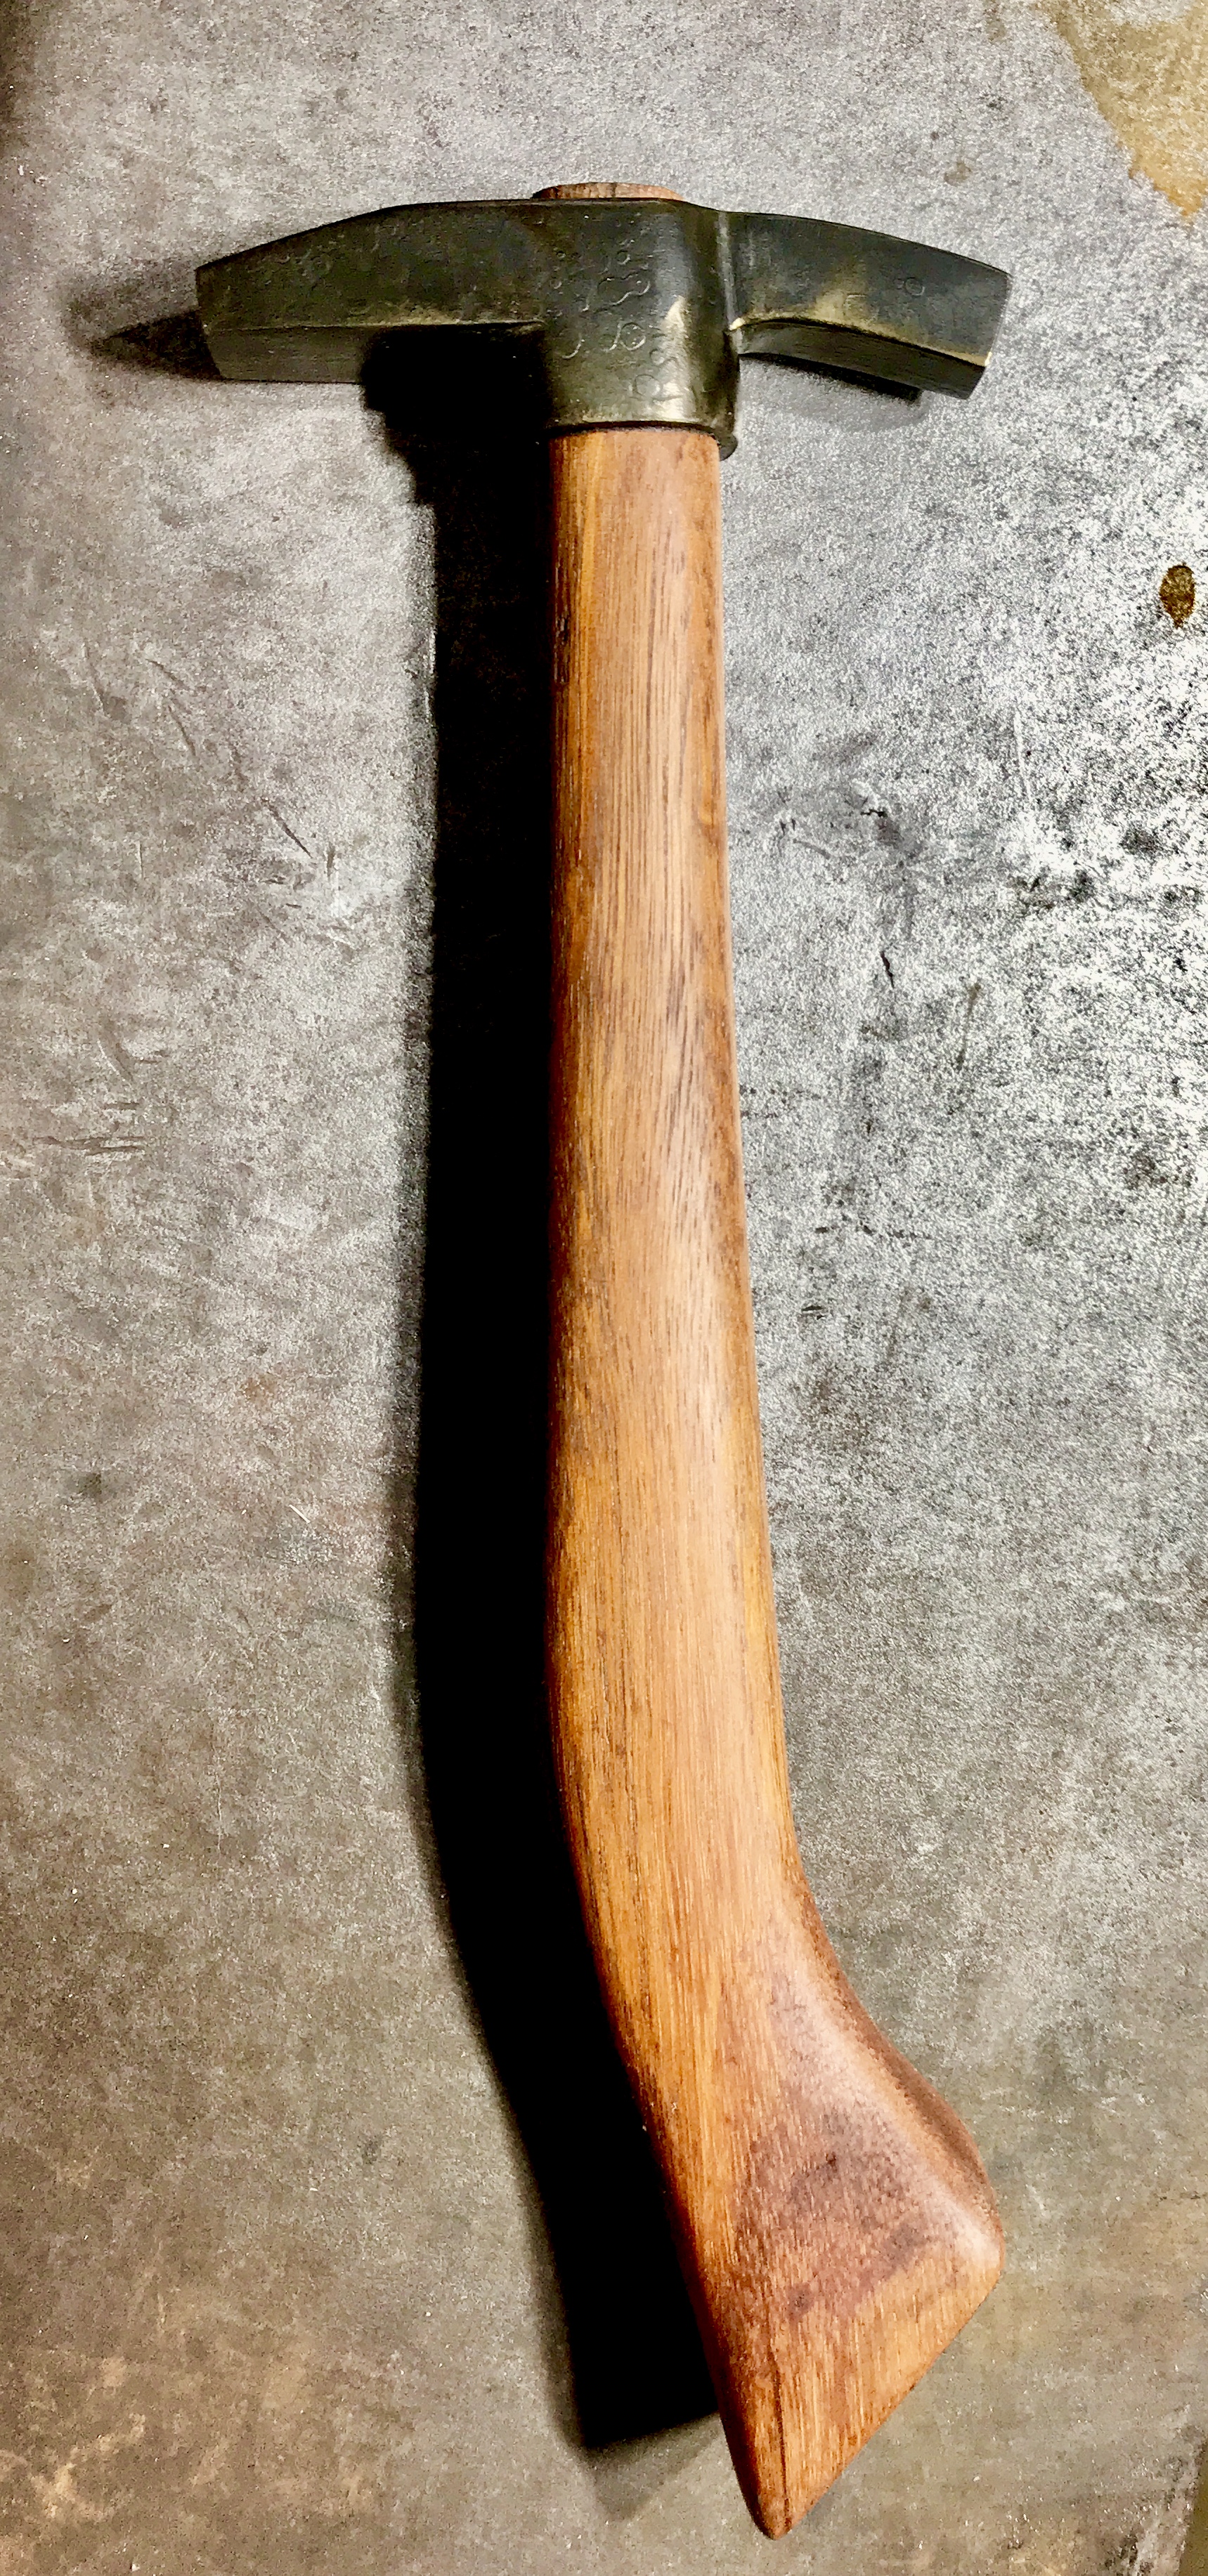
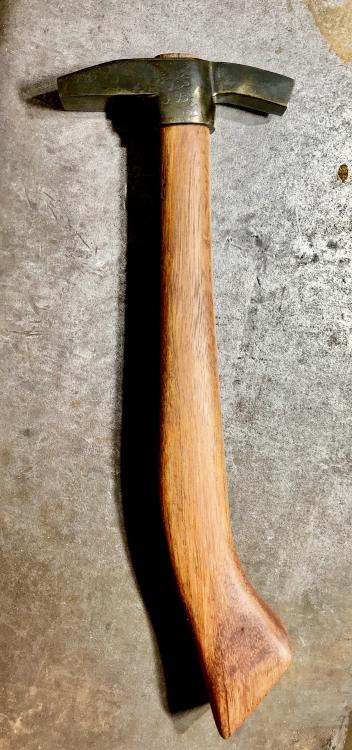
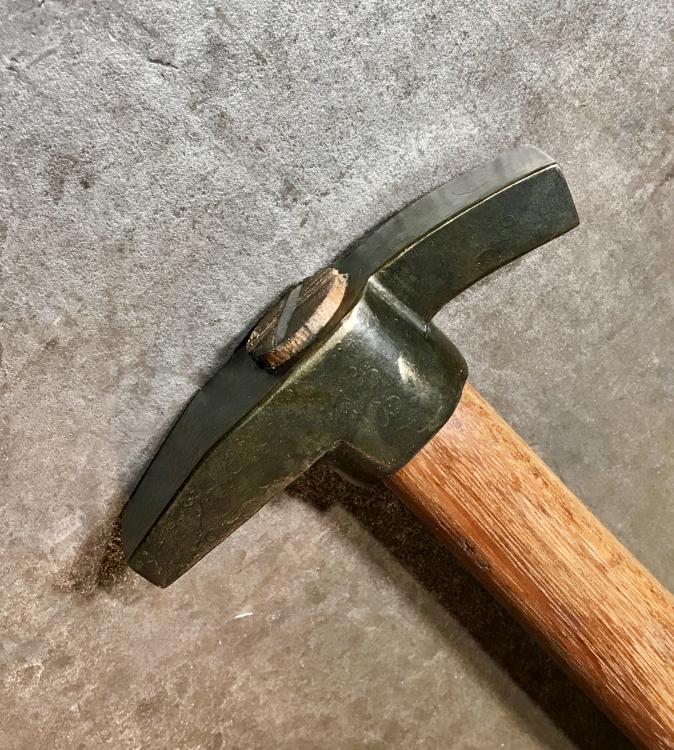
Got a very good dark straw color on this little hammer made for installing small brads and glazing points on cabinet doors with windows. Handle is 140 year old mahogany from floorboards taken from an old Milwaukee building.
-
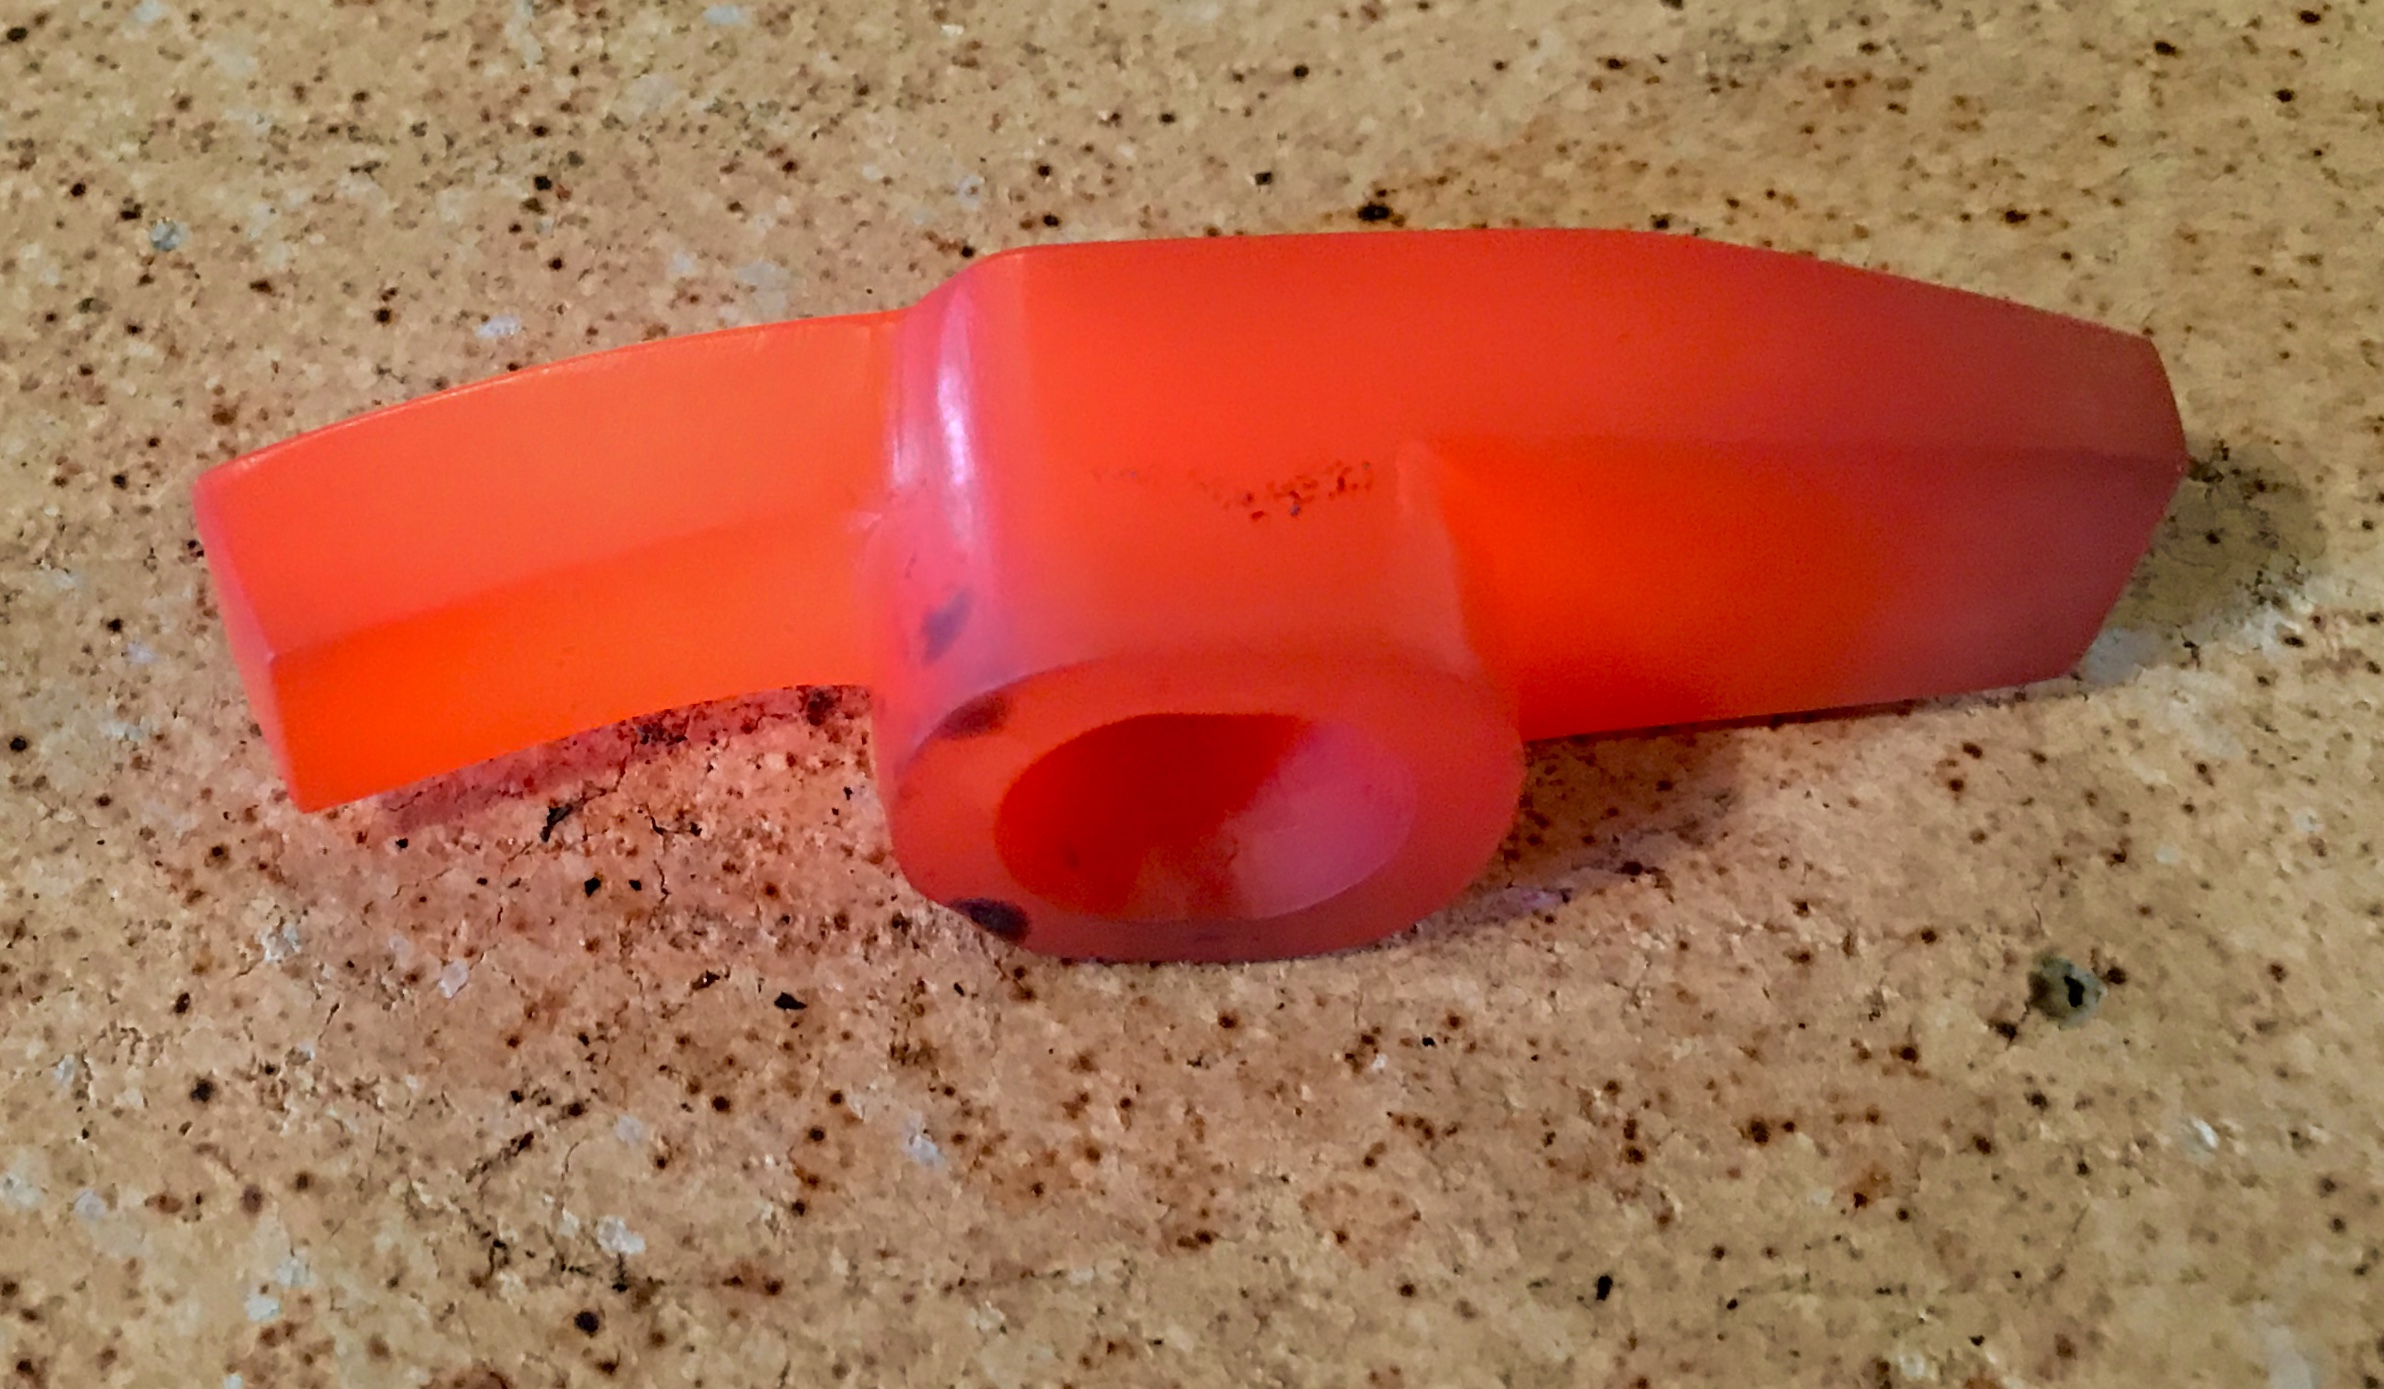
The piece in question is a little 8 ounce 1045 head. I heated to non-magnetic and quenched the peens yesterday. Then tried drift tempering. Not good results. Today I did a new 10 minute normalizing cycle, then heated to non-magnetic (dark orange). After a good slow heating cycle I did a fast, vigorous quench in water. Definitely felt harder under a file this time. Tempering at 420 in the oven for two hours.
-
Cedar is a relatively light wood and, as Thomas notes, rather brittle. It rives beautifully but is pretty easy to break across the grain. As an aside, in the 18th century, apple and pear were the most common woods used for handles on teapots and coffee pots. Will have to try on a hammer.
-
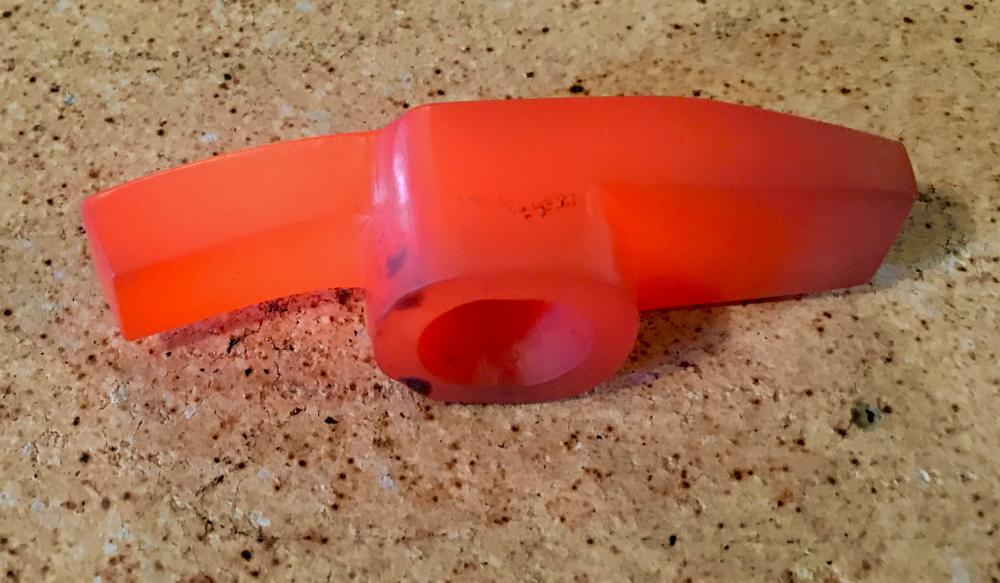
Thomas, I’m heating the heads to non-magnetic and then quenching the face/peen ends in either heated canola oil or water. Typically, I’ve tempered in the oven at 400 degrees for two hours, although today I tried the method of heating a drift and trying to draw out the color to a dark straw before quenching (today was 1045 in water....I put the whole head in the water once the color came out but maybe that was a mistake). As an aside, found this intersting video with a pretty neat quenching approach to a large sledge (they start with a massive billet!): Just so you know more, the hammer I’m currently finishing is a funny little experimental hammer made for a friend who is involved in a project making many windowed doors for a library room. He wants a curved small hammer (8 oz. head) to help drive in the nailed moldings or mullions that hold in the window panes. The face got to a nice light straw color using a heated drift but seems rather easy to dent. It is not handled yet so I can re-harden/temper. Any thoughts or advice would be most appreciated.
-
I’ve been doing the differential hardening/tempering. Just not yet getting terribly hard faces.
-
Thanks. Not having the best luck getting a nail worthy face on my hammers but still very much just beginning to learn about heat treating.
-
1) Presumably commercially made 1045 carpenters/claw hammers are heat treated in some special way to optimize their hardness. What is that process? 2) Just curious, does the surface of a 1045 hammer get harder or tougher over time from regular/repeated use?