

jlpservicesinc
-
Posts
5,754 -
Joined
-
Last visited
Content Type
Profiles
Forums
Articles
Gallery
Downloads
Events
Everything posted by jlpservicesinc
-

The Citadel Repair Shop Anvil
jlpservicesinc replied to Mulebrain's topic in Anvils, Swage Blocks, and Mandrels
that is a 3rd generation Hay Budden. Serial Number starting with A were 3rd gen.. HB,. had 4 generation types. 1st gen, tradtional wrougnt iron with face plate, 2nd, was 2 piece anvil welded at the waist, with Rhino horn with higher top face, 3rd was Rhino horn with lower face height welded at the waist and 4th gen was solid steel (rare). its funny but without a reference it looks like a 100lbs.. hay Budden anvils are my favorite. -
What did you do in the shop today?
jlpservicesinc replied to Mark Ling's topic in Blacksmithing, General Discussion
Rodro pedro wonderful work. Good for you on using nature and refining the design. well done. Goods, Looks great.. Did you use the weld eye around mandrel in vise method? How thick is the blade? Side view perhaps would be nice. -
What did you do in the shop today?
jlpservicesinc replied to Mark Ling's topic in Blacksmithing, General Discussion
Very nice. You going to the ABANA conference.. Going to be right down the street from you in 2020. -
What did you do in the shop today?
jlpservicesinc replied to Mark Ling's topic in Blacksmithing, General Discussion
That is a nice stand. Will it be bolted down to the floor? Or a plate to stand on? -
Nice of you to say. Been in a stand still with the weather. I need like a week of good weather with no rain and decent temps to get part of it done. I might just do a bay at a time. What do you guys run into for swedish style double horn anvils. I know Belgium is a different country but there is something about the narrower Swedish pattern that intrigues me. Those anvils are still really nice. I'd love to give one a spin.
-
What did you do in the shop today?
jlpservicesinc replied to Mark Ling's topic in Blacksmithing, General Discussion
Super cool and talented. -
Your area is pretty rich with both history and old blacksmithing gear.. There are deals to be had and you are in New England Blacksmiths range.. They have meets spring and fall and have all sorts of blacksmithing stuff both to use and to buy at the meets at the Tailgate section. . I bought a blower there last year for 35.00 Buffalo silent 200 14". There must have been 20 hand crank blowers at the fall meet which was in Brentwood NH.. Welcome to the ifi group but also check out the NEB group facebook and here on IFI. If you want I am a state rep for MA so hit me up on PM.
-
what year did soderfors go out of anvil production?
-
Anvil saved from the trash with a crack ?
jlpservicesinc replied to BartW's topic in Repairing and Modification to Anvils
Wow, that is a beautiful anvil. Congrats for sure. Those are the kinds of people to keep in beer for sure. -
Hans, that is super awesome. Congrats..
-
Common Basic Mistakes That Beginners Should Avoid
jlpservicesinc replied to JHCC's topic in Blacksmithing, General Discussion
If you have tools and equipment enough to fire up a forge.. Then this is the best thing to do is get a book like "The Blacksmith Craft" COSIRA free for download here on IFI or the BAM site. the start with page 1 or what have you and start trying things.. ABANA has their manual which has excellent exercises in it.. Personally I like it best when a student shows up and has some forging experience because then they have some hammer time in and we can correct and improve what they are doing instead of just working on basics of hammer swing, foot position, etc,etc. Getting in some forge and anvil time is the only way to get better and including videos from good smiths and going and taking a class or 2 will all pay off faster than one can simply imagine. -
Pricing my work makes me uneasy
jlpservicesinc replied to jwilson645's topic in The Business Side of Blacksmithing
there is a lot of great information here. Thomas's points about running a regular business applies big time and there is a formula that takes all these things and more into consideration, Overhead, tools, time, vacation, retirement.. etc,etc. For those looking to run it as a business with no other income all these facets have to be looked at. Retired persons have a lot of advantages which many full timers do not. Steady income for starters and many will have their homes/shops paid off. there is a basic formula that many business use to come up with a wage or hourly rate.. Anvils: don't charge for learning. Is a good one if you don't need the income and just starting out.., Because you should not be getting educated on the backs of others figuring it out. In other words no production in a manner that is fitting of a paid smith. (quality, quantity) If you do need the income his "don't charge for learning can be applied as learning sessions done on your own vs on the clock. Riveting, transitions, tooling, etc, etc can be fun shop learning time. Once you get to a point you will come to understand that if it is all custom, it is always a learning game and so for each job there will be something you learn and is part of the job and will get paid as such. Understanding this means building upon the information you all ready have and applying it in a timely fashion so you are not learning the whole process or learning it again at the expense of the customer. (hobbiyist vs pro).. If you have income coming in and just getting started and not proficient nor fast then these can be wise words as it will keep you item priced for sale.. With this in mind.. charging to much is better than not charging enough.. Always strive to charge to much. Vs NOT ENOUGH.. Don't compare what you charge to anyone else.. this is a bad way to set price and to do business.. Charge what you feel you are worth and be brutely honest with yourself. When someone buys something or another smith whom you respect tells you what a good deal it is or how'd you make that for so little money.. HINT, HINT.... When it comes to JOBS: If you get the job so be it. If you don't get the job you don't need the the job.. A hungry smith can not, not work for money.. But having a choice can offer you some emotional freedom as well as a desire to keep going. Once you get burnt out anything previous to this won't matter. Most everybody was brain washed back in the late 80's to think that 25.00 per hour is good money.. Today that same 25.00 is only worth 10.00 in buying power compared to 1990. Today it takes 50.00 per hour to have the same buying power of 25.00 in 1990's dollars. But somehow everyone has been convinced except the people pulling in more per hour.. I don't care what others charge per hour and set my rate based on what I feel the work is worth to "ME".. I get 125.00 for general forge work. 150.00 for tools and such. and 175.00 for wrought iron work.. I have the luxury of having a full time job that pays well enough so am not a starving smith and back in 1990 I was getting 60.00 per hour plus materials, and misc (coal, nuts bolts, taps, dies.. etc, etc) used for the job. i had worked backlogged when I quit and was getting 70.00 in 2004 when I closed the doors. -
What did you do in the shop today?
jlpservicesinc replied to Mark Ling's topic in Blacksmithing, General Discussion
Ouch, what does that weigh? Nice work.. Love the little details. -
Anvil Stands. Make'em nice and clean
jlpservicesinc replied to David Kailey's topic in Stands for Anvils, Swage Blocks, etc
I don't use a blower because all the dust and fines ends up on top off all the rafters and every inch above head height. Then everytime I go looking for that special piece of sword or hidden treasure stuffed up in the rafters I end up looking like a chimney sweep. Back when I was a pro I would intentionally water the floor before sweeping to keep the dust down. Then I discovered the vacuum.. This is one of the best inventions ever. I shop vac everything.. If I had a pole barn or an open sided setup with no insulation and no hidyholes up above I'd use the blower too.. But even in the trailer it's amazing how much dust finds its way up ontop of the beams. -
I figured.. But always good to have a reminder.
-
I will interject because I'm all juiced up on black tea.. LOL.. You made some good progress. Great to see.. The nail header looks pretty good.. It's important to have a square hole.. In fact it is one of the most important aspects unless you are making a different shaped shank.. Other important factor is to have a slight taper to the nail header vs a steep taper inside the hole. A steep taper will trap the nail in the header if the shank gets deformed at all. a long taper will help to keep the shank inline with the head so easier to remove. I can see the ends of the nails are beat up a little. the reason why I addressed this is because every thing that is more correct will make the experience easier and faster. Next the 1.5X is a good rough estimate but nearly all old nails used much less stock than 1.5X and much closer to 3/4X stock size.. Nails should be headed when orange heat until you get the timing down. (this saves the header from unnecessary abuse and wear and heads better). and when you cut the nail and take the heading heat remember to leave it attached to the bar and snap it off in the header with the high side away from you. (away or towards is totally dependent on your hammer swing).. Nearly everyone pulls the hammer towards themselves when they strike a hammer blow. this will recenter the high side and push it into the center. Vintage nails are rarely ever round on the heads. It was only when commercial nails came onto the scene that round heads became more of the norm. IIRC. they made 1200 different kinds of nails from 1600's to when hand forged nails fell out of favor. they were not all the same and many of the heads were swaged to size.
-
Anvil Stands. Make'em nice and clean
jlpservicesinc replied to David Kailey's topic in Stands for Anvils, Swage Blocks, etc
I'm feeling frisky today and after reading some of or I should say all the information about clean shops vs unclean shops here is the unbiased opinion and the only one needed. LOL.. I have been into many shops that are spotless and the smith was terrible.. I have been into many shops that were falling in and had stuff scattered everywhere and the smith was awesome. (this does not mean that the opposite is not also true but it is more the case of messy is better than spotless).. I have over the years seen where that crappy smith because of the clean, newish shop drew a customer base dazzled by all that clean and tidy shop area only to turn out an inferior product but the customer being dazzled paid the full price.. (both in money and in an inferior product). I have also been to these dazzle shops and walked out half way through only to see the crap being handed out, both in knowledge and in skill set. I have also been to some of the finest hole in the ground, crap trap shops and the work is amazing and the smith has perfected their craft and does not need to pedal their skill set based on how the shop looks. Nor do they care to.. They work and that is it. My point is that there are 3 to 4 different sales aspects.. 1, A shop does not represent the level or quality of work done in said shop.. 2, Any shop that presents as immaculate for the most part I usually am skeptical of anything made in such shop. 3, It is the smith and only the smith that dictates the kinds of work as well as the quality of work.. (new vs old beat up gear). 4. The work should speak for itself. Not the building or how clean or unclean the area or building is. first opinions are nearly always wrong.. In todays world people forget smithing is a dirty job and if one is working at if for a living they to are usually dirty or they are covered in hair so you can not see they are dirty. It does not mean the work area need be spotless nor full of metal but after 40+ years of doing this there is an untidiness that happens during the work and is considered part of the normal work flow. What I have found and it seems to be consistent.. Every good smith, starts out with a workable clean area and by the end of a project there is/are tools and items used during the activity scattered about by the end. Then and only then is the area made fairly tidy again waiting for the next job order. Ranchmanben: you have stuff strewn around the shop which is the size of a football field so clutter would be a luxury.. LOL.. The smaller the shop the more strategist one must be with what or how things are put and will always seem dirtier and more messed up vs a huge open area with good lighting. Lighting plays in a lot as well as to someone perspective of the shop and items inside. If one has the time and skill set to make really nice equipment and present as such because they have the "TIME". That is one thing. But there are many whom do not have the time and make due with what they have.. More power to them.. Again, it is not the equipment or shop, that makes the smith.. It is ability and skill. It's a different world today and sadly much of it is about the show vs true skill set. -
Show me your anvil stands
jlpservicesinc replied to pkrankow's topic in Stands for Anvils, Swage Blocks, etc
That will work.. is your floor one of those floaters? concrete in the floor.. I like it. did you try it without the dynamat? nice setup. -
you can also use a gas torch with a cutting tip or welding tip and heat a spot on a corner quickly and as soon as it reaches the 1750 or little hotter, just shut the gas off. If done correctly and fast enough it will indeed harden.. you can also do this with a TIG as the heat is instant.
-
Wrought iron steeled, 3/4" wood chisel
jlpservicesinc replied to jlpservicesinc's topic in Chisels, Gouges, Scissors, etc
I"m slow on most things but even I was up to speed on this welding on the slack tub. I'm all ready half way thru on the footage I took. It's so fast with only 1 video stream. Other nice thing is its just straight 4K video vs 3D so this speeds things up dramatically. I'll be curious as to the ratio they use.. They mentioned they wanted it to be both condensed but also to have direct examples of the forging technique. It will be interesting for sure. Overall I believe it was about 6hrs for the complete chisel. The handle was pre done needing only to be drilled and furelles drilled and fitted. I was going to do welded ones but time wise didn't work out. -
What did you do in the shop today?
jlpservicesinc replied to Mark Ling's topic in Blacksmithing, General Discussion
Thomas that sounds like it was both a great time and a great learning time.. I love demonstrations like that. -
What did you do in the shop today?
jlpservicesinc replied to Mark Ling's topic in Blacksmithing, General Discussion
Duckcreekforge. I originally tried to do full on photo's of the finished project with the initial drawing of starting metal and then steps to finished forging. It become to time consuming to include the photos in the journal.. So I started a photo journal of finished projects and would just date the back of the photo. Sadly as I went along I was forging enough that I started to leave data out and my last few detailed drawings were just of the starting stock, finish time per piece and any measurement that were unexpected. If I ever go full time again. I will document the information more clearly again. Adding the finish time was important for myself as it gave me a way to better estimate quotes and such. . -
What did you do in the shop today?
jlpservicesinc replied to Mark Ling's topic in Blacksmithing, General Discussion
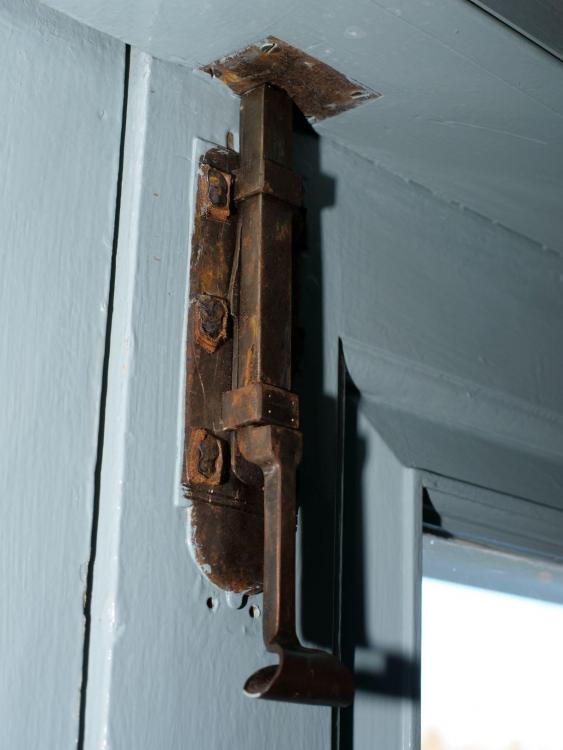
That is fantastic. I have 3 notebooks all partially full with forged items and notes on how to make that item with notes for making it easier. It's funny how now looking back at the items the listed times it took to make them.. This spring lock has 1.5hrs.. Now to make that same lock would take 3hrs. Be sure and put down how much time it takes. This will become important later. Nice work Duckcreekforge. Nice job. did you copy it out of your notebook?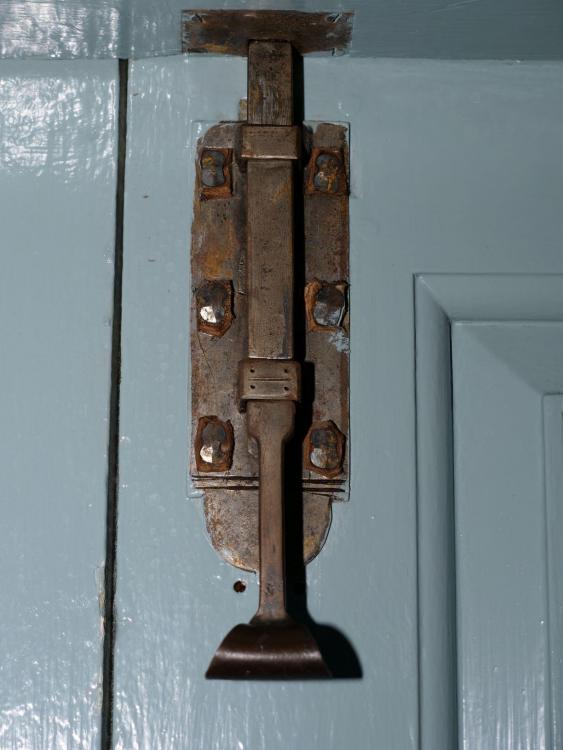
-
Wrought iron steeled, 3/4" wood chisel
jlpservicesinc replied to jlpservicesinc's topic in Chisels, Gouges, Scissors, etc
As a side note. Anytime I donate my time or forging knowledge i don't expect anything in return other than a credit as to who is doing what. I do it because it's what I enjoy.. I got to work in a nice shop, work with nice people, answer some great questions and share not only my knowledge but love for a thing I still find to be fascinating. Chelonian, Thanks, I don't know yet. I wasn't able to try it. When I put the first bevel on it felt good on the cutting edge. Usually will take a few sharpenings to get back behind the rounded edge.. I left it full length vs docking it back.. (at the end of a file stroke the file has a tendency to fall downwards rounding out the metal. This is fixed by filing straight across with a file plate so the file does not fall away/rock.. Or the end is cut off or docked. I did neither.. So once it's used a few times and needs to be sharpened it will be worn back instead.. ) It will be shipped back to me in a few weeks once all the stills are taken and processed. It will be a great show and tell piece. -
Wrought iron steeled, 3/4" wood chisel
jlpservicesinc replied to jlpservicesinc's topic in Chisels, Gouges, Scissors, etc
Thanks. The EAIA was the sponsor and the guy who filmed it is a member.. I did it because I was asked by Bob and I like Bob and his work ethics and know that if he puts his stamp on it, its going to be a quality production.. I really can't see anything less.. The person who filmed the work was in video production some years ago and he was particular with the shots.. By the way.. this is not a full feature, full length film. It is going to be used as a commercial kind of arrangement where much of it will be dubbed and sped up.. From what I was told they want it to be about 2 to 3minutes long so they will have ample footage (4hrs condensed). Its one of the reasons I requested to get footage. So I can then edit my own version. I try to donate my time and skill set towards worthy entities. ABANA, NEB, EAIA. Youtube, IFI..

