bigb
-
Posts
320 -
Joined
-
Last visited
Content Type
Profiles
Forums
Articles
Gallery
Downloads
Events
Everything posted by bigb
-
I remember years ago there was an extreme cold spell in Jackson Hole and my BIL was in the HVAC business. They bought up all the electric blankets in town to put over people's outdoor propane tanks so they could have heat.
-
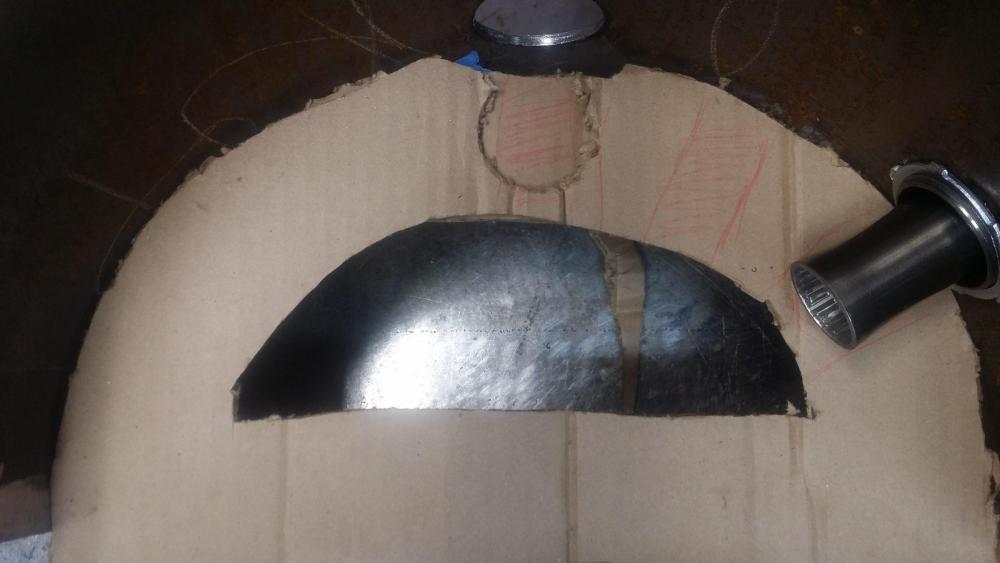
I punched the hole at 2:00 but I didn't take into account the reduced size after the liner is in. The cardboard represents the liner dimensions. Will this work or should I punch another hole a bit higher? (I punched one on top too so I can experiment with different burner locations, plugging the unused port with wool)
-
Here ya go
-
Modern post tensioning cables are contained in a plastic liner which also contains a lubricant but I wonder if those are part of an old post tension system before plastic liners were used.
-
Do you have a stand where you can lay the torch in and hold the work piece in the flame? I need something like that. I did recently get a gas saver which helps a lot, I can just hang the torch on it and it will estinguish, than pick it back up and wave it in front of the pilot. I'd still like to make a stand to hold it while lit.
-
I really like that, what did you use for the feet at the end of the rebar legs? I made some trunk stands out of rebar and sliced up some 1" machinery pins for the feet. That was before I had a forge, I wonder how well it would work to upset the rebar to make feet?
-
One of the big shops I visit here keeps the 100 lb cylinders outside, but adjacent to the forge, just on the other side of the wall. A piece of pipe runs thru the wall with a regulator and ball valve then a short flexible line to the burners. Not sure if this would be a problem in colder climates though.
-
Today I was in Costco and they have their 4 foot Feit Electric LED shop lights for 29.99-10.00 instant rebate making them $19.99 each. These were $40 a year ago. I have one in my shop over the welding table and it is great.
-
It's not over till the fat anvil prices sink.
-
Tom, where did you orient your burners? They look almost straight up at the top. I am going back and forth over burner angle on mine. At the open forge I went to today all the gas forges had the burners straight up at 12:00, yet many say to aim them at the side for a swirling effect. Seems like everyone has a different opinion, guess I'll probably end up learning from my own experience.
-
Nice. If possible can you post pics of the lining? And the ends? What is your cubic inches?
-
I am very confused as well. Tonight I will draw up a sketch with various positions and post it. I have considered two burner ports, one for swirl and one for hot spot heating on the floor and just capping the unused port, not sure how that would work.

-
I have seen a lot of forges with the burner right on top at 12:00 and some with the burner at about one or two o'clock. When I posted my original drawing Frosty suggested I put my burner down a bit more for a swirl effect. Looking for input on where exactly to make the hole.


-
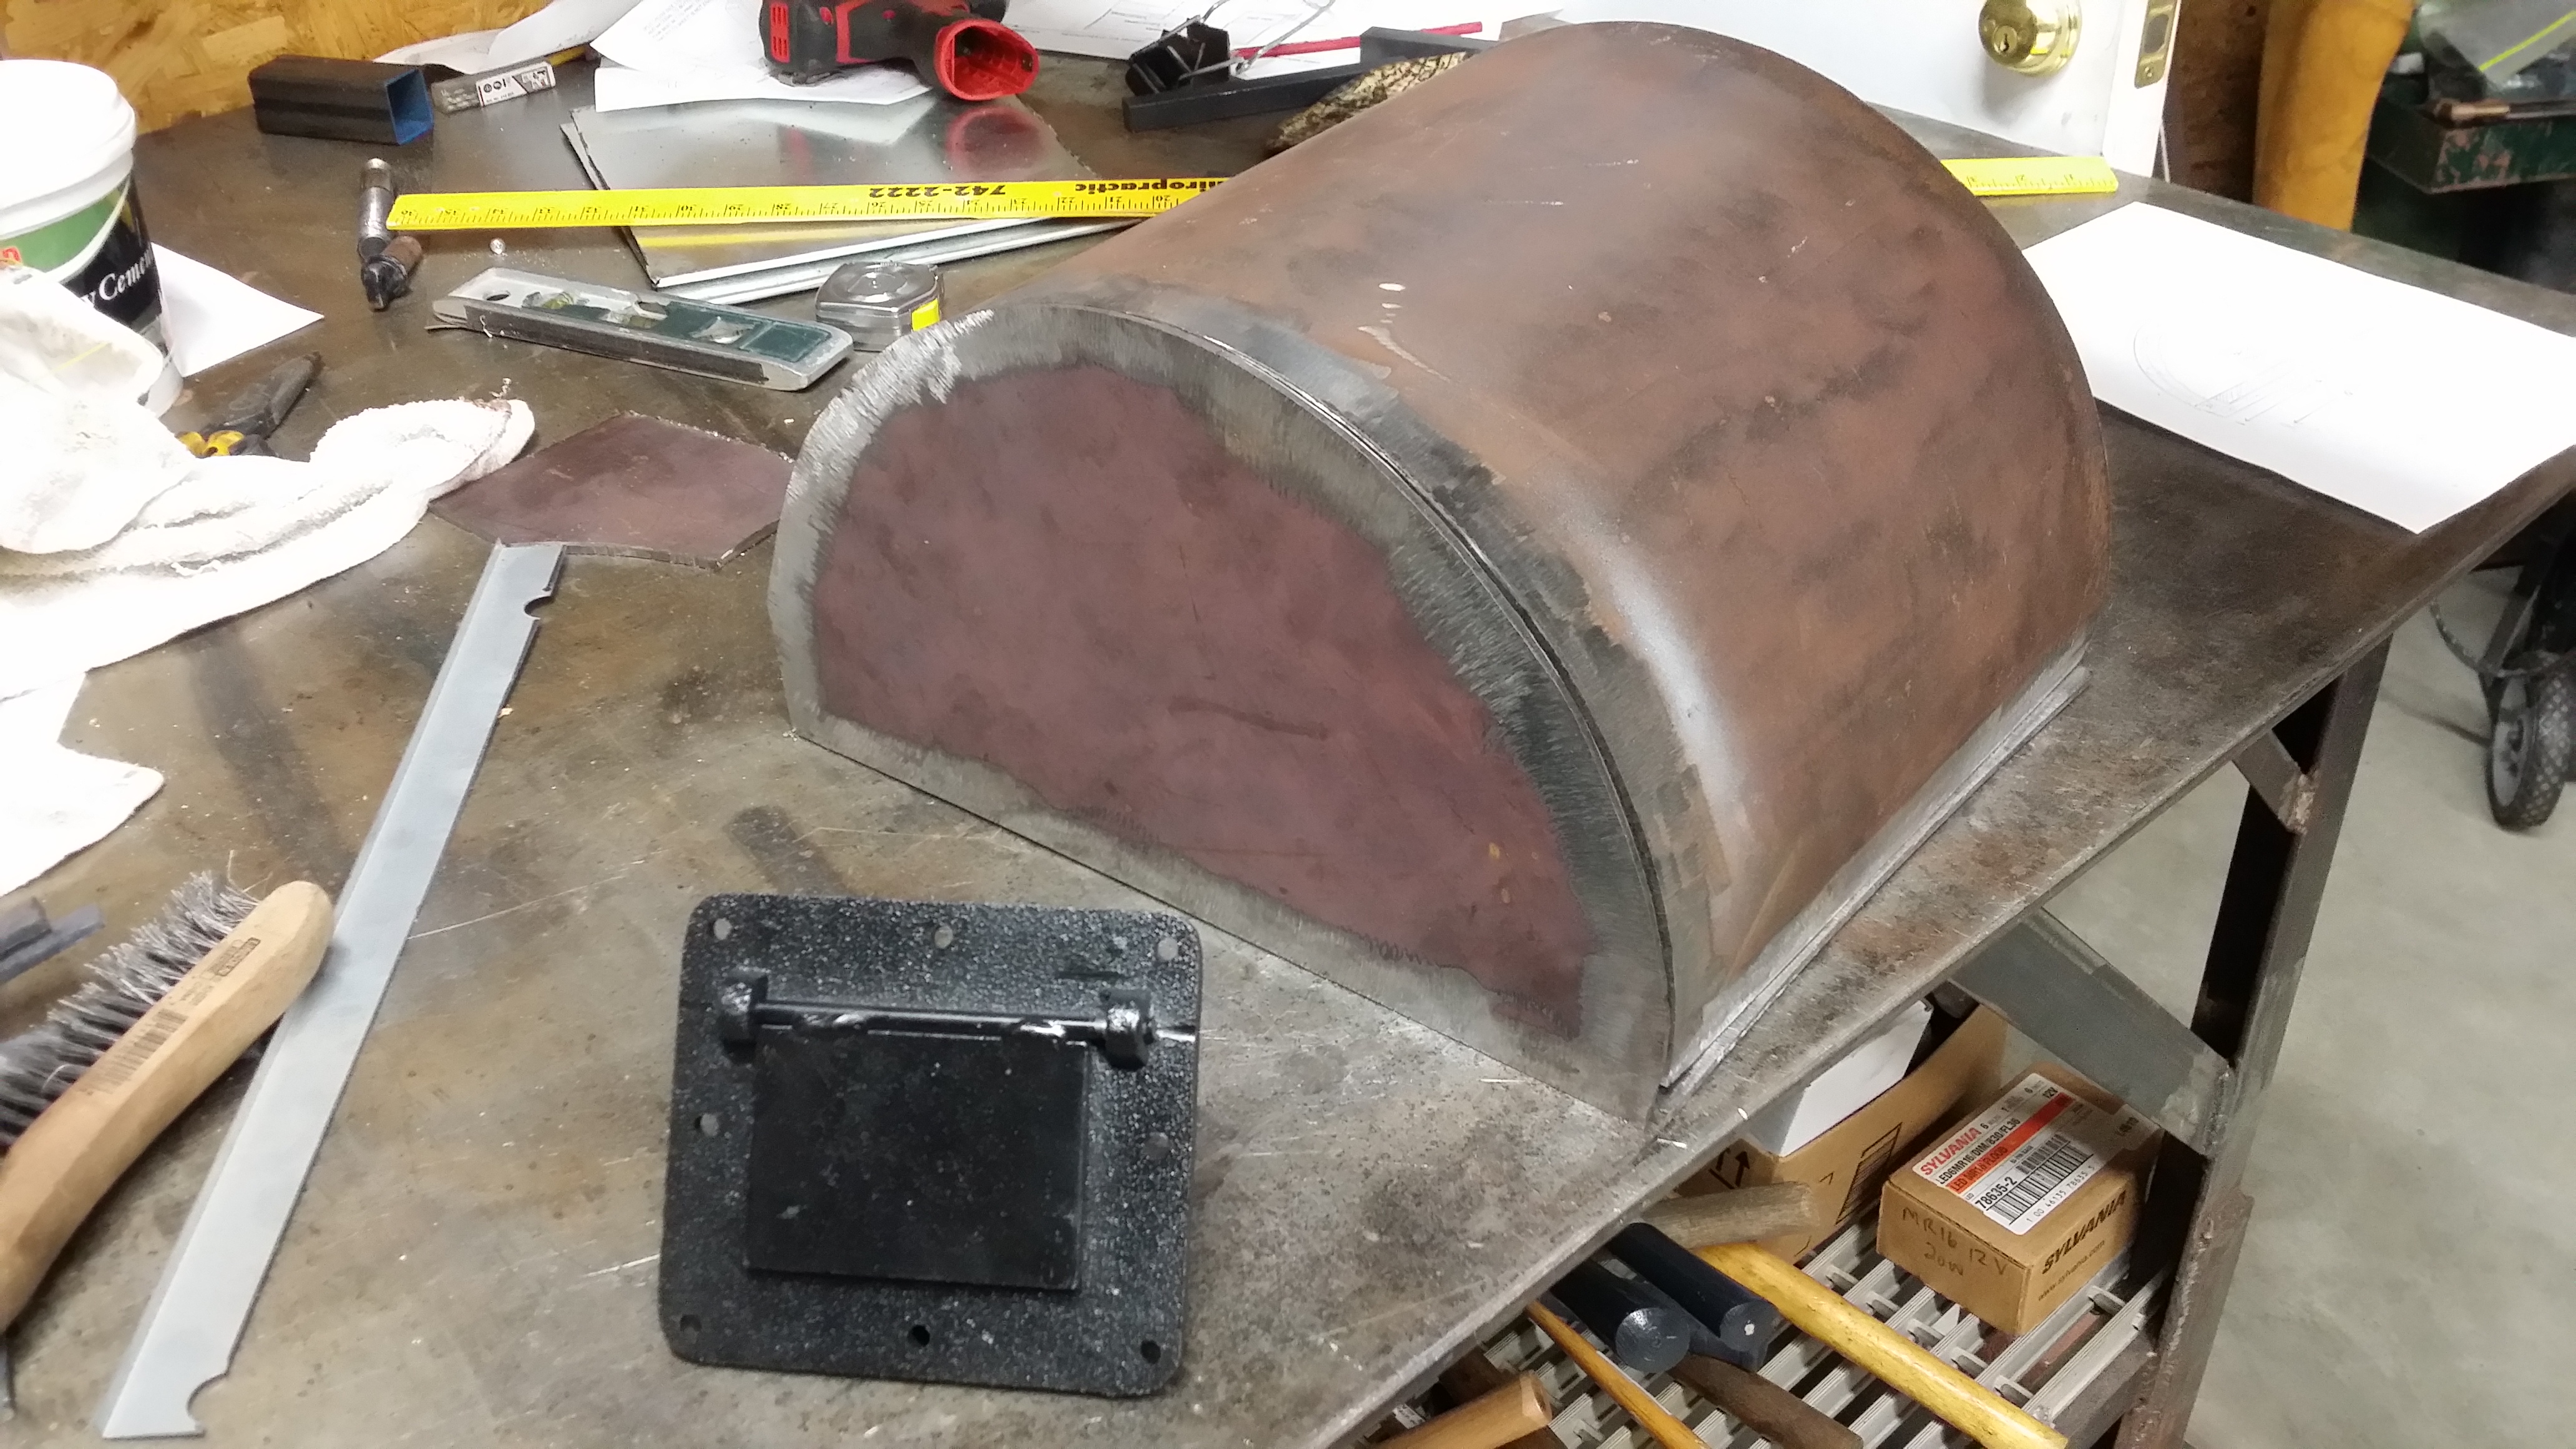
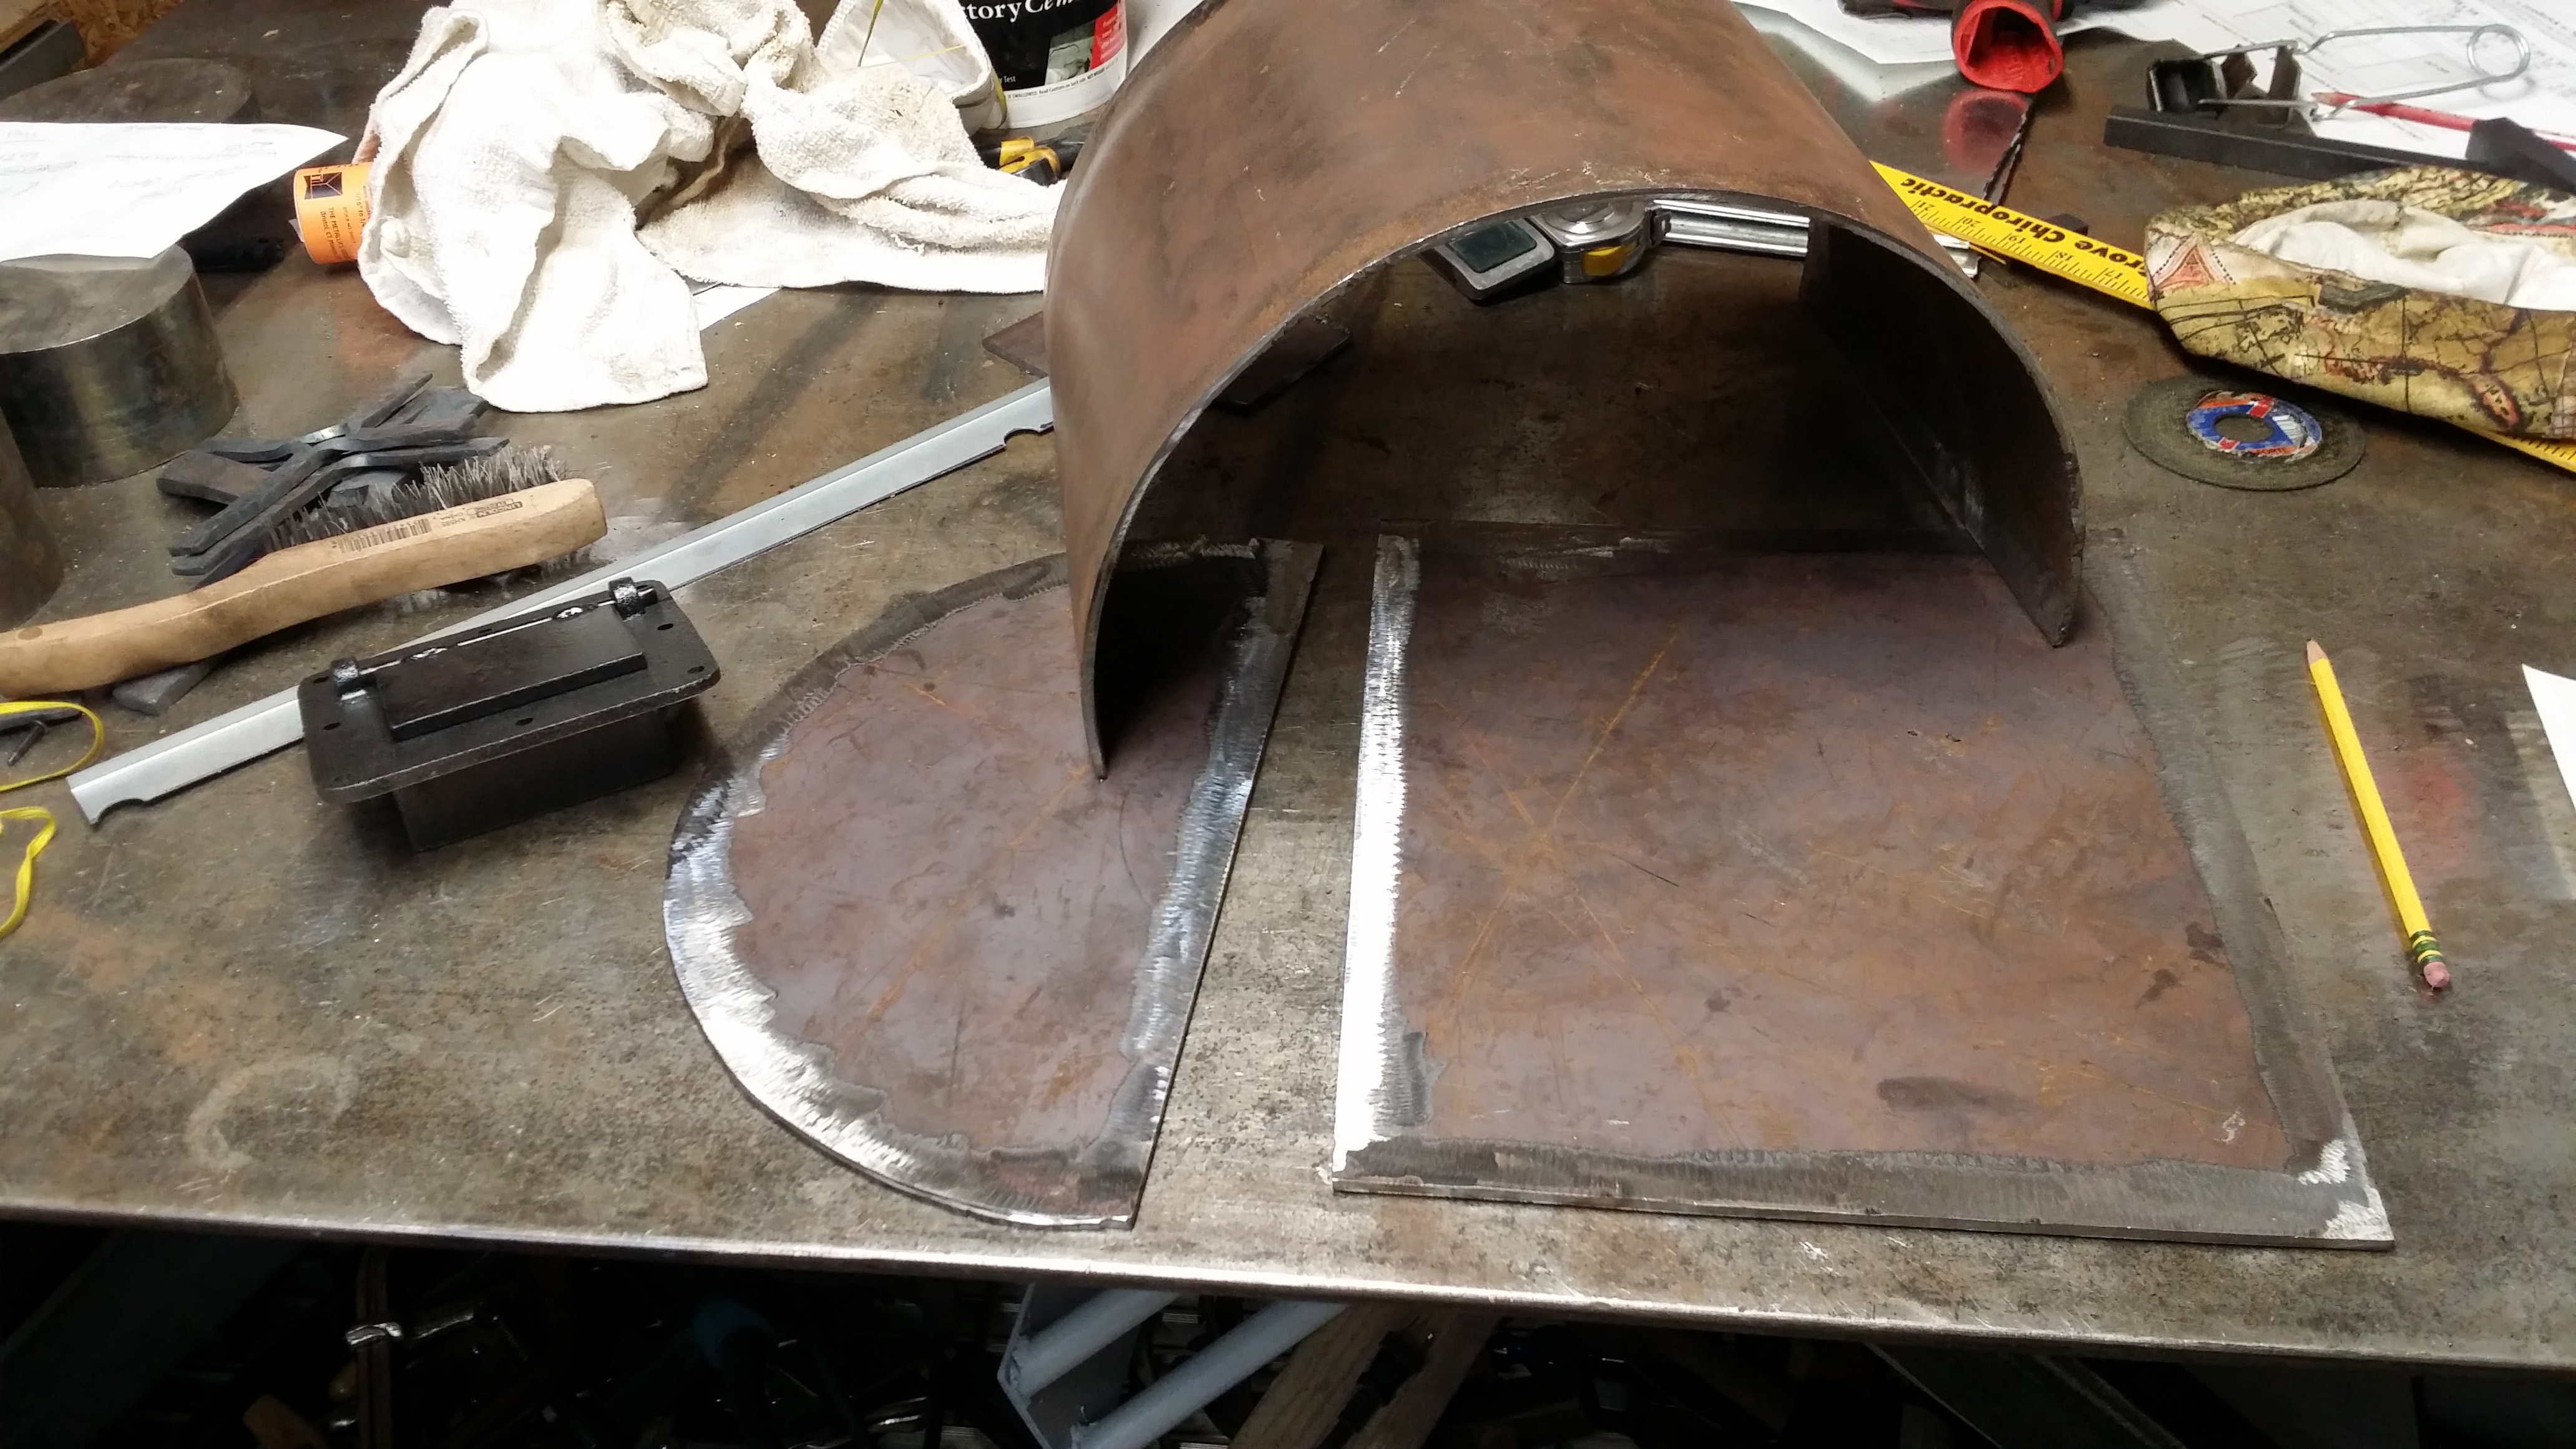
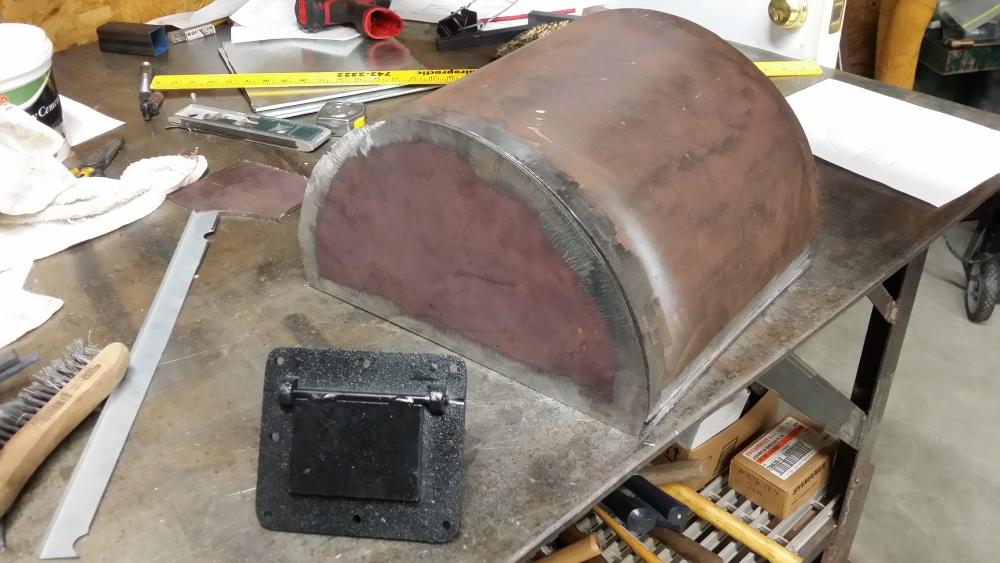
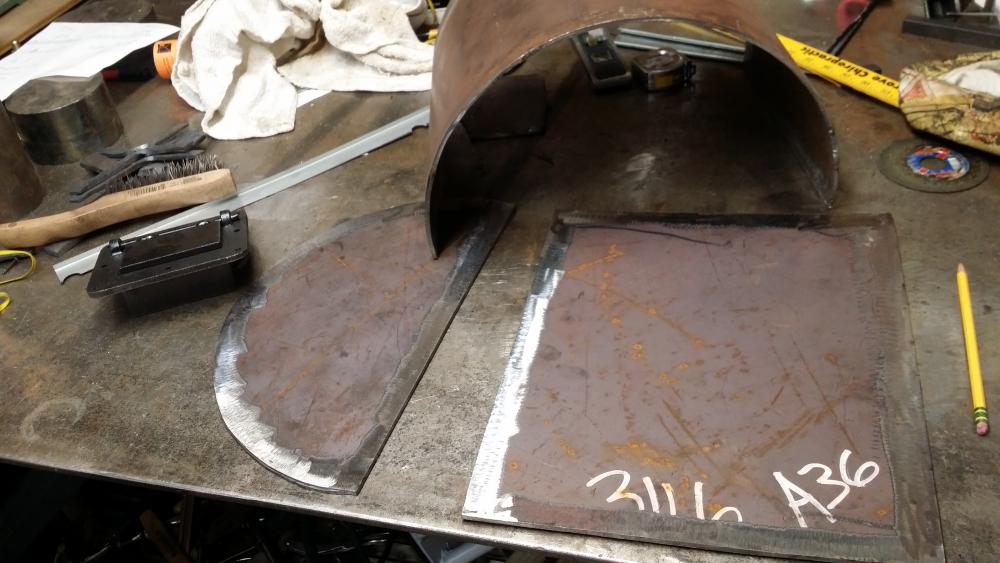
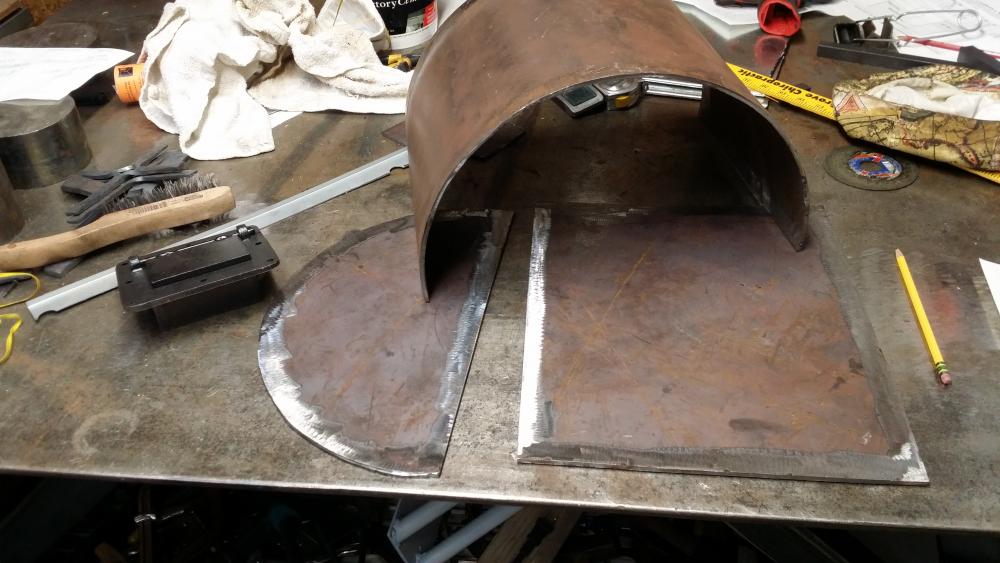
Well here it is three months later and I finally had time this weekend to start the forge. Cut my scrap piece of pipe but it opened up another inch so my forge will end up a bit wider and lower, which will be fine for my mostly flat work pieces. The bottom and end is cut from some scrap A-36 I've had leaning up in the corner for a few years. I plan to install the NC Tools door shown, in the back end at or near floor level. Not sure if I'll cut anything for the front or just use fire brick. I could cut something like a "D" ring to fit around the end to close off the Kaowool and Kast-O-Lite. I have literally tons of steel stashed away. The drawing has been modified to fit the actual dimension of the pipe with two inches of liner, but since I am planning to use Kast-O-Lite on top of that there will likely be another 1/2". I do want to get a piece of kiln floor from the local kiln supply. Going to email Wayne for the liner materials before I tack the pieces together. Comments & suggestions welcomed. Frosty I'd like to discuss the burner angle before I cut the hole and weld in the pipe nipple.


-
If you feel the need to kick some ash over this maybe you need to see someone to help you get to the root of the problem, you may find it will spruce up your life a bit.
-
Regardless of what anyone else thinks I will be for-evergreen with envy about that Church Window anvil.
-
I've never seen a wooden anvil before, are they poplar where you live?
-
Thanks for those pics desmato, a mount for one of my vises is on my to do list and the pics help a lot.
-
I am still in the experimenting stage so I stick very close to the work piece when it's in the heat. I did try multiple pieces a couple times and I did get a lot done but it really kept me hopping, there was no time for anything else! I definitely see that as a viable working method as my skills improve. As far as music in my shop.......well for me it's everything from John Coltrane to Johnny Cash to John Lee Hooker.....from Sarah Vaughn to Stevie Ray Vaughn to....well you get the picture.
-
I have a question about the mount, were they typically forged from one piece? Would you start with some say 1" square and draw out the cloverleaf, then drill and file the slot? Or would you use flat stock and bend up the slotted end then weld it?
-
Send them a real snail mail letter with a picture in it. Only problem is they might want it back and now they'll have your address!
-
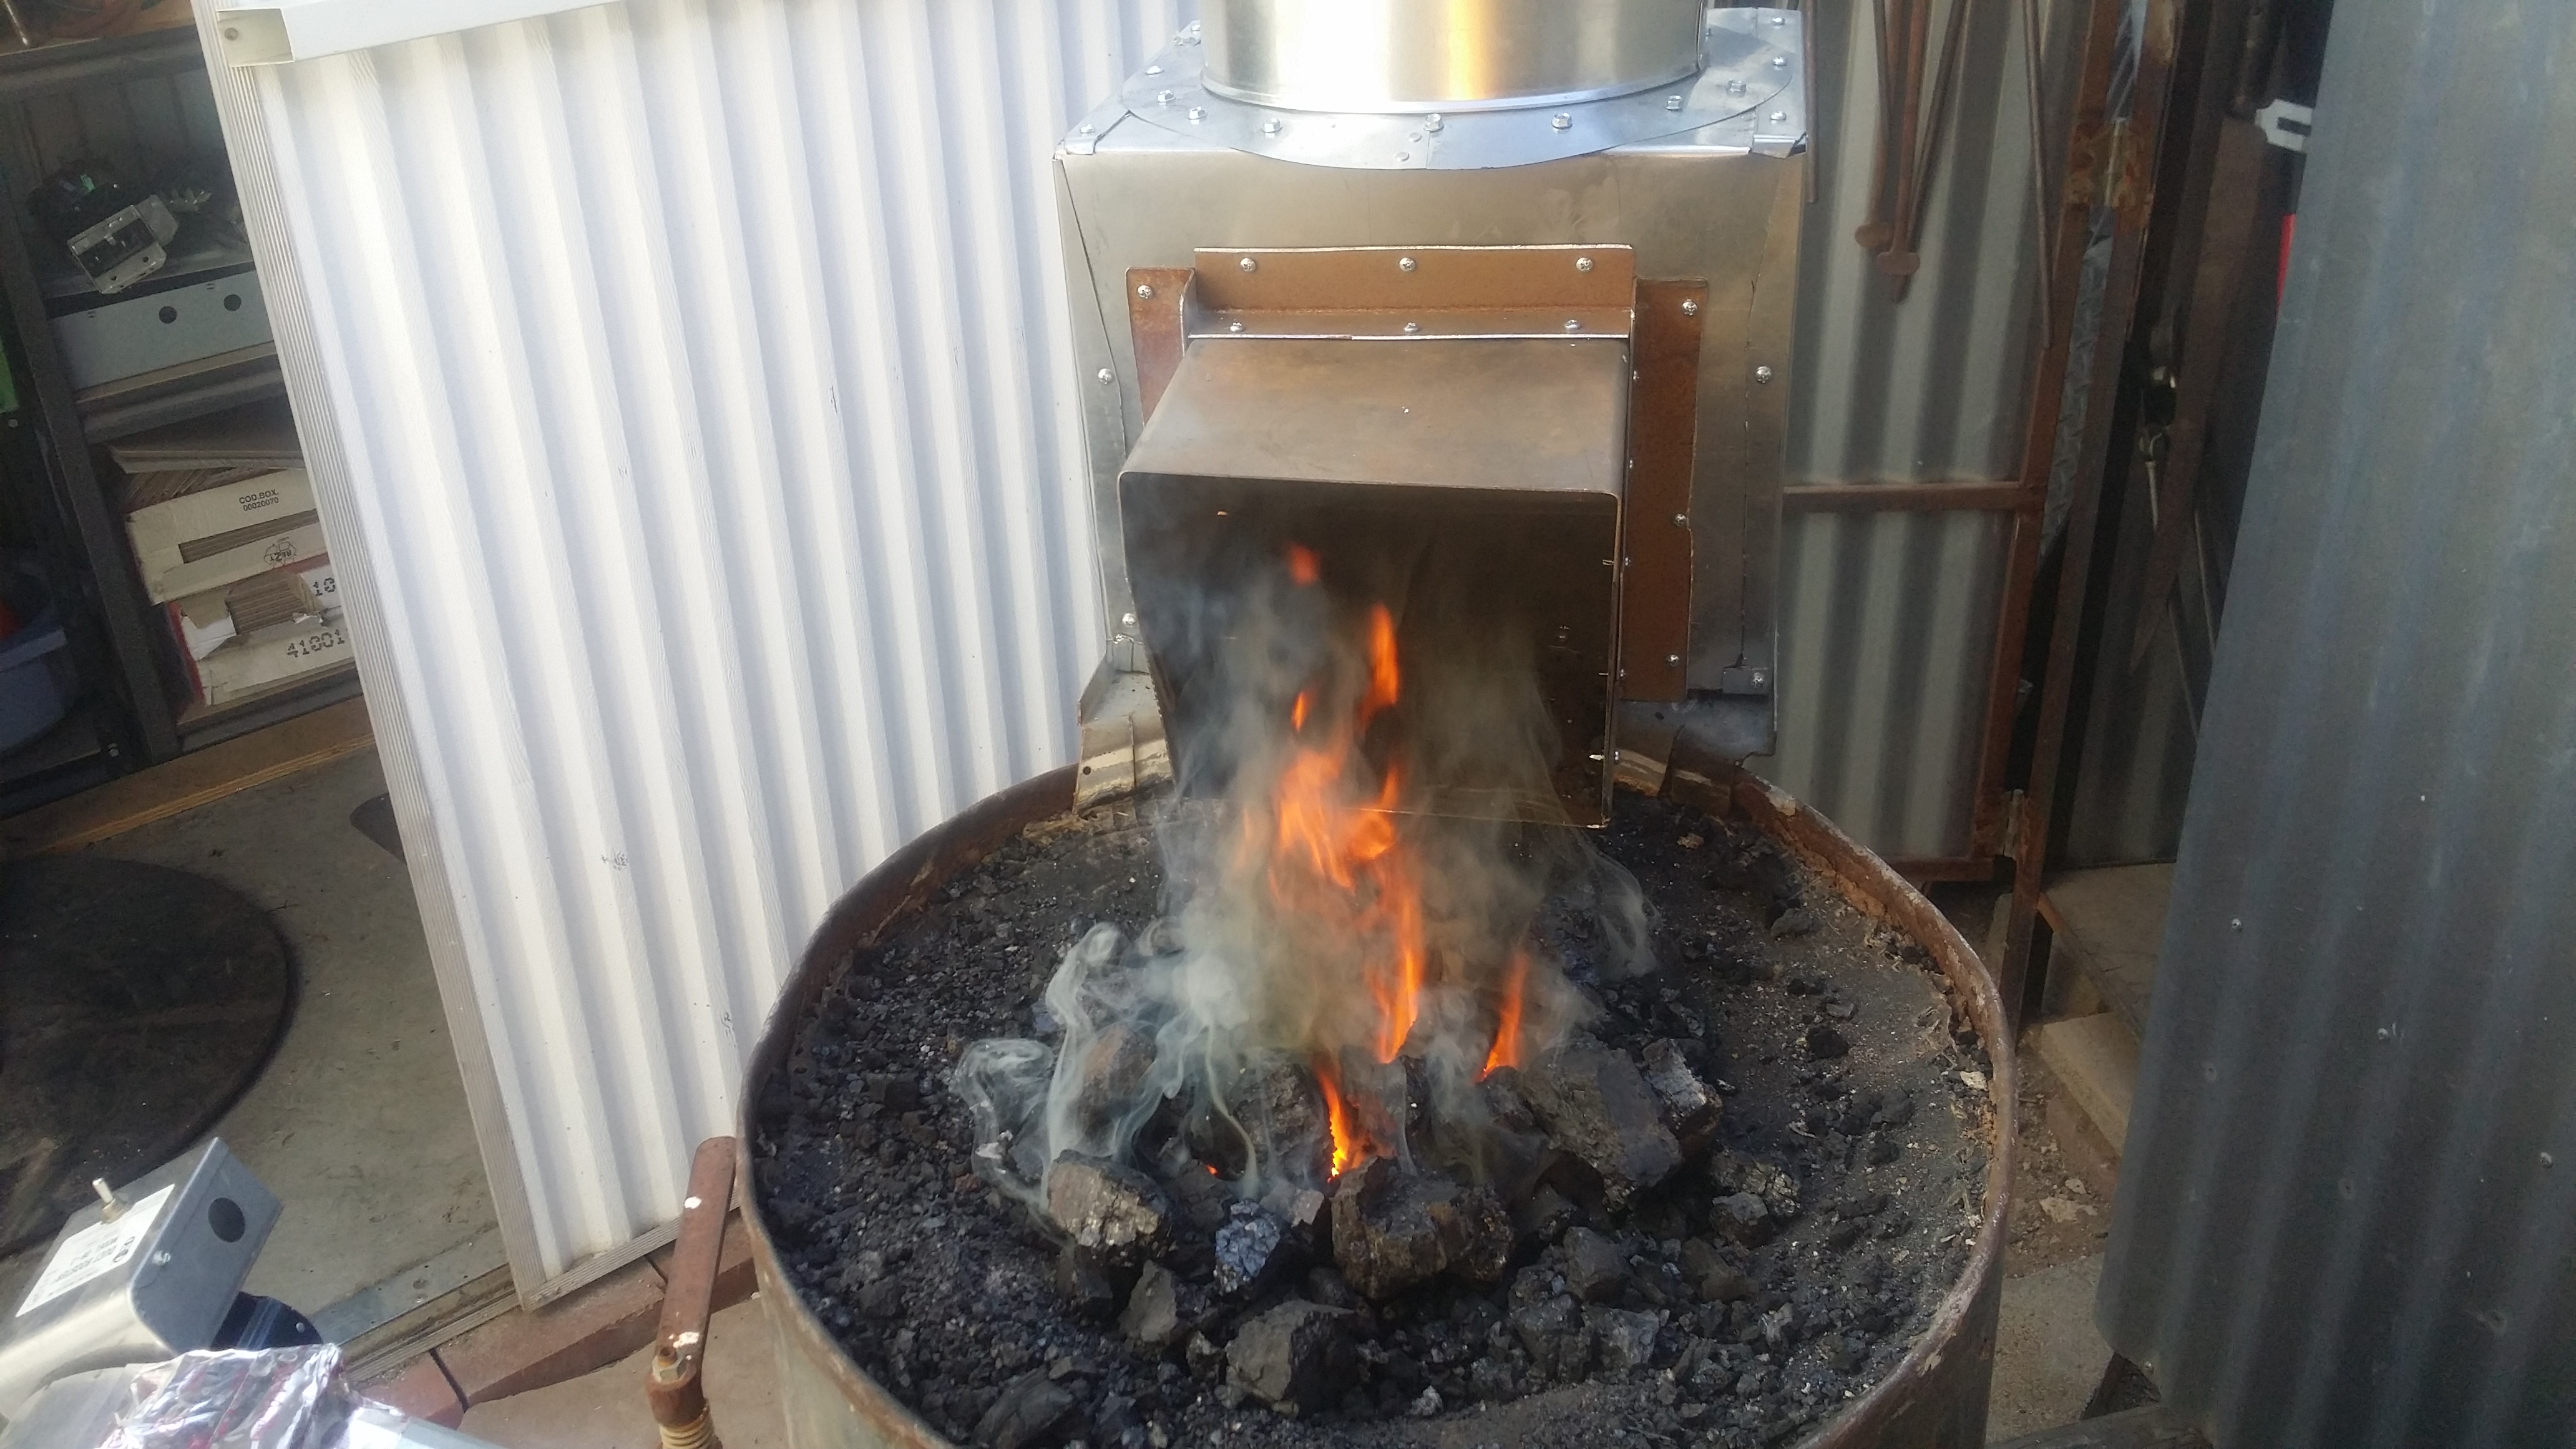
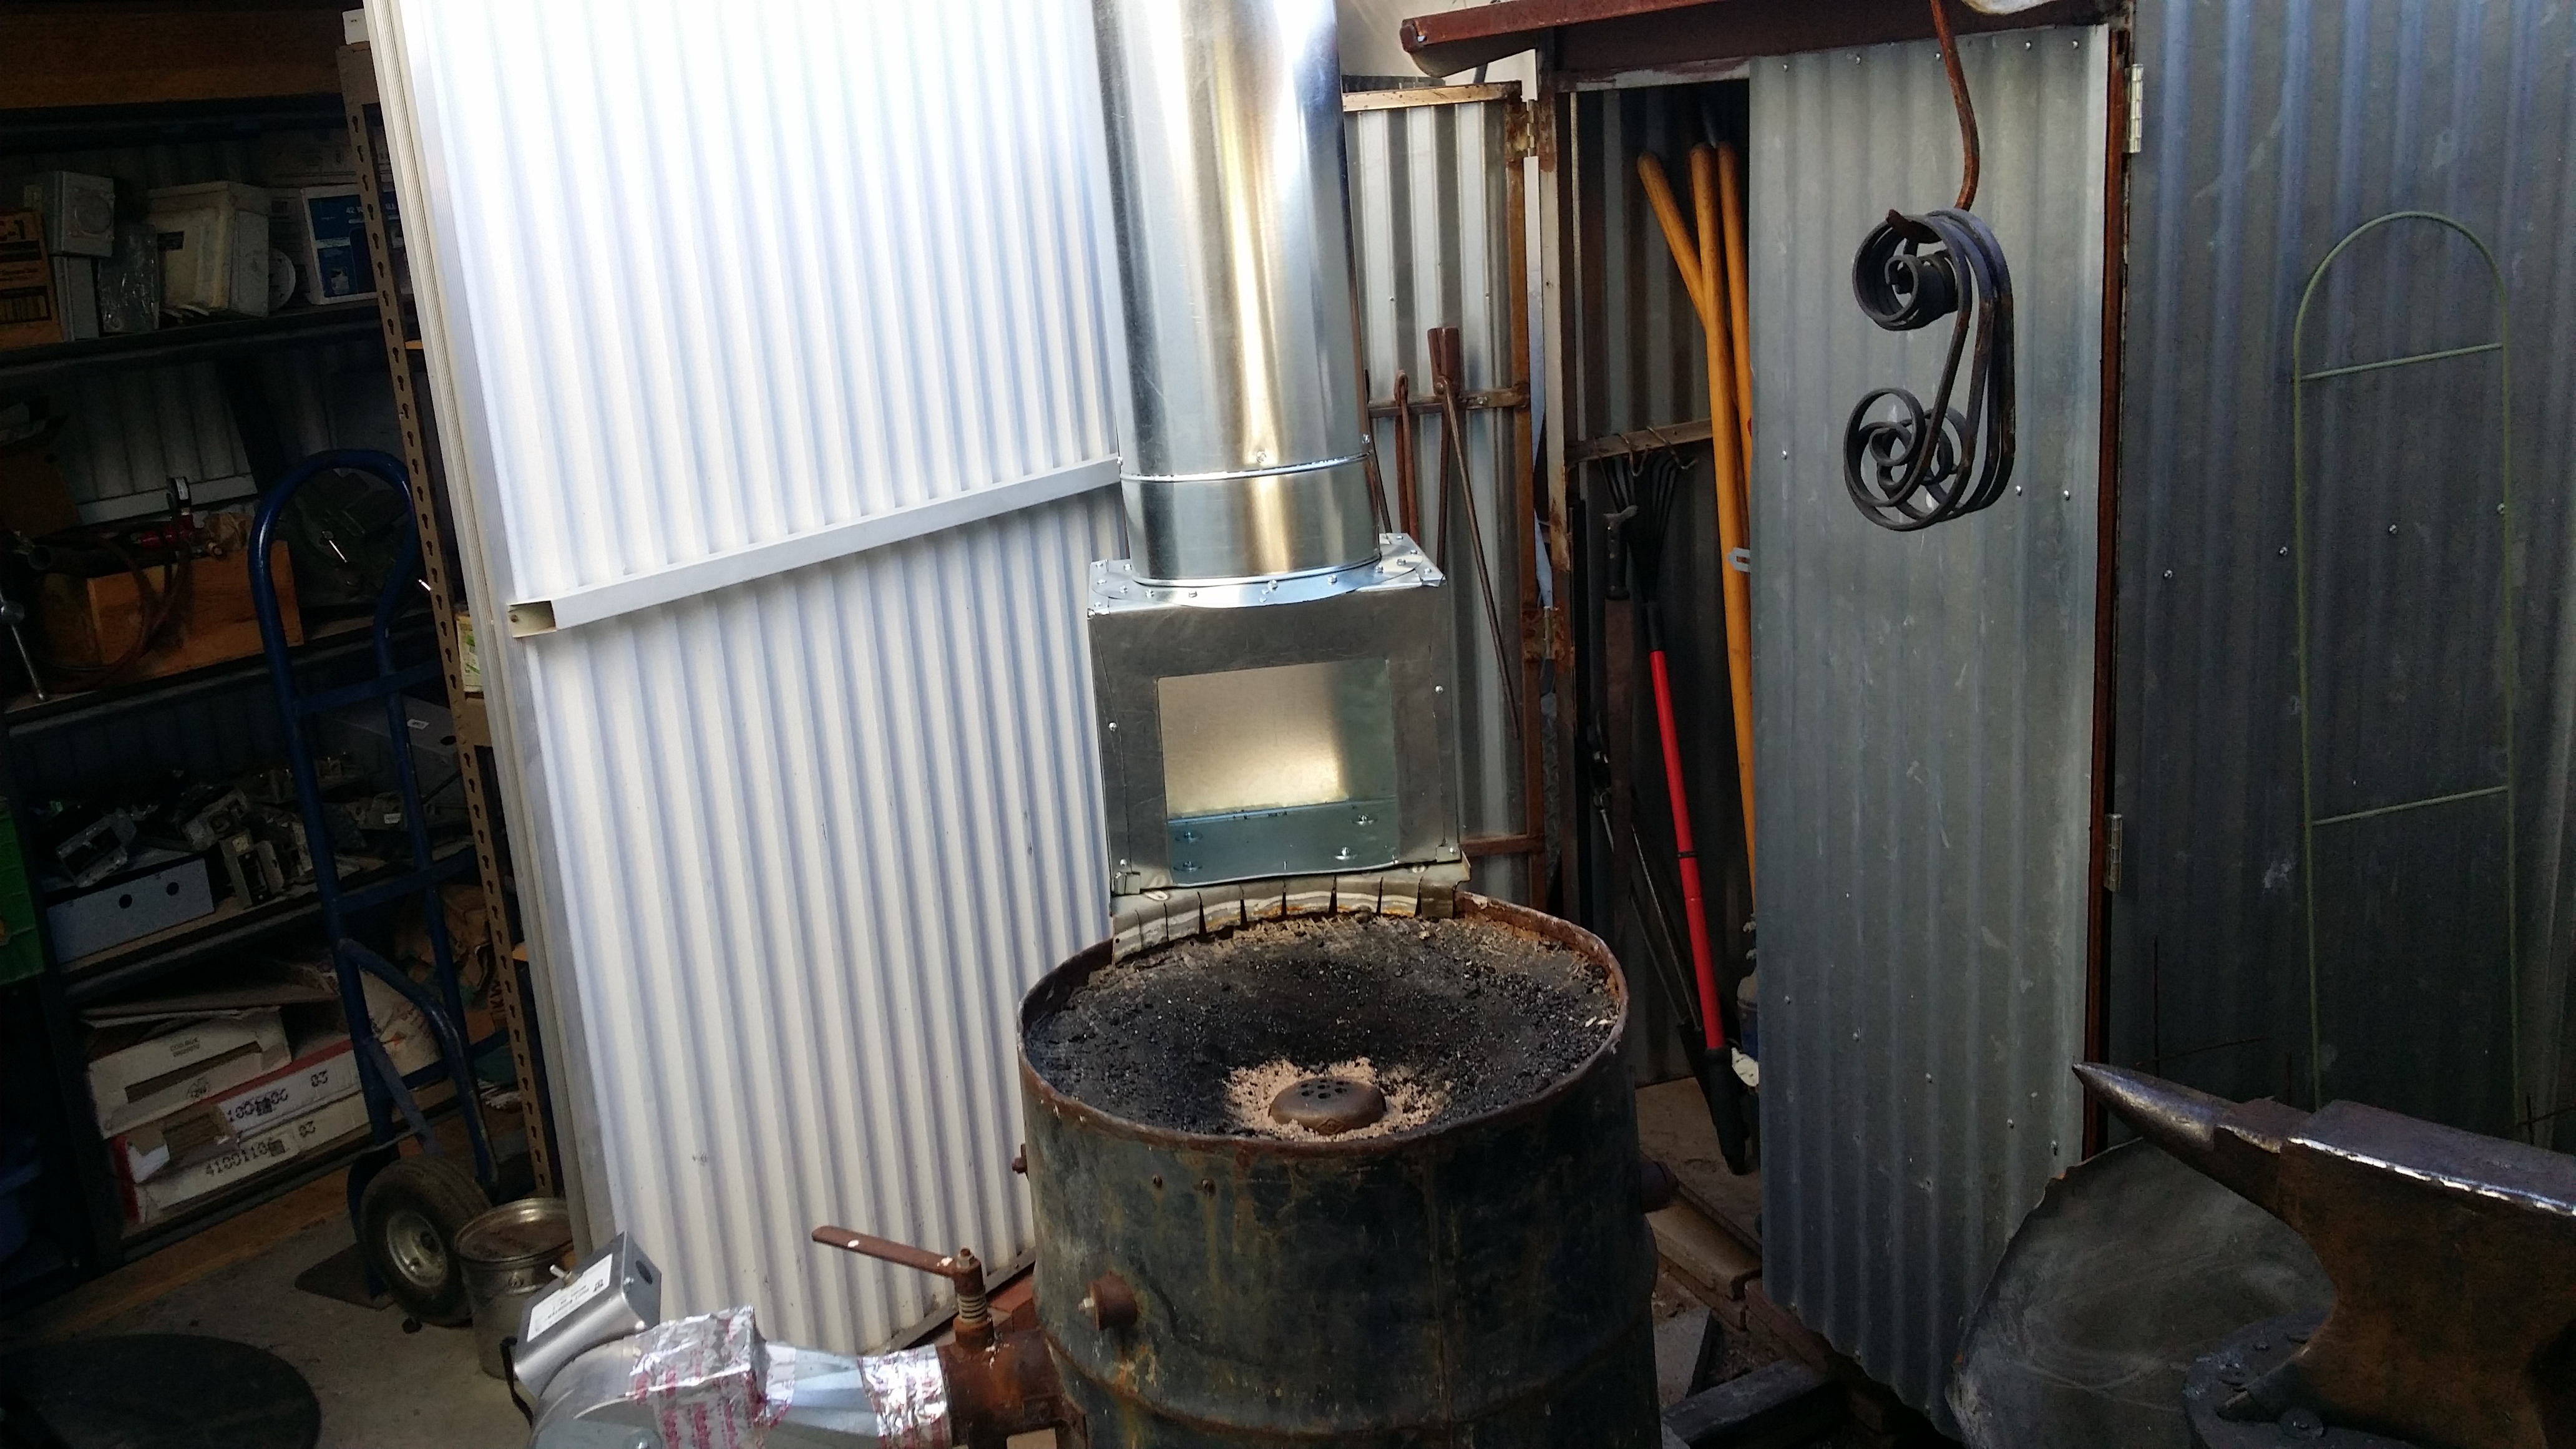
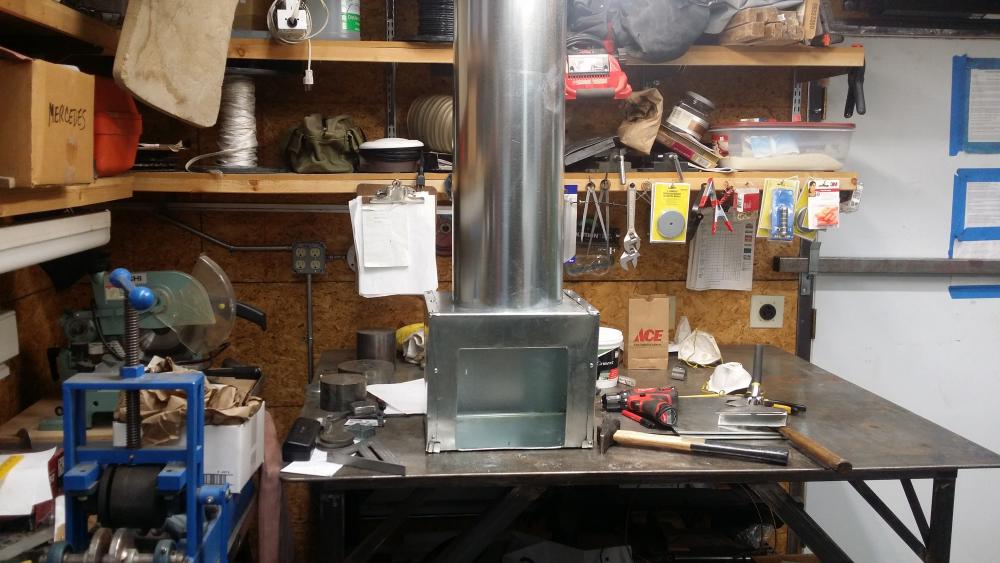
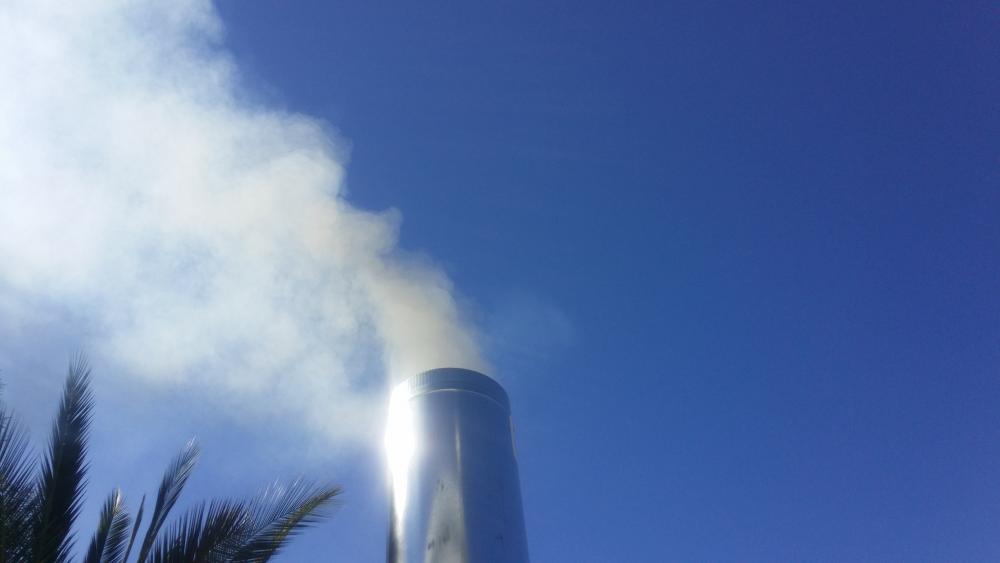
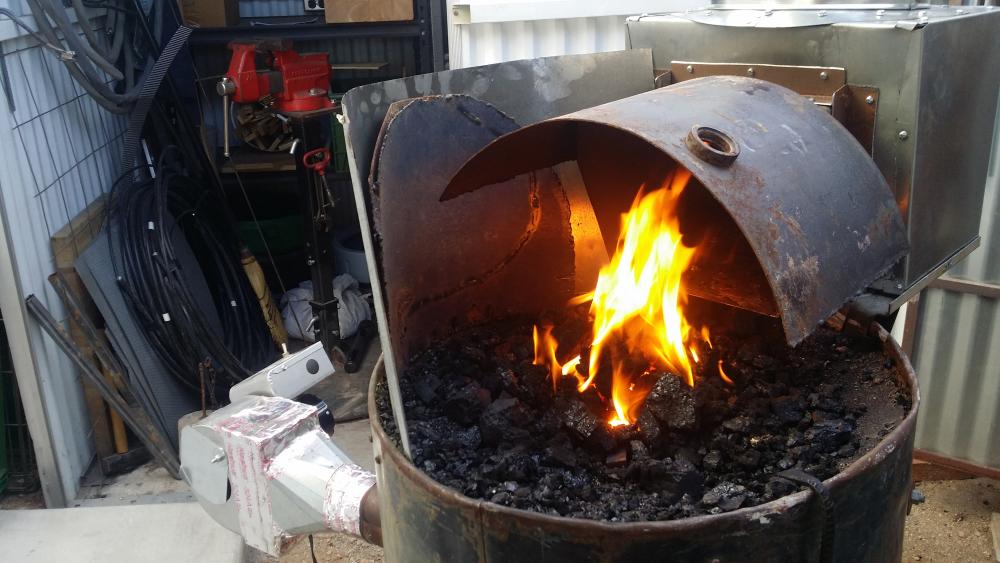
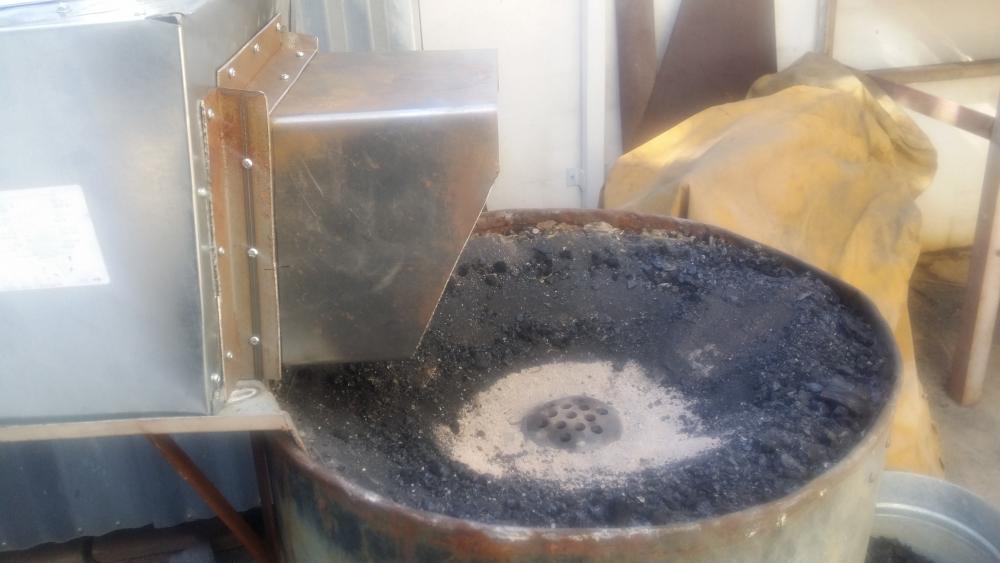
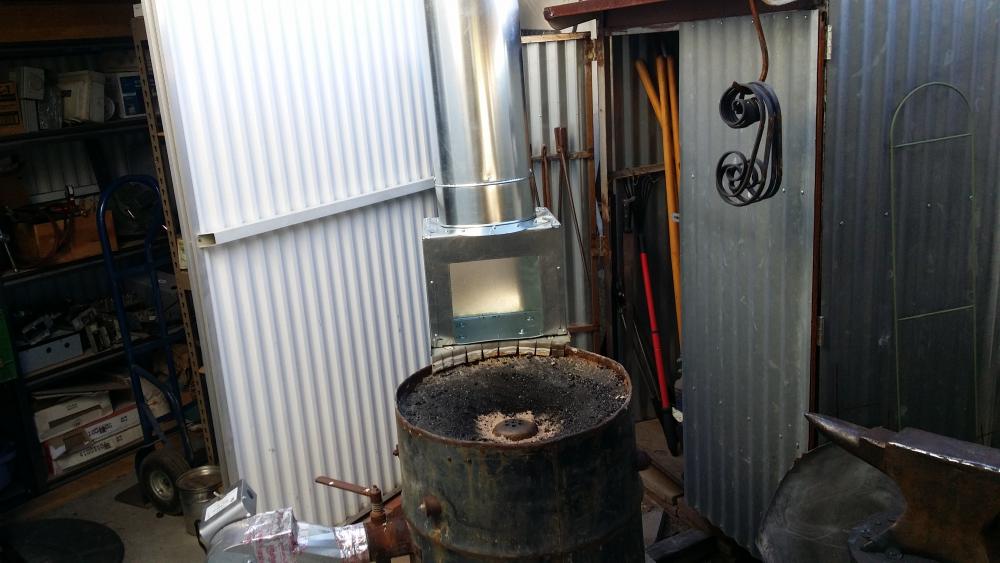
Made it up from scrap I had laying around. The only purchased parts were two lengths of 10" dia pipe and a collar (almost made that too but it was too easy to buy with the pipe). Instead of welding I made the box with some 20 gauge bent it up on my $50 Harbor Freight 30" bender (which I modified into a finger brake) and screwed it together. Made the extension hood with some 16 gauge which I bent up as well and the angle irons made from splitting some scrap 16g square tubing. (Due to the shape and design of the barrel forge it needed the extension to get close to the fire) The box is bolted to a tray I made that sits on the edge of the barrel just like a food tray sits on your car window at Tastee Freeze (remember those days?) I made the tray from an old electrical panel door. When it was calm it worked perfectly and sucked up all the smoke. Later when some breezes stirred up I grabbed some scrap and made a temporary fix. Next episode will be my wind dam.
-
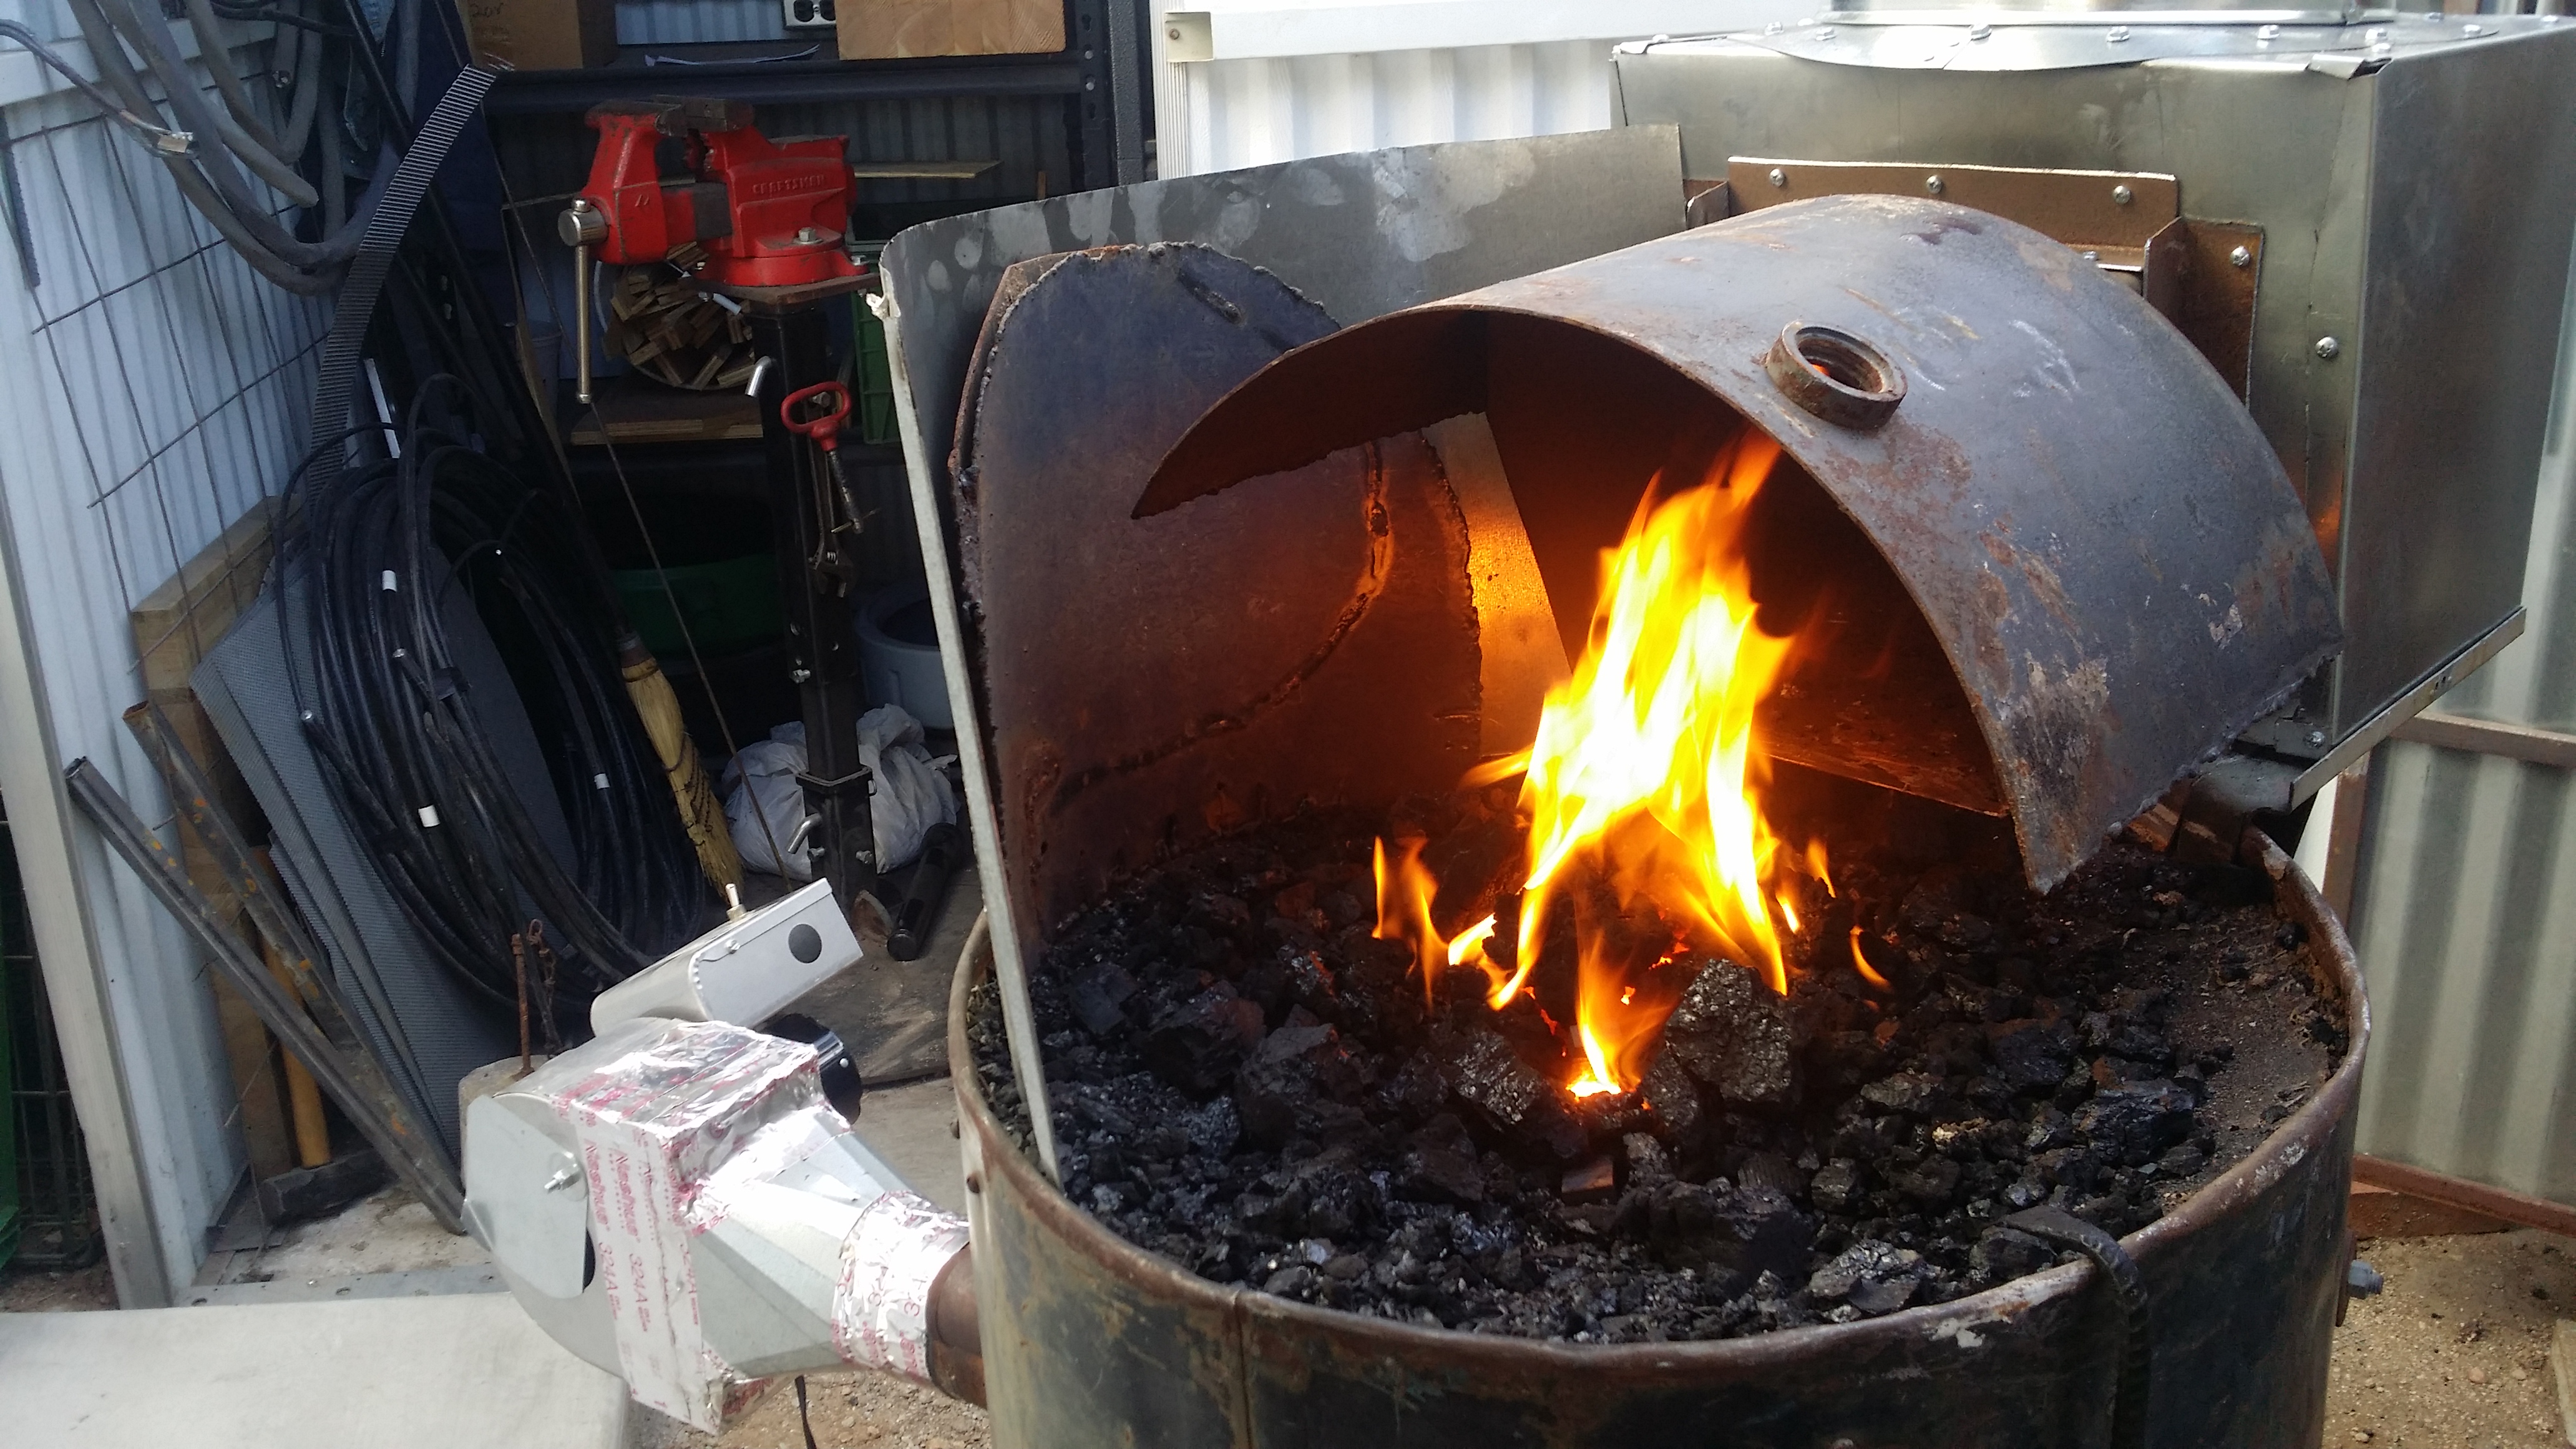
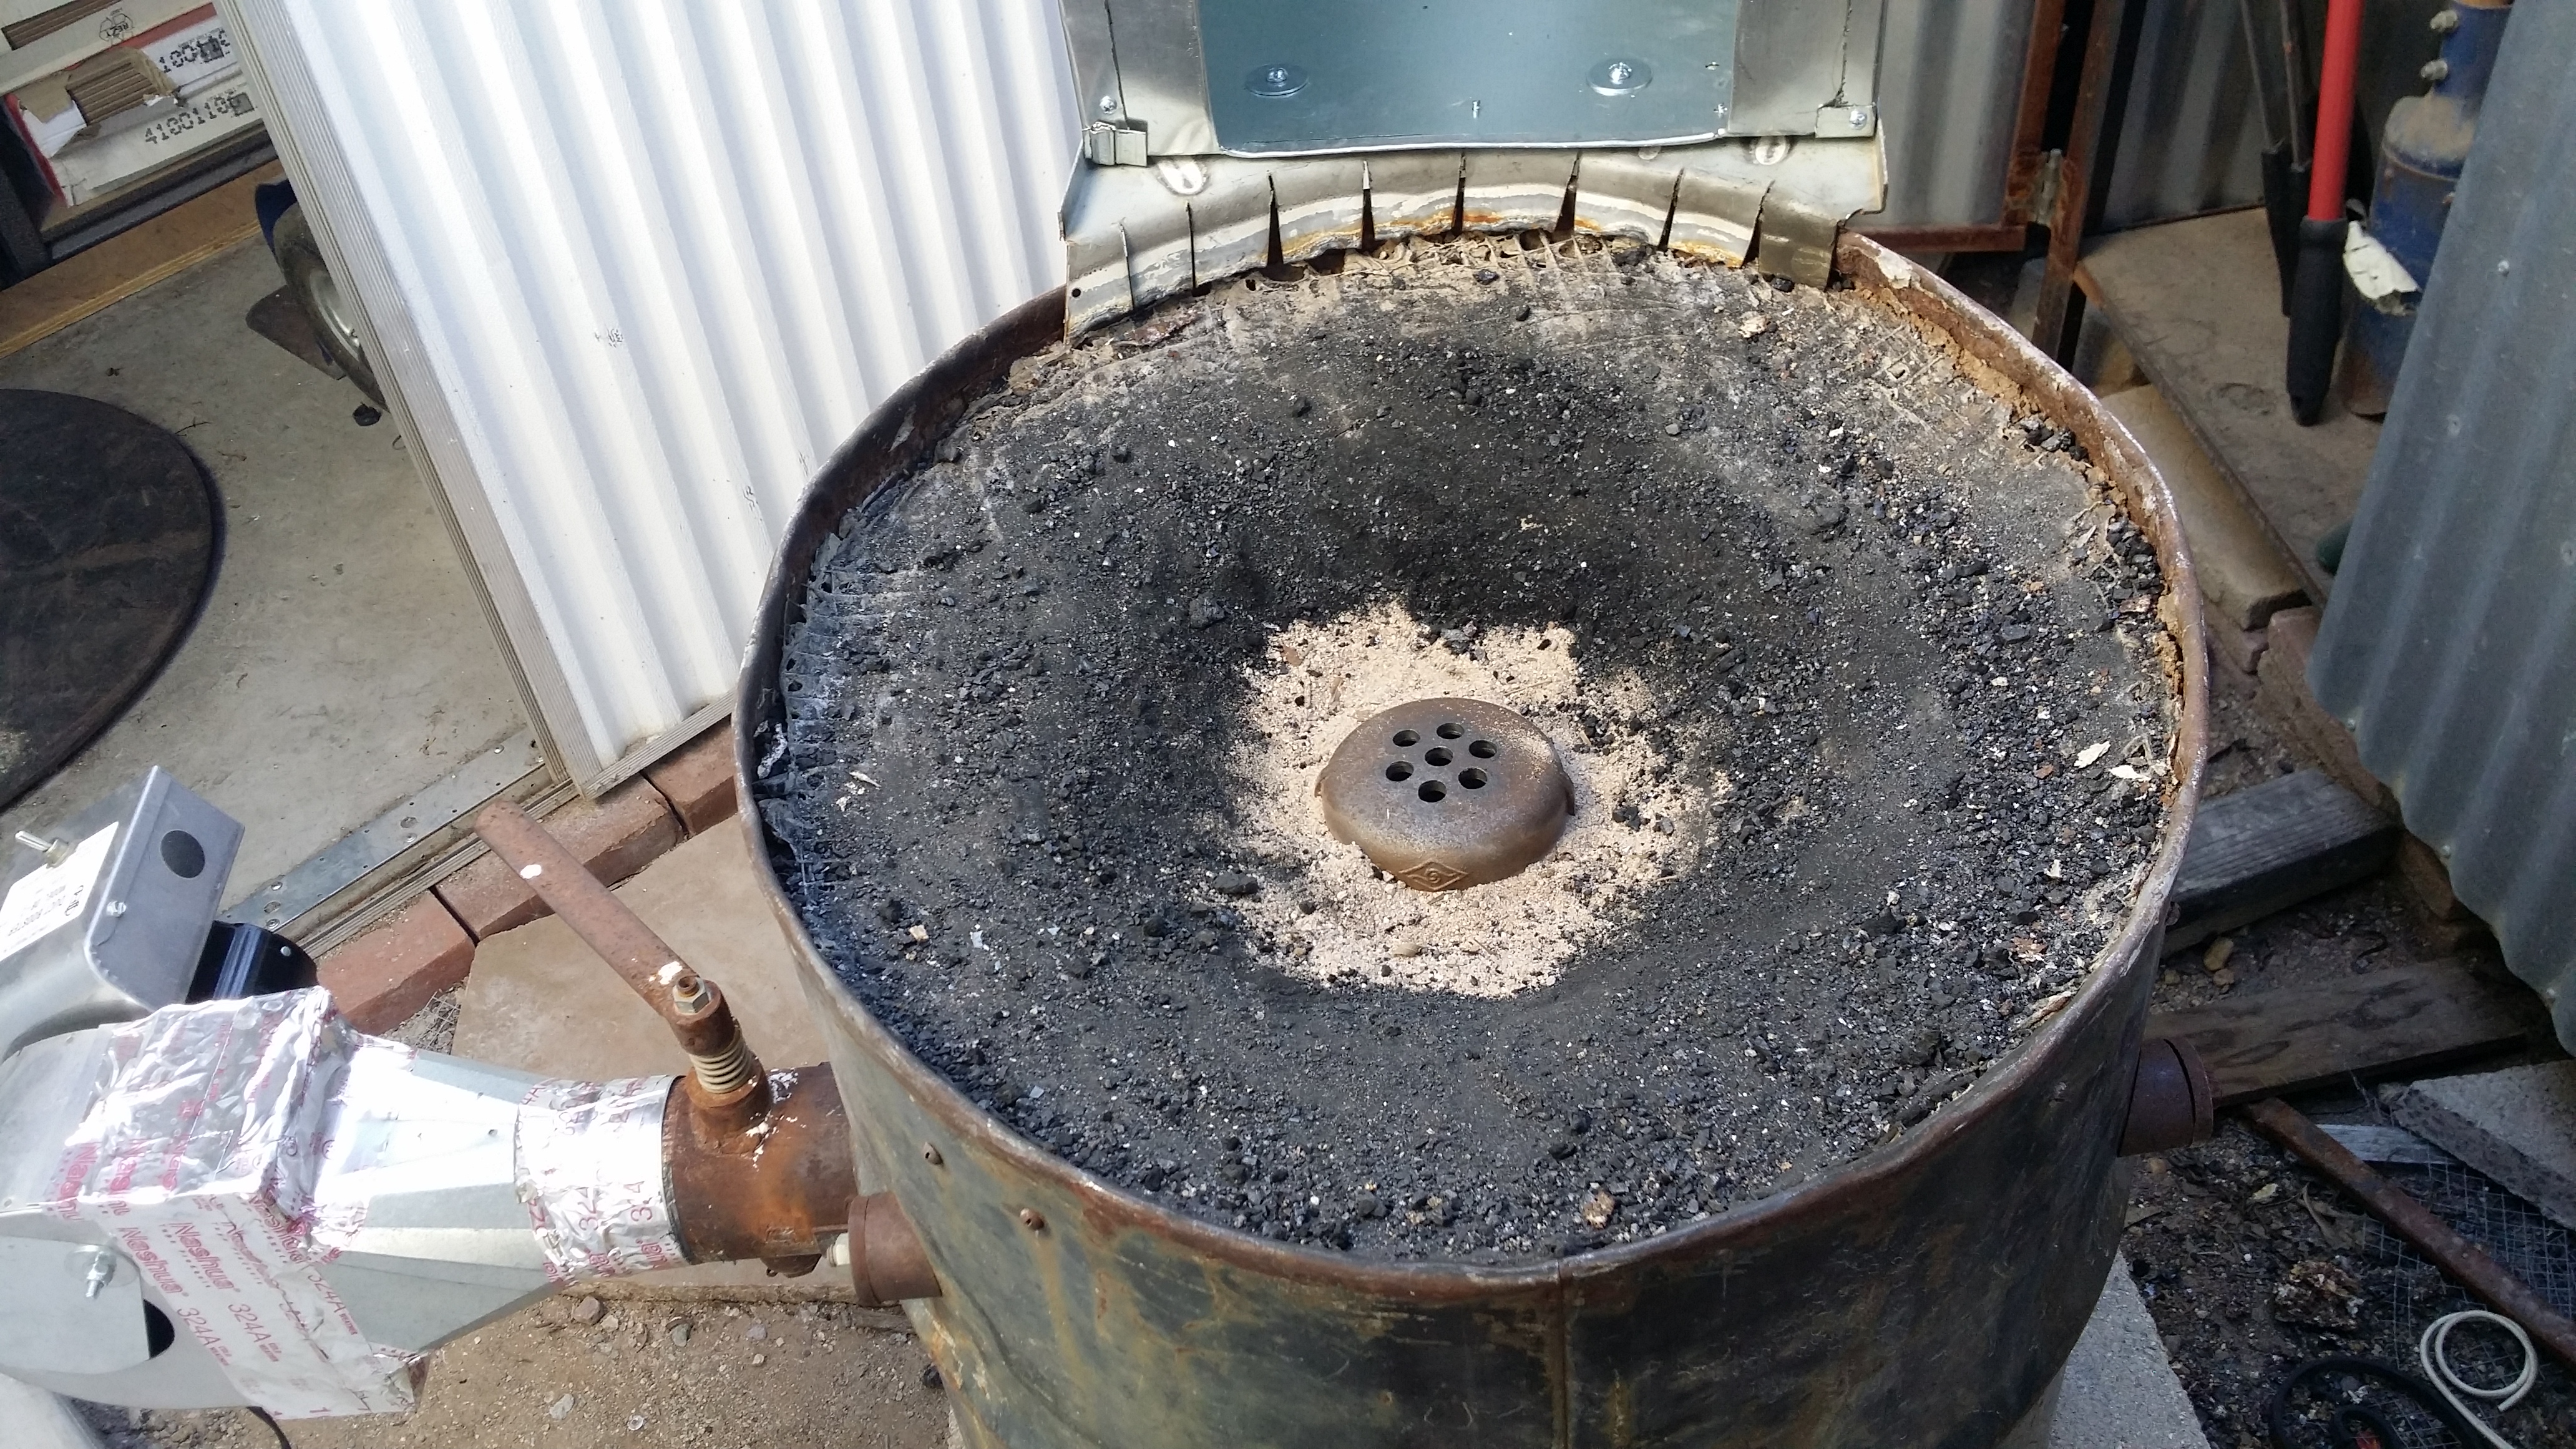
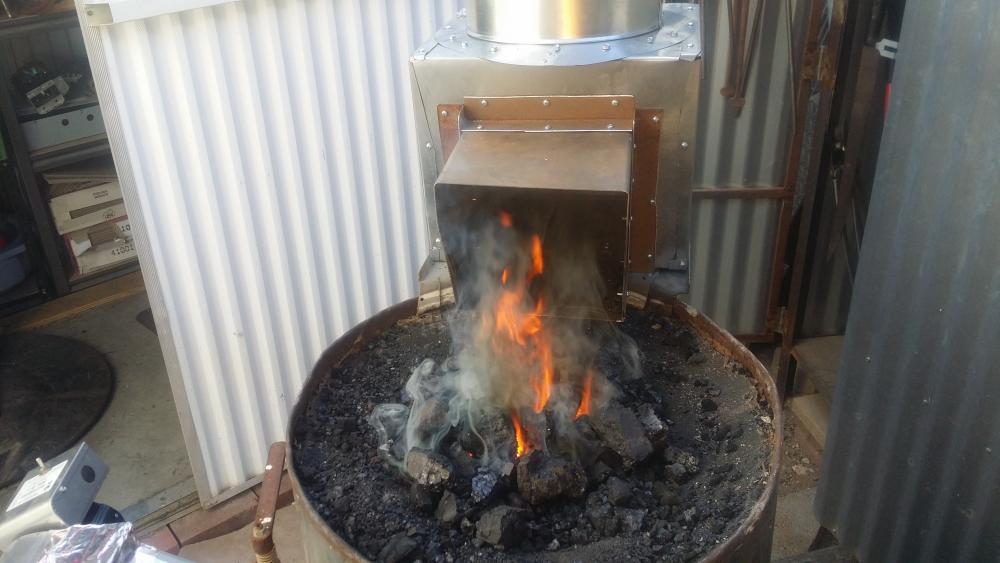
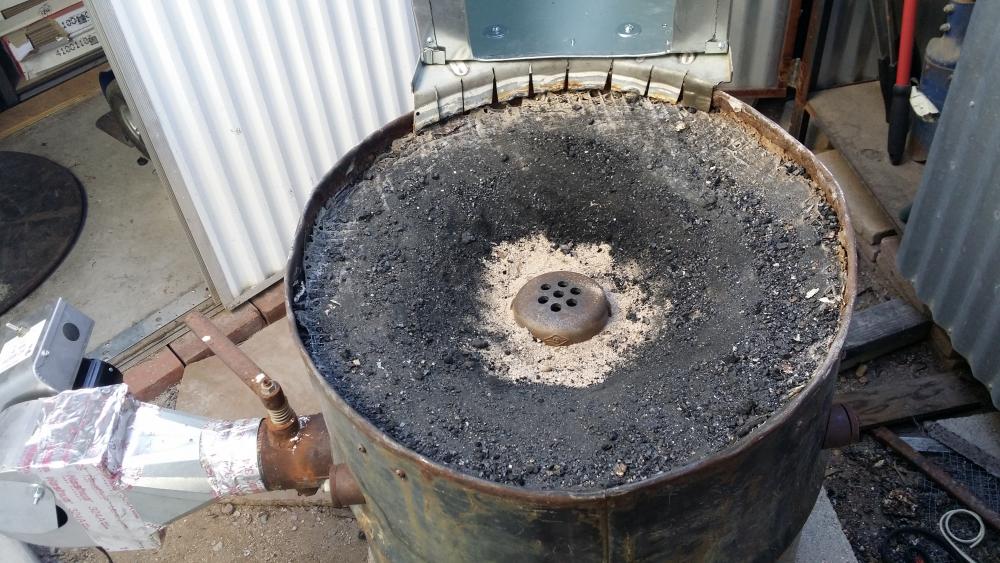
Whoops I drilled another row of holes before you responded. I was researching and came across Glenn's post on barrel forges where he says to get as much of an opening as possible.Oh well it's nothing permanent, that's what I really like about your bullet grate, nothing is permanent. I also lowered it an inch by simply swapping in another nipple. With the extra holes I had a ton more air, had to shut the air gate all the way. Maybe my imagination (or maybe I should stick to one change at a time) but it seemed like the fire was not as hot, at least for the first 45 min or so. I'll blow a 3/4" hole in another cap and see how I like that. The side draft extension was a huge success, in fact it pulls so well I find my fire ball slowly creeping toward it. A little breeze showed up later and some scrap water heater parts took care of that. Planning to cut up a short, large diameter water heater I have to make a one piece wind dam that will simply slide over the hood extension. I will make a post in the chimney section. Thanks for your help.


-
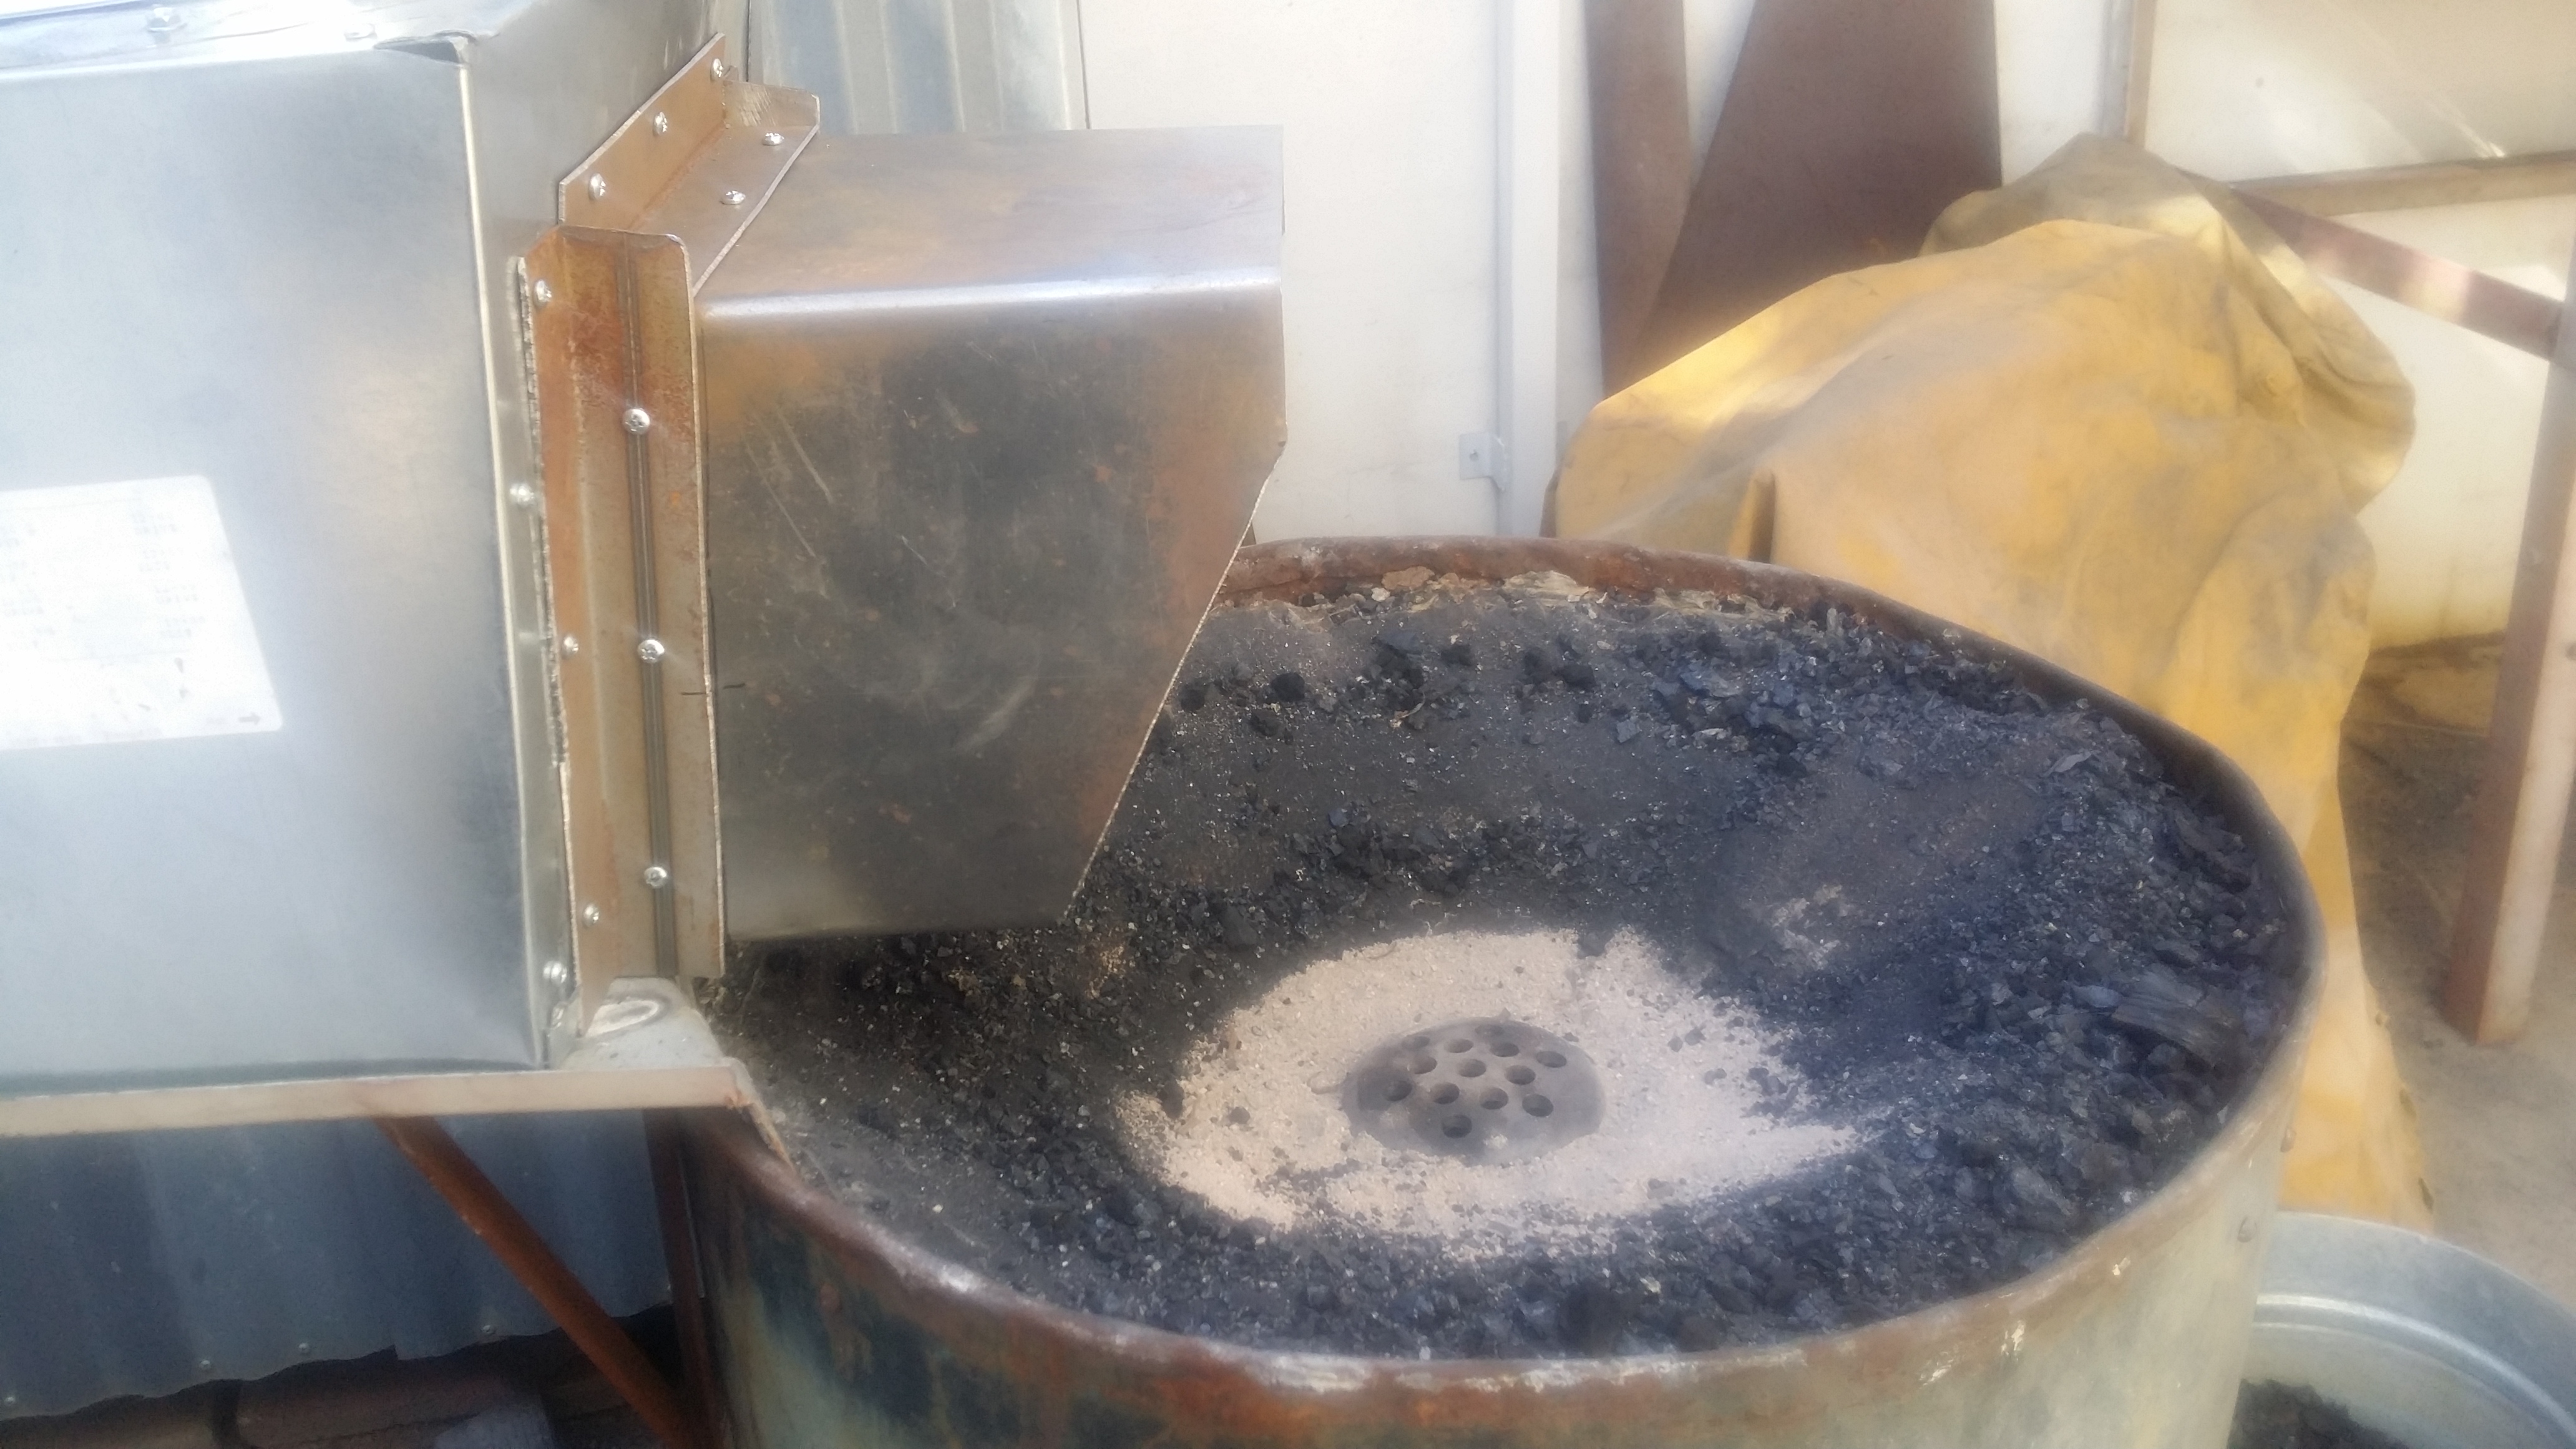
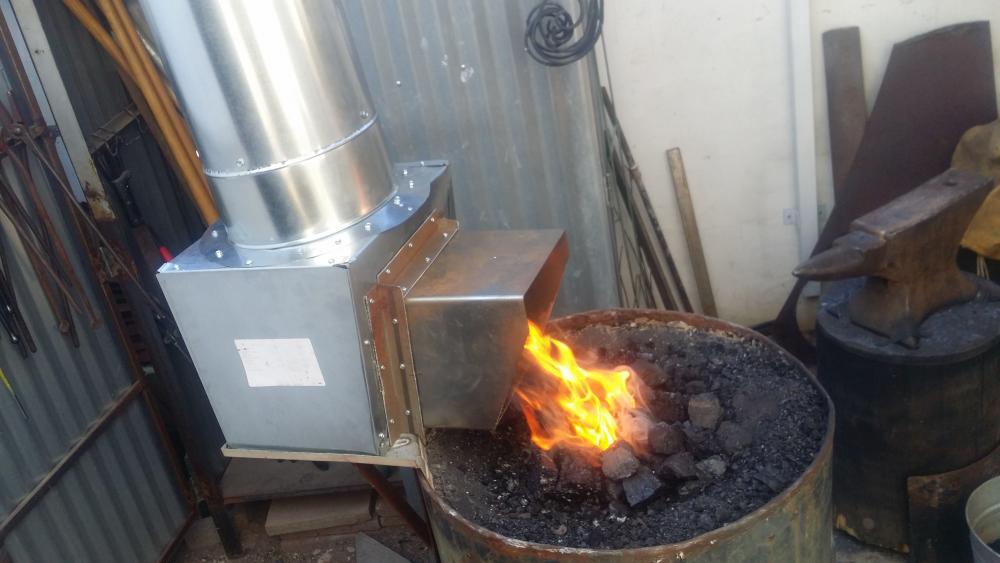
Charles, I took your advice on the bullet grate but I used 3" and filled in the rest of the "funnel" with sand. I drilled 7 holes in it 1/2" diameter. I raised the fire up nicely and it worked well as I didn't have to shove my work down into the hole. I did notice that the hot spot was pretty small, about 1.5" to 2" and once I got used to that it was pretty easy to place the part of the stock needing heat in that spot, however I wonder if it will be beneficial to drill another row of holes in the cap? I also made the side draft today but due to my forge design I couldn't get it close enough to the fire so tomorrow I plan to build an extension "snout" hood on it. My stack is 10" and I made my opening 9 X 9" before realizing the area of a 9x9 is almost the same as the 10" pipe so I will make the snout hood 8 X 8" in hopes of a better Venturi effect.
-
How thick do you put that refractory cement on? It looks to be light and easy to work with, does it just stick to the roof part without sagging? Do you think it is as good or better than say Kast-O-Lite?