bigb
-
Posts
320 -
Joined
-
Last visited
Content Type
Profiles
Forums
Articles
Gallery
Downloads
Events
Everything posted by bigb
-
how do you folks break/size your coal ?
bigb replied to desmato's topic in Solid Fuels: Coal, Coke, Charcoal, Wood, etc
Funny this came up, just this weekend I had the bright idea to grab my welder's chipping hammer to see how it would work breaking coal. Just took some light love taps and it broke up real nice without flying all over the place and I had less of the pea size pieces which sometimes clog my grate. I'll never use a regular hammer on coal again. I use a metal oil drain pan to break it in.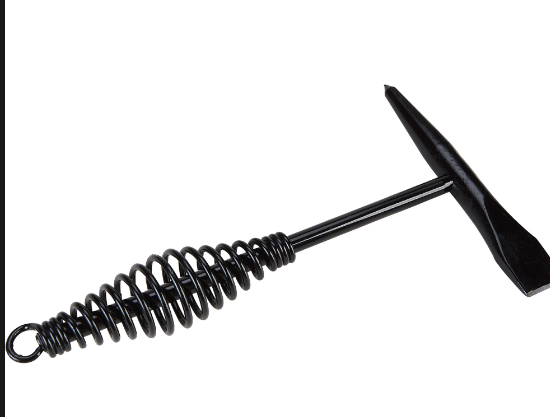
-
Jack-O-Lantern I too wanted a sort of awning but my garage is on a corner right on the street and I didn't want it to be visible from the street. There is a 6 foot block wall so I built a sloped roof of steel and galvanized panels with 4 legs of 1.5" tubing that slide inside 2" tubing that is bolted to the garage on one side and the wall on the other. Then I raise it with an underhoist jack stand to work and lower it down below the wall when finished. Mine is not really for rain though, out here we hide from the sun as much as possible. It does keep the rain off the anvils and vise though.


-
Looking good and thanks for the pics. So it cracked from the pressure of your fingers as you were lifting the top off? Haven't worked on mine yet, the pipe is sitting out there on my cutting table staring at me every time I walk by. Just too many irons in the fire right now but thanks to you I'll have more knowledge when I begin my build. Was going to finish my roof today but then the wipers quit on my truck and there went that idea.
-
I was going to do the same thing, plus the return curve at the bottom may help to retain the liner materials.
-
Having almost finished my roof over my smithy and now that is is cooling off a bit I will soon be ready to start my build. I am going to refer back to this thread often and hope you post pictures of yours as you proceed.
-
Anvil: Protecting the bottom from rust?
bigb replied to Andy98's topic in Anvils, Swage Blocks, and Mandrels
Whatever you do be careful not to do something that will hold moisture in. -
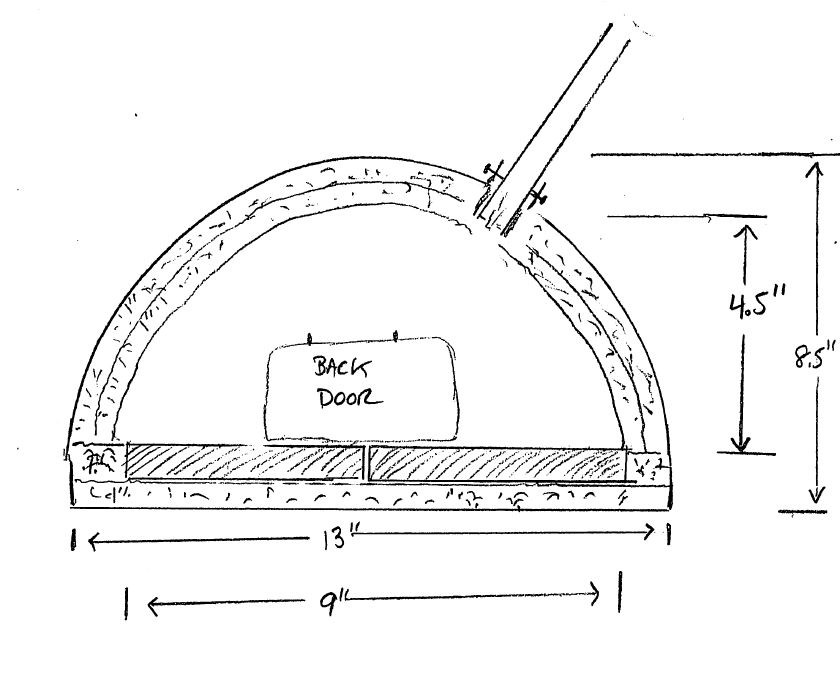
For some reason my first reply with a link in it will not post. Anyway I was considering an oval shape as well but at Frosty's suggestion I am planning a D shaped one. You can see my drawing in my post "Decisions". Can't provide a link since it doesn't allow the message to post for some reason. I like that the D shape allows for a wide floor with a very low cubic inch area. By the way I am a real greenhorn, just putting this out there in hopes of further discussion/learning that could benefit both of us.
-
I like the wide vault idea and I have the ability to build that shape easily. Here is how it is coming together in my head. If I make it 9" deep I calculate 286 cubic inches. With a 9" x 9" floor it will easily accommodate my work.
-
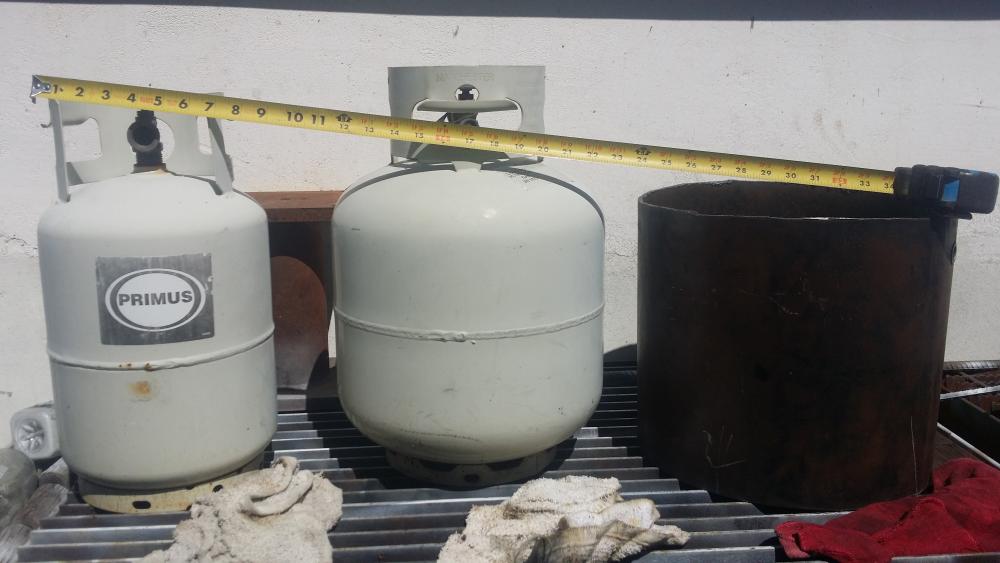
I need to get started on my N/A propane forge build and I have acquired three possible cylinders to start with. The small LP cyl is 9" across, the bigger one is 11 and the chunk of 3/16" wall pipe is 13". They are all about 13" tall. The second picture shows the crosses which will be the majority of what I plan to use this forge for. Problem is the crosses can be over 6" wide. I want to have the forge cubic inches small enough for one burner, but I would like to have room for at least a six inch wide cross, maybe seven. As you can see my dilemna would be a bigger cu inch area with two burners or a flatter design, instead of cylindrical. But this being my first gas forge build I am heeding the advice of you guys and sticking with one design without variation, like the Wayne Coe design so this pretty much leaves me with the cylindrical design. I also considered the one where you split the cyl in half then put it back together, which can then be opened for wider pieces but seems like that will waste more gas than a two burner. Any ideas welcomed.

-
At what temperature do the sparklers start to fly?
bigb replied to bigb's topic in Blacksmithing, General Discussion
Success! Here is the prototype after 2 kiln firings
-
I wasn't poking fun at your shop, I was responding to notownkid's post. Yours does not look bad, kind of cool sitting there in the woods. Back when I was young I remember putting a few sheds together out of scrounged materials. I kind of miss those days. Right now my smithy is just an outdoor space with a home made steel cabinet for the tools. I am working on a roof to keep the sun off me. Doesn't get cold here much so no real need for walls.
-
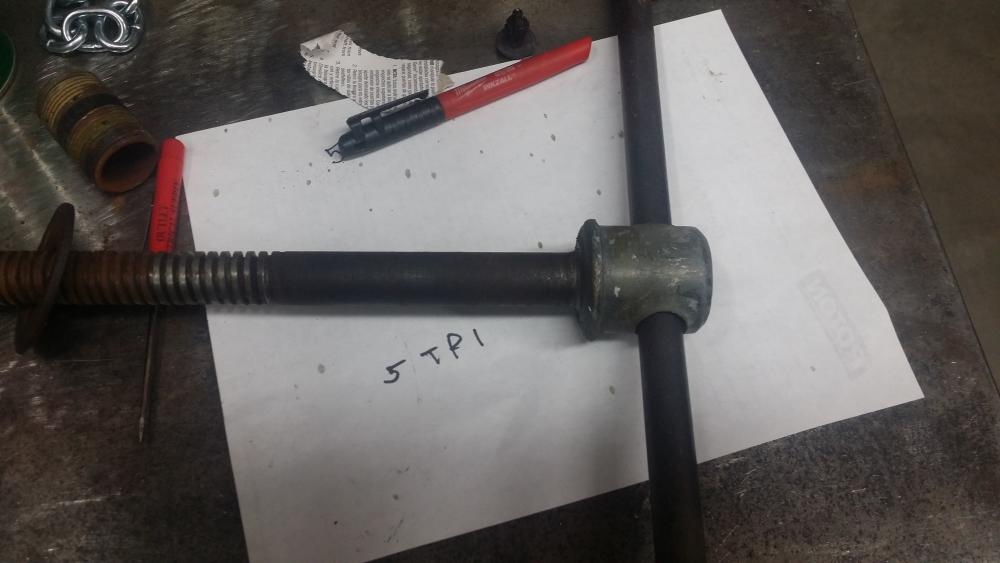
If I start with a new screw how can I make the part at the end that the handle fits into and what is it called? My present one appears to be zinc or some non ferrous metal, not sure if I can weld it.
-
OK sounds like I should start new and go with Acme. Any recommendations on where to order the parts? We do have a nut and bolt supplier locally I can check with for the Acme screw and maybe a bronze nut. I imagine I will buy a length of Acme rod and cut it to size. Thomas, good idea about the VoTech, would have been easy when I was taking welding classes at the local community college in their machine shop. I never see good old house jacks or RR jacks around here.
-
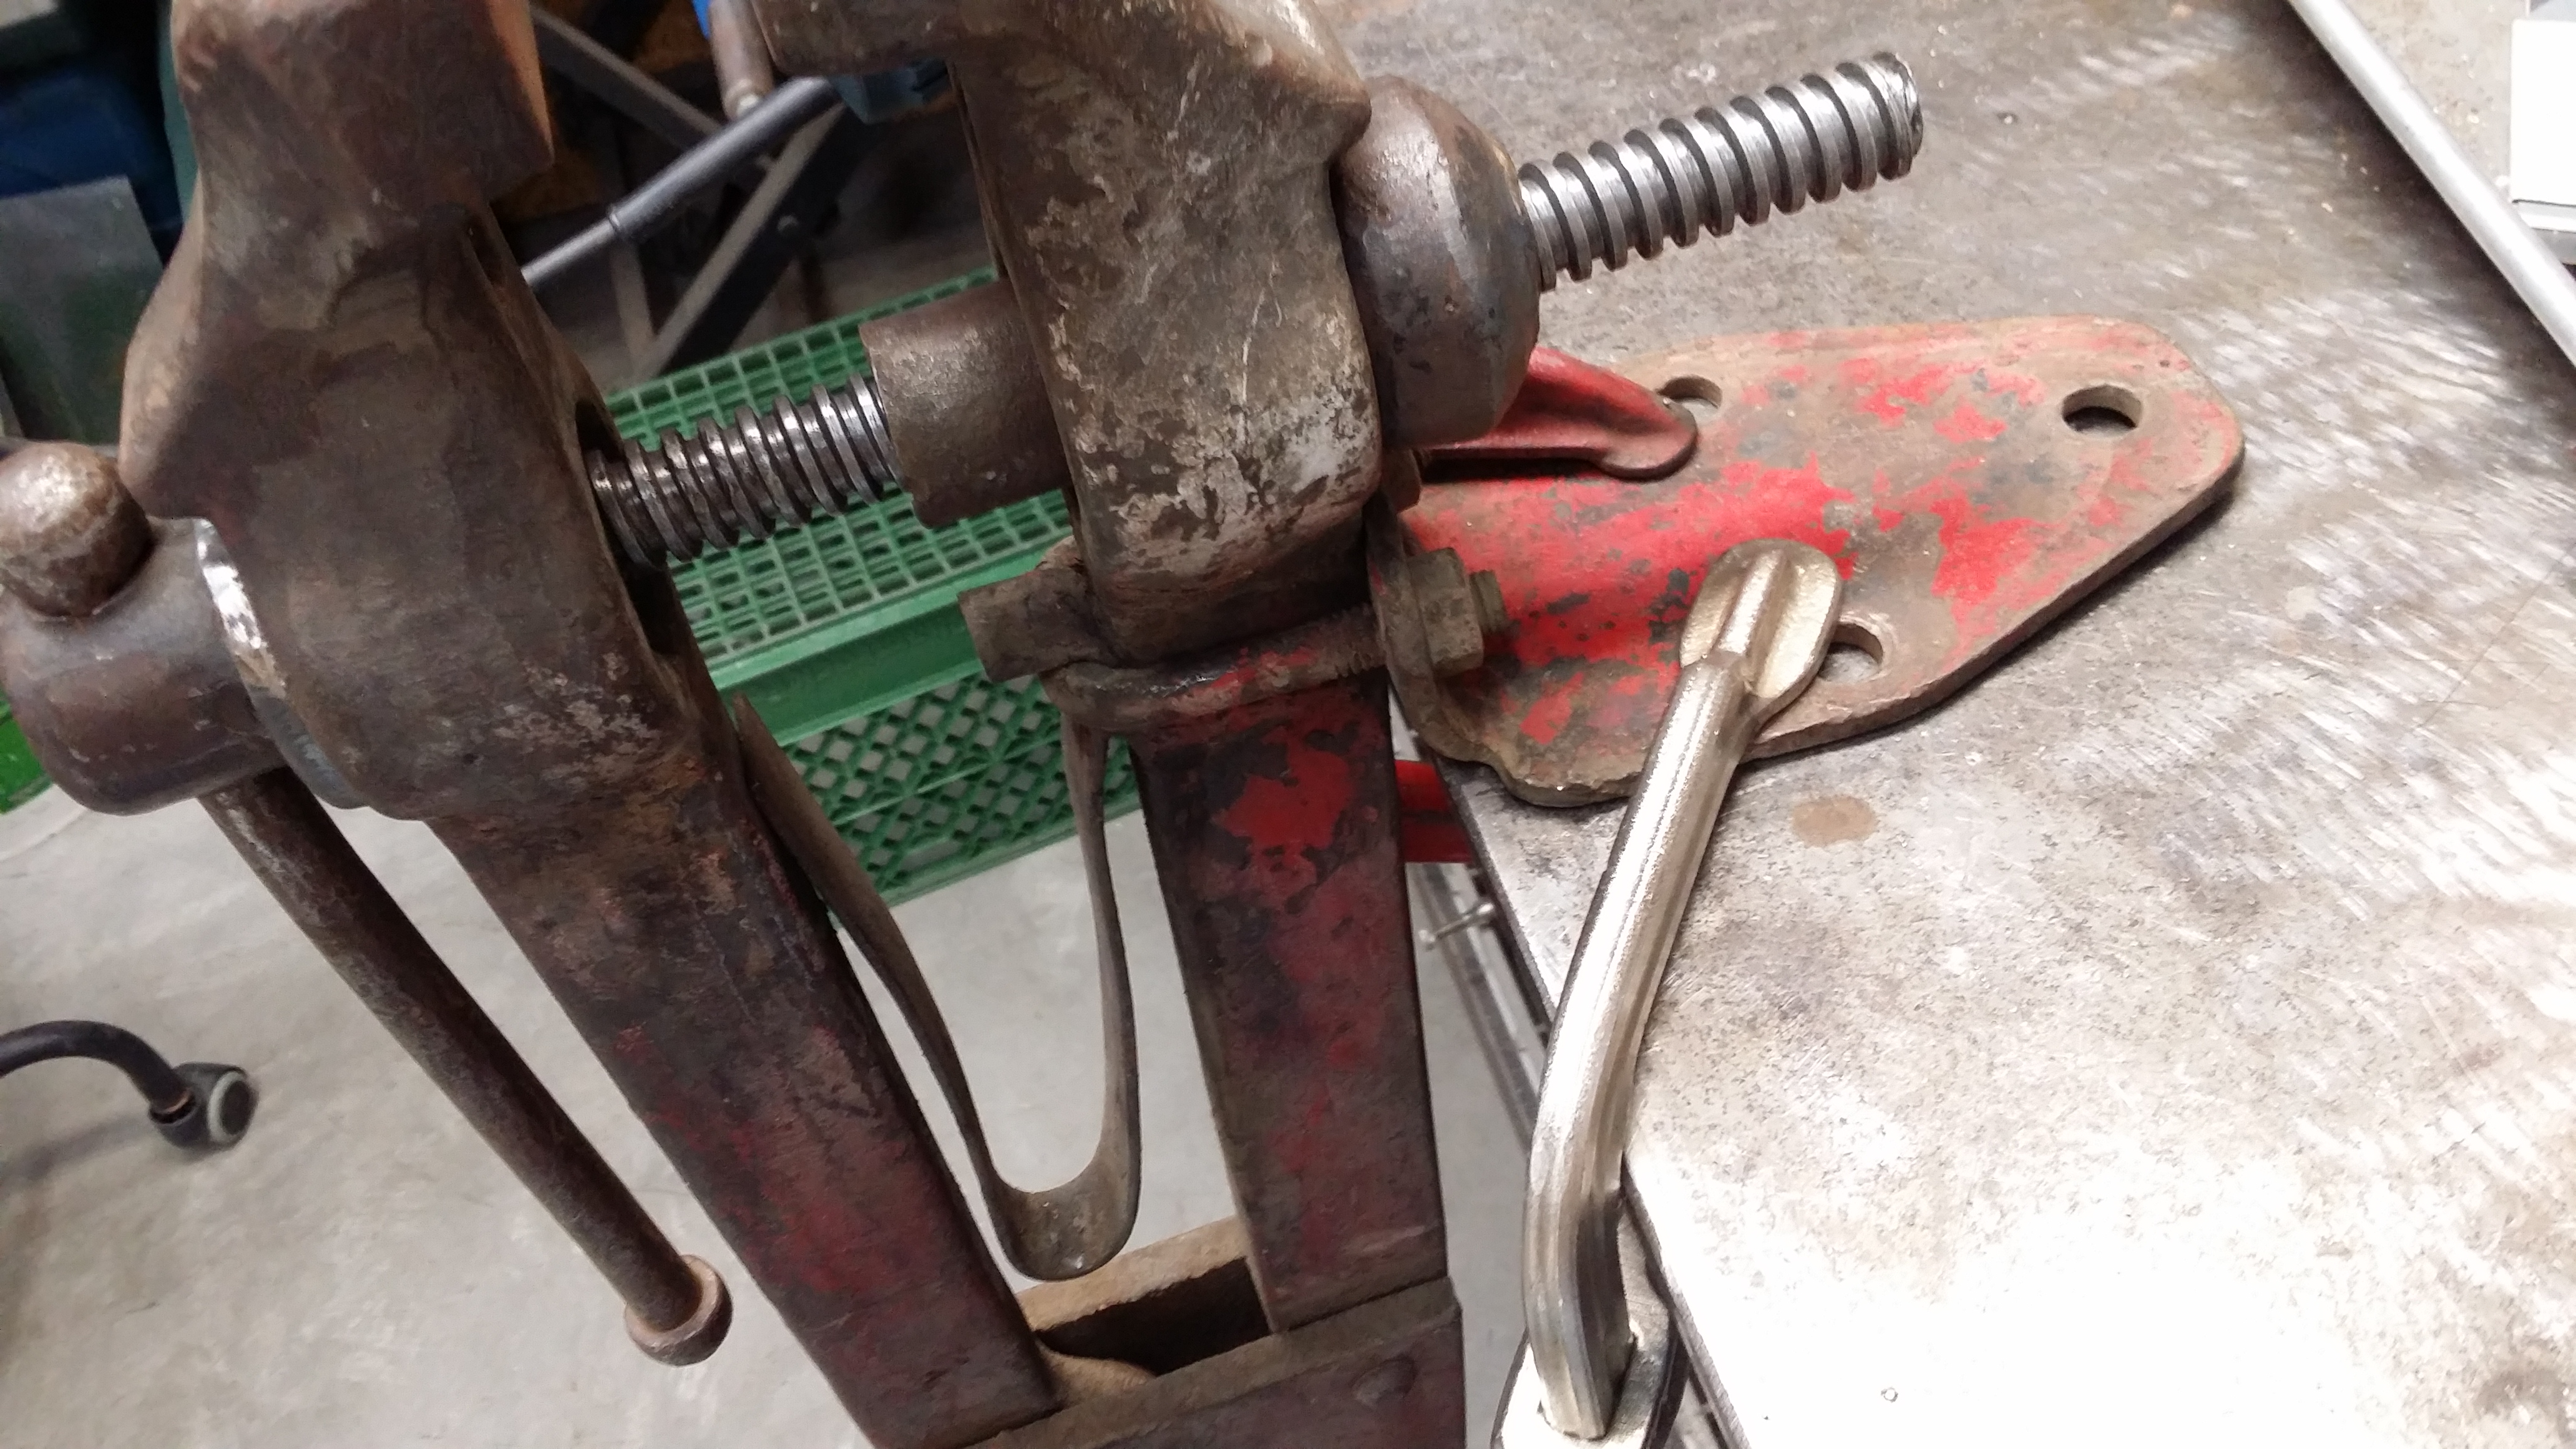
It is off an old leg vise but most likely a replacement screw, not the original. There is no ID on the vise.There was no screw box, just an aluminum nut in bad shape,
-
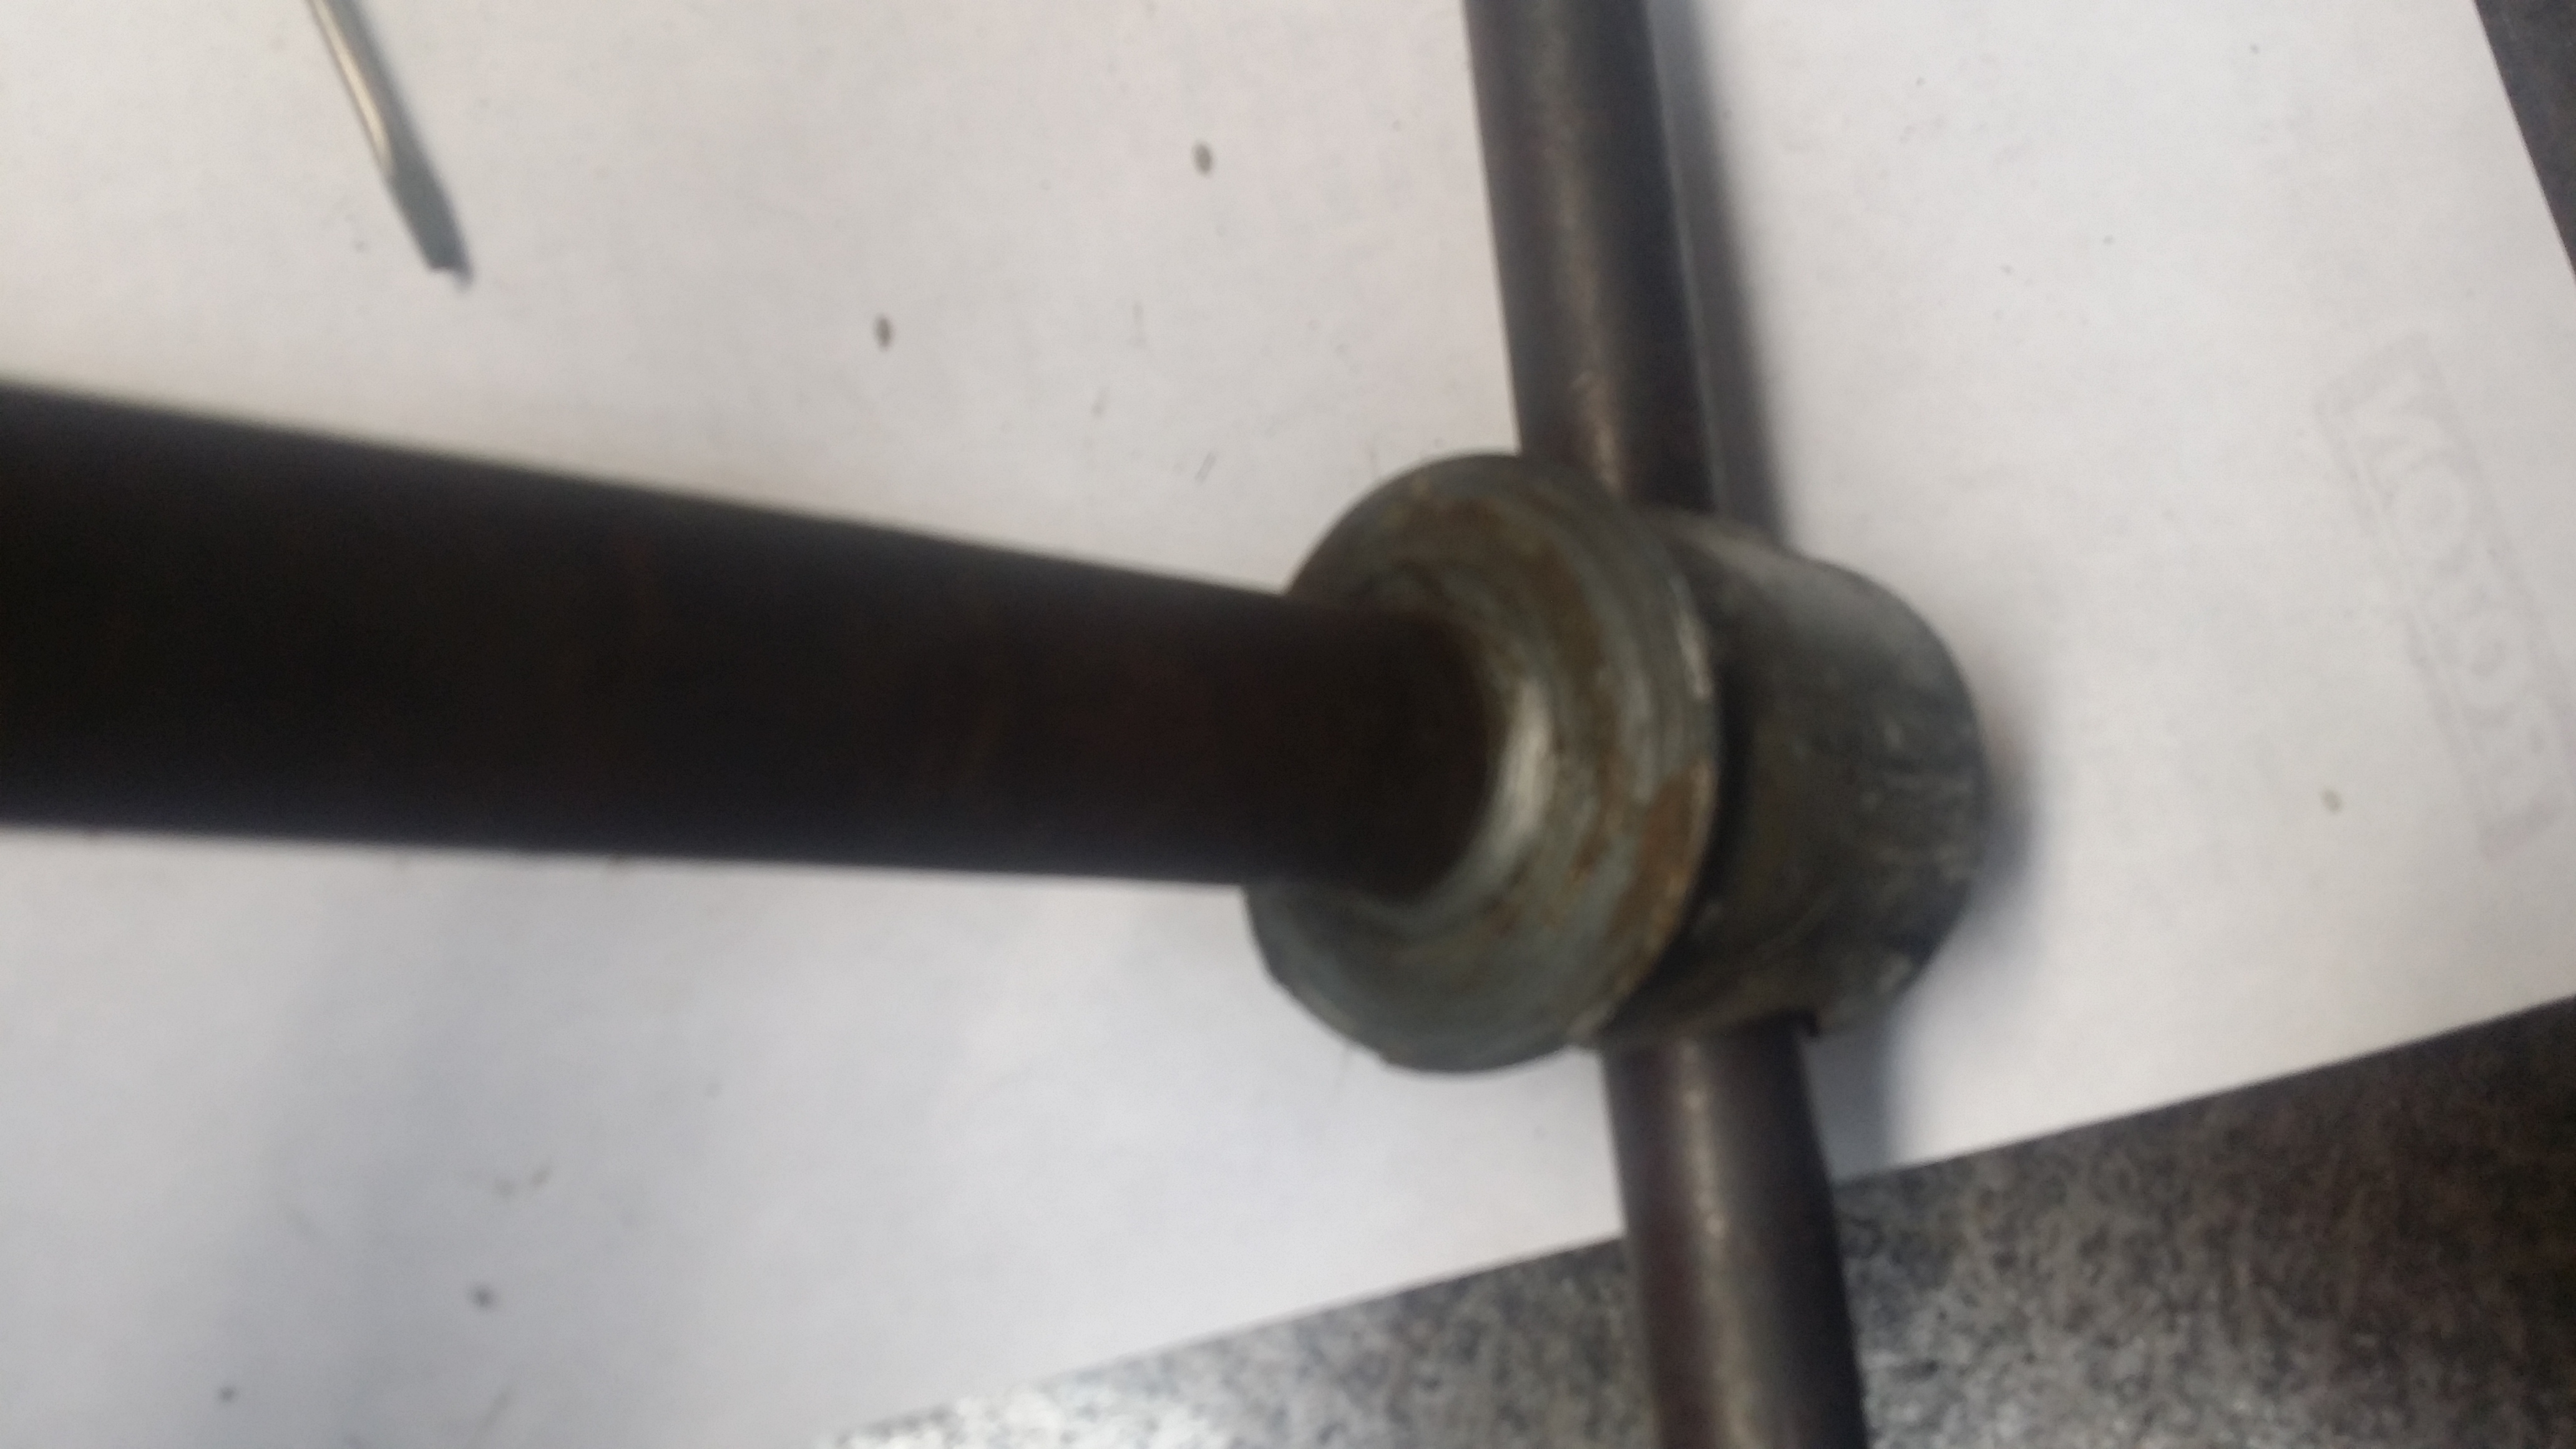
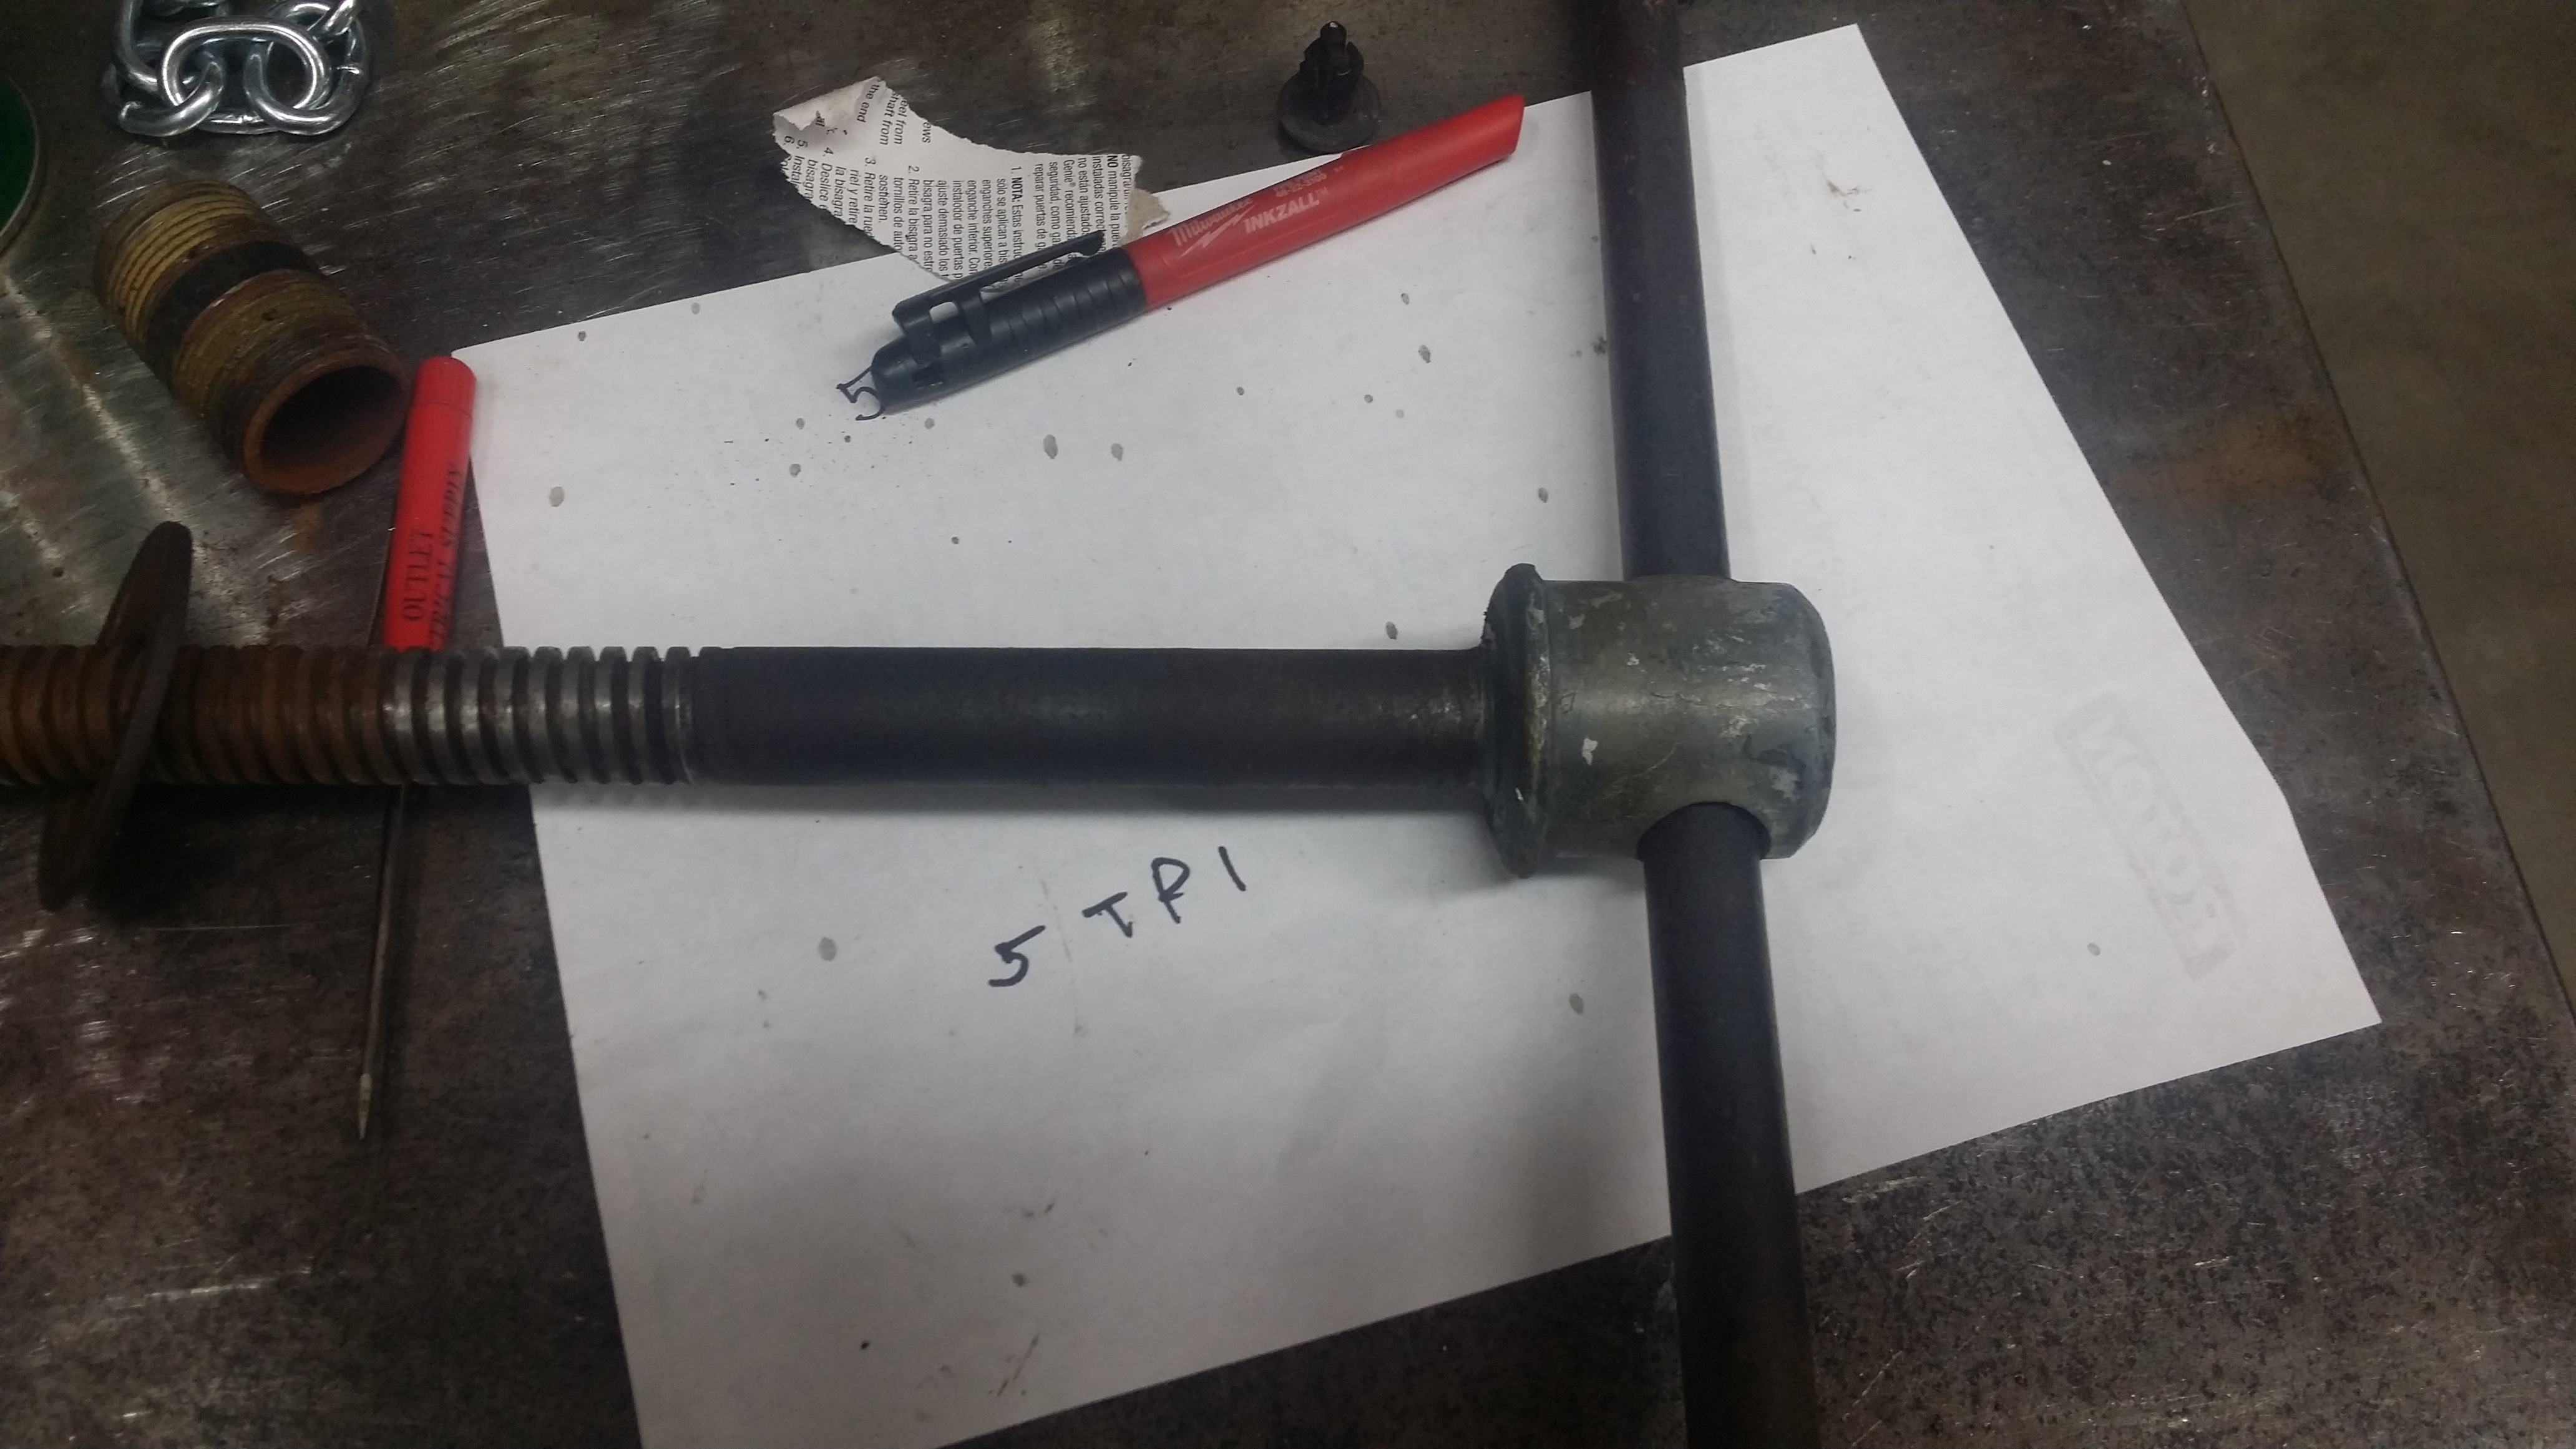
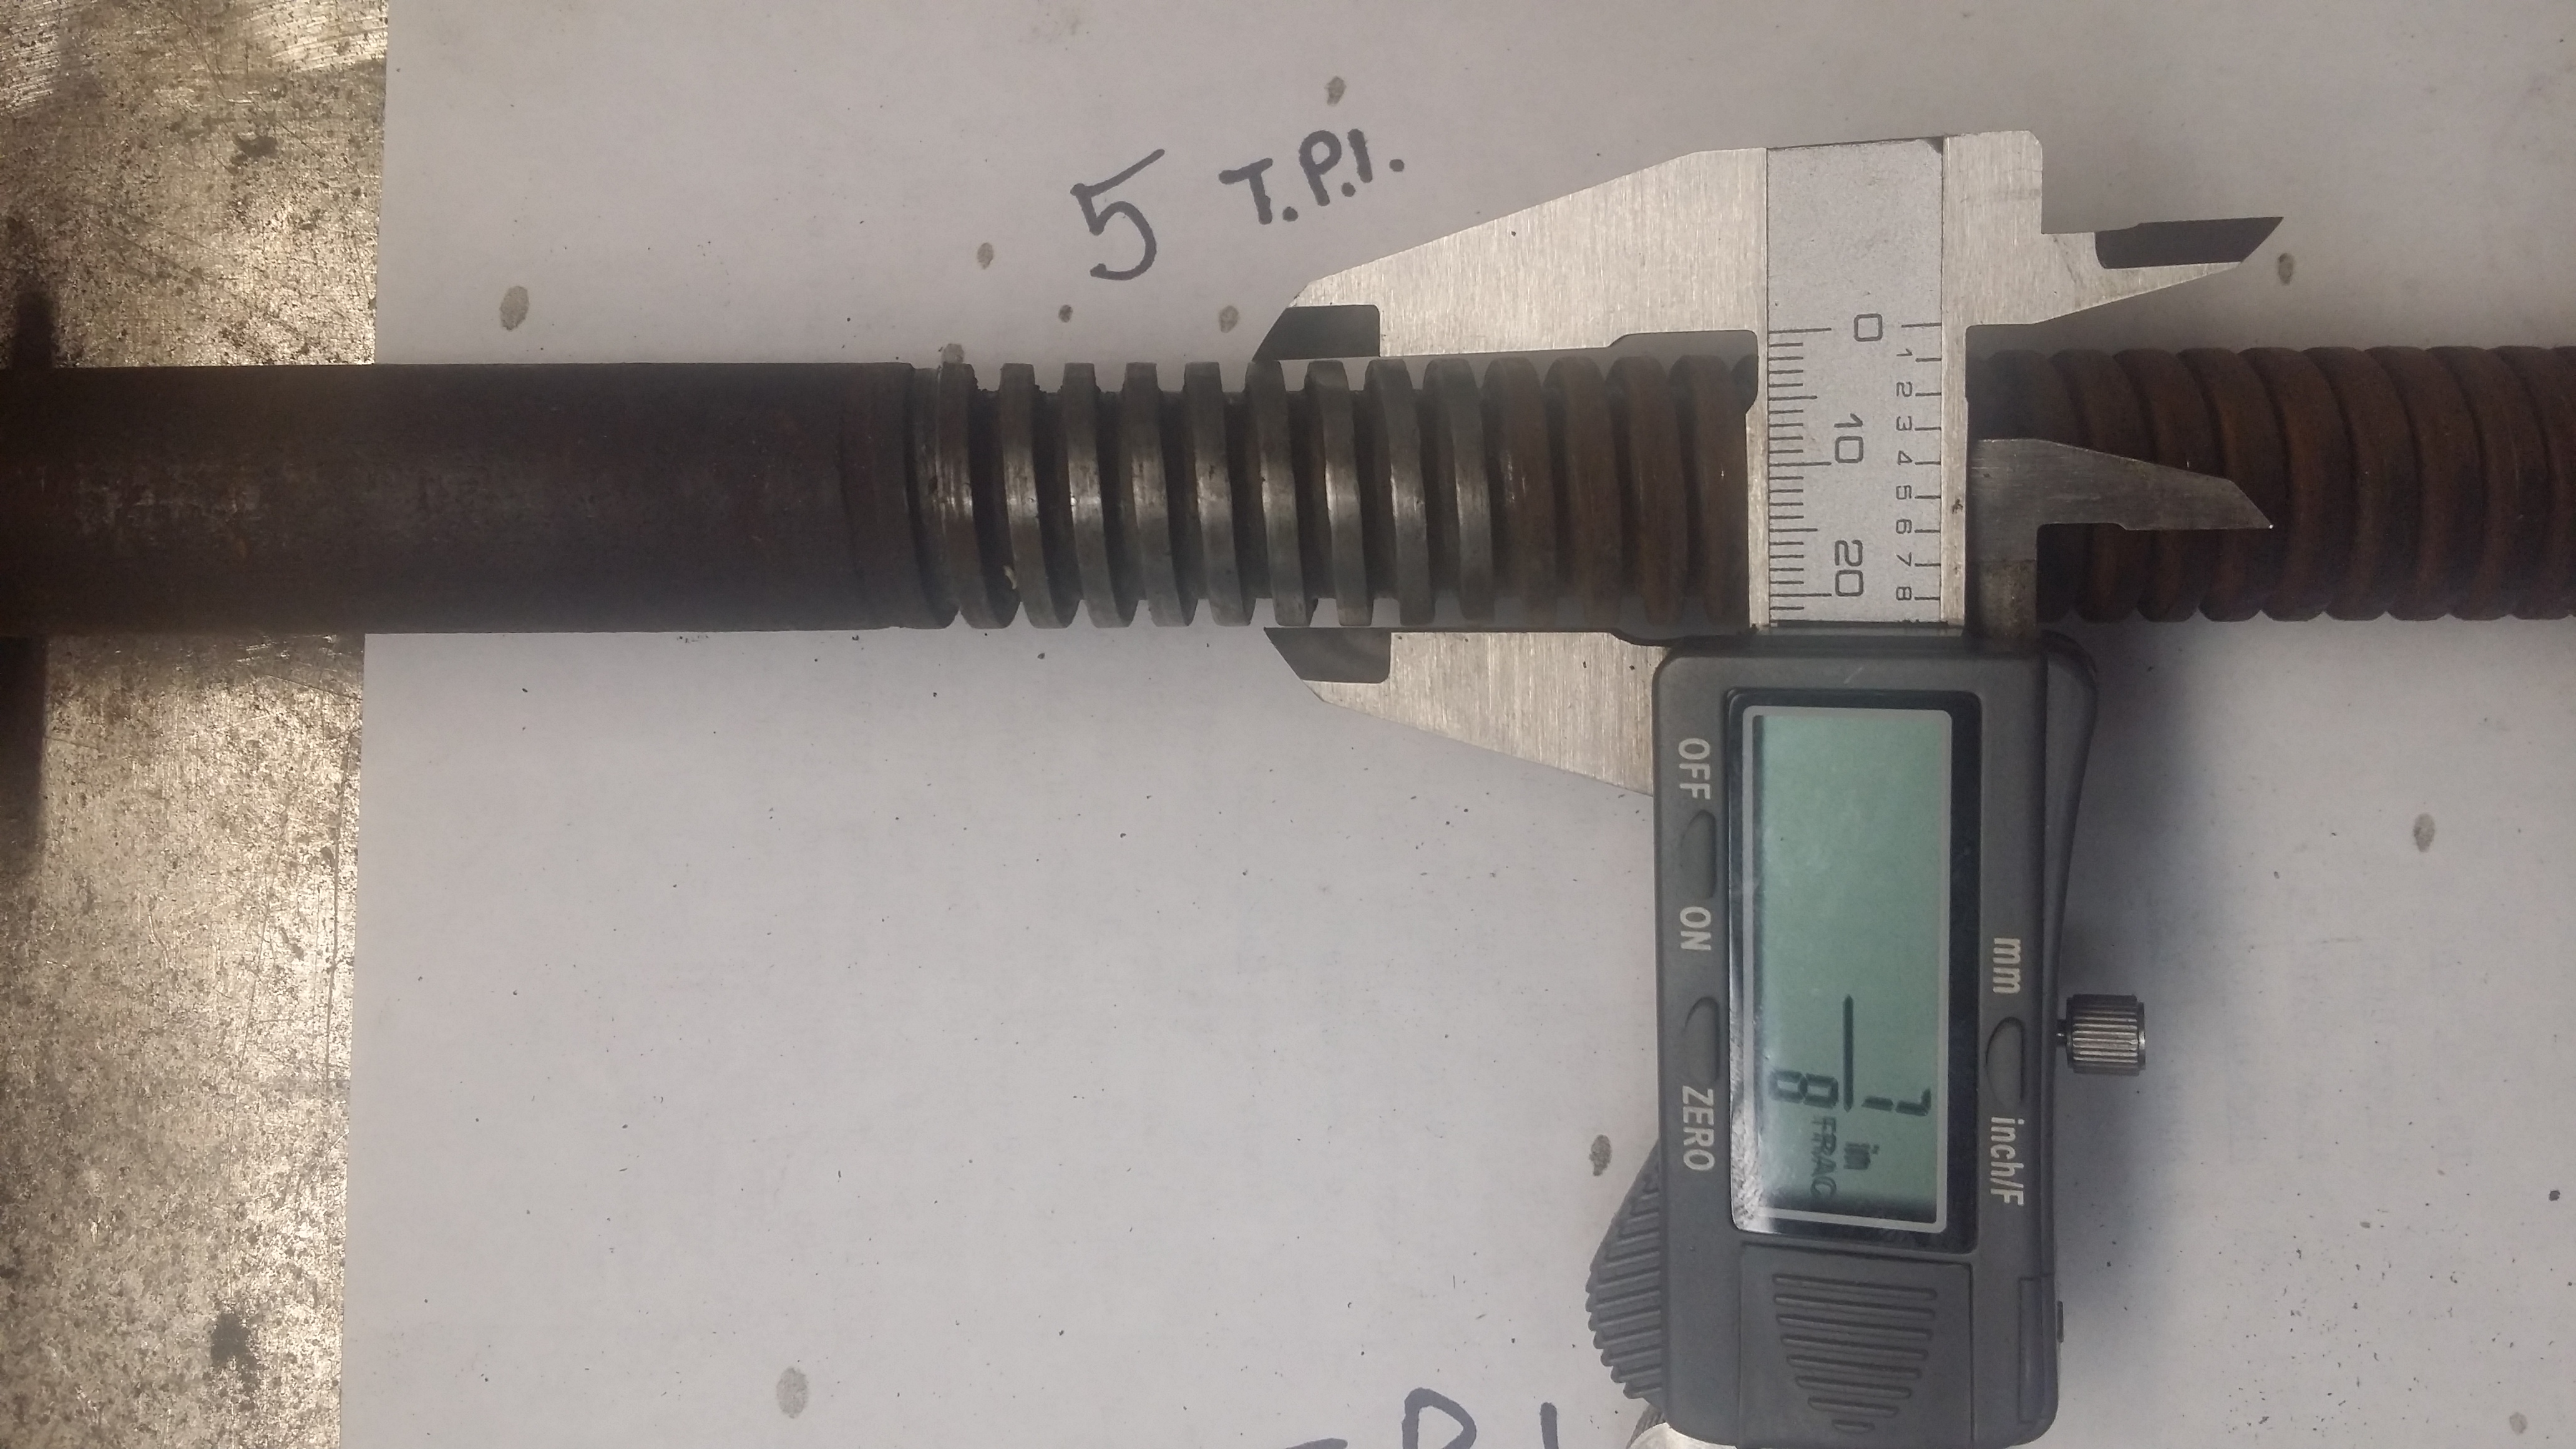
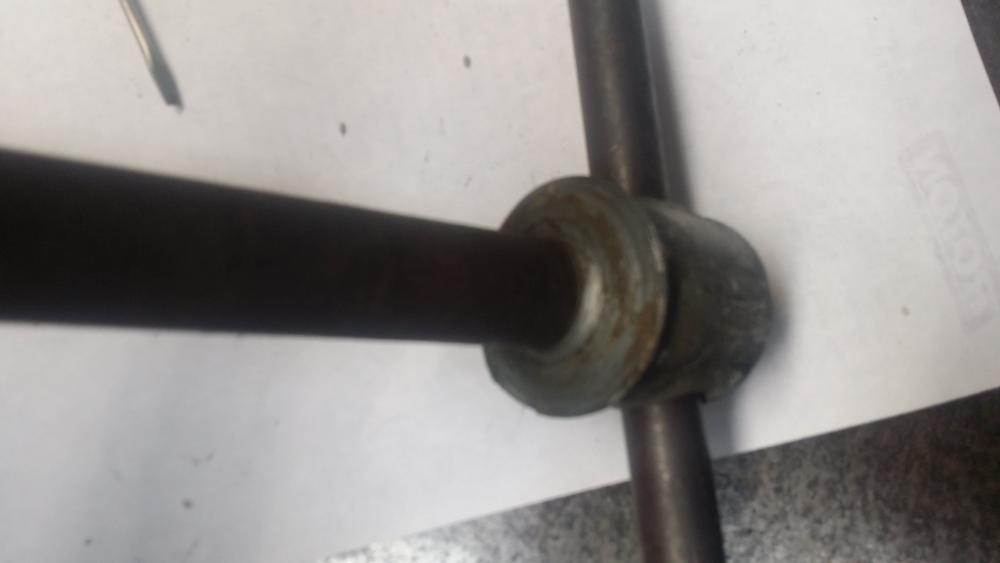
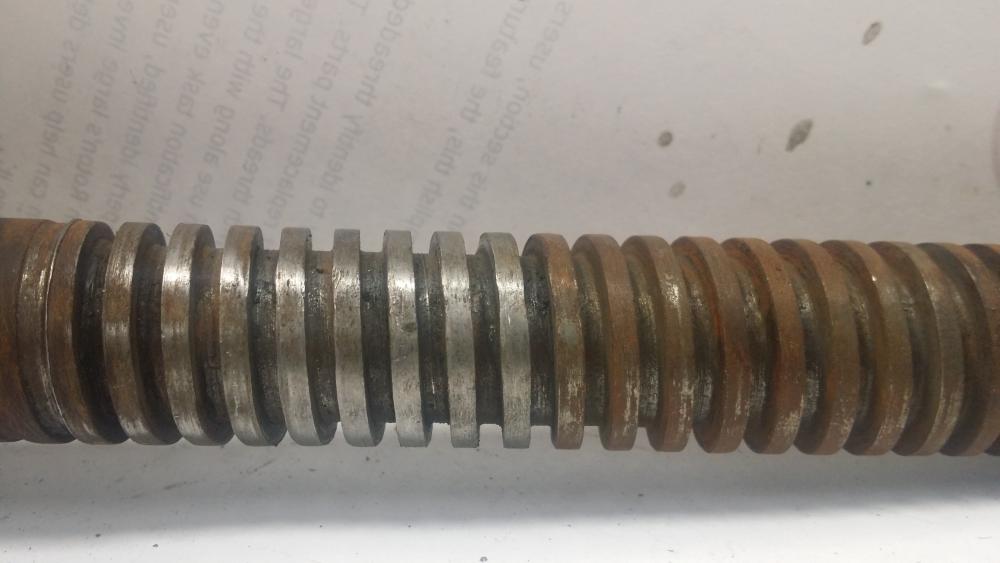
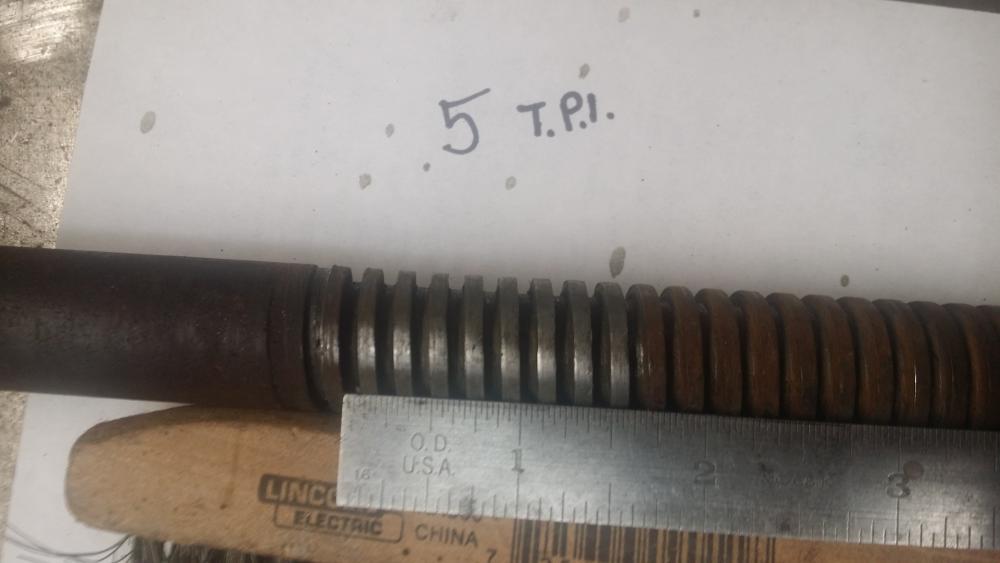
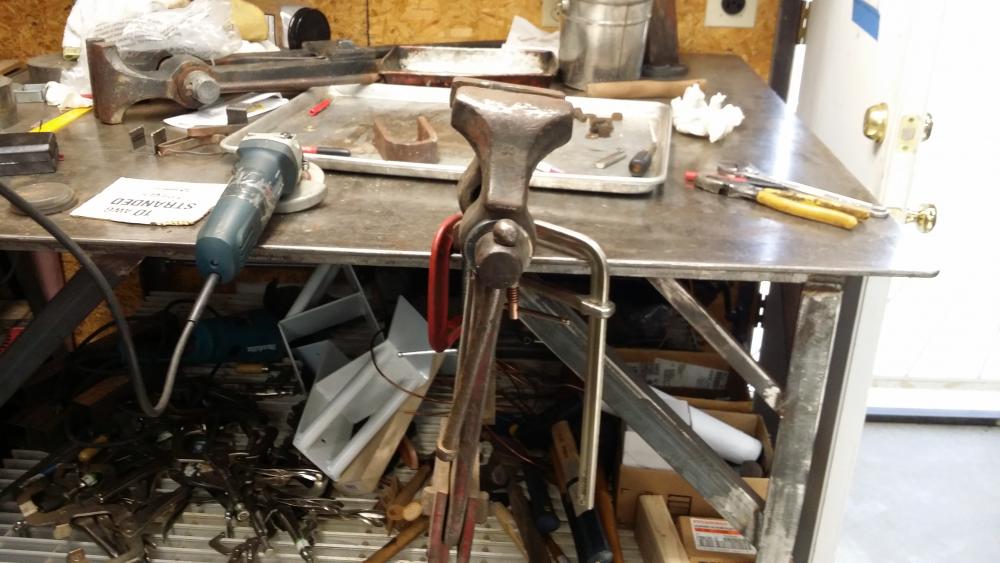
Trying to find a nut for this screw but I don't think its Acme, the threads appear to be square cut. If my measurements are correct the major diameter is 7/8", T.P.I. is 5 and pitch is .2 .........I just don't know what kind of nut to look for that will work with the square cut threads, any ideas where to find one?

-
Can you show the female threads and how you fastened them to the pipe? How much thread is there, and how far can you open the jaws? I am working on the same fix as you did but I find the screw sticks out way farther than yours when closed. I am starting with a 1.5" bell reducer ground to fit into the vise with the flanged end keeping it from pulling thru, then enough pipe attached to that to contain the length of the screw, then cap at the end. For the female threads all I have is a big nut 1" thick that matches the screw which I will grind to fit inside the bell reducer then weld it in. Edit: Now I see, you already had part of the box with the threads and you just made a new end for it, is that right? Did you weld on the key?
-
Like this? A family lives here, very nice folks. On the bright side they are right on the beach.

-
A picture or two would be greatly appreciated. Mine has the number "50" on the jaw.
-
I'm in the desert. I have just about everything lube wise in my shop. The swamp cooler oiler sounds like a plan.
-
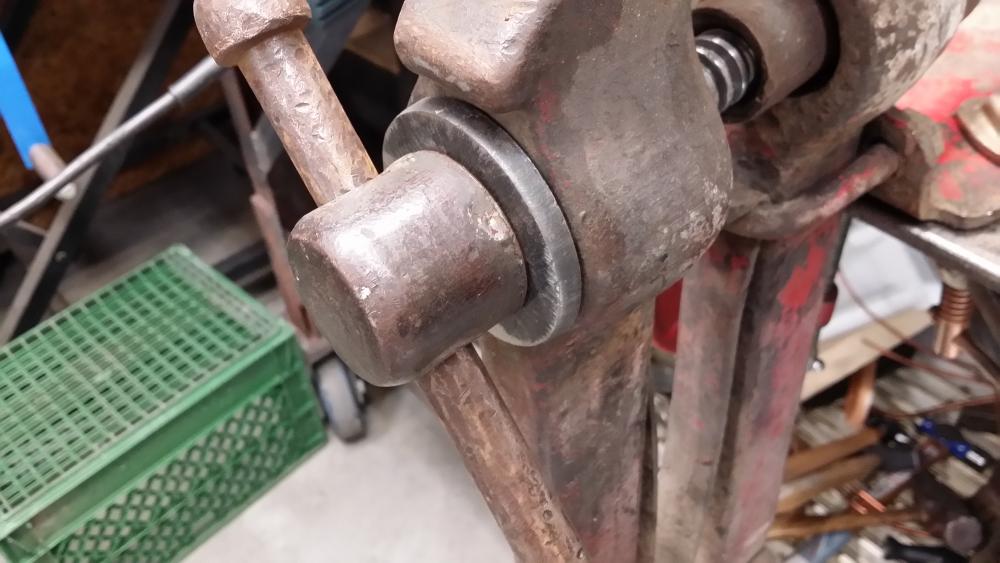
I really cranked the U bolt down tight and it helped a lot, just a little movement now. There is a raised area just below it which makes a "saddle" for the U bolt to reside between this raised area and the jaw. What's the best thing to use to lube the screw? The vise will live outside but under a roof.
-
Finally got the thrust washer finished today, works great too! Now I have more questions! 1. Is the U bolt possibly an original way this vise was mounted? It cants pretty easily side to side when cranking on it which makes me wonder about the mount. 2. What do you recommend for lubrication of the screw and thrust washer? I read somewhere where someone recommended anti sieze. 3. Anyone ever make a housing for the screw? I don't own a lathe but I was thinking of pipe nipples/caps and a reducing bell. Or a coupling with a finial threaded into one end and brazed onto a bell reducer. 4. I know, I know just use it right?

-
Oh Grandpa will you tell us the story again about the time you drove all the way across the country with your blinker on?
-
And you are no longer longer?
-
for those who must have sharp edges on anvils
bigb replied to the iron dwarf's topic in Repairing and Modification to Anvils
OK thanks. Since some of my first projects will be tools I really need to learn the art of heat treating. Been reading up, on here and in some very, very old books. I have a steel quench bucket with a self closing lid and a few gallons of clean used automatic transmission fluid but I am not sure if the transmission fluid is a good idea or if I should just use motor oil. -
for those who must have sharp edges on anvils
bigb replied to the iron dwarf's topic in Repairing and Modification to Anvils
Just curious after you weld the hardy peg on does it need to be re-tempered?