arkie
-
Posts
2,679 -
Joined
-
Last visited
Content Type
Profiles
Forums
Articles
Gallery
Downloads
Events
Everything posted by arkie
-

Is this good coal
arkie replied to Austin Ferraiuolo's topic in Solid Fuels: Coal, Coke, Charcoal, Wood, etc
That is good coal, but the price per pound is going to be kinda high when shipping is included. Try to find a local blacksmithing group near you. Members usually pay a lot less than what you will have to pay total (price + S/H) per pound. -
That is one FINE looking forge, DSW. You put a lot of work into the legs and supports. Makes my simple angle iron frame look kinda primitive (pout...).
-
My first forge build at about 85%
arkie replied to Culver Creek Hunt Club's topic in Solid Fuel Forges
That's going to be a fine looking forge when it's finished. One suggestion I might make regarding your tuyere and grid. Those rebars will burn through in no time. Best if you can find some sort of thick cast iron with holes or wide slots and drop it in the bottom. No need for welding...it ain't goin' nowhere with it's weight and coal/coke piled on top of it. Holes seem to work better for me, since the slots tend to warp and have been known to burn through quicker. A thick piece of steel, say 1/2" with holes would do nicely. Easily replaced if and when it goes by the wayside. Happy forging! -
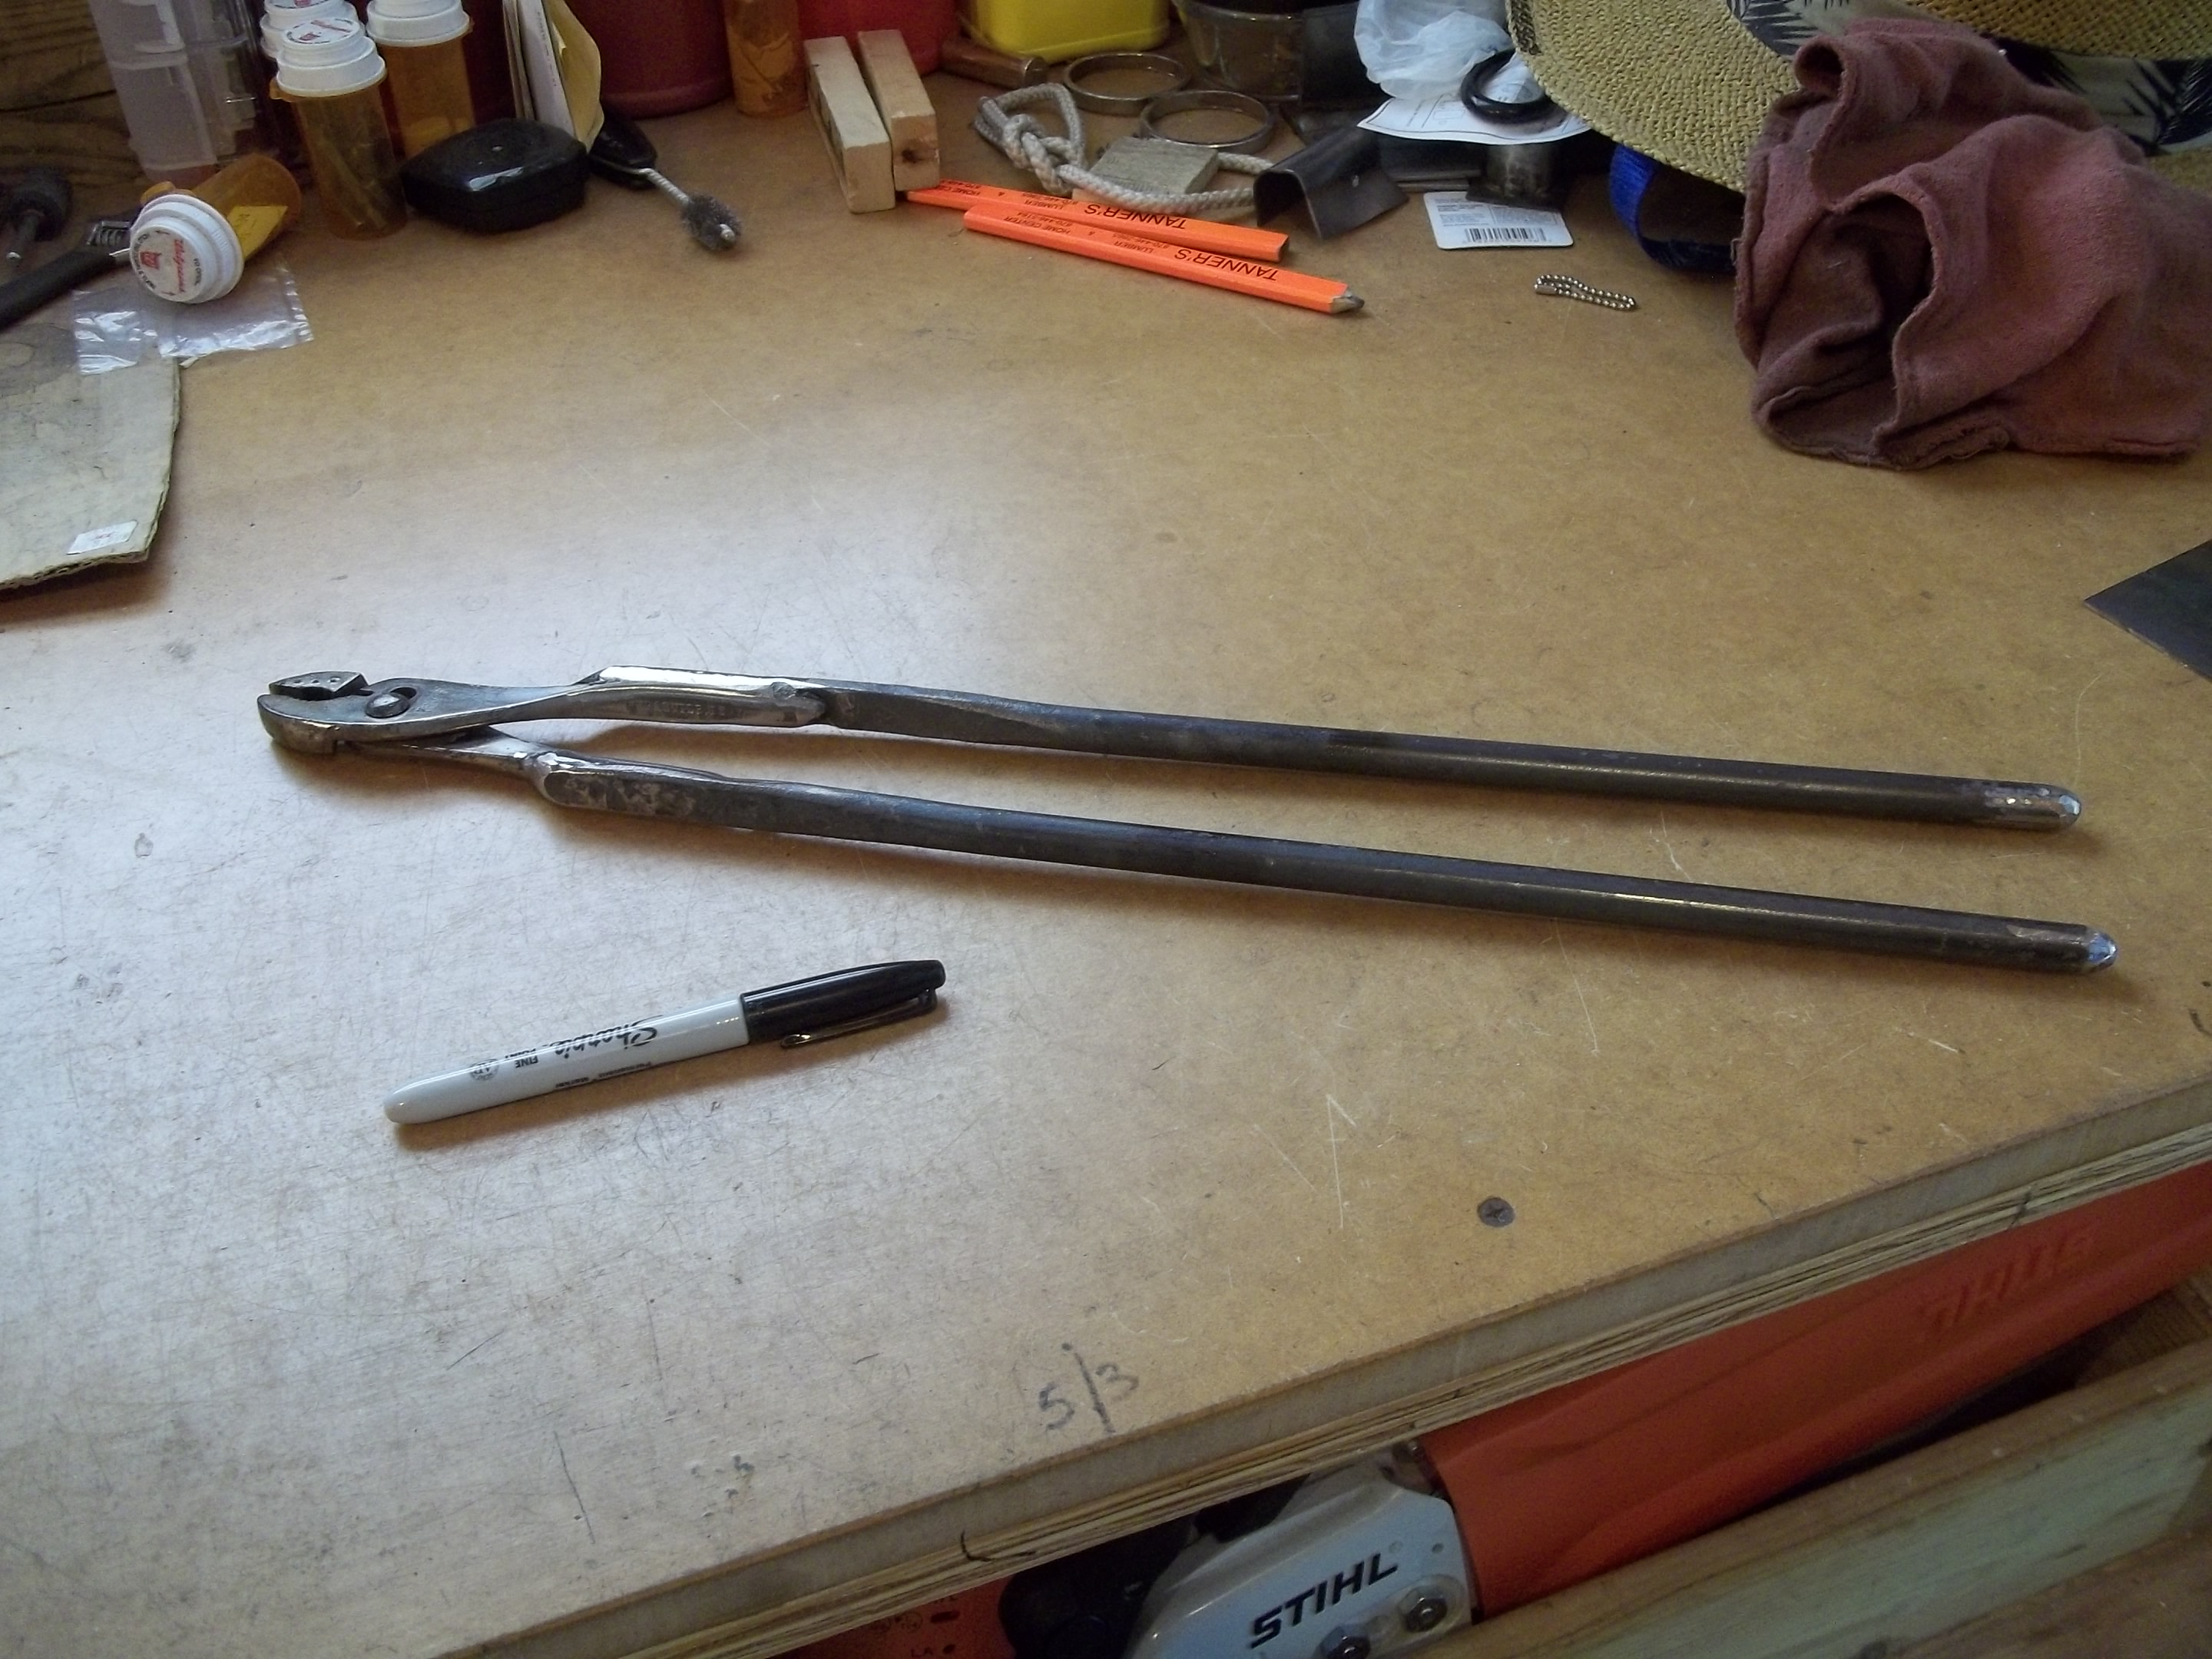
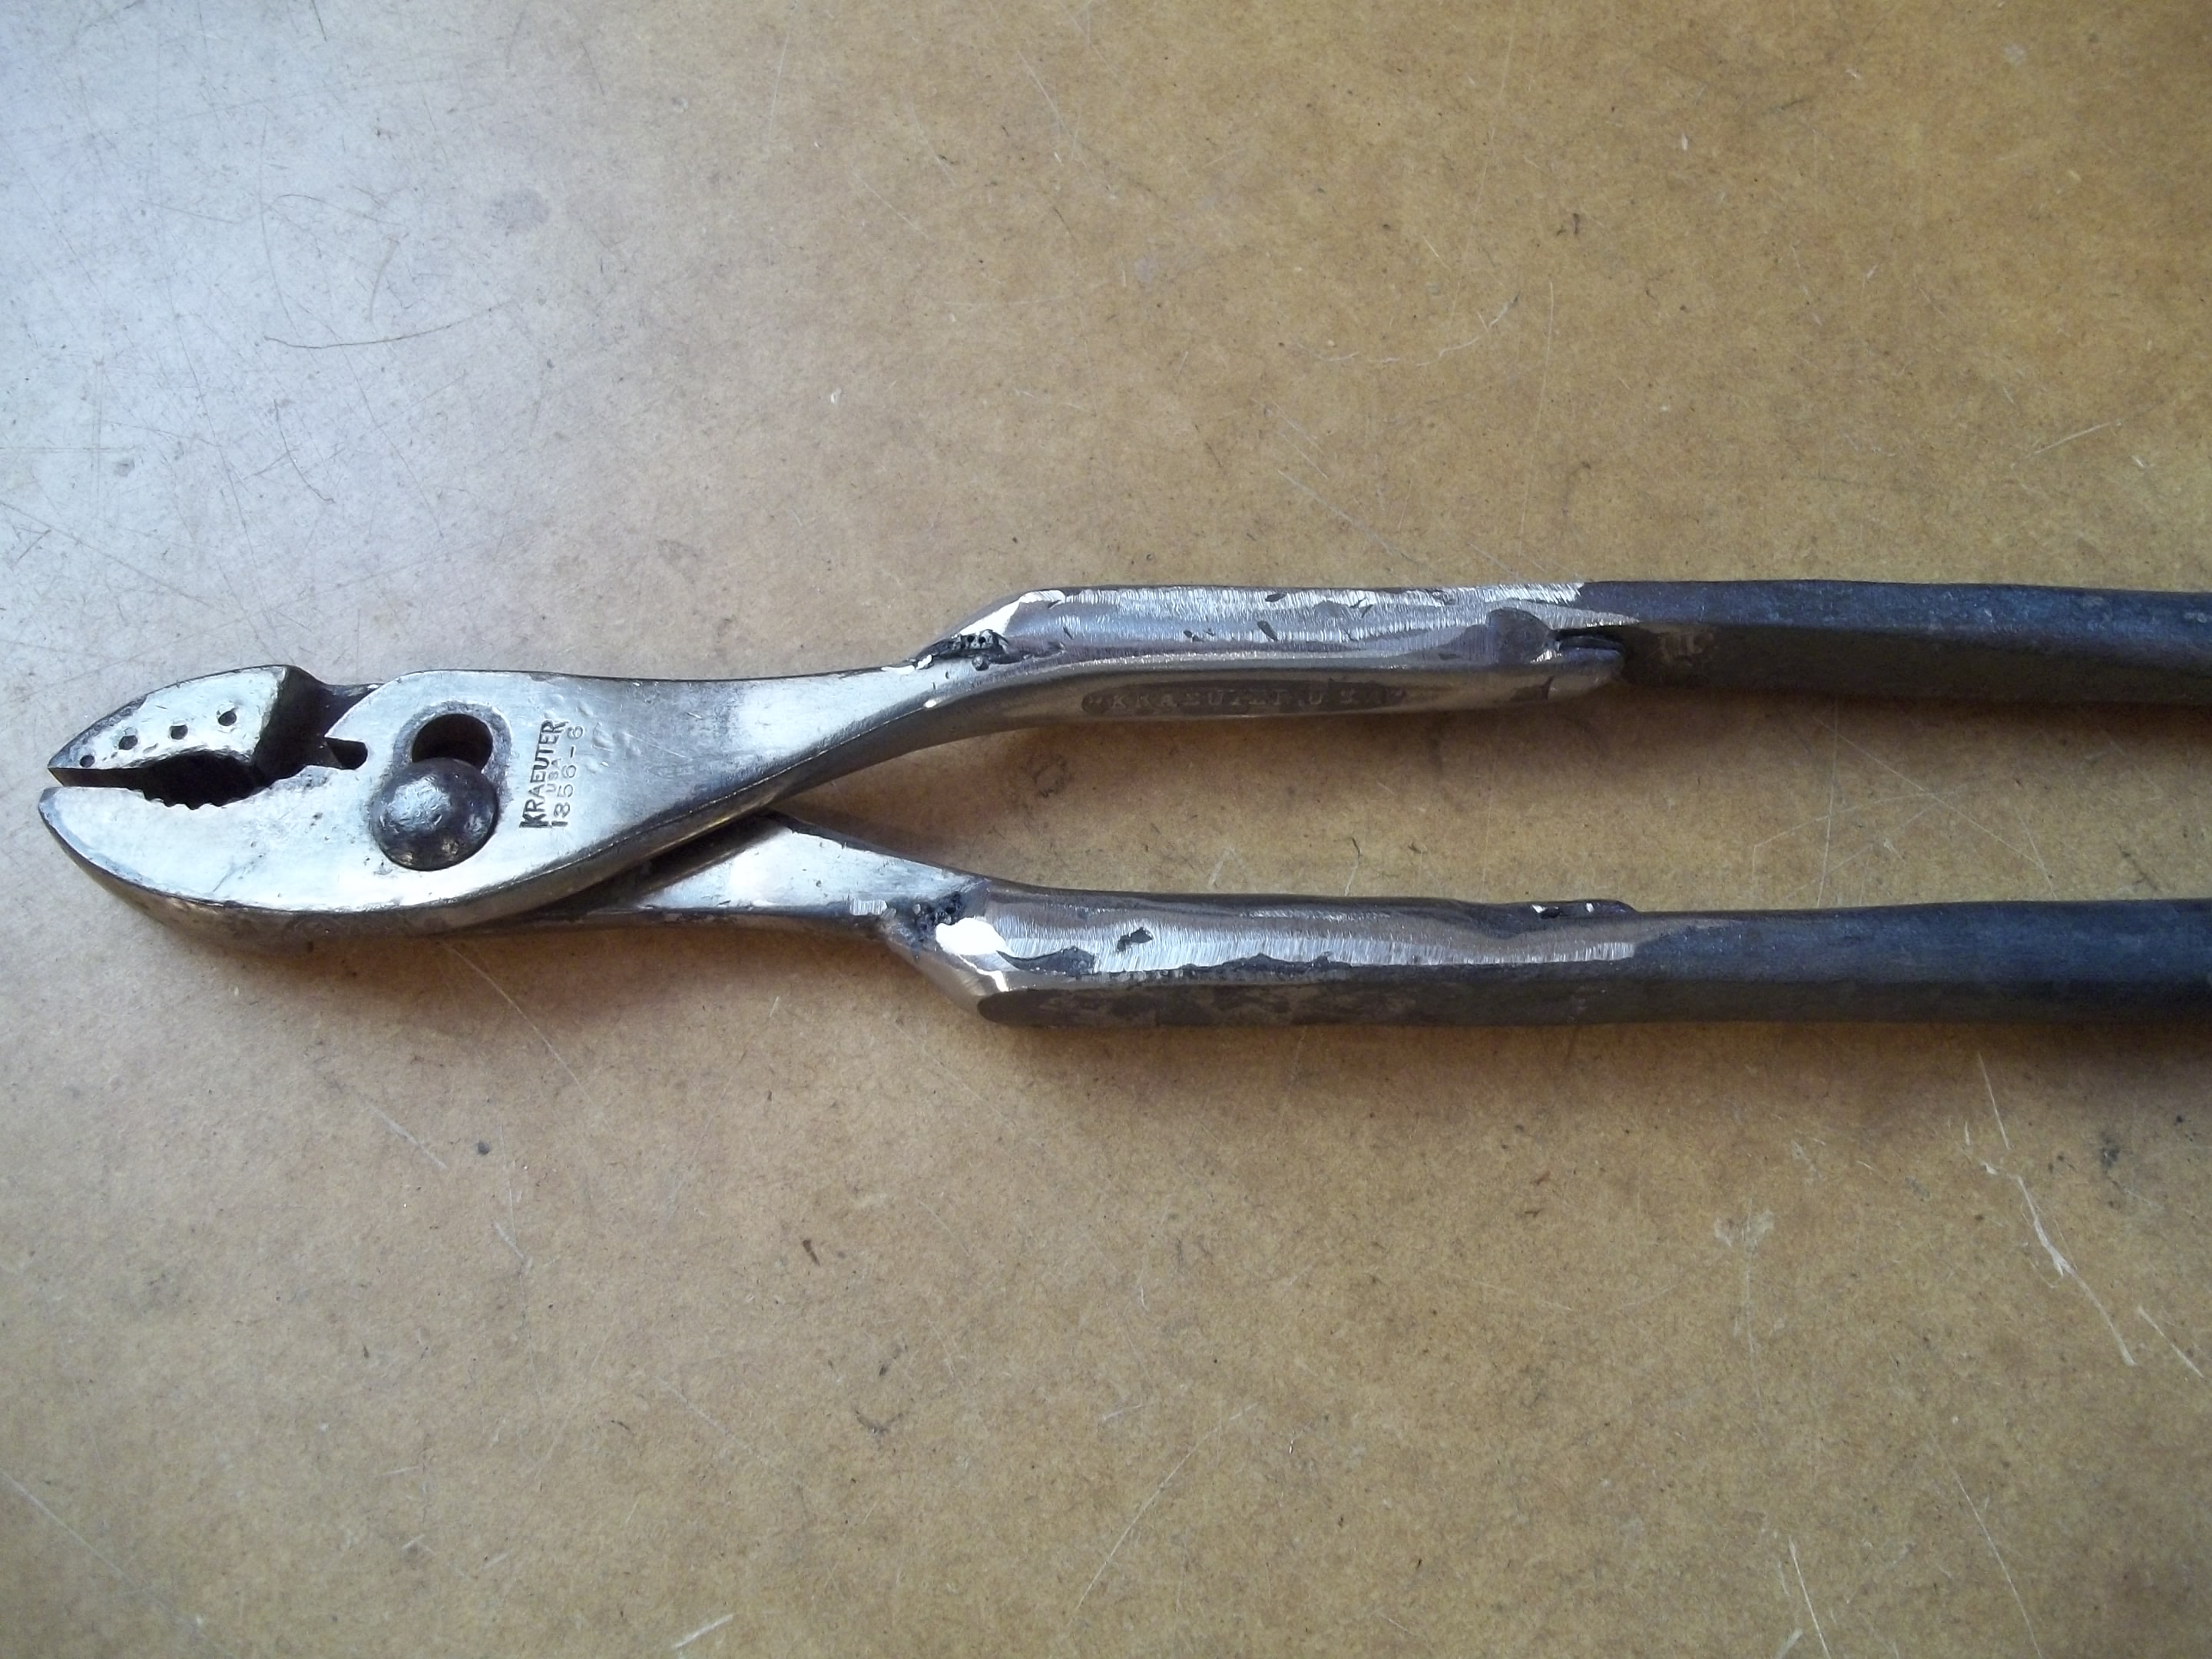
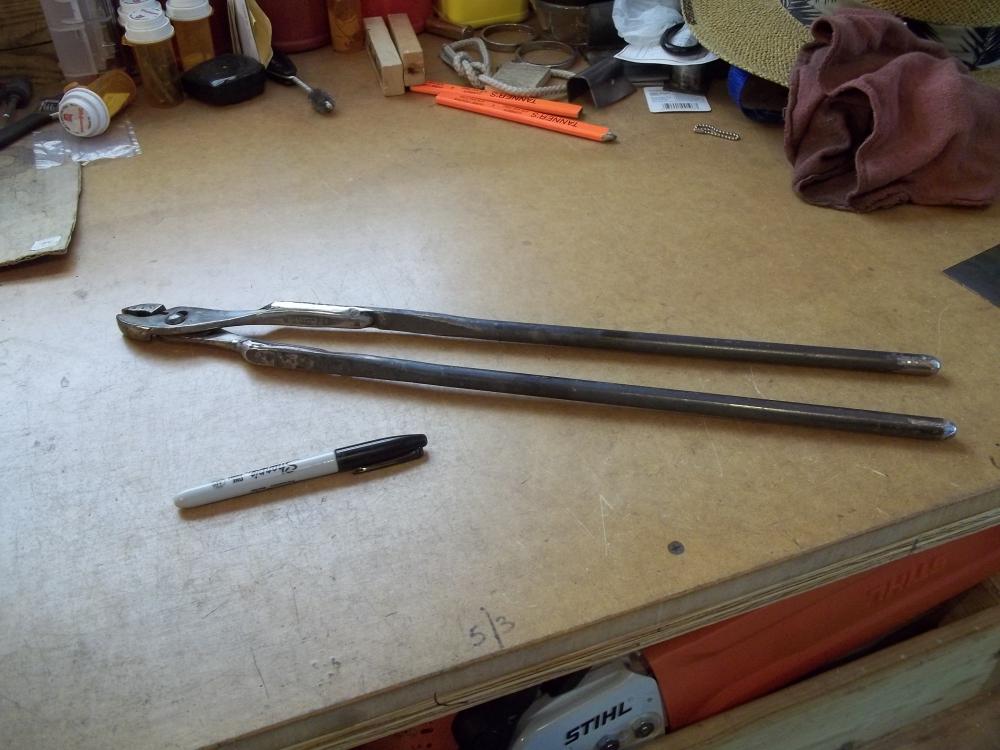
Tongs look fine, they came out like what you wanted. If you are disgruntled with the rivet, just cut it off or drill it out, make another with Frosty's suggestions for the rivet "stickout", etc. on each side and make another! Practice makes perfect. I've drilled out a rivet or two that looked like Fido's B*tt and replaced them. One thing I did when I first started riveting tongs was to get some scrap steel bars about 1/4" to 3/8" thick and an inch or so wide, drill holes for your rivet size(s) in several places and practice riveting the scrap bars together. Then when it's "showtime", you'll have riveting down much better.
-
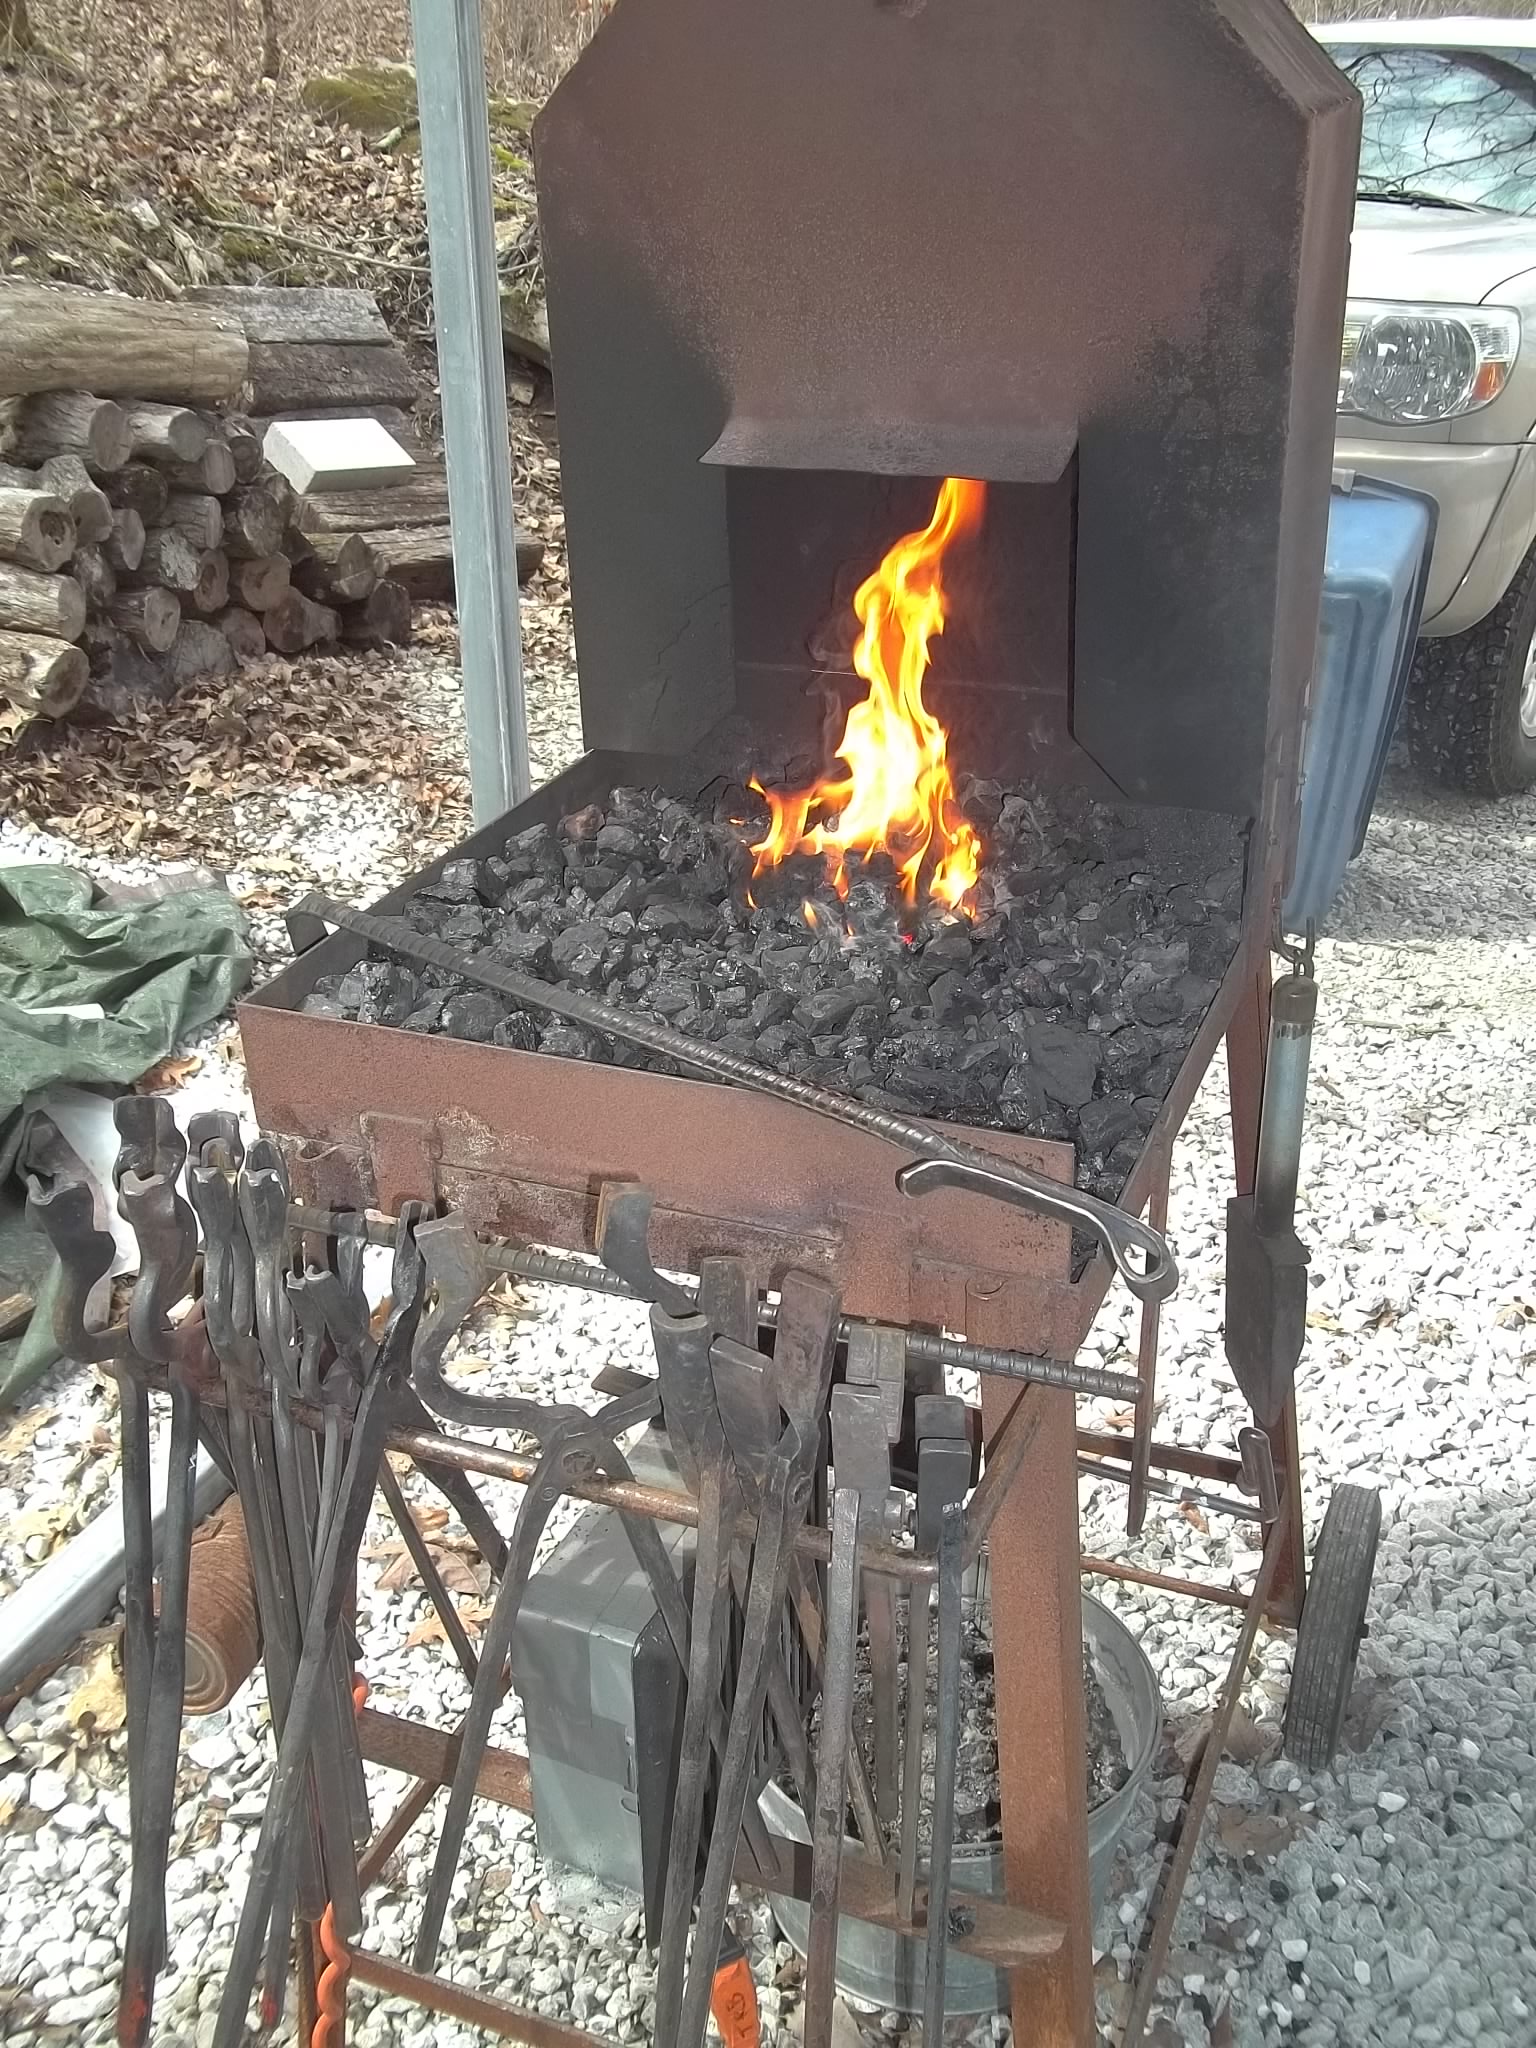
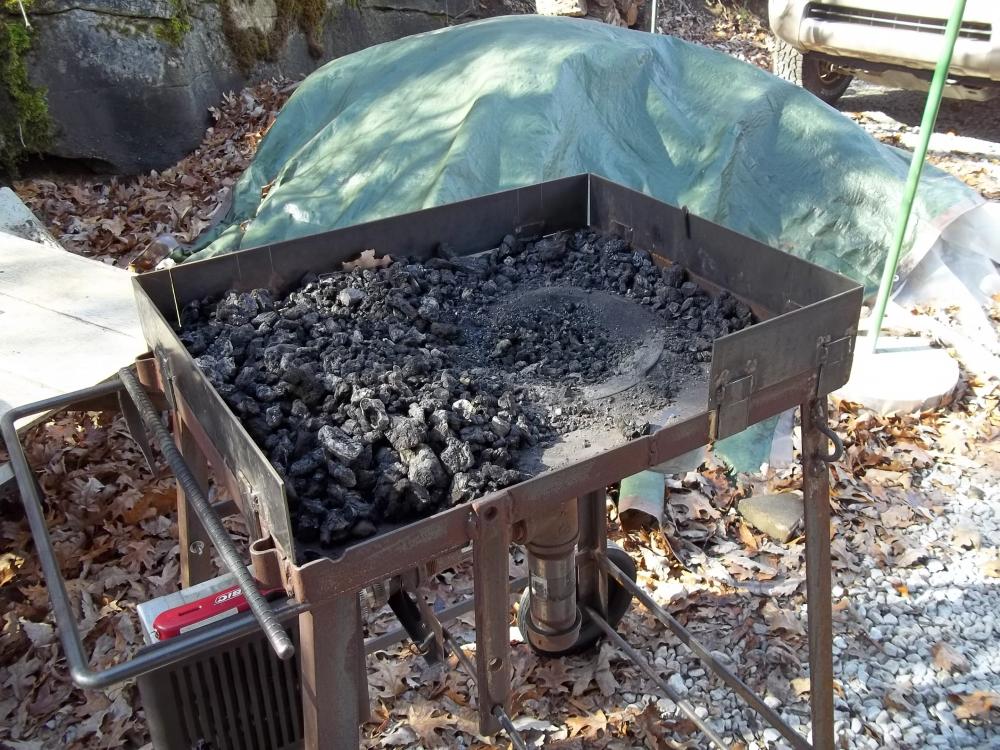
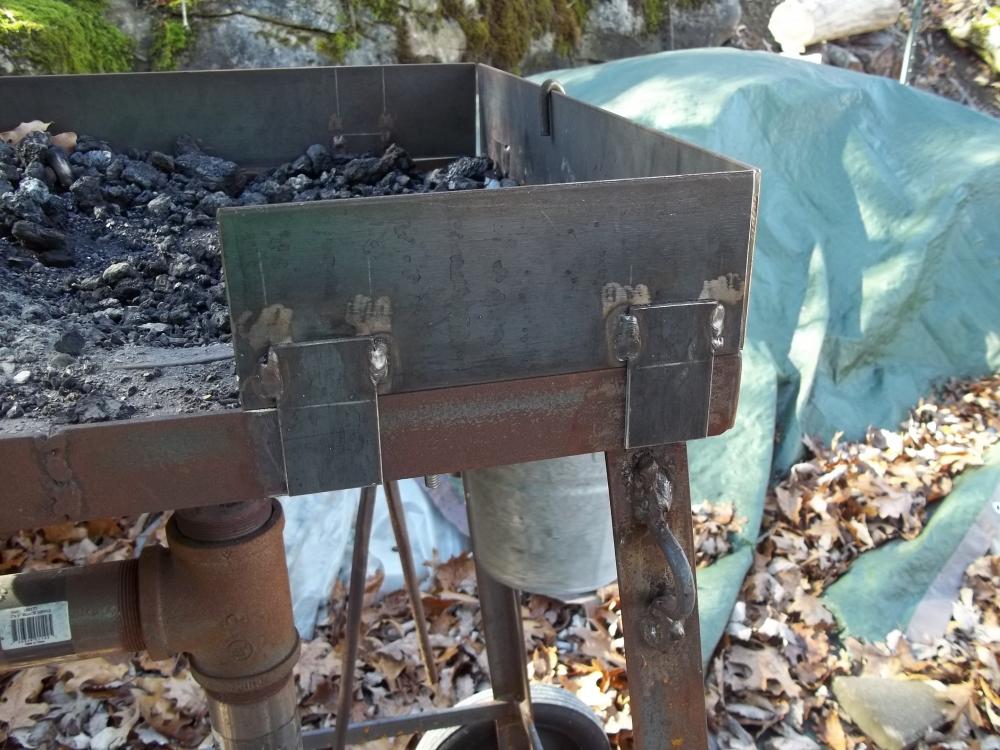
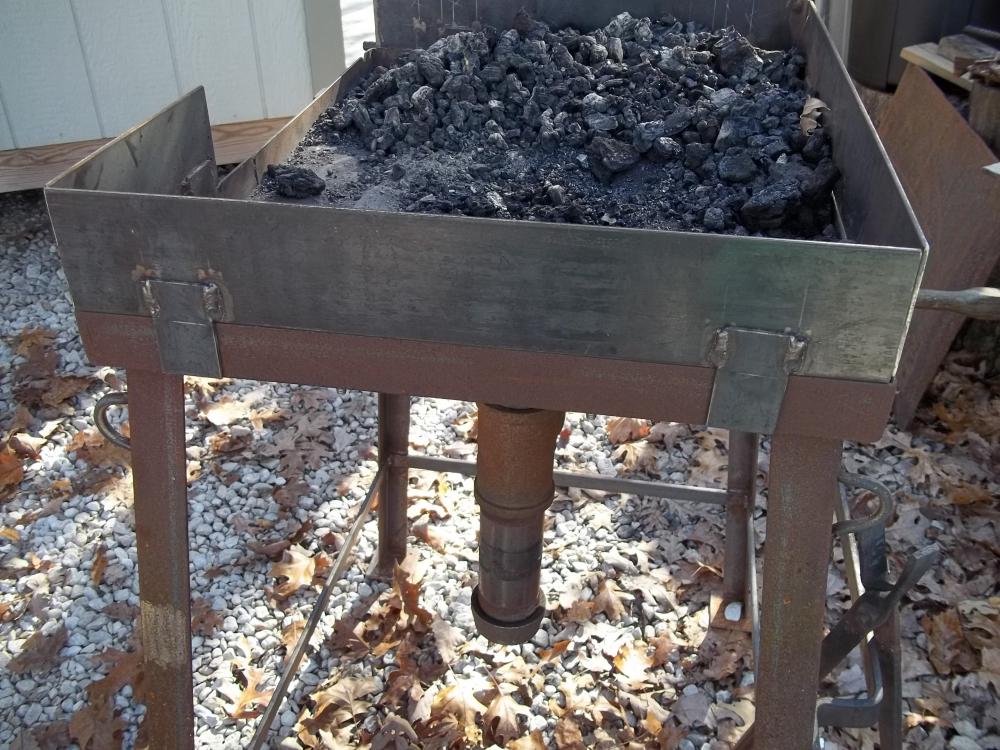
The sideboards are 1/8" x 3" steel. The frame is 1/8" angle iron. I cut pieces of 1/8" steel strips about 3" long and welded them to both sides of the 3" sideboards only. The sideboards will just slip down onto the angle iron, with the gap on the strips/tabs being 1/8", same as the angle iron thickness. The strips/tabs on the inside and outside hold them on. The sideboards are not welded to the angle iron so they can be removed if necessary. The pictures here are from a while back before I added a hood and put another sideboard on the gap.
-
Very nice work! Clean design, simple yet functional, blends well with fence and yard. You should be proud.
-
You're probably scooping up some dirt along with the hardwood coals and that could contribute to forming clinkers with charcoal.
-
Yep, that's wrought iron. The fibrous texture/stringers are a clue. Get a piece of mild steel, cut it halfway through and bend it similarly...you'll see a fine grain/crystalline structure instead of fibers.
-
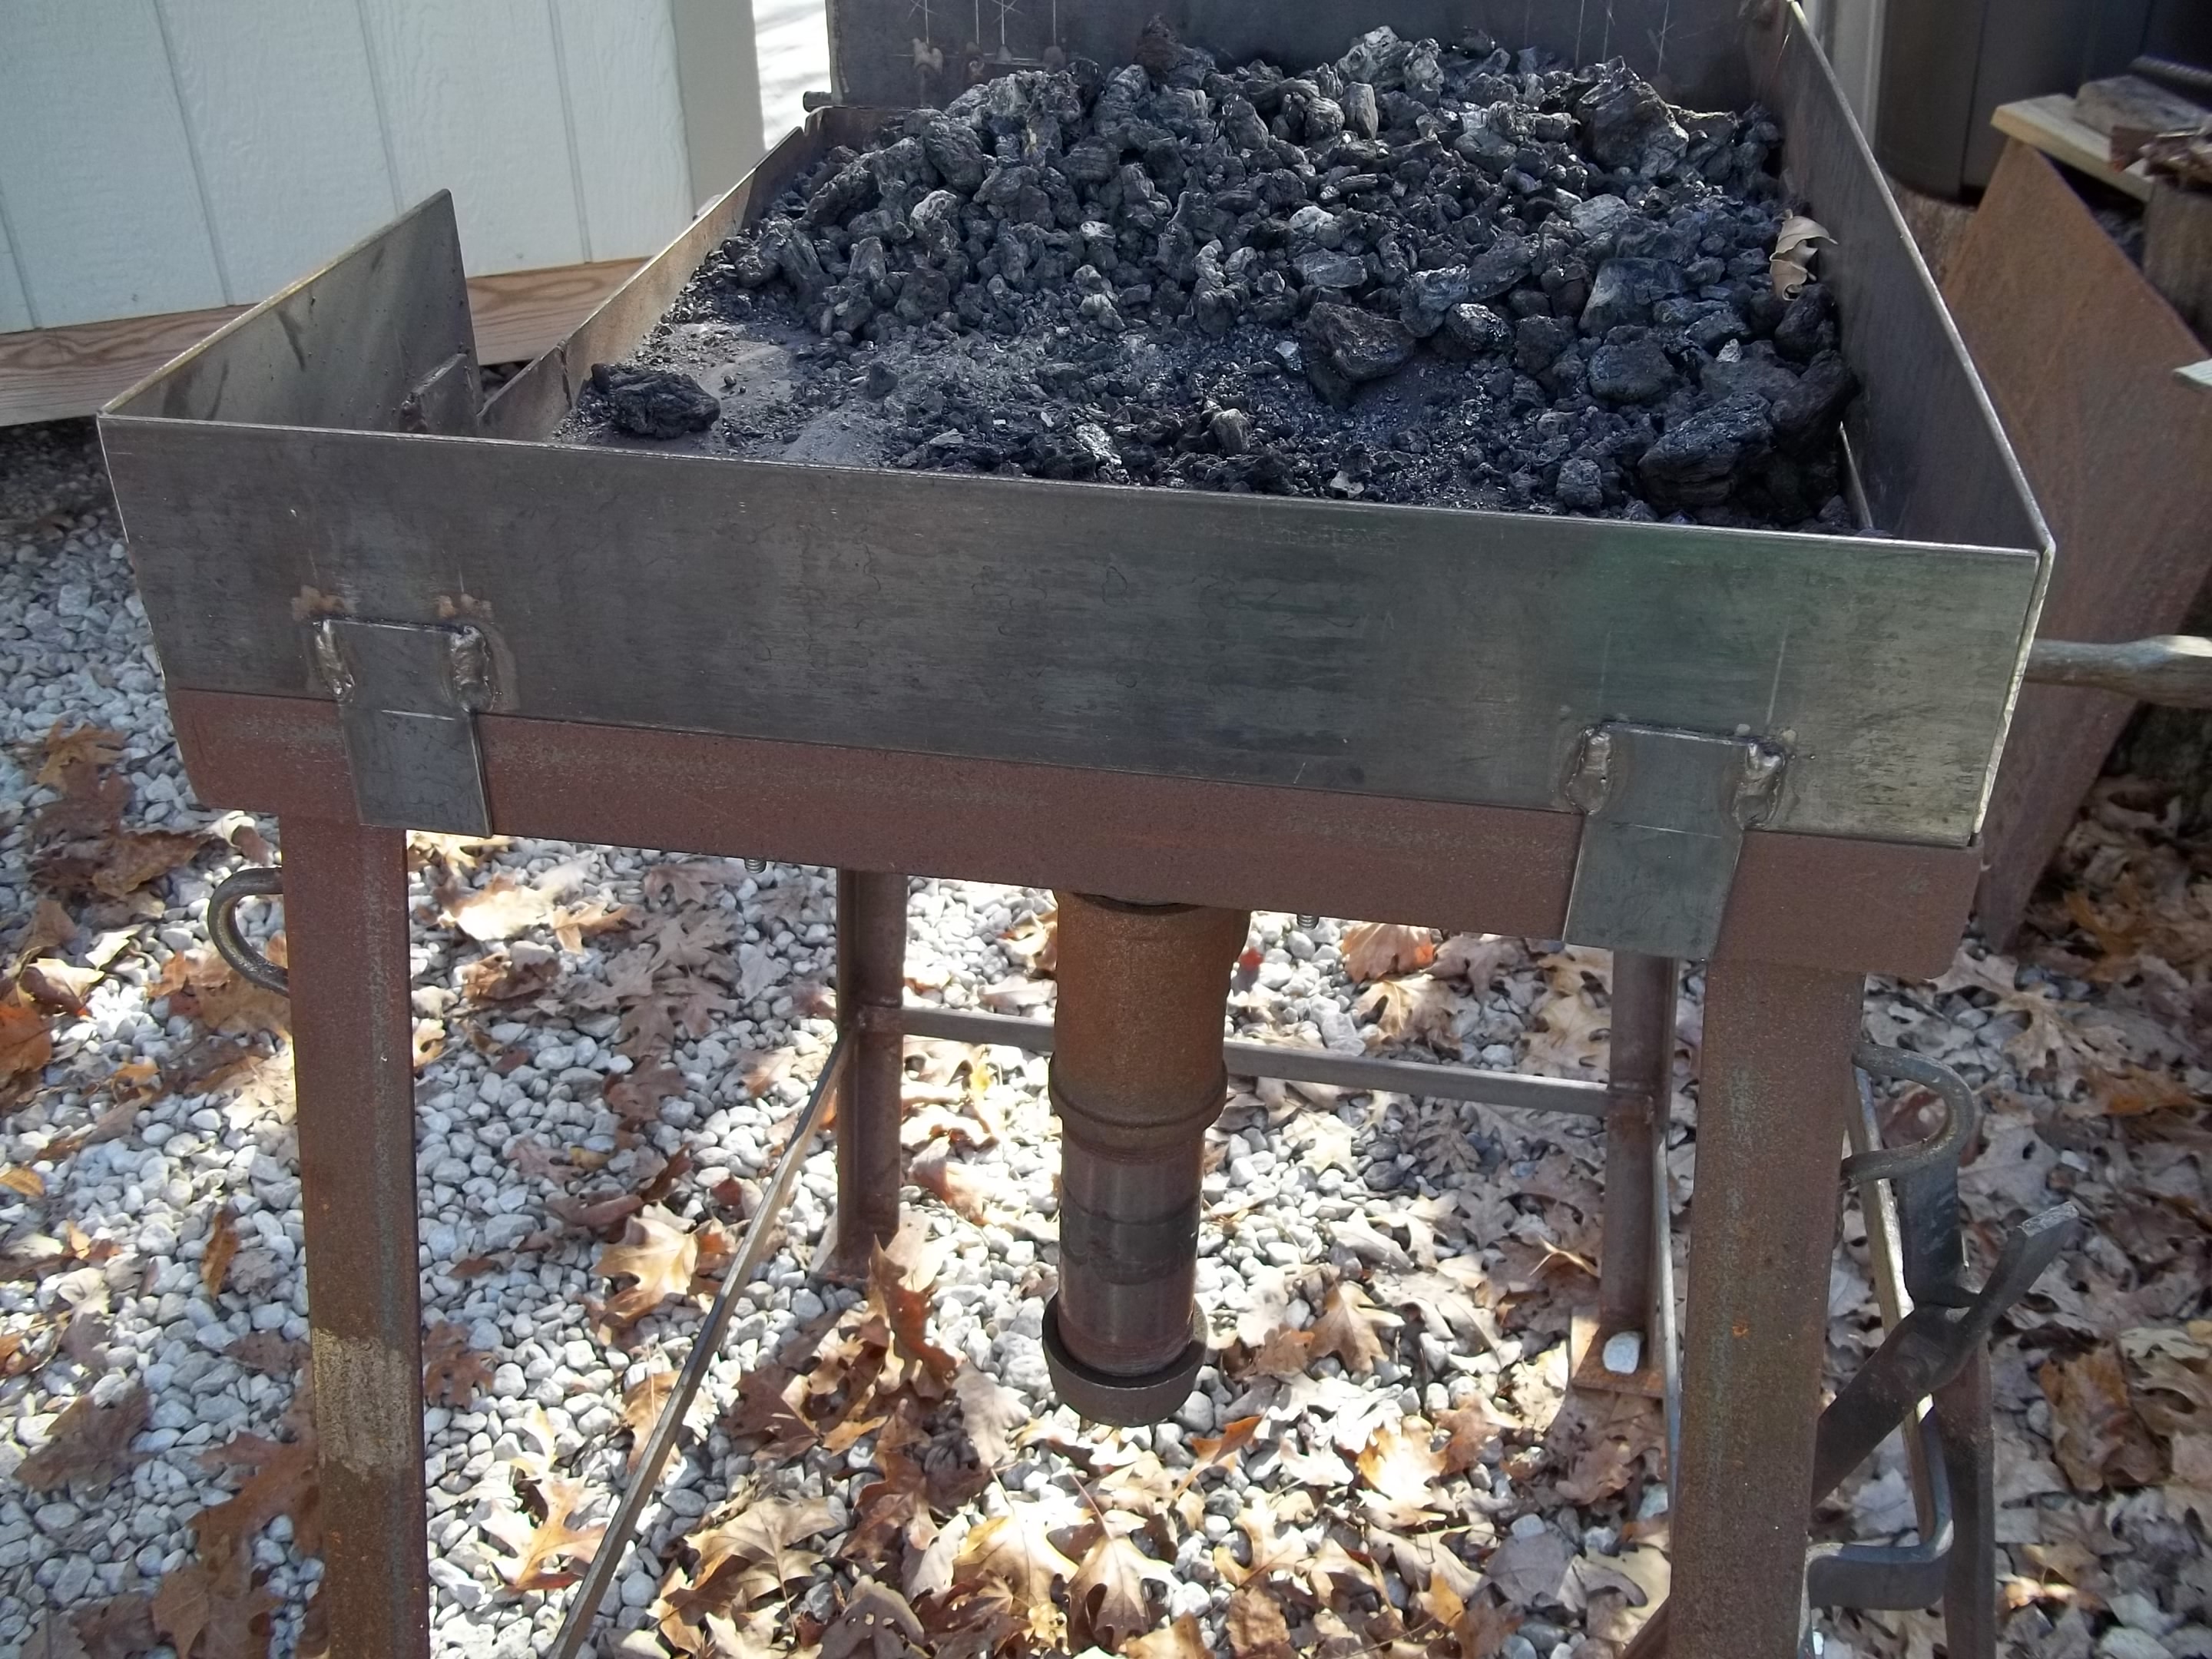
You can always add sideboards. The frame would need to be angle iron so the sides could be attached somehow (clips, bolts, etc.) Here is mine with 1/8" x 3" sideboards (the one on the right was removed temporarily). You can really pile the coal on there for a small forge. Like Glenn suggested, put on some wheels, preferably large...10"-12" if you can. After you set up, it makes moving the forge around SO much easier.

-
Patrick, you'll like the 2' x 3' size...big enough to pile your coal onto the table. My forge is a bit smaller, so I had to make some 3" high sideboards that clip onto the angle iron frame.
-
You can put a radius on each end and have a double-peen (straight and cross) hammer for small work. I have one like that and made it into a double-peen hammer, works great on making leaves, etc.
-
That is going to be a heavy thing to be moving around up and down stairs. First thing I would buy is a two-wheeled hand cart...you're gonna need it. I would not weld the drum to the plate. Besides, welding steel and cast iron (brake drum) seldom is a good weld...cast iron is difficult and the weld usually finally cracks. A drum and plate welded together will be a PIA to move anyway. Just have your hole cut in the table where you can drop the drum into, screw your 2" fittings together hand tight and it won't move at all. You will lose very little, if any, air from the hand tightened fittings. My forge has a drum dropped into a hole cut in 1/4" steel plate and not welded. It has never moved or shifted. The pipe plumbing keeps it all connected together. As for the cast iron shower drains, they will work. I used about three of them, also from McM-C, and they eventually burned up and broke. I finally put in a grating made from 1/2" steel bar stock. It's lasted the longest. I can see you will be making several trips moving the forge. Good luck with the project.
-
Not ice tongs...they are a single x-shape with inward-facing points. Looks like a brick carrier.
-
Railroad spikes on one side and of Track?
arkie replied to The Armourer's topic in Blacksmithing, General Discussion
Coriolis effect.... -
Seeking advice on cleaning up an old anvil
arkie replied to Dw Pauly's topic in Anvils, Swage Blocks, and Mandrels
Hey, throwing some vinegar on it would just help clean it a bit more...... -
Those are probably about average. I've seen longer and thinner spikes and some thicker... depends on the RR and the tracks laid.
-
Seeking advice on cleaning up an old anvil
arkie replied to Dw Pauly's topic in Anvils, Swage Blocks, and Mandrels
Frosty, I don't know how you neutralized an acid (phosphoric) with another acid (vinegar which is acetic acid). You need a base solution to neutralize the acid(s). I use regular baking soda solution for these acids, then rinse well with water and dry quickly, -
A friend of mine has one of those and it works great. I second Jim Cokes comments.
-
You will enjoy working with the Q&D tongs. They are top quality work. I have some and use them all the time.
-
Seeking advice on cleaning up an old anvil
arkie replied to Dw Pauly's topic in Anvils, Swage Blocks, and Mandrels
If someone is going to use the electrolysis method for the first time and doesn't yet have a battery charger, the newer chargers don't work well as Yuppiejr pointed out. If you have to buy one, get a manual model, not the automatic. Charge rate needs to be probably 6 amps or more. The automatic chargers look to see if an actual battery (load) is attached and if not, will not run. The manual chargers just shoot the current to the electrodes. I had a small manual 3 amp charger and it wasn't large enough. Bought a new manual one, runs 6 amps I believe, and works fine. -
As I recall, TechnicusJoe did a video where he experimented in forging a post vice arm and jaw. Might want to search his videos on youtube. That might give you an idea of what forging one would entail.
-
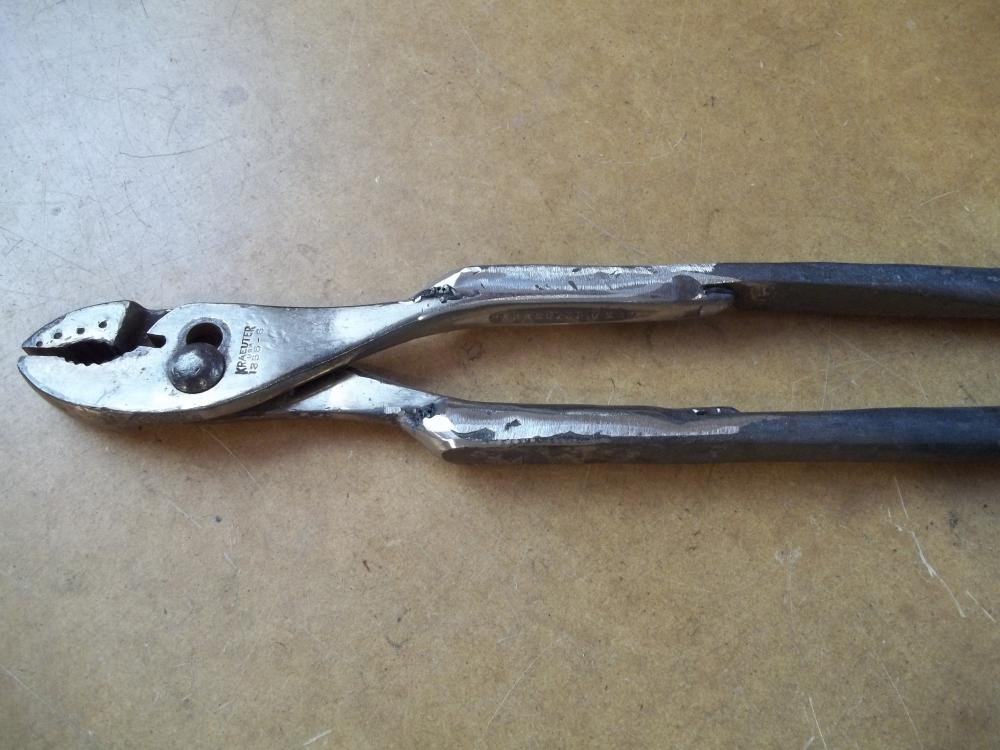
You guys are gonna laugh, but when I got into blacksmithing and built my forge I realized that I had no tongs. I looked around, found an old pair of slip-joint pliers, welded some reins on them and those were my first tongs! It didn't take long for me to buy a couple of tongs after using those! Onward to making and buying whatever I needed.
-
Are the jaws on most post vises generally a mild steel, aka A36, or some other type (I realize A36 is not a type, but I don't recall the 10xx designation)?
-
I'd hang onto it. For $5, you're not out much money. Maybe you can find a similar cheap deal where a vise has locked up/rusted screw, etc. and you can salvage the other jaw assembly for yours. (I think that's what Doug just said.......duh!)
-
Great idea, Q&D. BTW, your tongs rock!!