Dan C
Members
-
Joined
-
Last visited
Everything posted by Dan C
-
I see flats on the feet and Thomas is right, early Trenton's look a lot like a PW. See this thread for pictures and more info
-
Yep, I'm over it. Just goes to show know what you're selling or buying before you pull the trigger. She was covered in rust and dust (not that that'd ever hurt wrought iron) and dying of neglect. Just glad a scrapper didn't find her and send her to the recycle yard, though those guys are pretty good about spotting something of value and setting it aside. She's definitely in a better home now, I'll chain her down and beat her with hot metal!
-
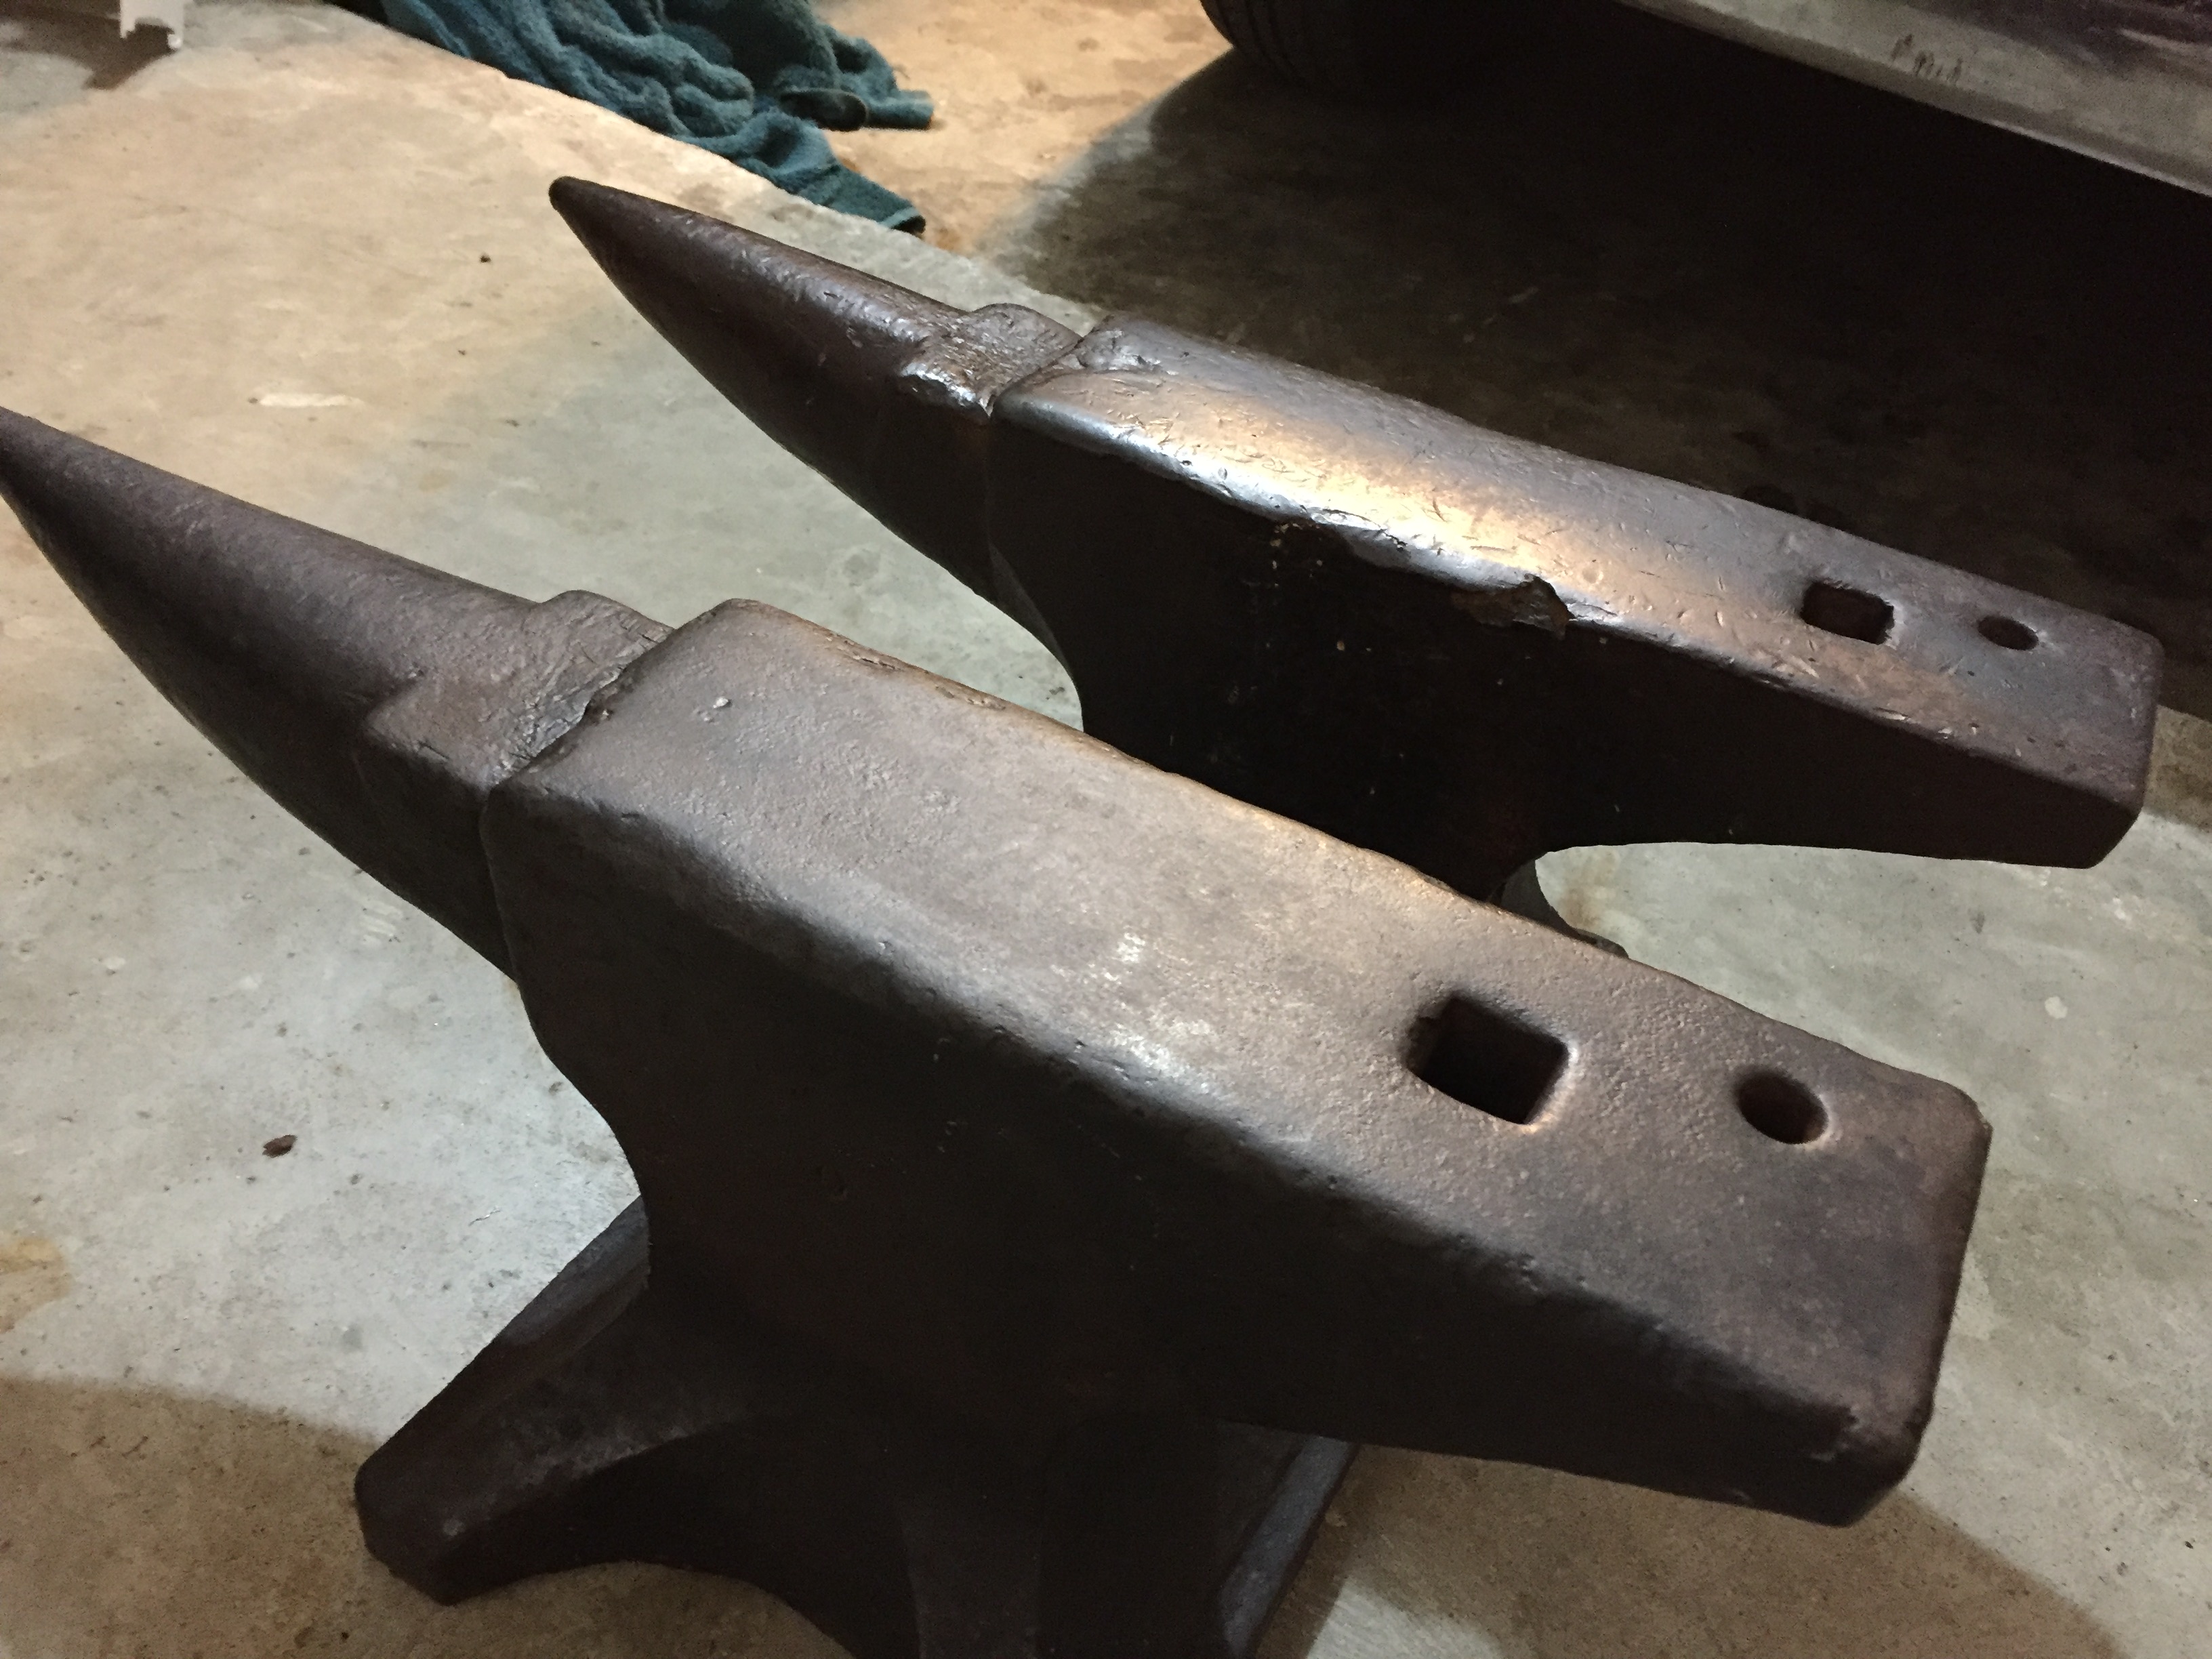
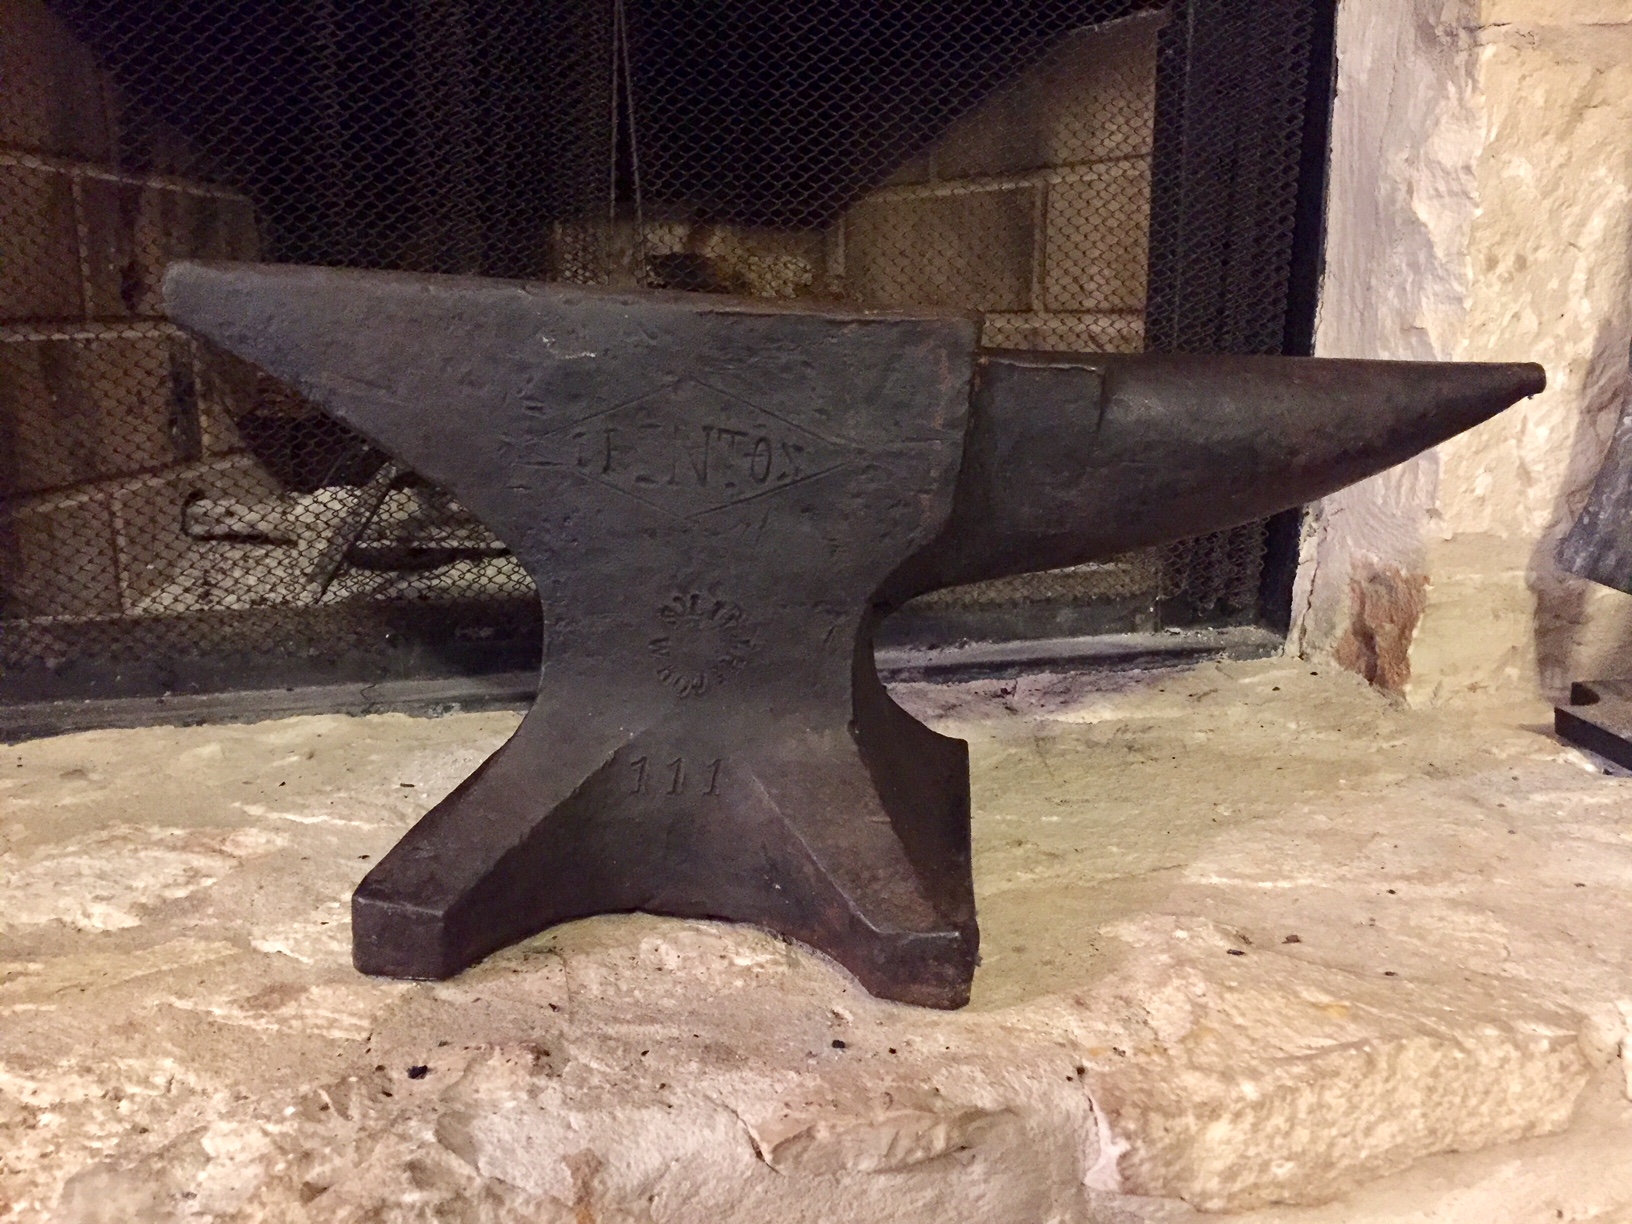
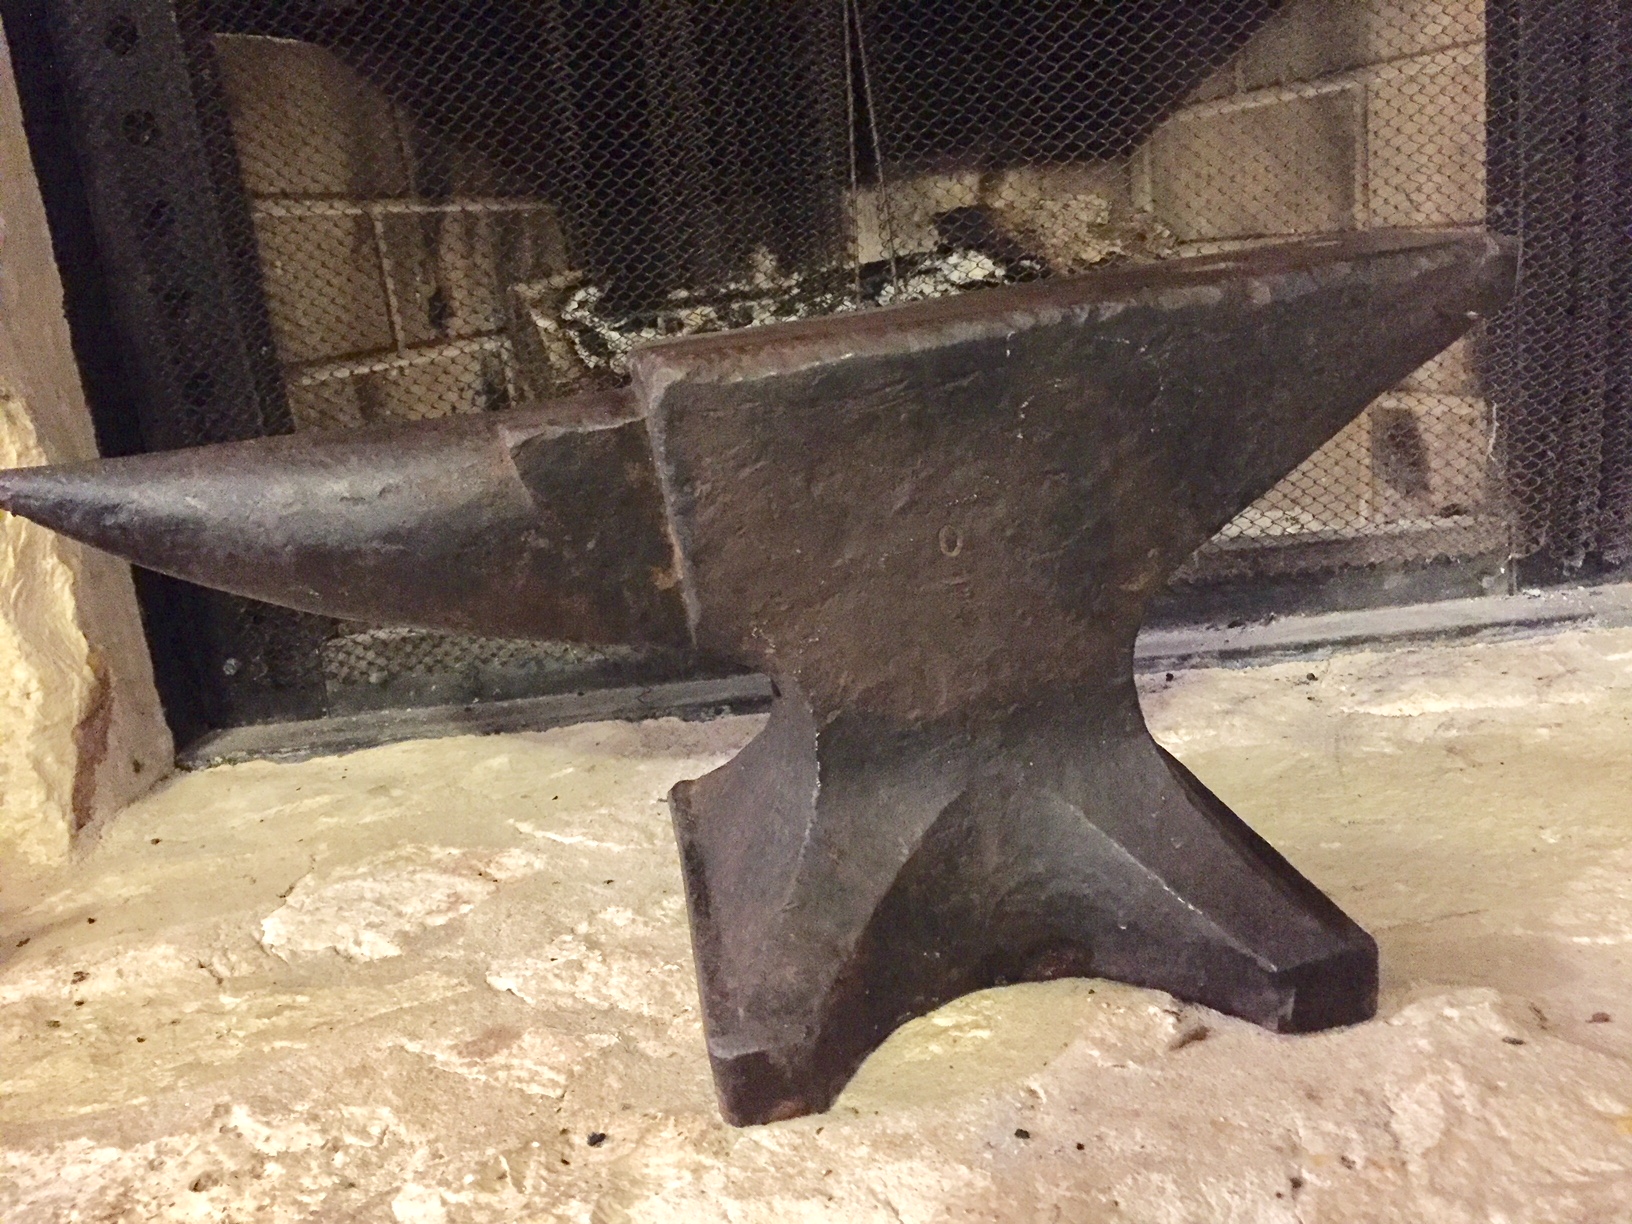
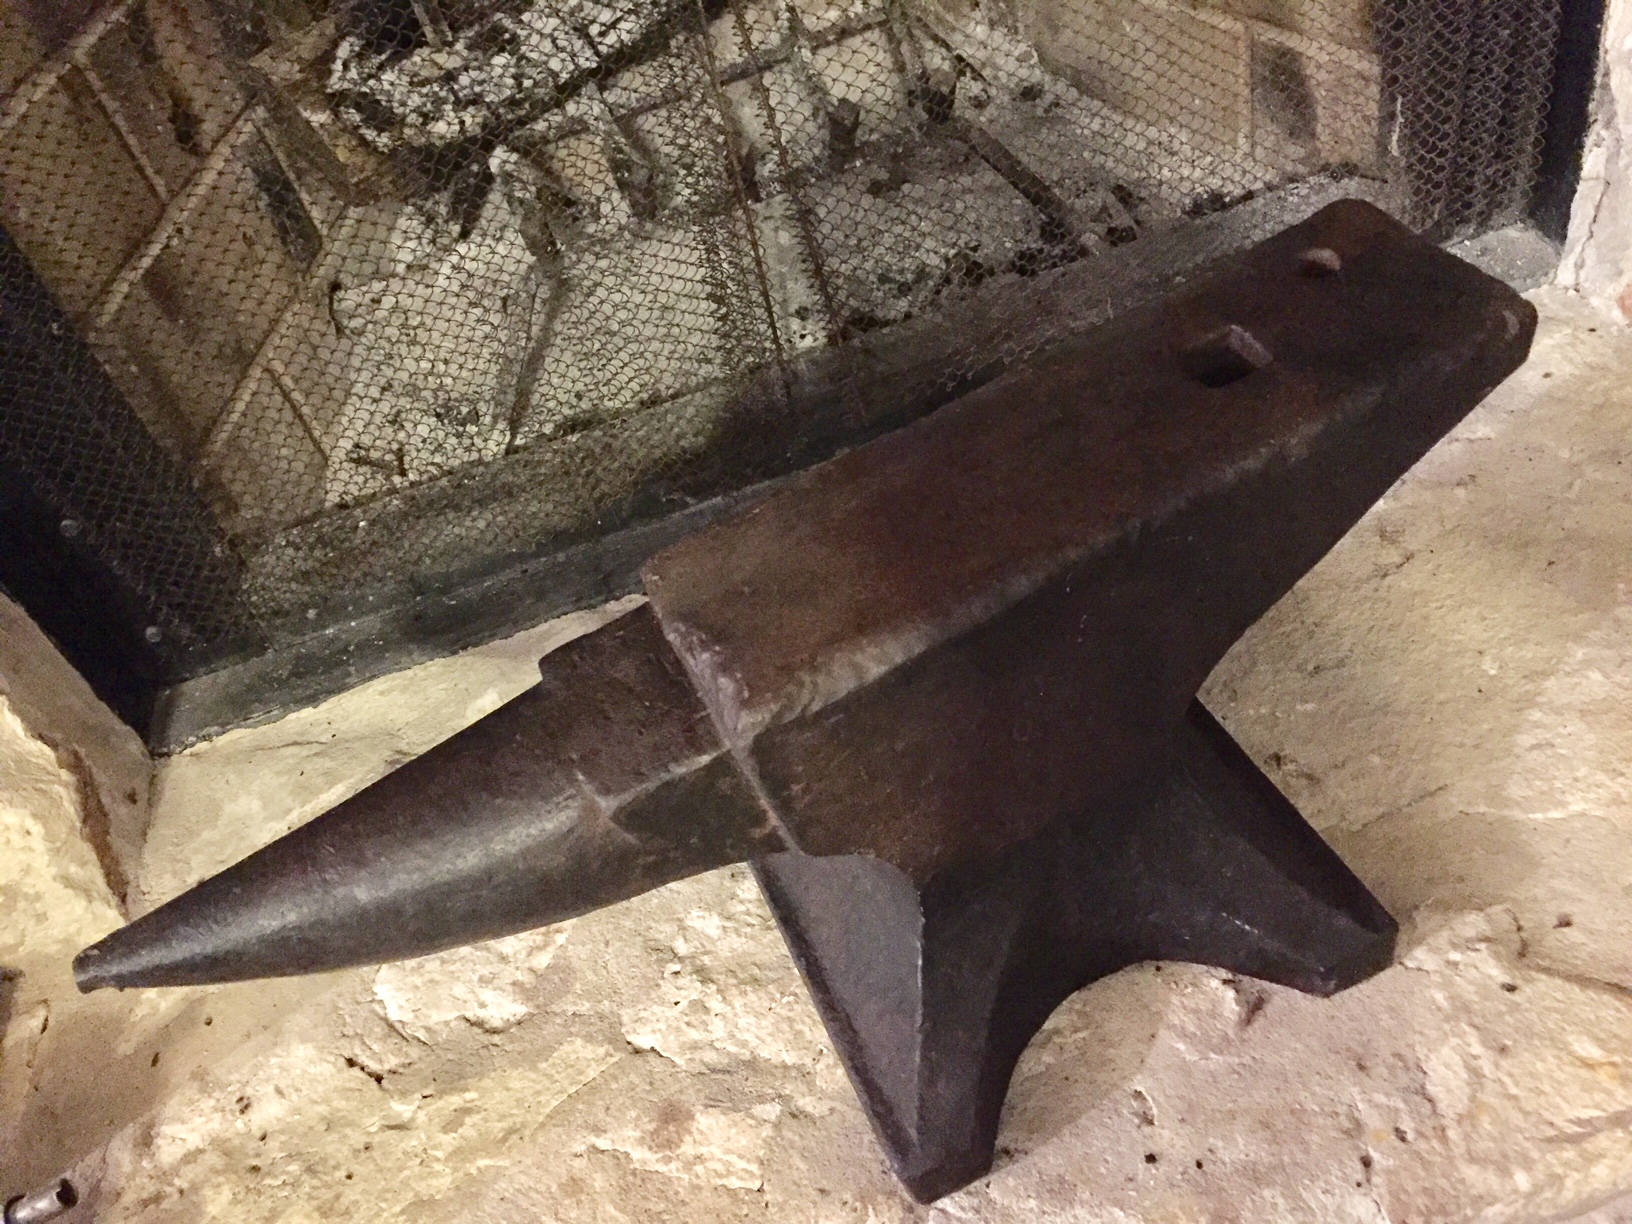
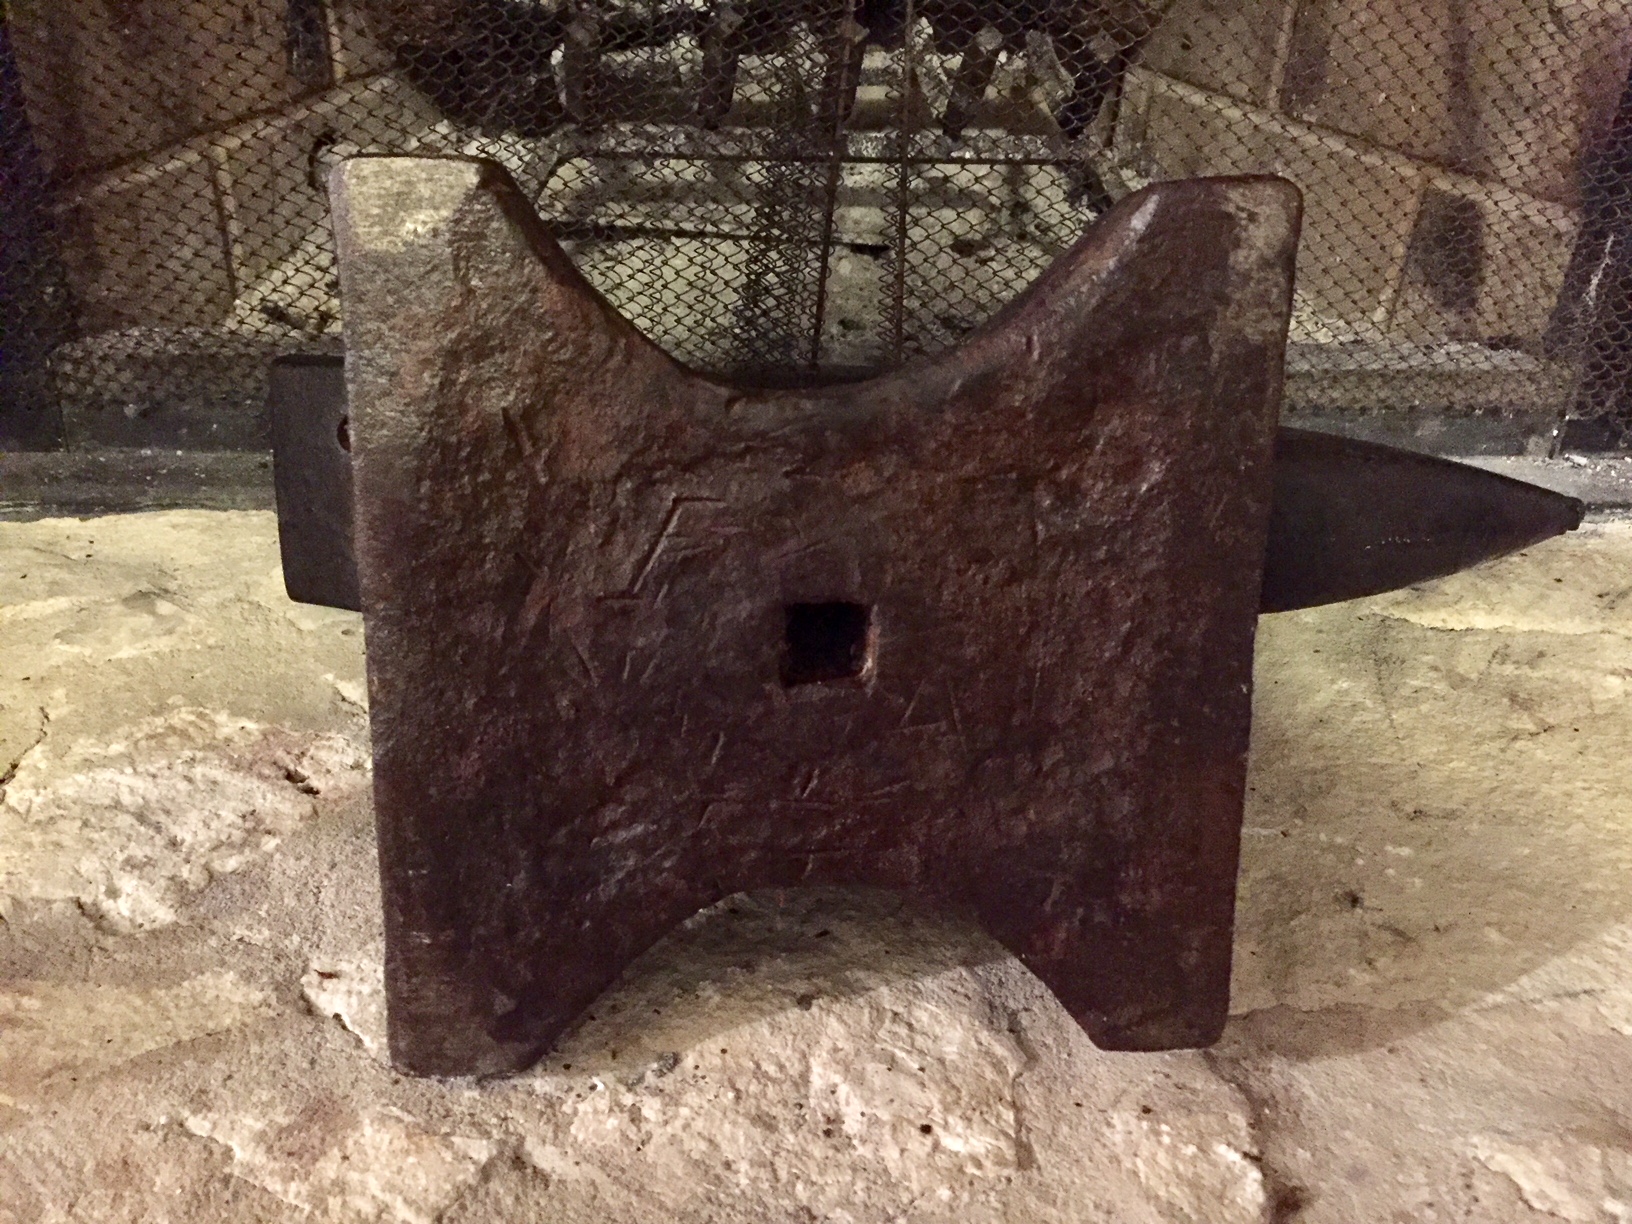
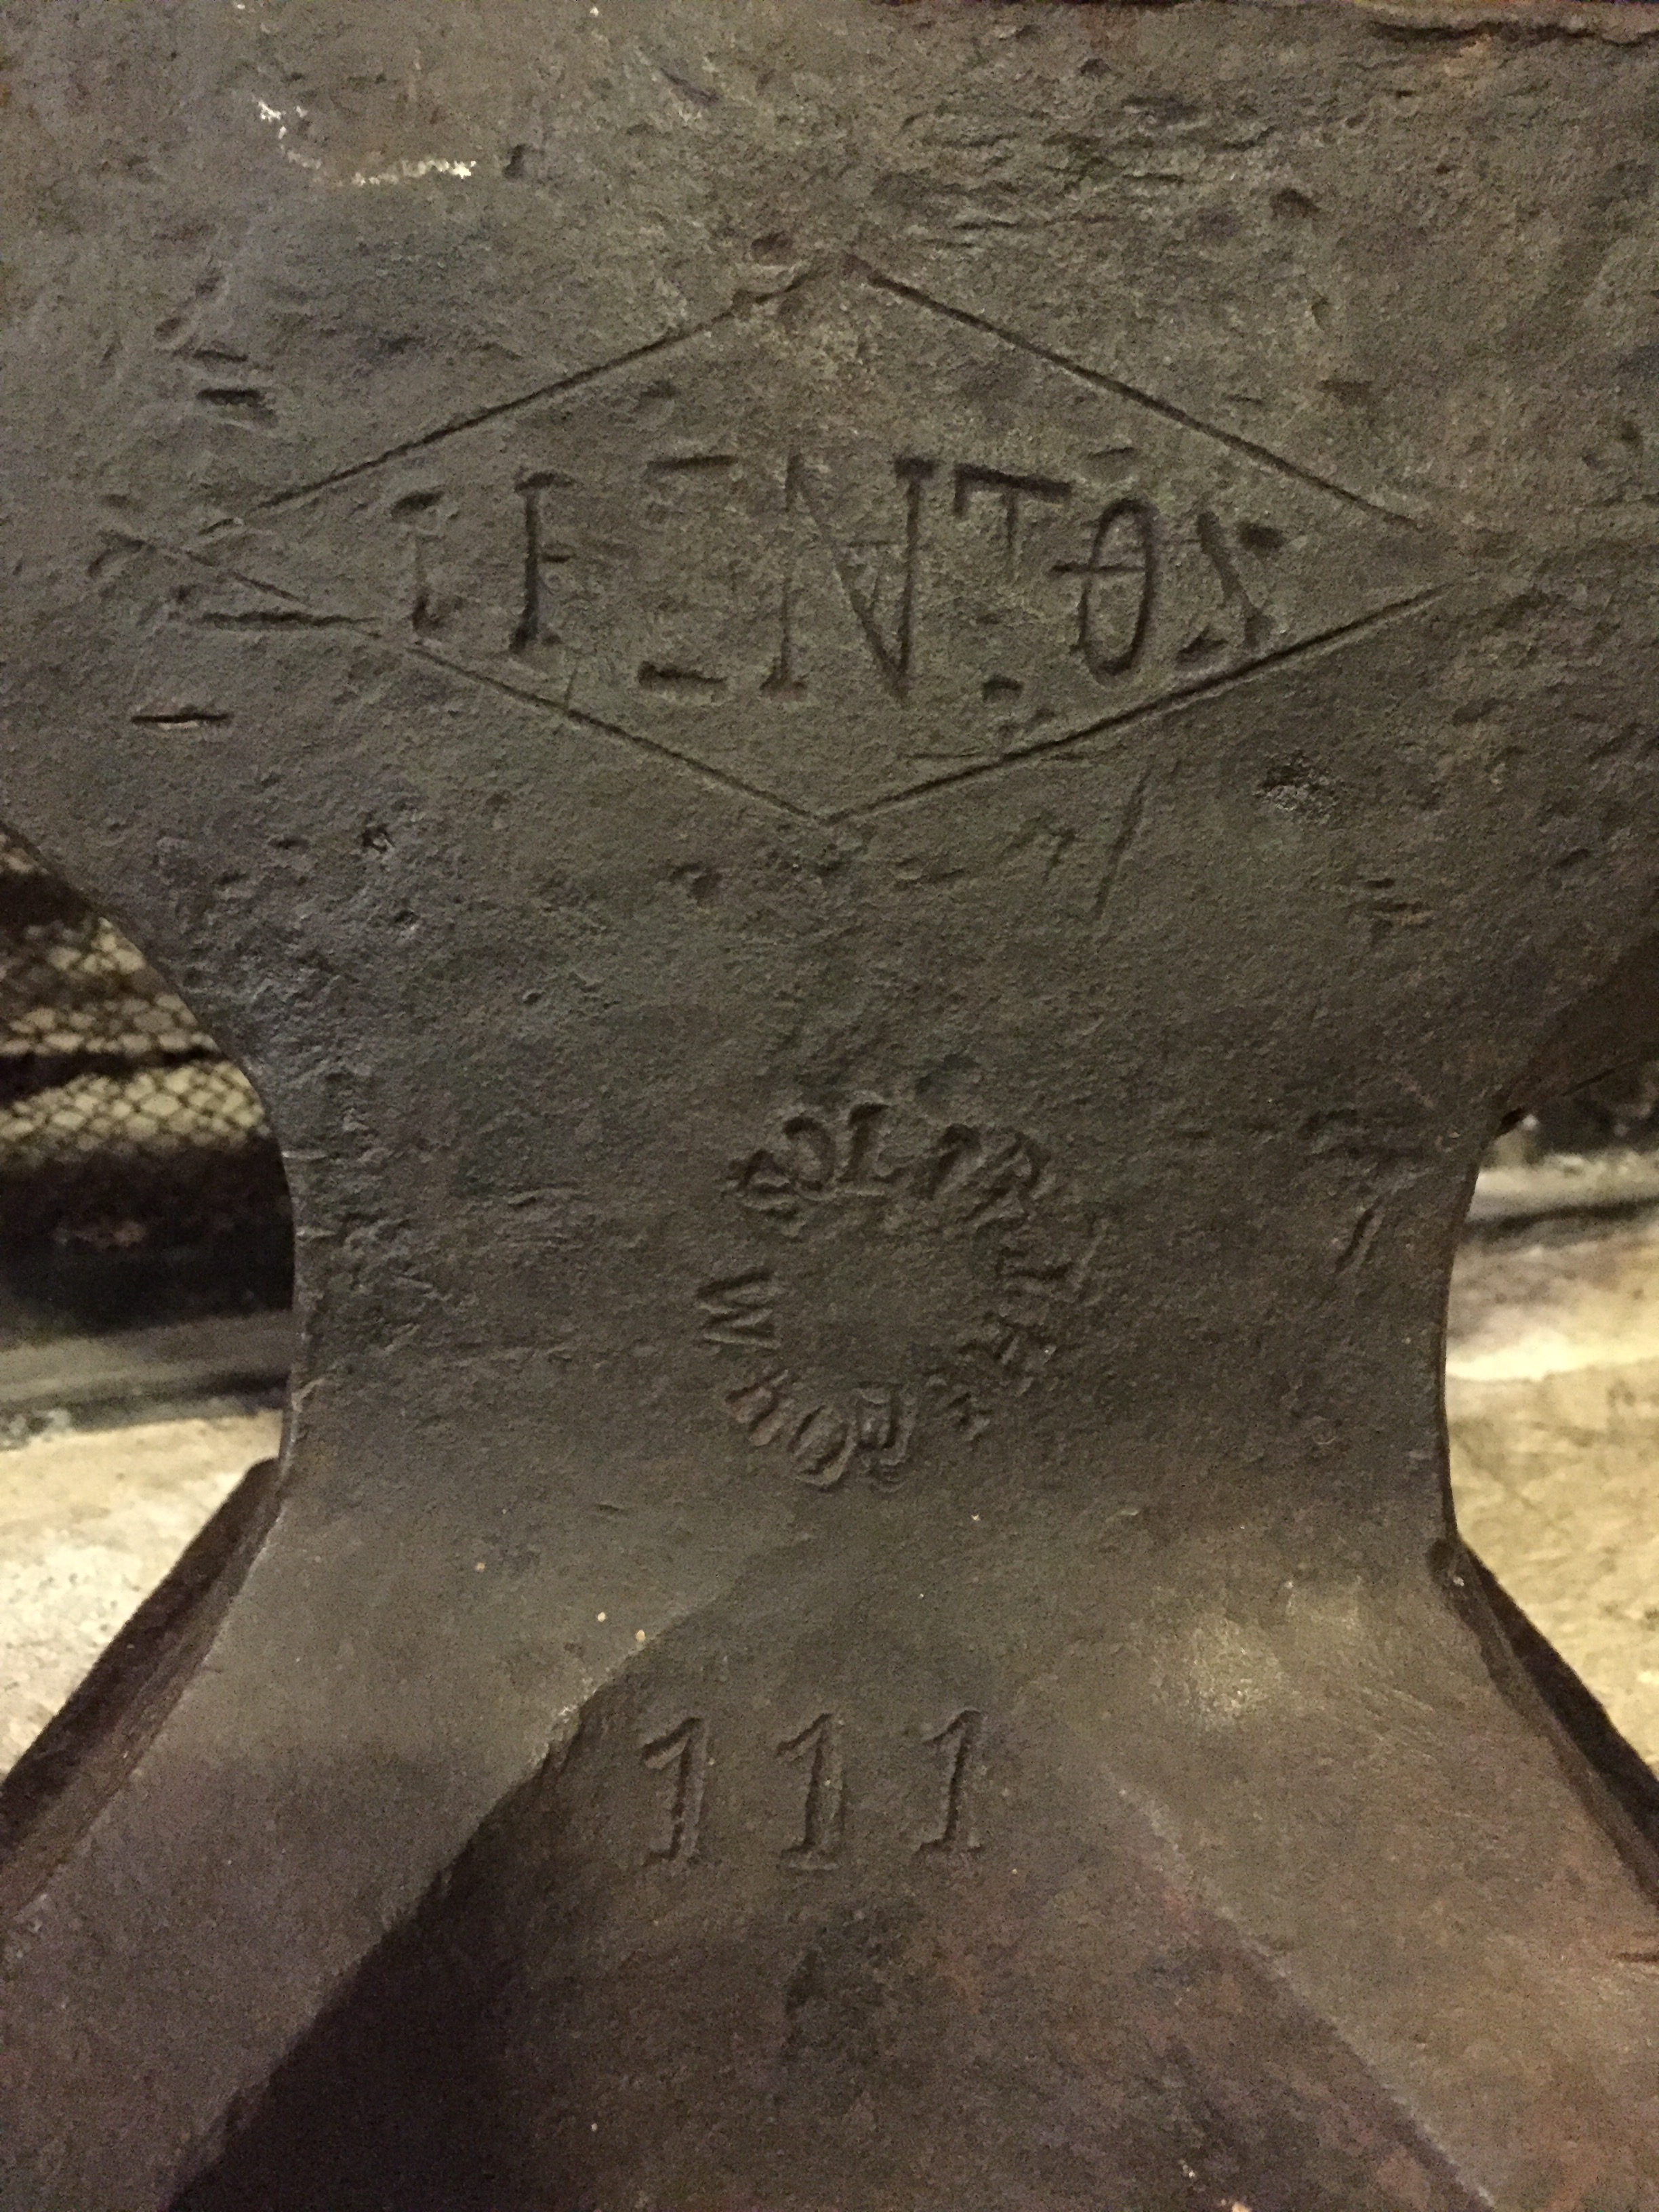
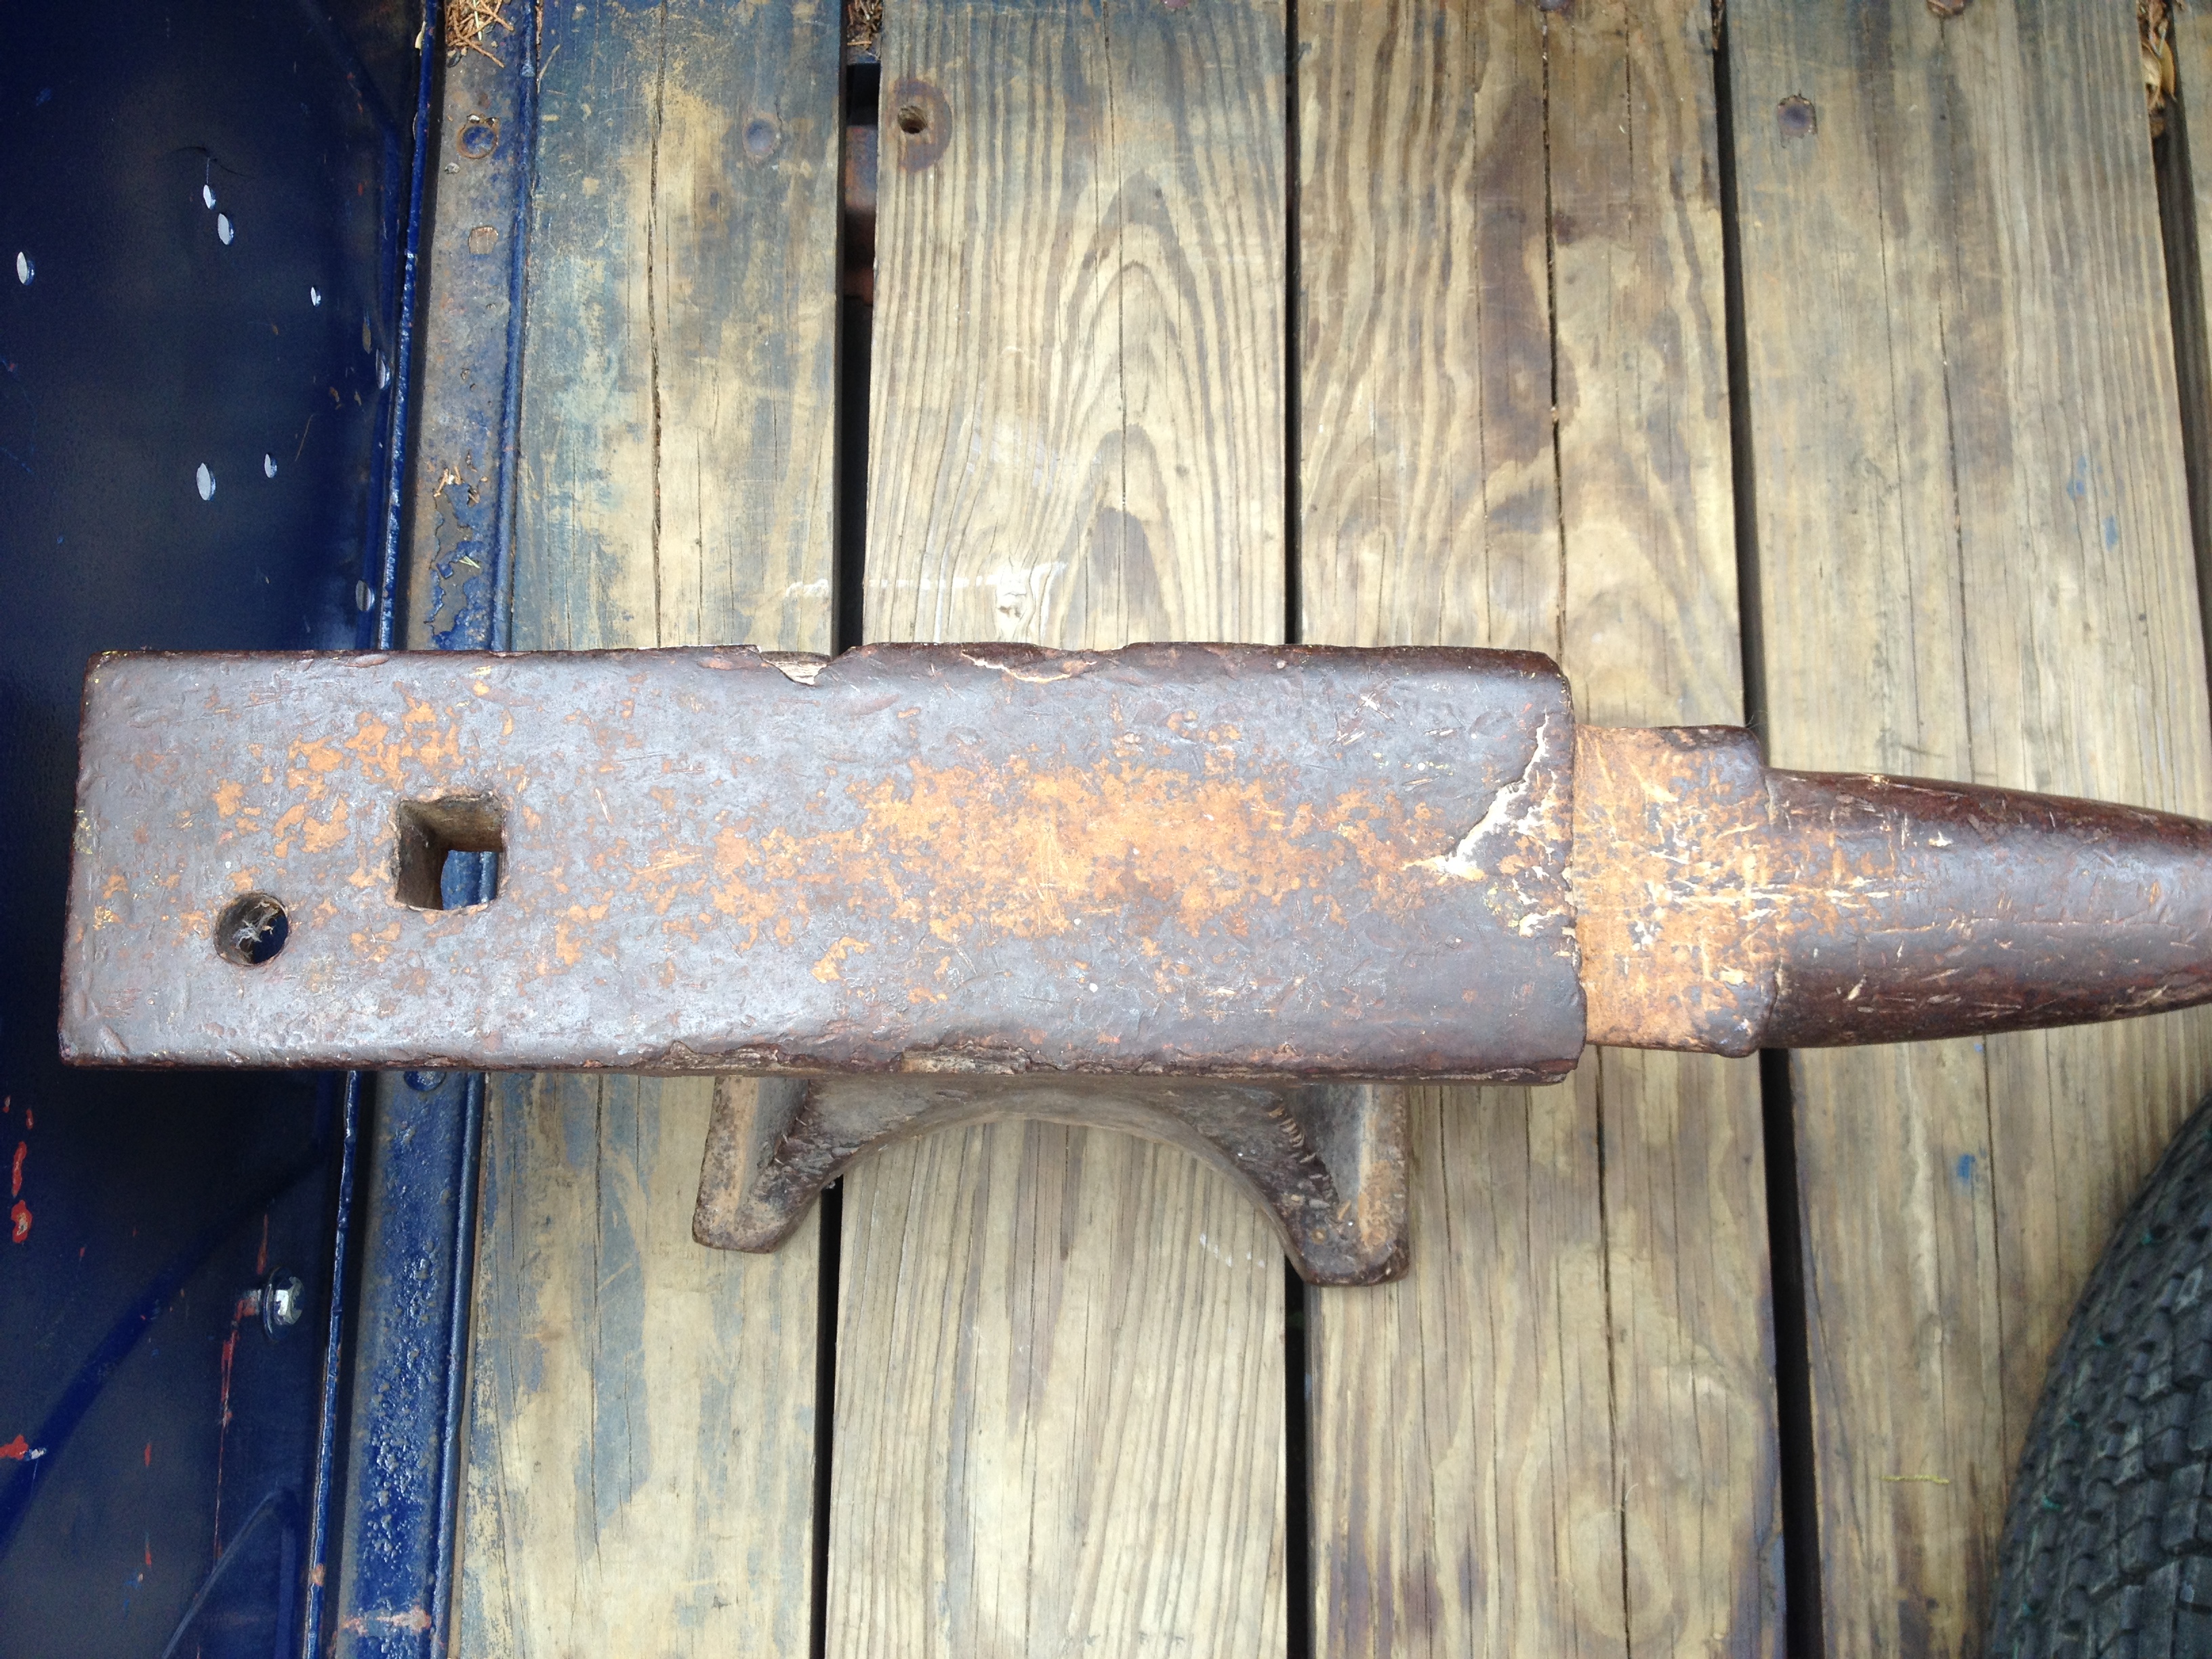
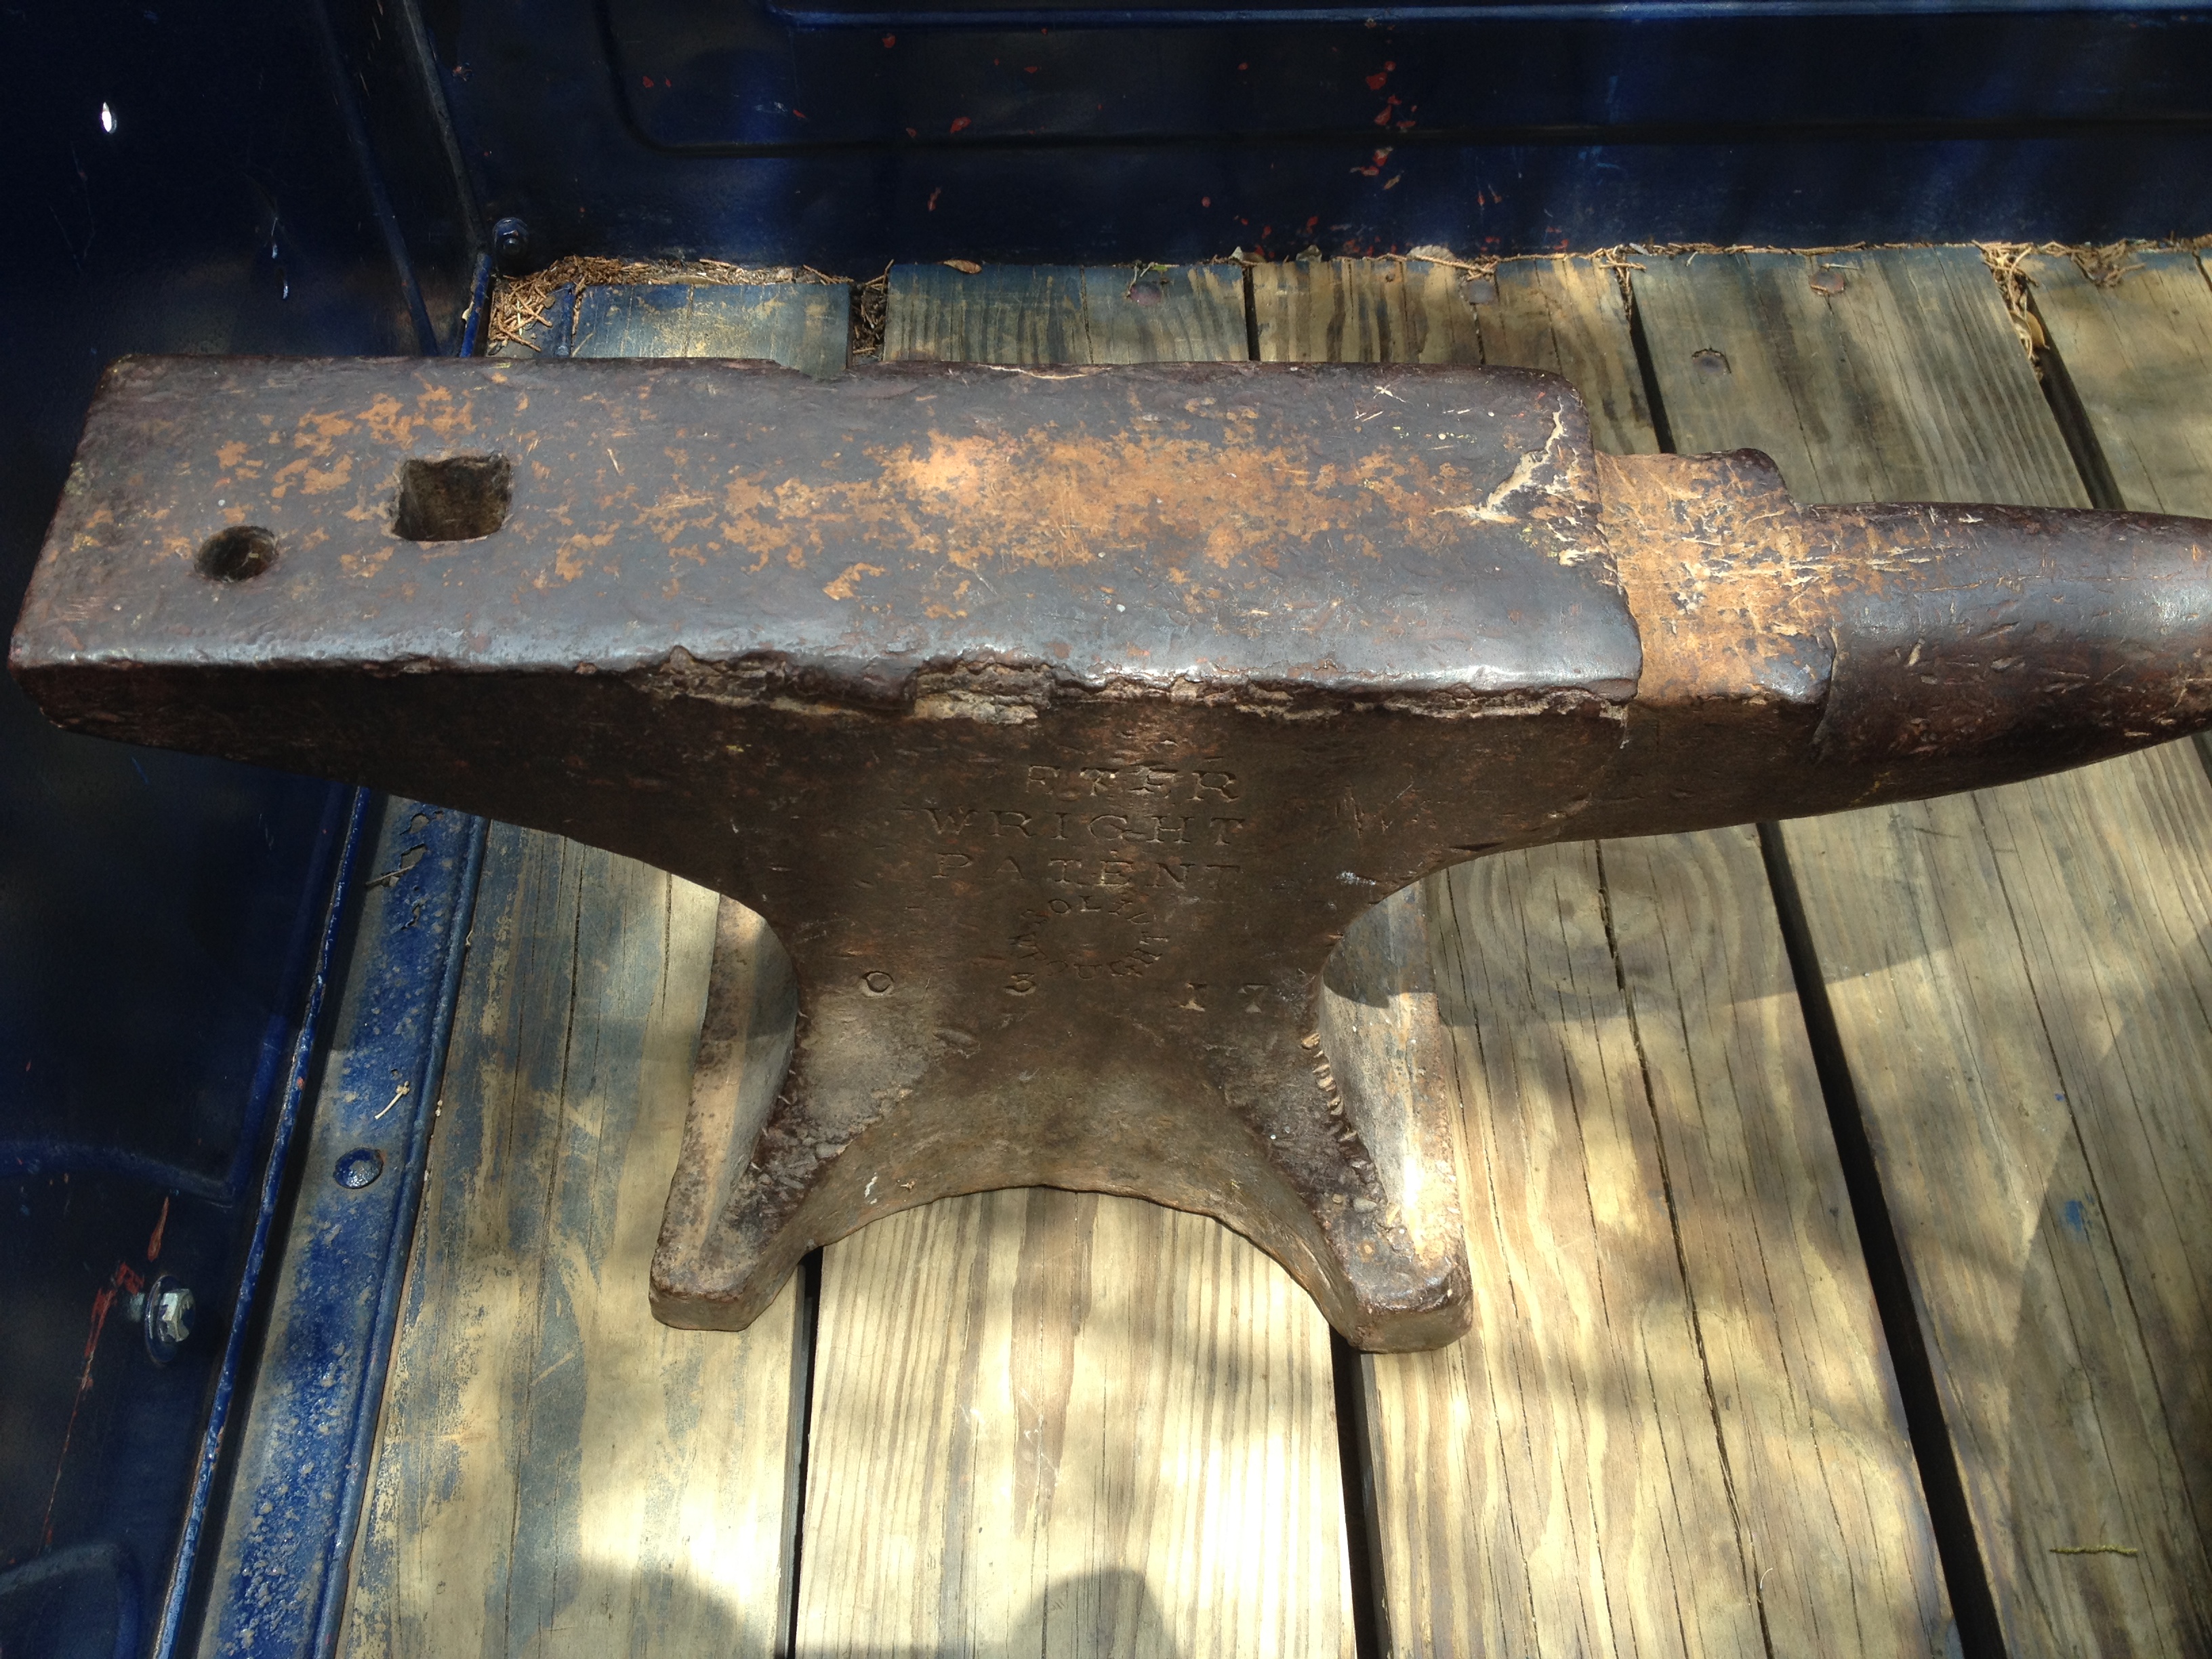
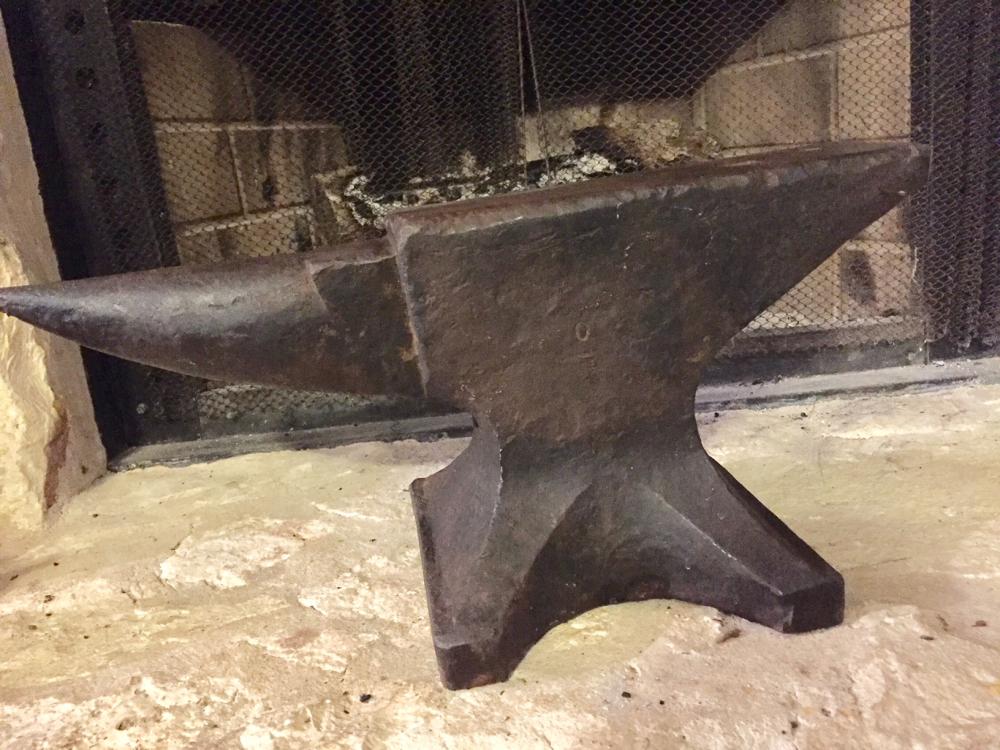
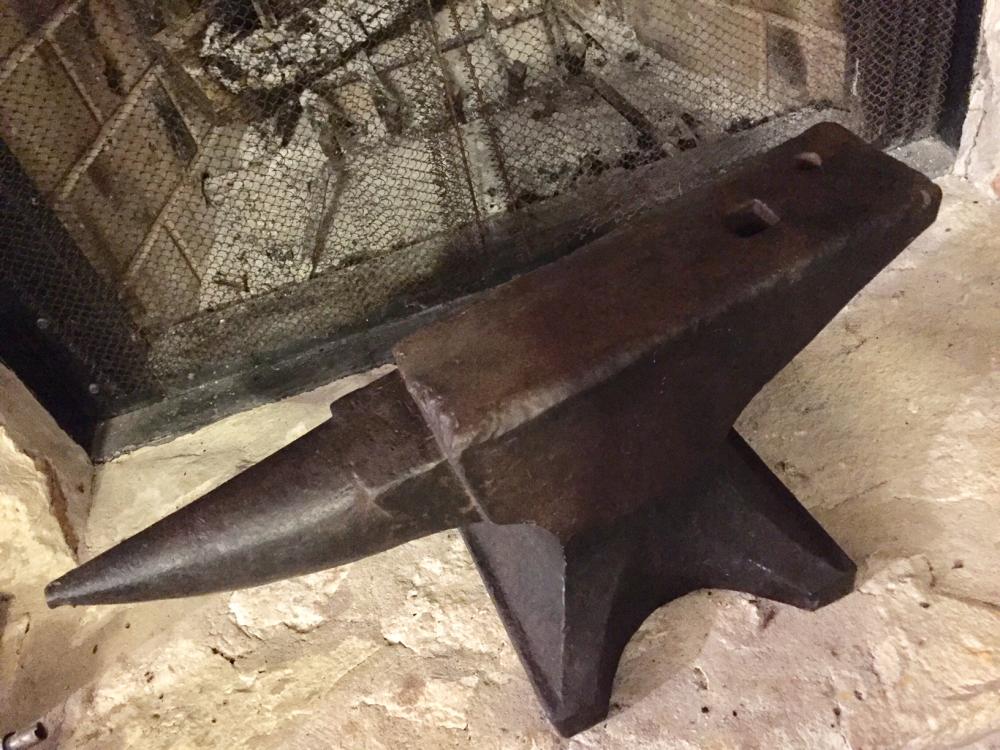
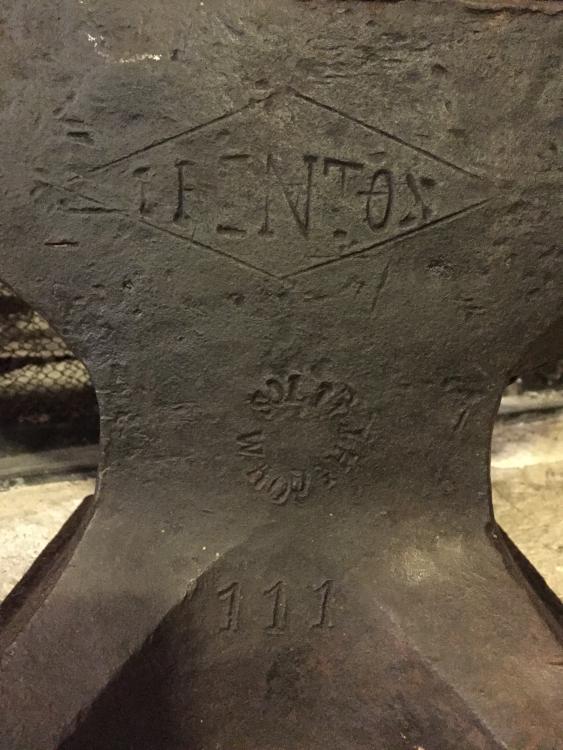
I feel a little guilty about what I paid for this one, but I'll get over it. This beauty popped up on the Austin craigslist in the free section (said if you can pick it up you can have it for free!) amid all the ridiculously overpriced anvils that frequently show up. The ad said no holds and I was out of town so I hoped the person would be enticed by money and offered $100 if she'd hold it for me. The next day while doing last minute preparations for a Christmas party I got an email back saying she'd gotten over 400 emails inquiring about the anvil but my subject line, offering to actually buy it had gotten her attention. My girlfriend is the best as she released me from my chores to make sure I sealed the deal. A few txt messages later the seller was having seller's remorse as she was beginning to get an idea of the actual value, but to her credit she didn't back out or try to renegotiate. The next challenge was to borrow $100 cash as I'd just paid my rent, bills and credit card, fortunately I have an understanding roommate who loaned me the money. Still worried the seller might bail on the sale, I made the earliest arrangements I could Monday morning to pick it up. As she said she couldn't move it or read any markings on the anvil I had no idea the size or weight but based on the ad in the picture I knew it was going home with me. To be on the safe side I brought along a friend and a dolly. When I got there I realized this was going to be the perfect replacement for the 101 PW that I picked up years ago for $50 (yes, I stole that one too!) My initial impression was that this was a very nice 111 lb Trenton, rebound is at least 90% or greater! The PW has 80-90% rebound with minor edge damage, it's been perfect for blade smithing. Yes, I know it's an anvil, bring it home, put it to use and don't worry about the history or value...but I'm going to do whatever research I can and this forum is invaluable. First thing I noticed is there was no serial number like so many of the Trentons seen here. Then I wondered about the PW like foot ledges, the Solid Wrought circle stamped on the side, flat bottom and un-Trenton like shape. The research I did leads me to believe this is an early H. Boker Trenton that's fairly uncommon, probably made in England due to the circular "Solid Wrought" stamp. I found a post regarding a German Boker that was stamped "Made in Germany", no such marking on this one. The ledges on the feet indicate a Peter Wright influence on the wrought iron base. "According to Anvils in America by Richard Postman this is likely a Boker TRENTON, rather than one made by the Columbus (OH) Forge & Iron Co. Hermann Boker was a broker for the Trenton (NJ) Vise and Tool Company and had TRENTON brand anvils made in both German and England. This one could well have been made for them in England by Peter Wright as it has the classic PW feet and the SOLID WROUGHT in a circle. Anvil lately dates to the last quarter of the 1800s" Sorry for the long rant but I'm very excited about the newest (or oldest addition) to the family. She's in good company with a 200 lb Peter Wright that dates back to the same time period. The little PW pictured above will now eventually find a new home. No fears about any further cleanup, I hit her last night with a wire brush and linseed oil, it's time now to forge on and make beautiful things!


-
Following along here and wondered if a lamp that I made from a transmission could get me in trouble if I decided to sell it. I purchased a UL lamp kit from HD and assumed it to be safe. For now I just plan on keeping it.

-
Forget where I found the following info, probably on this site sometime ago. "It is difficult to age a PW after 1860 when they went to the now classic London pattern. If it just says PETER WRIGHT PATENT, then likely 1860-late 1880s. If ENGLAND is added, then late 1880 to early 1900s. The logo was stamped on in parts. Perhaps when someone did your's they simply forgot where to put the SOLID WROUGHT circle or the weight. Occasionally stamps were put on upside down. Yes, on Peter Wright anvils. Might be an inspector mark or perhaps it meant it was approved for export. A classic sign of a post-1860 PW are small ledges on the front and back feet. You may have a very early PW since in 1860 on their typical logo was (stacked): PETER WRIGHT PATENT. Then SOLID WROUGHT in a circle usually with the middle weight number stamped in it. About 1910 they added ENGLAND under PATENT. A way to help bring out lettering is to lay on side and dust with flour. Brush off excess. What is left in depressions sometimes make stampings very easy to make out. If you do this I'd like to see a photograph of markings. Just click on my name and send as an attachment. It is not in Anvils in America but I am fairly certain Richard Postman told me Peter Wright did start putting serial numbers on their late production anvils. They started putting ENGLAND on their anvils about 1910 and are thought to have gone out of business about the 1930s. Peter Wrights seem to be about the most common old anvil in the U.S. judged by the amount which show up on eBay. They must have been exporting them to the U.S. in great quantity. I recently acquired a Peter Wright anvil and was trying to find out what the marking mean. I have figured out the weight by reading other excellent post but was wondering about the letter stamped under the weight and the numbers stamped on the end under the horn. Mine has the letter "B" under the weight and has "7" then "77" at the bottom under the horn. Any ideas what these mean? They may have been used to identify the anvil crew, inspector, metal batch number. Apparently almost no records of PW exist today."
-
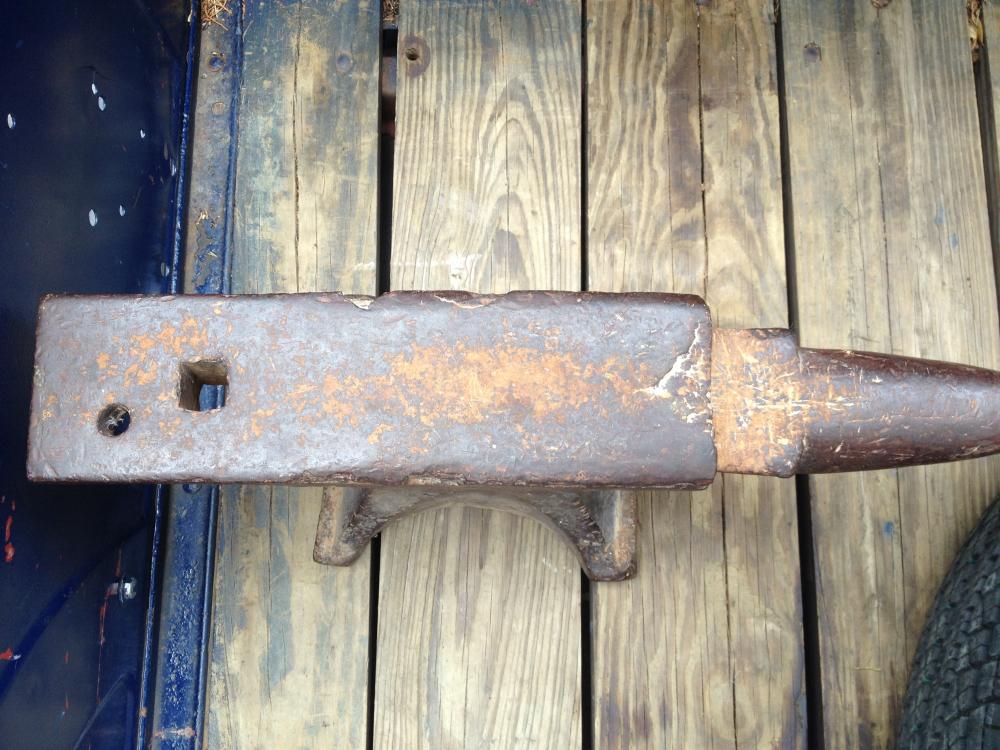
Picked up this 100# Peter Wright off of CL today. I'll cleanup the mushroomed edges and then put her to work. Some of the table near the step is missing but for $50 I'm happy.


-
Gardening tools?
-
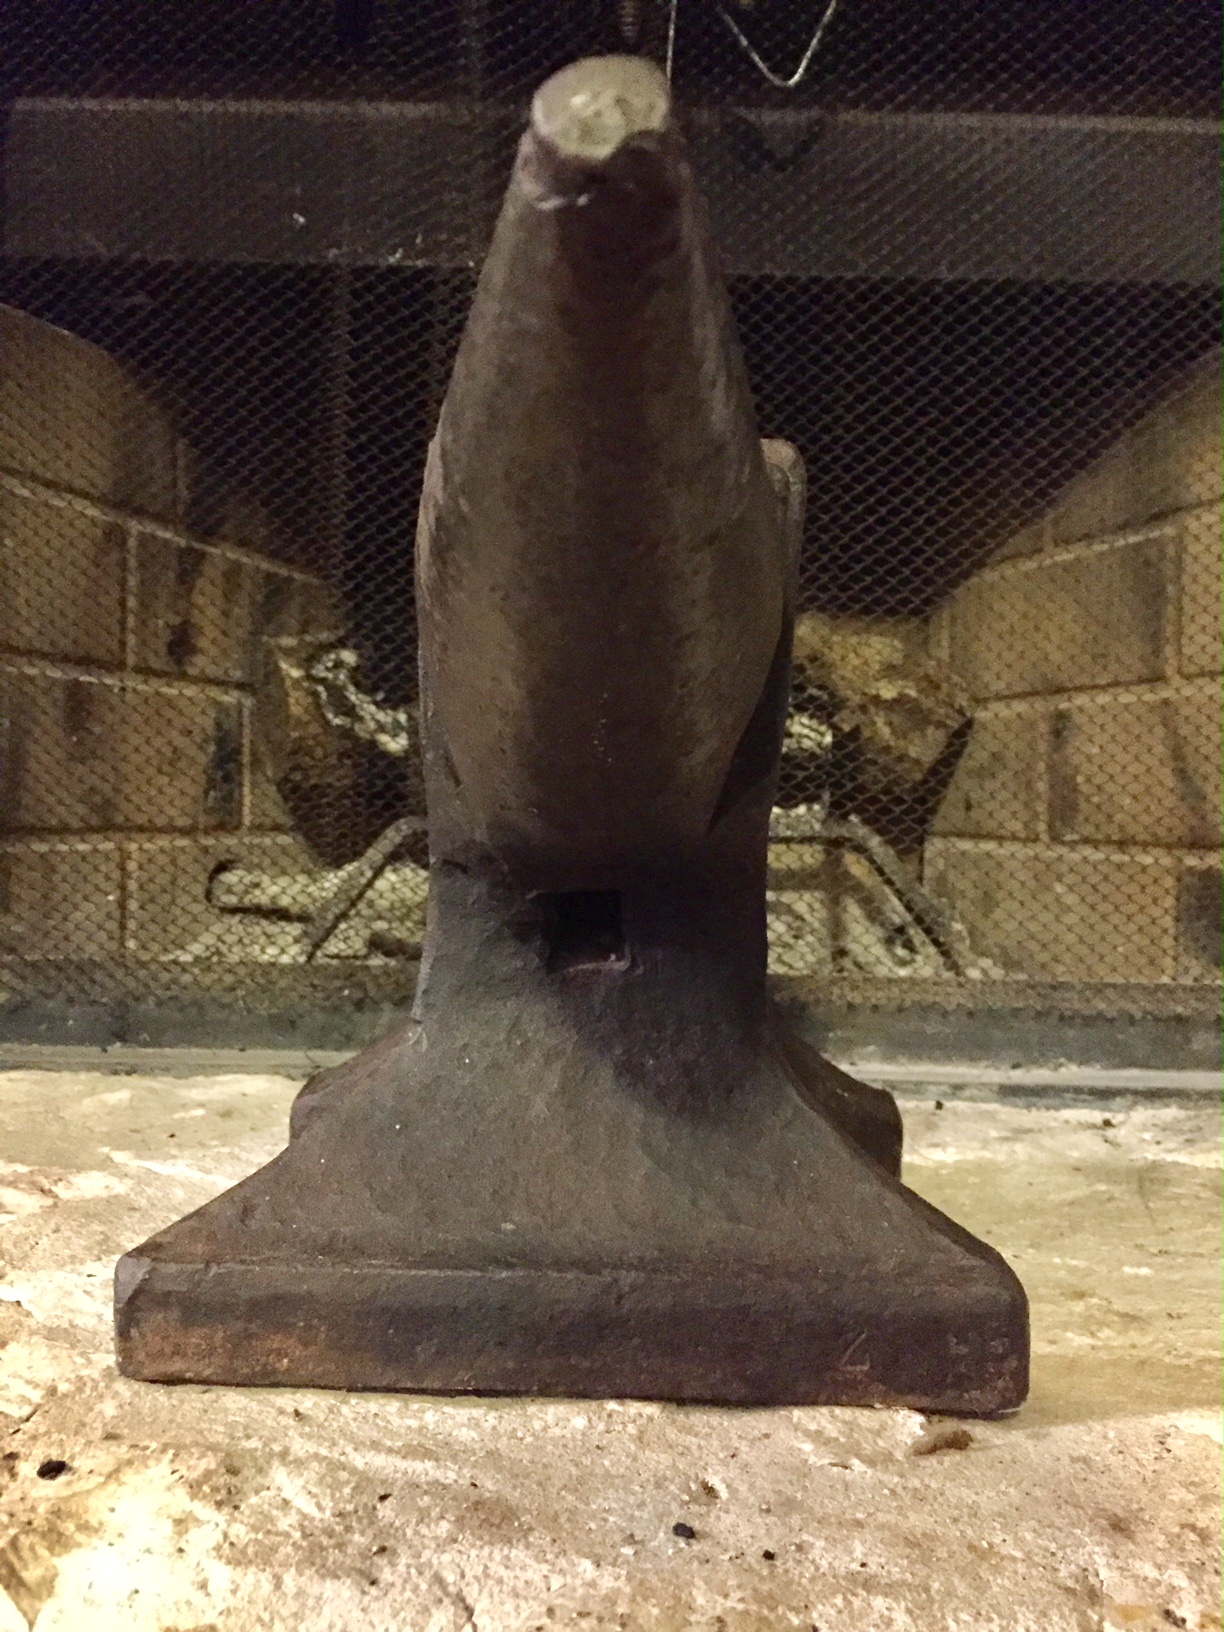
I mounted mine vertically as suggested above and then used it to earn money to buy a better one. I still use it though as the edges are better and there are things I can do on it that I can't on the other. Check out this thread for more info & pictures. '?do=embed' frameborder='0' data-embedContent>>
-
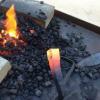
I didn't have the chance to snap any photos once the merit badge classes started, but this was my setup outdoors last month at my son's BSA Winter Camp where I taught metalworking/blacksmithing. Several of the scouts told me it was the best merit badge class they'd taken since I taught welding two years ago. The interest is still there!
-
Get a couple of big cheap magnets from HF and make a bracket to attach a piece of copper tubing to. You can put these on the other side of the sheet metal and weld on the opposite side, very short welds. Here the magnet/heat sink I was patching up the firewall on my old truck. I'd rotate the two heat sinks around the area until it was completely welded.
-
If later you decide to try vertical perhaps this will be helpful. This was my starter anvil and useful still.
-
It's interesting to hear both sides. My experience in smithing and other hobbies such as welding & automotive has been to work with what I have available, borrowing tools when possible to keep costs down. Had I waited to start until I could afford to buy new tools, I'd still be waiting with lighter pockets and less experience to show for it.
-
Looks like you also need to forge a thrust washer. Great score!
-
Forgot to post these two vises when I got them. Here they are after being cleaned up. I've almost finished forging the missing parts and then off to find a new home. The usual, springs, thrust washers & mounts. Now the real reason I thought about posting here today. Not smithing related unless I end up having to make a bracket or linkage, but my son and I brought home a new project, a '71 RS Camaro. Body is straight and virtually rust free. Engine is a 350 with a 350TH. My son has been busting his tail to save up money and helping me on weekends to smith things to sell. That and we picked this up for free from a neighbor. My son did an outstanding job cleaning it and then posted it on CL to sell.
-
-
-
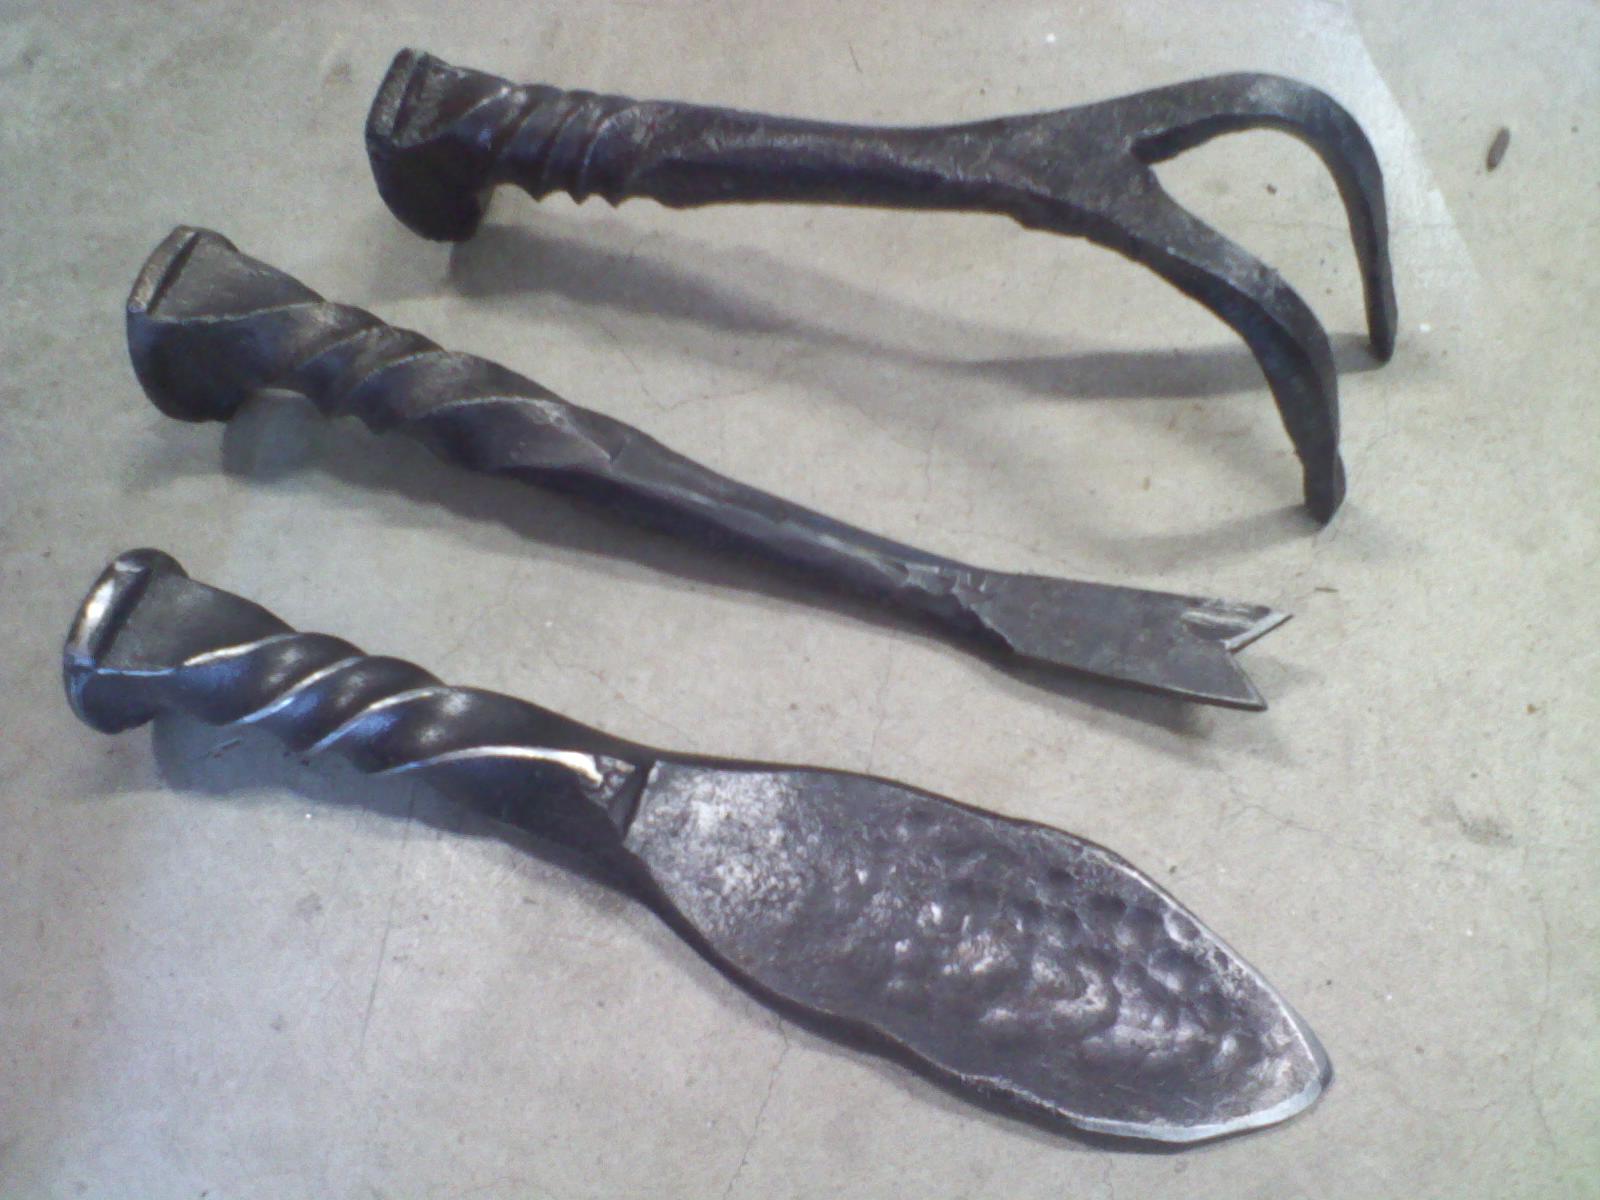
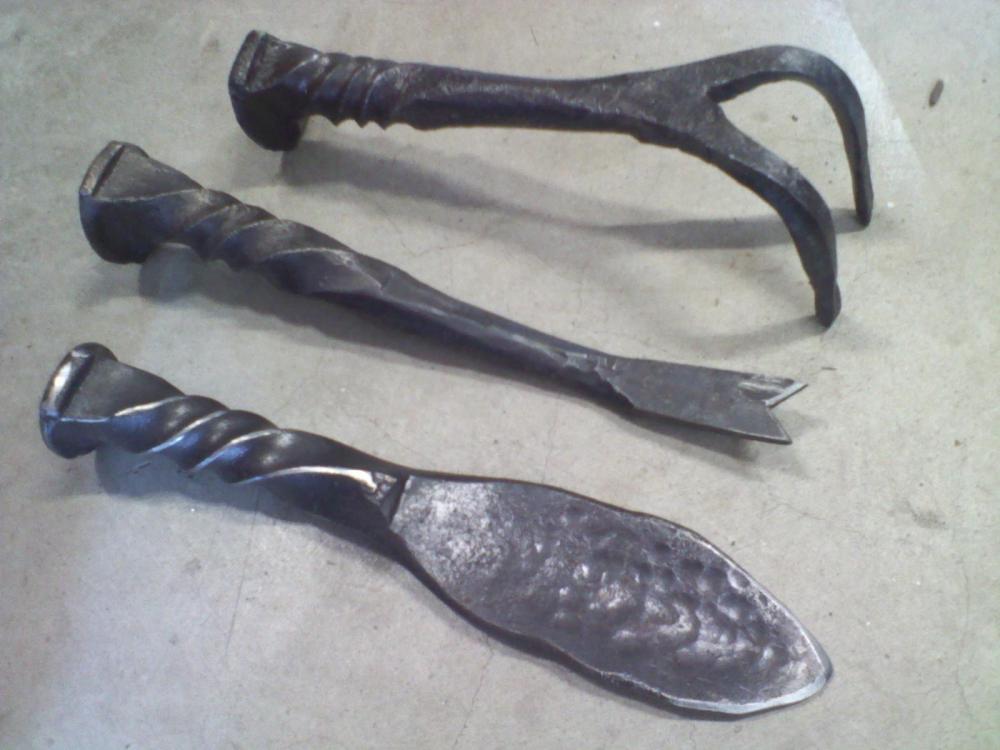
This is one my son and I did. Really helps to have a striker when working these. It's based on the guidelines of Brian Brazeal's hotcuts in that the shaft is tapered and cutting edge is curved. As Thomas said above, I didn't heat treat these at all but did normalize.
-
Jack hammer bits would be another option. '?do=embed' frameborder='0' data-embedContent>>
-
A week ago had a bearing that someone had used to replace the thrust washer with break apart. Everything that I was working on came to a screeching halt until I had forged a new thrust washer for the vise. I wouldn't have been able to finish my project without it.
-
While looking for information regarding how to arc weld mild to stainless steel I came across this and thought it would be useful to others. http://www.esabna.com/euweb/awtc/lesson1_1.htm This section answered the questions I had. http://www.esabna.com/euweb/awtc/lesson5_19.htm
-
My quench tank uses the old top of the scuba tank as a catch all so that you can fish out anything that you drop in. If can also be used to move something vertically up and down in the tank.
-
As far as heating up the quenchant, depending on what it's in and the amount, you could heat a RR spike beforehand and drop it into there. I'd strongly recommend using a metal container with a lid AND using it outside! My quench tank is made from an old steel scuba tank I got from a dive shop for $5. Whatever you do be careful and think it through beforehand. I started a greasefire in college thru stupidity and got 3rd degree burns on my hand and luckily didn't burn down the apartment.
-
Anneal before forging? Why would you? It makes sense if you are grinding or drilling afterwards but I don't understand the logic if the next step is forging.
-
I'd use it as is. That's what I decided couple of years ago. As I've learned hammer control I've added a few dings of my own.
-
Something similar to this? Looks like it'd be very simple and quick to make if needing something fast. Could split the side of the mount that bolts down and make it more Y shaped to add stability without adding too much time or effort. '>