David Kailey
-
Posts
276 -
Joined
-
Last visited
Content Type
Profiles
Forums
Articles
Gallery
Downloads
Events
Everything posted by David Kailey
-
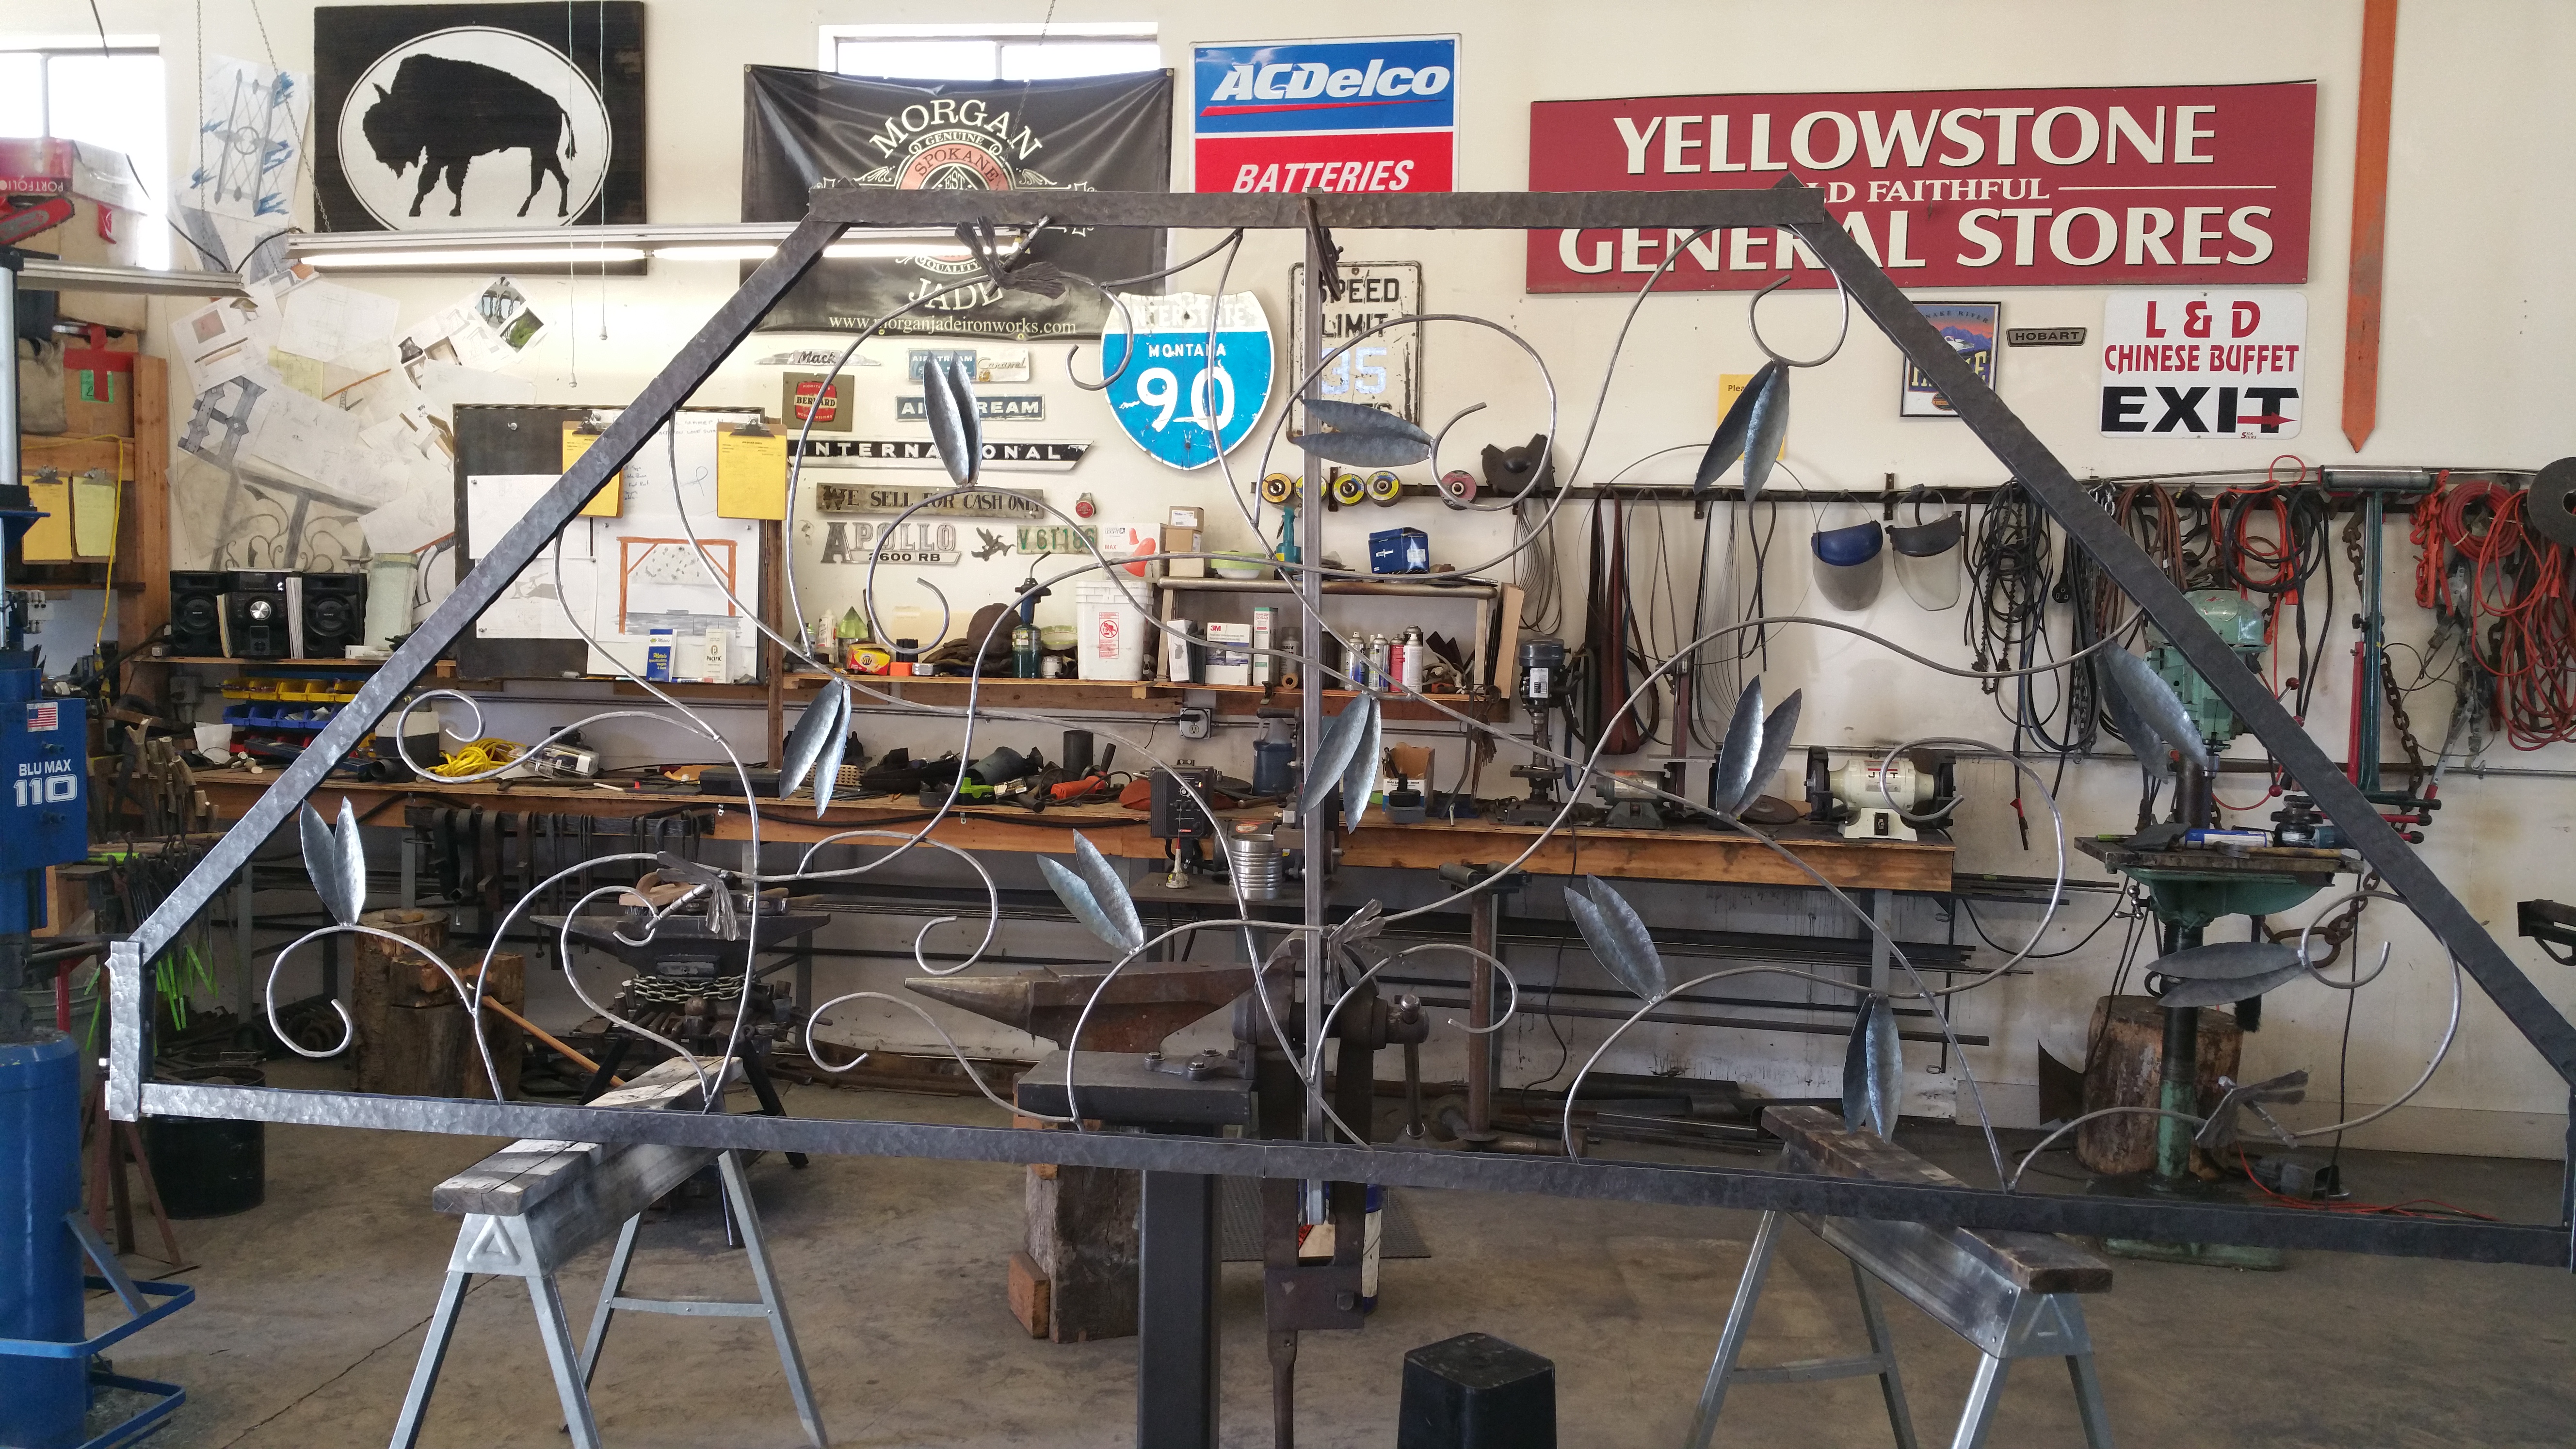
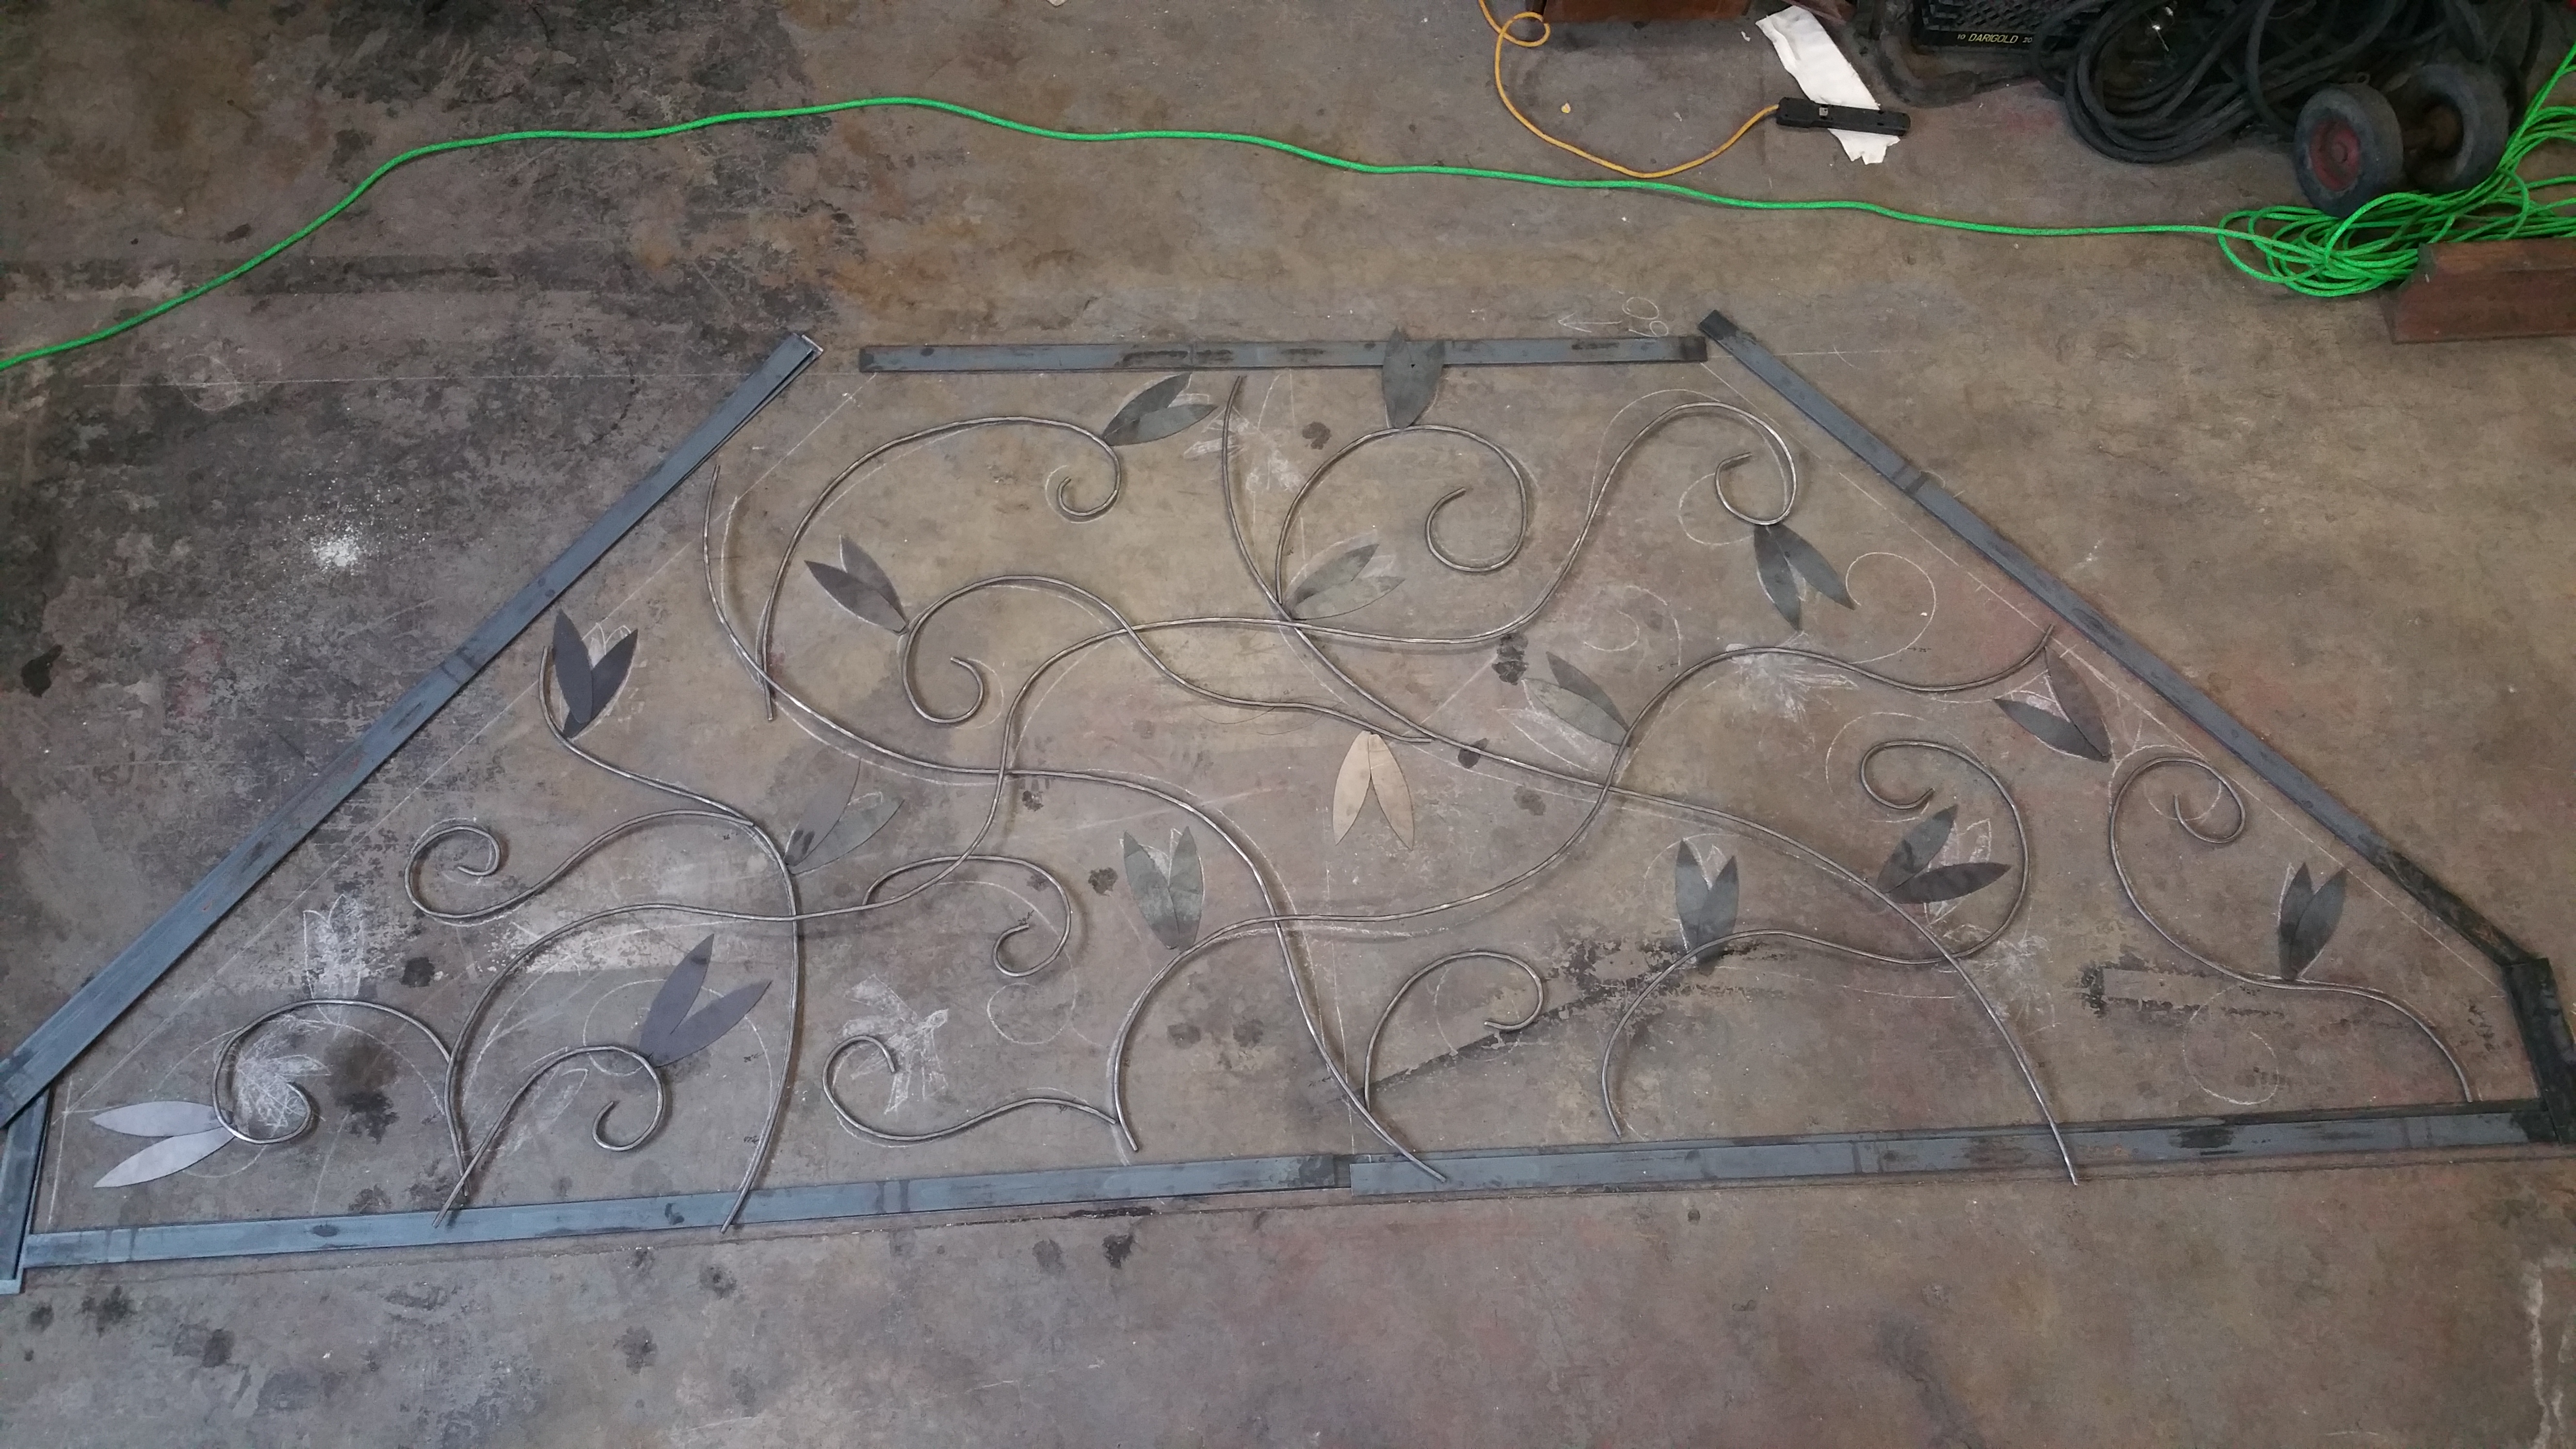
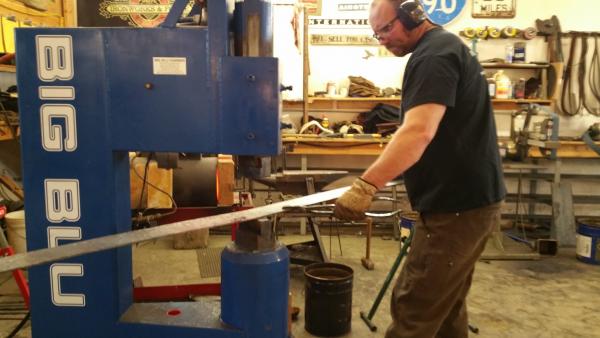
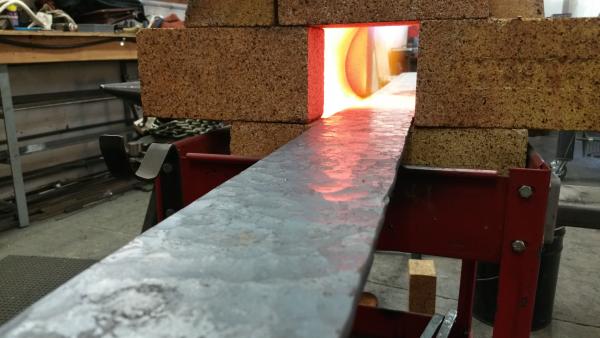
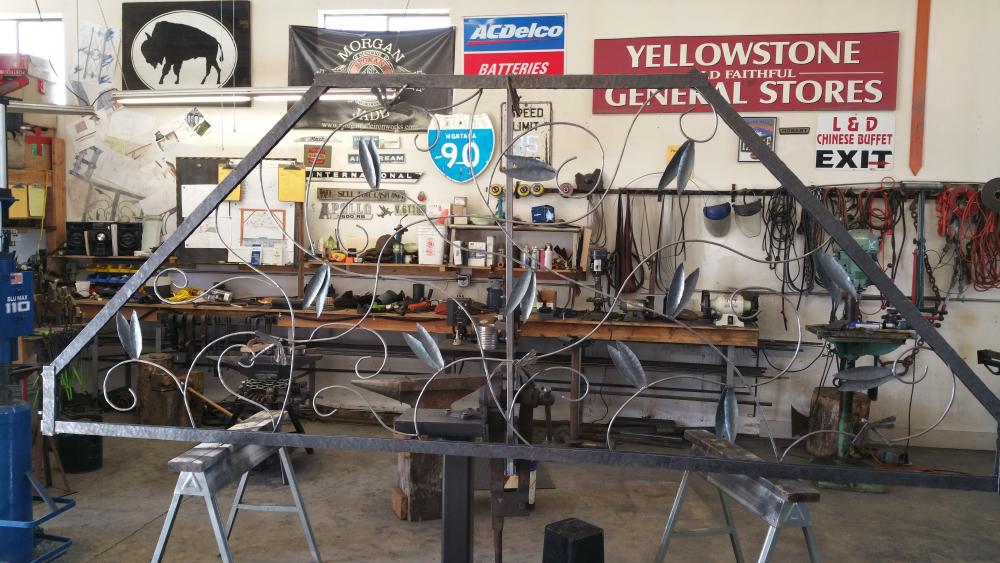
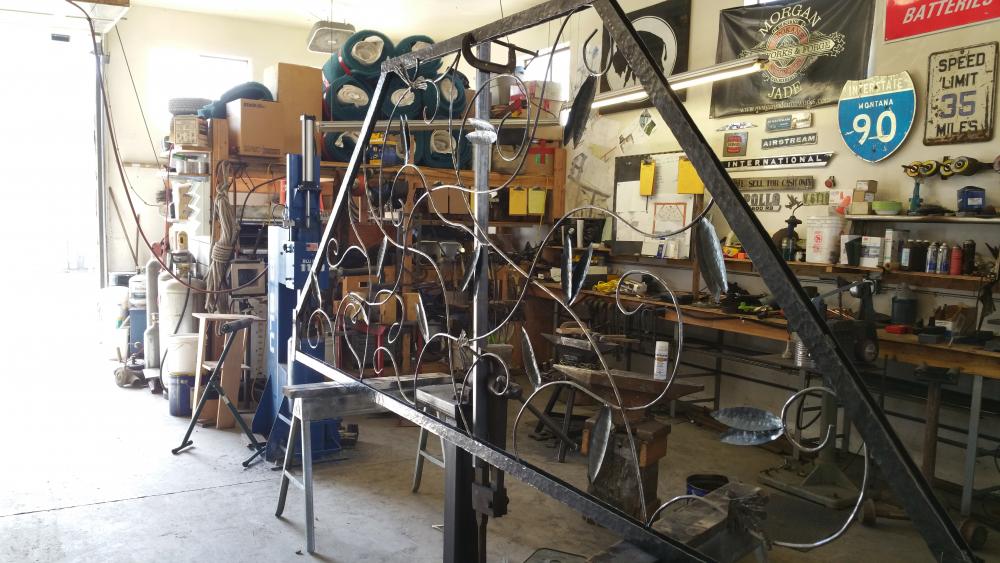
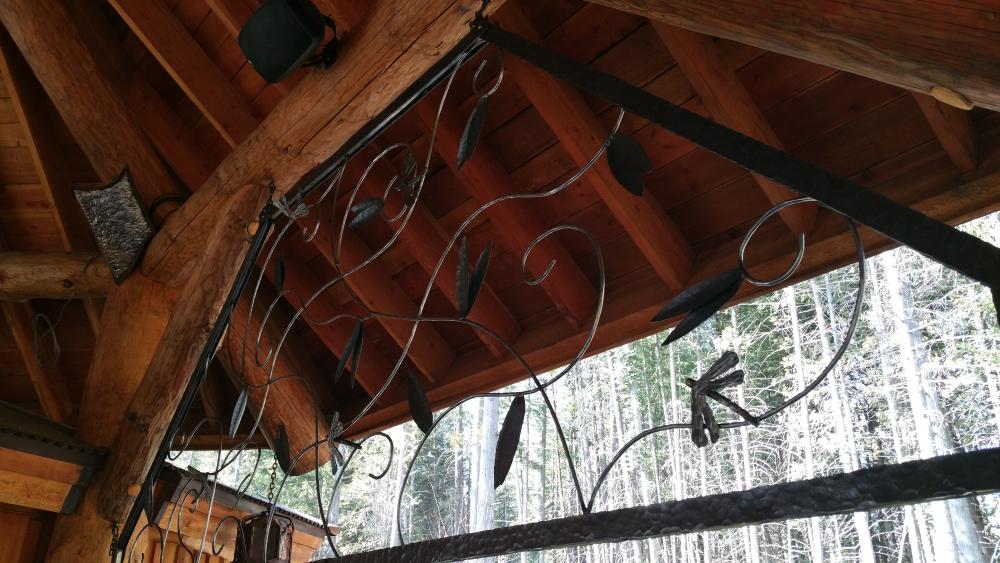
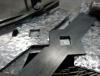
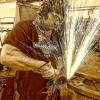
This “bar light” was designed for a custom space and had a few key design elements that had to be achieved for the customer. 1) Had to light the bar, grill, counter,sink area well enough for a person to operate there safely. 2) No direct light can shine into the faces of people sitting around the near by fire pit. 3) Needed to be decorative but not block the view of the river that flows by the gazebo 4) Fit inside the log truss that forms the one of the 8 sides of this 40+ ft Gazebo 5) Have dragonfly’s. Original conceptual sketch. The light would actually be a piece of art that hid with in it a light. it is 14 ft across and 5.5 ft tall. Design was approved, not having a fabrication table large enough the concept is drawn out to scale on the shop floor. Next I cut the broad leaves, and Dragonfly's from 3/16" sheet metal and forge them in to shape. The 3/8 round rod that will make up the vines gets hammer textured to give it a more receptive look to the human eye. Using wire I am able to measure the length of the vines, cut and shape them to match the drawing. The pieces are then laid on the floor in their respective places. Once all of the pieces have been cut, textured, forged, and descaled I weld them all in place. I moved the piece on to a table at this point, this made it easier to finish cleaning and removing the discoloration, and scale from the forging and welding process. The piece gets a final prep, clear coated, and wired for lights. Here is the complete piece installed

-

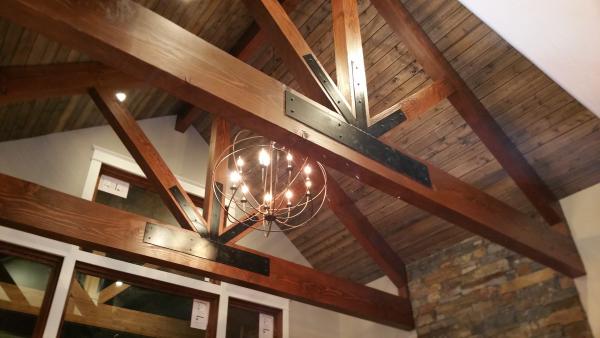
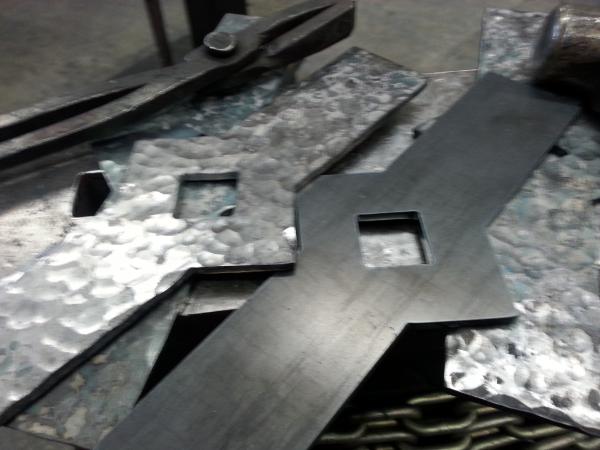
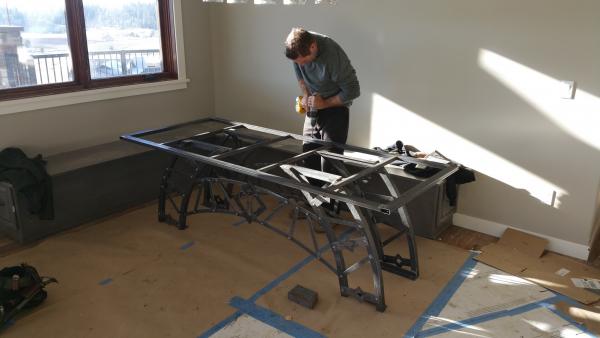
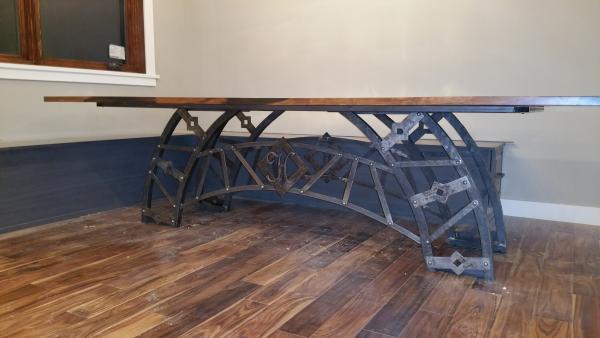
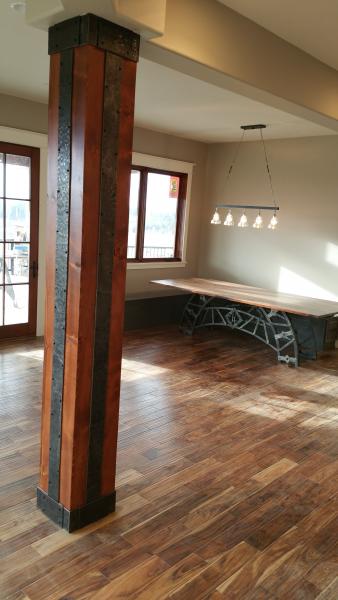
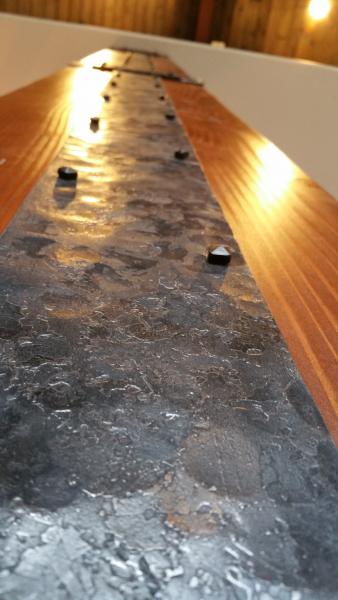
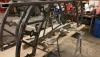
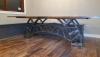
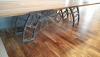
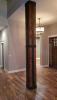
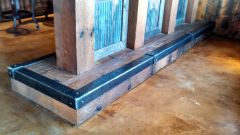
Arched Bridge Truss Inspired Dinner Table Base
David Kailey replied to David Kailey's topic in Member Projects
the base was just under 300 lbs and I think the top weighed about 170lbs -


-
It is for the kitchen in a 8 million dollar home. lol
-
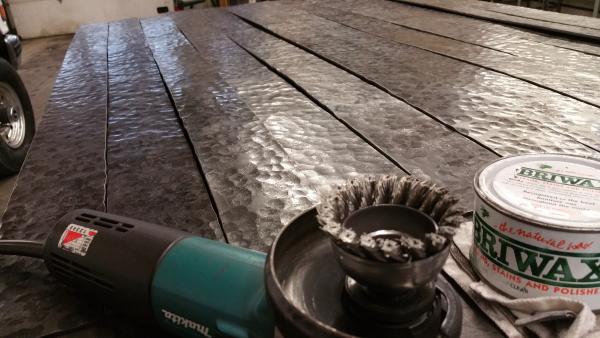
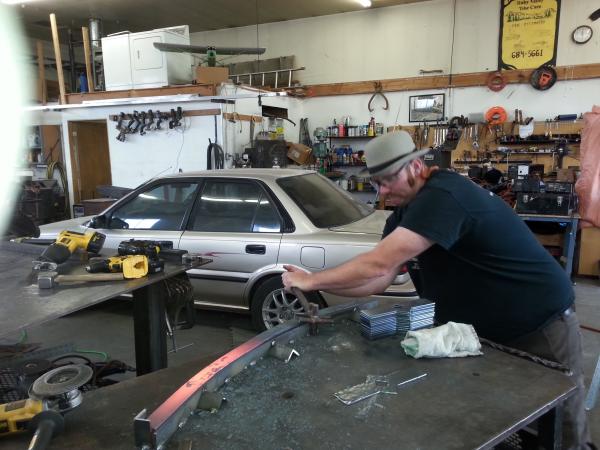
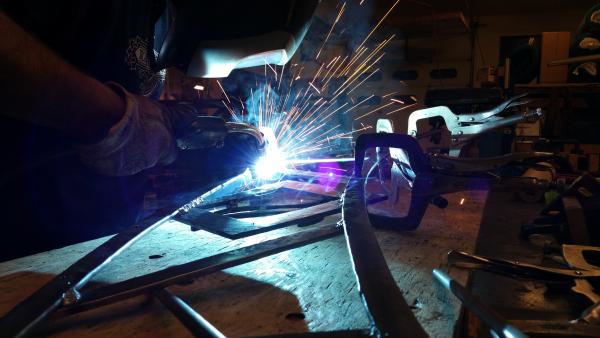
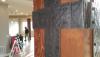
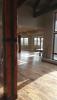
This is a hood I was asked to build all from scratch. The angle iron arch on 2 plains was a bit of a struggle but all and all It went well. All total about 50hrs.
-
Name it Please!!! Not sure why it even exists
David Kailey replied to David Kailey's topic in Member Projects
lol you sell for over $1000 i split 50 50 lol -
anvil horn ''left or right''
David Kailey replied to Hofi's topic in Anvils, Swage Blocks, and Mandrels
I make the better part of my yearly income smithing. I just forged a run of 250 nails followed by another run of 200 I pulled the hot cut every time and lay it on the face of the anvil. I have thought like you. But I watch a guy lose a finger on a hot cut. I can forge about 70 nails and hour it takes an average of 4 seconds to pull it out of the hardy, and 1 second to put it in. so I lose about 5.8 min every hour pulling it out and putting it back in. So I make a nail every 0.85 min. If I leave the hot cut in I would gain 7 nails an hour or 10%. I get a $1 buck a piece for a nail. I wonder how much time I would lose it I lost a finger. i mean down time while i heal up. And how dumb i would feel about losing a finger, couple weeks of work, several grand in hospital bills, and at best they reattach it but it works kind of ok. All of a sudden I bet i would trade hours of my life and thousands of $$$ to have my god given finger back. you said"armchair and hobby smiths can bubble wrap what they want, but in the real world of making a living, time is money, and efficiency is key. you work around hazards, and remain vigilant." Efficiency is key my friend but remaining vigilant means not taking risks for a minimal reward. If you want a hot cut then build a stand with a hardy and put your hot cut there. We are not spiders or octopuses, it will not grow back. Below is a video of my forging nails ther is 22 seconds of intro and 12 seconds at the end, i was not rushing here by any means and in the middle of a big run i do not talk, but I averages about 1 every min. I hop you fins something in the video that will make you faster, so you dont feel the need to risk your body. -
anvil horn ''left or right''
David Kailey replied to Hofi's topic in Anvils, Swage Blocks, and Mandrels
I agree with this line of though. All hardy tools stick up above the plain of the anvil face, sharp or not striking one with you fingers between your hammer handle and hardy tool is going to hurt at the minimum or ..........well you may not be able to hold a hammer with your preferred hand any more. -
Anvil help for the new guy
David Kailey replied to 3DuckDave's topic in Anvils, Swage Blocks, and Mandrels
sorry for my bluntness. walk away. A chunk of RR rail would be far better. or a flat anything. I have replaced the top plate on 3 anvils and it is a lot of work but not on a Vulcan. Honestly that is not and anvil, but it would work to hold a door open or block for you trailer tires. -
Forging a Ram's Head On The End Of A RR Spike
David Kailey replied to chandlerdickinson's topic in Member Projects
May I ask what the box hanging on the rope from the horn of the anvil is? -
Name it Please!!! Not sure why it even exists
David Kailey replied to David Kailey's topic in Member Projects
so been a few weeks and honestly this THING IS KILLING MY MIND!!!! and i have no good reasonable reason for it, this is the dumbest cool piece i have ever messed with. I have a system I draw it, name it, forge, bend, weld, texture, and finish. This stupid thing just came out on a whim all weird and undrawn, frankly un-natural and at first I was just super stoked cause i thought it looked supper cool. However I did not come to be by my minds proper channels, it broke the "rules" so now my mind is split cause it can not love a "RULE BRAKER!!!!!!" So I want to get it out of my house cause it tortures me every time I lay my Gaze toward it!!! -
I have no idea???? It just happened today. no idea why or were its from. But now its on my wall.
-
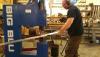
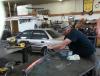
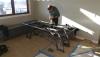
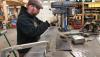
Have a buddy in the smithy for 2 weeks and he is new to "smithing" so we have been tooling, he has limited stuff so I want to send him, home with 20-30 smithing tools and the ability and knowledge to make tools when he returns home. He wanted a guillotine hardy tool. I did not have one I always made spring fullers for all my needs or top and bottom tools. But we looked at several different ones came up with a simple design. Then we thought hey why not make a half dozen of them to sell cheaply to guys in the club. So off to the scrapyard we went-long trip, its about 200' from the front door of my smithy. $27 later we had what we needed and headed back to the smithy. Here is Dan and I fitting the pieces for welding And here I am welding------just in case you may have missed that. Here is Dan welding in the lower corner of the table you can see the welded piece along with the pieces that make up the entire Guillotine. Here is the finished product It took us about 3.5 hours to cut all the stock, weld them up, clean and paint them. We made sure to use a readily available stock for the dies that we could get in mild steel and tool steel
-
This piece comes from a sketch I drew up in the 2011/12 winter. I modified the look to be thin and tall, I just felt like it would look better. All of the iron was forged from 2” x ¼” bar stock, with exception of the cattail stems (1/4” round rod). The frame is textured with “hit & miss” texture, I ran past the confines of the frame because I wanted to add depth to the piece and life. Living things don’t care about the boarders or bounds that you might want them to live with in-they grow were the sun draws them. Adding the dragonflies really brought the piece together and made all aspects of it pop. This piece is all hand forged, and textured, it solid iron, and finished with beeswax. It measures 40” tall and 14”wide. Thanks for looking!!!!
-
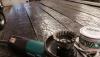
love my ribbon burner. once hot and working out of one end of it I can run .75lb of psi I am getting about 45-50 hrs from 25 gallon tank. my forge it 20" deep and about 10" round on the inside,
-
Love the horse, It has great movement.
-
That's a good one.
-
Game of Thrones (scrap metal homage)
David Kailey replied to scrapartoz's topic in Metal Sculpture & Carvings
I am not sure I can afford the shipping or have a large enough door to my man cave. however I can build a new man cave around the Chair. Yep thats the plan -
SImple and clean. very attractive piece
-
fantastic!!!!
-
 Jeremy, Super nice job, it is very clean, and the lines are tight. Really shows you pay attention to the details. Look great!!
 -
RR spike Hat/ coat rack on "Hit & Miss" textured 2" flat bar
David Kailey replied to David Kailey's topic in Member Projects
I agree, any thing that lines up with the framing is great. Good Call. Although my luck has always been that the framing dose not line up with were I want to center the piece!!!! It like the framers are doing it on purpose!!!! lol -
Yes I know RR spikes have been done to death, but hey lets kick that dead horse one more time. bla bla bla lol and here it is. left head and point intact, drew out the middle to about 2.5 x original length. folded point over its self, bent the hook, and twisted. Punched holes. 24" x 1/4" x 2" Flat bar. 1 1/4" from end I necked the bar down to 1" wide and then drew out the ends then rounded all the corners off. Texture was done with a straight peen hammer and it is "hit and miss" meaning don't texture every inch of the bar and use very heavy hammer blows moving accross the bar. Punched the bar then welded the back side of hooks so they don't swivel, hey why not I got a welder right here. Placed rivits in the hole, cut off the extra on the back and welded them also------I got a welder right here, then I finished the piece off with some bees wax, cause the bees wax just makes that iron dead sexy, oh you know what i am talking about!!!! It ends up being 30" long x 14" wide Thanks for viewing
-
Here are a couple Bottle openers I made and some pictures of the process. 1) Cut a piece of your selected bar stock 7 ½” long 2) Upset on end until length is about 7 ¼” long let cool Mark piece ¾” and 1” from upset end and make 1/8” cuts with a hacksaw connecting around the four sides of the bar stock 3) Draw out 1 ¾” of the opposite end of your piece 4 sided taper but run the last 3/8” out very flat about 1/8” thick down to a point . it will be a short stocky looking draw out until total length is 8 ¾” 4)Start curling the last ½” back over the bar stock. You want a ¼” coming back over with a ¼” gap between the tip and the stock. 5)Next heat the upset end until white hot. Use a vice, sized open end wrench and adjustable wrench to twist the end. Twist the farthest cut from the upset end, go past 3/8 twist then come back to 1/4 turn. Use your open end wrench to hold the piece between your cuts, using an adjustable wrench return the upset butt end back to the orientation of the rest of your opener. 6)Now you add your design on the handle of you opener. Personally I like to hot stamp patterns, use a 1/2” bar, or spring fuller to make indentations on the corners every ¾” and then stamp on the flat side of the stock.*Note*You can make stamps the same way you make other tools high carbon steel heat up and air cool use files saws, dremal,,,,ect to make your design and then temper. In the picture a some of my stamps. 7)Next put some curve in your opener using a hardy bending tool so you don’t mess up your stamp work. *Note*If you curve it first it will straighten back out as you stamp 8)Remove from vice, brush of scale, and finish with antirust of your choice. Forge on my Friends!!!! David C.Kailey MorganJade Ironworks, Spokane, Wa
-
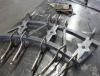
Got this hammer yesterday. It was in a shop all ready to go but never had air ran to her and never used for 7 years. cam with 3 sets of dies and a hand hammer.