David Kailey
-
Posts
276 -
Joined
-
Last visited
Content Type
Profiles
Forums
Articles
Gallery
Downloads
Events
Everything posted by David Kailey
-
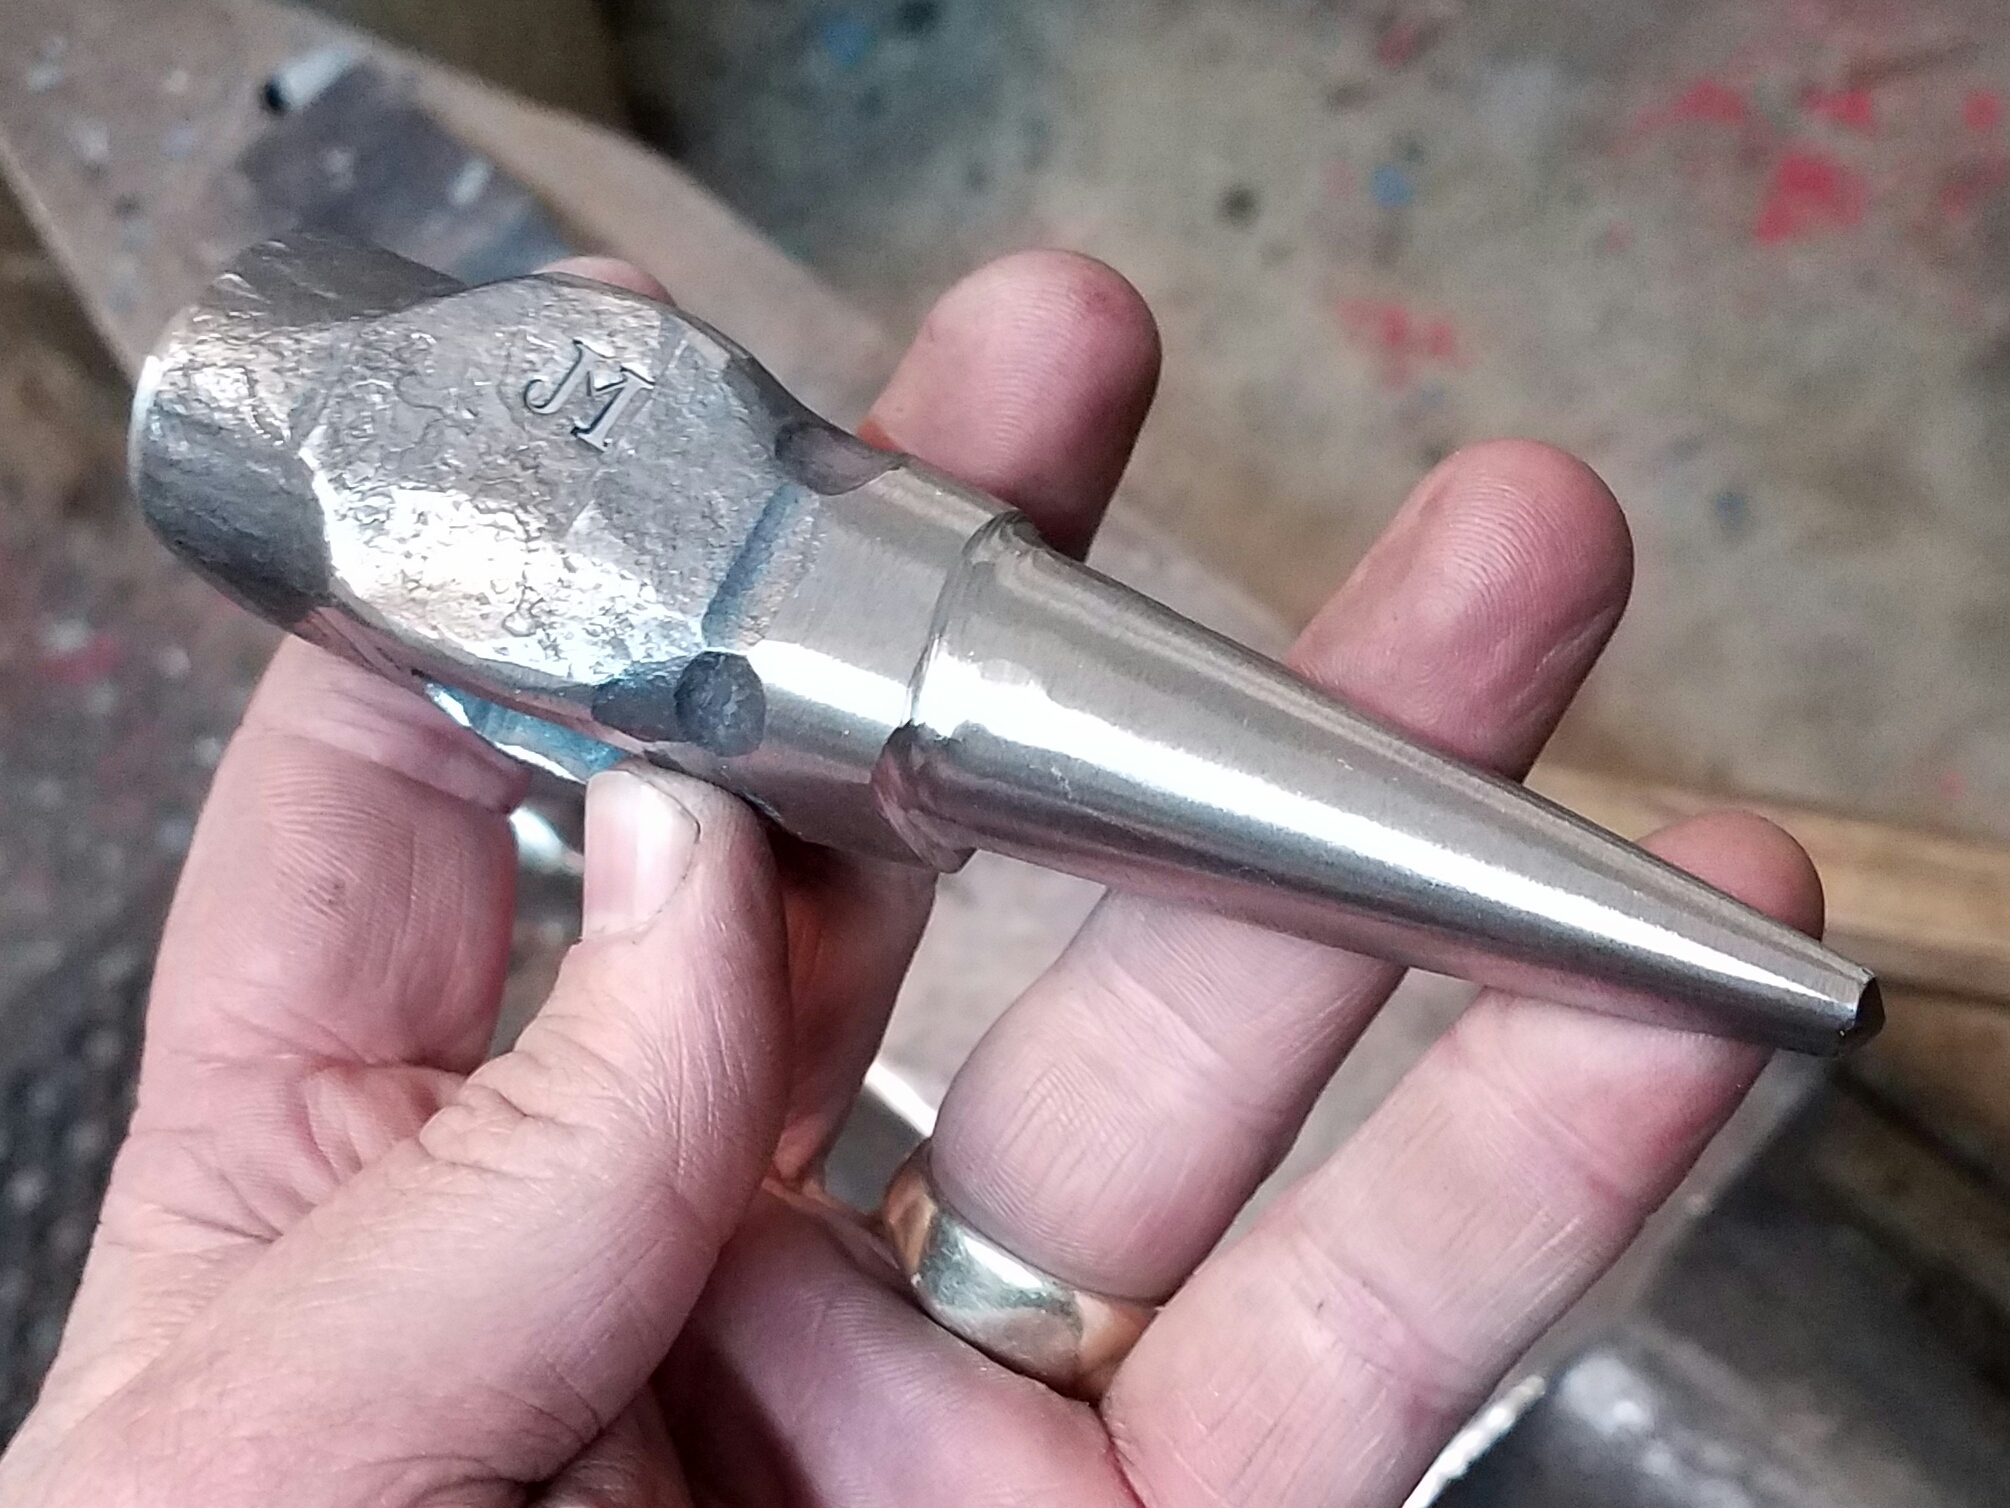
on 3/4 bar I only needed a 1.5" tenon. However it is nearly impossible to forge a tenon that short because in order to do that I must start with only 1/4" of material......but when I bucher the mass to isolate the material and start the tenon it fish lips horribly bad and at that point you are going to get a tenon made up of metal folded over its self. So I have to use at least a half inch of material to prevent that unless I want to take the time to knock the corners way in.....but time is money.... so I end up with a tenon that is 3" long its just quicker to cut them off and then monkey tool the the tenon and move on. After a few years I realized no amount of math will get you perfect, not because I can't calculate math, just that forging moves things and you lose a little. So I use math to get me close and then a test piece......oh...... I have taken so many test pieces to the scrap yard, but....... i dont take very many pieces that fail to meet the specs.
-
just build a jig.......jig jig jig.
-

Hole punched in the wrong orientation
David Kailey replied to Michael Cochran's topic in Problem Solving
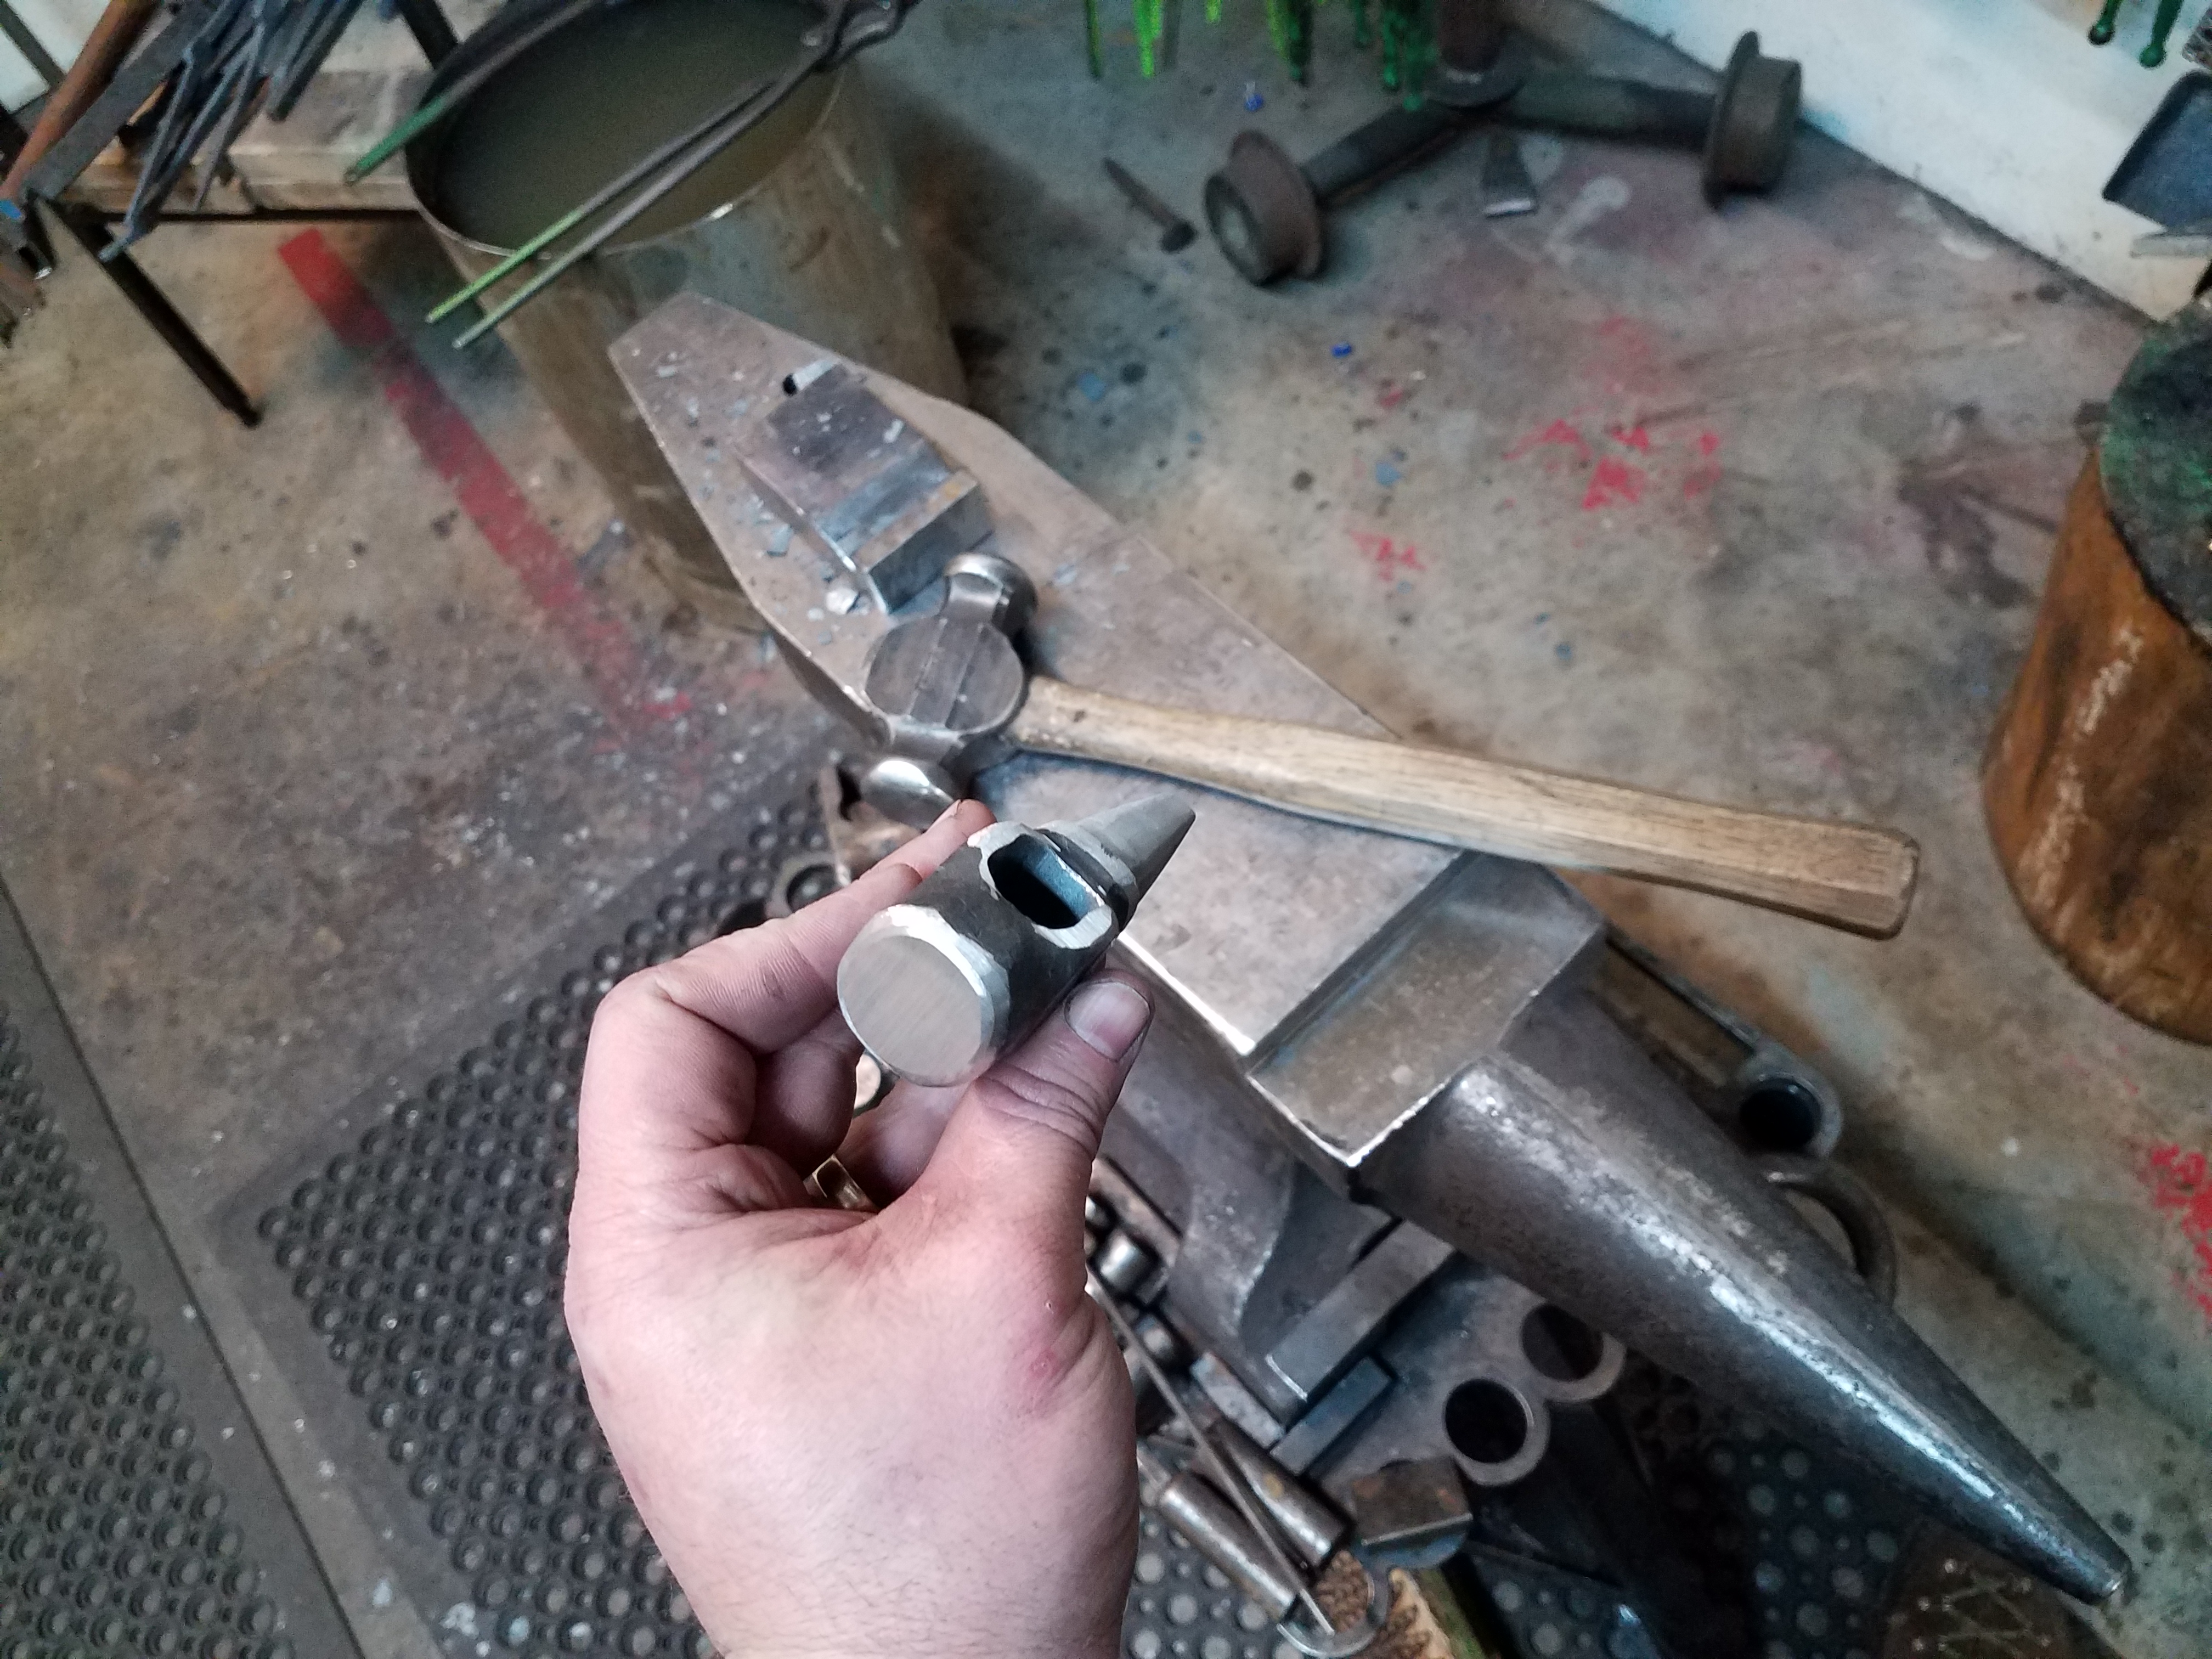
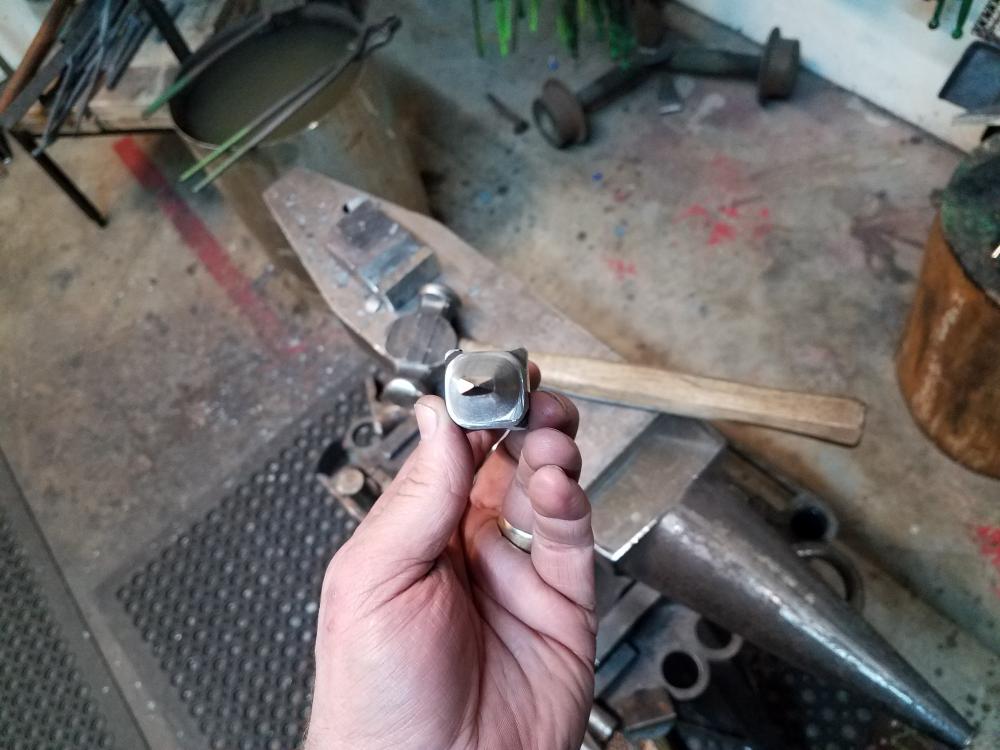
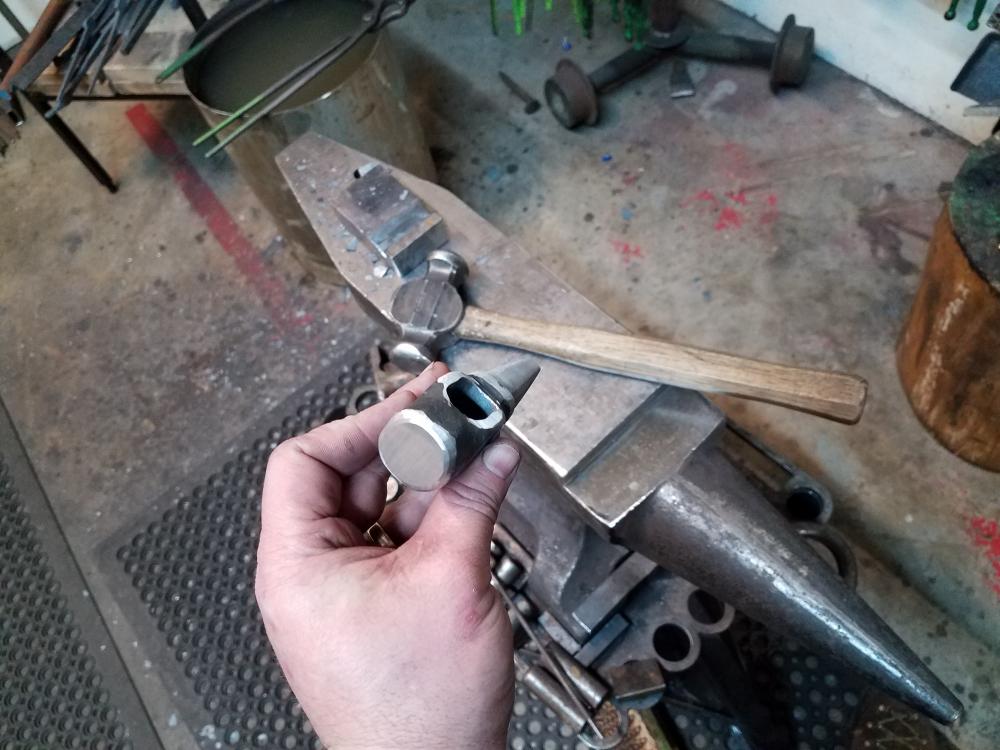
just weld a handle to it in the proper orientation and make sure it is indexed properly. Also if your not doing it already hit your punch then rotate 180 degrees hit again and repeat. that way if your indexing is not spot on ot your hold is a tad wanky it will some what correct these small errors. {if your punch pulls to one side a little rotating will cause it to pull left the right then left then right.....those allowing you to punch thru to your mark)...... BTW I welded a handle on my first punch because i messed it up a bit. But eventually I realized it needed to be scraped and another one forged correctly. Here is the replacement. I realized also that many of my punches, drifts had to long of a tapper, I make them just long enough to get the job done. for example my 3/8 drift use to me 5" long for drifting 3/4" bar...... now its about 2 3/4" long. Its pretty hard to bend, break, maul my tools now because they are short and stocky instead of long and........vulnerable.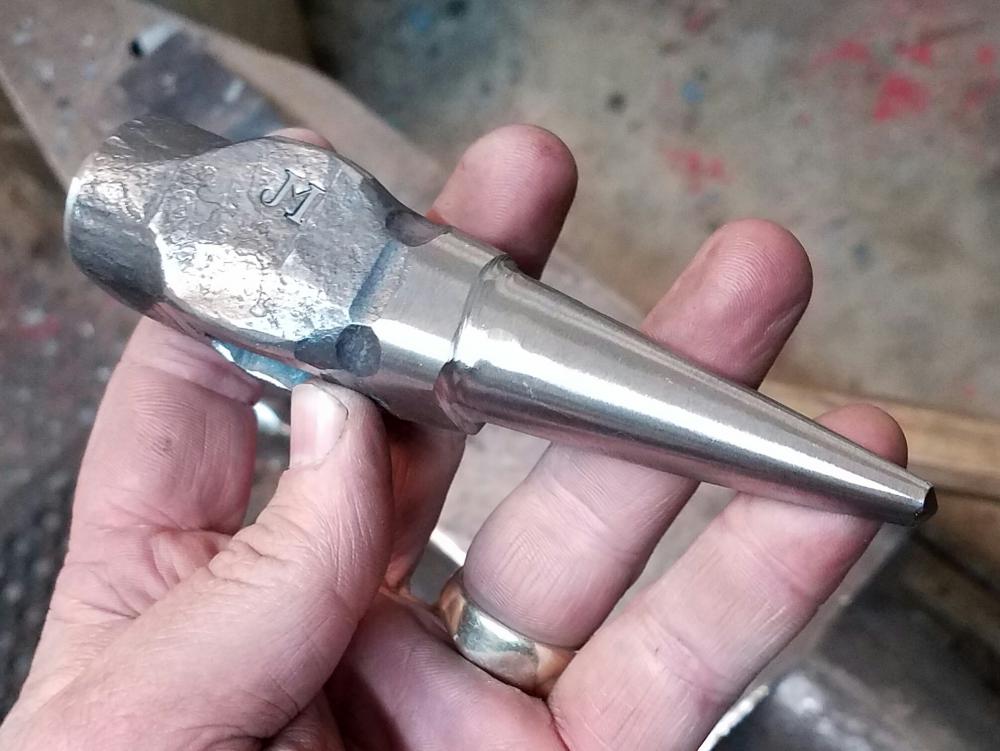
-
that surgary looking grain indicates to me that your metal was way way to hot when you quenched...... bright orange to white hot is to hot. I quench at mild orange heat, just a little bit hotter the the point the steel loses it magnetic qualities. I also use a slow quenching oil. Also when your using the tool if it get red hot don't quench it, let it cool to black then you can quench it in water to keep it cool. It took me a few broken punches and slitters before I got clued in on my tool getting red from use.... It gets stuck or I can't get the steel to release quick enough. But since I stopped doing the 2 things I mentioned above...... no more broken tools, which is great because snapping off a hammer eye punch after only 2 uses was a real bummer
-
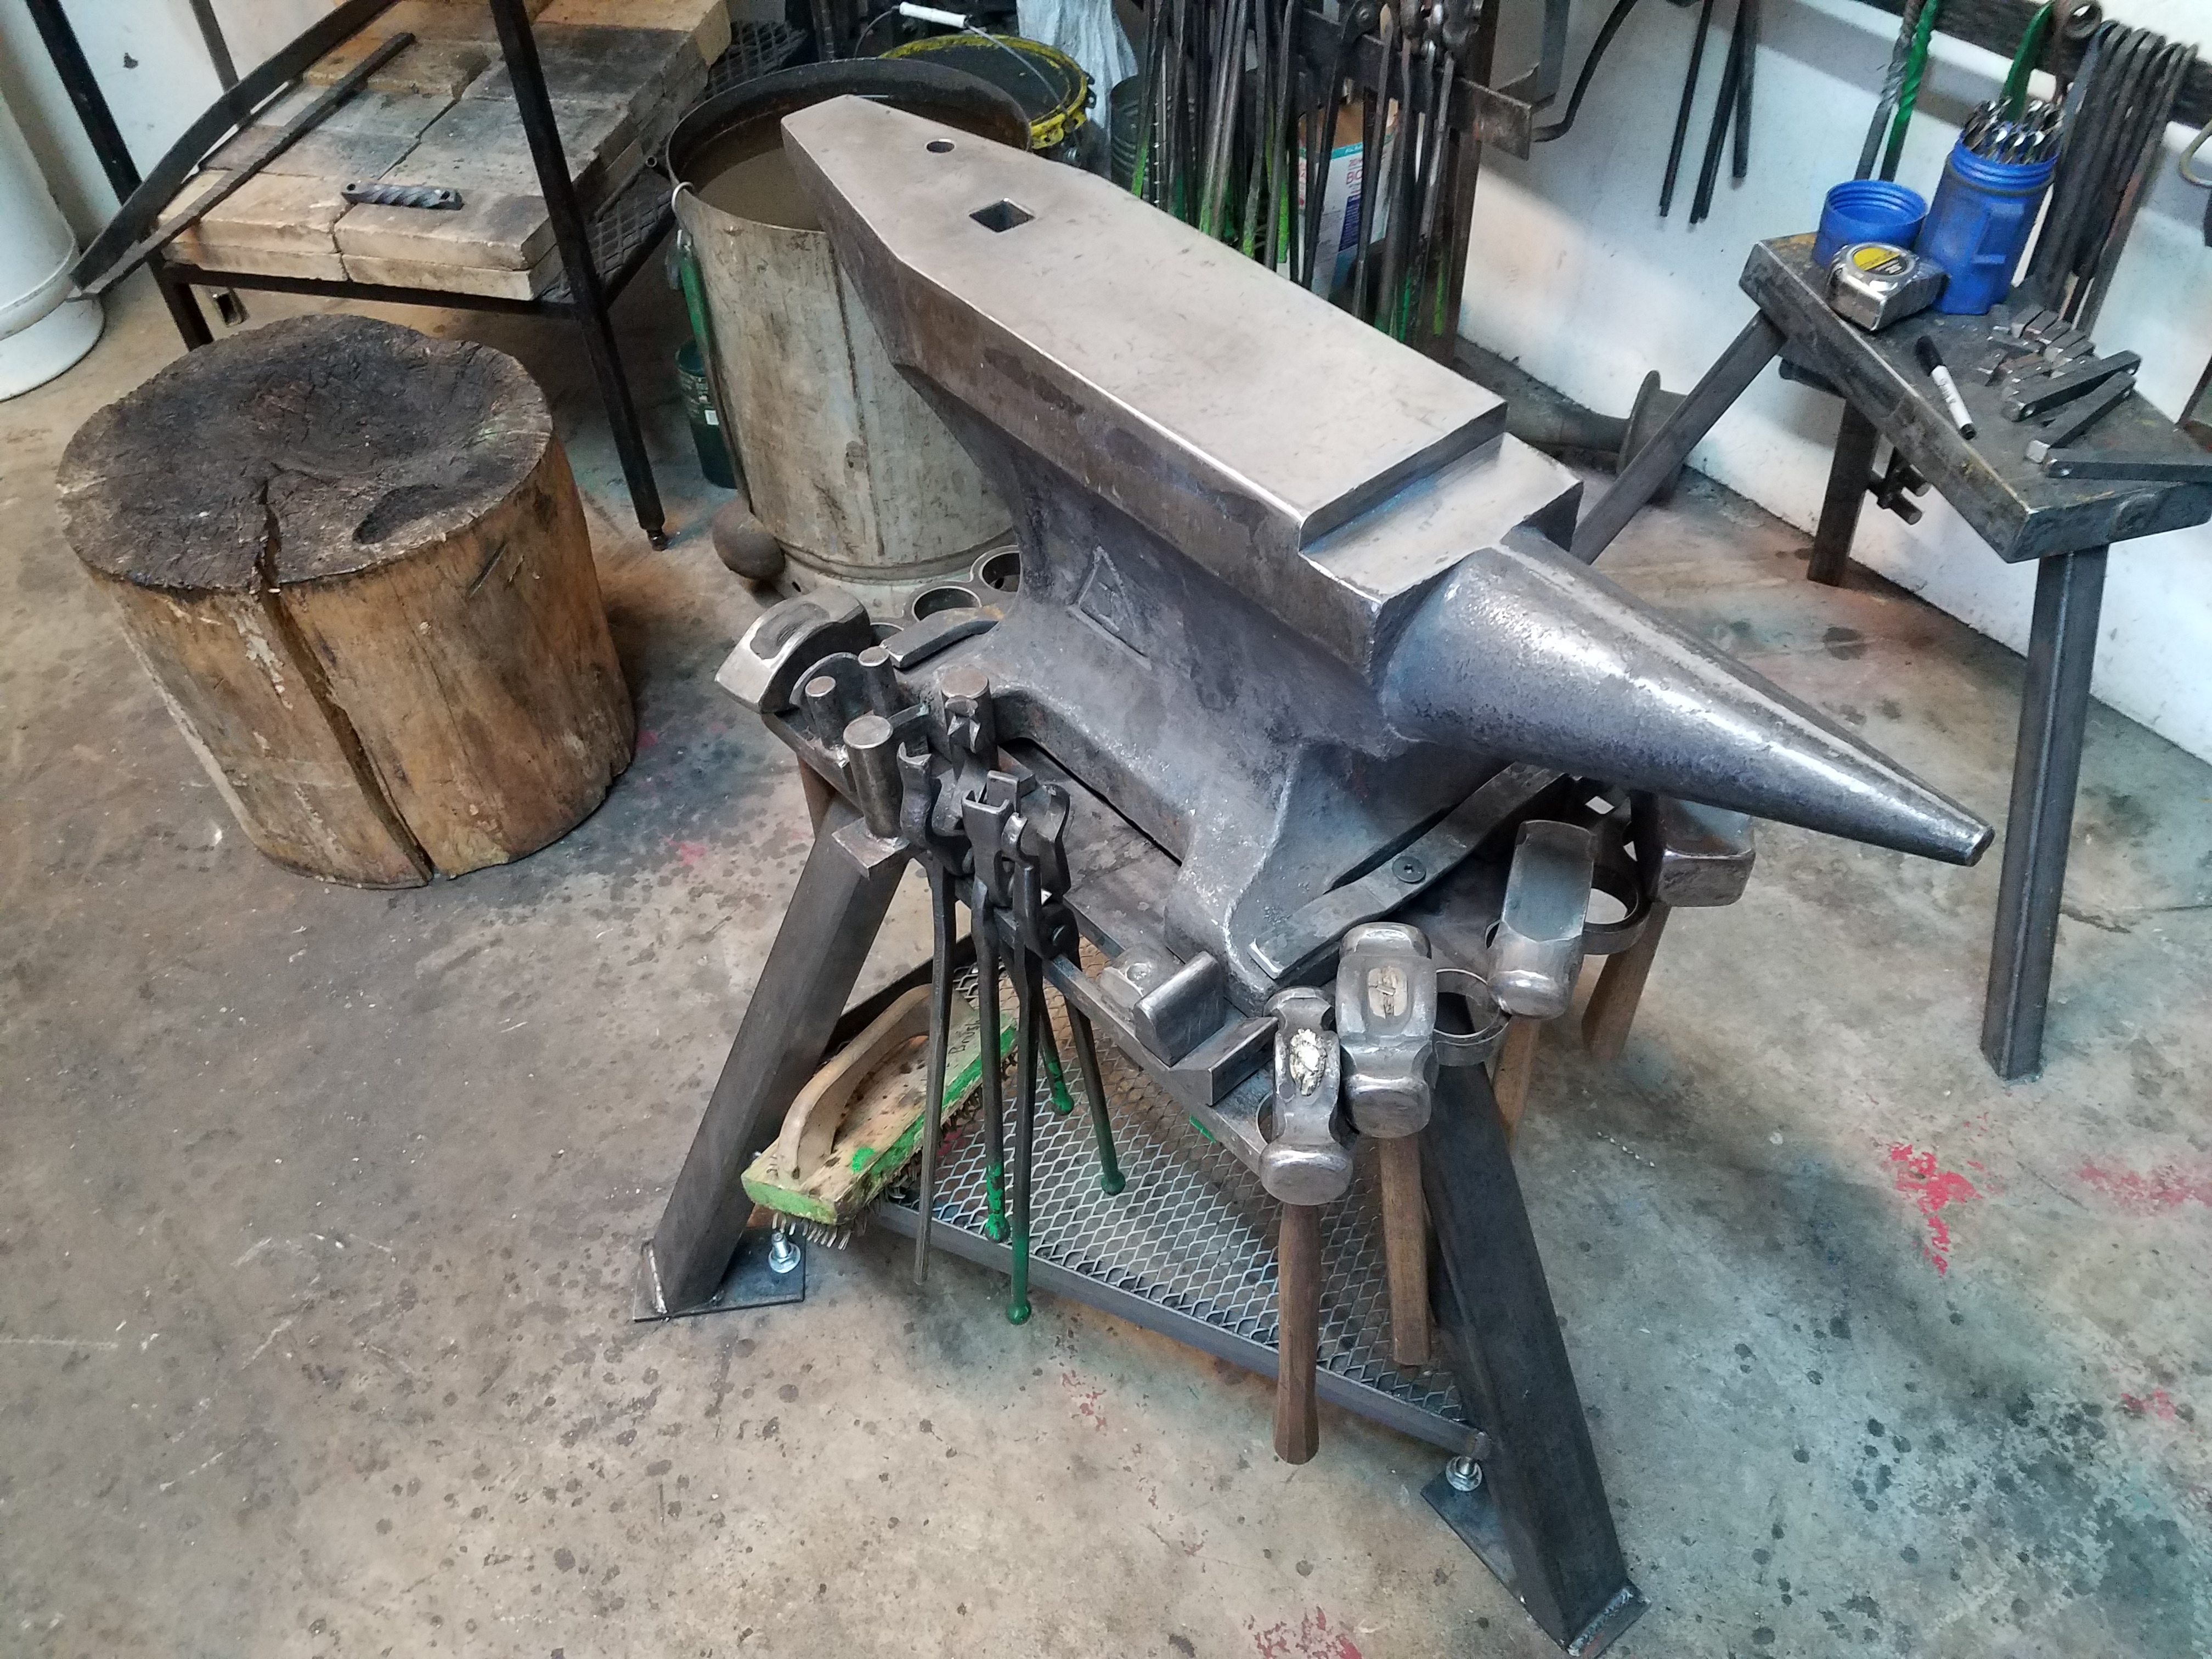
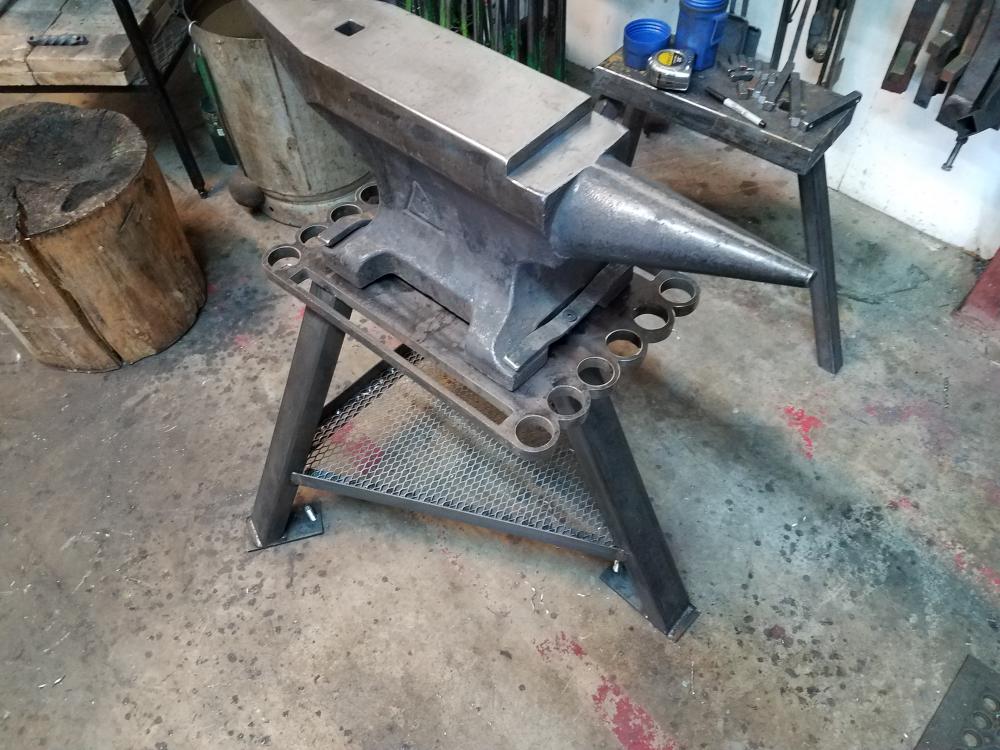
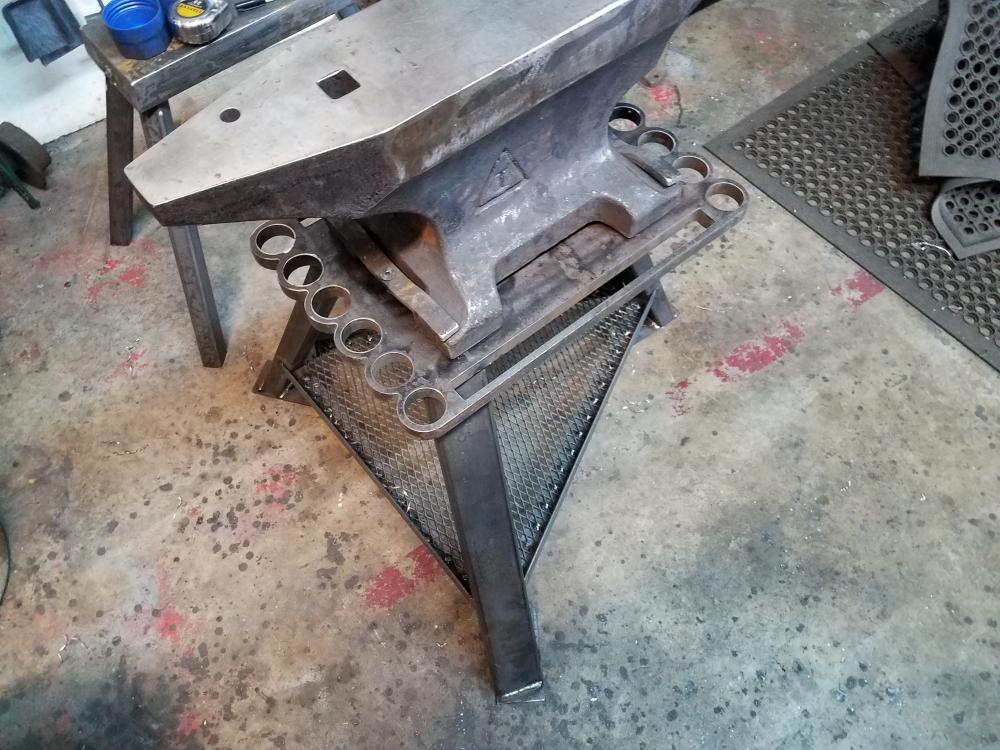
This is my anvil stand I designed it about 4 years ago. I cut the entire top out of 1/2" sheet. every stand I have ever seen with welded loops and flat bar for hardy tools always look like crap, they get bent up break off....just looks sloppy. My top plate is clean, tough, lasts, doesn't bend or break, its dead sexy. Off course 3 legs no wobble and a lower basket to hold whatever. For hold downs I bent some flat bar put a center hole thru it and then drilled and tapped a hole in the top plate. Everything on my stand is clean, tough, sturdy and will hold up with no issues. I have built and sold 18 of these so far and had no complaints whatsoever. My anvil is a 240lb Rhino papa anvil. this set up is also pretty quite, no ringing......thank the lord.... it gets old after awhile.

-
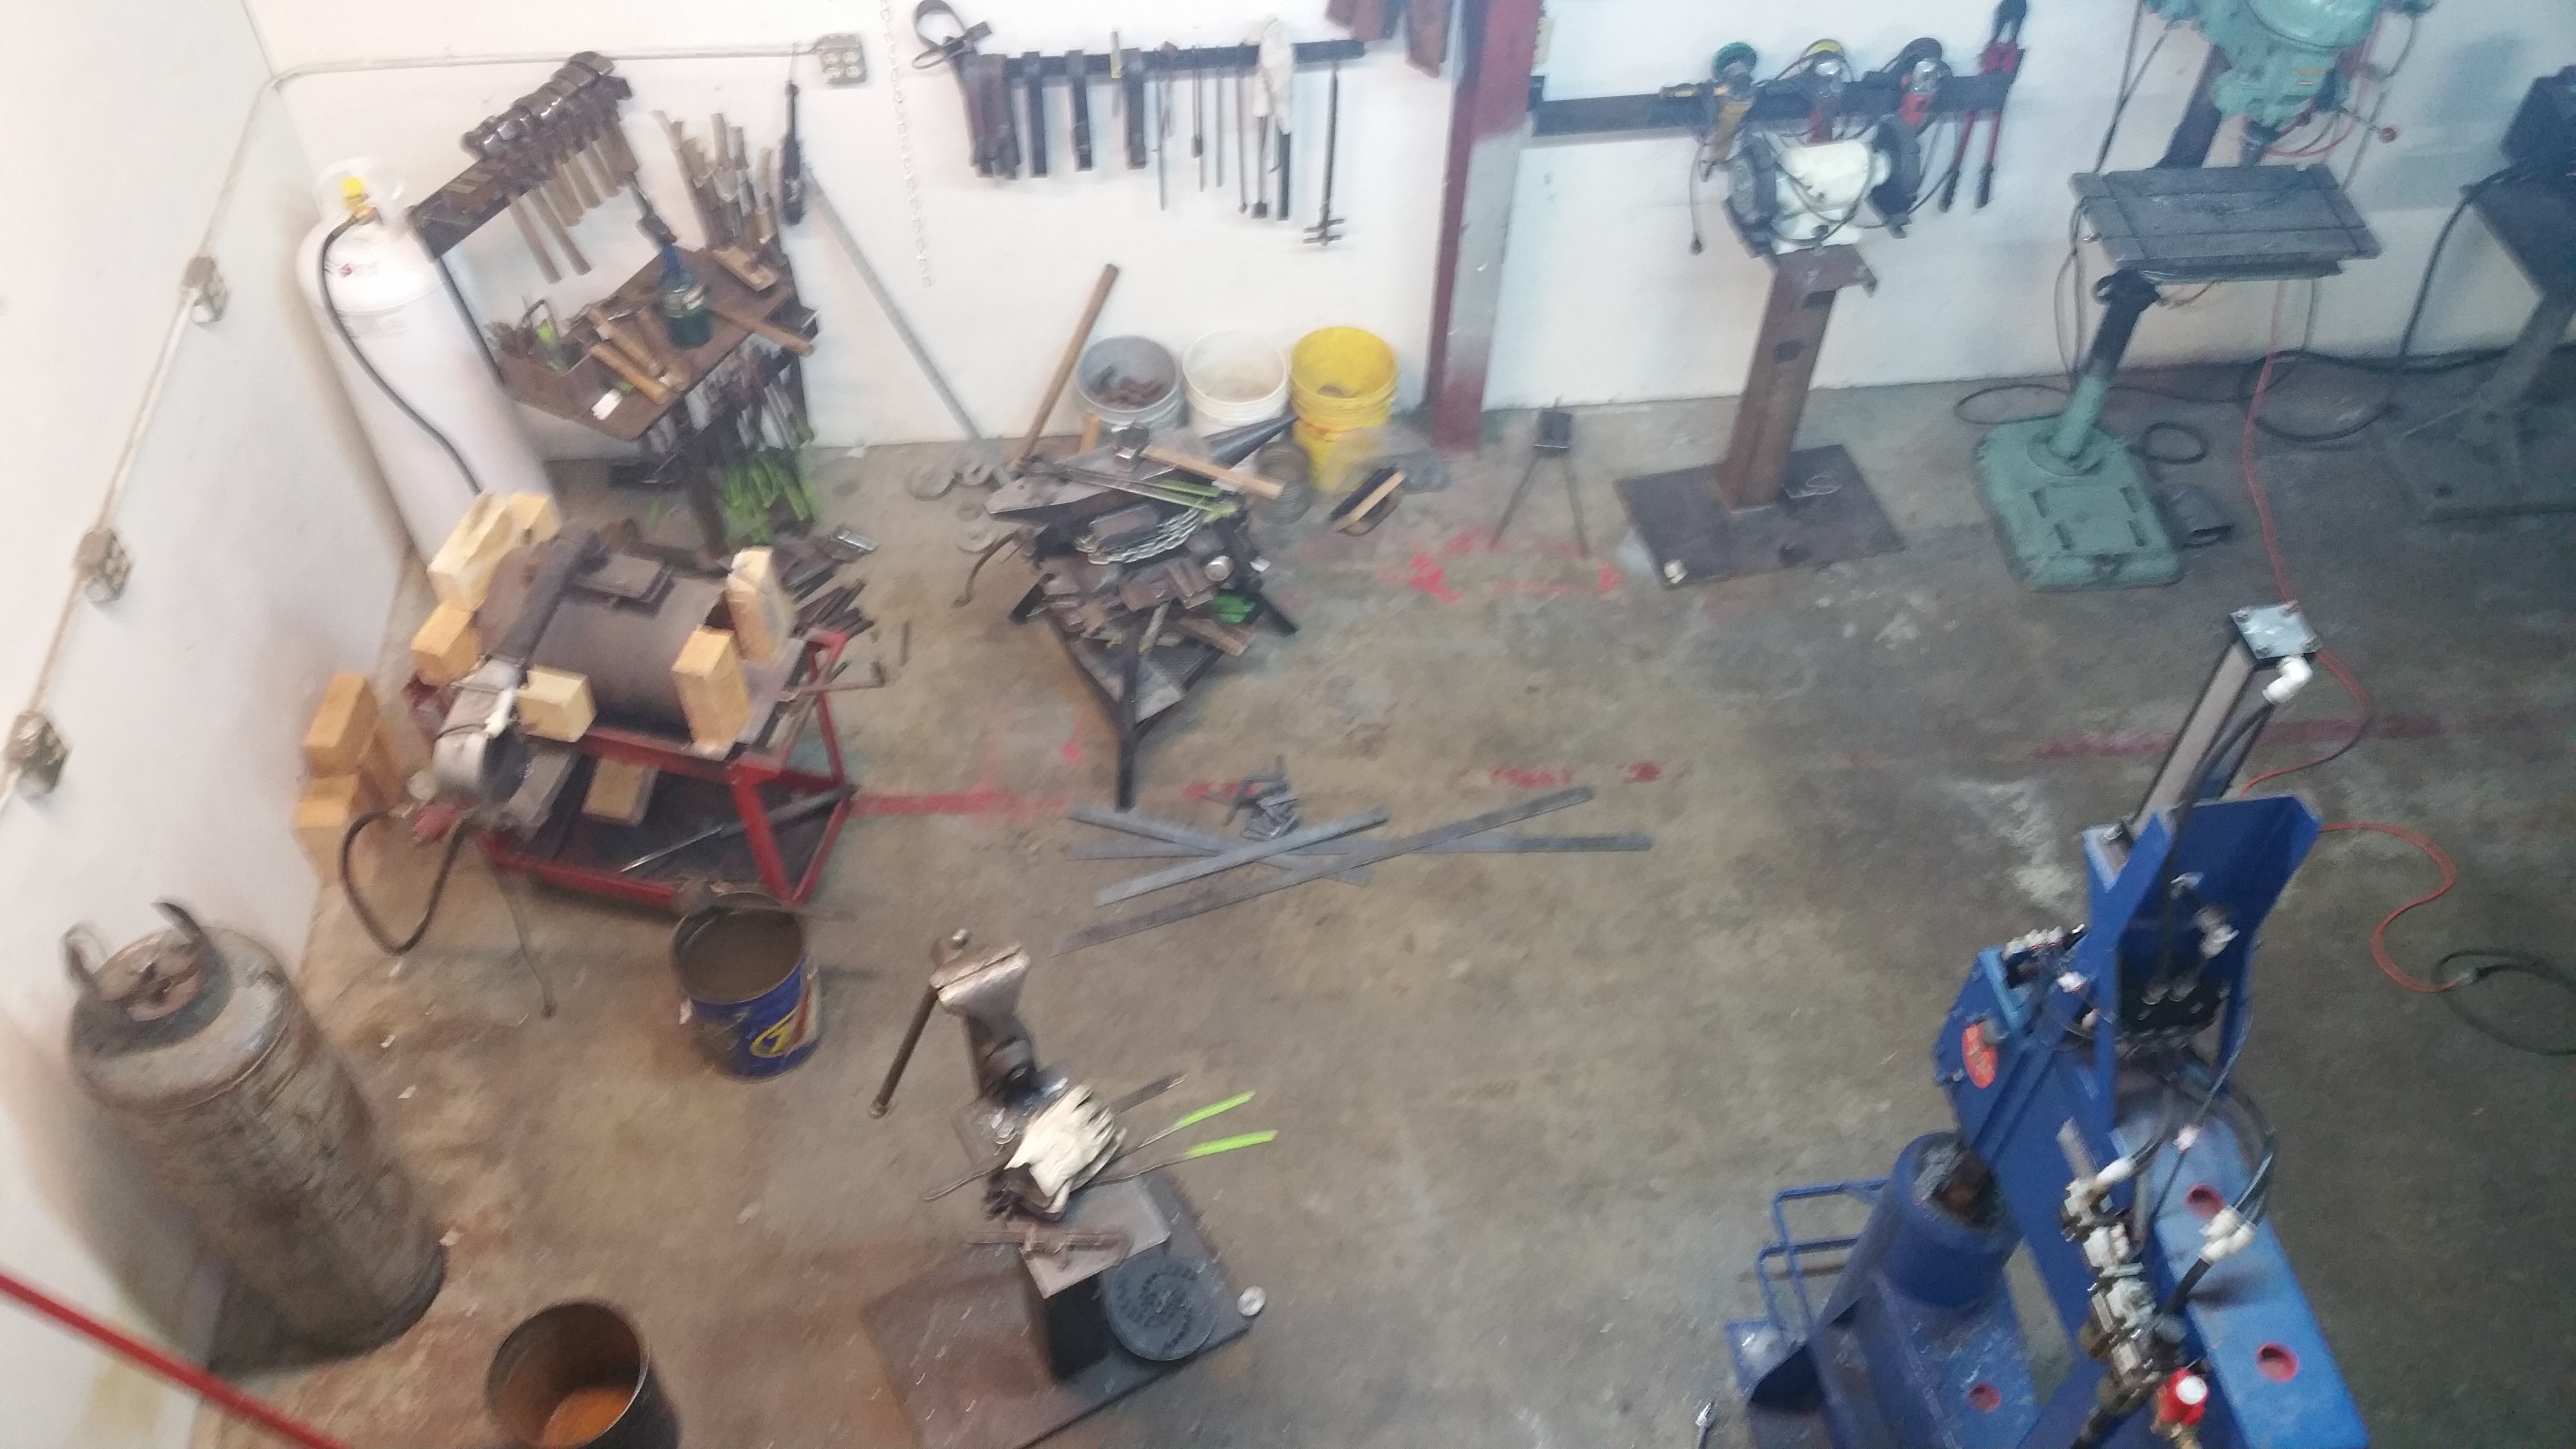
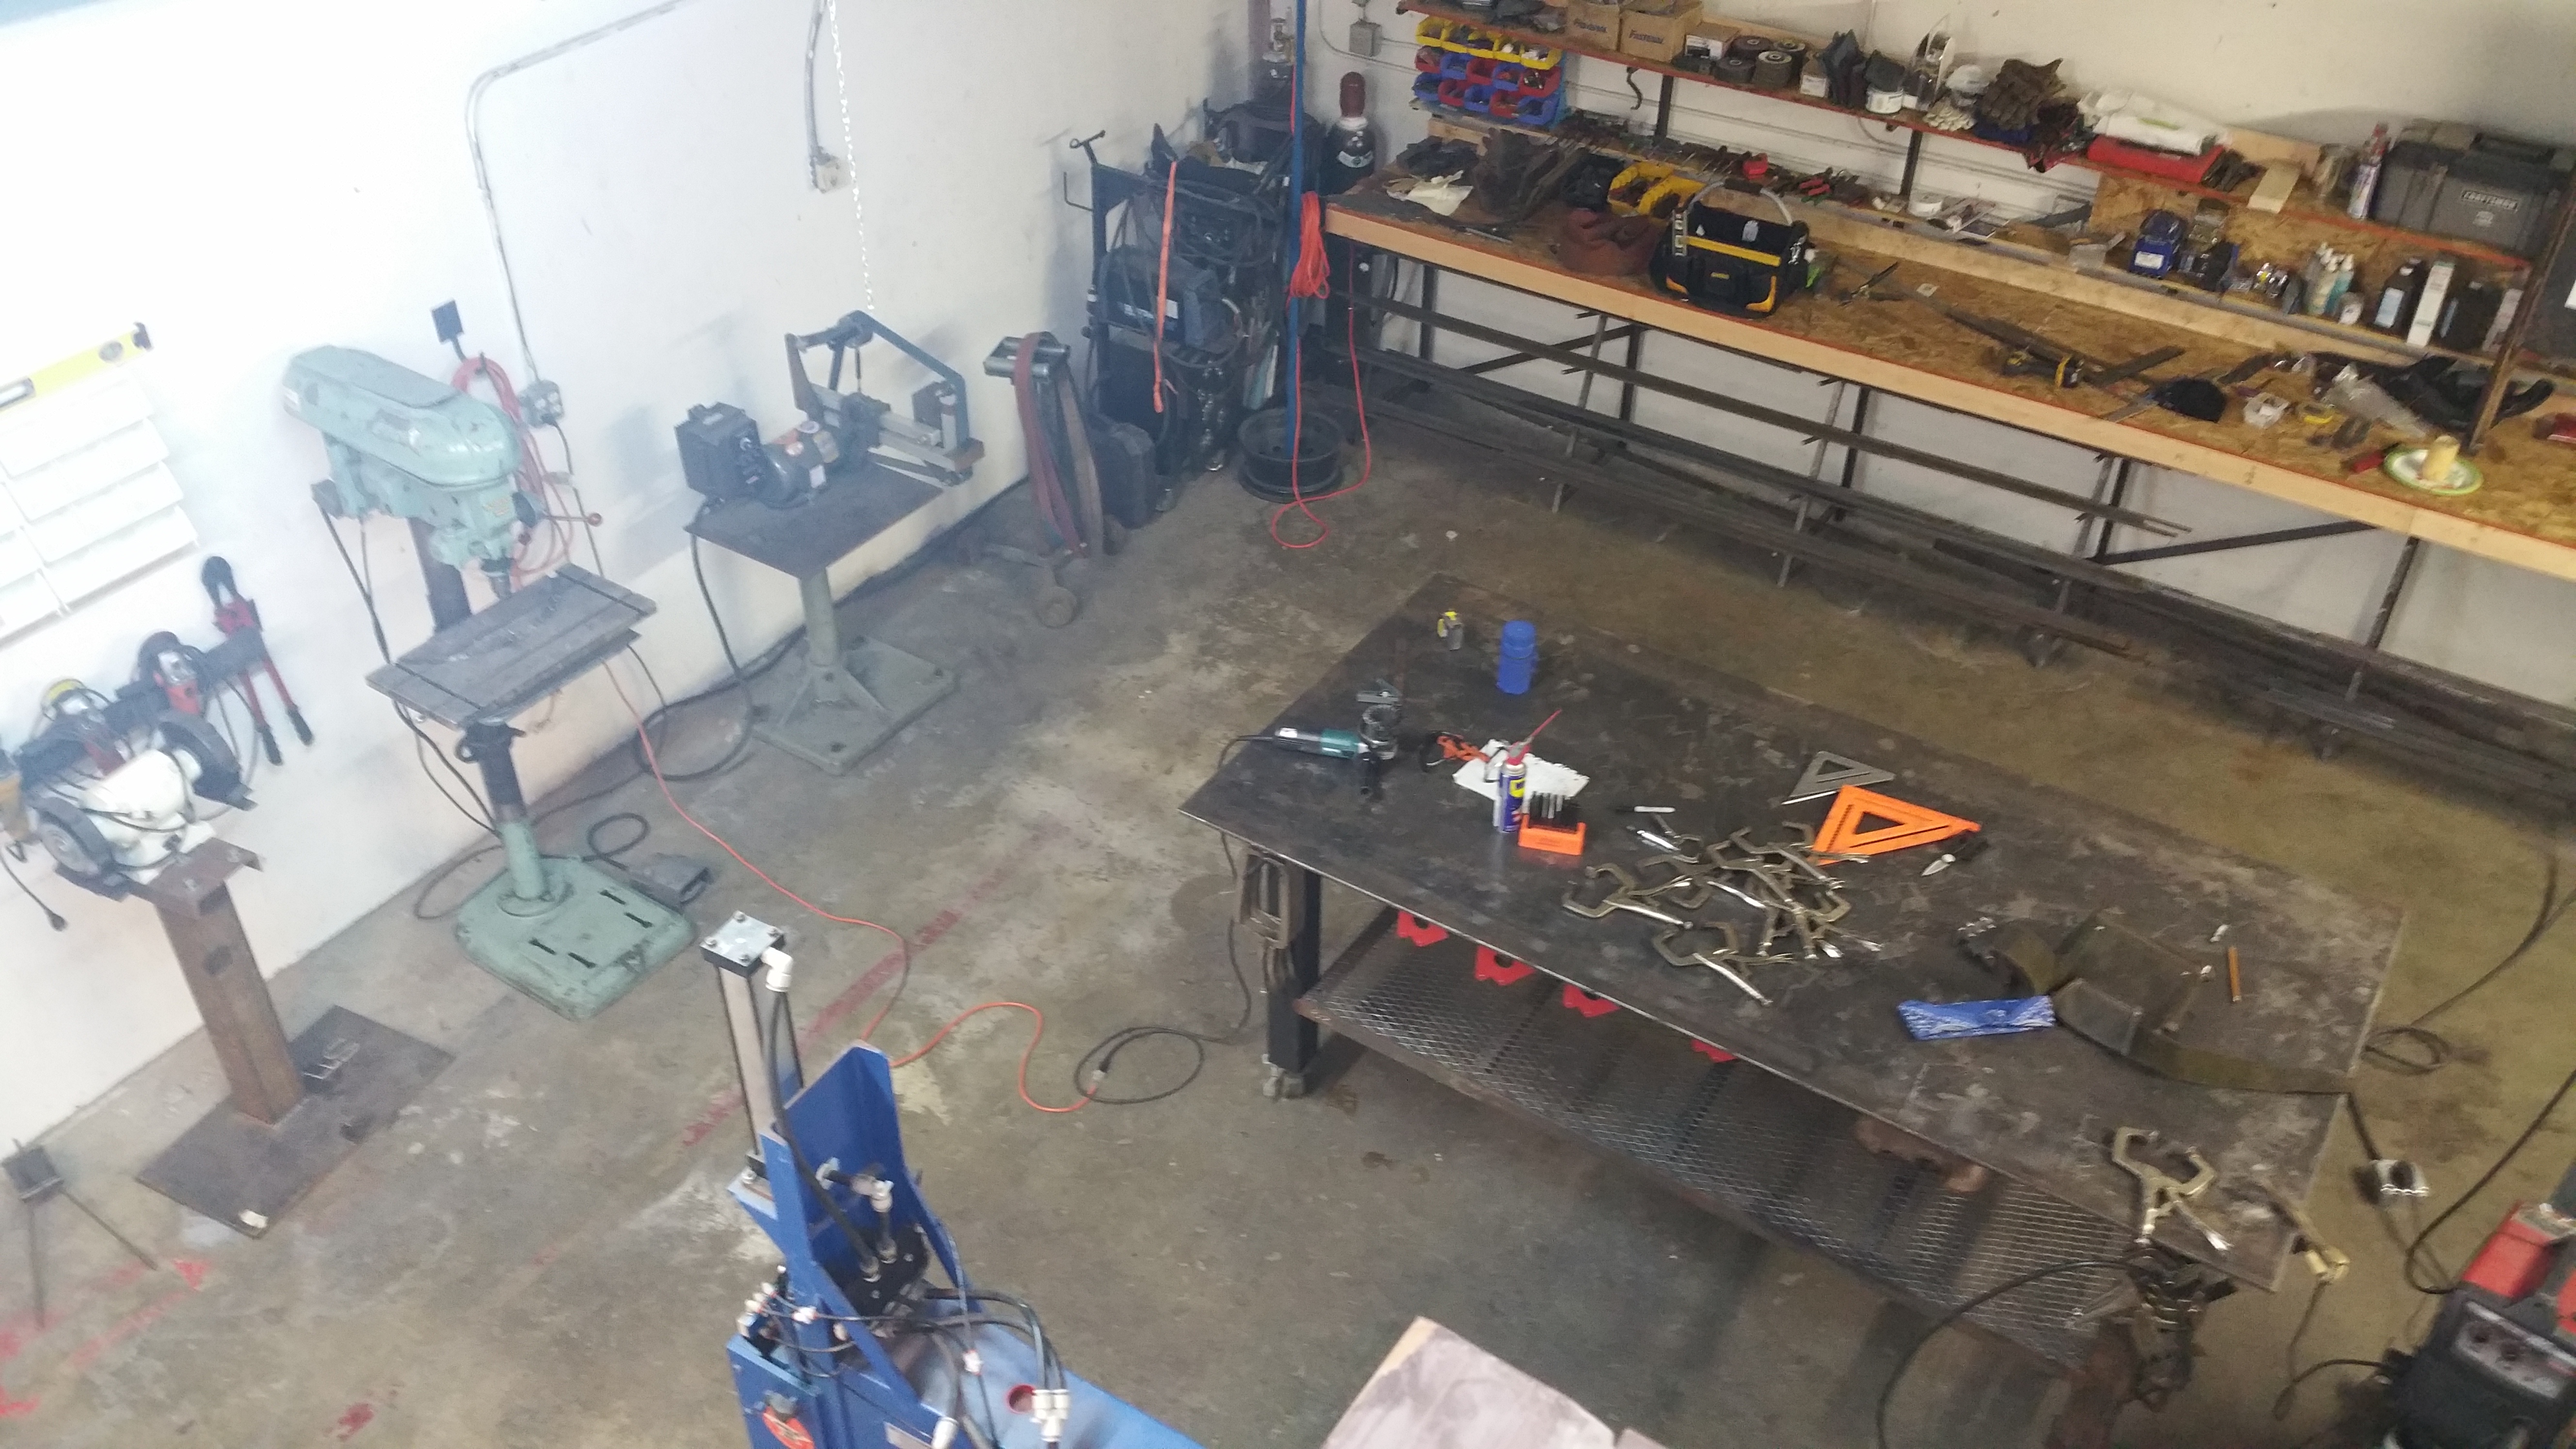
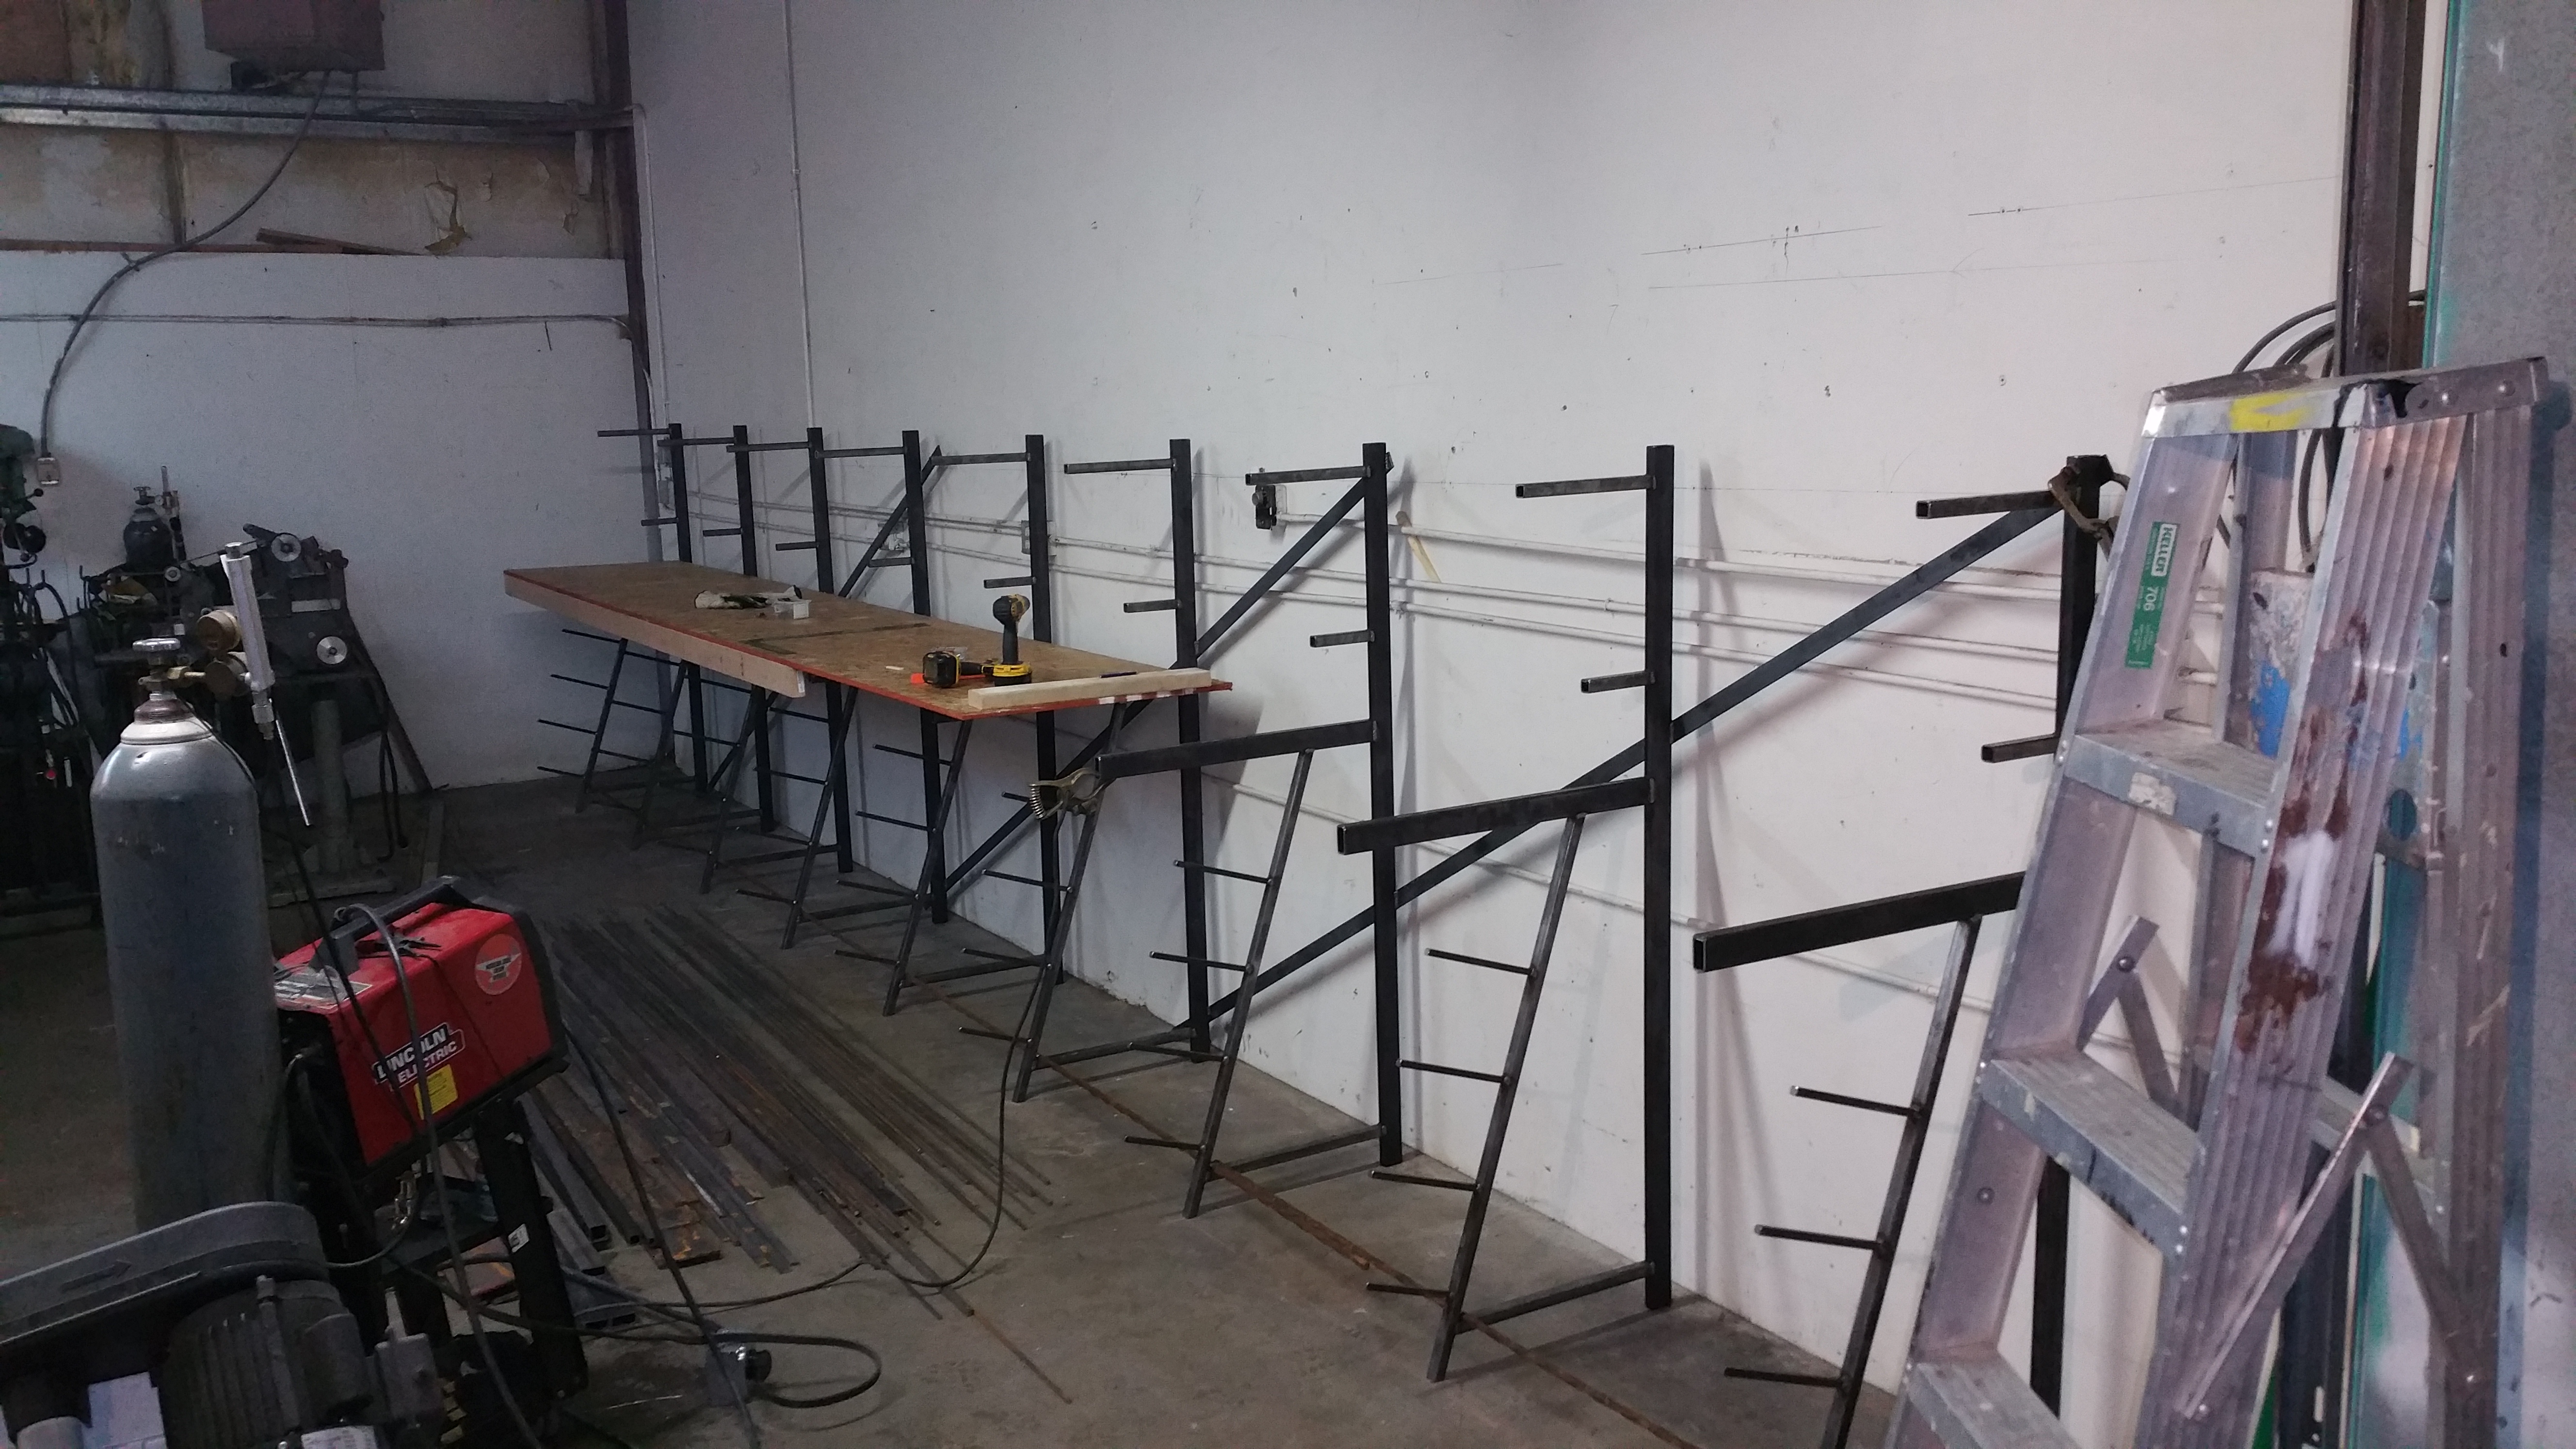
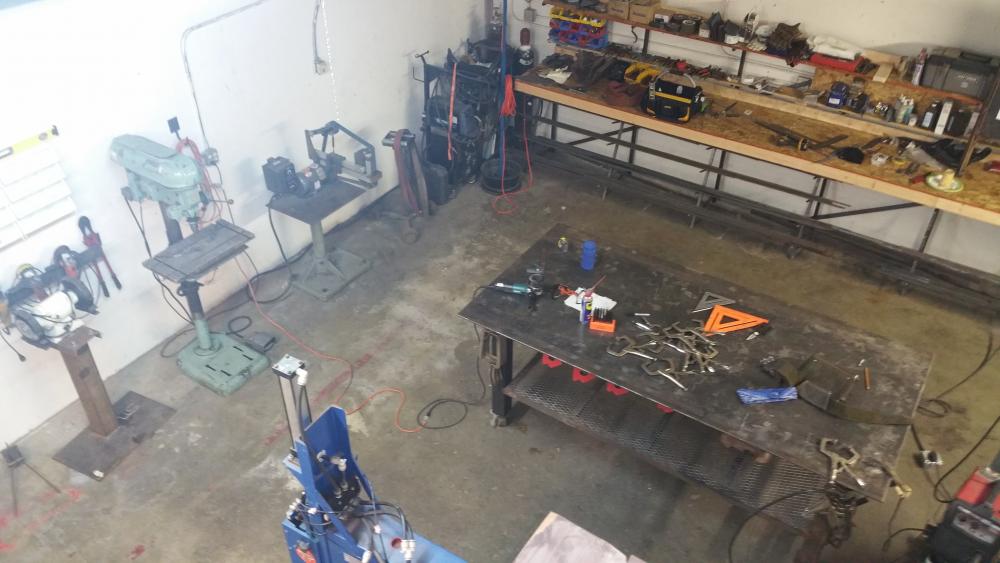
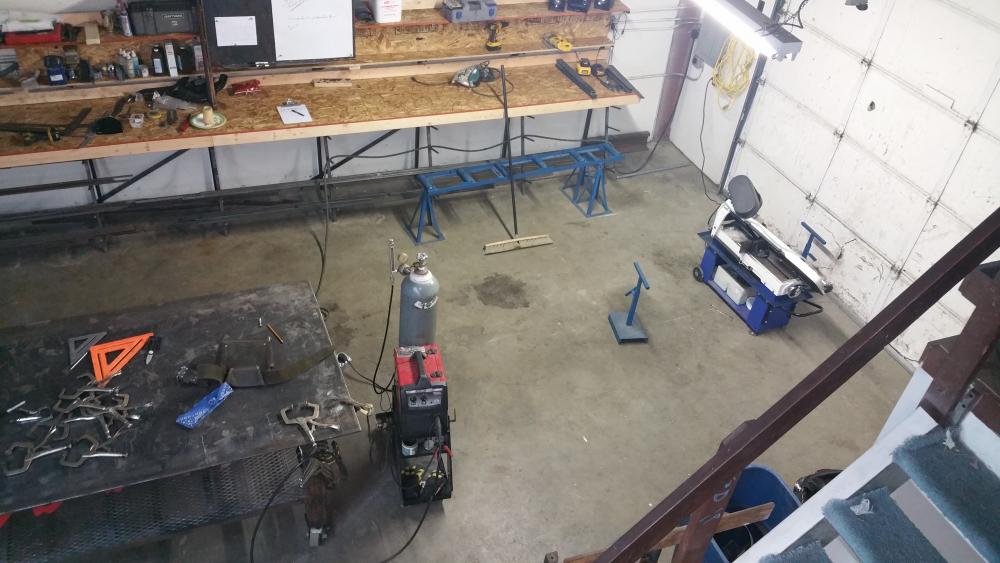
This is my current shop. It is a 30x30 with Office and bathroom that take up 15x10 feet which leaves me with an L shape. I am standing on the loft above the office/bathroom and snapped these pics working my way clockwise around the L shape. but these pictures are 6 months old so I will have to take some current ones because a lot has changed. i I built these custom shelving brackets because I needed steel rack, work bench, storage shelves all in one


-
They also said artificial sweeteners were safe, WMD's were in Iraq, and Anna Nicole married for love. lol. Yes naturally aspirated. The numbers may say 1 will work but I know of no blacksmith or forge company that uses only one in a forge a forge that size. Even if it did a 4x4 would heat a slightly bigger forge while burning less fuel. Ironically my very first forge was about 320 ci and the first thing i realized was I needed to install a 2nd burner. My experience says it dose not and will not. There will be a good hot spot about 3" around but the rest of the forge will not have the same heat. I do production work I may have up to a dozen pieces of steel in the forge it would never keep up, even 4-6 burners still left me with not enough heat at the ends of my forge. I also forge a lot of big handles from 1" bar stock that will have a twists up to 15" long, no matter how many or any configuration would be able to achieve equal heat using equal fuel. I had burners that I had bought for from a company that built forges and also use plans building them from pipe and bell reducers. The burners I had were 5/8".the forge I use now is 8" x 18" it took no less then 6 burners to get the same heat as 1 ribbon burner that is 2" x 12". Feel free to spend the same time and money I have. You will come to this conclusion...........venturi burners suck..........a whole lotta fuel. I can work for 30-35 hours on a single 100lb tank of propane. But all I can do is share my experience ultimately its your call.
-
Yes i am aware of these facts. But for lack of equipment and having a "lab" lol. I just tracked how much fuel I used every day and how I used a stopwatch to track the time I ran for. I did this for 14 days with each forge. The orifice on the venturi and ribbon burners were the same size by volume.( I had a 4 burner venturi) The only difference in size was the size forge the ribbon burner was 1145 ci and the venturi forge was 432 ci. To maintain the volume of fuel It took 4 venturi burners. But to heat the steel as fast as the ribbon forge I had to make the venturi forge smaller. I know its not all even across the board but I wasn't about to spend the money. I gained enough info to realize there was a very big difference fuel consumption. I could not tho match the fuel volume for the same size forge to heat my 1145 ci forge to the same consistency as my ribbon burner did it, took 6 venturi burners. So in conclusion. To heat the same size forge to the same consistency takes over at least 50% more fuel using venturi burners then if you use a forced air ribbon burner. I know use a forge that is almost 2.5 time bigger, I use half the fuel I did before, can heat larger stock quicker, with a far more consistent heat.
-
I have had 3 or 4 forges at this point. One day I got really lucky and a guy had a forge for sale on Craigslist. It was a Ribbon burner. Right now you can build you forge body, line it, buy a Ribbon burner, fan, pipe,.....ect and have a complete forge for about $400. My venturi forge had 2 burners, it was 12" long X 6" wide X 6" tall. It was costing me around $3.50 and hour....$30 a day. My currant forge is 18' long X 8" round with a flat bottom....it was made from a 12" piece of steel tube. So it is much bigger then my old forge. I get a good 16" of even heat. The cost is a little over half. It runs me $1.68 an hour So this saves me 50% on fuel. I am able to use it for forge welding, but have to crank it up to about 4-5 psi even then the cost is only about $2.25 and hour I know you can make a venturi forges cheap......but even if the average hobbie smith is smithing 3 days a month, they would save enough on fuel in 15 days or less to pay the additional cost of building a forced air ribbon burner. Should mention my results are based off using different forges for a few hundred hours of forging. So I have a pretty accurate result of fuel consumption. Another oddity... I found that the ribbon burner built by Pineridge burners seem to be more efficient then the ones I have built.... I don't know why but the guy has them dialed in and for $260 you can get a 4x10 burner. No... I don't have all the flow valve, safety, reset, pressurized, computer monitored emergency shut down call the fire department stuff on my forge. I have a 2nd shut of valve, 3 fire extinguishers, and I don't leave my forge unattended. Any way.... With money being such an issue I have a hard time with so many venturi forges being produced and talked about. I have thought of only one use for a venturi burner. I wanted a forge only big enough for heating the end of a bar.....have been doing a lot on tenons and finials lately. I am all ears tho.. and would like to hear what you guys have experienced personally. Not being rude but my results are very accurate and based on careful painstaking tracking of fuel use. I would fill my bottle every day and had a stop watch running, charted all my results over a 30 day period. So please give me solid feed back and not the "i had a buddy" "I heard of a guy" Thanks
-
Pineridge makes one of the best designed ribbon burners I have ever used. I am able to run the one i have at a bout 1.5-2.5 psi. It saves me thousands in fuel costs. I have cast a few different types but his is just more efficient. I don't know why and i am not willing to tear mine apart to see if i can figure it out. but for a few hundred bucks......I would just buy his
-
Why I stopped listening to experts
David Kailey replied to rookieironman's topic in Blacksmithing, General Discussion
I am not as worked up as it appears. I just have to find a "nice" way of expressing my displeasure...... lol....... so I may have gotten a bit wordy. -
Why I stopped listening to experts
David Kailey replied to rookieironman's topic in Blacksmithing, General Discussion
Wow!!!! I couldn't be any more saddened and/or outraged by your post rookieironman. I have not yet see someone ostracize and alienate the collective wisdom that has been established as accurate and true on this forum. The replies are well said and very much show an extreme amount of self control. Their is such a large amount of hypocrisy, confliction, passive aggression, dishonesty and horse poo in your comments, its hard to even understand how you could even post them. My 14 year old daughter could see the holes in your "story" been hammering for years/ am thinking about starting to hit metal. I went and read all of your 17 posts, you seem to ask a lot of questions but only from the point of discrediting the answers. I really feel like you have not hardly struck any hot iron over any kind of an anvil. But instead you are looking for some way to flex those "degrees in engineering" you claim to have acquired. Everyone I have interacted with on this site has been forthright, honest and good natured. Look at the response you have elicited........ you may not be able to see it but you have done a terrible thing. I grew up in Montana...... and if a guy got outta line he usually got tuned up pretty good, sometime even had to pick up a tooth or 2 off the floor. You my friend are getting tuned up, only the collective wisdom on this sight has a strong code of ethics and sticks to upholding the rules on this sight. Sadly I think that you will never understand how big of a mis-step you have taken because the rules don't allow you to ever hear it. When one is seeking information you show humility. You show thankfulness toward those who took time from their day to try and help you. You ask questions to get clarification, expand your understanding as to why they choose to do what they do the way that they do it. I can not stand it when people spend so much time learning all they can about smithing and that it will be impossible for them to ever be able to do it. Because their concept of what it is, is so skewed they can never meet the self-induced expectation. Or they are so focused on having all the "right, equipment, forge, tools,...ect" they become paralyzed and take no action to actually forge something.....anything..... but they need a release, so they instead just spew rubbish on those of us who don't know everything and NEVER CLAIMED TO!!!! But I will tell you what we do know, we know how to light our forge and swing a hammer on hot iron, how to be humble, who we are, and how to treat others and show appreciation. You owe this forum an apology. Humble yourself, apologize, and be a better version of yourself, contribute don't just take. If this is not possible for you I would ask that you remove yourself from Iforgeiron and go find a forum better suited to your needs. -
with a nail lol
-
Really Frosty..........Ribbitted..........must a been a hard winter up there. lol
-
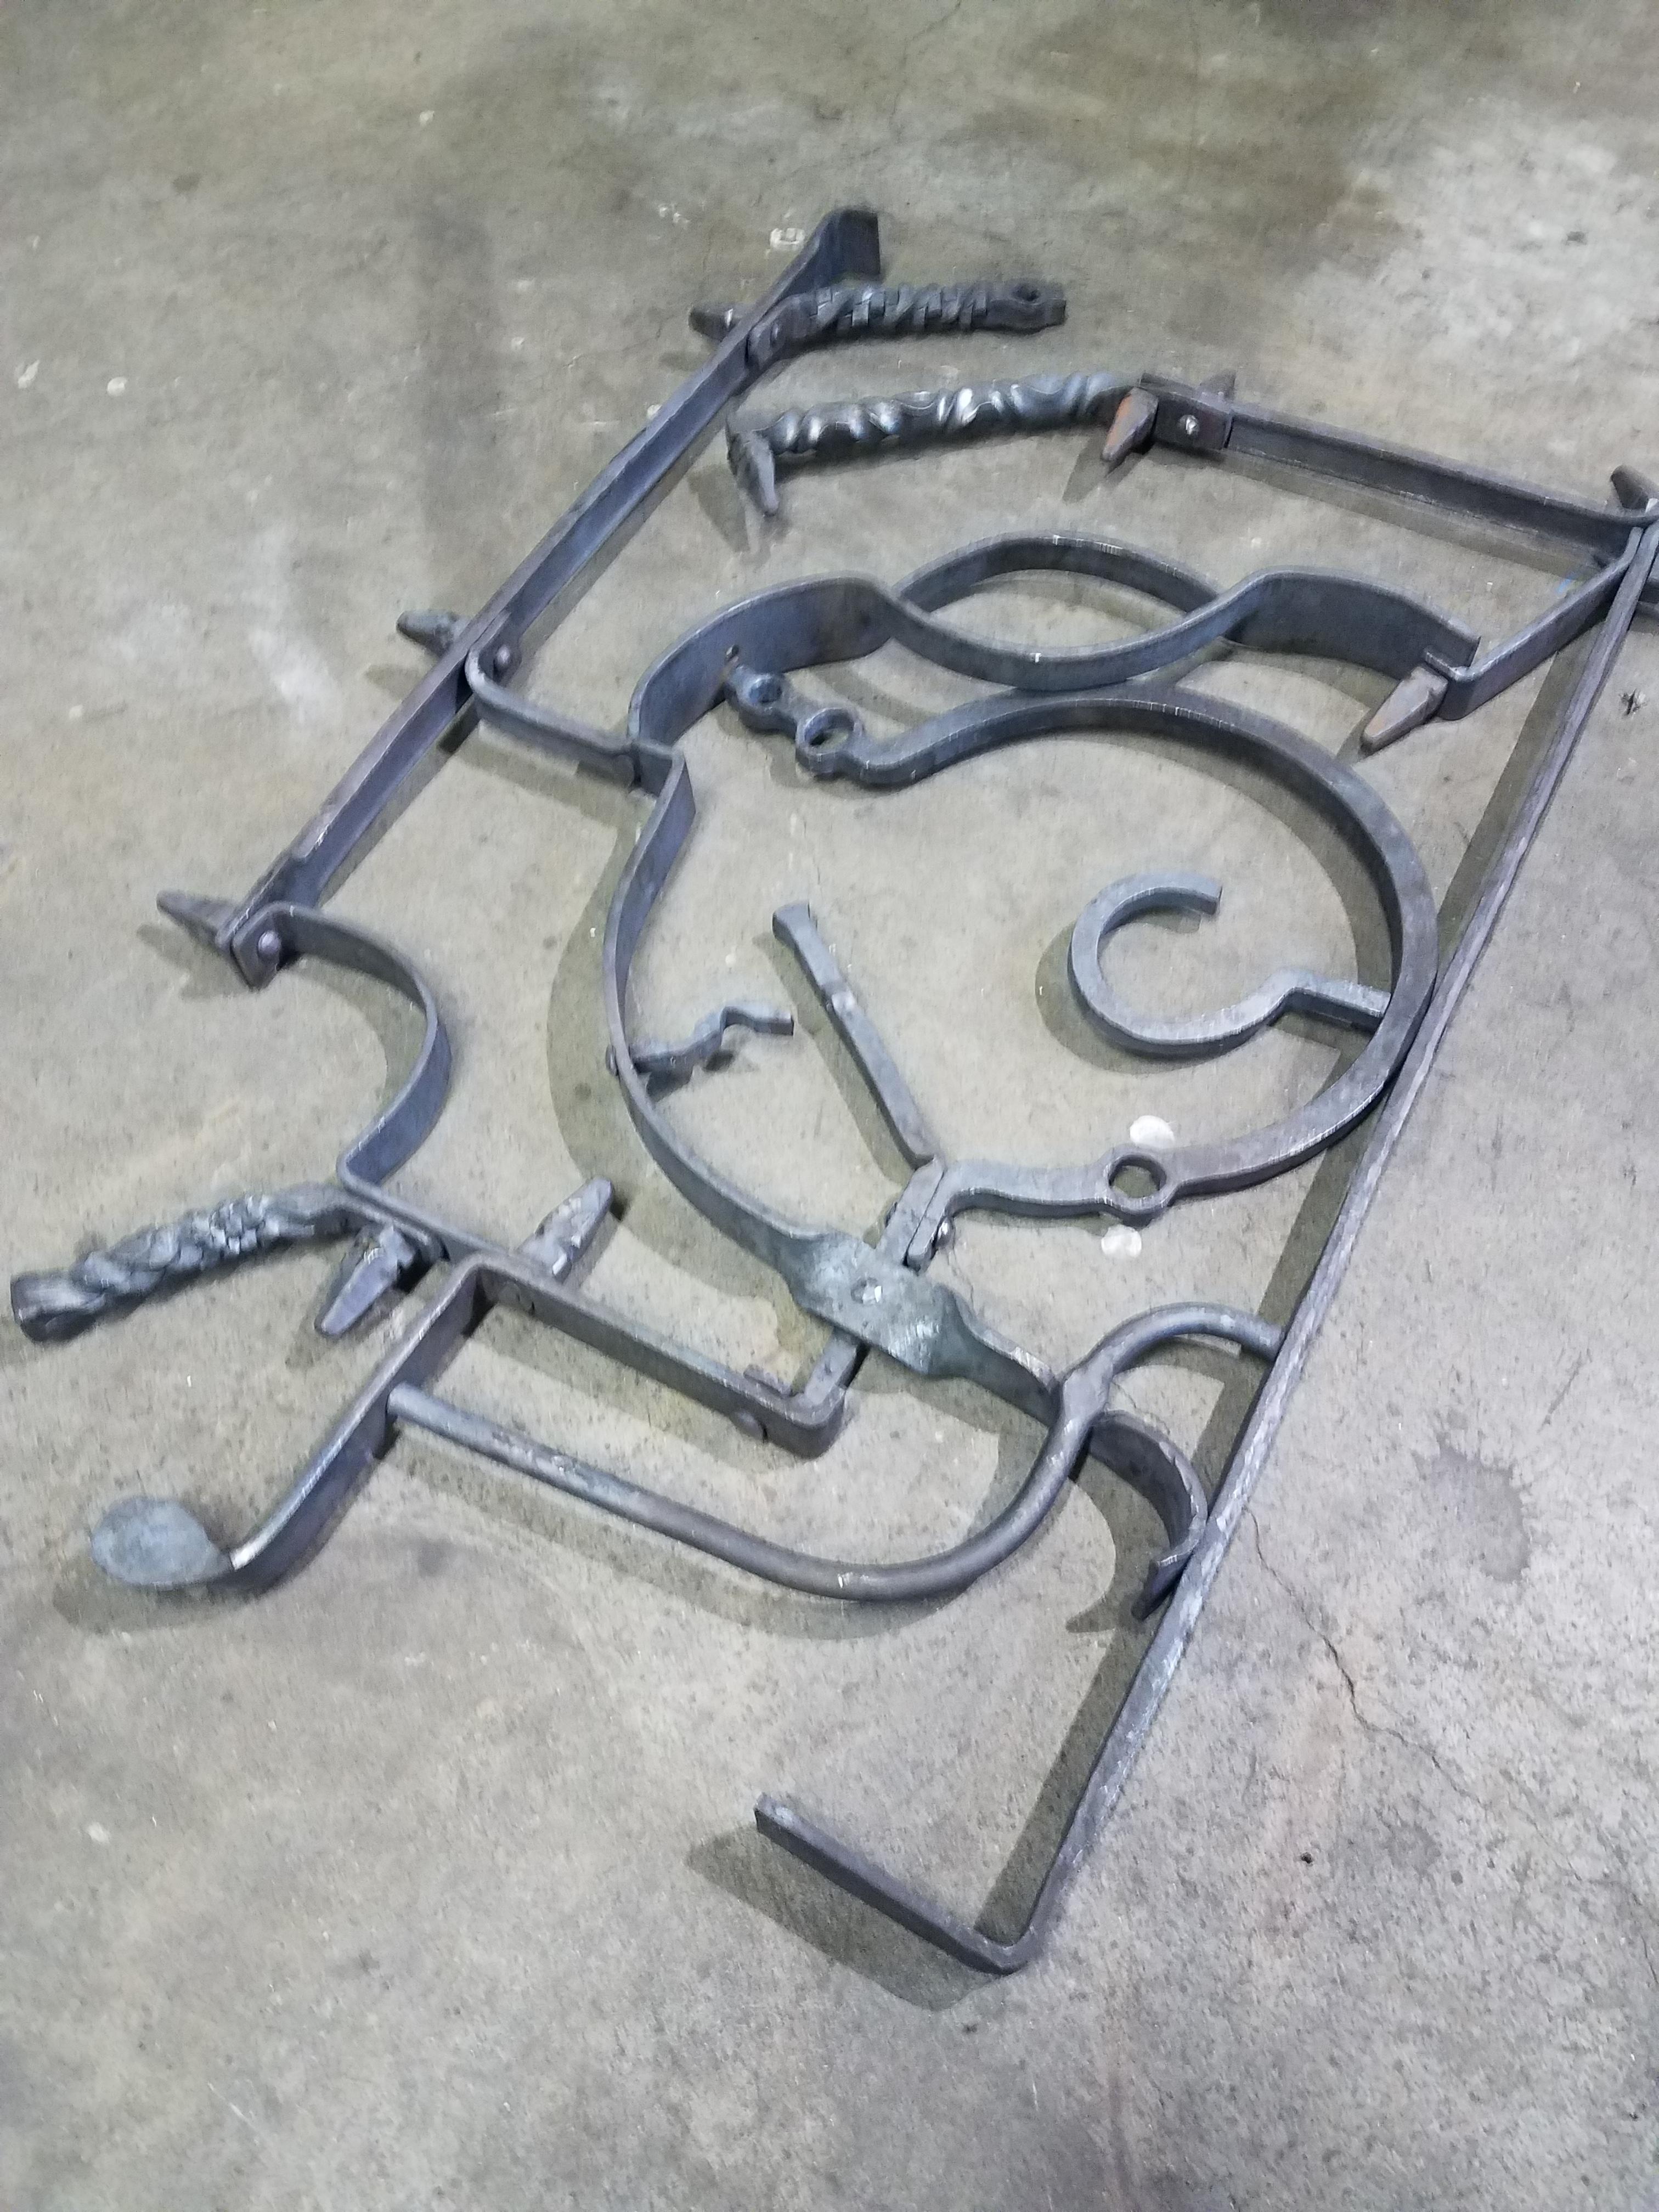
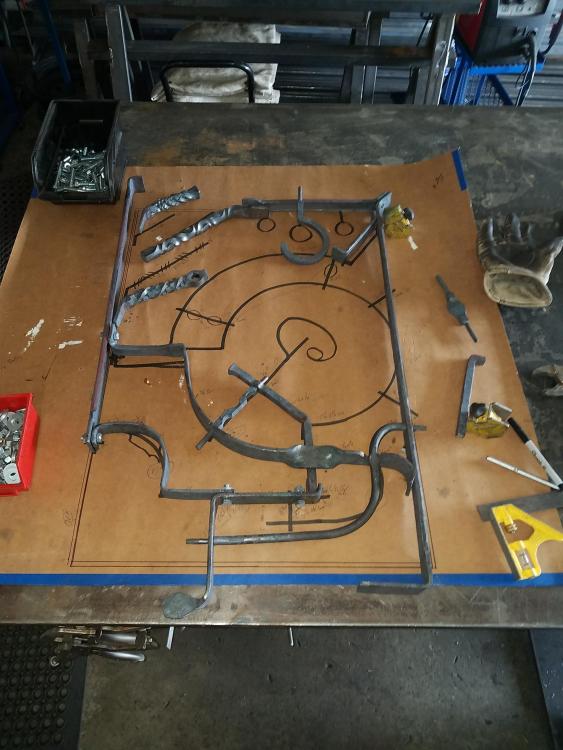
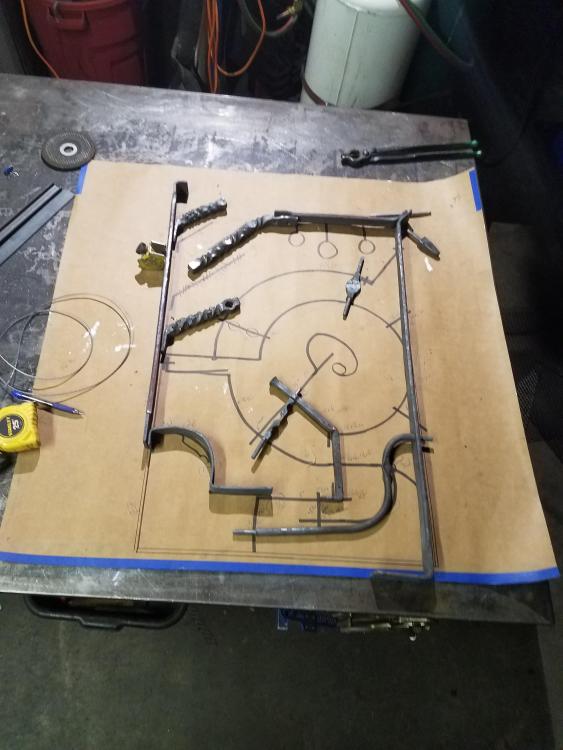
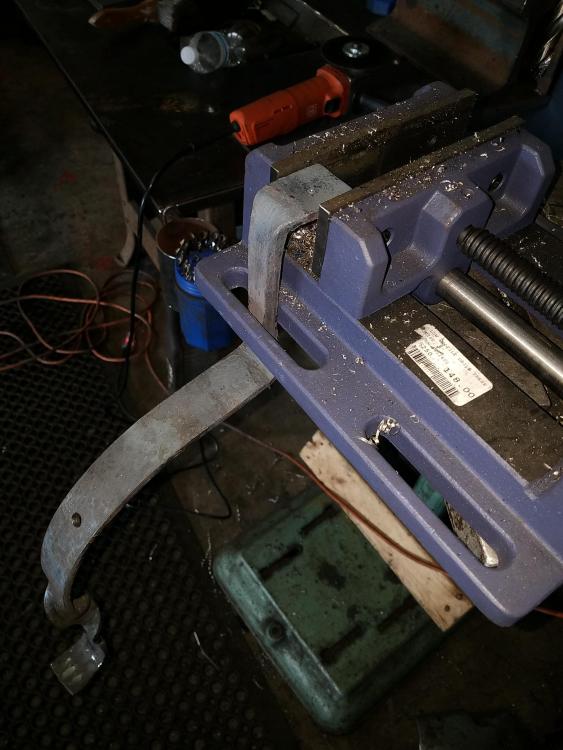
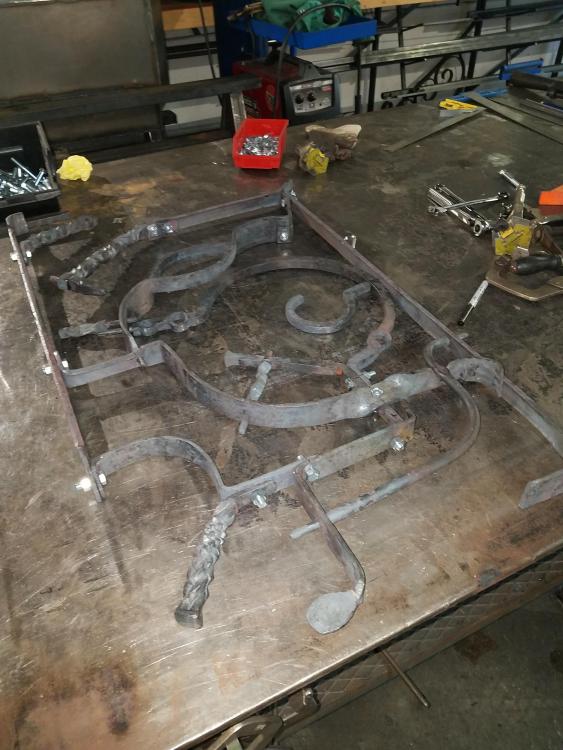
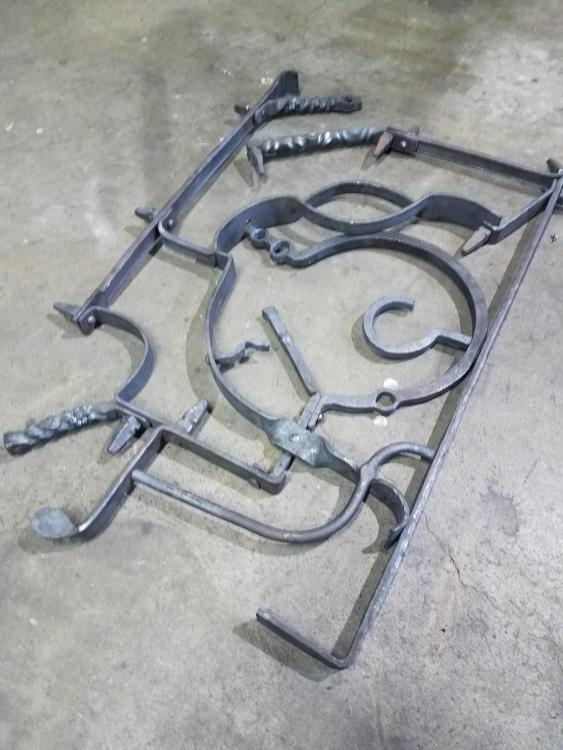
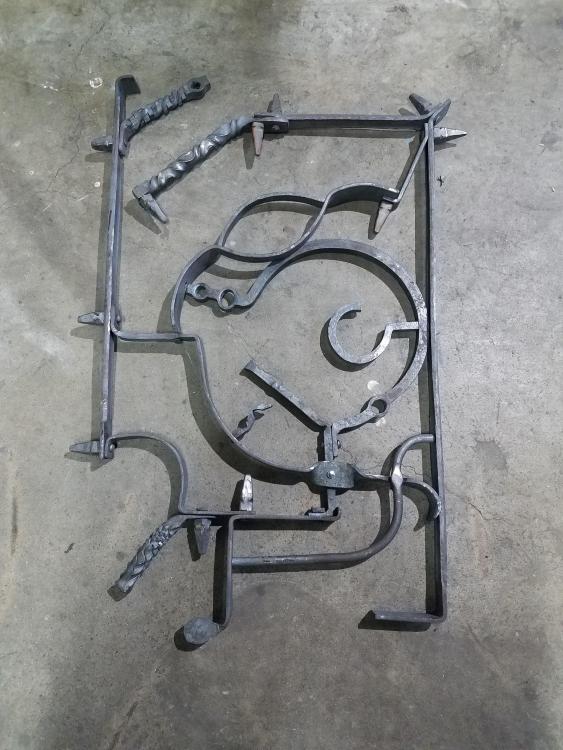
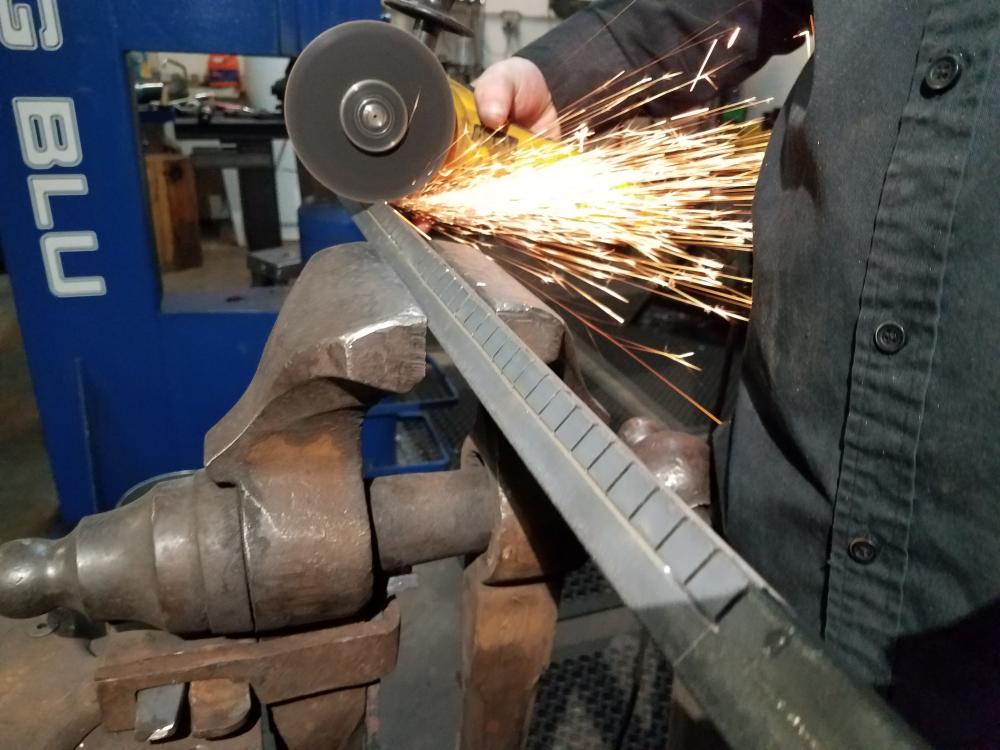
So......I suggested "wall art" in the, what can I make page. 14 hours later this is what it got. I am calling it "Remnant" Because it was forges out of failed pieces and left over drops. We all have that pile of short steel that we hold on to because one time 9 years ago we needed a 3" piece and had to cut into a fresh 20' stick.....so now we don't throw anything over 2" away........but we never really use much of it.....well my hoard was growing and starting to attack my shop space with ill intent. I drew this project up about 3 years ago......and it was time to get it done. I wanted to have the assumption of a frame without the frame. I wanted tenons, drifted holes, dog boned flat bar, curves, upset corners, twists, hard and soft lines and lastly........some obnoxious riot gate rivets. this piece is about 21" across by 38' tall, weight is about 35lbs. The 3 frame pieces are 3/16" x 1 1/2" I upset the sides down the length of the stock down to 1" left about 1 1/2" untouched at each end, this gives the steel the appearance of being fullered with wide grove. I had some twist experiments so I forged a foot to mount them and riveted them on. I then forge chunks of 1/2"-3/4" square, 1"-2" x 3/16"/ 1/4" flat bar and a round bar scrap. At any rate several hours of forging later I have all my parts done and bolted the entire piece together and made some adjustments. Because of the theme of this piece and the fact that I wanted a dark steel piece I only wire brushed the pieces by hand while they were hot. I don't want any burnished silver metal on the piece. Here is my sketch which i altered a lot.......its art, and its mine.....so I can do whatever I want. lol. Anyway moving on. Here I have forged several pieces and decided on a rivet that i really like. Its in the top right corner.......I ended up making 11 of them but one had to be cut down. At this point a lot of thought and planning starts to slow down progress, each piece now is associating with not just 1 other piece but 2,3 and even 4 other pieces. Everything must work together. I use bolts to fasten the pieces tightly together so I can make small adjustments as I forge new pieces. this makes assembly must faster and I have less alignment issues. Due to the nature of the pieces I had to get creative with my ability to drill nice, centered, and useful holes. lol. I always wondered what that slot on the vise was for. At this point all the pieces are forged and bolted together. I really had to pay attention now so I could rivet and peen my tenons in the right order. With so many over lapping junctions and pieces if not assembled in the right order some of the fastening points would be unreachable. During assembly one of my tenons snapped of.......ah crap......I simply plug welded it the welded the tenon over the lug weld and peened it over like a normal tenon.......lol.....if I had not said anything you'd never notice...even if your got really close. But I learned a new trick........you "purest".... just relax its not the end of the world. lol Here is the completed piece. I used a torch to spot heat sections and make adjustments to bring everything back into alignment. It was a fun project and I learned a lot from it. If i do anything like this again it will be better and easier. I got to use 11 big, obnoxious, gody, rivets!!!! That really is the point of these monthly "what can i make" it to get you in the smithy forging. If your forging, your learning. Push yourself outside your comfort zone and see what happens.....there are no , knowledge being gained and that is what allows us to say......."I forge Iron" have a good time and make some wall art!!!!!!
-
works for me.....mostly I just dont wanna see any dust on your anvil. I posted the full description of this project in the members projects area under; MJI Wall Art "Remnants". but here is a taster.

-
I was offered an opportunity to submit several items to a higher end Hardware Retailer. So I forged up some different styles of handles, knobs, drawer pulls. Here are 4 more handle styles I made. It would be great to have a nationally known company start retailing custom forged hardware.

-
I think we should forge art that hangs on a wall. Anything goes so long as it can hang on a wall.
-
Wall hook, first project on a proper forge.
David Kailey replied to Desmond Redmon's topic in Member Projects
Desmond, Proper Forge......... Don't let anything stop you. I have met a lot of people who know so much about smithing its amazing. But they have never struck a single piece of hot steel. When ask why......Well I dont have the right stuff. You don't need a proper anything to forge steel. get some brick dig a hole, line it with the brick around a pipe and get a hair dryer from a thrift store. I used this as a forge for several month and beat steel on a chunk of rail road track...... your work looks fine, but honestly if you want to learn and get better you need to keep forging. good day my friend. -
You can hot chisel it also. An 1/8 inch is good. Oh and yes all 4 sides have a line that is groved with a cut off wheel or chisel
-
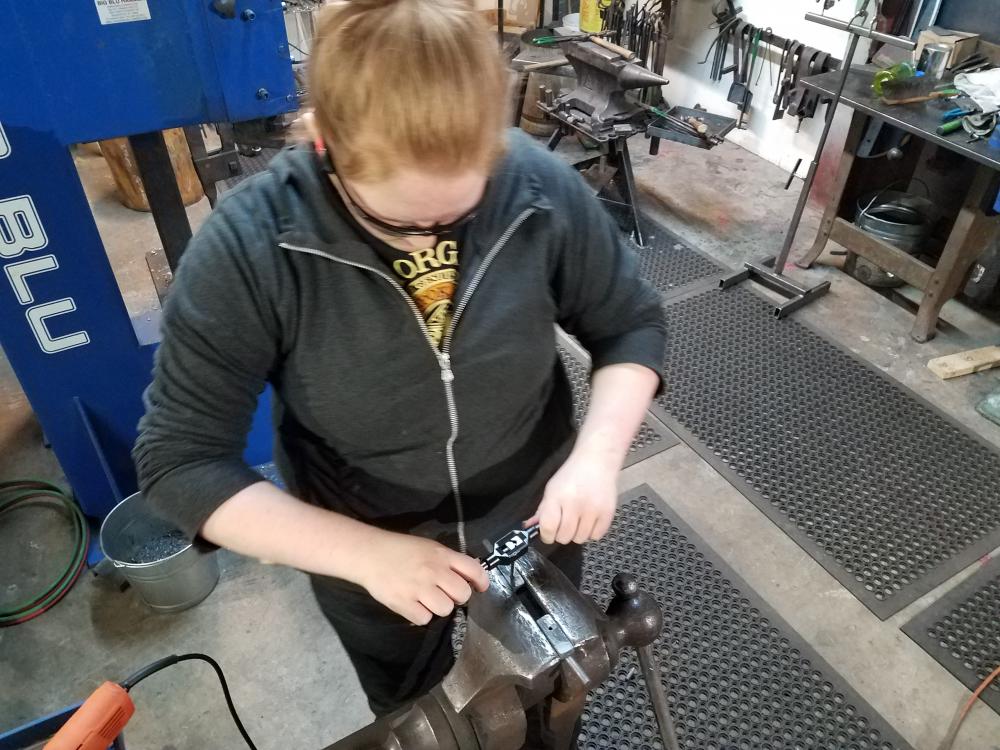
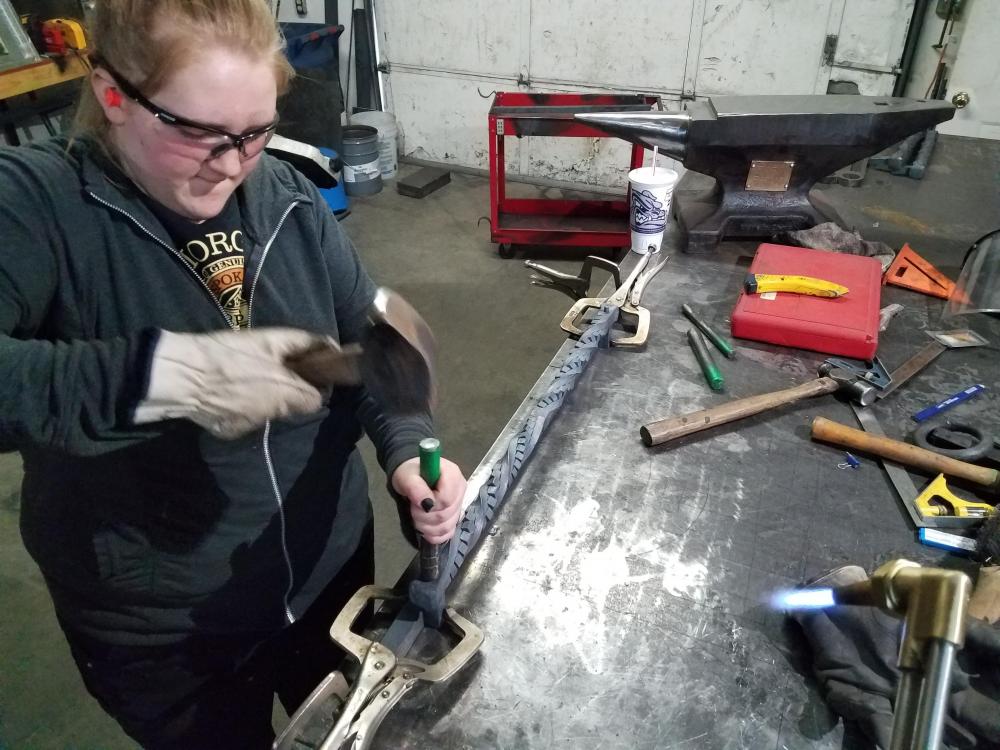
I find that using a flat wired brush and giving the steel a good hard brushing is usually enough to take the edges off, making the handle not as harsh. So I try very hard to index the mortises as perfact as possible while the steel is hot. But in the picture were my daughter is heading the rivets, you can see I clamp a piece of iron to the table then clamp the standoffs to that piece of steel. I heat up the tenon top and bottom and then upset it. This keeps everything properly indexed, even if my twist is off just a bit the standoffs are tight and perfectly aligned with one another. Bandsaw, hacksaw, sawsall will all work fine. Thereal key is making sure you cutnthe cube lines all the way down to the parallel lines running the length of the steel that is what gives you thenice clean separation, I am very happy with the life of that tool its was only $70 and I really do abuse the grinder that gets designated for the cut off wheel, I have5 grinders cause I hate switching discs, so I have a gri der for every disc I use.
-
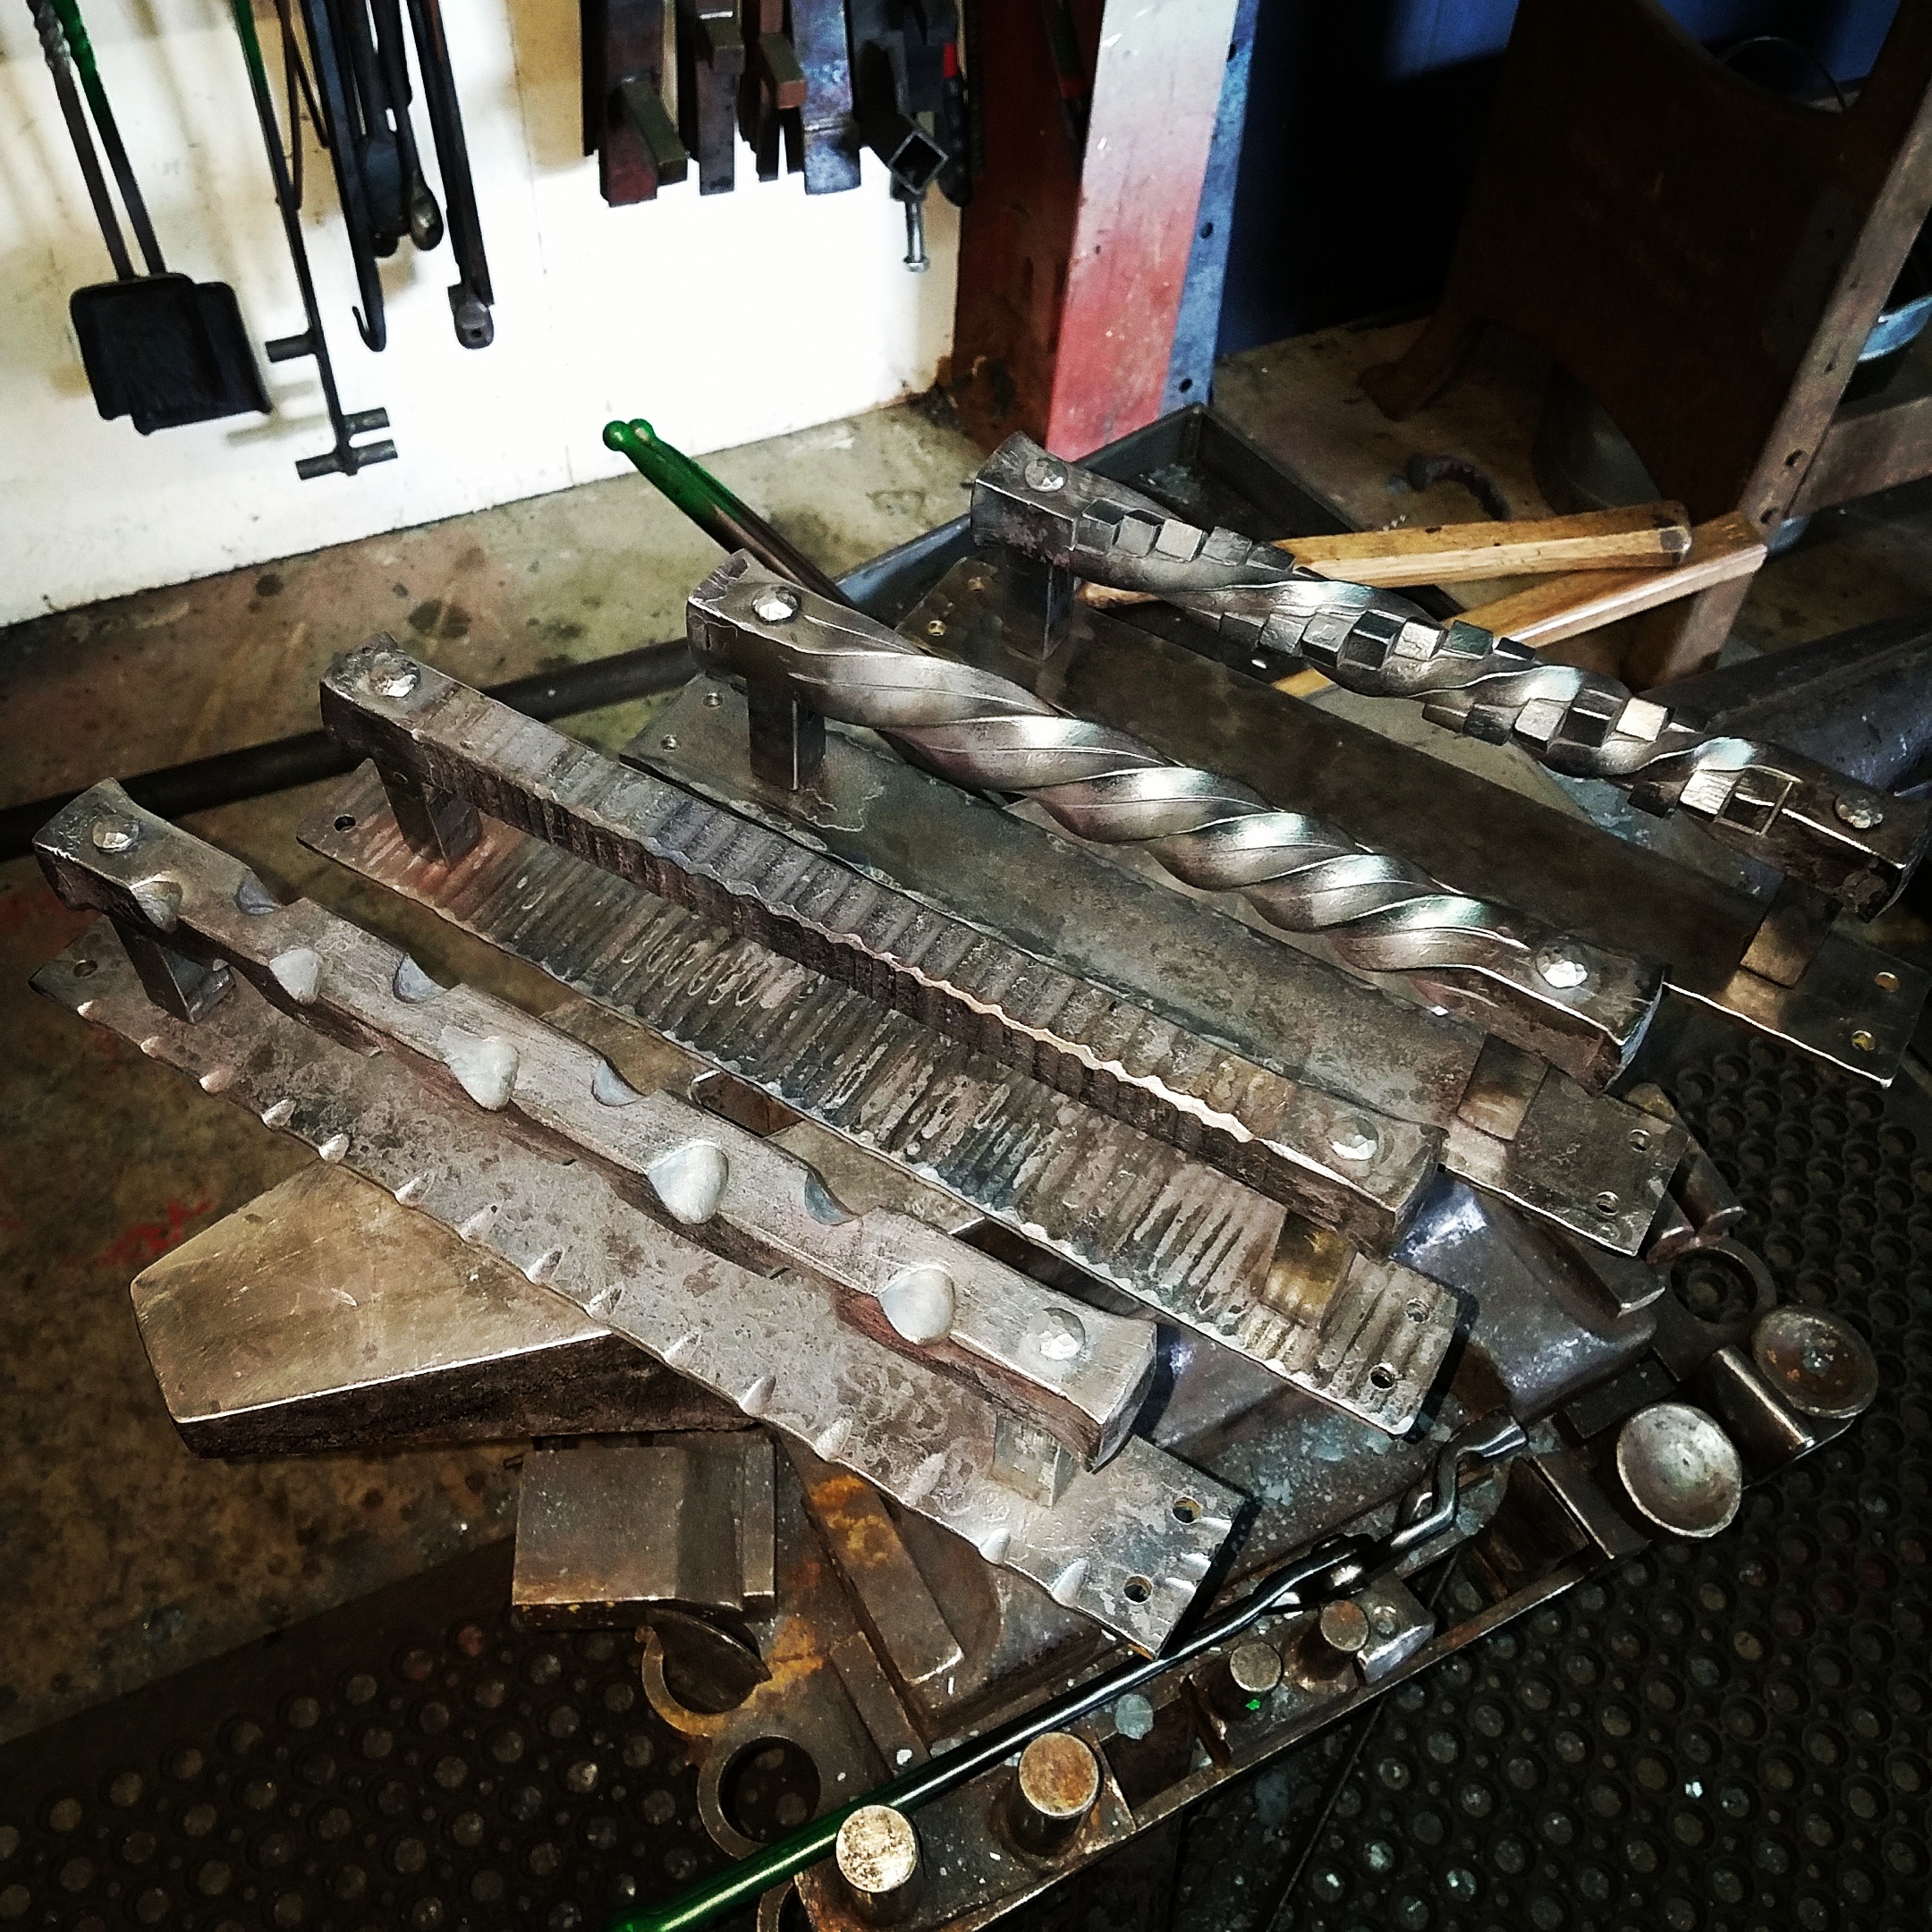
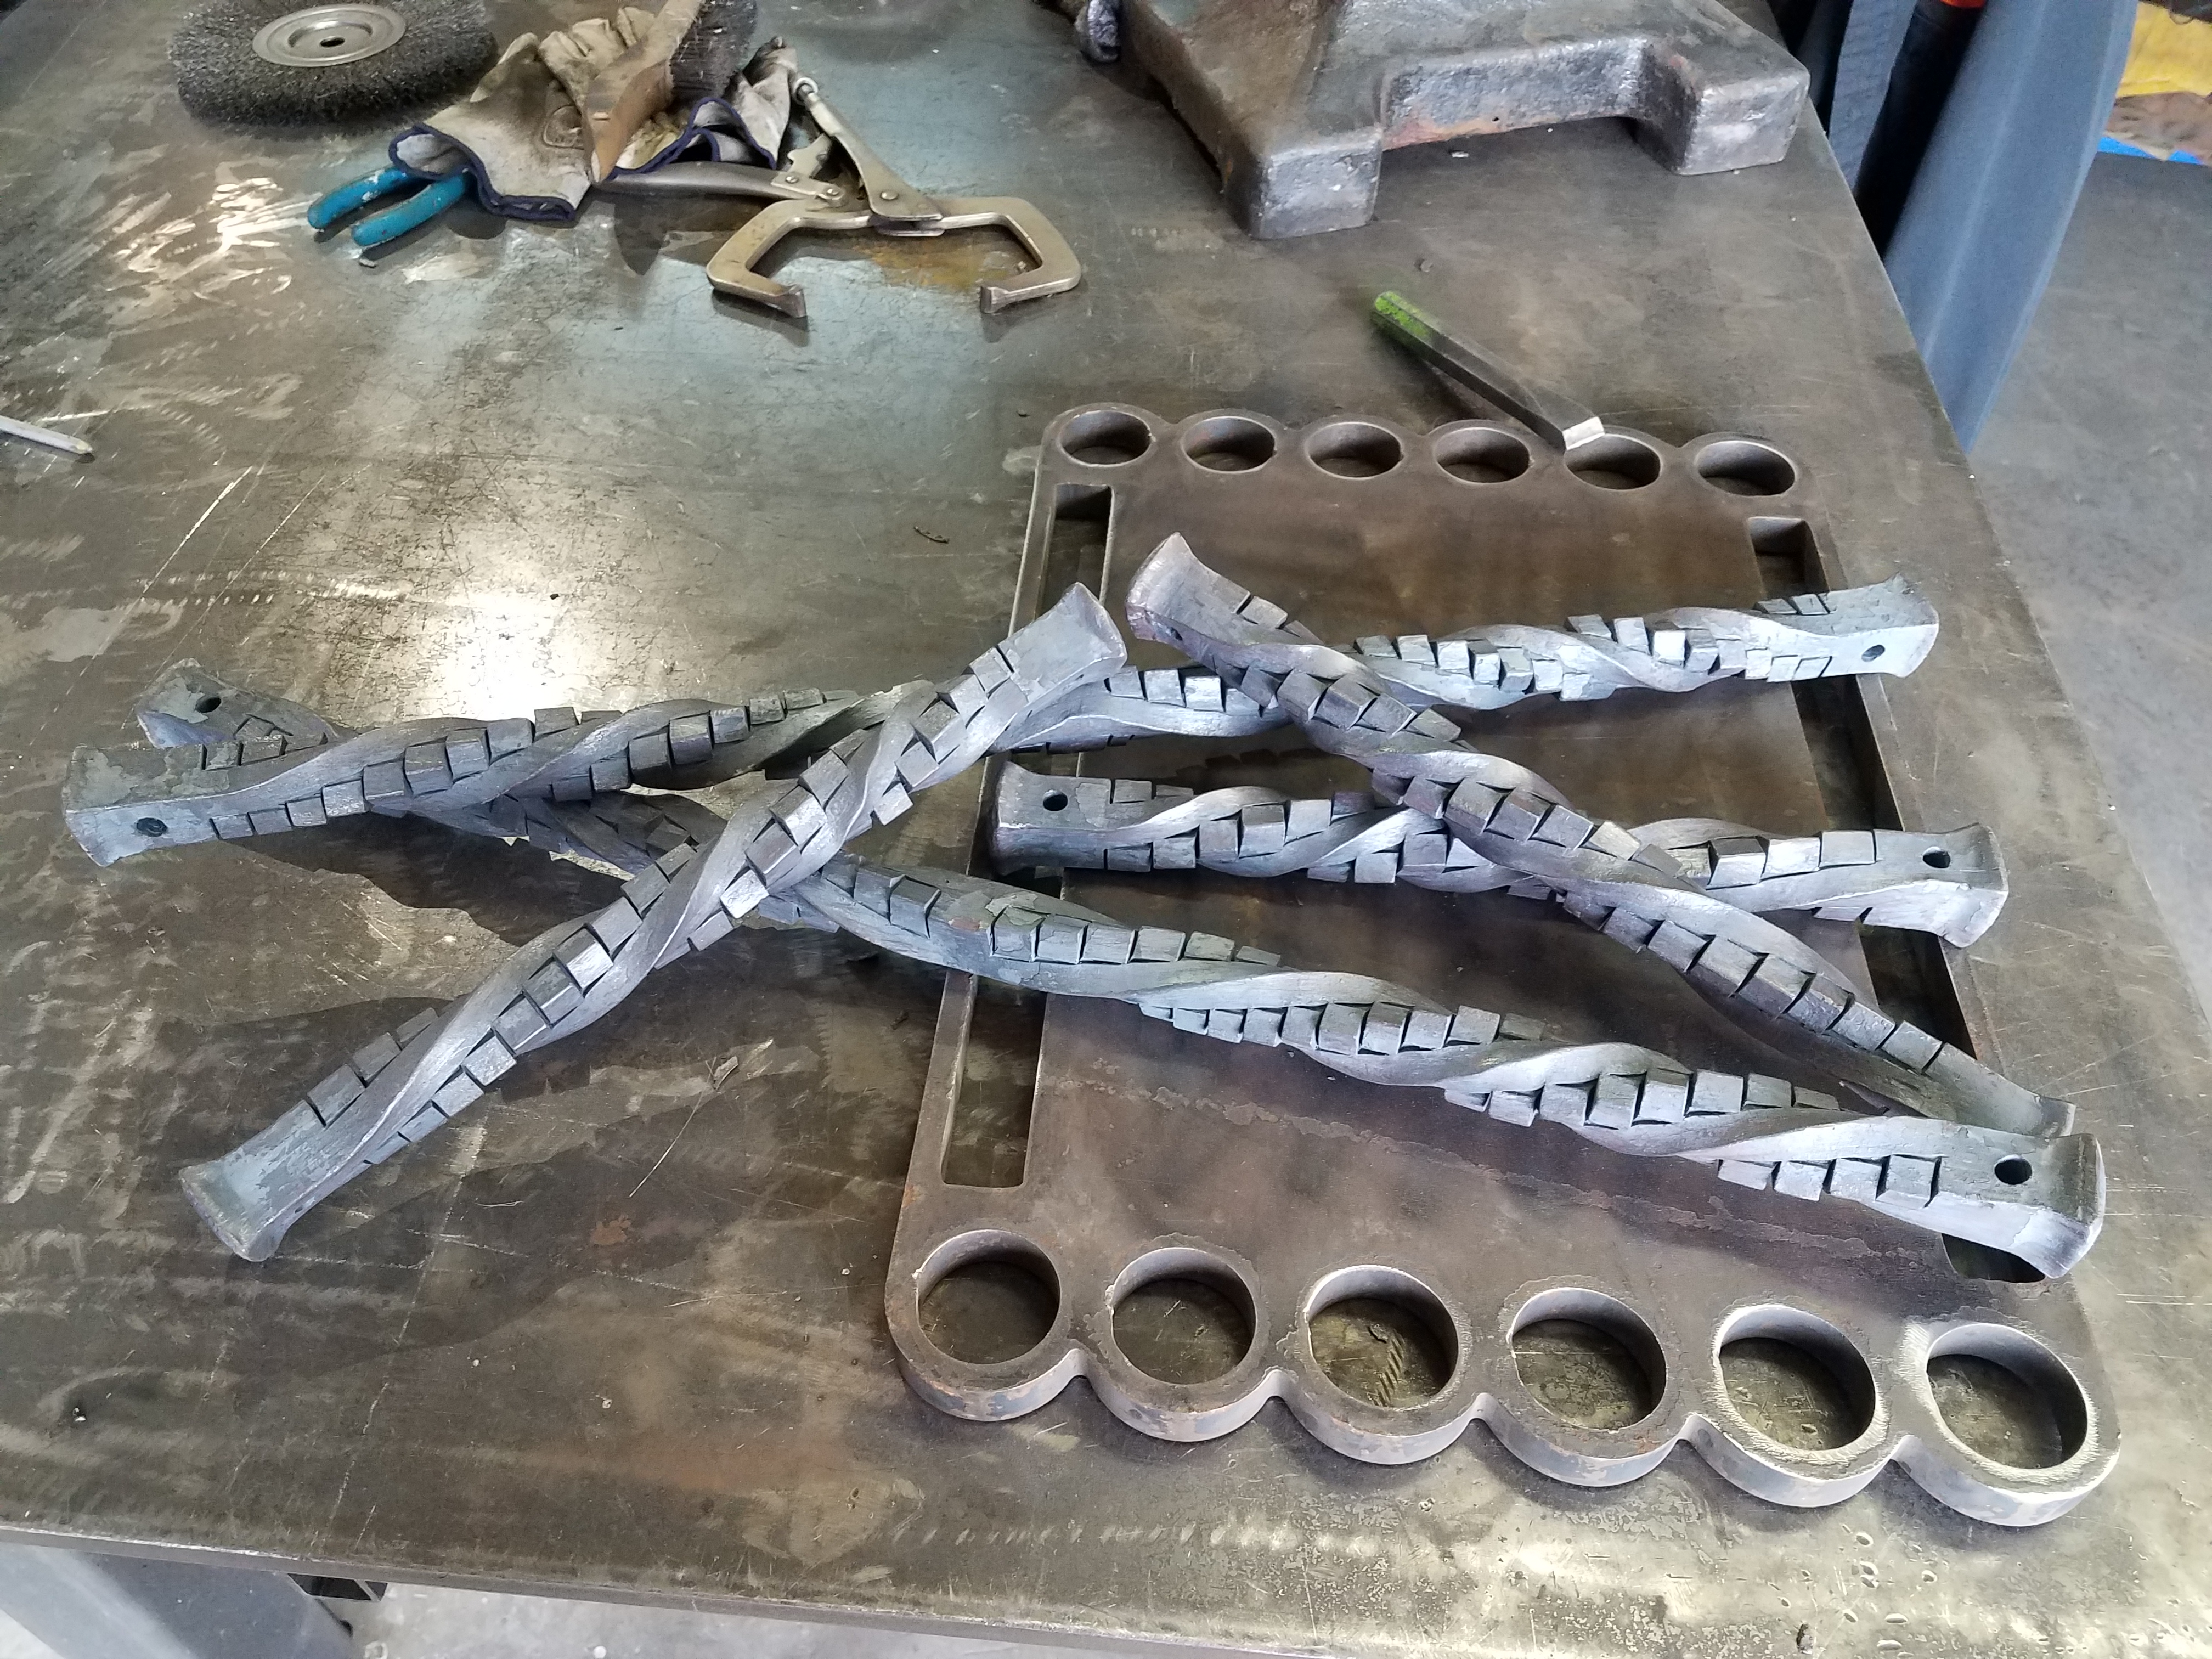
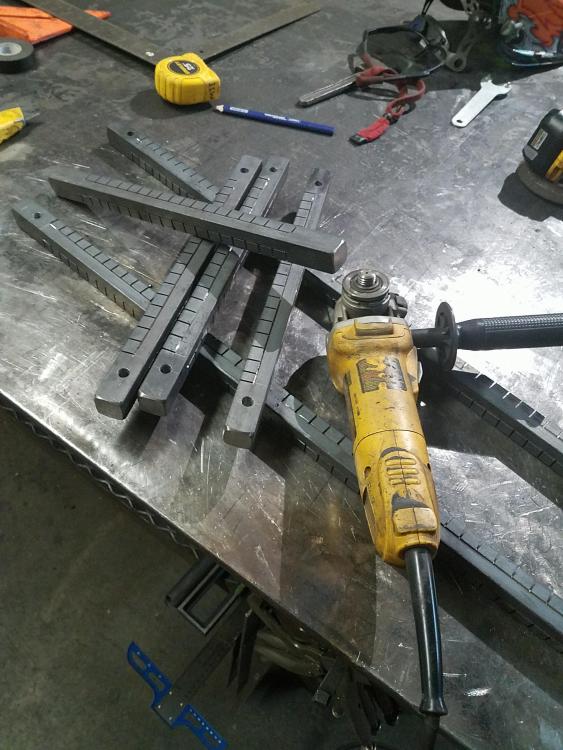
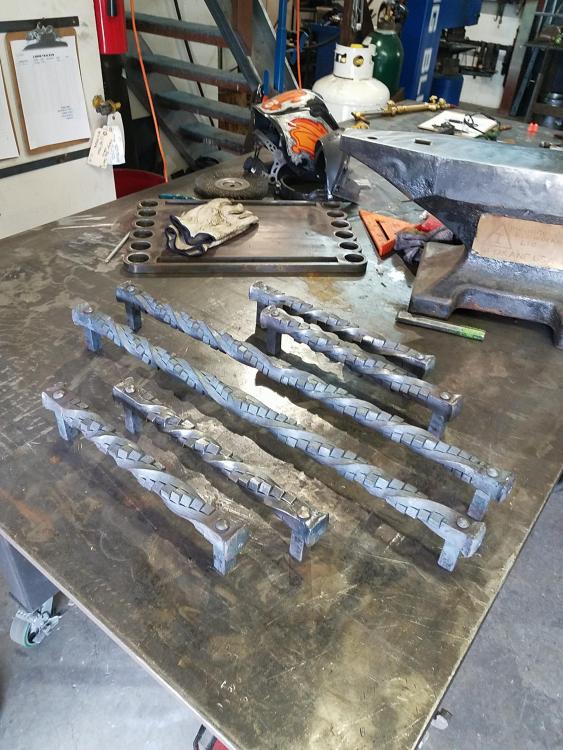
These are 6 handles a customer from Phenix ordered. 4 of them are 14" long and 2 are 28" long. all made from 1" bar stock. The standoffs are made from 3/4" bar. Each bar was cut an 1" longer then needed I drilled the mortise holes, then upset a 1/2" on each end, i ran my 3/8 drift back thru the holes as they got a little deformed during the upsetting. Using a angle grinder w/ a cut off wheel I cut all my lines in for the twist. From there it was just a matter of hot twisting the bars, forging the tenons on the standoffs. I went with my normal 1/2" of material to forge a 3/8" tenon which usually gives me a 1 5/8"ish tenon.......i realized after the first one that i should have adjusted that because they ended up being over 2 1/4" long because usually i am using 1/2" bar and not 3/4" but it was not a big deal to cut them down. My daughter Mady helped out drilling, and tapping the standoffs, then peening over the tenons, and using a rivet header she made to give them a more uniform shape. She is a good hand to have around. I showed her how to drill and tap one off the standoffs and she drilled and tapped 12 holes by hand without messing any of them up. Its pretty awsome to see my daughter developing "the feel" that it takes to work with tools. She thought it was "so cool'' to be able to me a threaded hole in steel. I'd have to agree what we do is so cool!!!! The customer did not want a mounting plate on the handles. So I drilled a 3/8" hole in the other end of the standoffs opposite the tenon, then on the side facing down when the handle is hung on the door, I drilled and tapped a #3 hole to be tapped for a 1/4" set screw. The customer installed 3/8" rod thru his door and gates and so he can slide the standoffs over the rod and lock them into place using the set screws.... I went with fine thread for a better hold. The customer is going to have then coated/painted so I left them raw. All total they took me 10 hours. The 2nd pic is of my poor ginder that finally decided to retire to the trash ben.... 3 years of only using it as a cut off wheel and this project just did it in. I am sure cutting non stop for 3 hours had nothing to do with it..... just its time to go...I am glad tho cause it would get so hot a guy could hardly hold on to it. lol

-
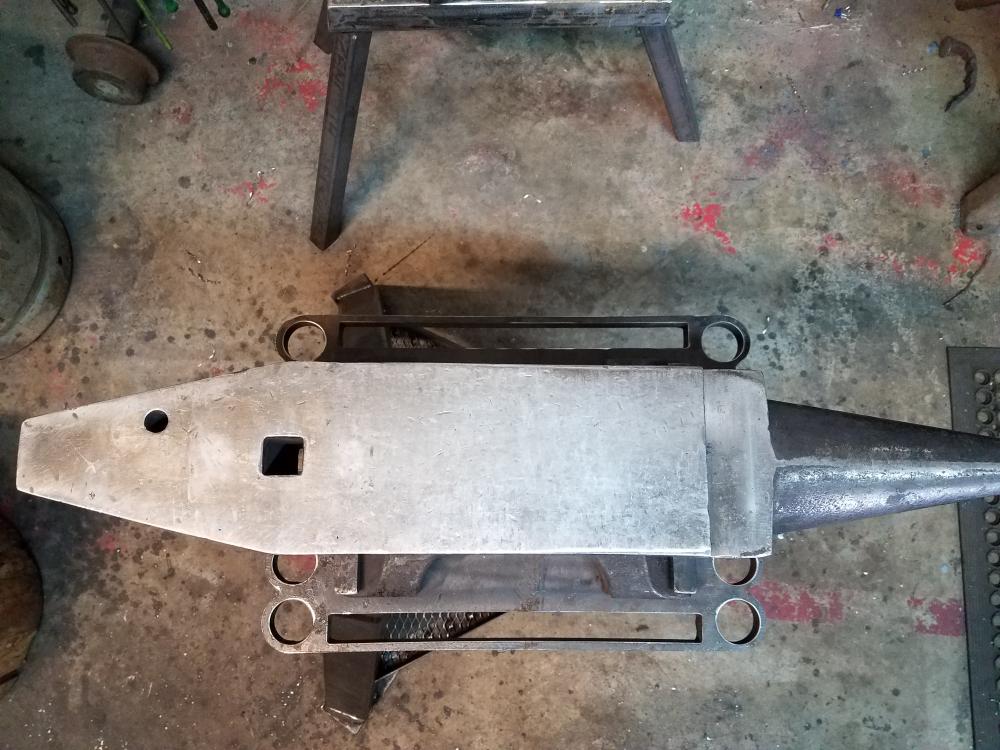
Bridge Turnbuckle inspired bench base
David Kailey replied to David Kailey's topic in Member Projects
Well thanks for the compliment.... hope to see you again -
I wanted to update info on the Rhino anvil I bought from Steve McGrew of Incandescent Ironworks in Spokane, Wa. It was a no brain error as I live in Spokane and I was able to use of exercise before I bought it. However....I have been using it for over 4 years now and would say I have over 5 thousand hours of forging on it. It is still in fantastic shape and has no measurable wear or "saddle" forming. And yes I used a machine straight bar and feeler gauges. Honestly I feel like this anvil is under priced at $1260.00...knowing what I know now I'd happy pay $1500.00.
-
Bridge Turnbuckle inspired bench base
David Kailey replied to David Kailey's topic in Member Projects
I believe they are using a piece of natural cut maple.