Forging Carver
Members
-
Joined
-
Last visited
Everything posted by Forging Carver
-
I think that this jig is to make your bevel and ricaso have a clean transition with a straight coil line. You would put the knife in the jig so that the jig goes right up to the edge of the ricaso and is right ontop of where you want the coil line / plunge line to be. You then run your file along the jig until you reach the center line where the two sides of the bevel are going to meet. You then do this to the other side. The end result is a nice clean plunge line. I can imagine getting this area clean and precise in the general grinding on a belt sander or even a file to be difficult. That's probobly why Steve made up this jig. I could be wrong but this is how I would go abouts using this jig, and I probobly will use it too. Hope this helps and thank you Steve for the jig!
-
Those are pretty cool. So Is the root texture from using a welder and just making some beads, or do you actually burn the steel?
-
Actually you are completely correct. That's why they tell us woodcarvers to only sand your piece after you finish all carving. Little pieces of grit get left in the wood and it dulls your tools. I would imagine that if this happens, the grit left in the handle would also abraid your hands and feel uncomfortable over a short while. That's why I am happy I have a charred handle becuase most of those grits most likely got burned off during the torching process.
-
Alright thank you frosty. I will check out a welding supply place, or even maybe my local hardware store. One other thing is the 1/8" mpt x 1/4" flare fitting. The regulator kit I'm getting from Zoeller forge has a 1/4" npt fitting that is meant to attach to the burner. Will this work or should I get the 1/8" mpt x 1/4" flare fitting? I am hoping my hardware store will have that too becuase I can't seem to find anywhere online that sells them. Thanks for the help
-
-
Nice stands! I got some good ideas for my next stand now p.
-
Oh thanks for asking. Well I just cut off the wire where I cut it and then re-wired the outlet plug into the cut end and finished off with some electrical tape. The cord is a little bit shorter now, but I always use an extension cord anyways.
-
-
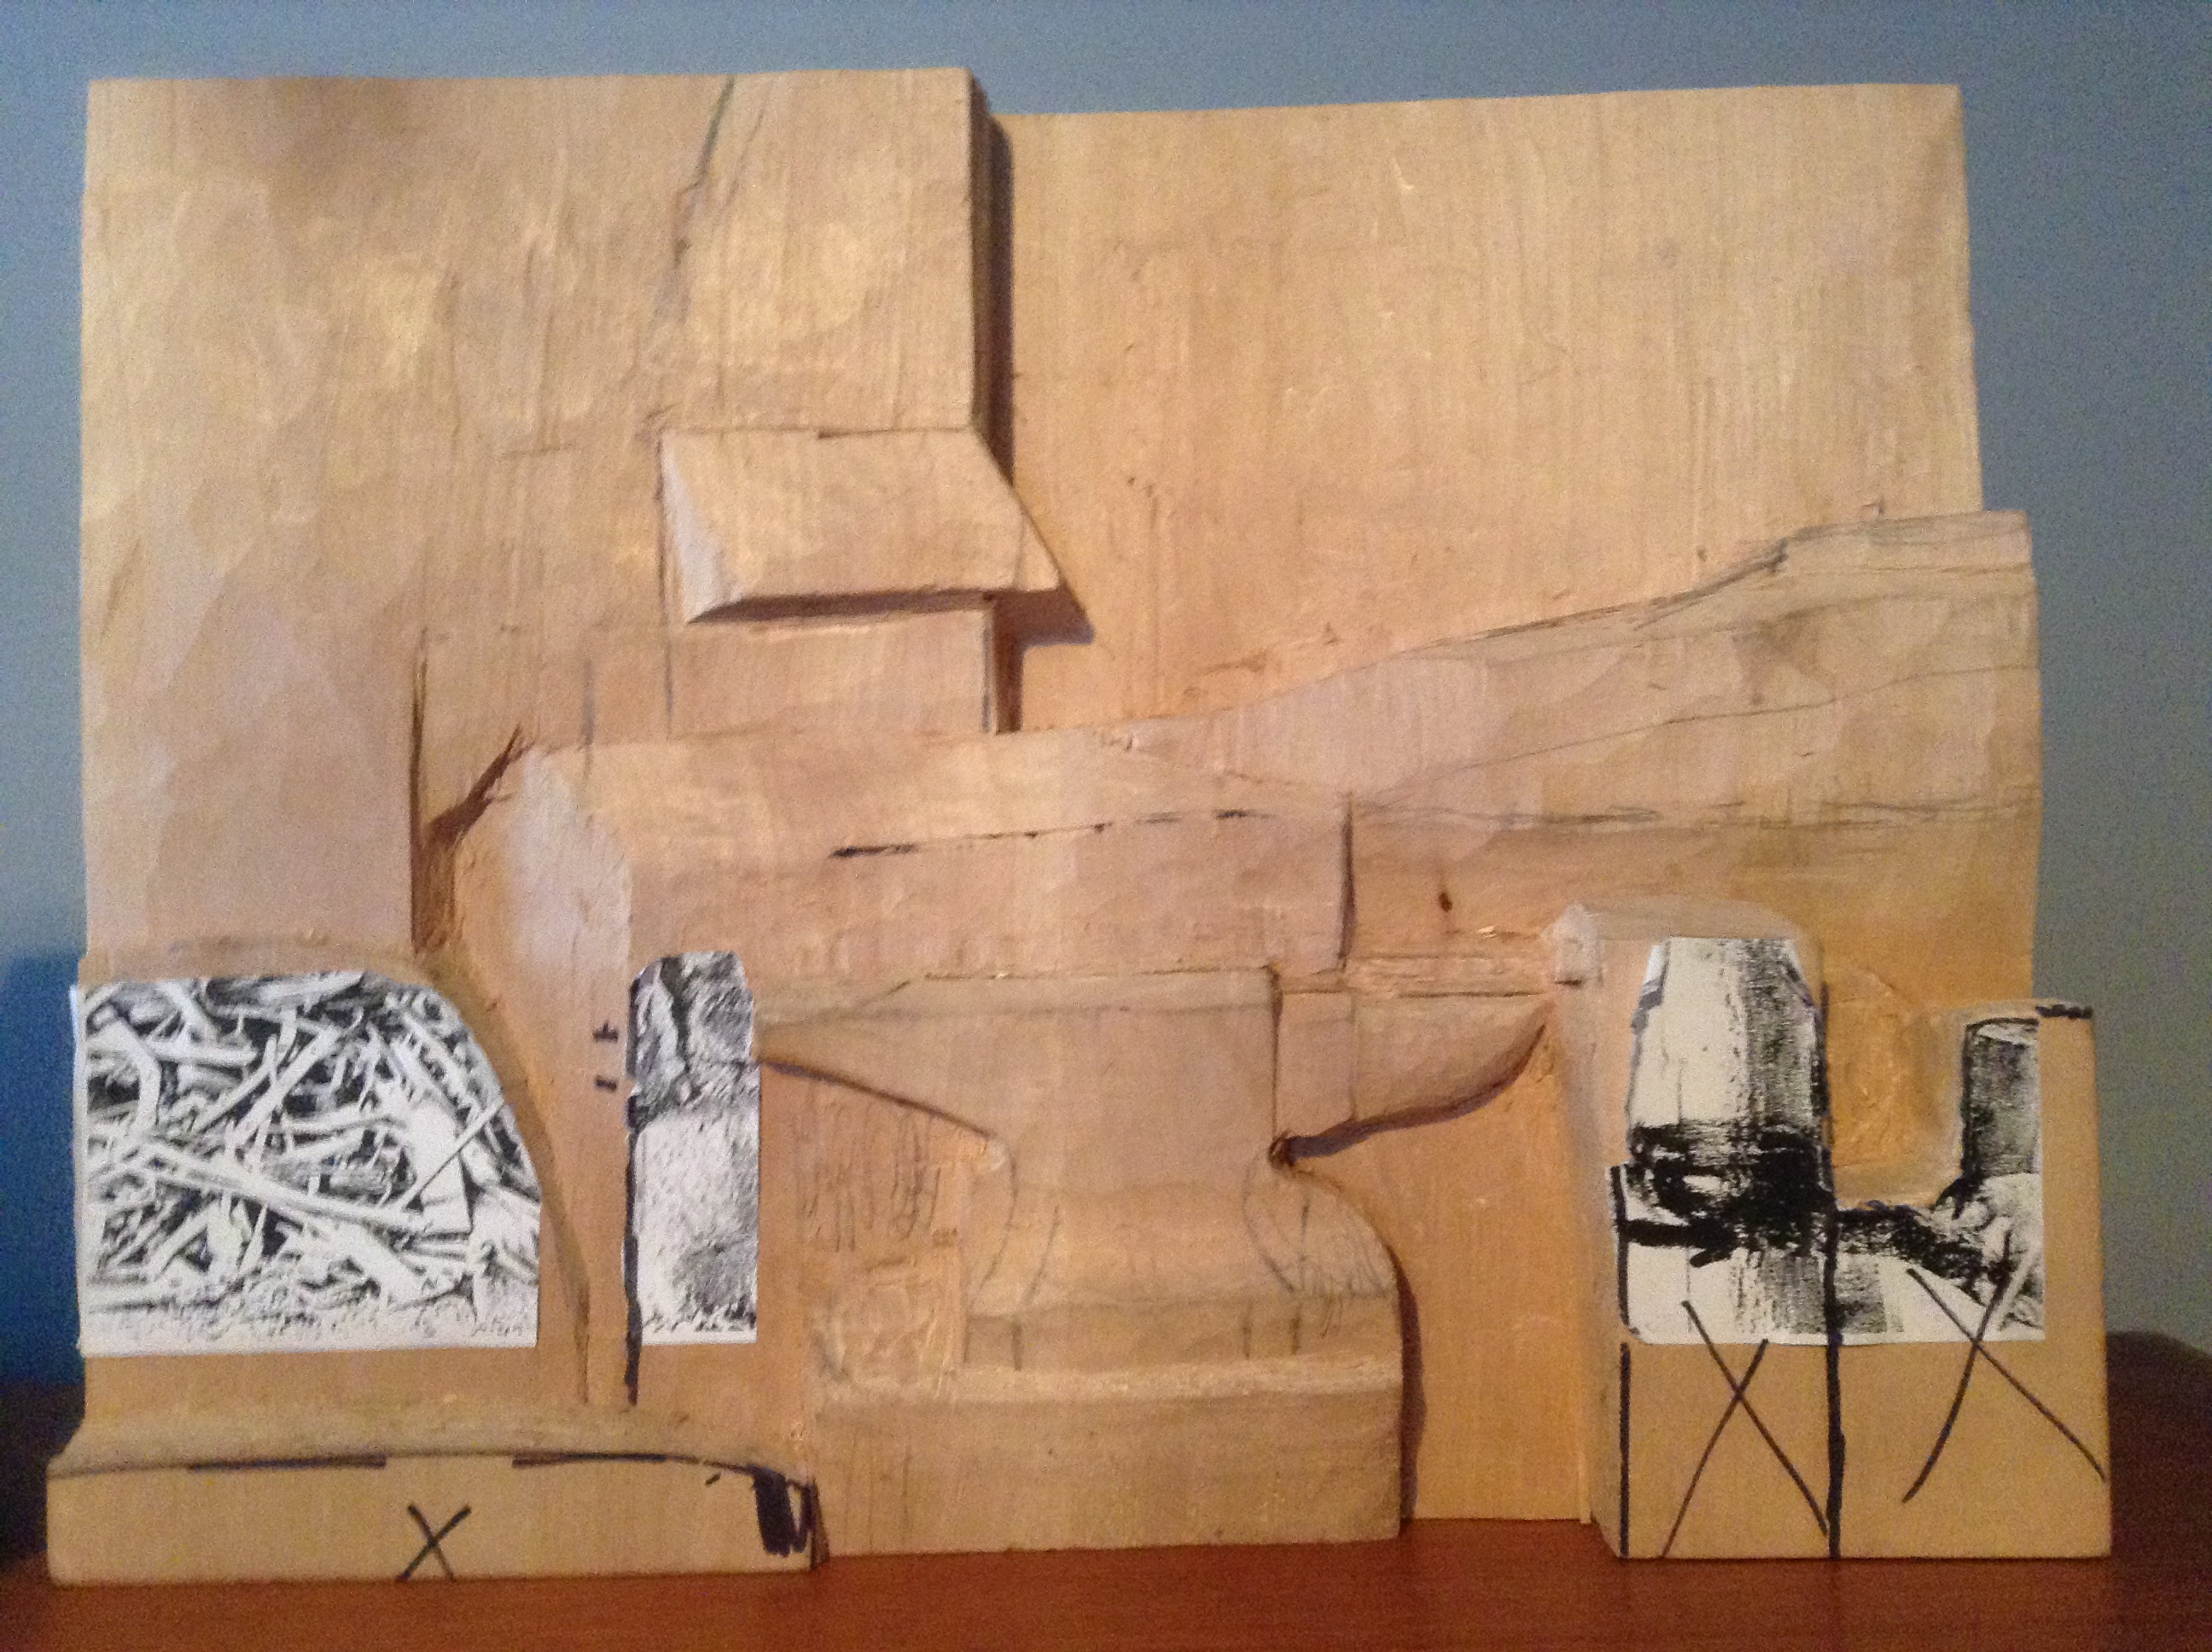
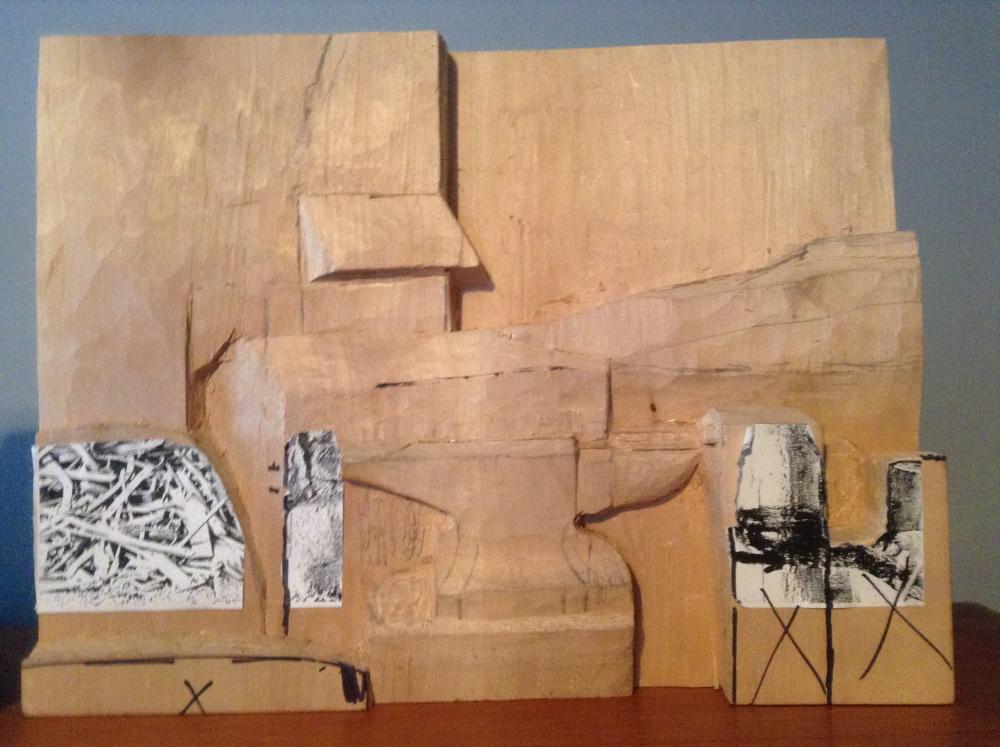
Here's another bit of progress. I am starting to bring out the chimney.
-
-
Yeah a lot of people are helpless. I mean it is good to be safe than sorry, but there's a line to that. My brother and dad go on calls becuase people set their alarms off becuase of shower steam or cooking steam. Things like that just waste the fire departments time, especially the volunteers.
-
-
What I plan to do is wear clear safety glasses and have tinted glasses attached to one of those neck straps. This way when I am checking the color of my steel and what's going on in the forge, I can hold up the tinted glasses. When I am done and take my steel I can just let go of the tinted glasses and they will be safe on my neck. Just tinted will ruin your eyes.
-
Yeah most of the calls are cruddy. Smell of a natural odor, steam from a shower, activated fire alarm. Most guys only respond when it is a reported structure fire.
-
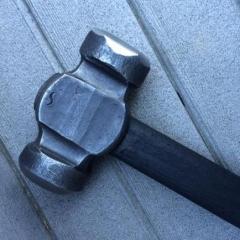
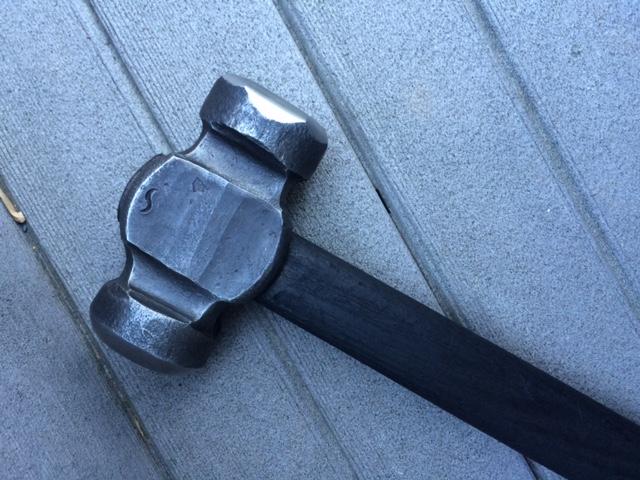
Yeah I asked Alec what I should do as far as maintance for my hammer and he said that you need to oil the entire thing with oil often. I was just curious becuase someone said that vege goes rancid and globby if you have excess, which actually I just looked at my hammer and you were completely right about the globby part and most likely about the rancid part. Thanks for the help.
-
Alright so I will go find the linseed oil in my basement. Do you think at my one application of vege oil will affect my handle at all? Also, do you use the linseed oil on the head too? Thank you very much.
-
Alright maybe I will go with linseed oil than. Thanks
-
Yeah. If you want to be extra safe store the rags in a metal container that has a lid. I usually just throw mine in my quench bucket though.
-
That's pretty cool. It's a whole lot nicer than spray paint!
-
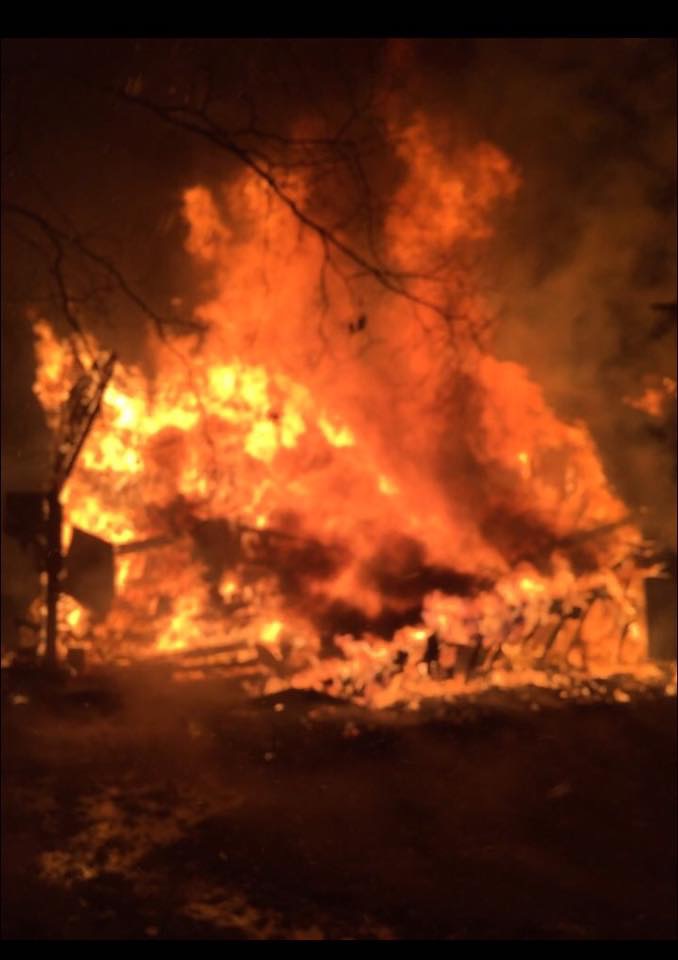
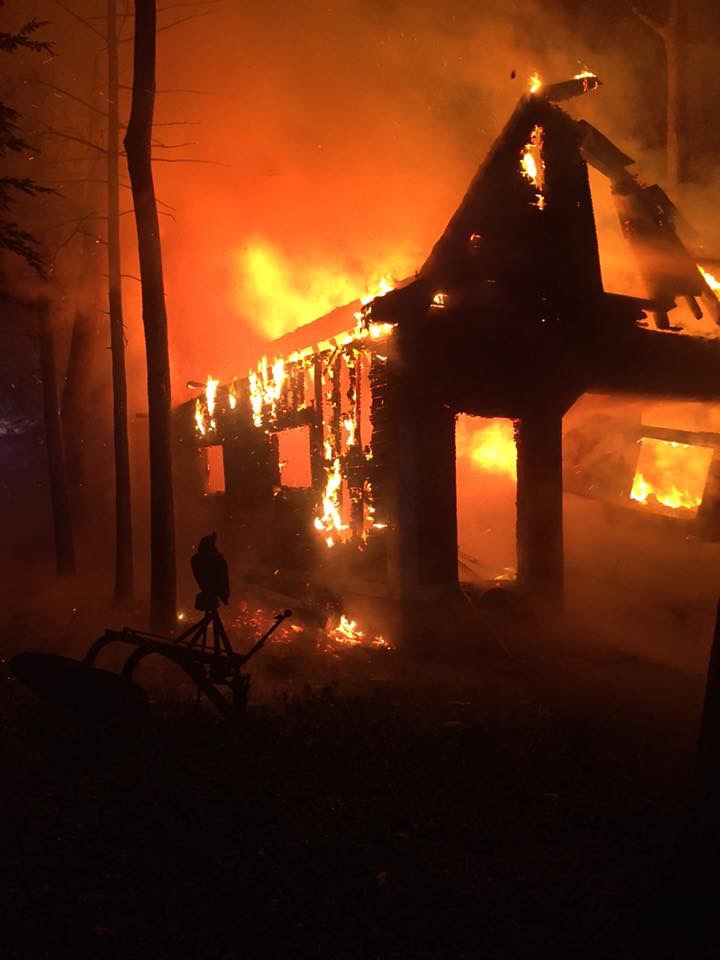
Whether you are using a wood stain or an oil such as linseed oil, make sure you store your oily rags properly if the oil is combustible. Read the can of oil before using it to make sure that you know how to properly store your used rags. Just a few days ago by brother went to a barn fire. It turned out that the guy who owned the barn was redoing it and left his staining rags on the floor of the barn. The rags combusted and the barn burnt to a crisp. You don't want your shop to end up like this barn! Be careful!


-
Hi, I have been reading around on site and realized that most of you guys oil your hammers and then wipe the excess oil. I oiled my hammer about a week ago with vegetable oil, the head and handle, but never wiped any of the excess off. Is this going to be an issue? The handle absorbed all the oil. My hammer has a chared handle, so now I am guessing that it went from completely dry to pretty moist. Can someone tell me if I got a problem on my hands? Thanks
-
I am no expert either since I am making my own gas forge too. What I am going to do is out a couple inches of ceramic wool. Then line that with casting. Then line that with ir reflective. The ir reflective just makes the forge more efficient. Hope this helps.
-
You might want to consider one from a company that sells forge making supply's. I am going to be making a gas forge and although it seems expensive, I am going to get a single burner regulator kit from Zoeller forge. Well that is if you are using a single burner. If you need one for two or three or how ever many burners, they sell them too.
-
If you are confused by this just look at NickOHH's profile picture. Also, what brand anvil is that? To me it looks like a Fisher and if that's the case you don't need any magnets or chains becuase these anvils were constructed to be quite.
-
Can you get a close up so we can see the Damascus look? If you haven't etched already, you might want to consider doing so. Great job