Joel OF
Members
-
Joined
-
Last visited
Everything posted by Joel OF
-
I asked this same question a couple years ago.
-
I'm pretty happy with my workshop layout so this question is more for curiosity rather than reference and is aimed at people who consider themselves metal artists rather than blacksmiths. Equally interested in people's answers even if you don't incorporate hot forging in your work. How does your workshop layout differ to a "typical" blacksmith's workshop? Pictures would be of interest. For example is the recognizable triangle of forge - anvil - vise still the heart of your operation, or could it be your bench, your welder and 15 grinders?
-
I've seen the odd snippet of videos showing drawing out methods using either quite drastic hammer angles or the corners of anvils, but I wouldn't advise using this method if you're relatively new. It's hard enough as it is to produce a smoothe surfaced and even taper using the flat face of a hammer with on a flat area of an anvil, and to my mind these above mentioned drawing out techniques complicate it by creating many hard lumps and bumps that you have to then very accurately level out. My opinion probably isn't the popular one. In your picture your taper isn't particularly even, there's narrow areas and you can see from the reflective surface that the surface isn't flat. I would just focus on getting the fire and metal up to a nice working temperature (bright yellow) so that it's easier to draw out, and go from there. If you want to reduce surface contact then maybe move over to the bick and use a rounded hammer face (farrier's hammer), then smoothe out any softer lumps and bumps on the flat of the anvil with your flat hammer face. It's taking his advice out of context so he might not thank me for it, but @Alan Evans passed on a great pearl to me via the site a while ago - "do a little to a lot rather than a lot to a little". I find it's far easier to correct mistakes and produce smoothe forgings that way. Once you're completely comfortable with drawing out, then I'd learn the more aggressive methods.
-
Thanks for the replies. I'm mainly commission based so don't that many simple stock items I could get an apprentice going on. It's really the ultra basic tasks that I need a list of as my most regular apprentice is very dyslexic, so marking out, measuring etc is a non starter, and he doesn't drive. About the best thought I've had so far is drilling collars (?) to have ready in stock so that I can then weld to fly press tooling shanks as and when required. Not sure of the right terminology, but I meant the bits of plate that sit flush against the fly press ram face to spread the impact.
-
I infrequently need a spare pair of hands from a part time apprentice, and when I do I don't always need constant help throughout a day, but as I'm paying him for a full day anyway I want to get my money's worth out of him! What little jobs do you get your apprentices to do to keep them busy in quieter moments?
-
I always take a large chalkboard sign saying "today I am making..." with example items right next to the sign. "What are you making?" is my most common question.
-
If you need a straight edge to lay the item on to see if it's flat (by looking for daylight gaps underneath), just buy more flat stock than you need for the job and use that as a guide. 1/4" x 3" is not likely to bend on the hard axis, so just cut a bit of that off and clamp it in your vise vertically, then move your coat rack around on it and look for daylight. Laying it on lengths ways will show one set of valleys and peaks, rotating it through 90 degrees and running it back and forth perpindicular to it will show up twists. You're probably more likely to feel them than see them using that method. You're not going to need a very larger area to check for flatness in the coat rack, other than my flat-bar-in-vise method you could just find a small bit of RSJ and move it around on that. Make do and bend!
-
I'm senseing a theme developing here... Cheers me dears.
-
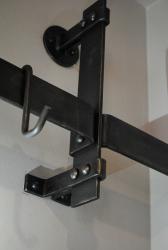
How do folks, Can anyone recommend me a suitable steel to use as a "depth spacer" under my 25kg Anyang? E.g if I had a bit of 25mm (1") square bar that I wanted to forge down to 20mm (3/4") square I'd put a 20mm depth spacer on my bottom die so the bar couldn't be forged down to anything less than 20mm. I've heard of H13 and that it's good for punches & fullers, is that the sort of thing that would be good for my use? I'm more of an artist than blacksmith and know virtually nothing about tool steels. I don't really want to be forging/hardening/tempering my own depth spacers from some sort of tractor axle that I'm never going to find, I just want to ring up a specialist steel supplier & buy some short lengths or a local tool maker and get some bits of scrap off-cuts. Cheers for any input.
-
Thanks for all the replies folks. I understand gas how to make gas forges work better now & will probably build my own to suit my needs best. I've found a few tuition videos which seem pretty pool froof & will give me the results I want. Cheers again
-
Sorry to hear of your circumstances, but whatever you make your wife will love it, because you made it. Just picking up on your last comment of "it must look forged". I've noticed a lot of blacksmiths (at all skill and experience levels) can look straight for the "geeky giveaways" like arc welds VS forge welds and almost miss the bigger picture. I do it myself all the time, and it irritates me. It's a present for your wife, will she get more enjoyment from the welds or the flower? The ensemble will definitely look forged regardless of how you weld it. I really don't want to come across like I'm educating you, I'm new to all this myself and know very little, I'm just repeating a thought shift I've recently gone through with welding. Just as a by the by, there's a sculptor on Instagram I follow who's work is outstanding. I'm completely jealous of his vision and imagination of what you can do with welding... https://www.instagram.com/p/BU00xybBGIn/?taken-by=ozanuenal
-
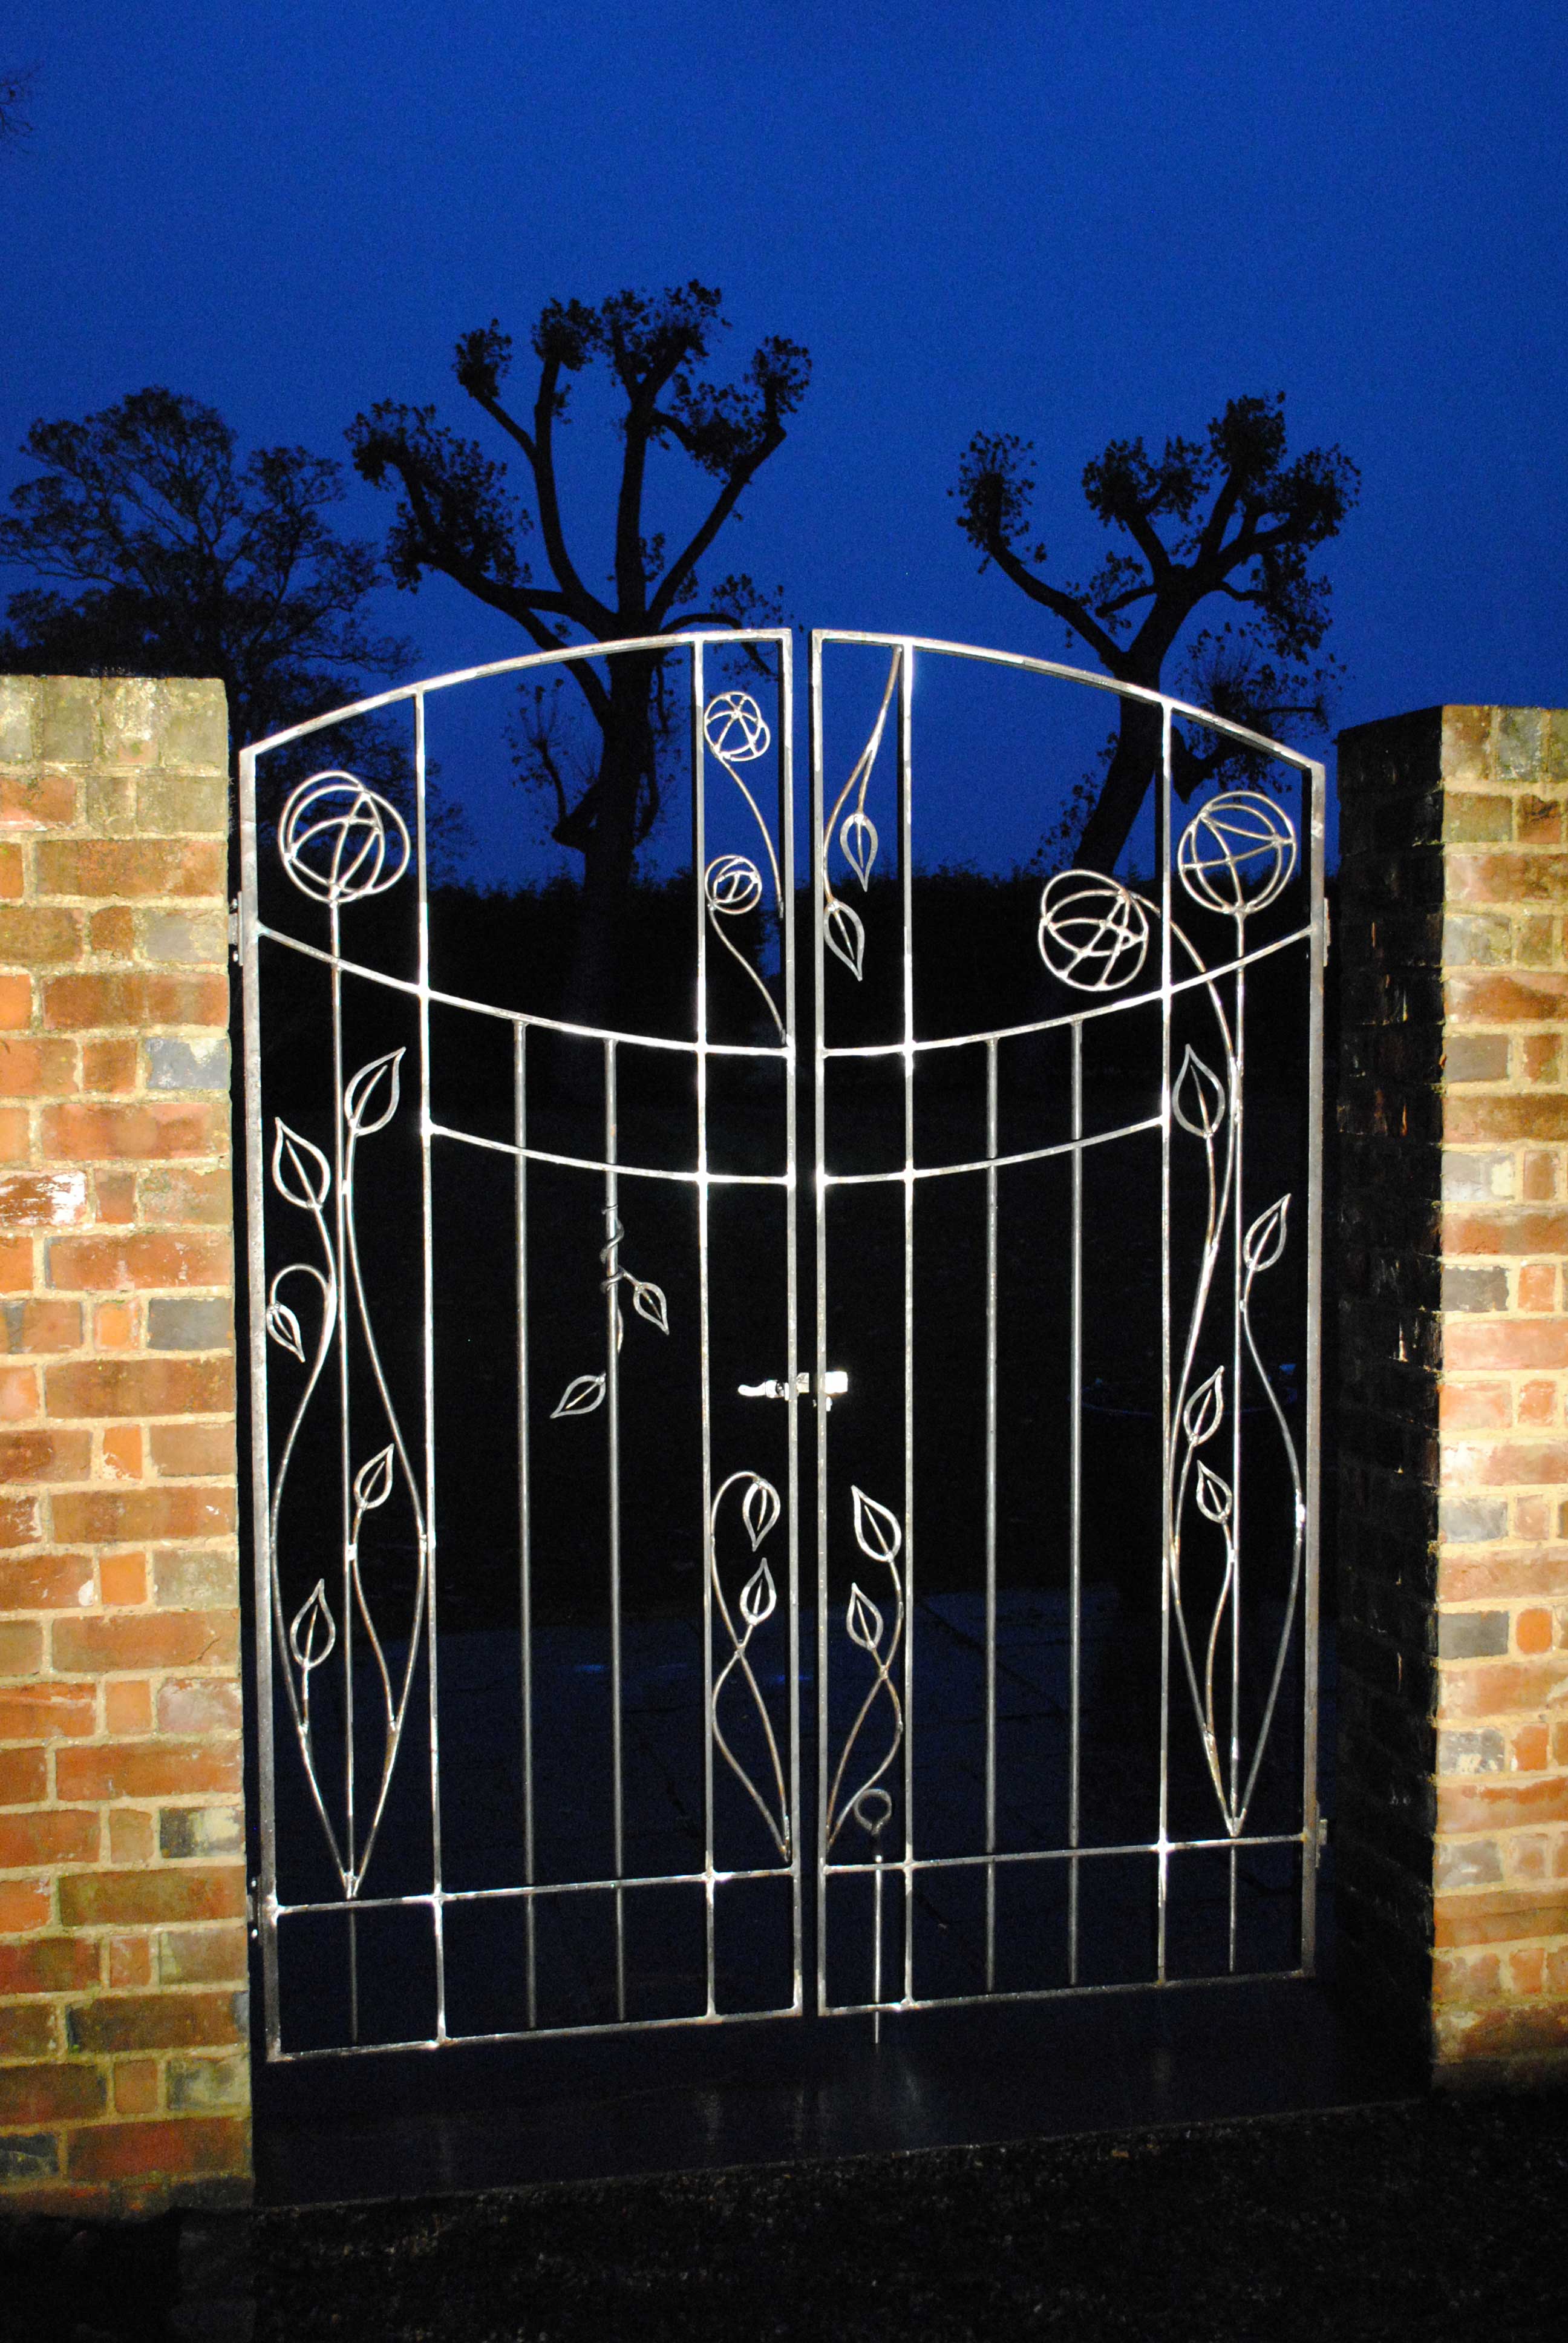
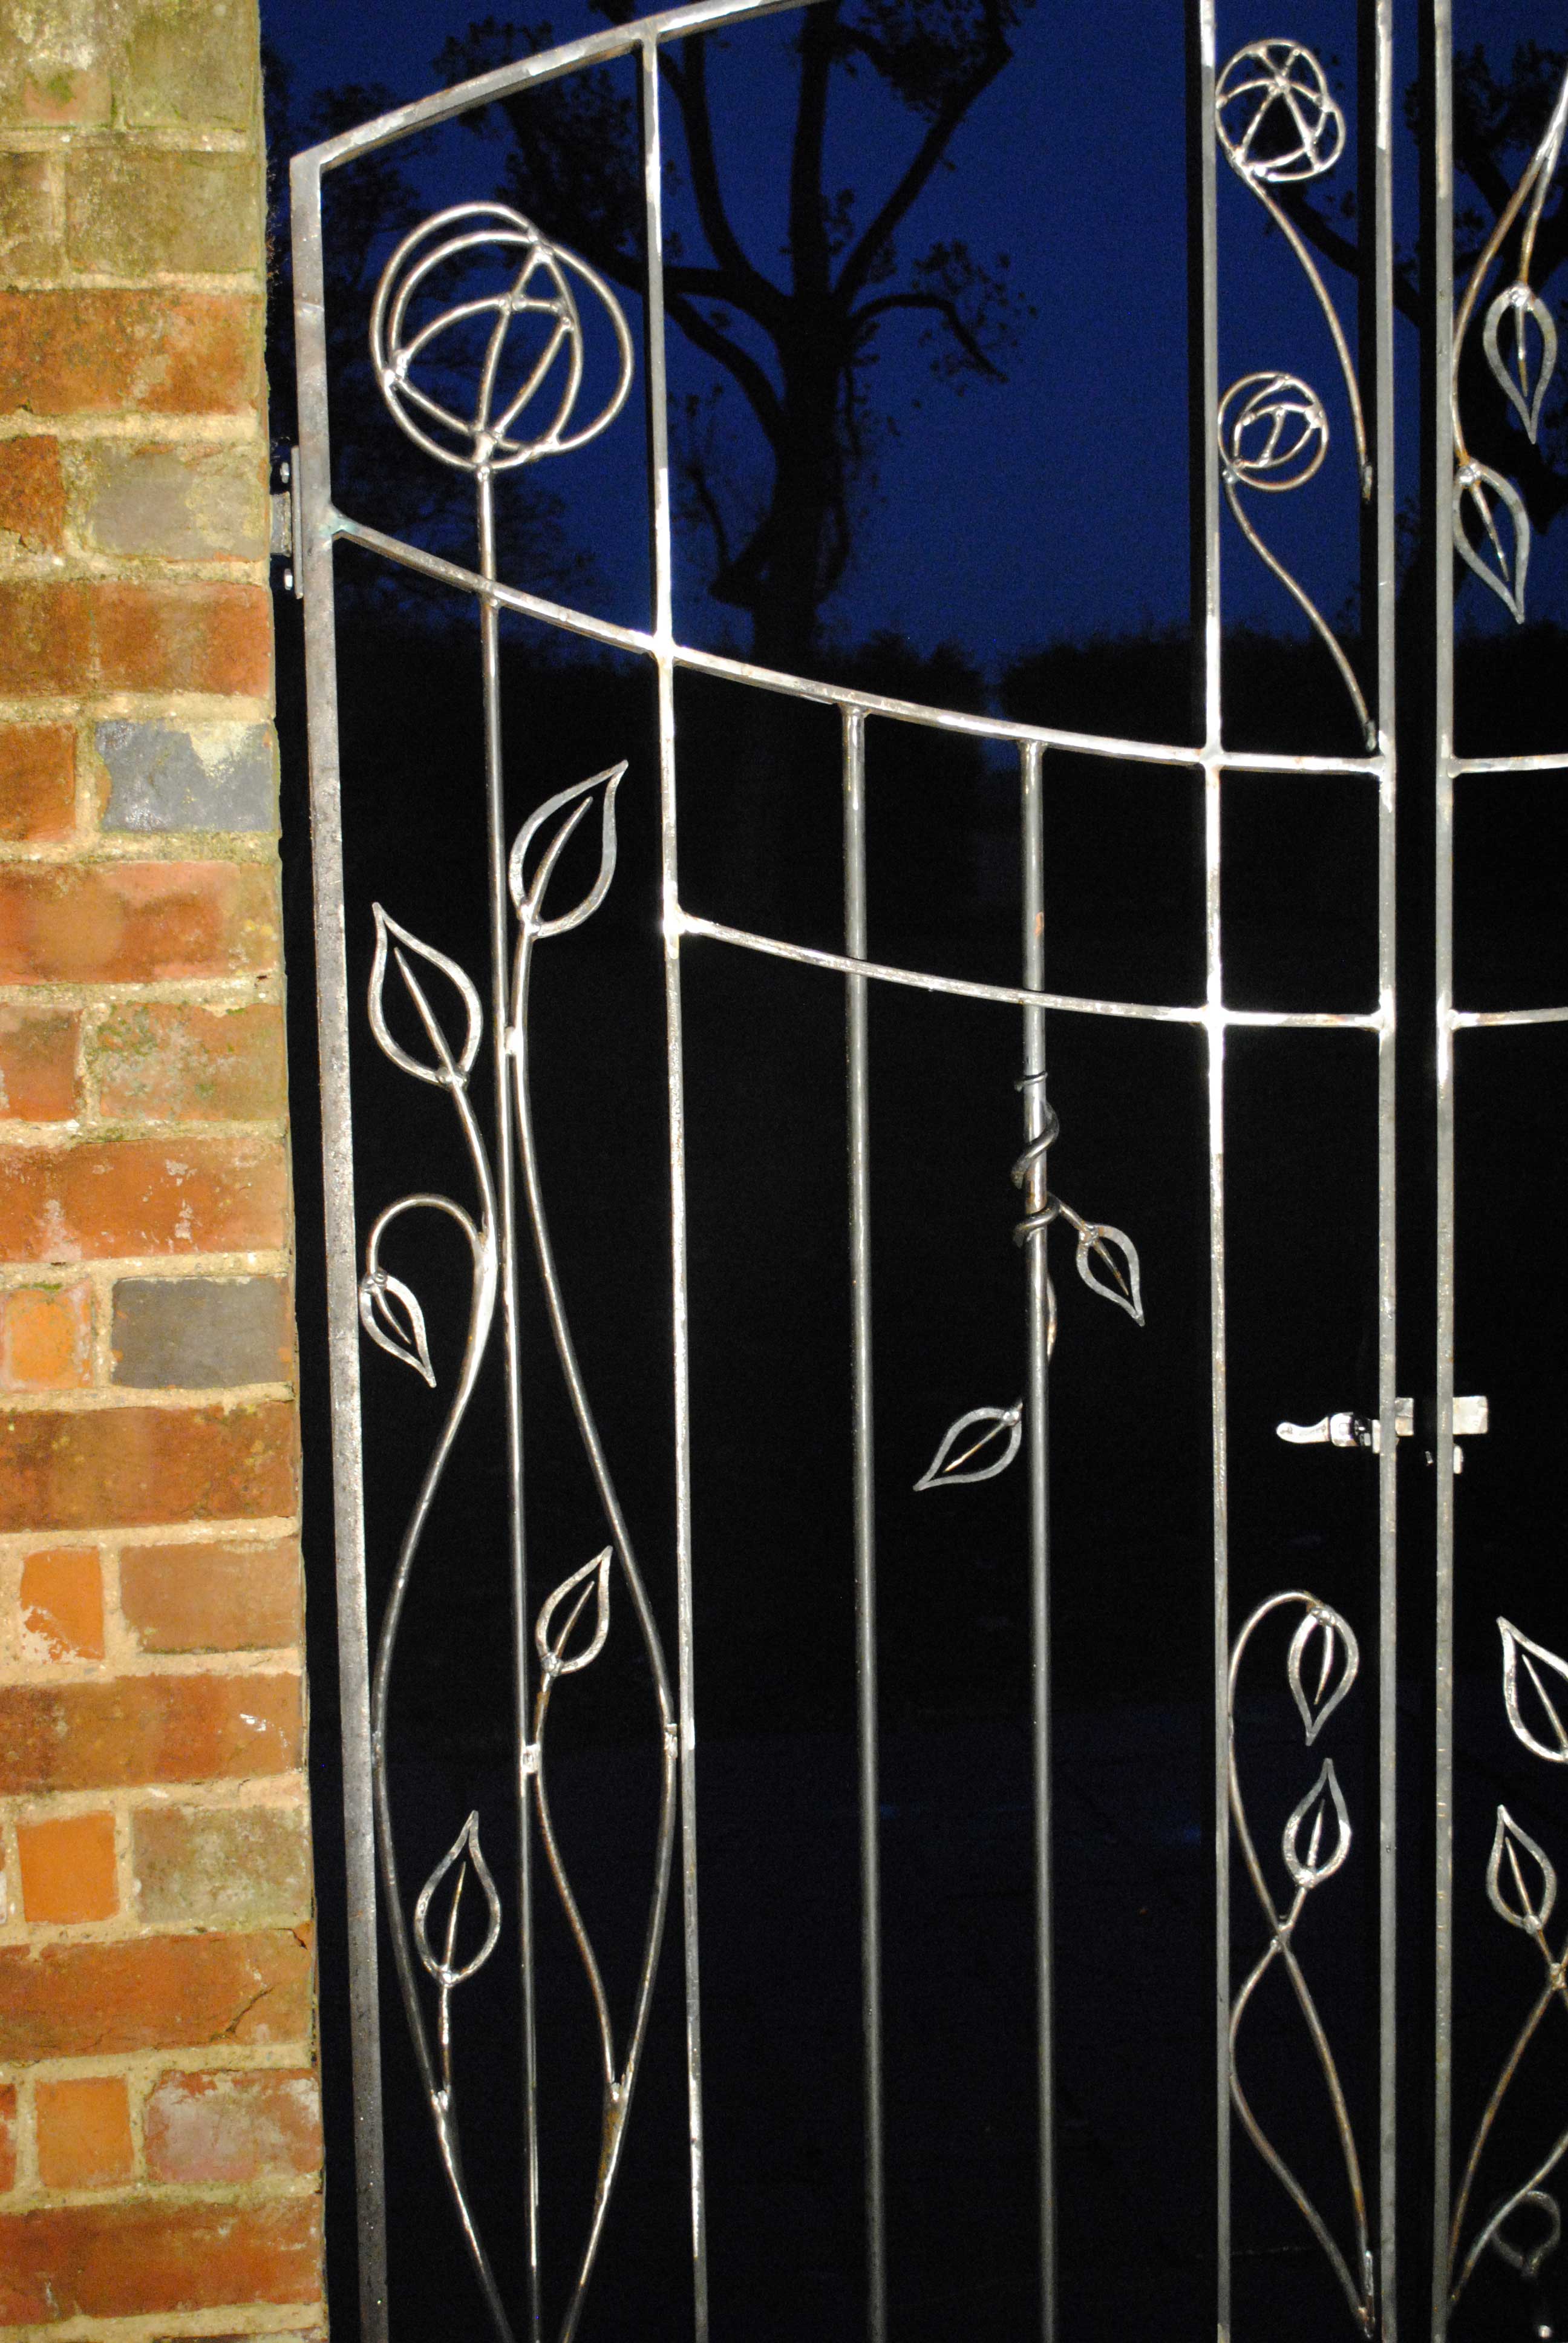
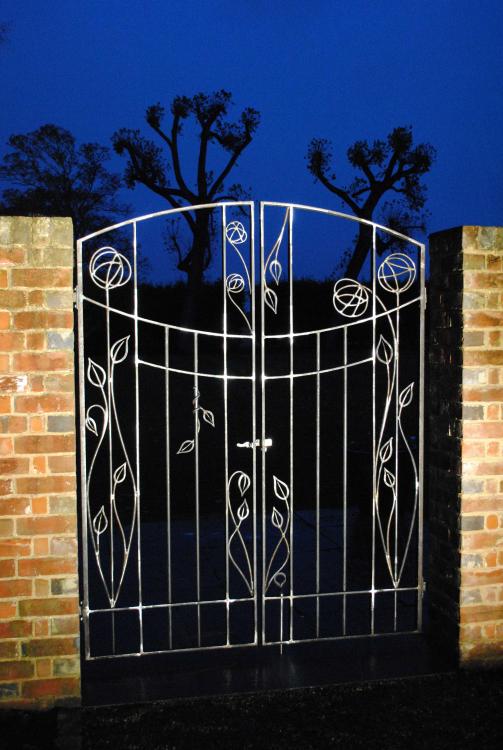
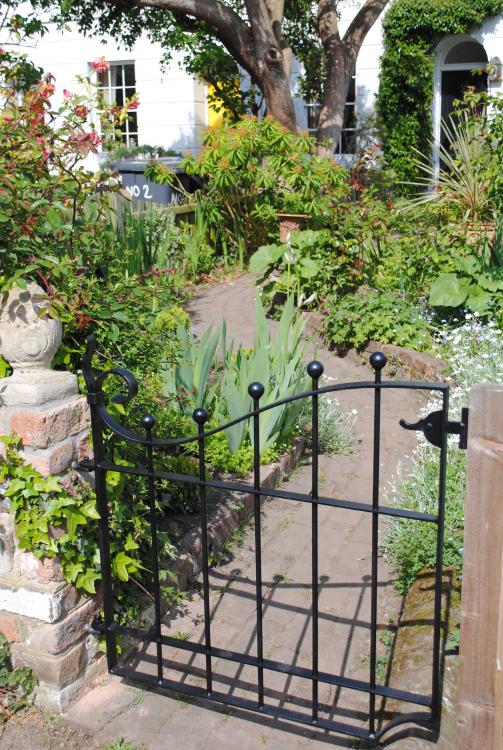
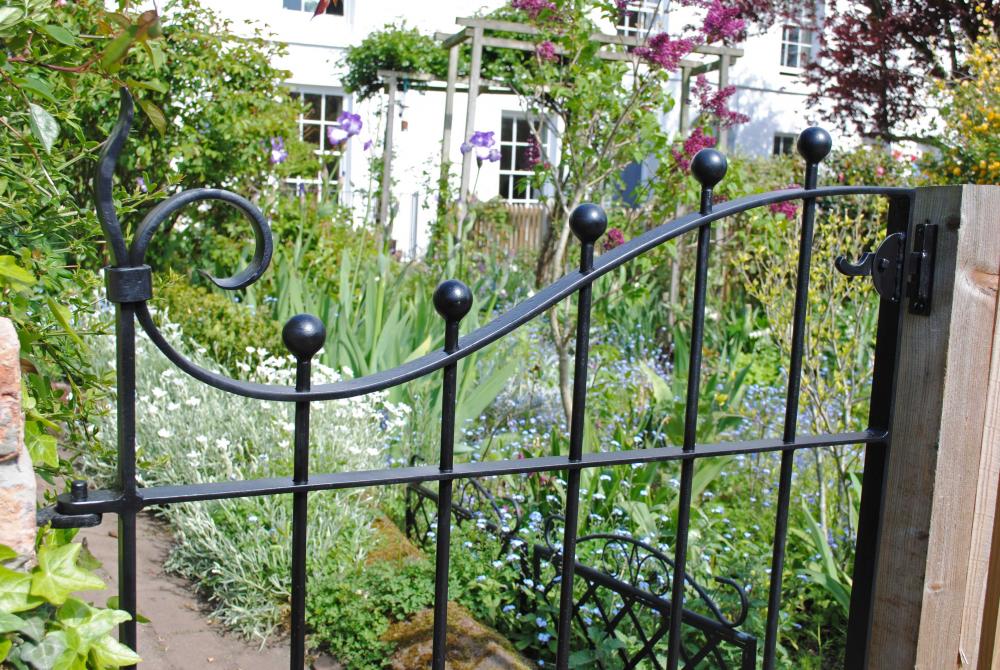
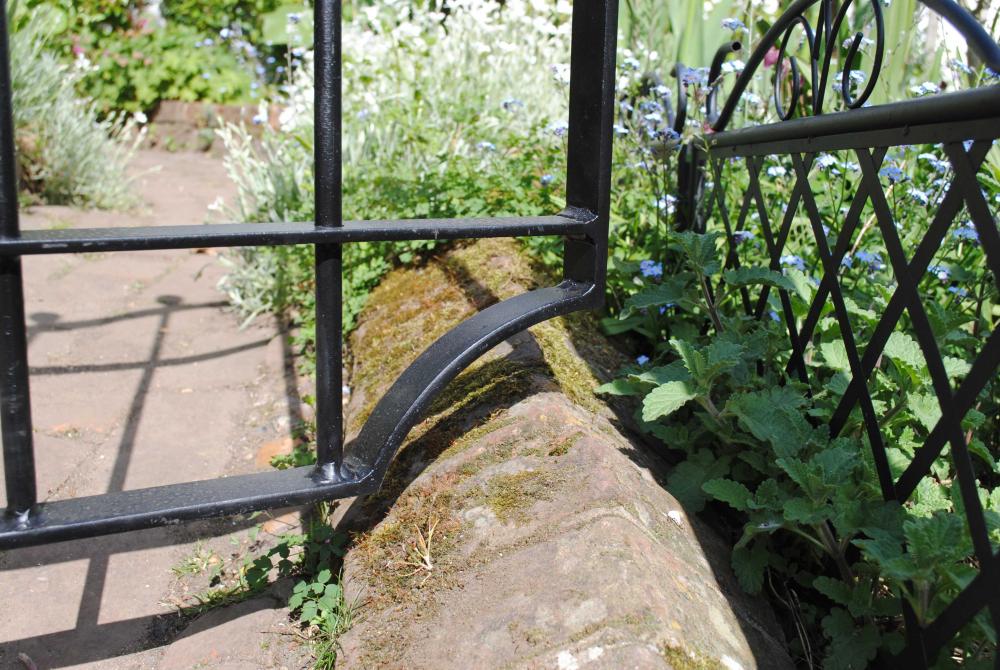
I've made several floral things like this in the past, specifically 30mm x 3mm flat bar creased into that same sort of grass like shape then stick welded to 12mm round bar so just one point on the subject of stick welding items like this... Because building up stick welds is a major PITA because you've got to knock of the slag between each tiny bead, you might find it aesthetically nicer and functionally easier to clamp the flat bar up against the round, then mark a vertical cut line on the flat bar so you're not cutting the flat bar at 90 degrees to the round & having to stack up loads of short beads to make it flow into the round. That way you also maintain the outer/back face of the flat bar in it's entire length, which helps to keep the natural look and reduces the amount of sculpting you have to do with files/grinders to make it flow. Just to throw the cat amongst the pigeons and chuck in a thought process I've recently gone through with my own work - arc welding gives you so much more potential than fire welding - why not use it? Why have all flowers got to be life like with seamless transitions, why can't they be abstract and use the weld for character? These gates were inspired by C.R Mackintosh's rose flower stained glass windows for a client that wanted roses and climbing branches. I'm not saying they're better in any way than what you want to do, I'm just illustrating a point that you've got a tool in that stick welder that gives you a whole other scope of creative possibilities. I took these pics during the dummy run install before they went off for finishing. They're just a bit easier to see than the daytime pics because of the light contrast.

-
Thanks for the thoughts gents. I had been thinking of making a new forge to my spec with a different type of burner I recently saw, but if salvaging these burners will still produce good results then I'll definitely pursue that road instead. Only achieving an orange heat is pretty weak, I really want yellow, and yellow on inch diameter bar. In comparrison to the dimensions of this forge, to suit my work I would ideally like a forge that's shallower in depth, taller in height, and possibly a little wider. I don't like the automatic long heats this produces, I'd far prefer to push/pull my work backwards and forwards to stretch the heat if I need a longer heat, or have a 2nd set of doors at the sides, like the Diamondback forges. I find the height of this forge pretty impractical as alot of my work is 3D, not just just straight bars with twists in and straight forged ends. Having a wider forge would be helpful for being able to have more bars heating up side by side, and with wider shaped objects. I don't think I'd want to change the internal volume of space all that much, just the proportions. Does what I'm saying sound like it could work and produce the results I want? I'm intrigued to hear that just a better lining and better doors could help produce a better heat. In my naivity I thought it was mainly down to the burners.
-
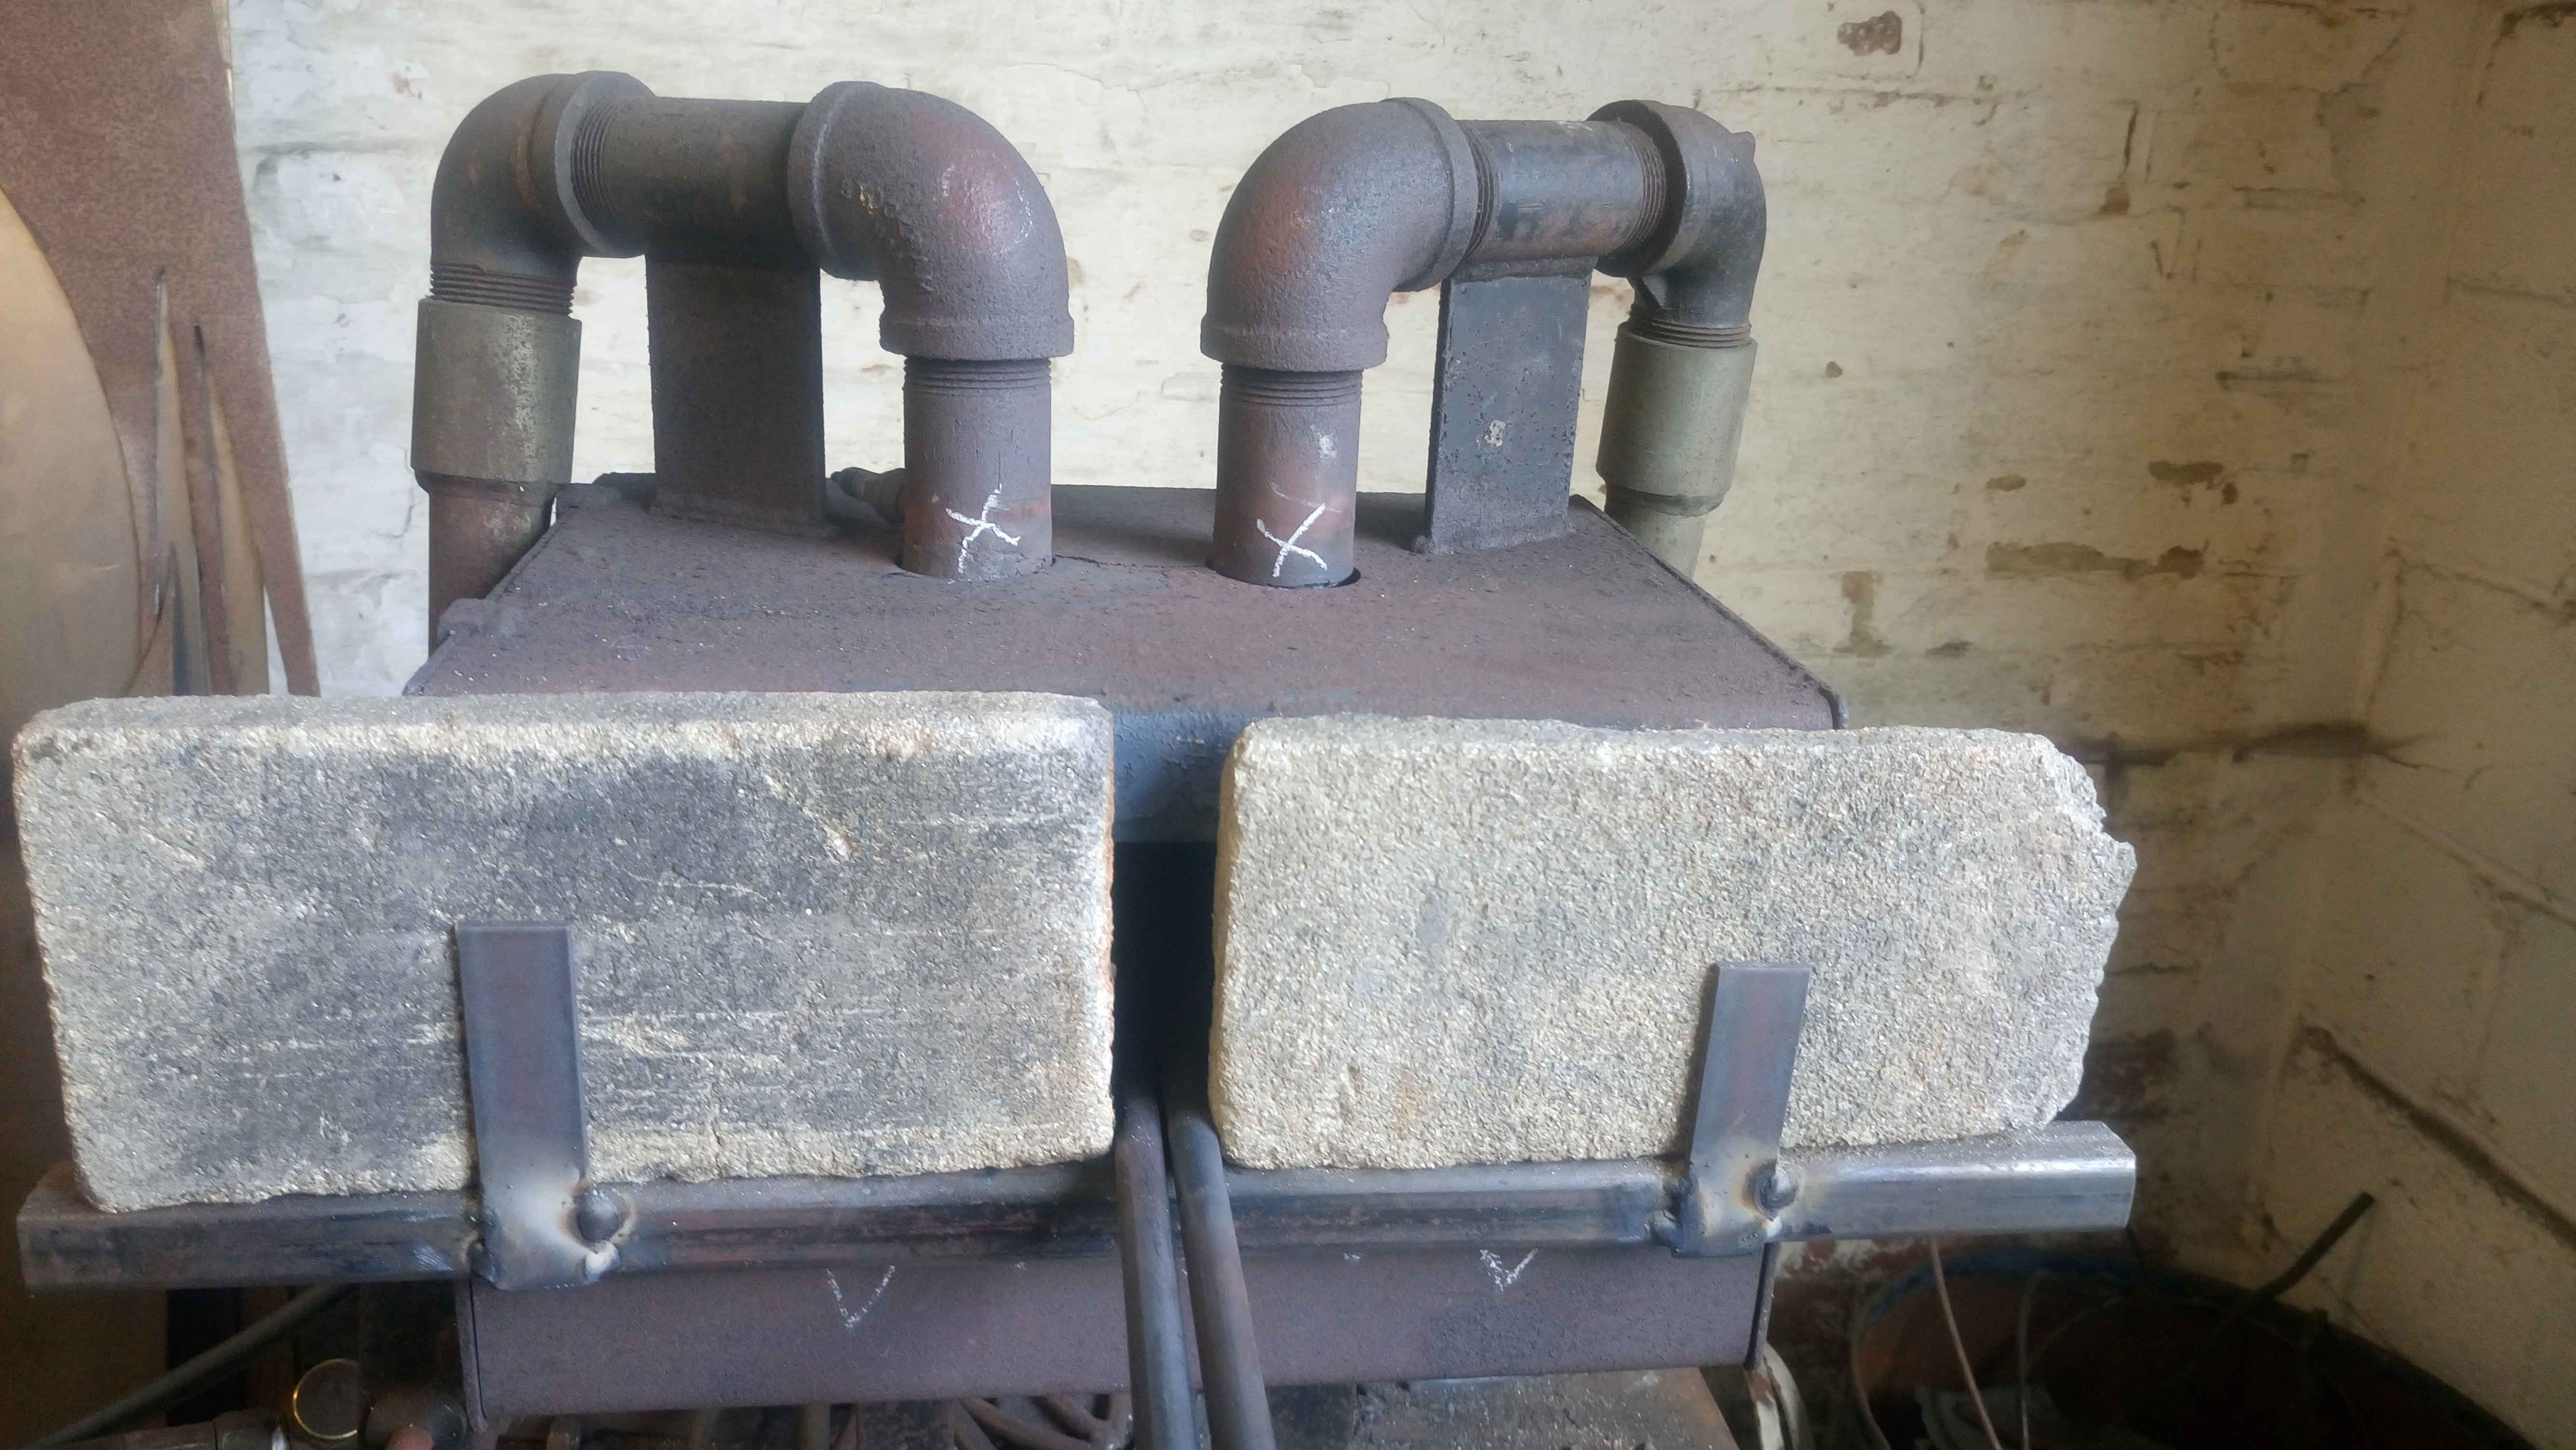
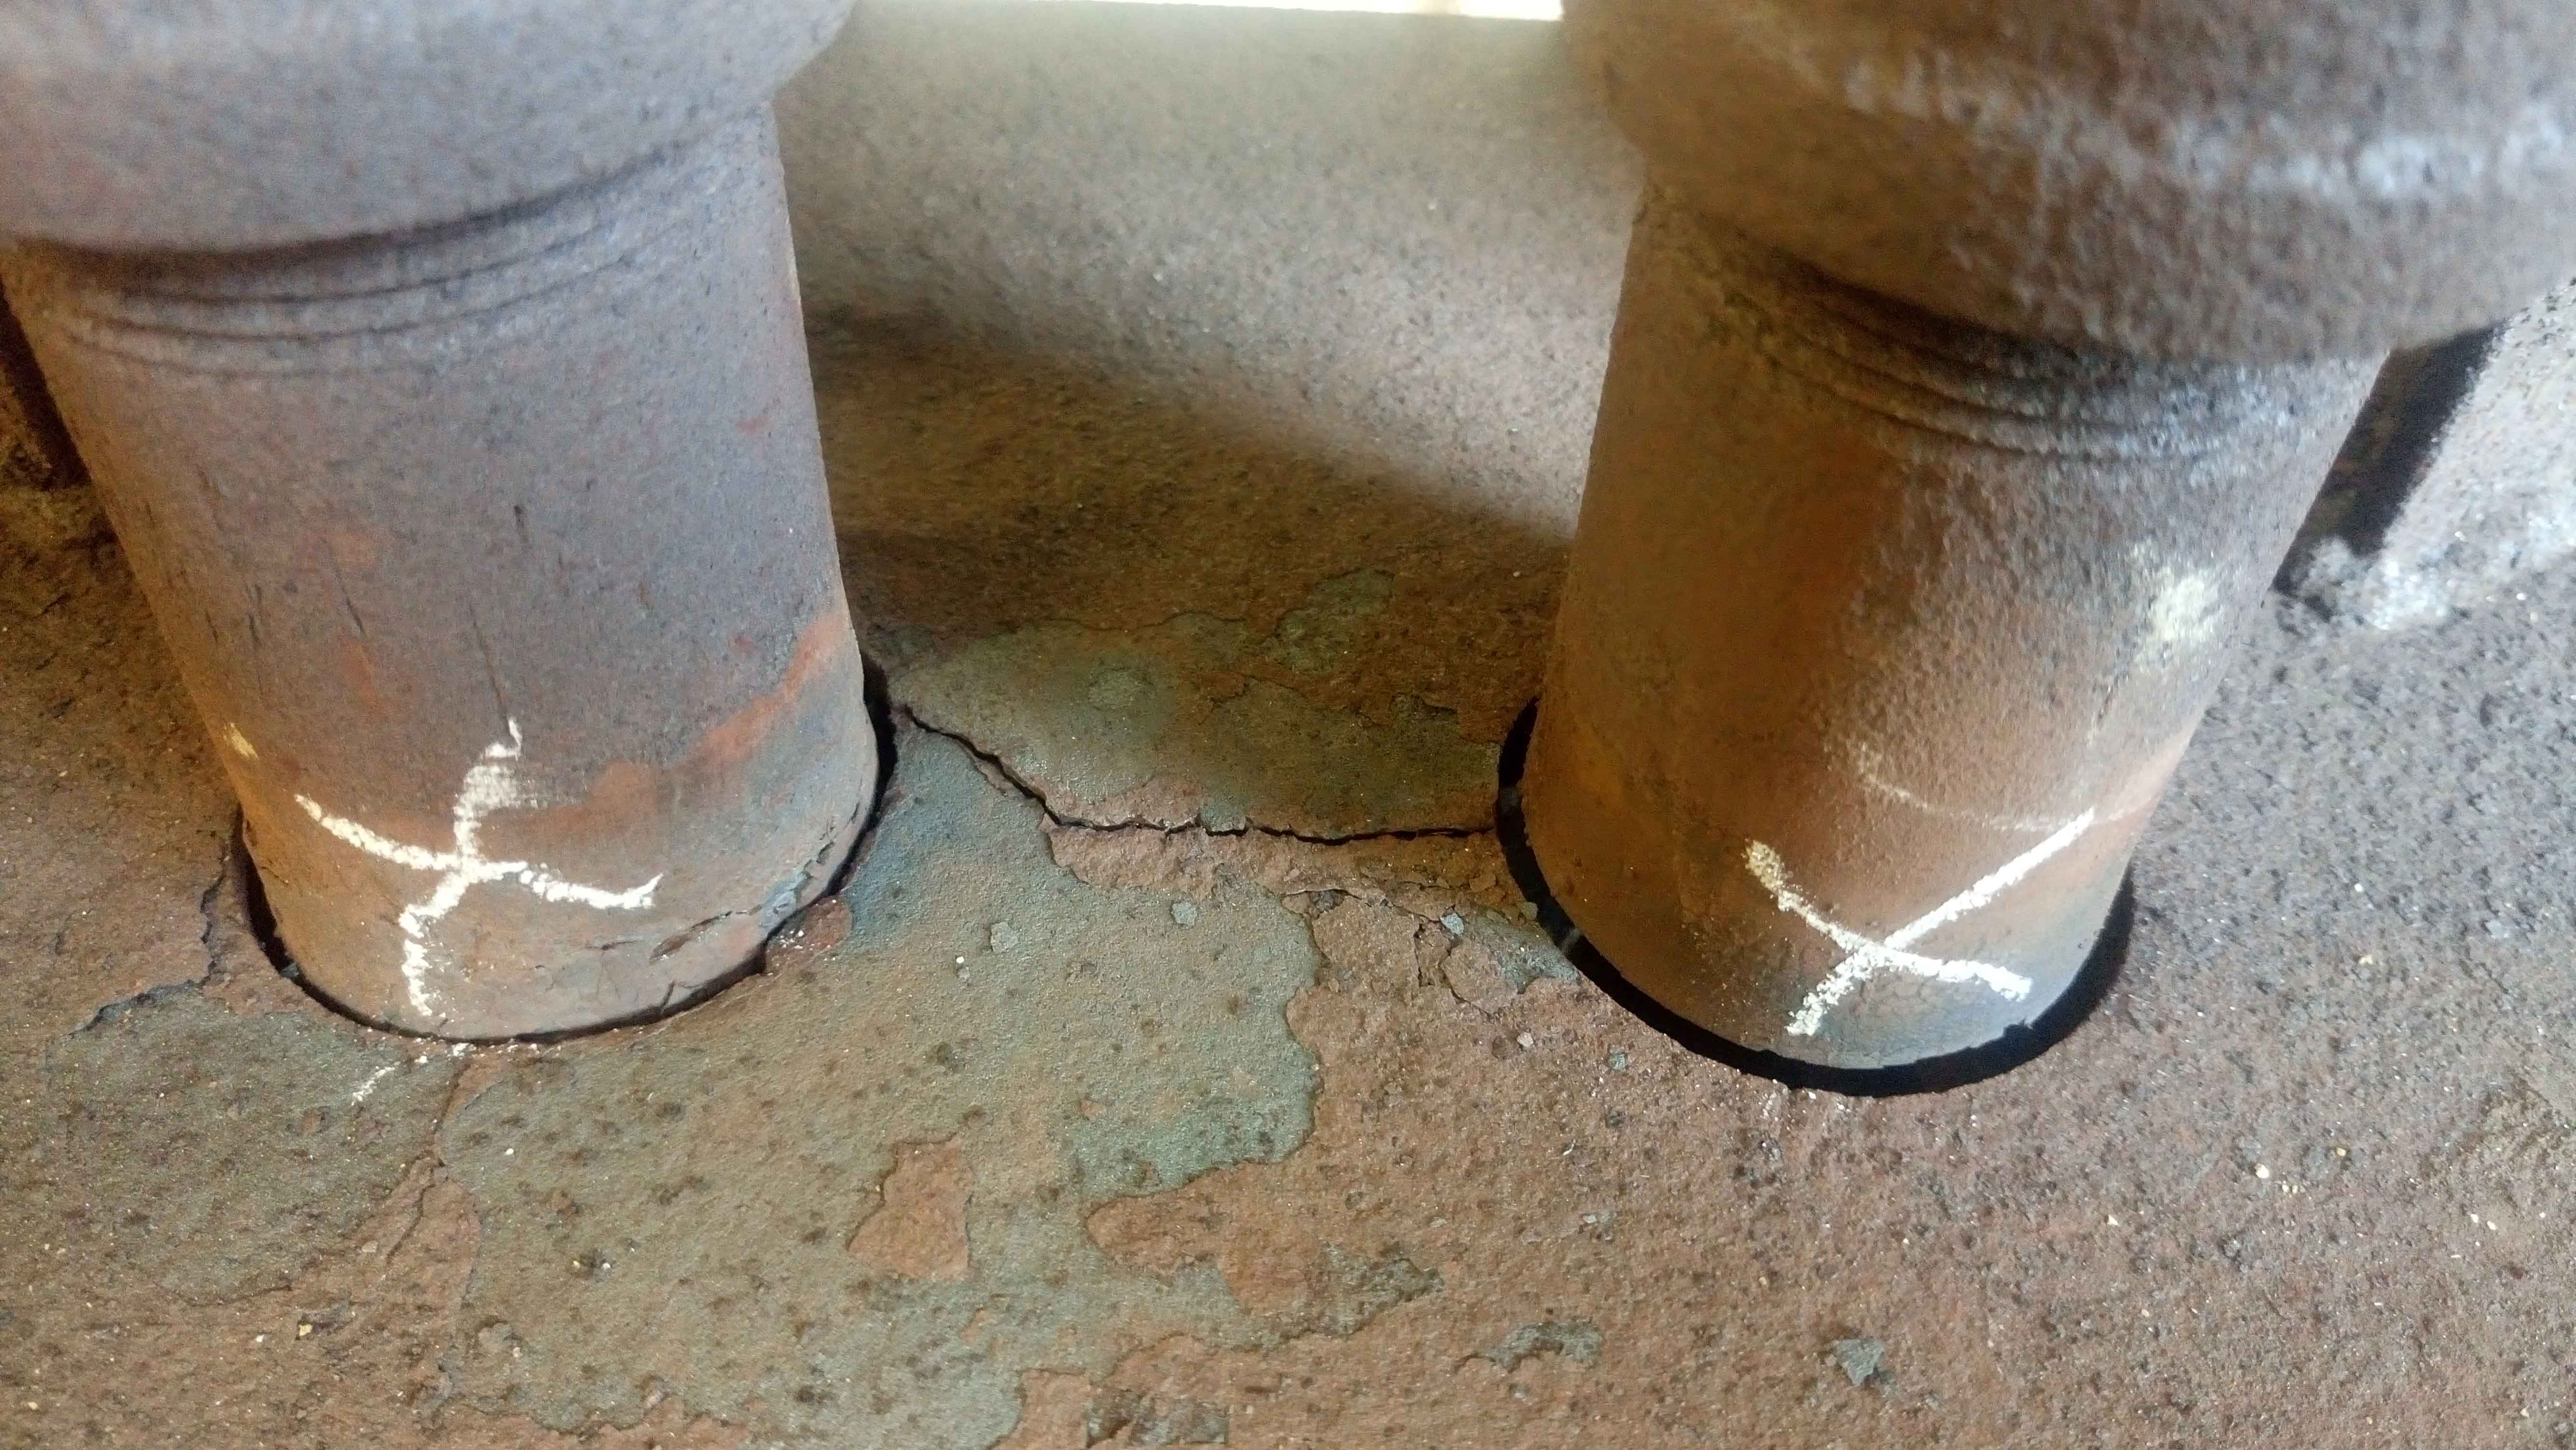
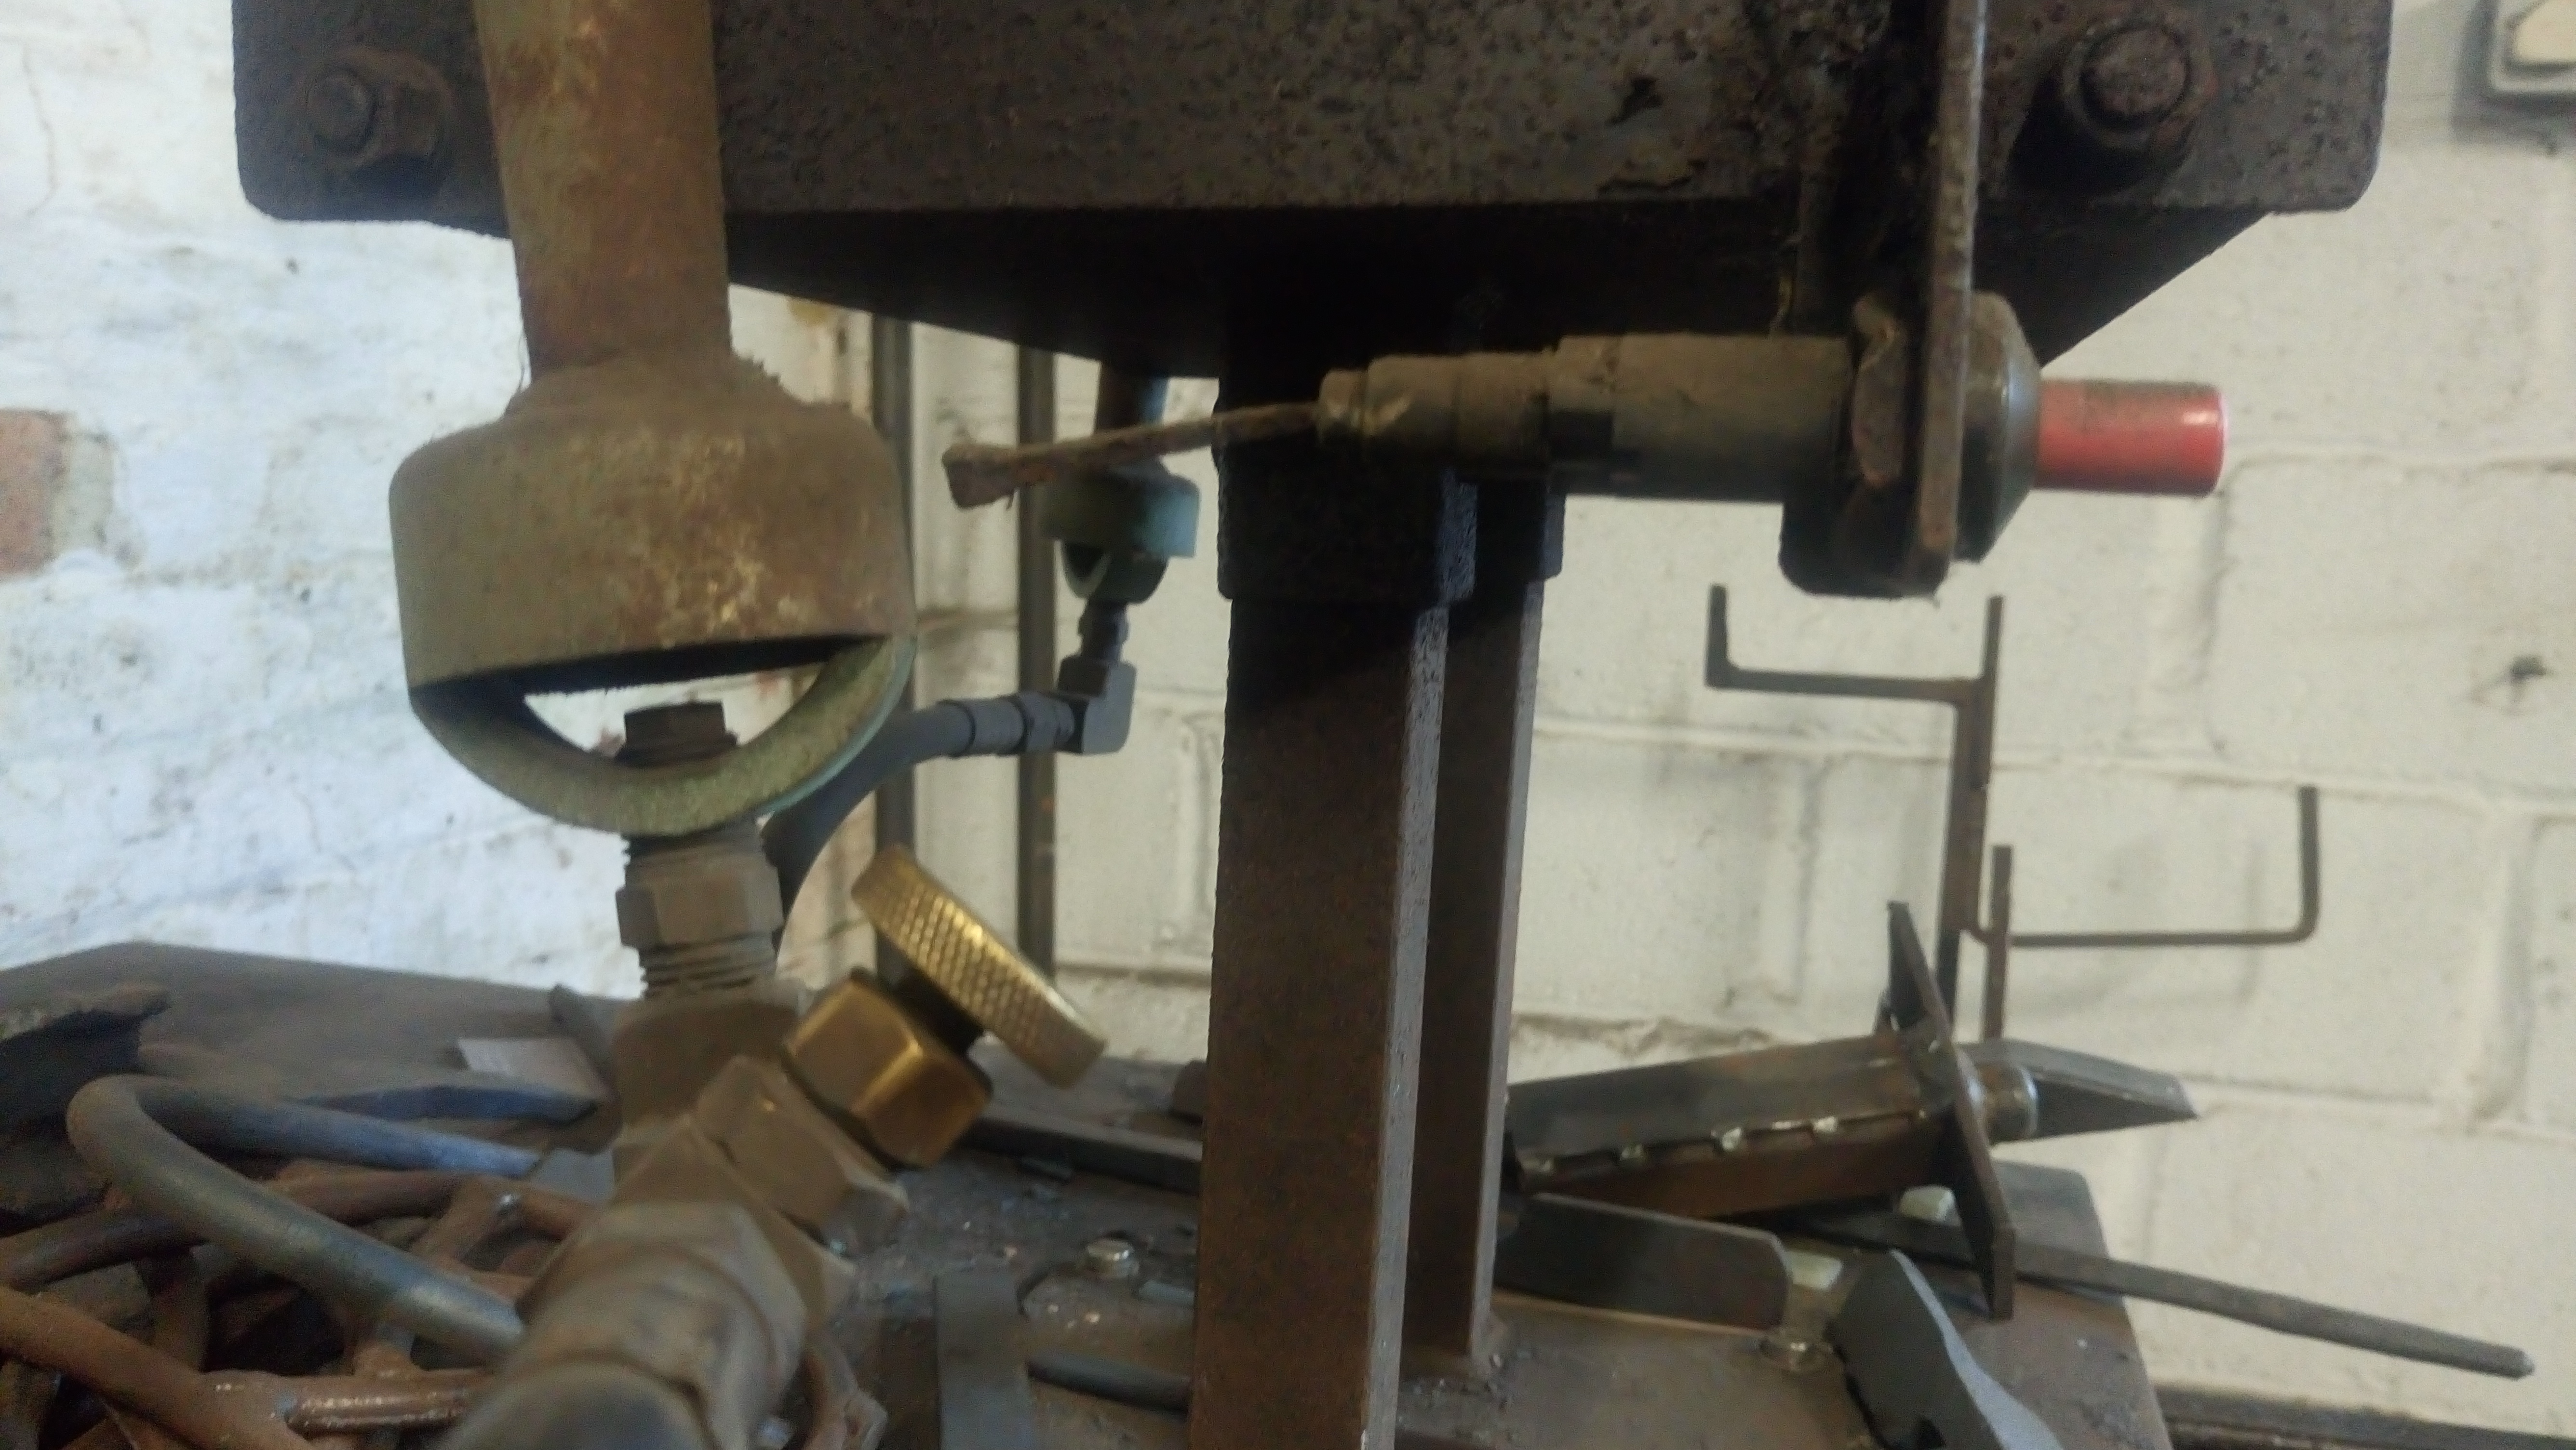
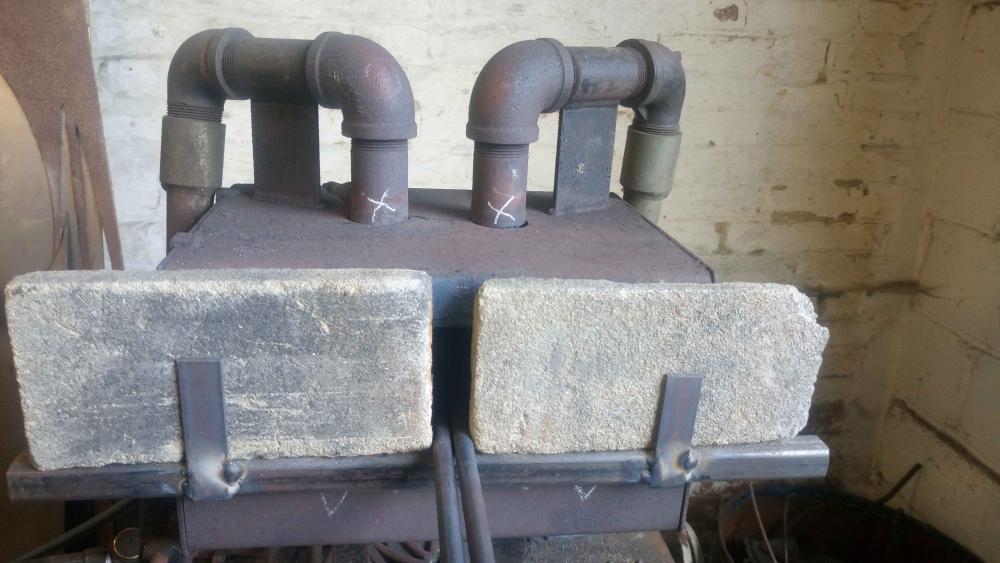
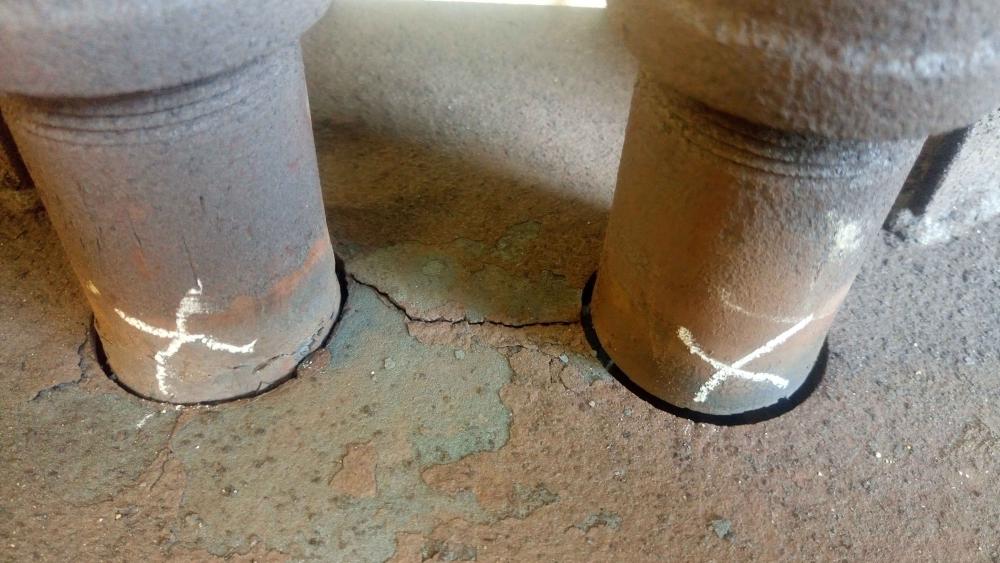
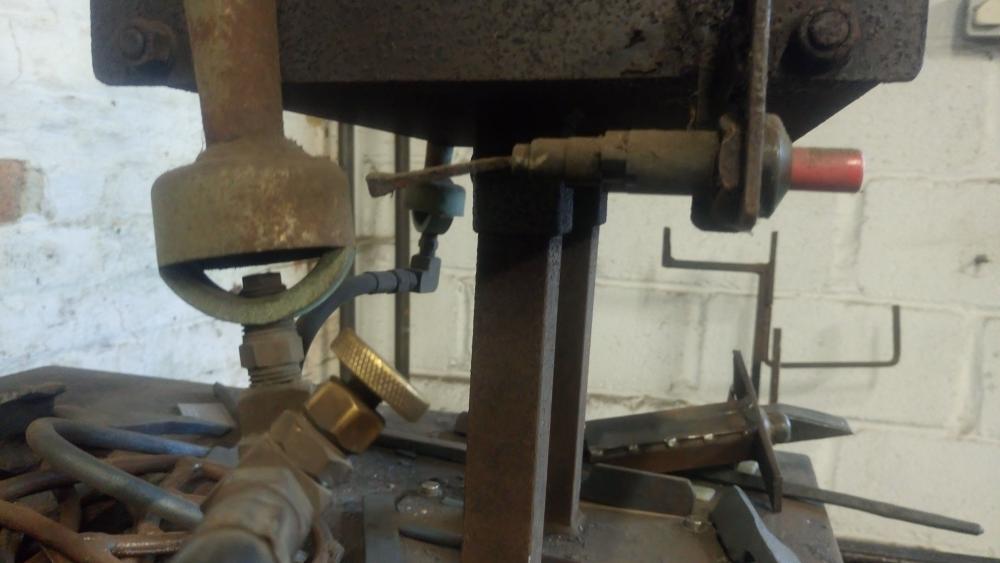
Sorry for the delay in replying. I knew they wouldn't last but seeing as I had some I could test the theory with, the other day I made front sliding doors with some thin insulating bricks I had.. I didn't take pictures when the forge was lit, but here's the setup and results. The 1/2" bars did NOT get any hotter, but the forge and the bars got up to temperature quicker. The forge also went through the wars and where I've marked with X's on the bottoms of the burners got orange hot. Between the burners has cracked, the door at the back warped and where the bars where resting on the forge floor has melted/become deformed. An experiment with mixed results!

-
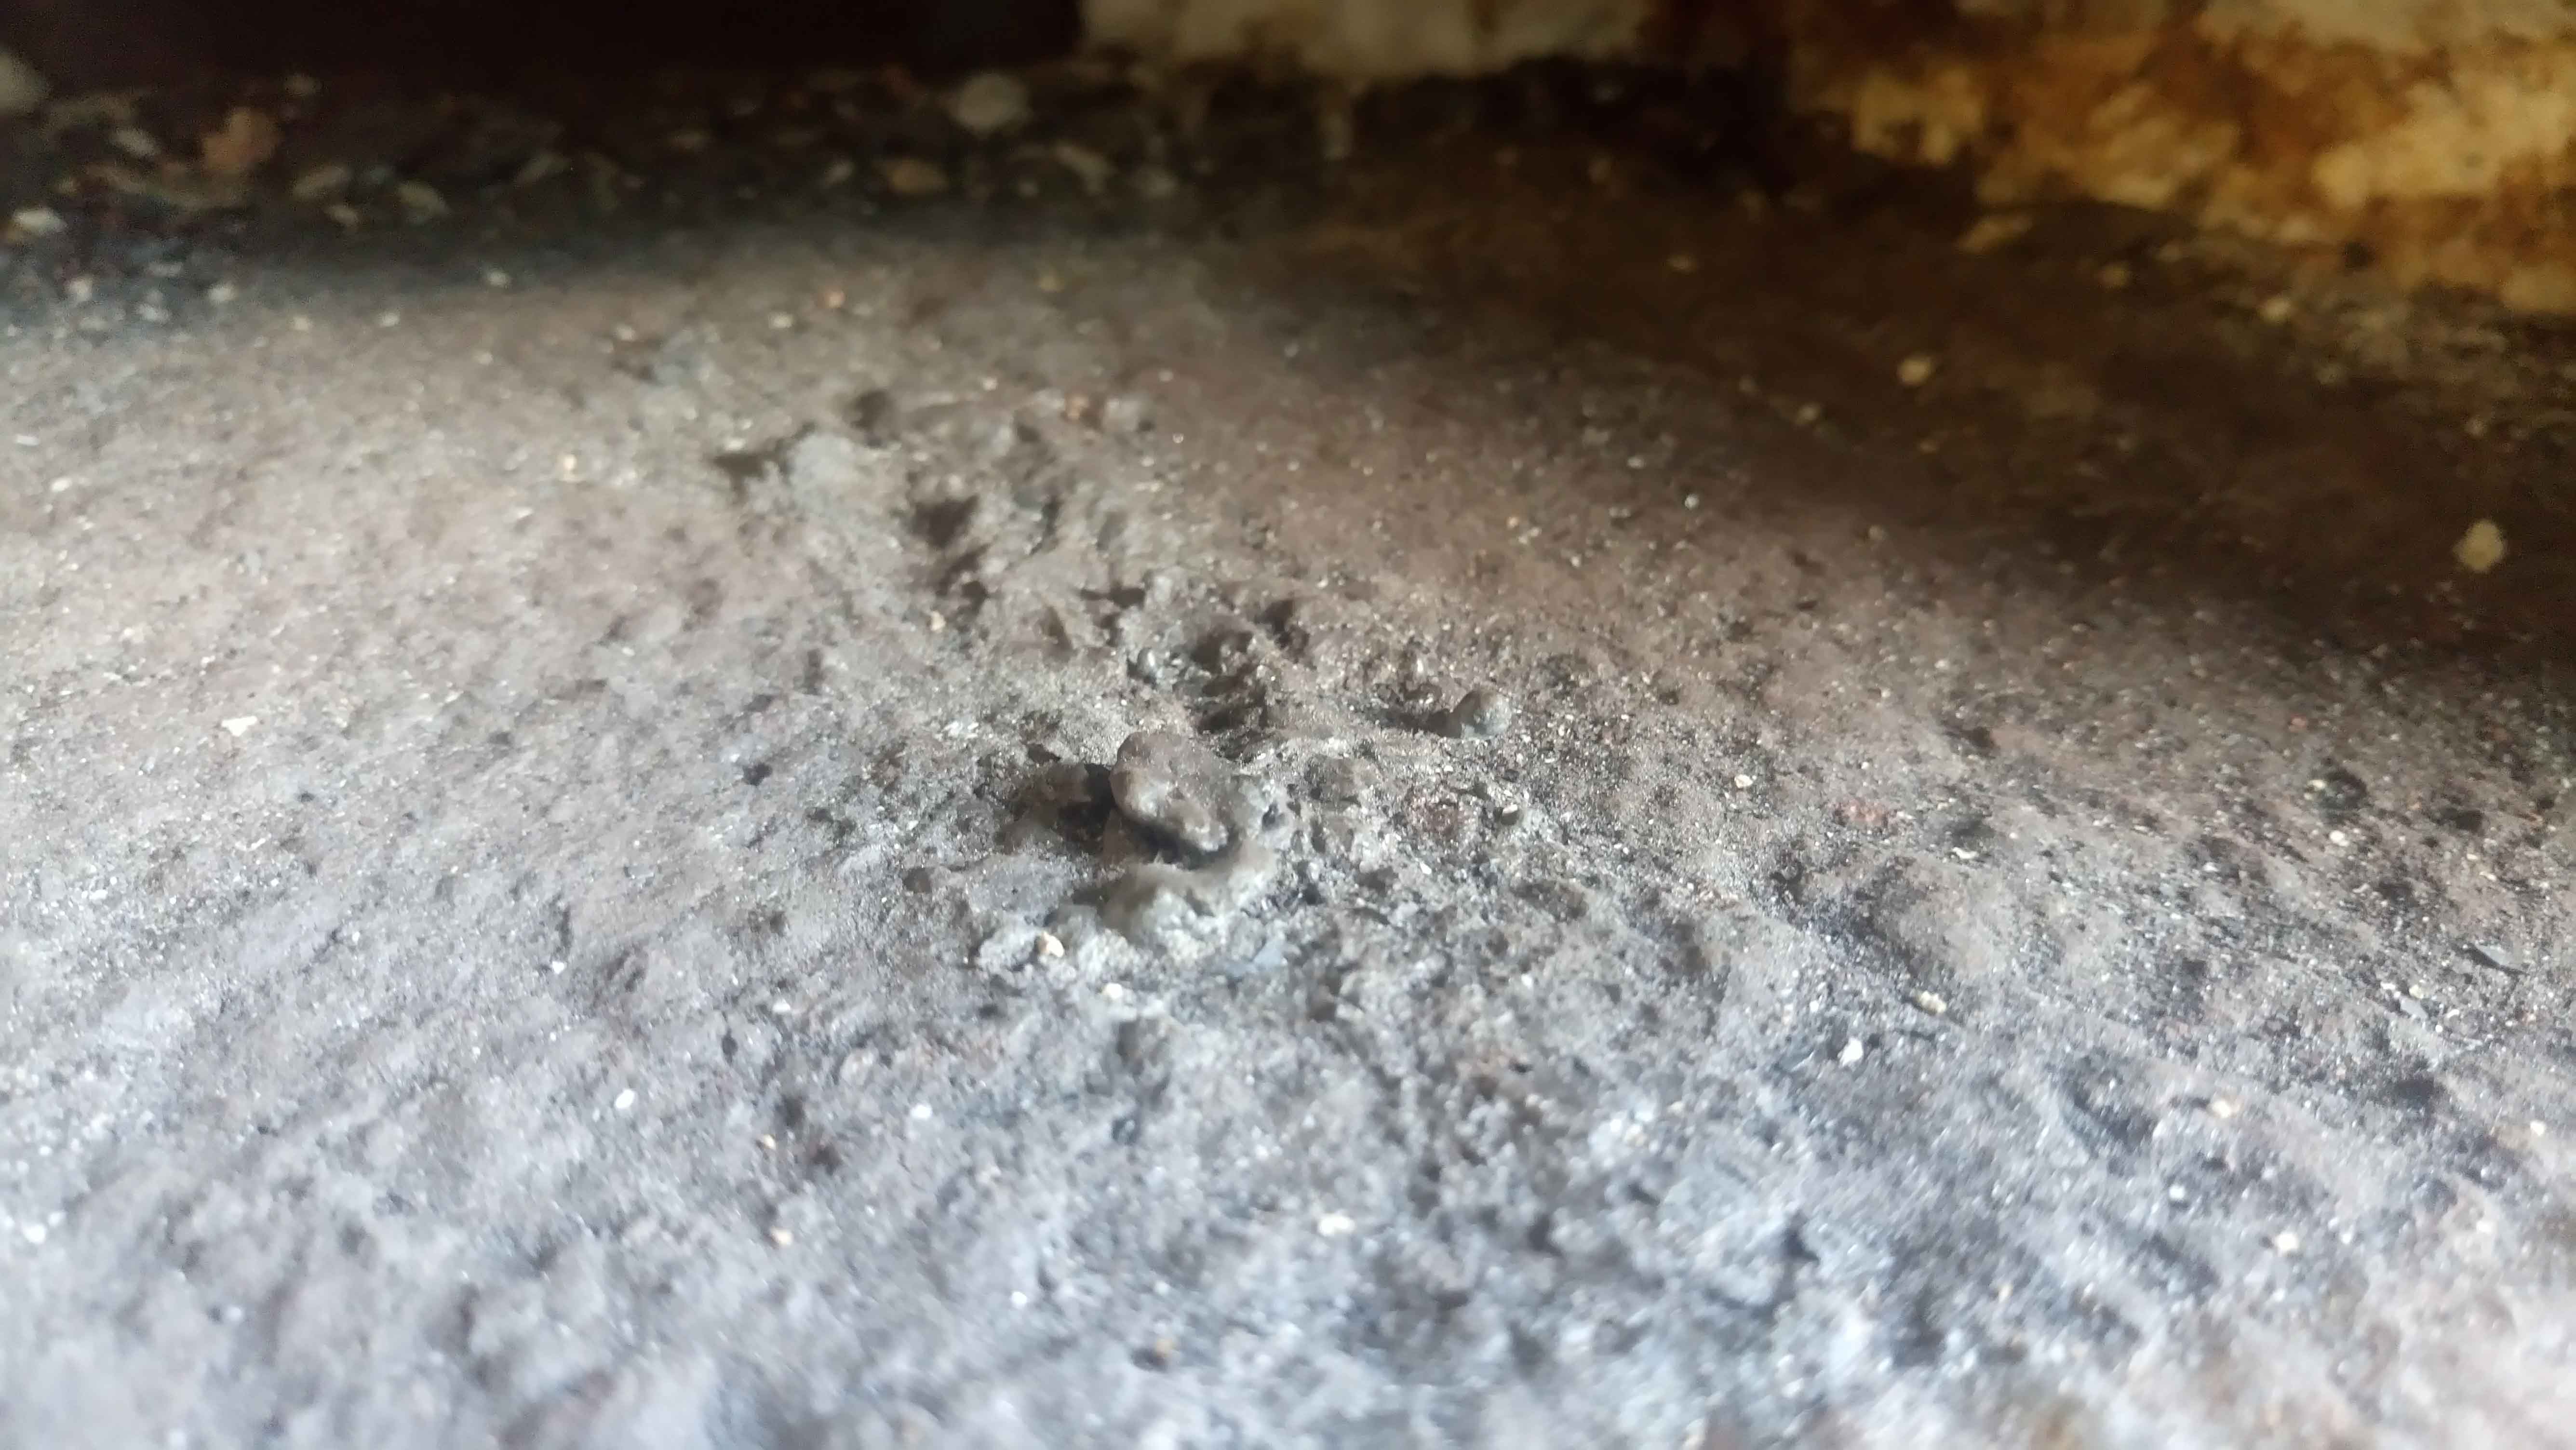
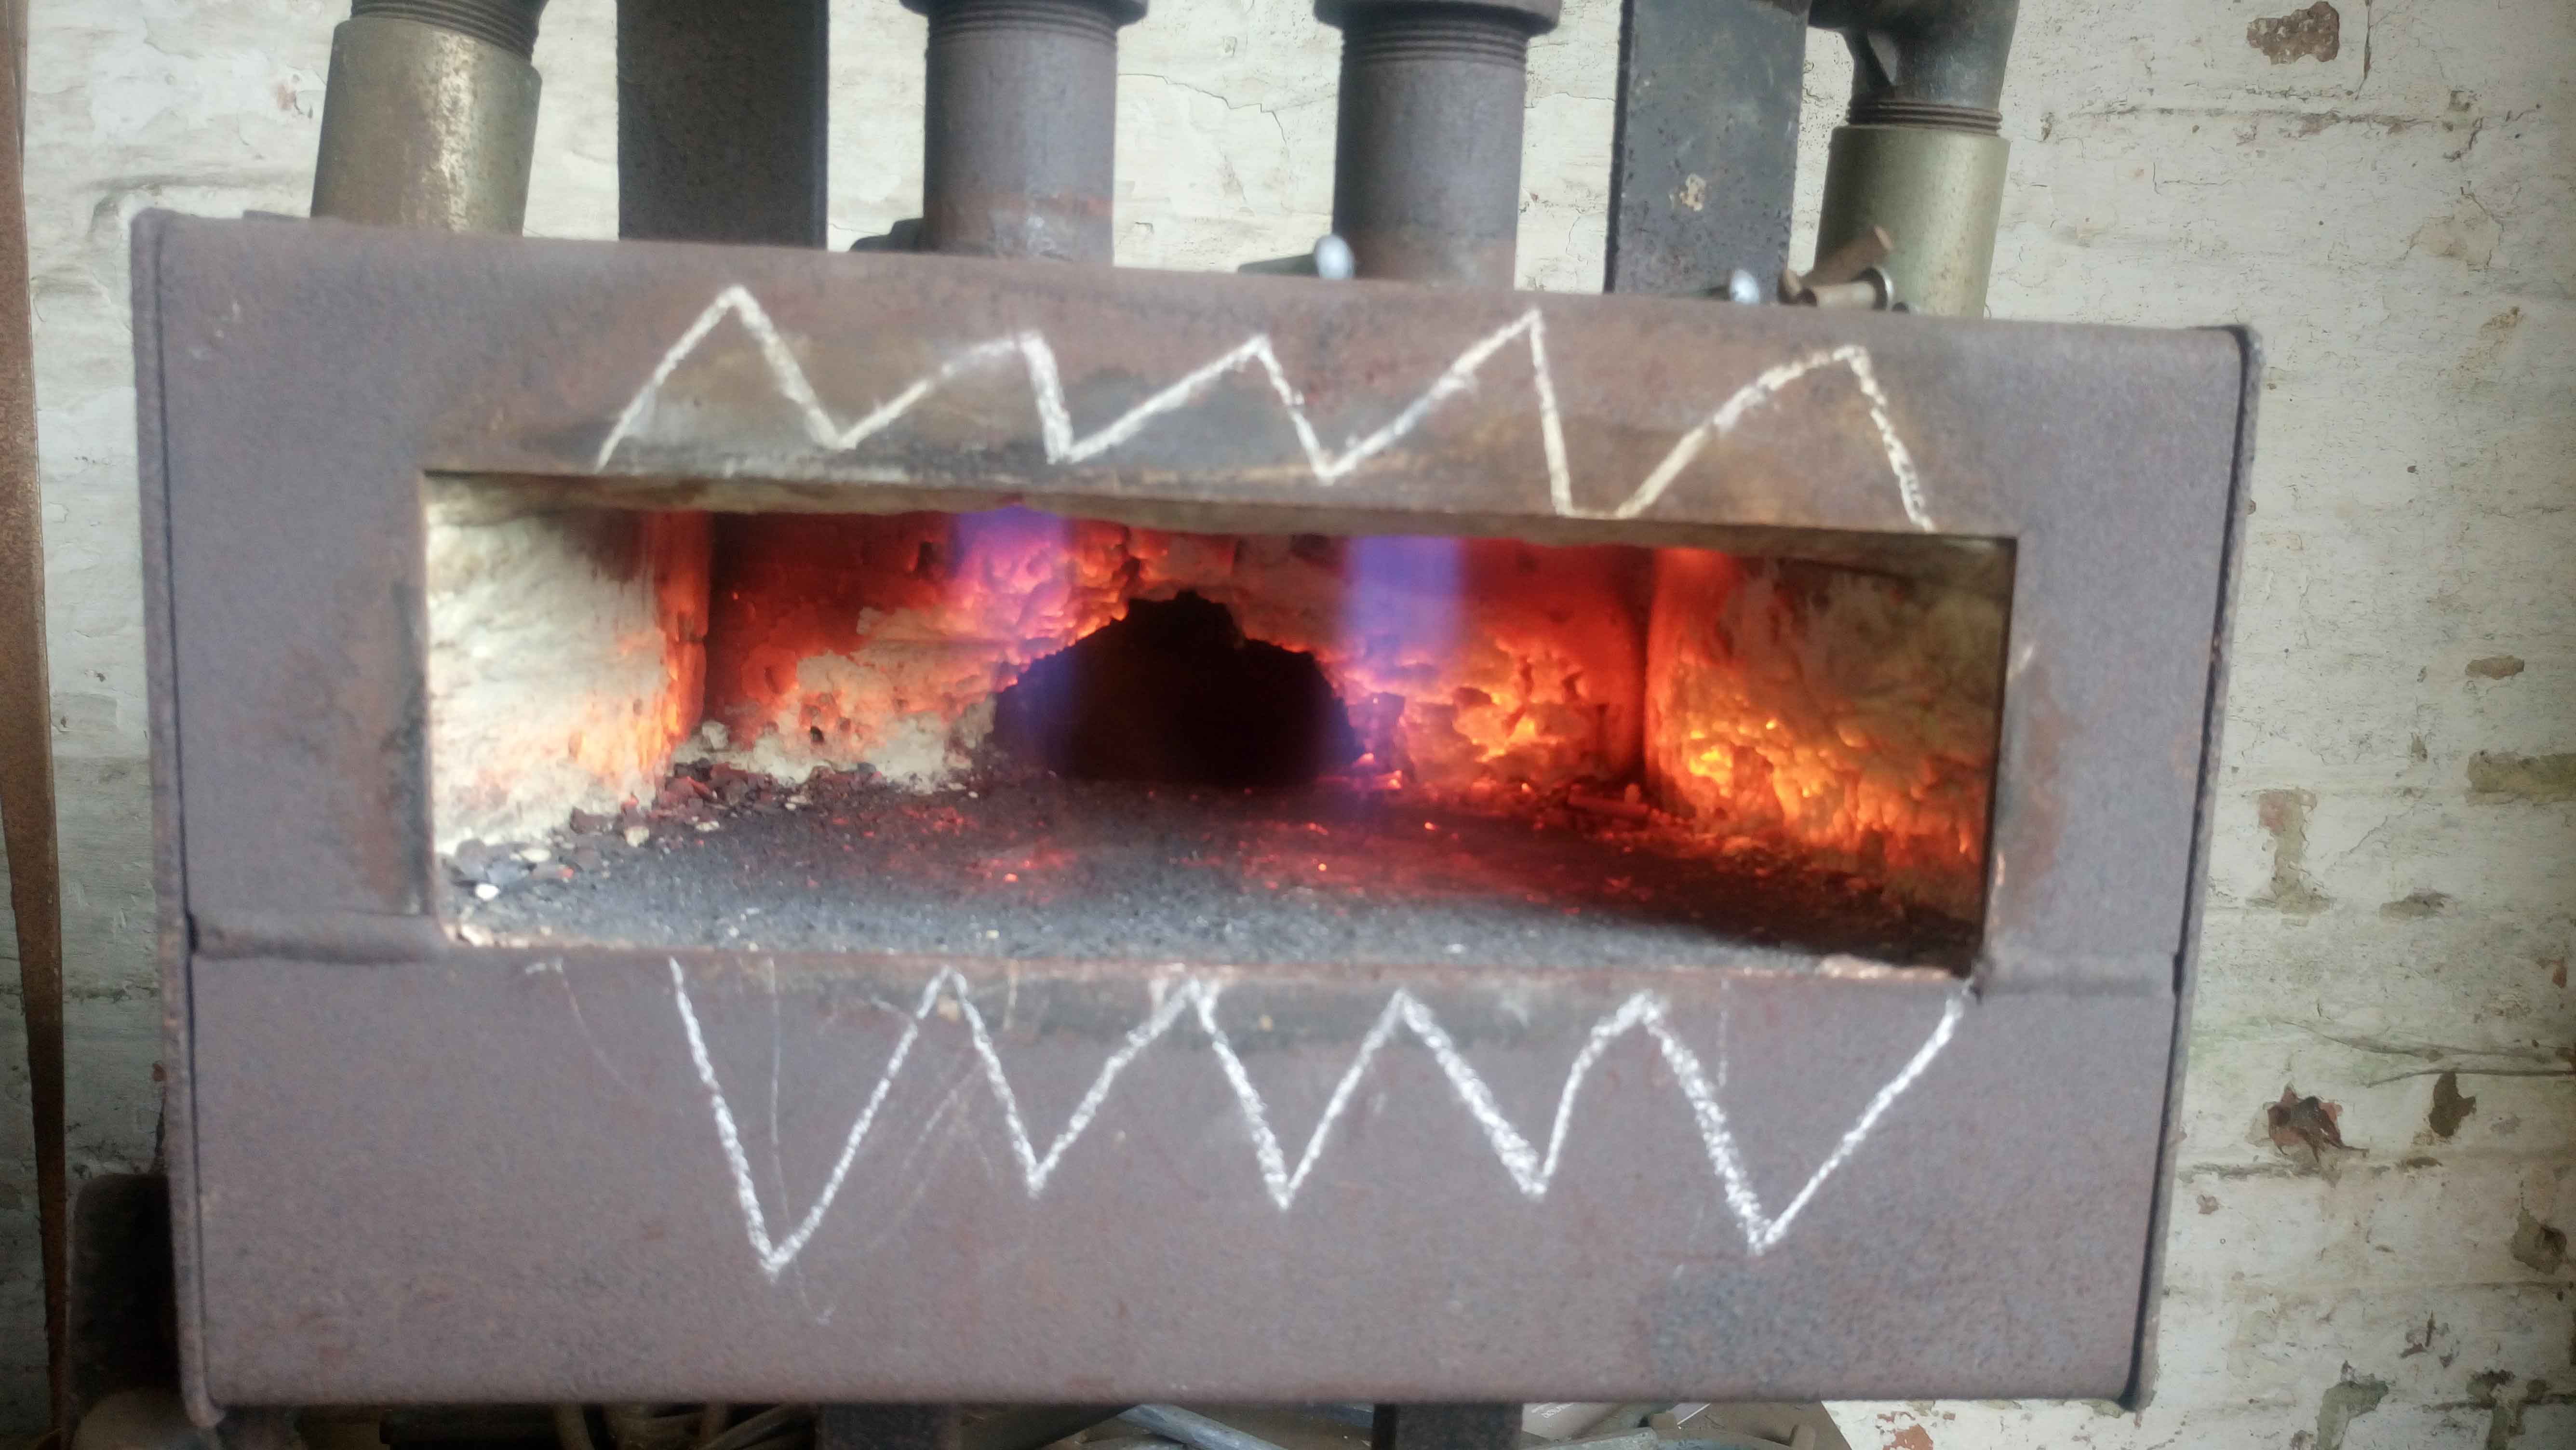
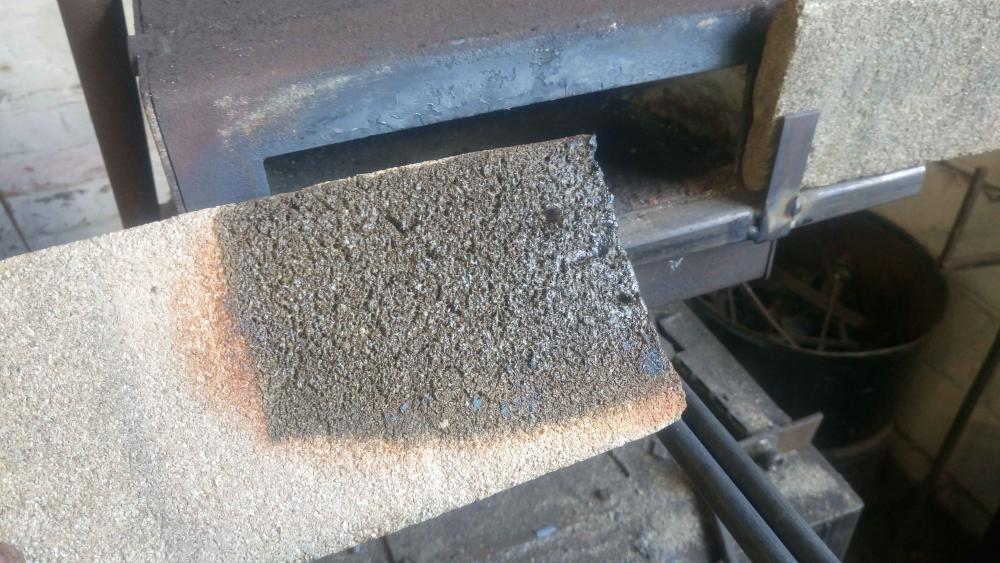
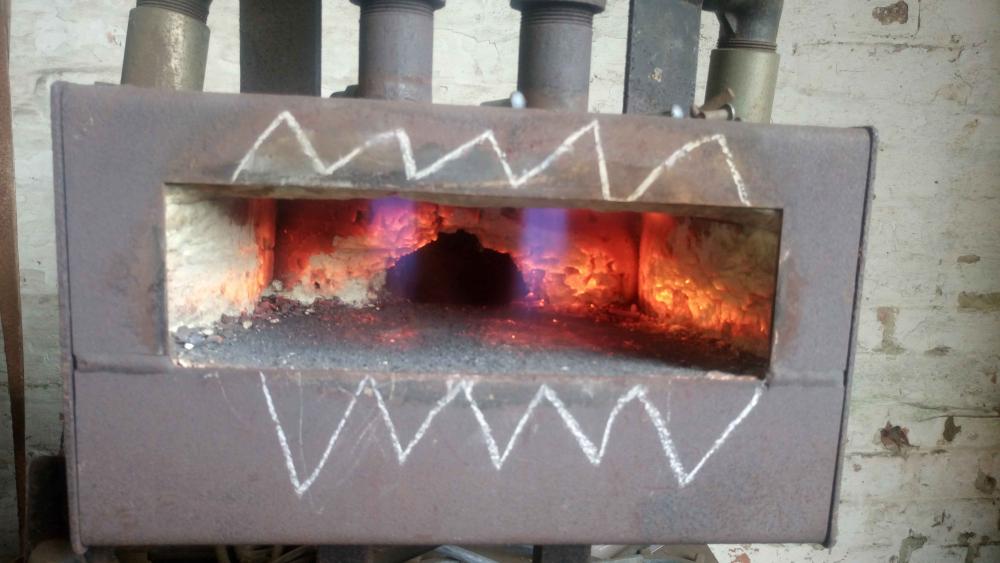
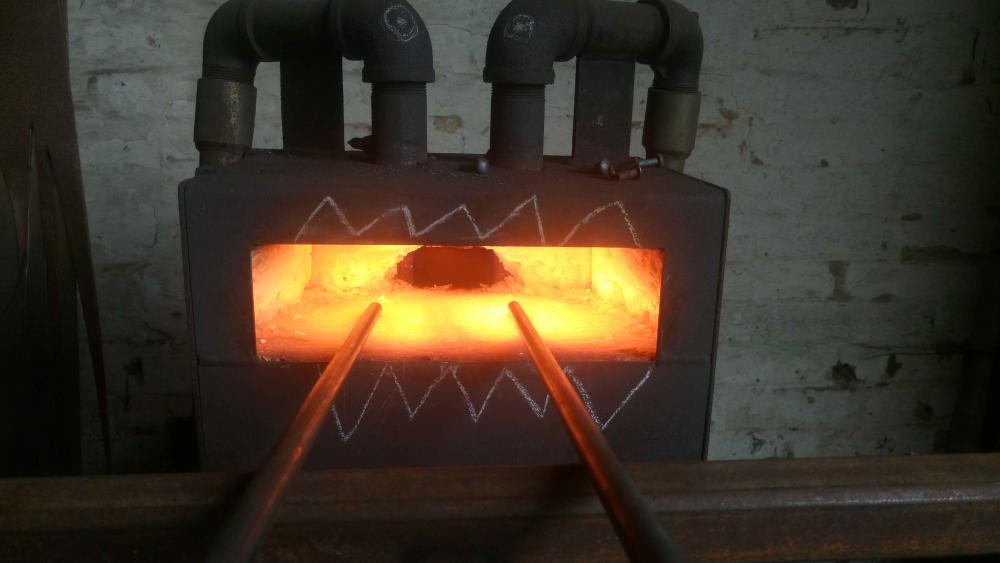
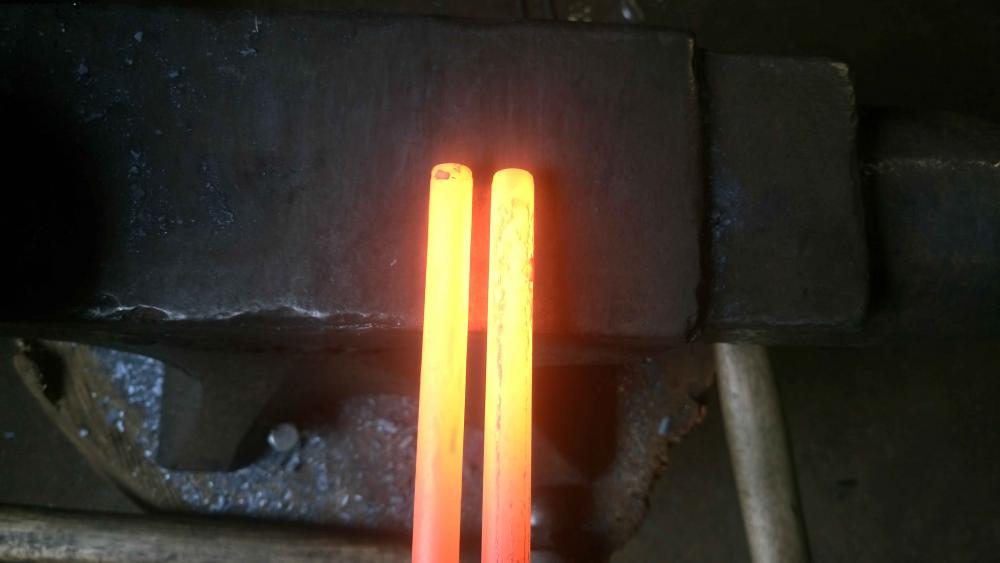
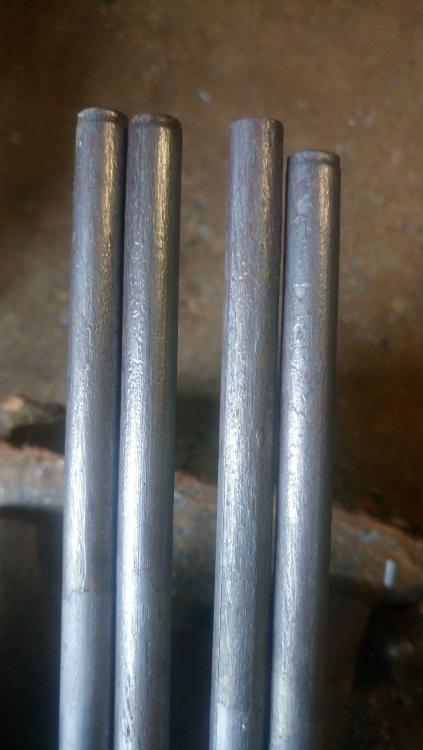
Hi folks, I took some pictures yesterday with the regulator dialed down a bit. The first picture is of the flame soon after lighting the forge with the regulator down to 1 bar as Mikey suggested. I later turned it up to 2 bar to see the difference. Turning it down from 4 bar as it was originally set made a huge difference to the flame colour and size. The second picture is of the forge up to temp and 2 bars of 1/2" heating up. The 3rd pic is of another two 1/2" bars out of the forge when it was set to 2 bar. The max heat they'd reach was only bright orange, on small bar like this I'd hope for yellow. The 4th pic shows the bars' surface texture after brushing with a proper big butchers block brush at a red head. The two bars on the left are the 1 bar regulator settings heat and the two bars on the right are the 2 bar regulator setting heat. My coke forge doesn't leave a textured surface like this. The scale and surface finish was a little better at 1 bar, though it would only get up to a mid orange. At 2 bar it got a little hotter up to bright orange which is okay-ish, but still doesn't give you much working time. Any thoughts on how I can get it to run hotter without cranking it up so I'm back to the insanely heavy scale situation?
-
No Robbie, 4 mins when the forge is up to temp.
-
I heated up some bits of 1/2" bar at various reg settings & took pics which I'll upload when I get home. What sort of colour would you expect a gas forge like mine to get bit of 1/2" bar up to after 4 mins heat time at sensible reg settings?
-
Cheers muchly. I need to do some real research into this. I'm painfully naive when it comes to this stuff and what's obvious and basic to some ppl goes right over my head.
-
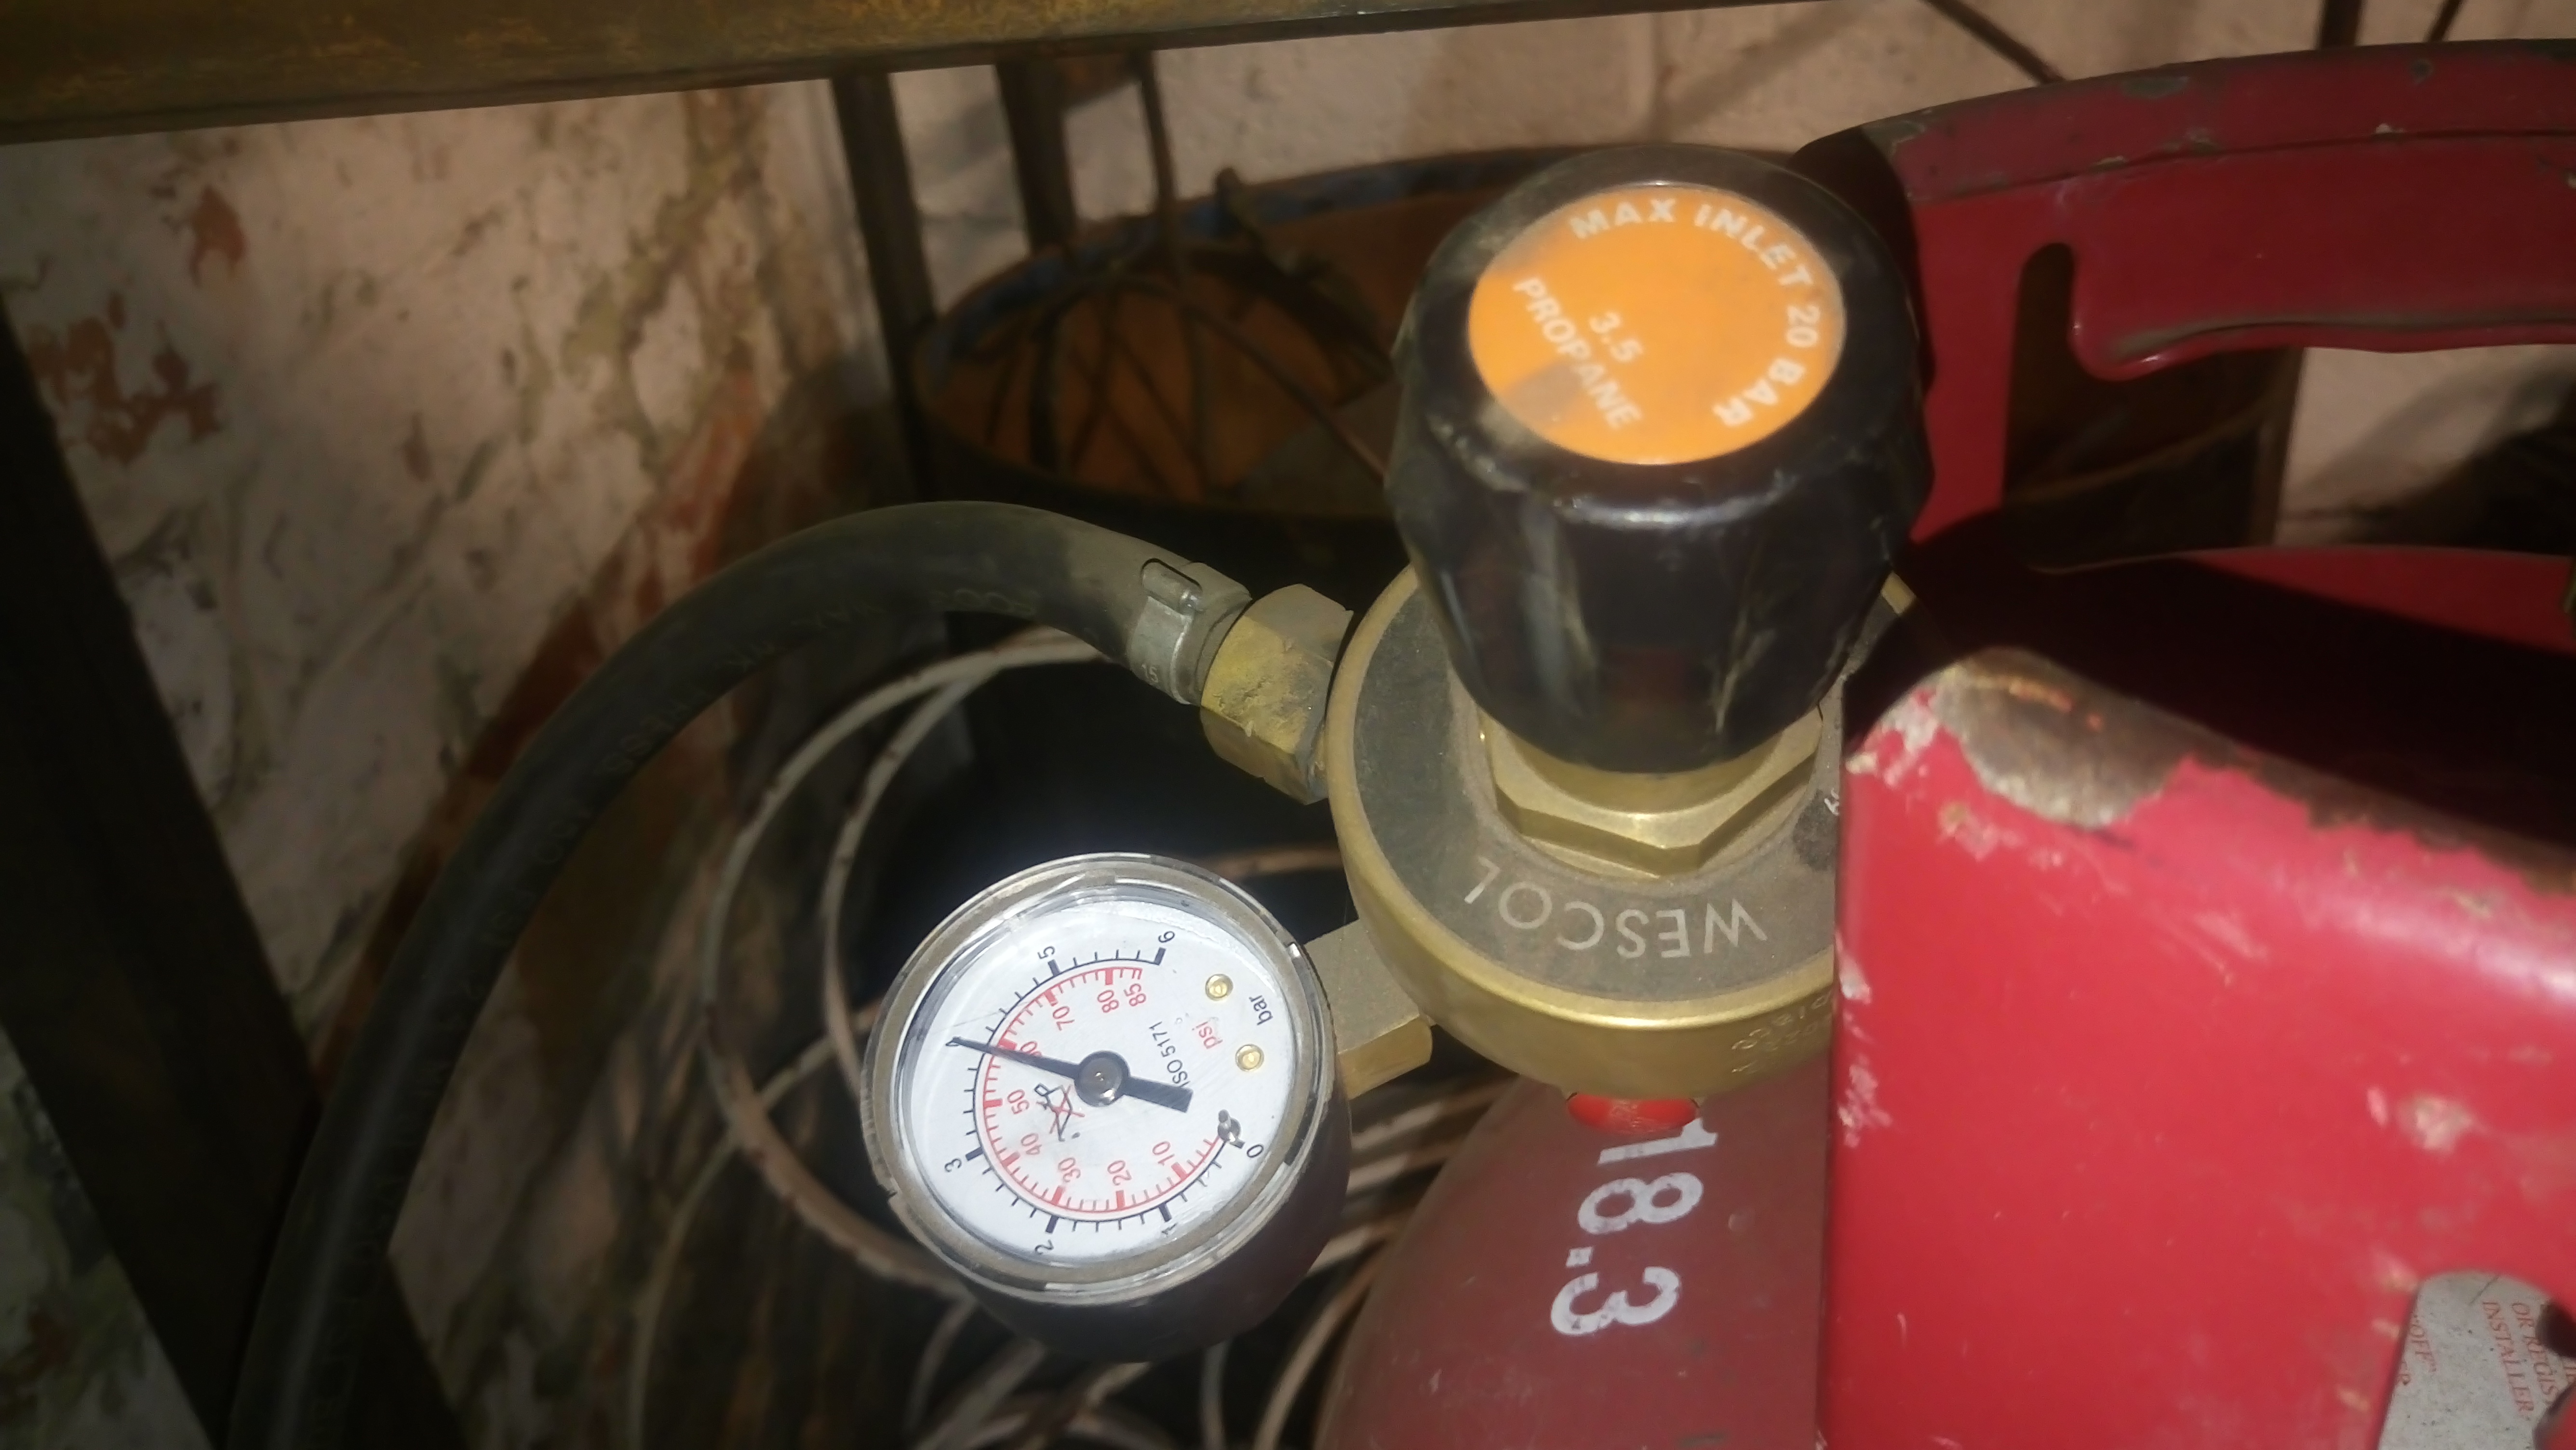
Thanks Mikey, I think you might have nailed it in one. I haven't used it for a couple weeks now but from memory the flame does touch the base of the forge, so would definitely be hitting my work. There is also smaller red writing giving the PSI on the regulator face. The needle is resting at around 60 PSI, which works exactly with your maths that 1 bar = 15 PSI, however I'm not sure how you've reached the figure of 30 PSI. Many thanks for the prompt helpful info.
-
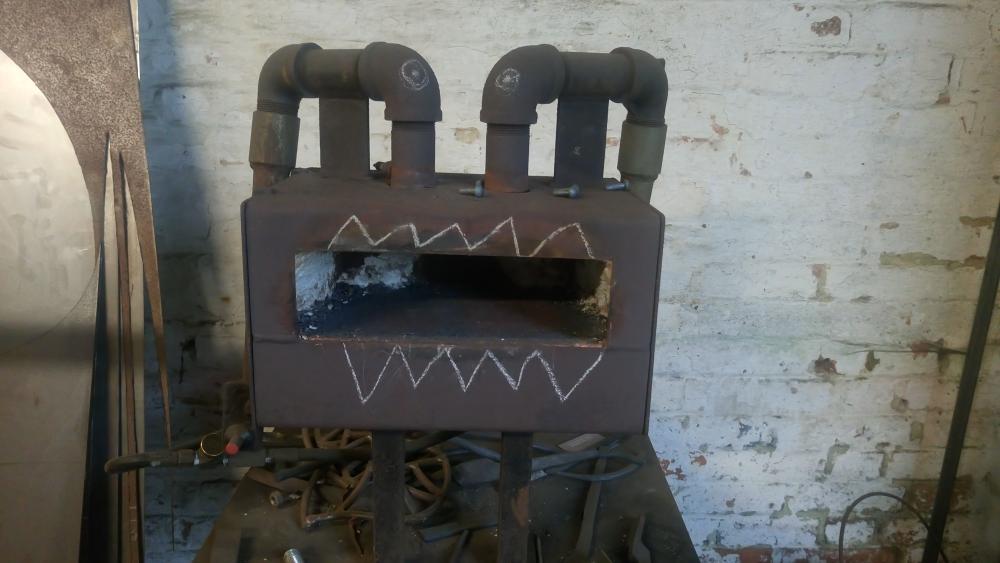
Hello folks, I'm hoping someone might be able to give me some clues as to why my little gas forge is producing heavy stubborn scale on my work. FAR MORE scale than my coke forge. I got this little forge from a farrier a couple years ago, I don't use it very often so can't remember if it has always produced such a thick stubborn scale. I am embarrassingly naive when it comes to gas forges. Please find some pics attached. The orange sticker on top of the regulator says "MAX INLENT 20 BAR" and "3.5 PROPANE". The needle on the regulator is hitting 4 bar. If memory serves me correctly, in an attempt to get it to run as hot as possible a while ago I opened the regulator all the way to let as much propane flow as possible. There's a brass dial at the end of the hose to increase/choke off the flow. It seems to be opened fully at around 1/4 turn. Turning it beyond 1/4 turn doesn't make the burners run hotter. The internal lining is worn. My logic for opening the regulator all the way was to get as rich a propane mix as possible to reduce the amount of air required to make it run hot. Is that logic wrong? From doing a little reading I understand that gas forges, (when setup correctly), are meant to produce less scale than a coke forge. I'd quite like to get a larger gas forge, but my experiences with the scale produced from this one is putting me off. Thanks in advance for any advice.

-
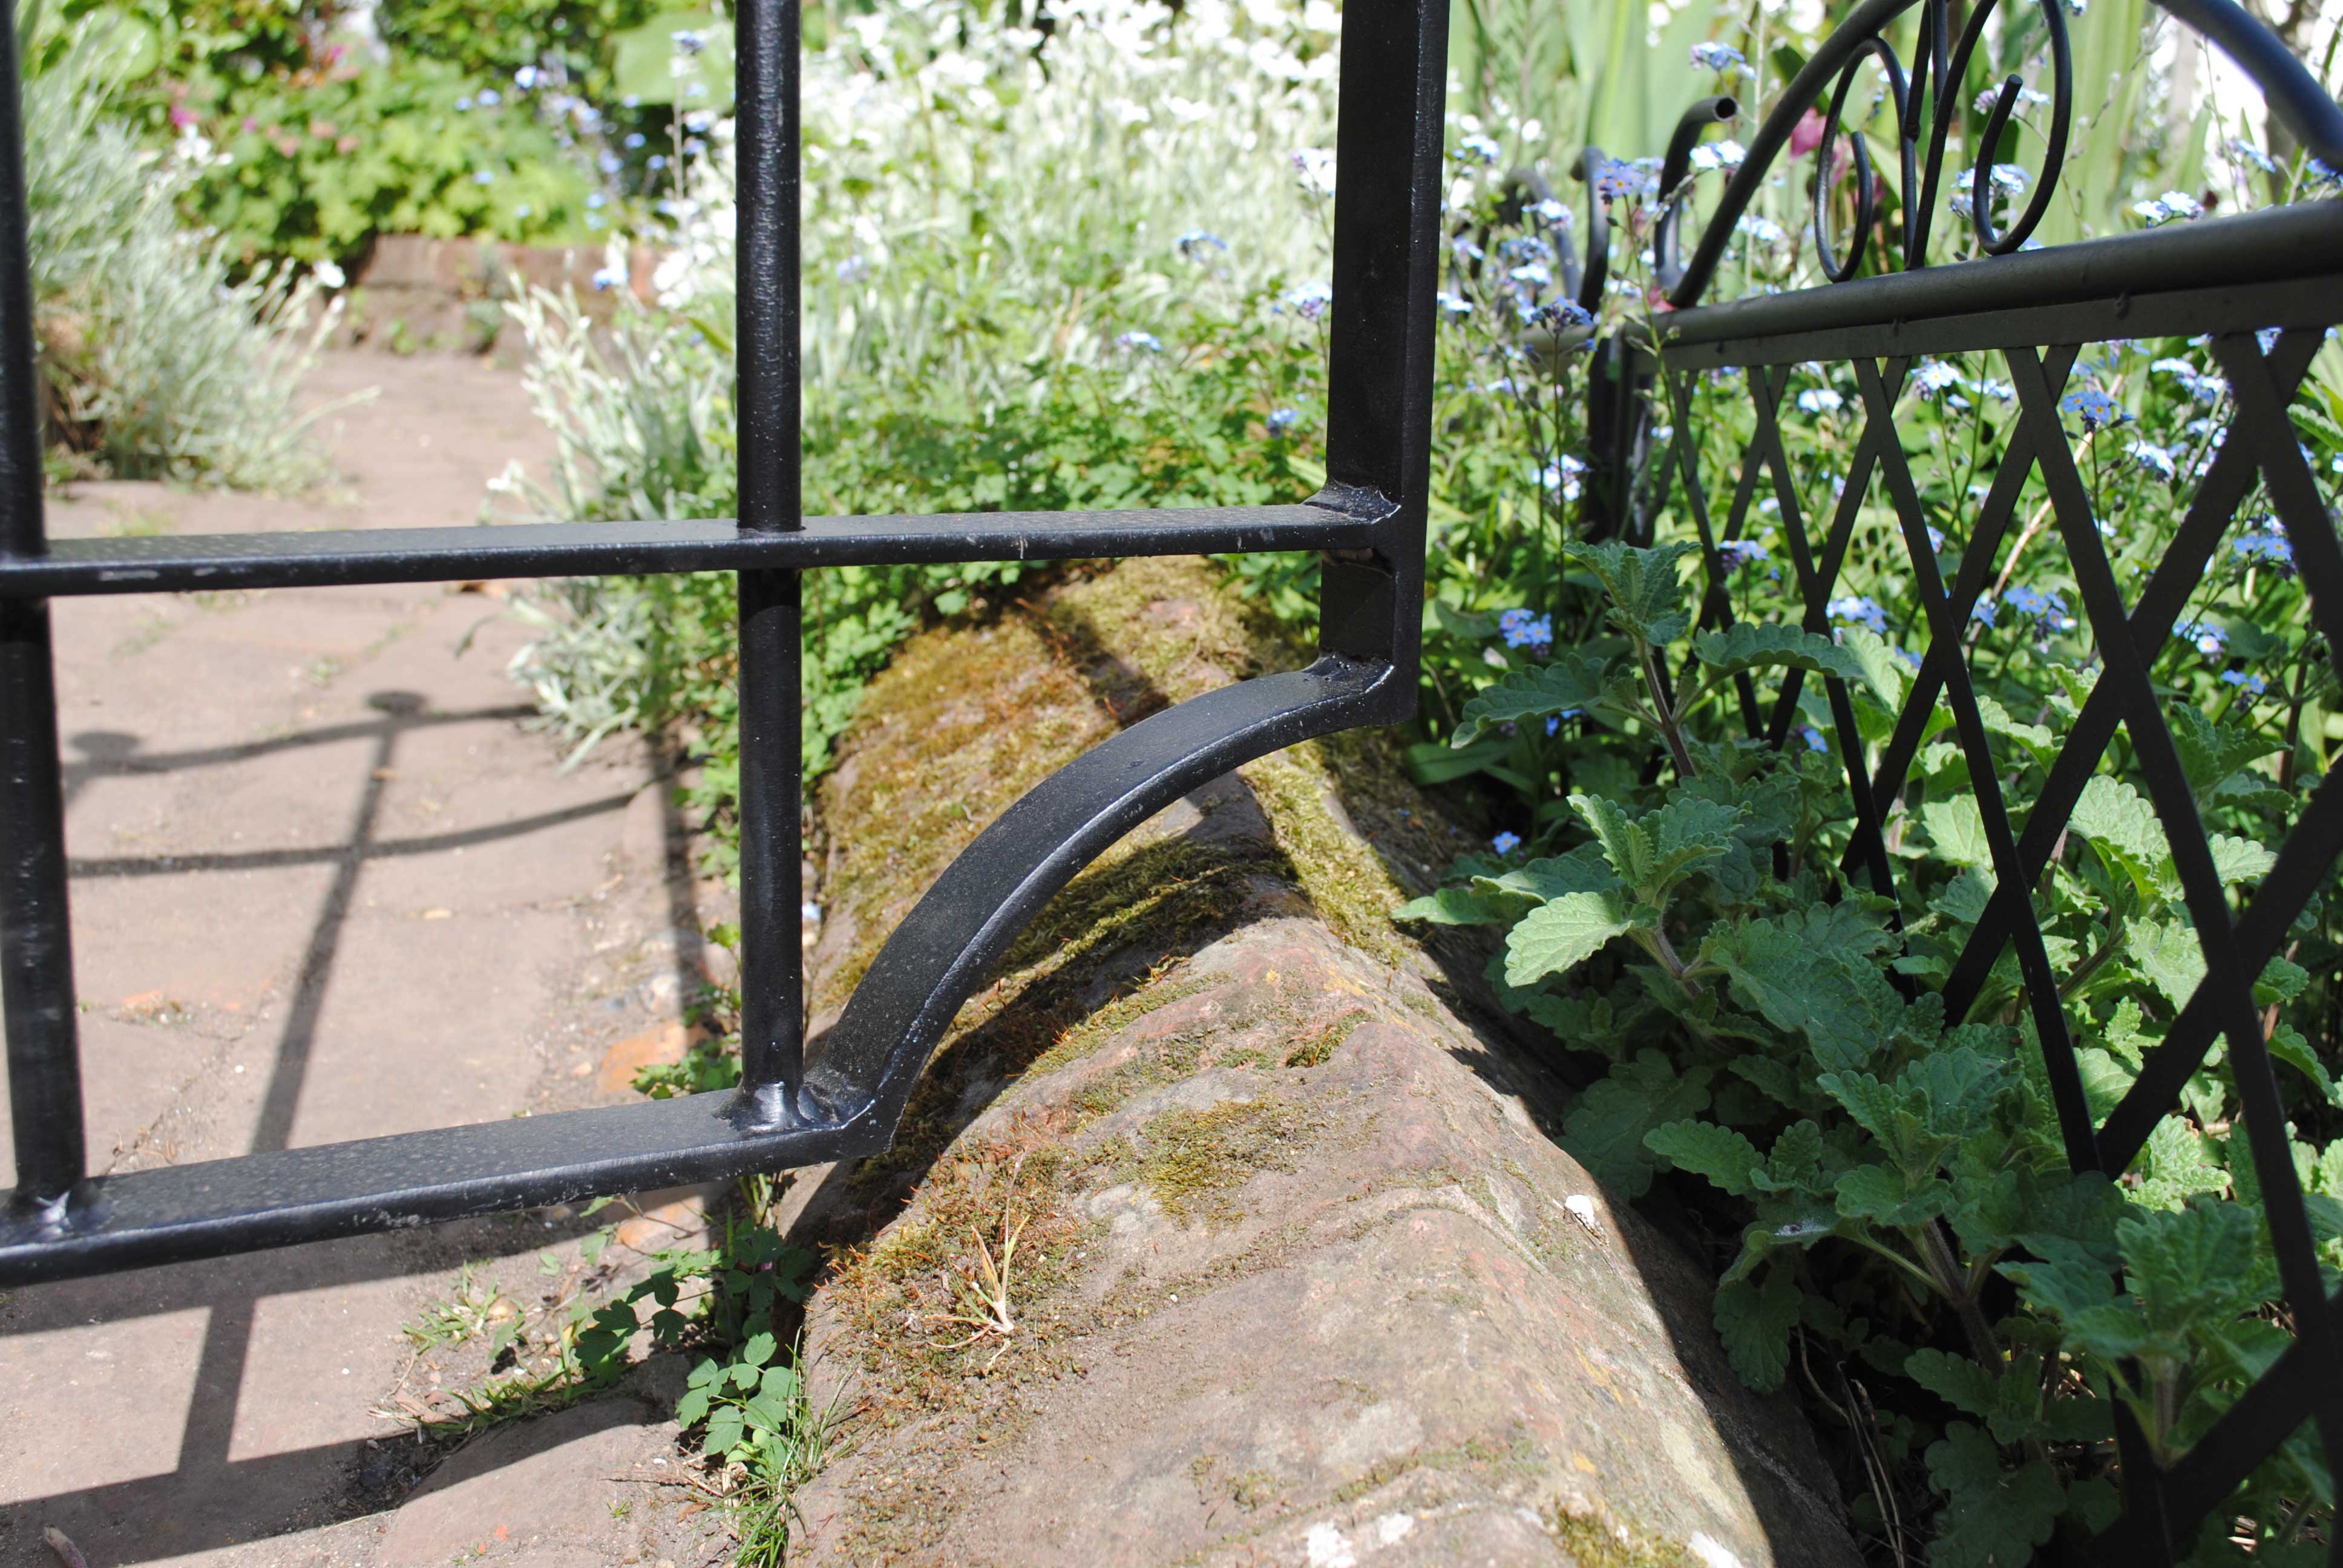
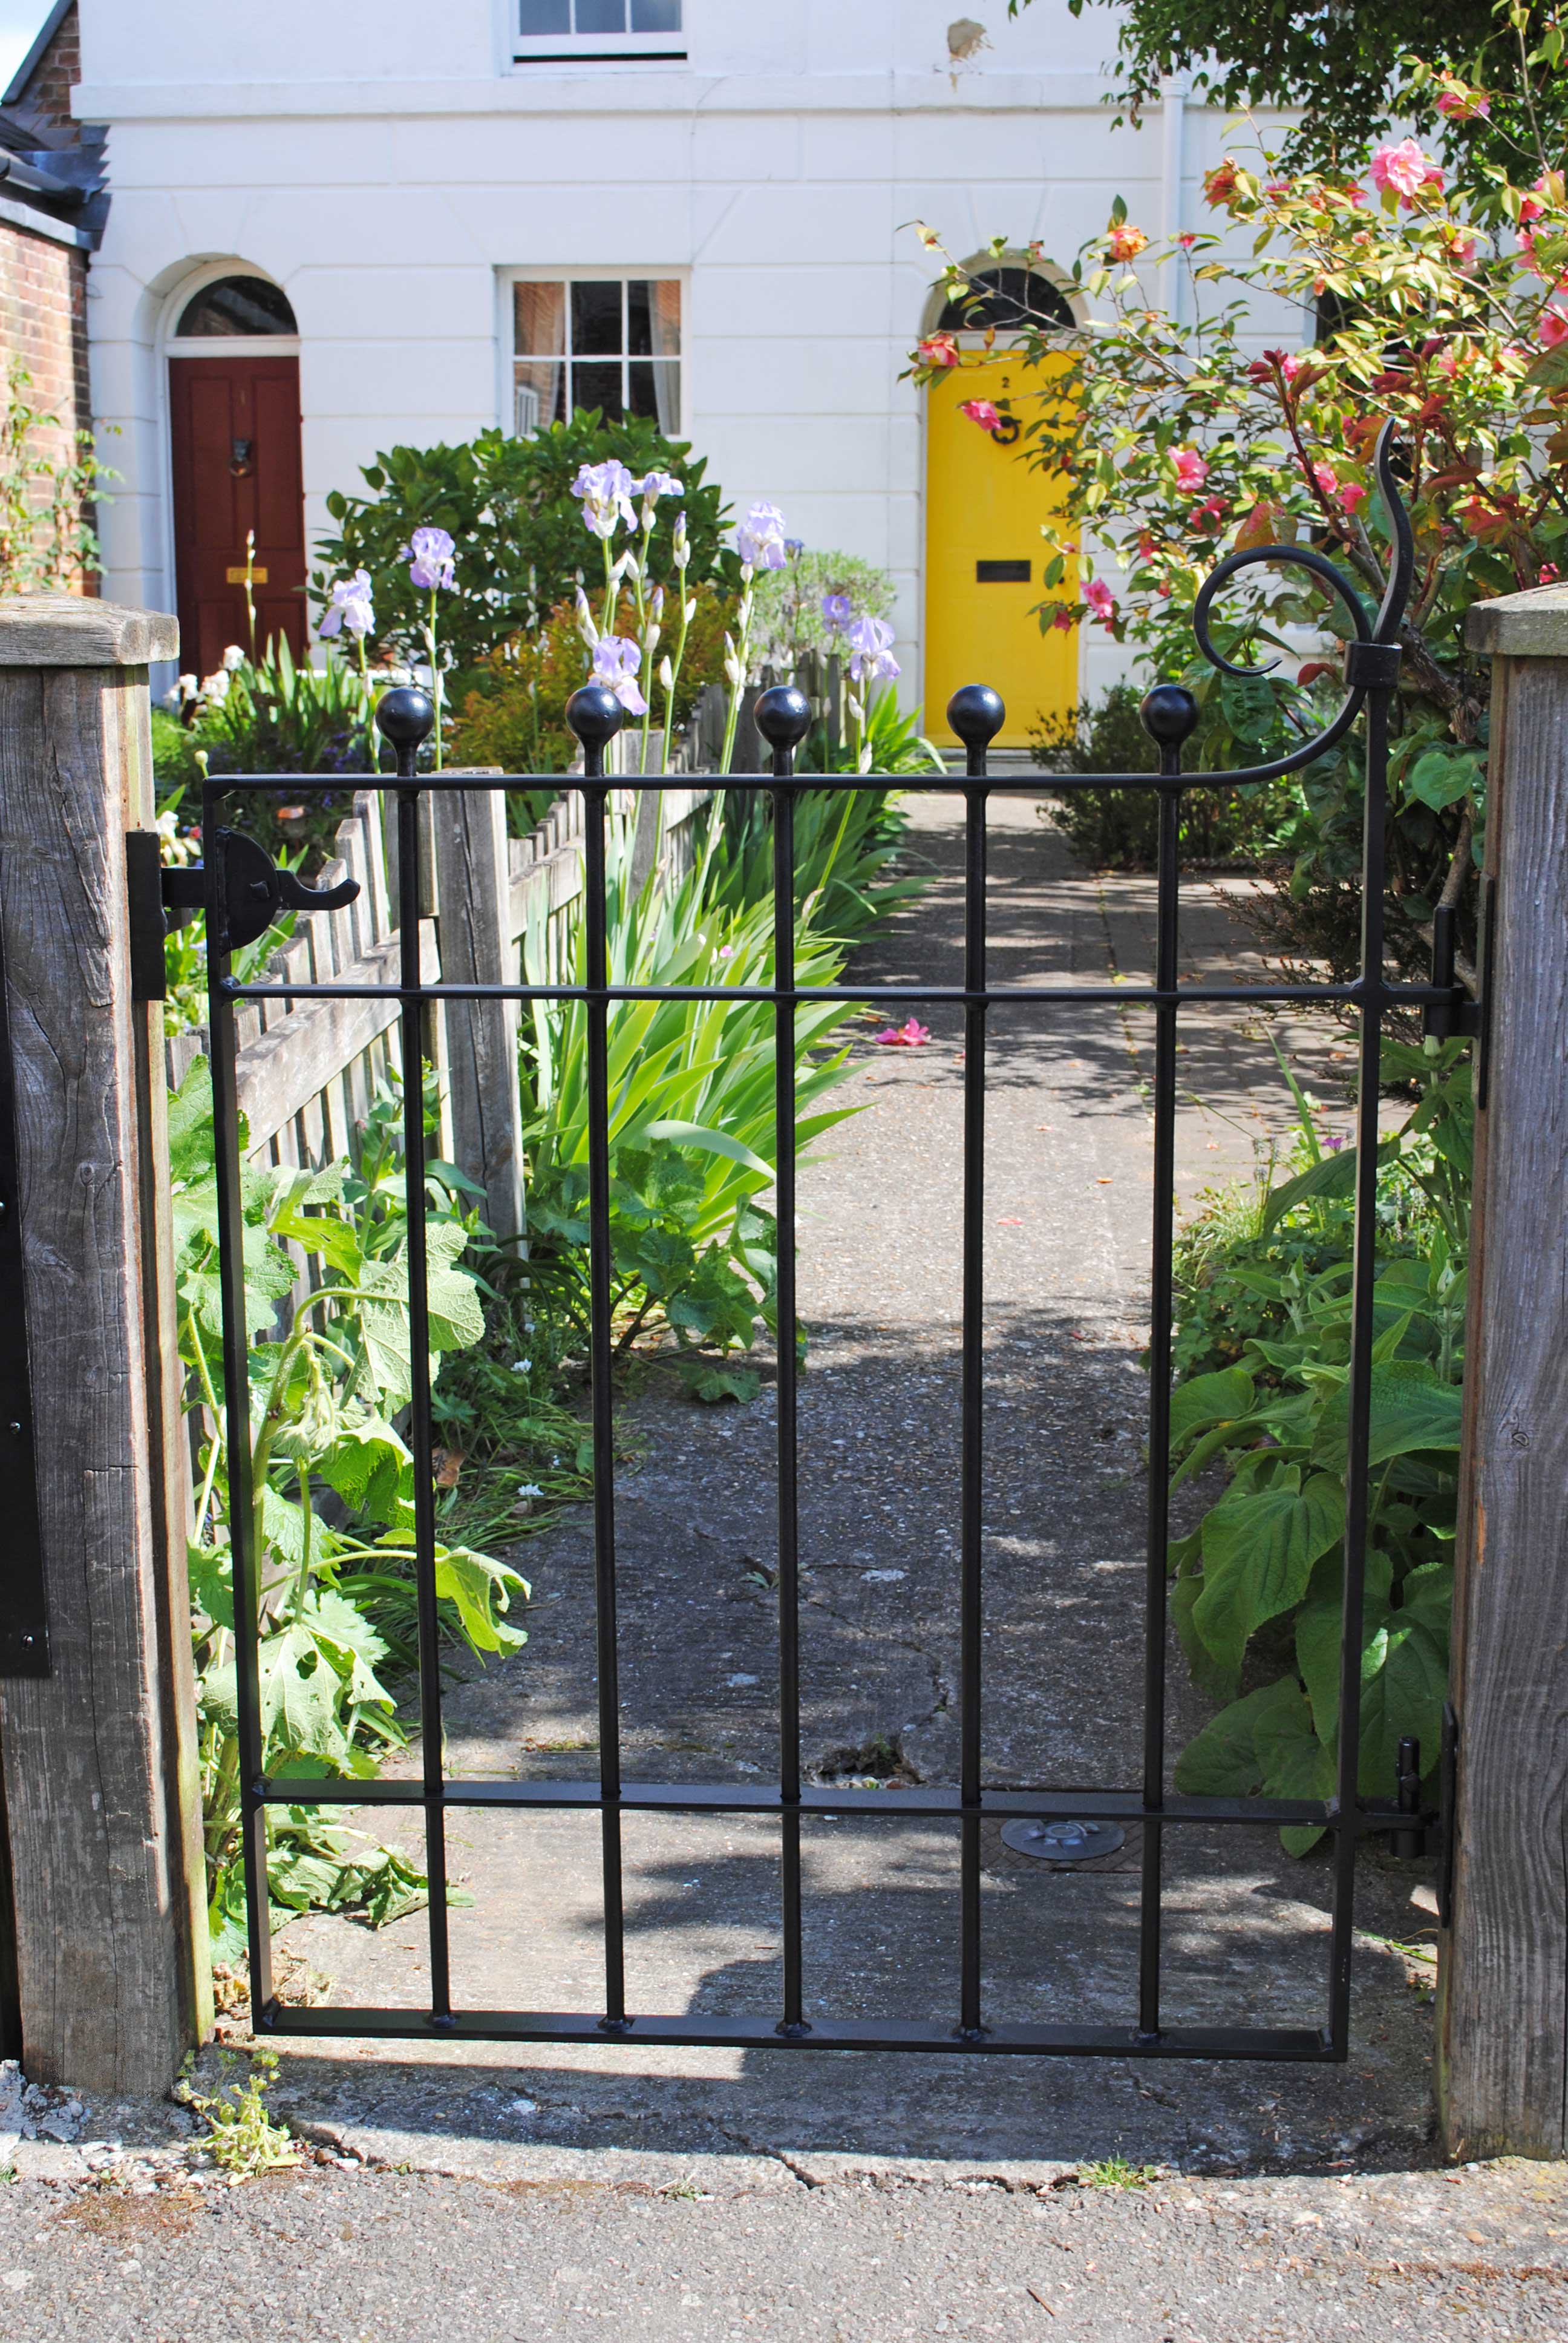
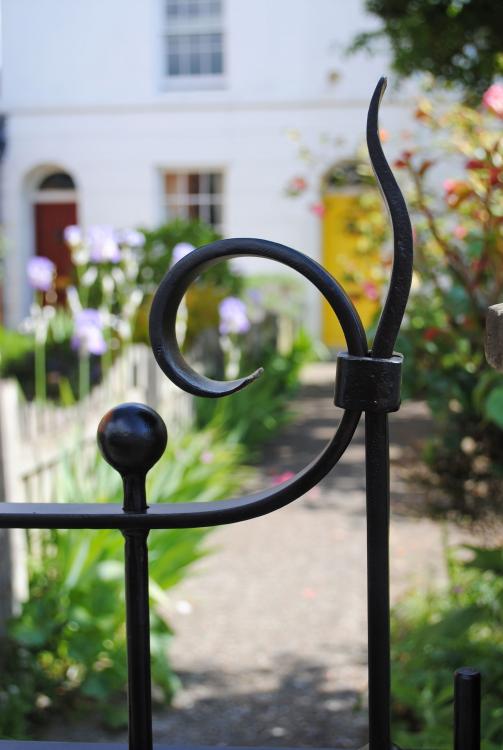
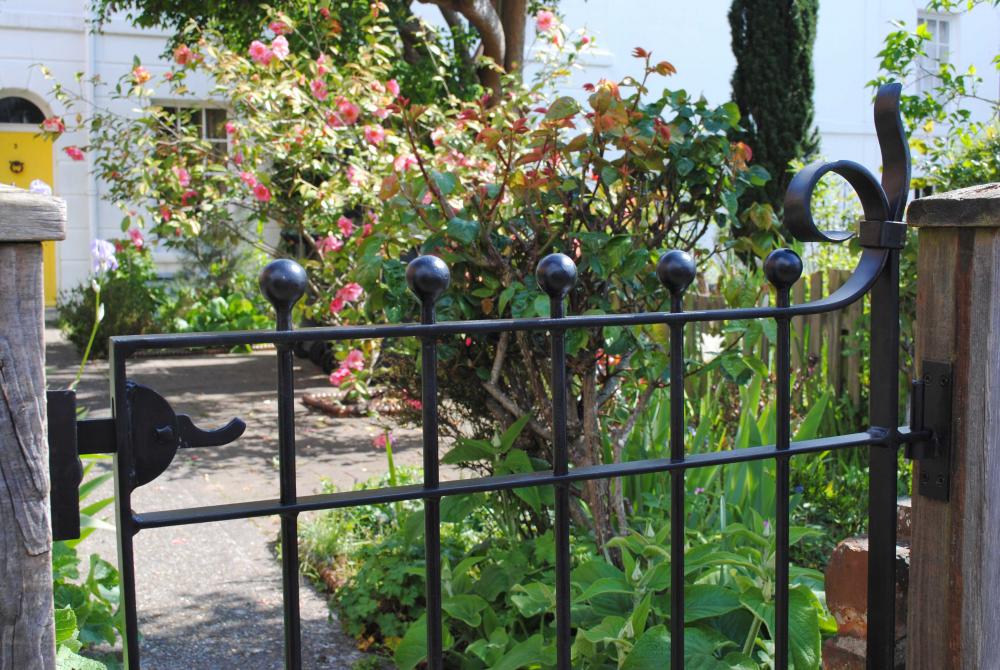
Heh, that's funny, I live in an area of Canterbury called St Dunstans. I'm not religious and didn't know he was the patron of blacksmiths. The architecture in the area of St Dunstans in Canterbury is largely Georgian and I just made a couple gates for some neighbours who live side by side in a very pretty terraced row. I'm not really into traditional ironwork but you gotta make to suit the property. One's got a curved top to suit the client's pretty rustic garden, that one I did first, then the neighbour got jealous and wanted one similar.

-
I wouldn't make a header out of angle iron, it'll just bend. If you make one make it from something solid & chunky so it can take the heat & beats. You may want to consider making a simple spring swage to re-round up the shaft under the head. Filing/grinding back to a perfect round is a bit of a chore.
-
-
It's quite often the case that with jigs and scroll jigs in particular, that you have to pre-forge the ends of your bar at the anvil to roughly the desired shape to help the hot steel take to the jig shape that you want. What's done is done and you've got your specific customized jig now that suits your needs, so that's great, but the additional stoppers welded in probably were not required, and if this method is applied in the future, could actually cause you problems. (Explained later in reply) It's probable that you could have forged the angled end as you require at the anvil + a small curve behind the angled end which approximately matches the beginnings of the scroll jig (of which we understand you're not using the whole thing, only a portion). That would allow you to offer up your hot steel to the jig, then use some little tongs like the ones I used in the video to grip the hot steel to the jig at the start of the curve behind your angled end, this would give you sufficient hold against the jig, then you can pull it round to match the jig as required. One helpful feature of scroll jigs is that after you've bent round your hot steel a certain distance you don't need to hold it against the jig with tongs/grips/F shaped bending forks etc, the steel holds itself. For future reference and reduction in hair loss through frustration, remember that getting steel off a jig is often A LOT harder than getting it on WITHOUT deforming the hot steel from the required shape. (Do not tilt hot steel in trying to get it off a jig, only raise or lower it straight up/down). The more stoppers and corners that you put into an all-in-one jig, the more problems you will run into as the jig size increases. Steel contracts as it cools so it can clamp up against the jig making it hard to remove, (especially around tight corners like your angled end) which is why for some bending requirements there may be more than 1 jig used per required shape....or as I said earlier, just pre forge the end by hand as required. Due the size of your jig much of what I just said won't be an issue because you'll be able to get the steel on and off before it all cools and locks itself against the jig, that's more for your benefit further down the line when you start using bigger jigs, or ones with more concentric curves. One final thing I find about scrolling and curves in general is that it's very rare that you'll get the right shape in a linear process. I.e it's really rare you'll bend area 1, then area 2, then area 3, then area 4 and each one will successively be perfect and the whole piece is perfect. It's often the case that you get as far as area 3, then spot that area 1 has moved a little and needs a nudge area...so you're constantly moving backwards and forwards to keep the whole thing in check.
-
A few years ago when I was making my first pair of gates using flat bar I made this video on scrolling, which you may find helpful.