Joel OF
Members
-
Joined
-
Last visited
Everything posted by Joel OF
-
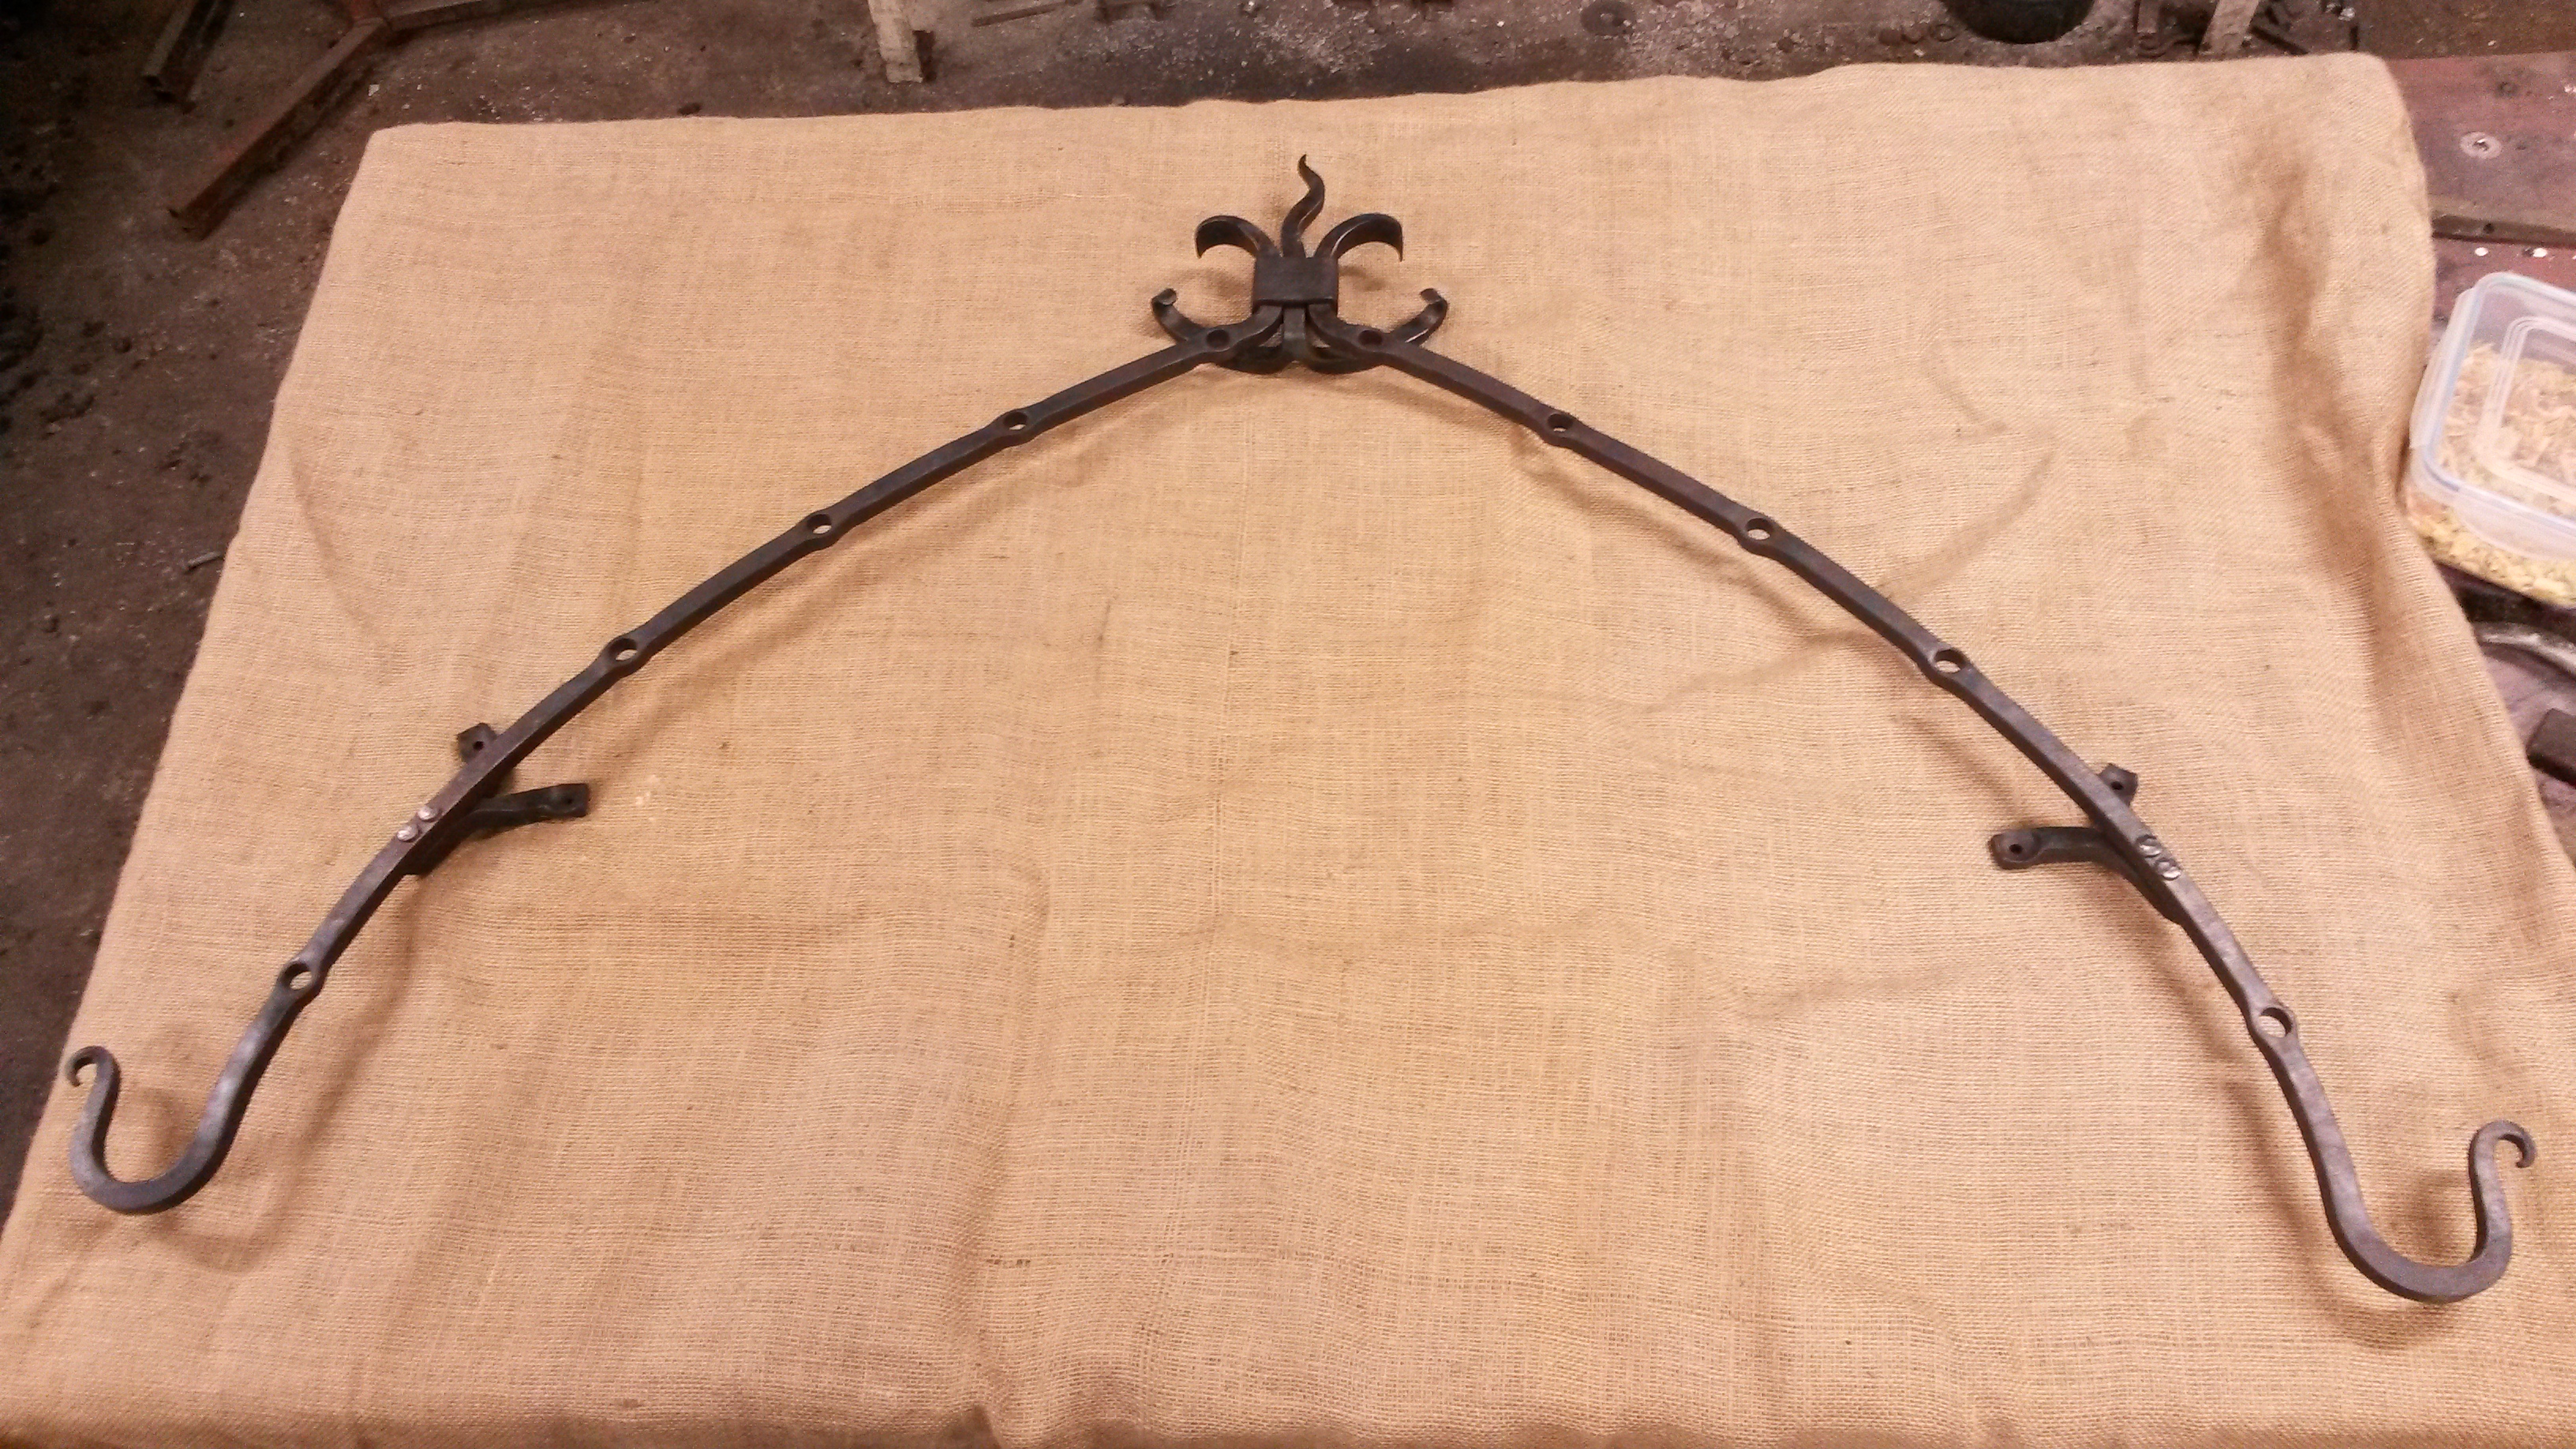
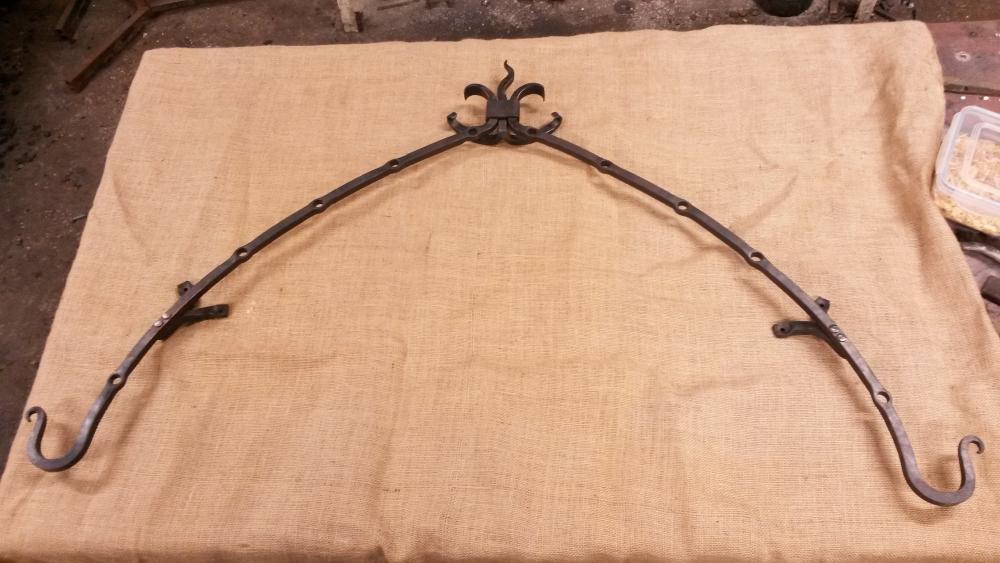
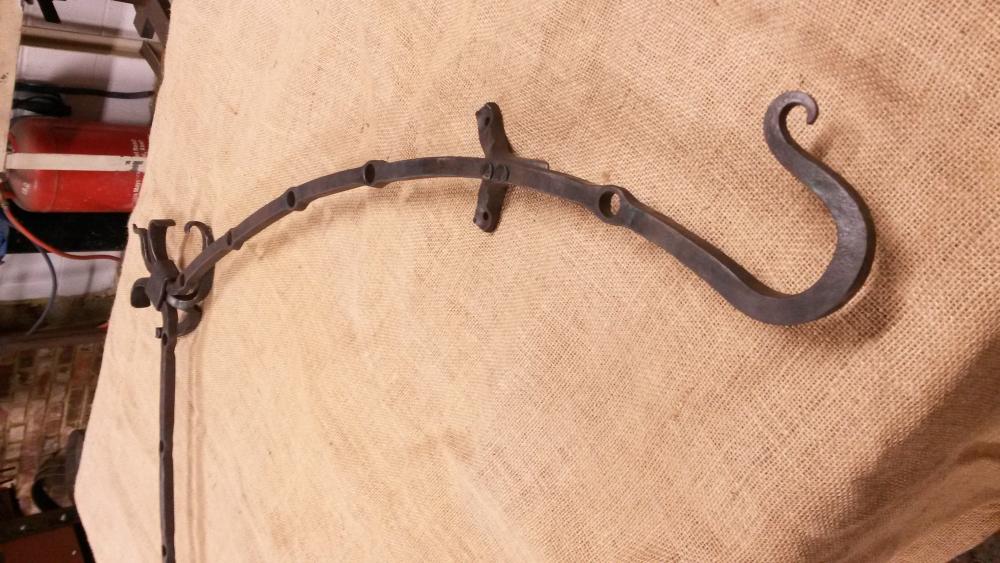
Here's a couple snap shots of an arched curtain rail made to my client's specification. It's shaped to match the arched door it's going above, a heavy curtain will be permenantly tied to it to reduce heat loss through the gaps in the door. I felt there were 3 options of how to punch the holes & bend the bar (16mm square). In which order would you have done things?
-
Leaves from 25mm (1") round. Hardy tool to help with penny end scrolls from 40mm (1, 1/2") square. Helped a fabricator mate put 6" half turn twists in 30mm solid.
-
http://www.iforgeiron.com/topic/43803-avoiding-leaf-stems-breaking/
-
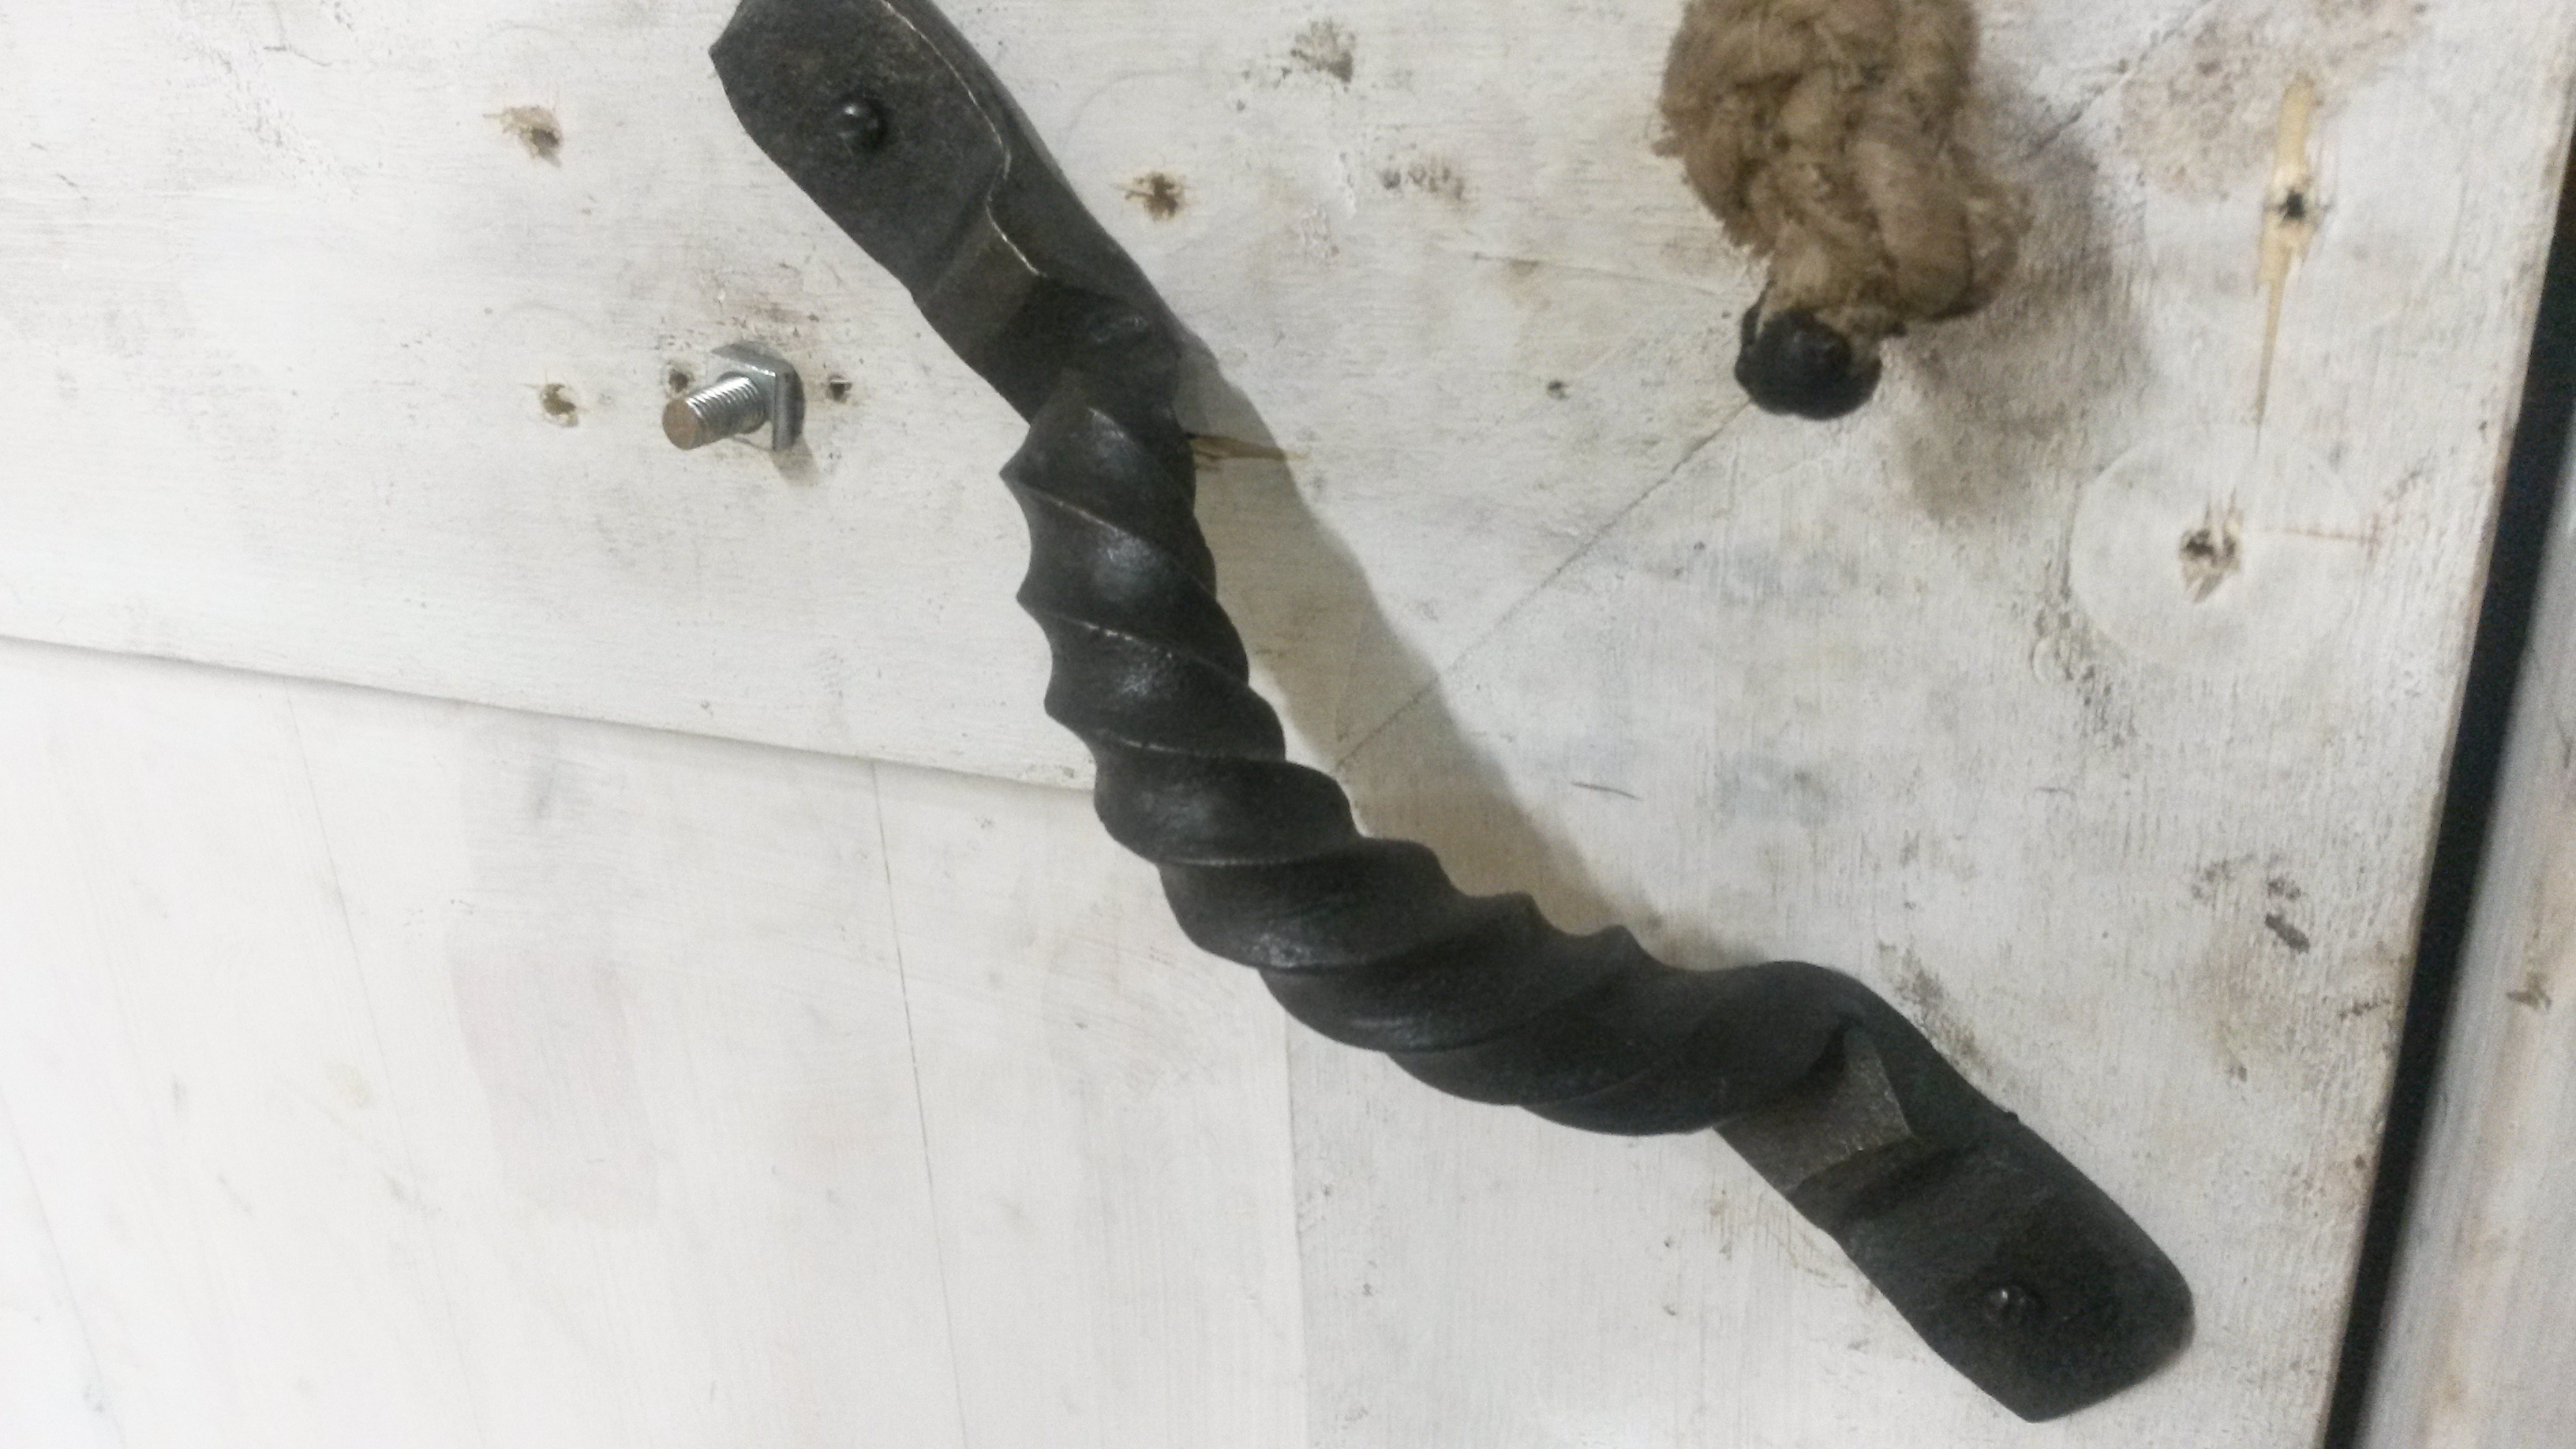
I'm in the no flux forge welding camp and very definitely do weld with sparkling (but not burnt) mild steel. I've learned how to judge the sparks from the fire so that my welds don't appear pitted. My method in a coke fire is: Get the coals white hot, metal goes in, medium amount of air to maintain fire temp, choke off air frequently to check for sparks popping, when I see sparks that pop choke the air off completely and count to 8. If the sparks continue to sizzle out of the fire until the count of 8 then I know it's hot enough. If the sparks die after 2 - 3 seconds then it's not. I recently killed two birds with one stone when I wanted to test the strength of my forge welds and also needed a handled to pull my workshop door closed. I found to pieces of scrap 20mm solid square bar, scarfed them and welded them together. I then twisted the weld loads and bent it a fair bit - didn't break and the scarves didn't peel up. FYI I don't like the aesthetics of this handle, it just served a quick purpose. Will upload pics separately as they are on my phone. Pic 1 - half way through welding, pic 2 - completed weld, pic 3 - handle.

-
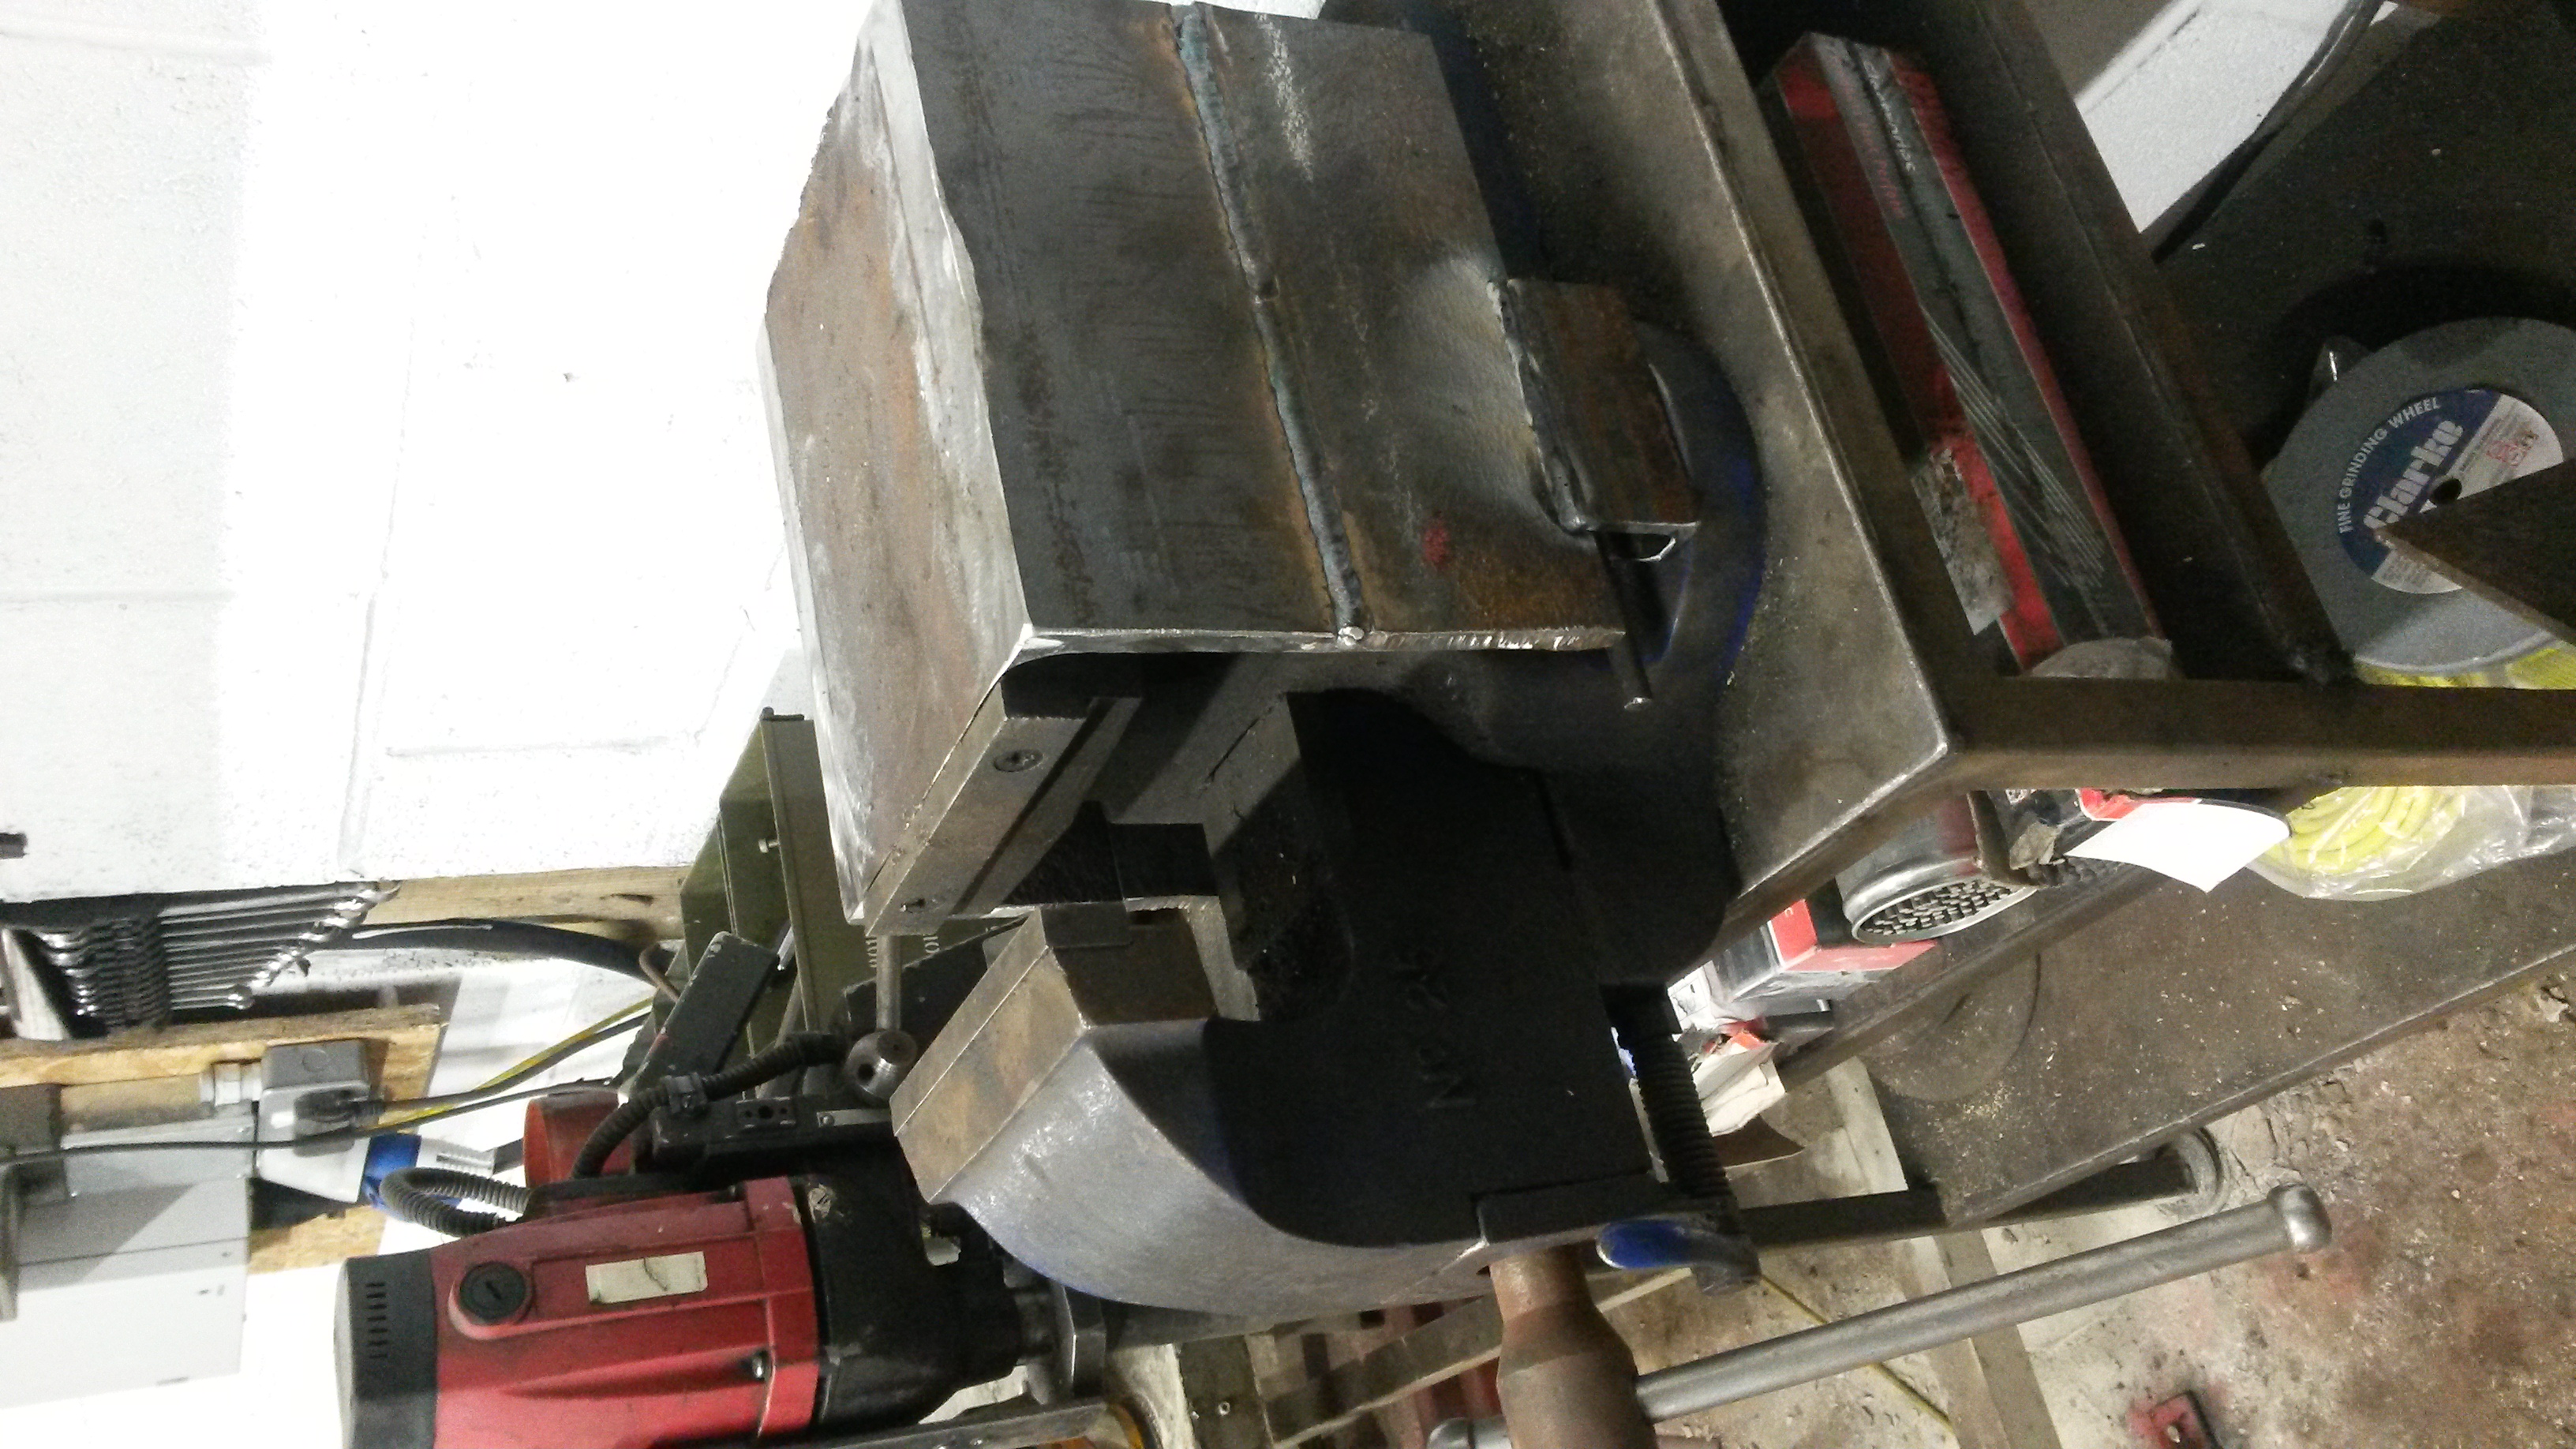
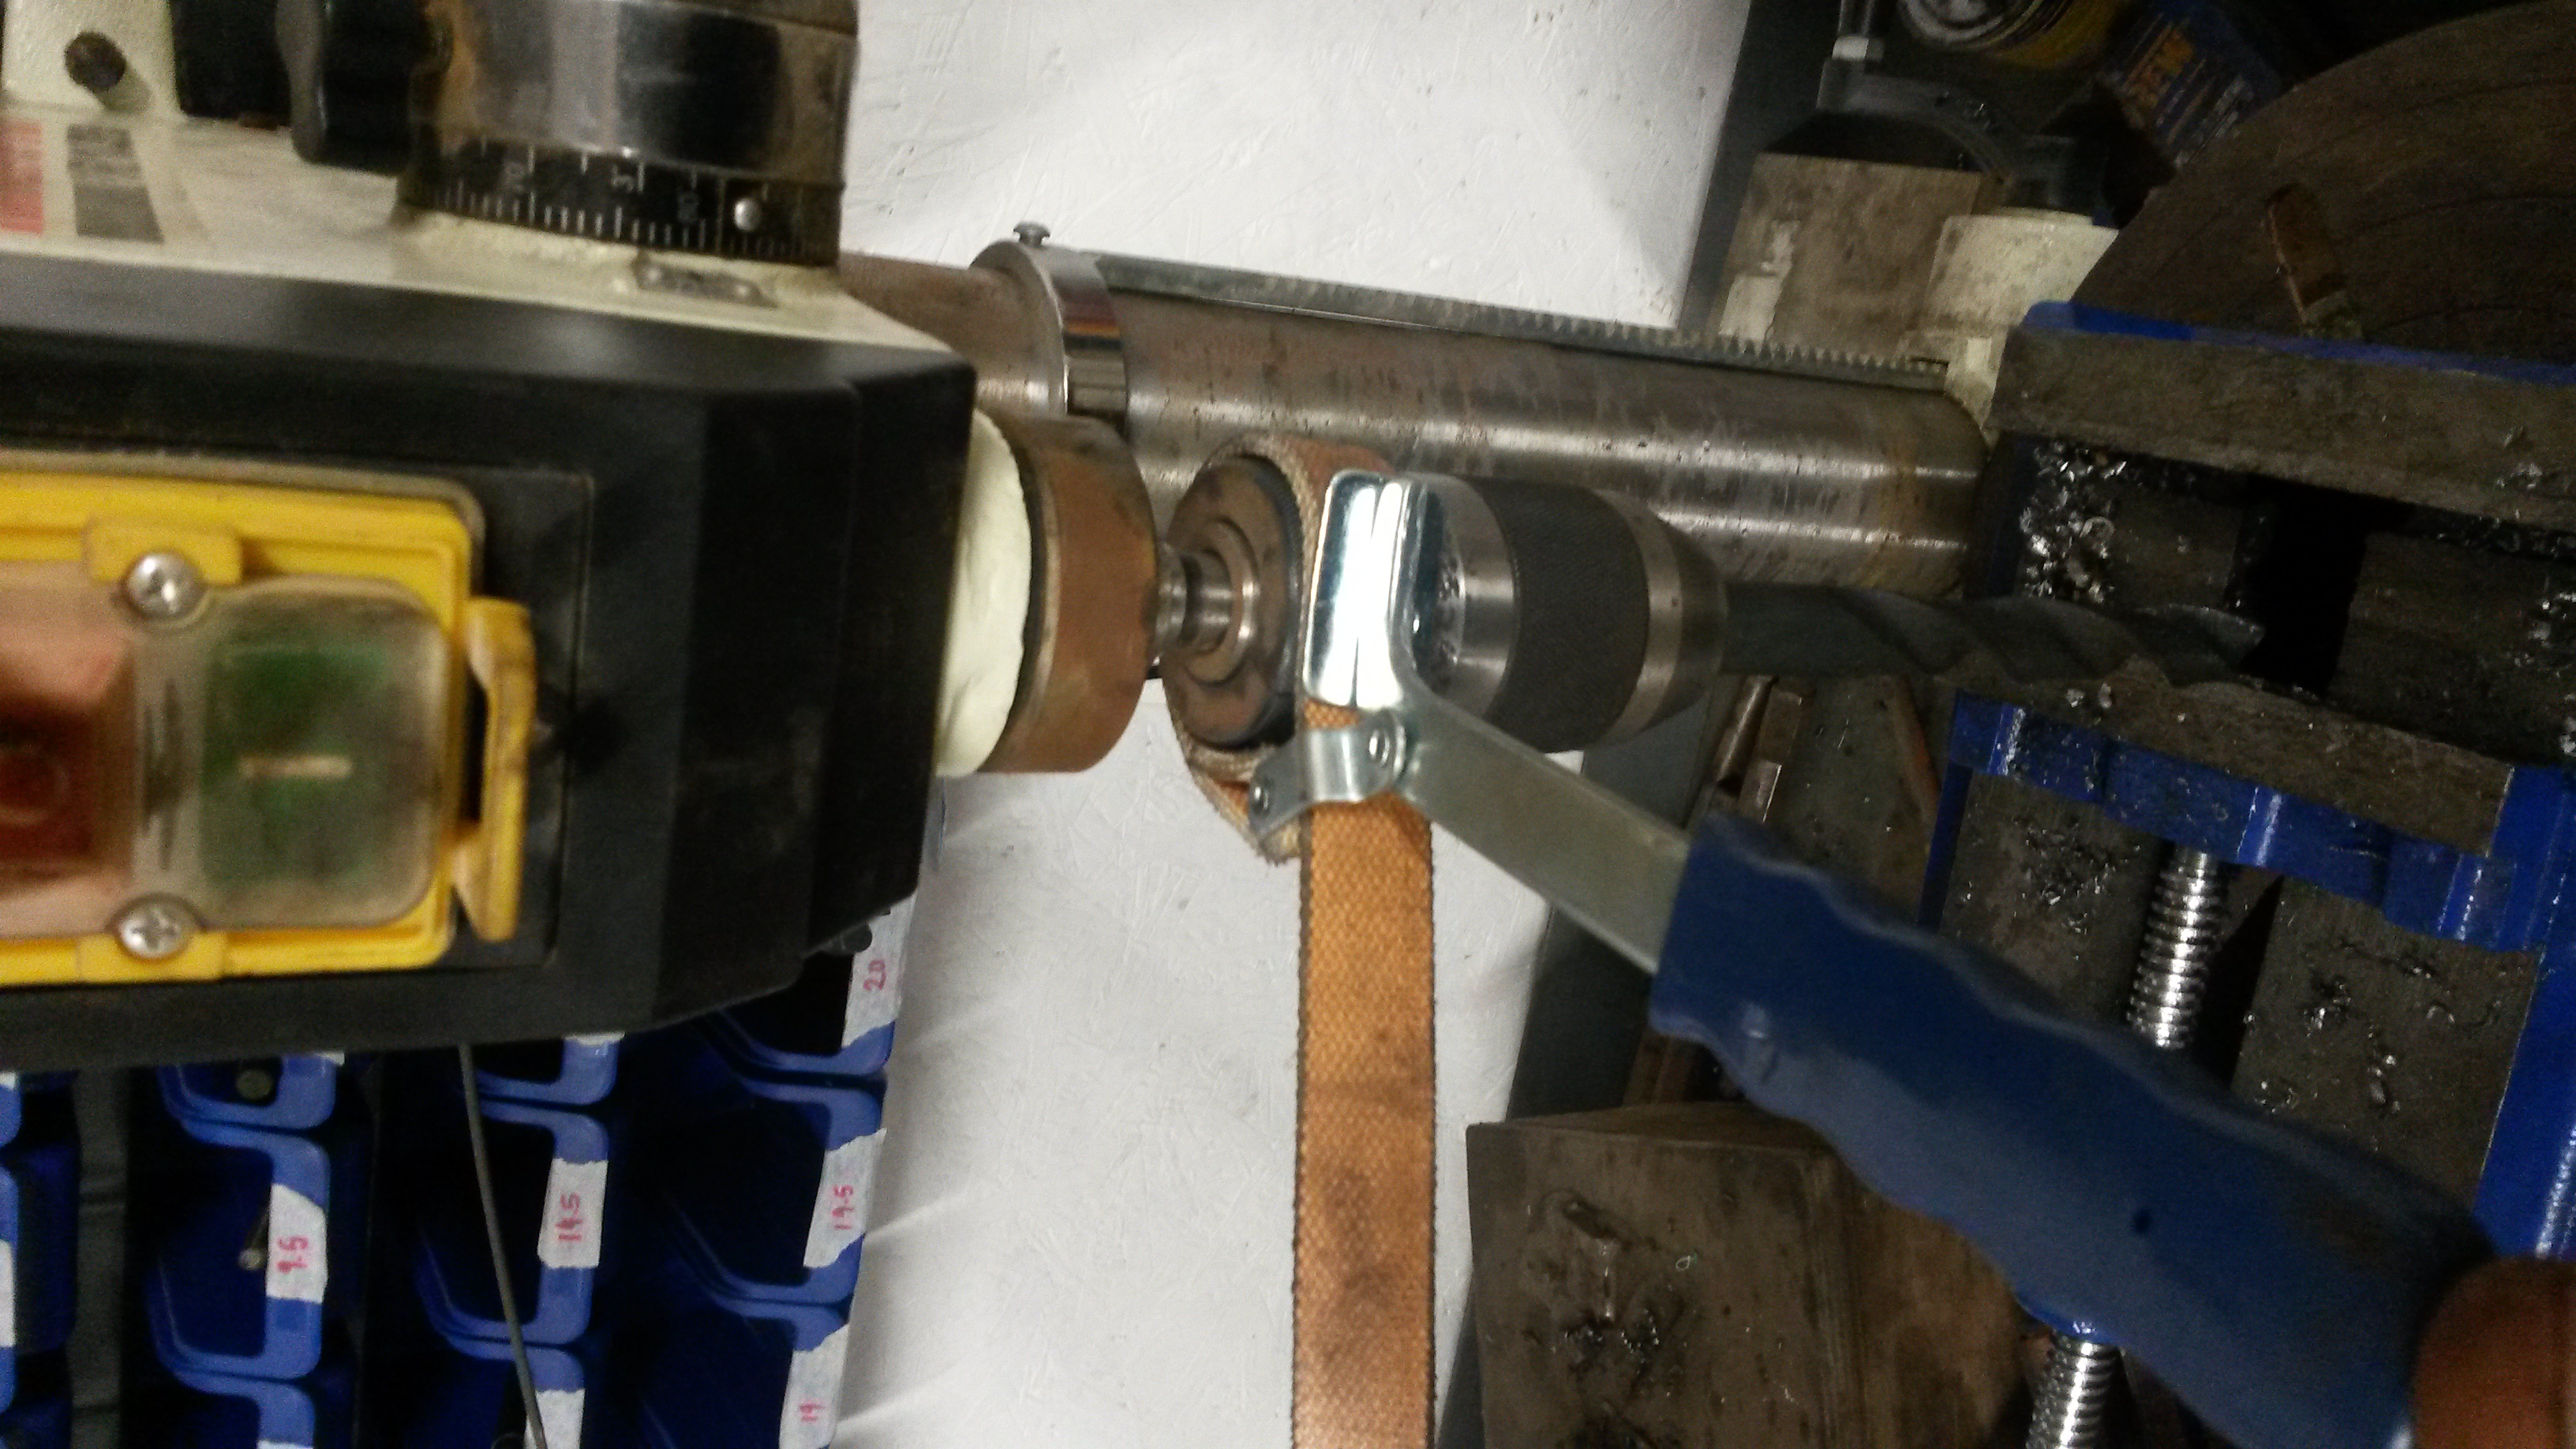
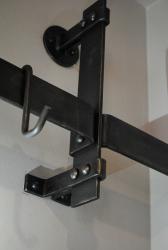
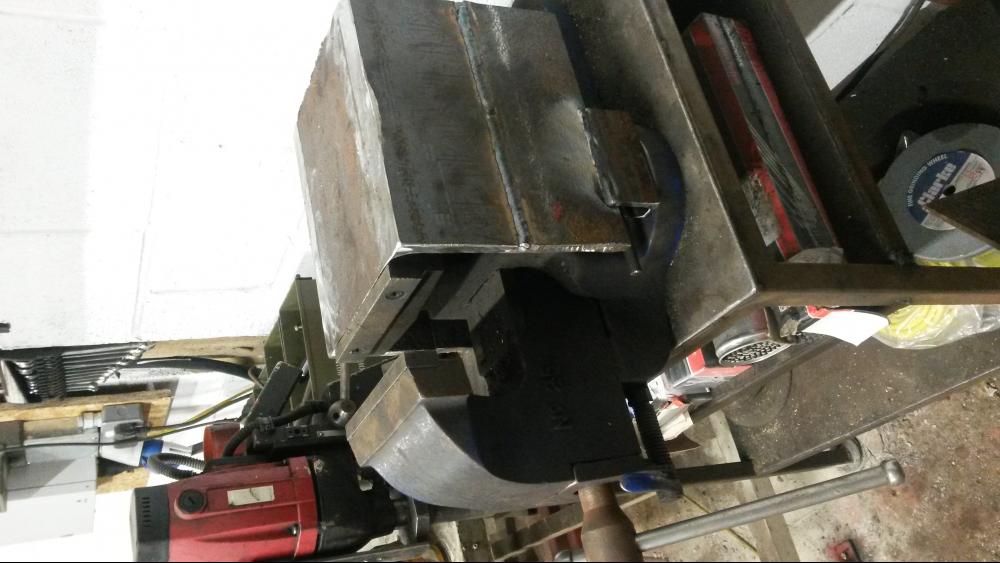
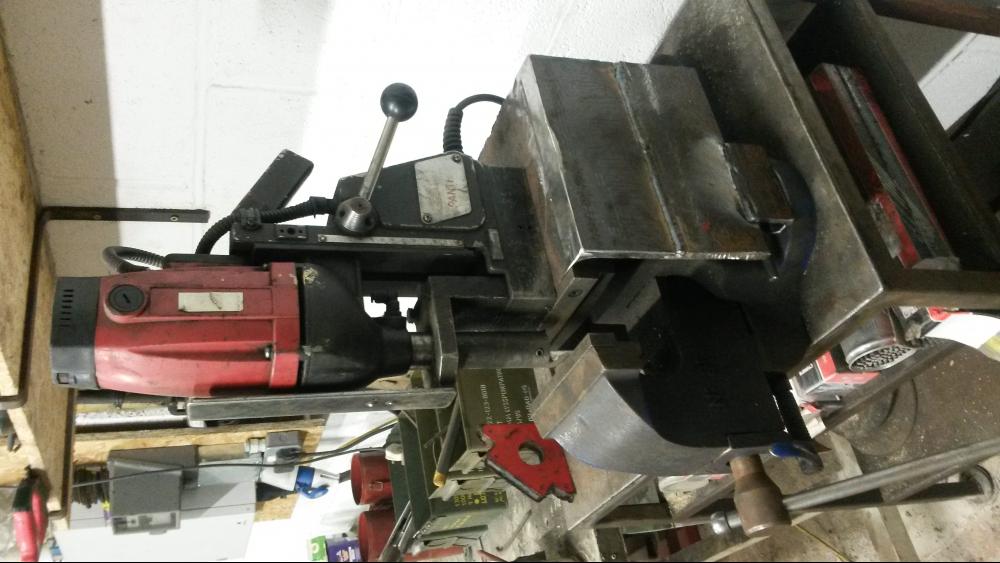
If my pics upload at right angles, clicking on them usually rotates them back to their correct orientation. Not sure these are commonly used or not... Mag drill vise bracket, speaks for itself really. Made mine in a hurry from scrap RSJ & a couple bits of angle. If your pillar drill has keyless chuck and does up too tight on larger diameter bits a strap wrench around the collar gives you better grip to undo the chuck easily.

-
I'm sure everyone would agree that anyone who makes & sells these at the same price they have always sold them should now send me a pro rota slice of their income according to the hours saved using this method. Don't all jump at once.
-
Possibly because the hand you are holding the tongs with was slightly rotated. This is easily noticeable when tapering as the edges of the taper will start to roll to one side.
-
Great stuff! Elegant & understated is a winning combo in my book.
-
I'd slightly brace yourself for an oncoming wave people saying "use the search bar", everything you've asked has been discussed many times. FWIW, equal measures of beeswax, turps and linseed but experiment to find a consistency you like. You can use anything to apply it, (old toothbrushes are useful at digging into crevices), a little goes a long way, then use a rag to wipe off the excess. Make it in shallow containers incase the turps sinks and the beeswax at the top stiffens. Don't put your dirty applicator into your goop container, instead scoop out a dollop you think you'll need to finish your item and take from there - putting a dirty applicator into your container will just cause the goop to clog up. If you have a wander over to the Alchemy section you'll be falling over 1001 threads on this recipe, and variations thereof.
-
-
An old soup can or a watering can allows you to get away with a smaller quench bucket and ease frustration when you're working on long or irregular shaped items that won't fit all the way into your bucket. Just lay your work over the bucket when you pour your water on so that it gets recycled and doesn't make puddles on the floor. These are also useful when needing to spot quench. E.g when you're twisting and you can see one area of the metal is twisting faster because it's hotter so you can dribble a little water over that spot to cool it off & let the twist in the slower area catch up.
-
-
Lower him & then he'll want to lower his anvil. Dur.
-
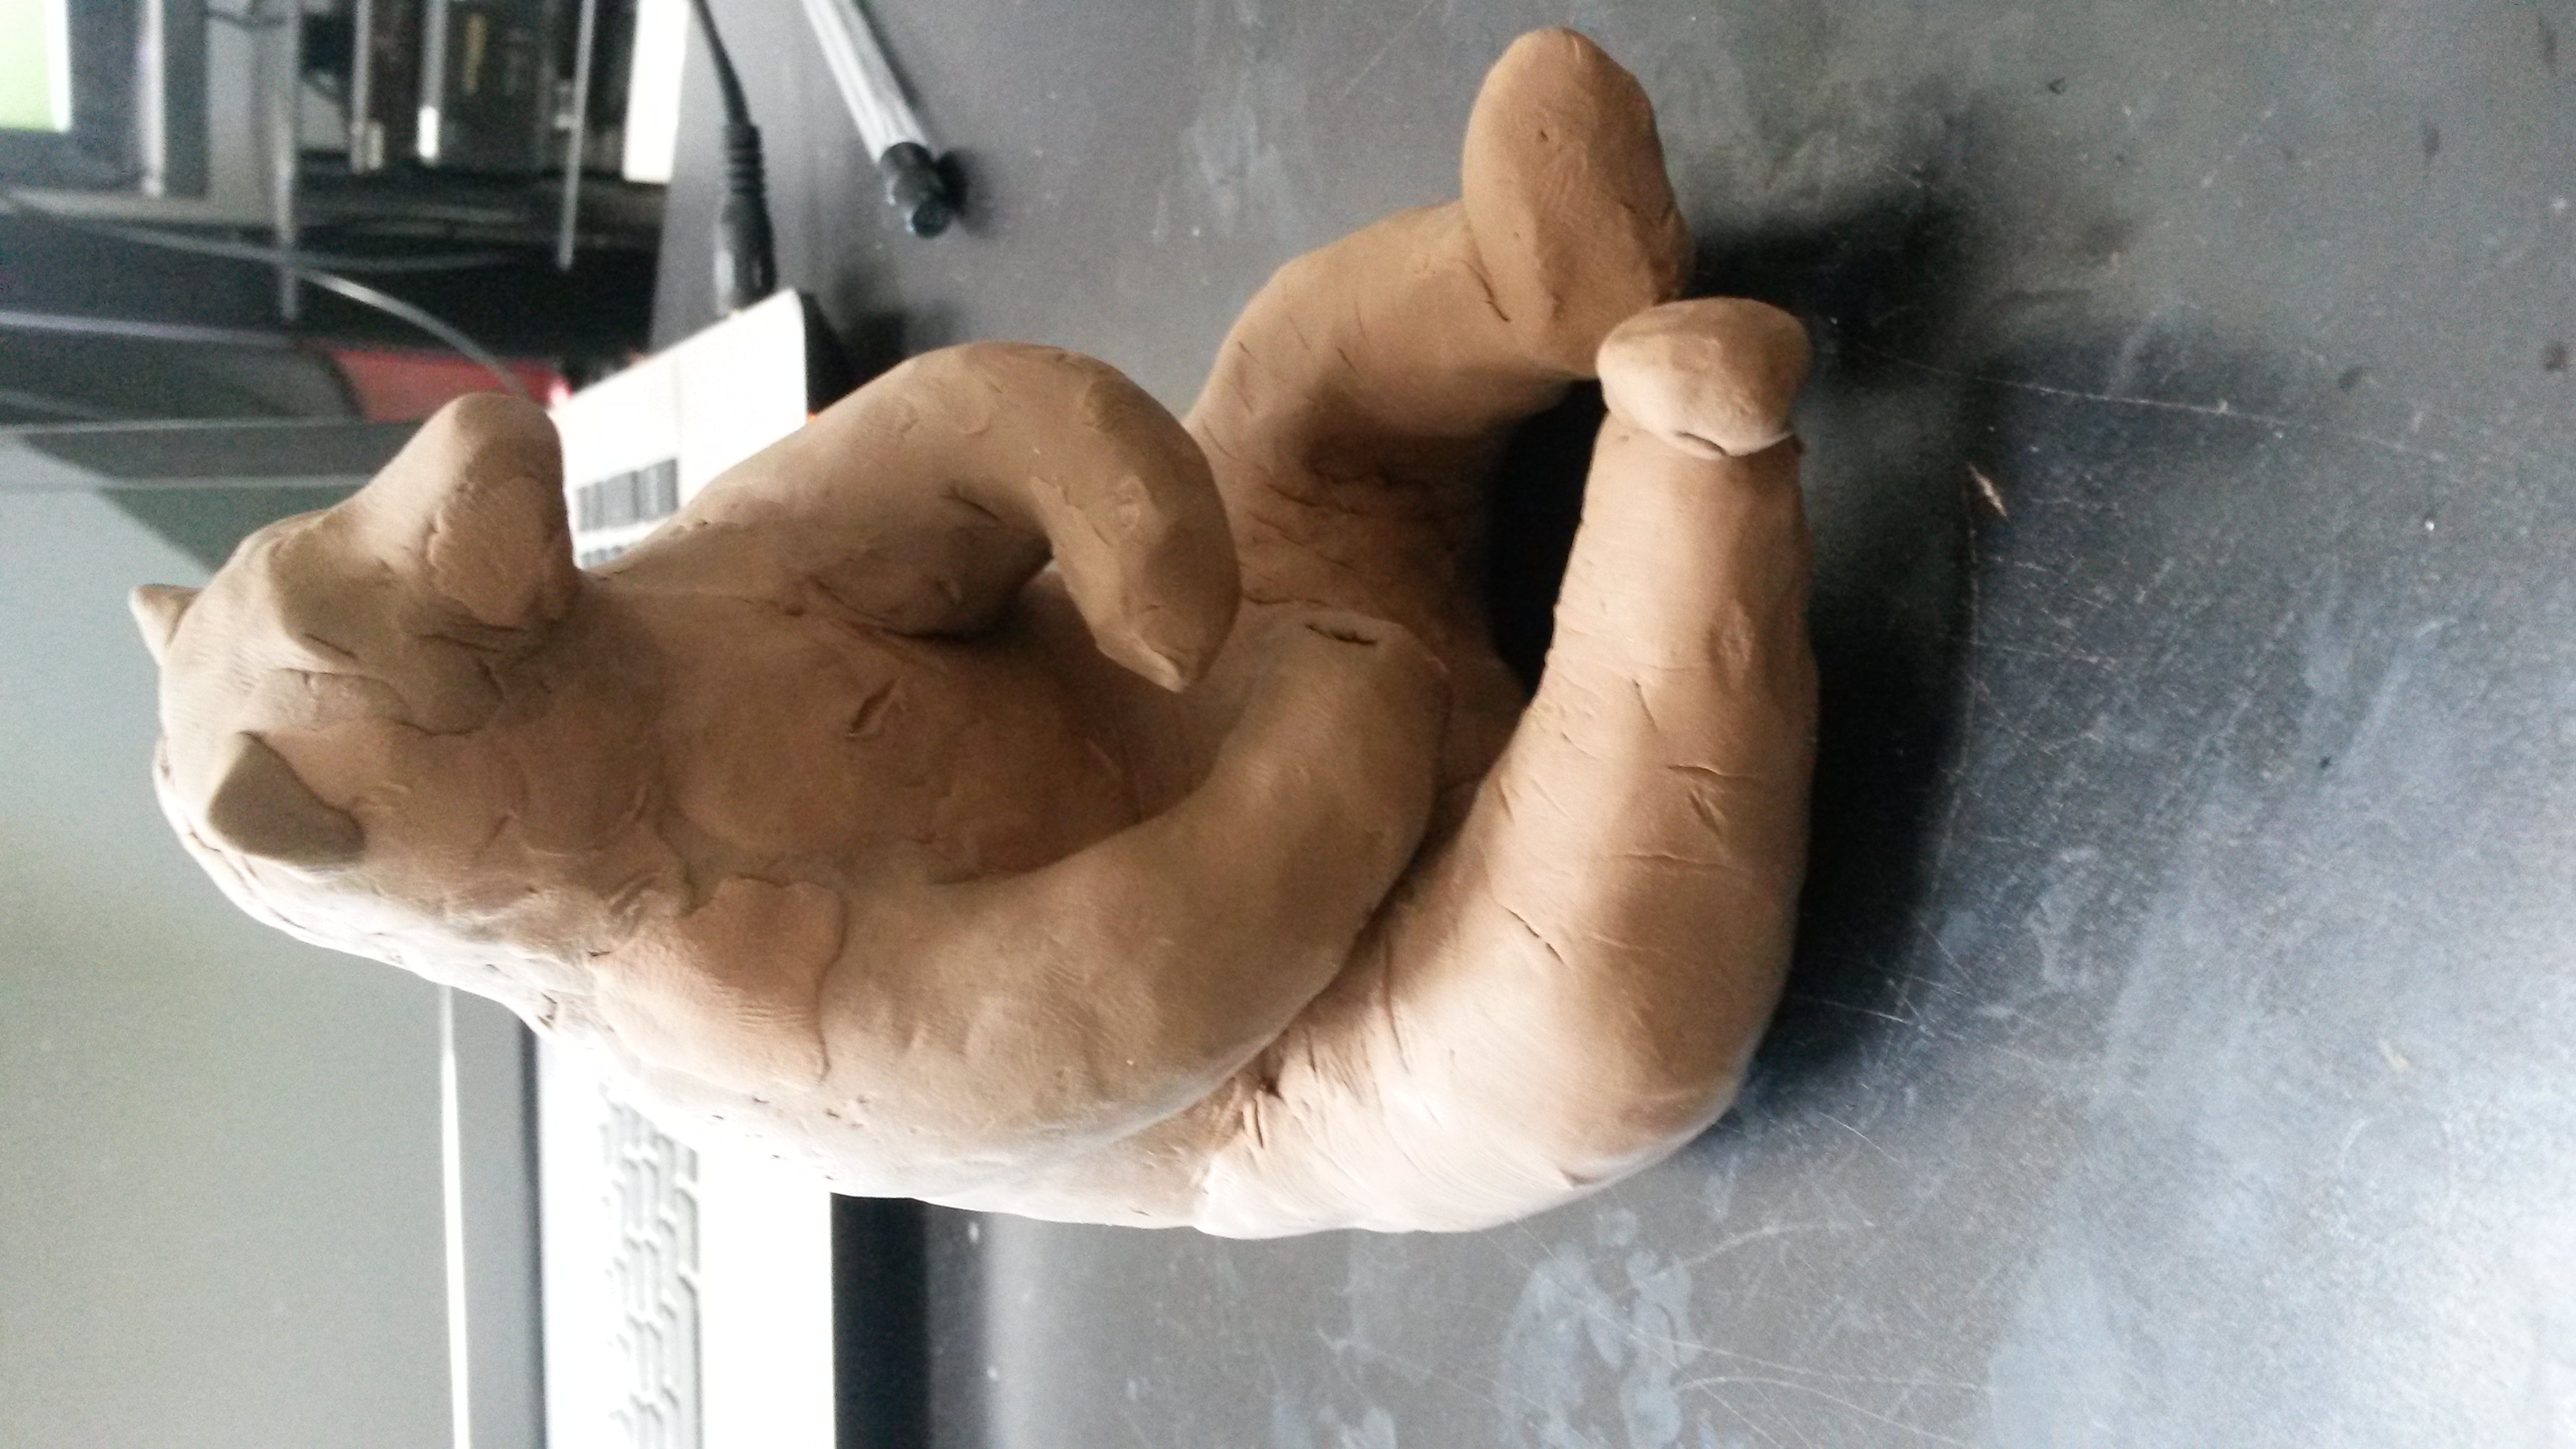
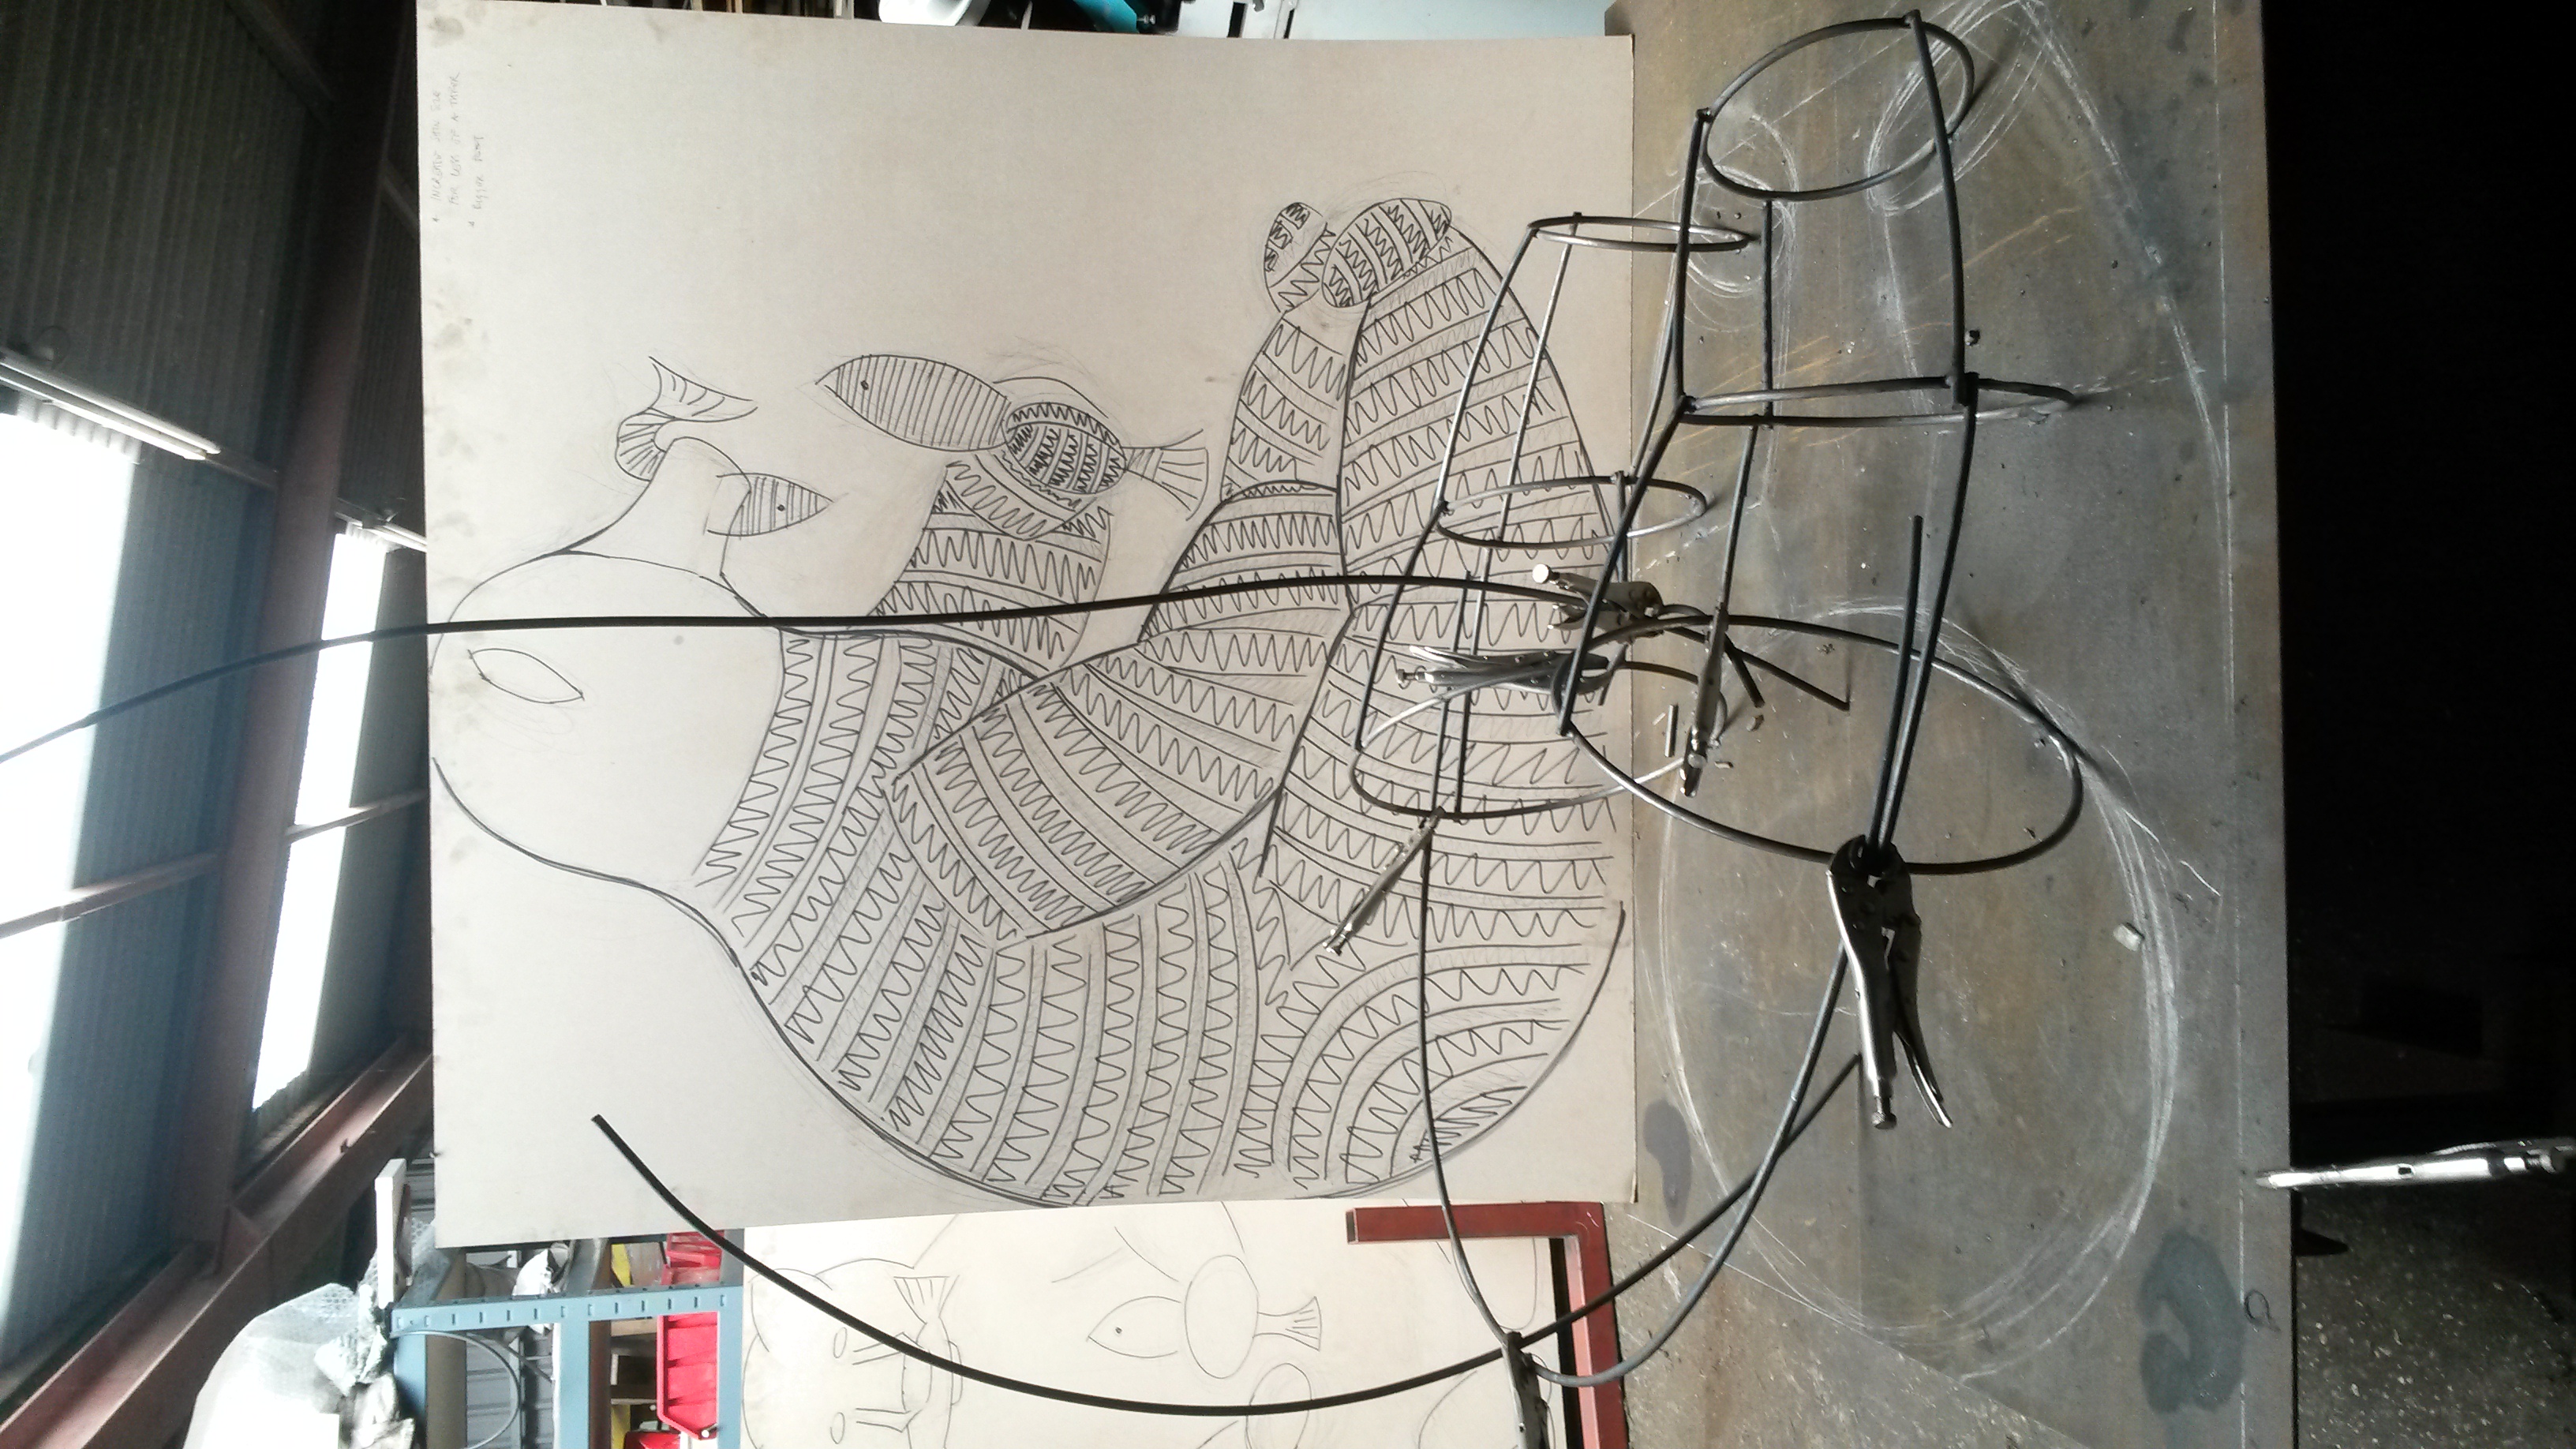
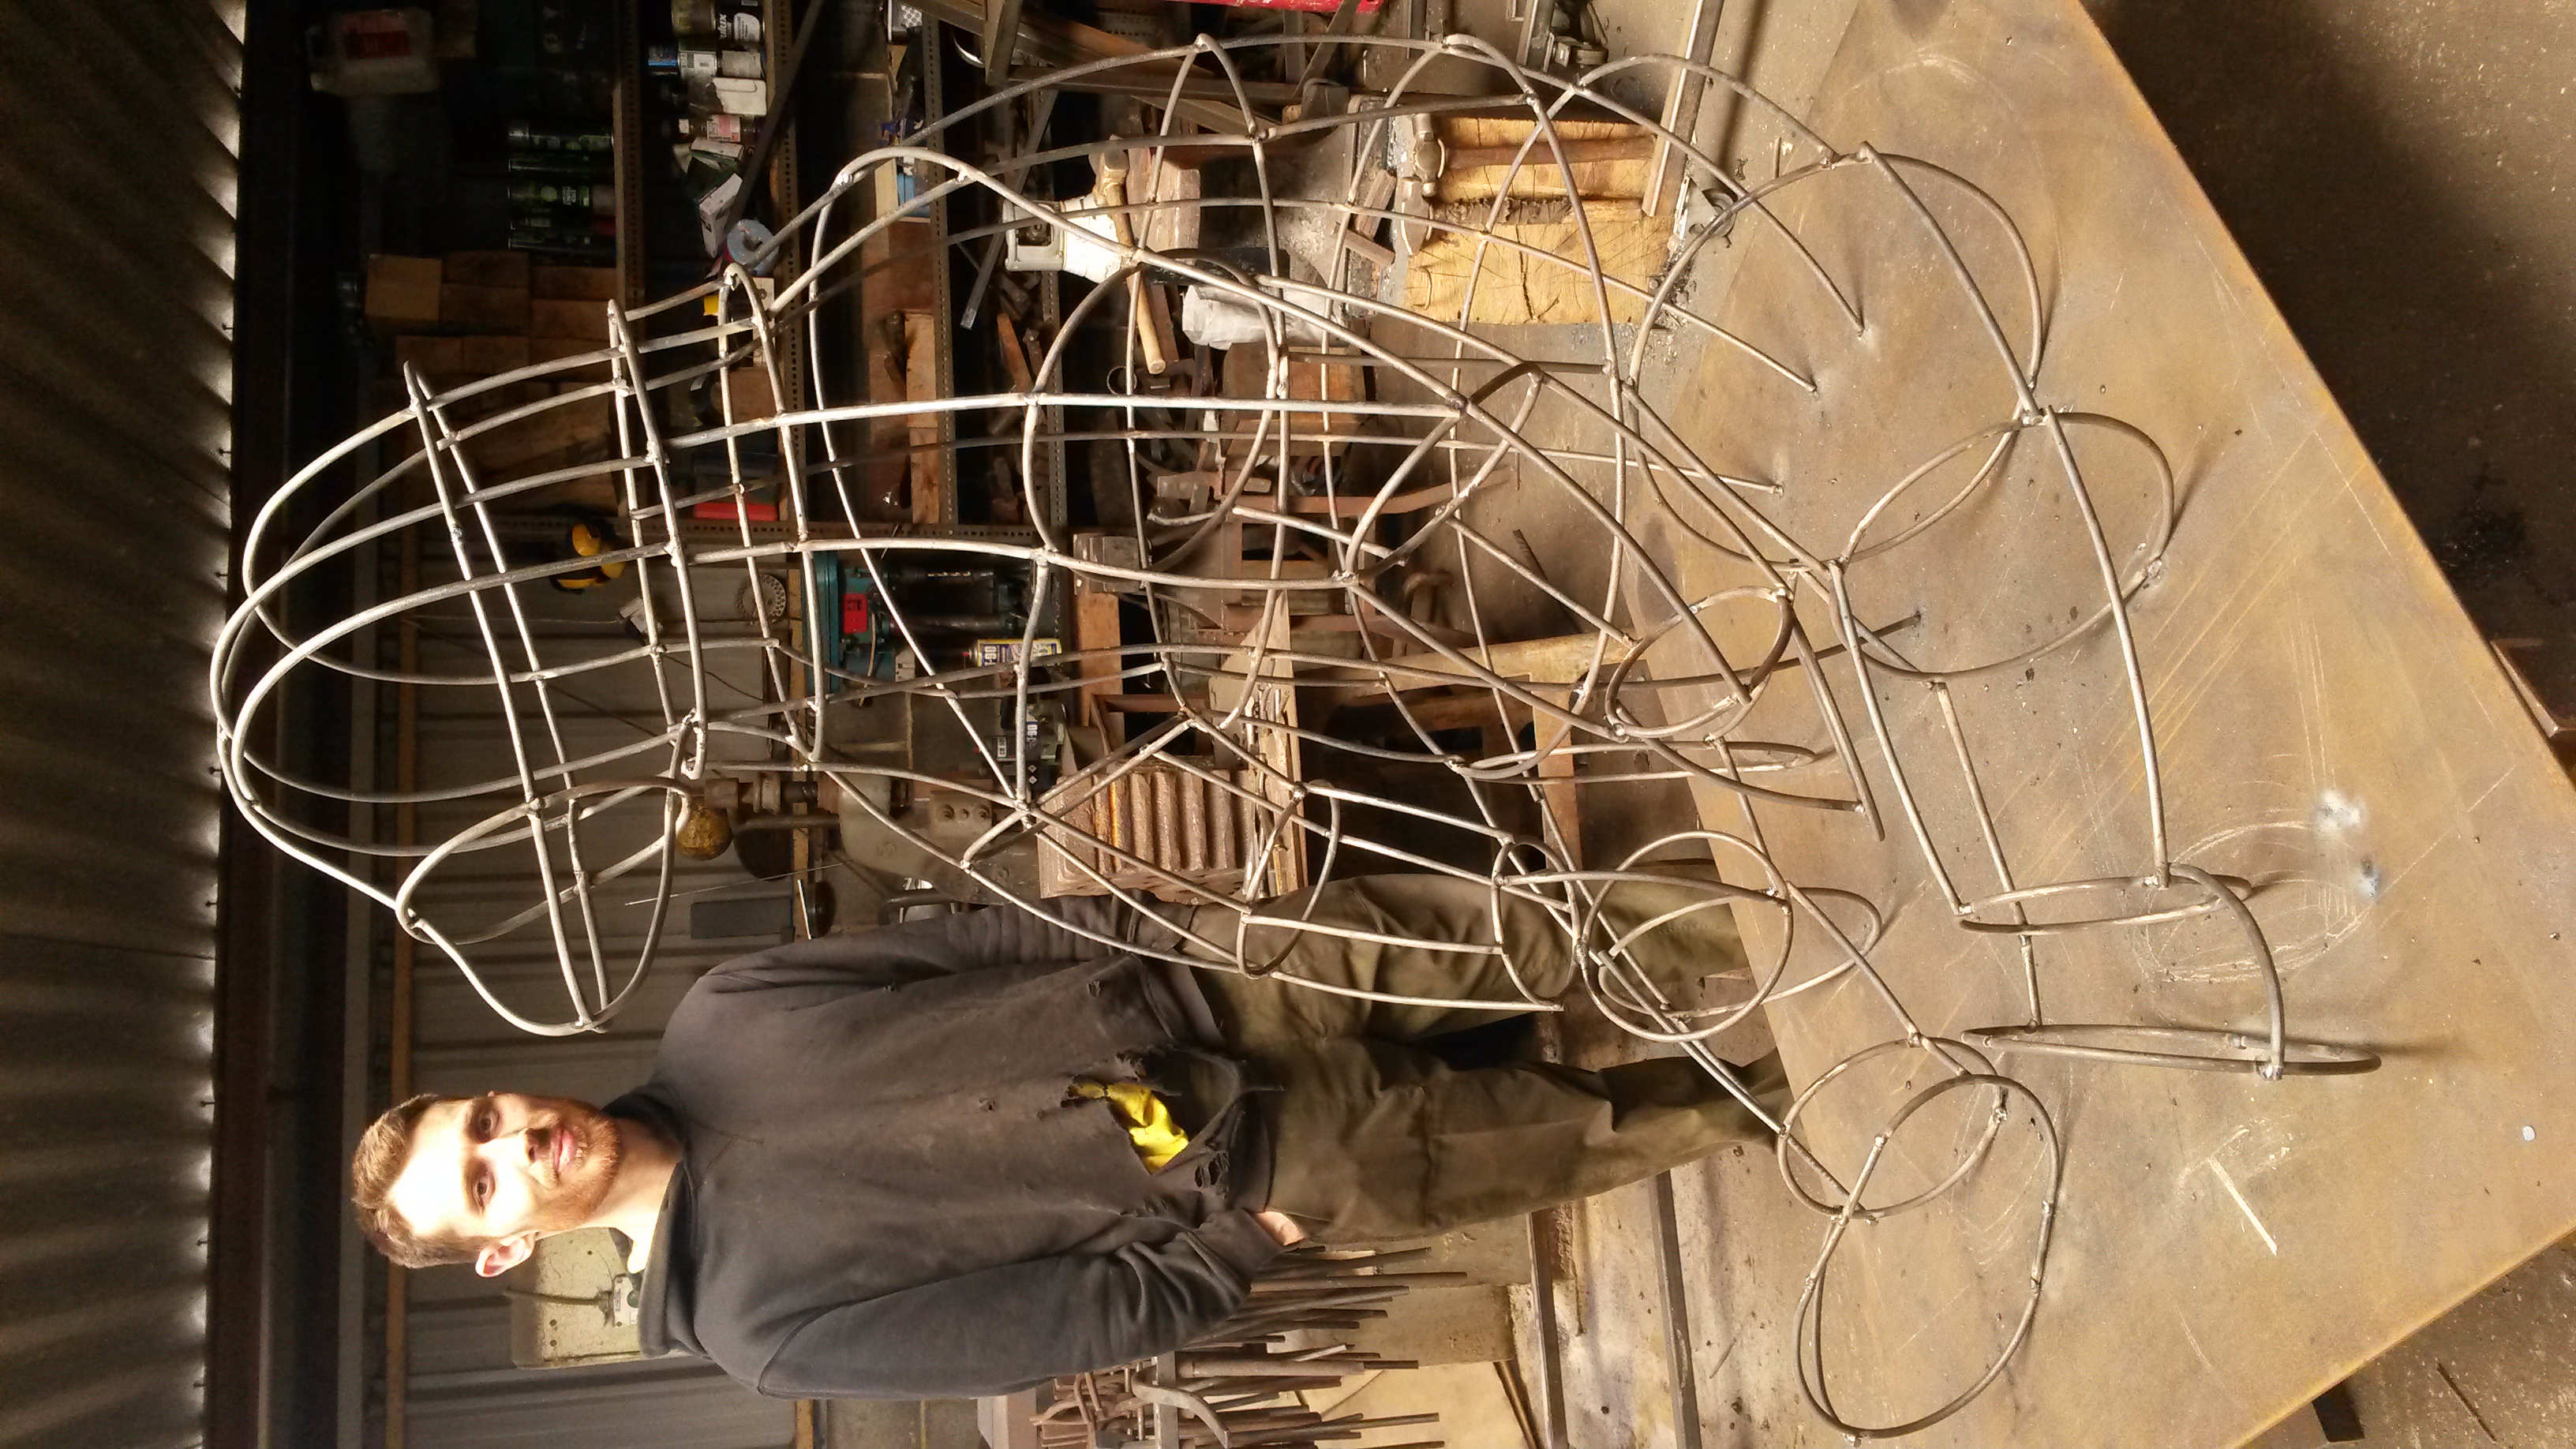
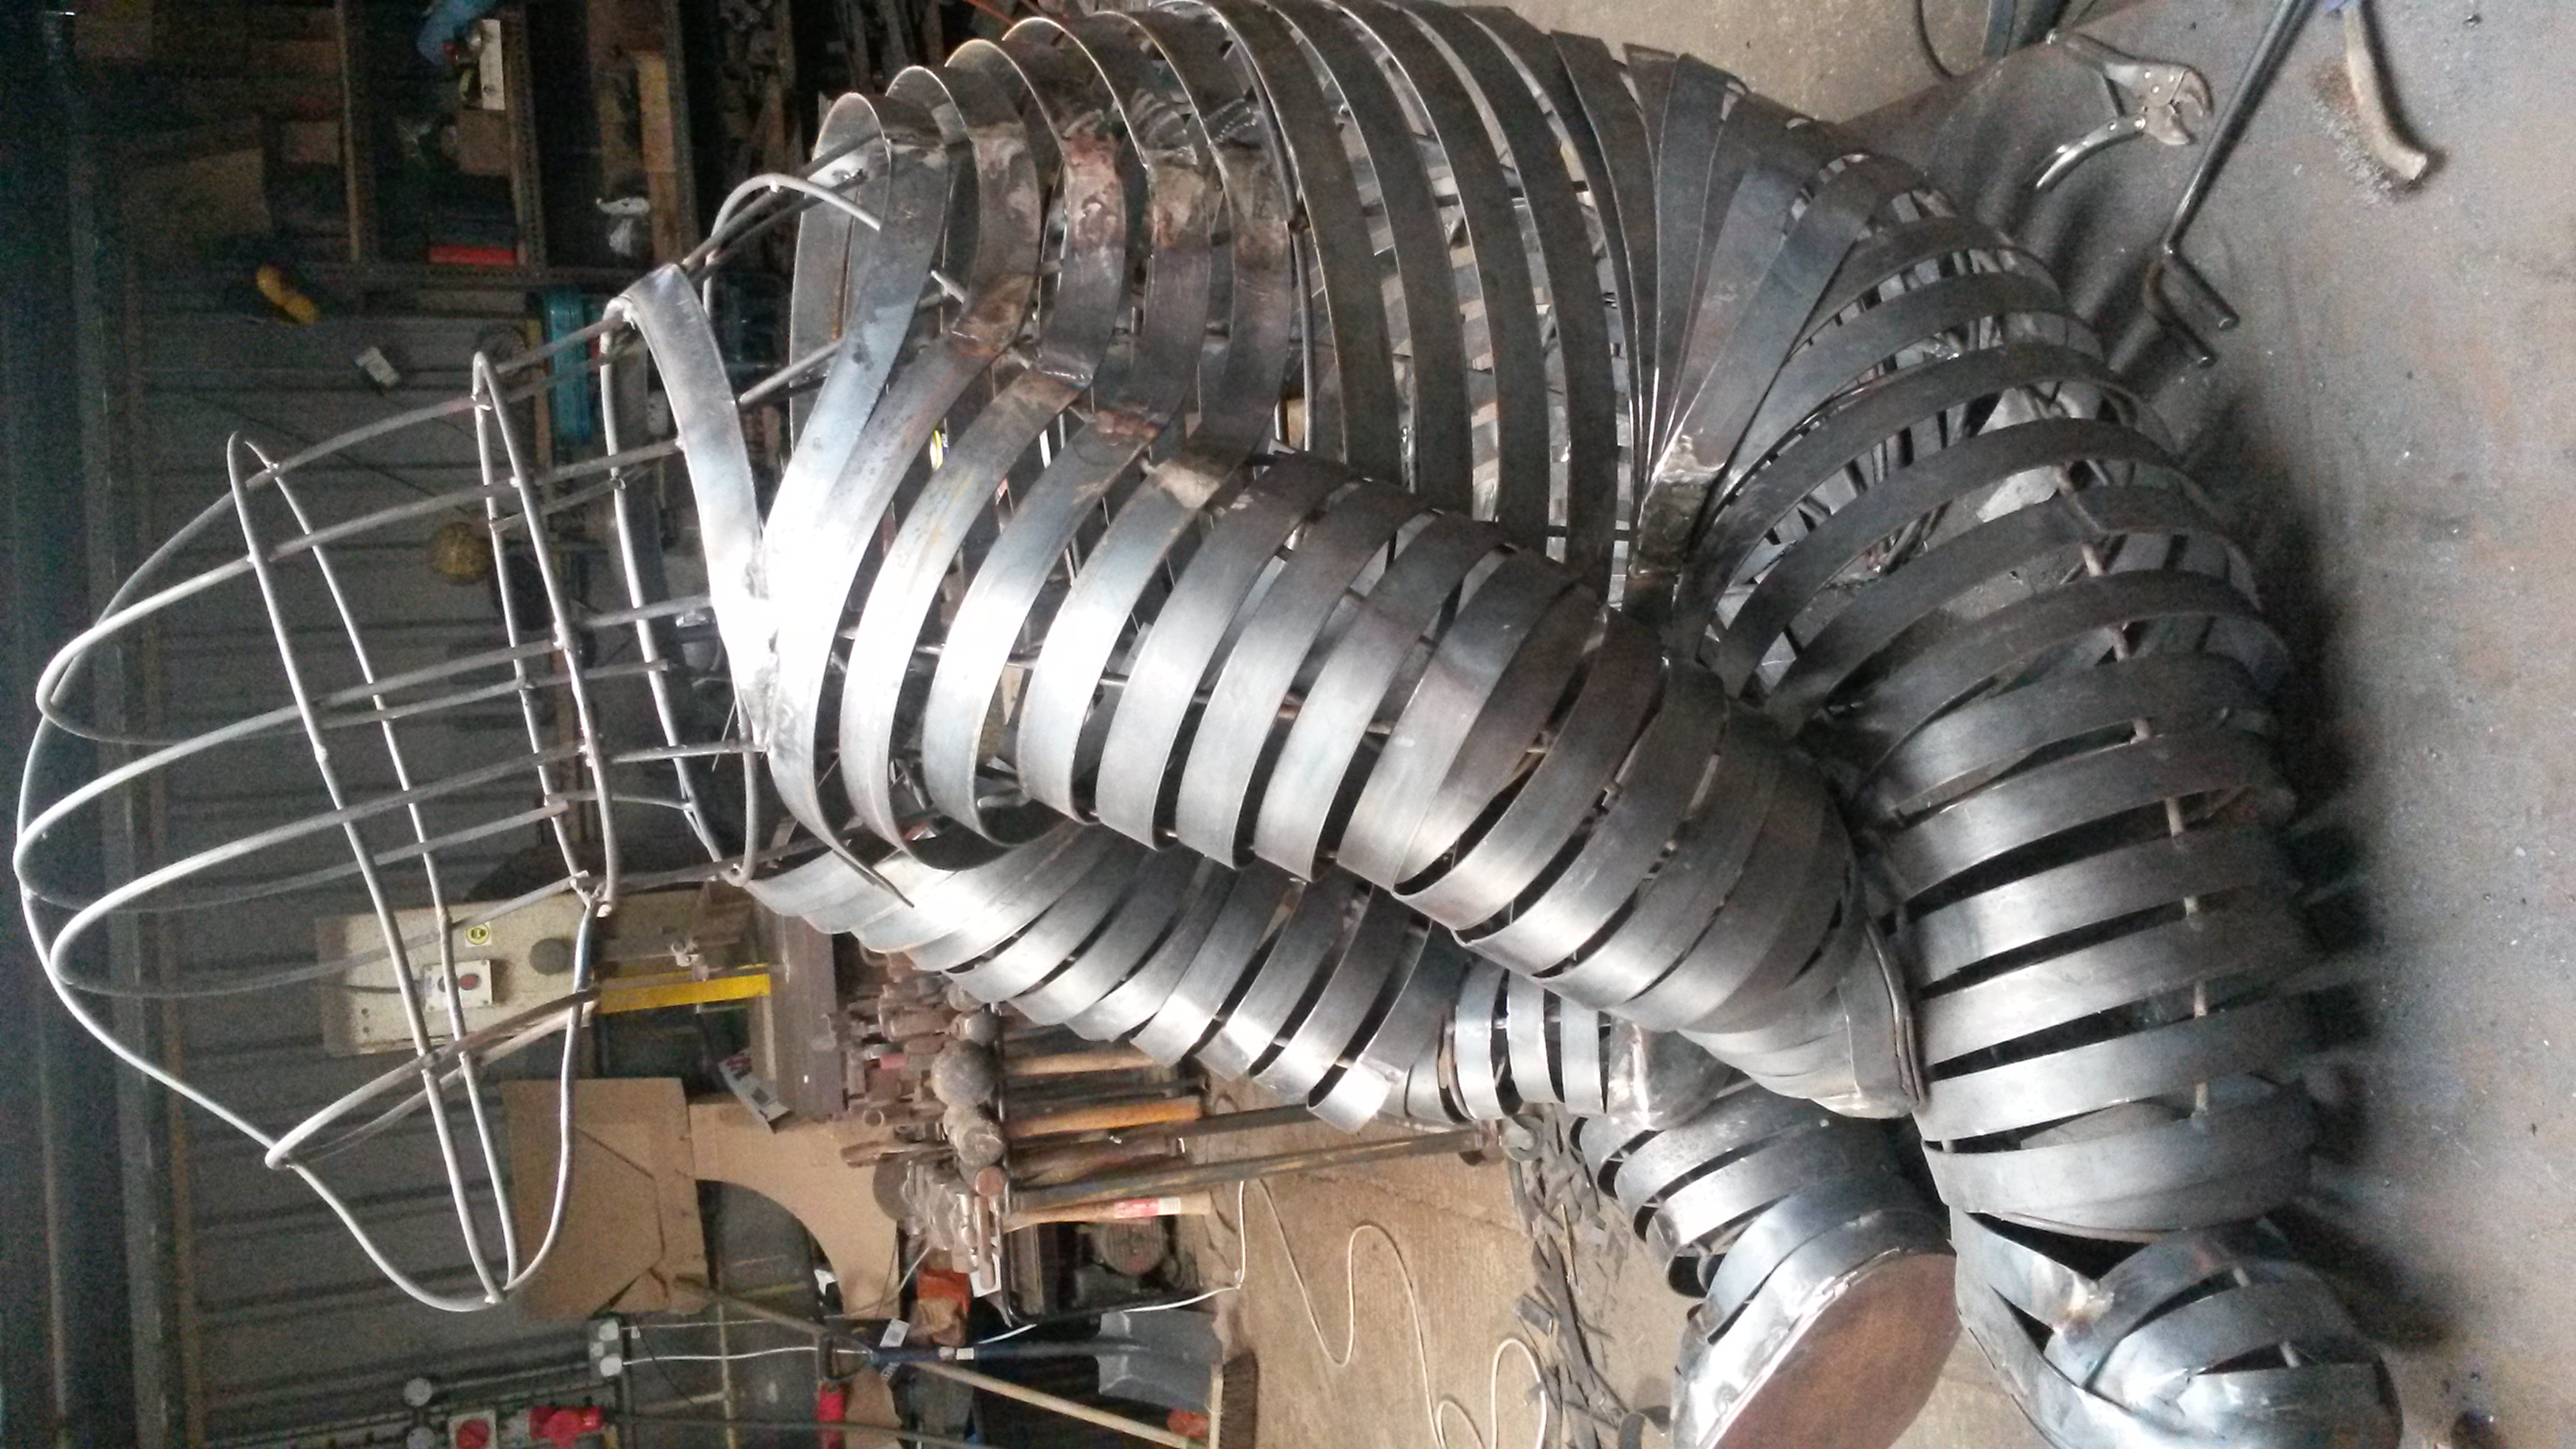
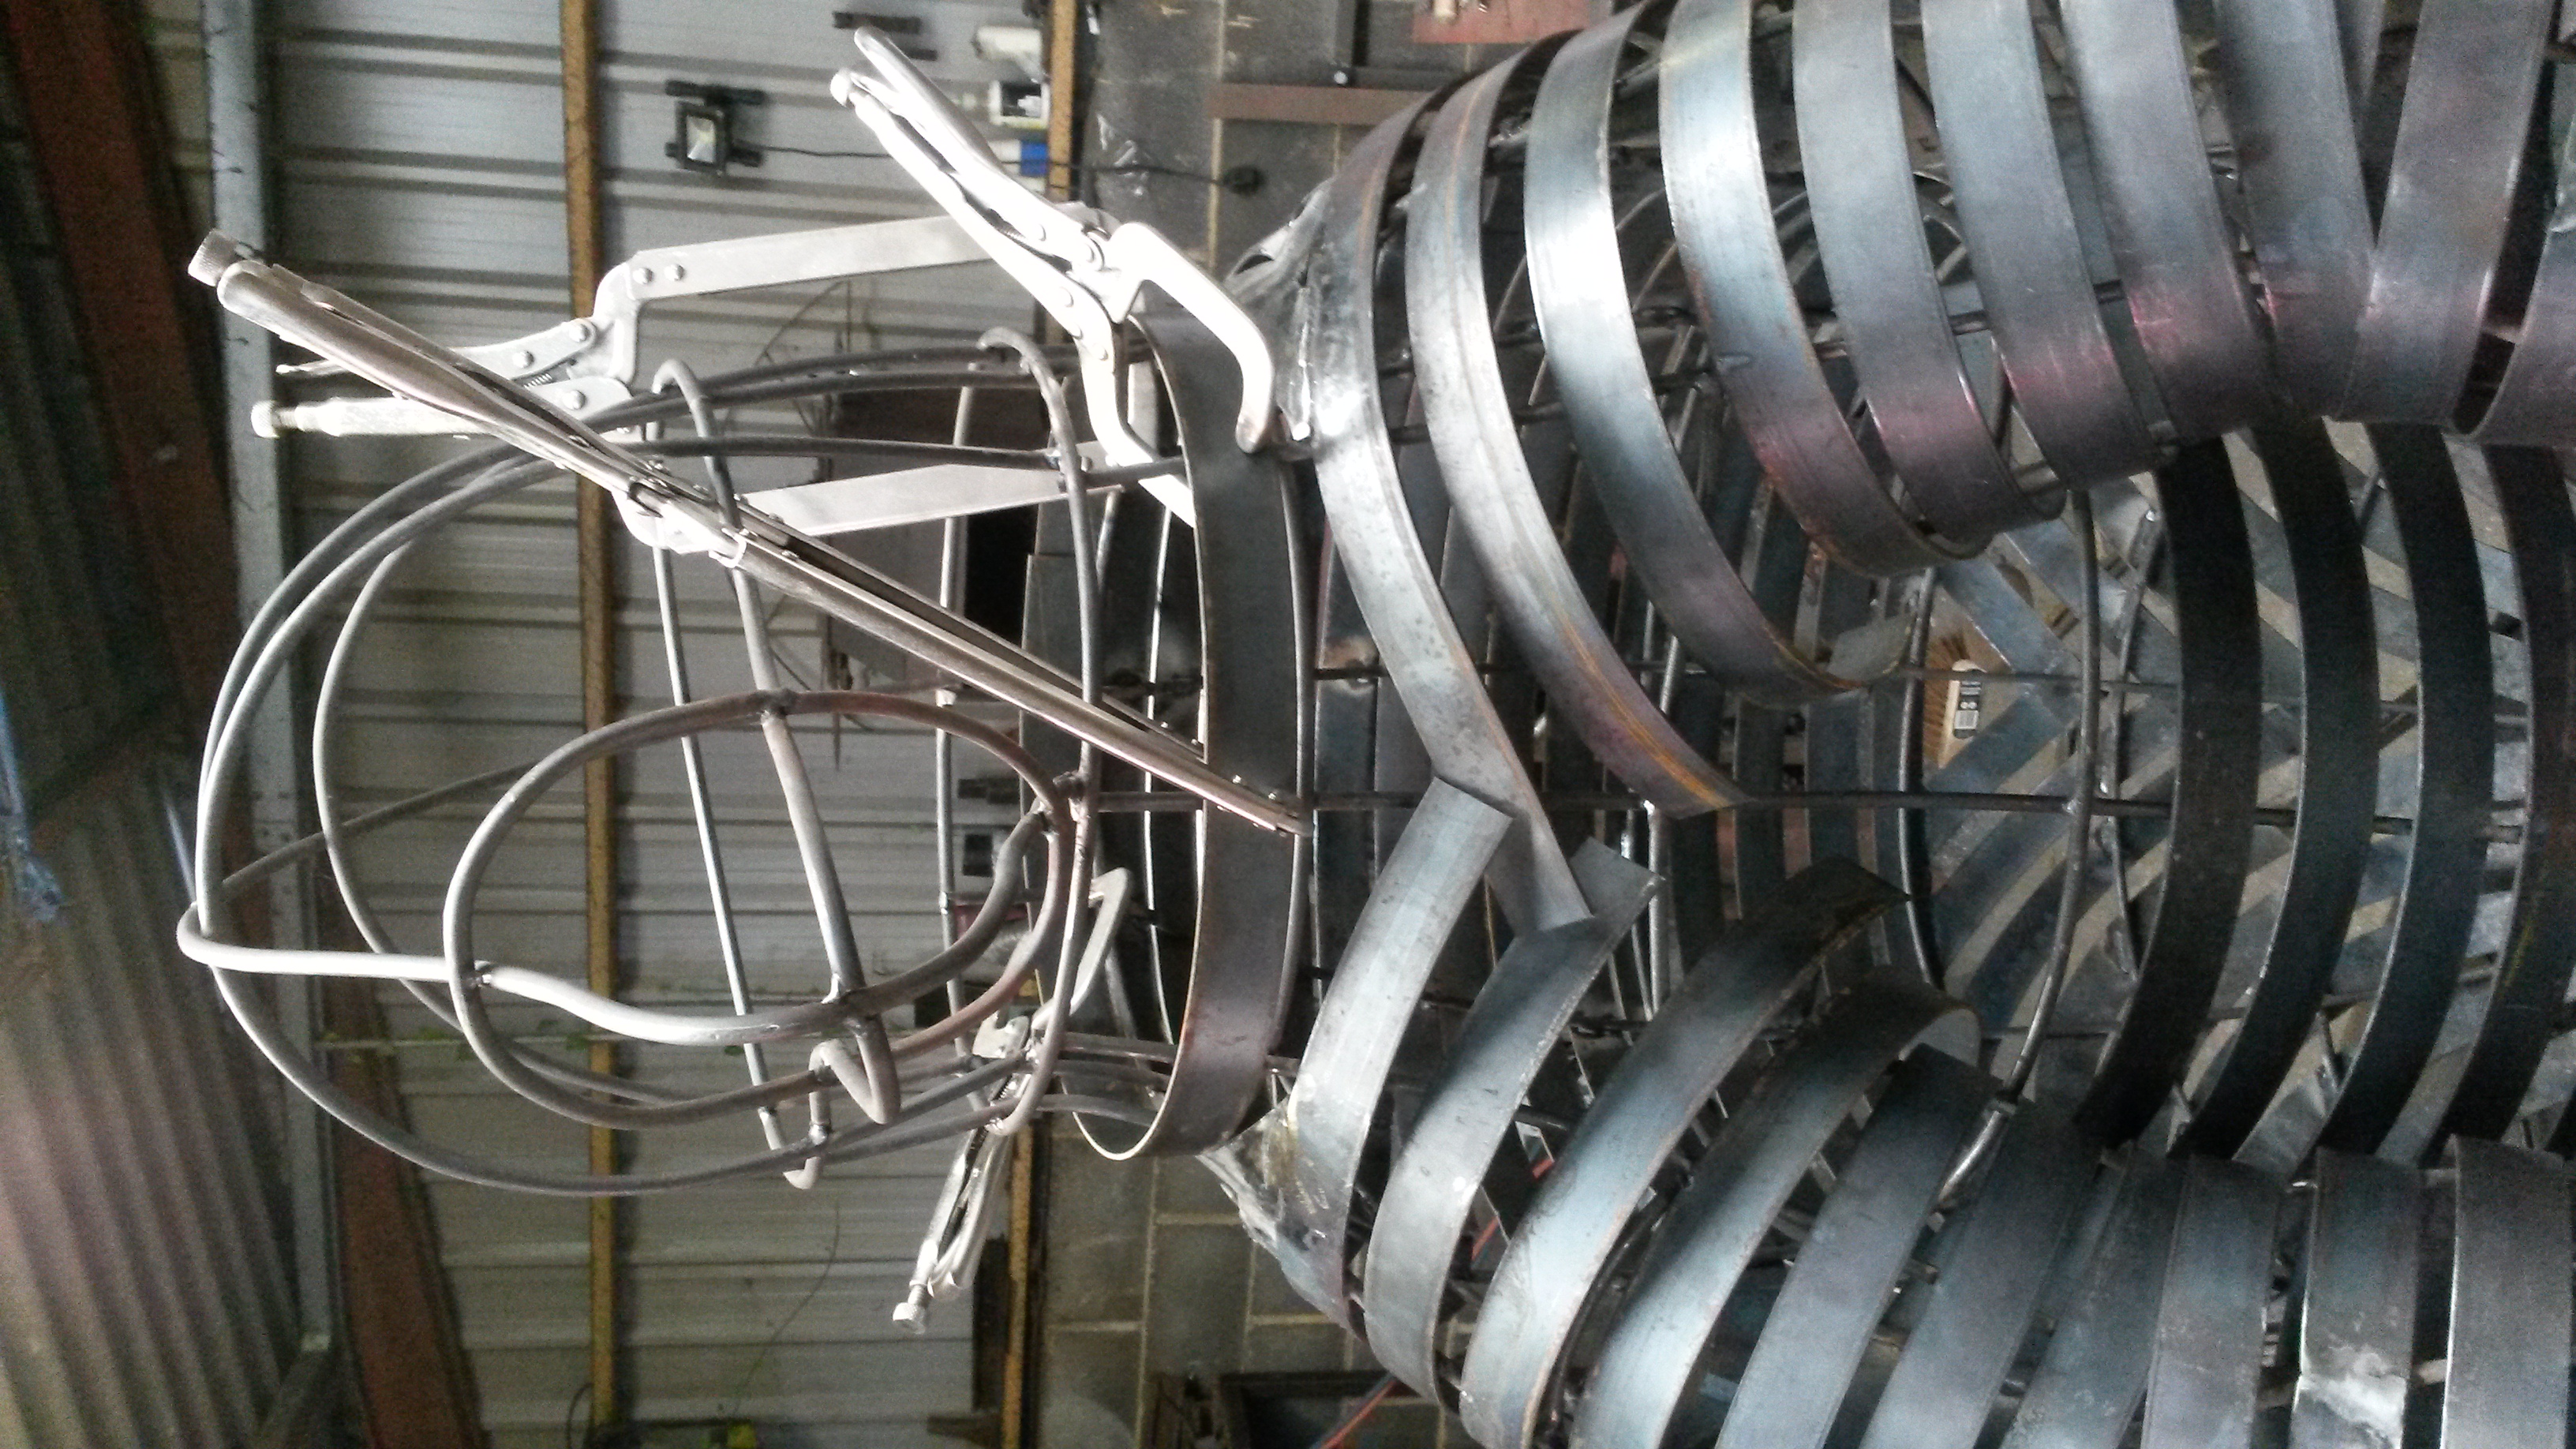
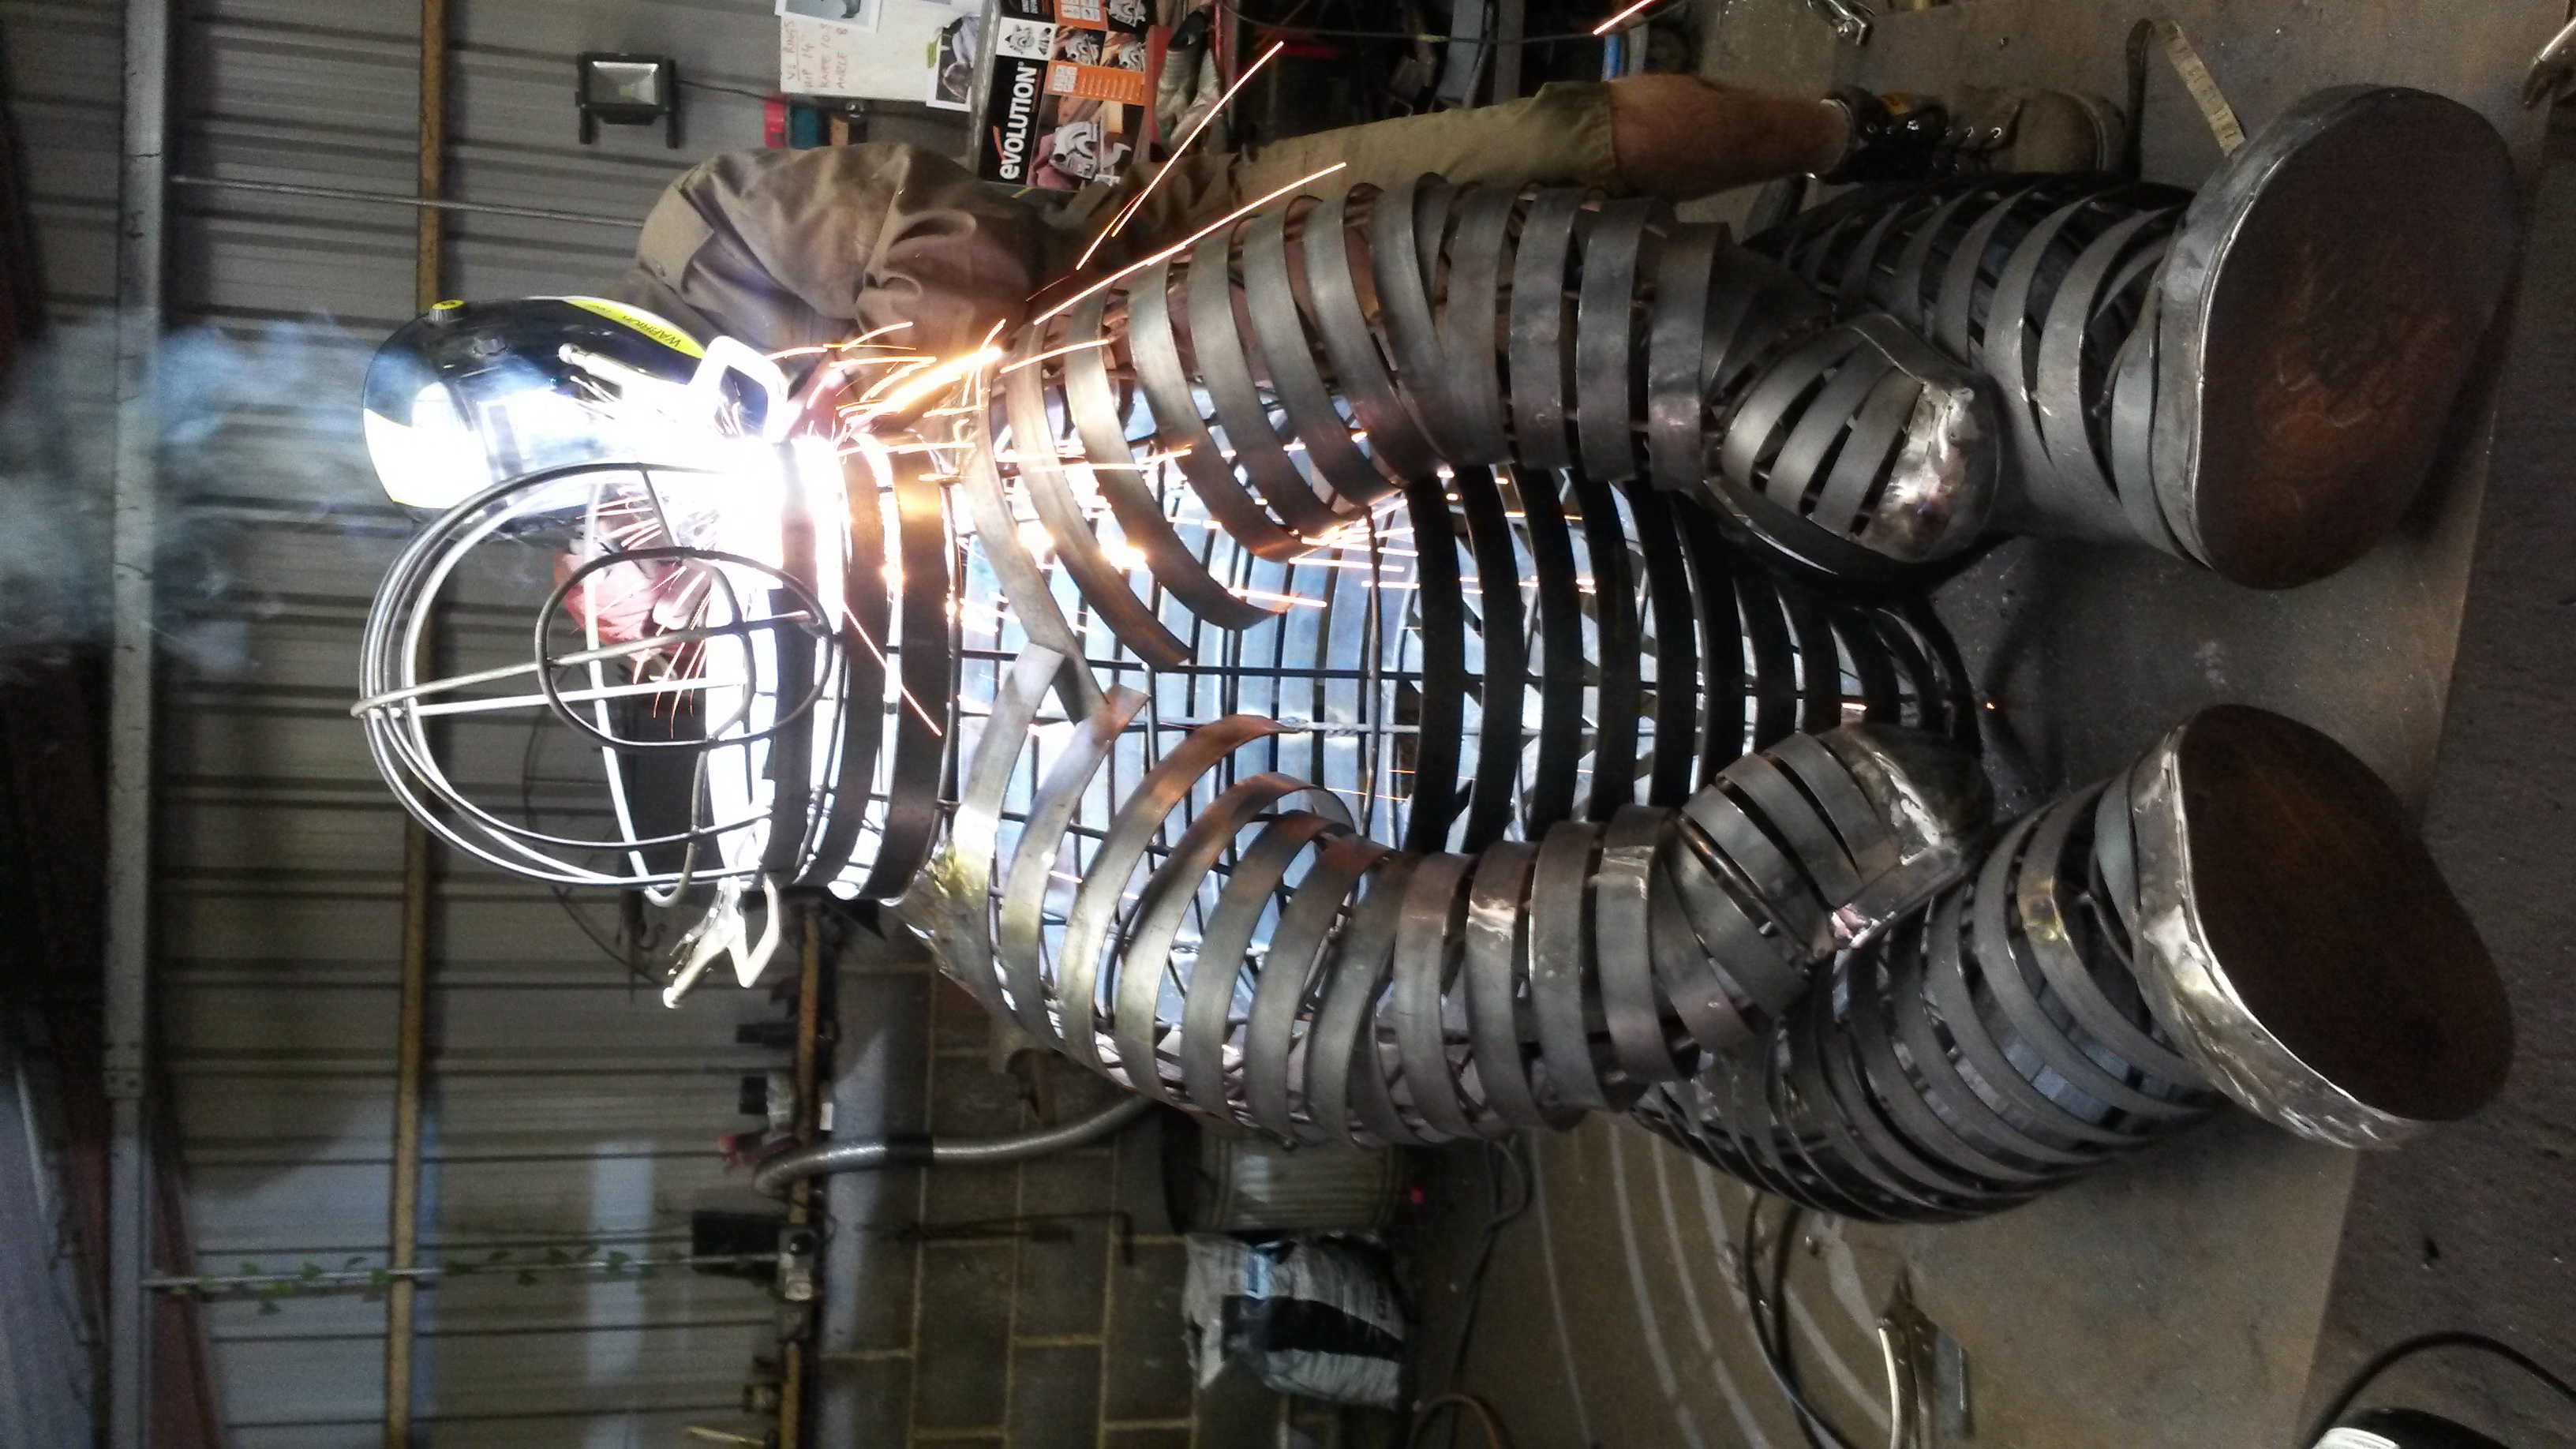
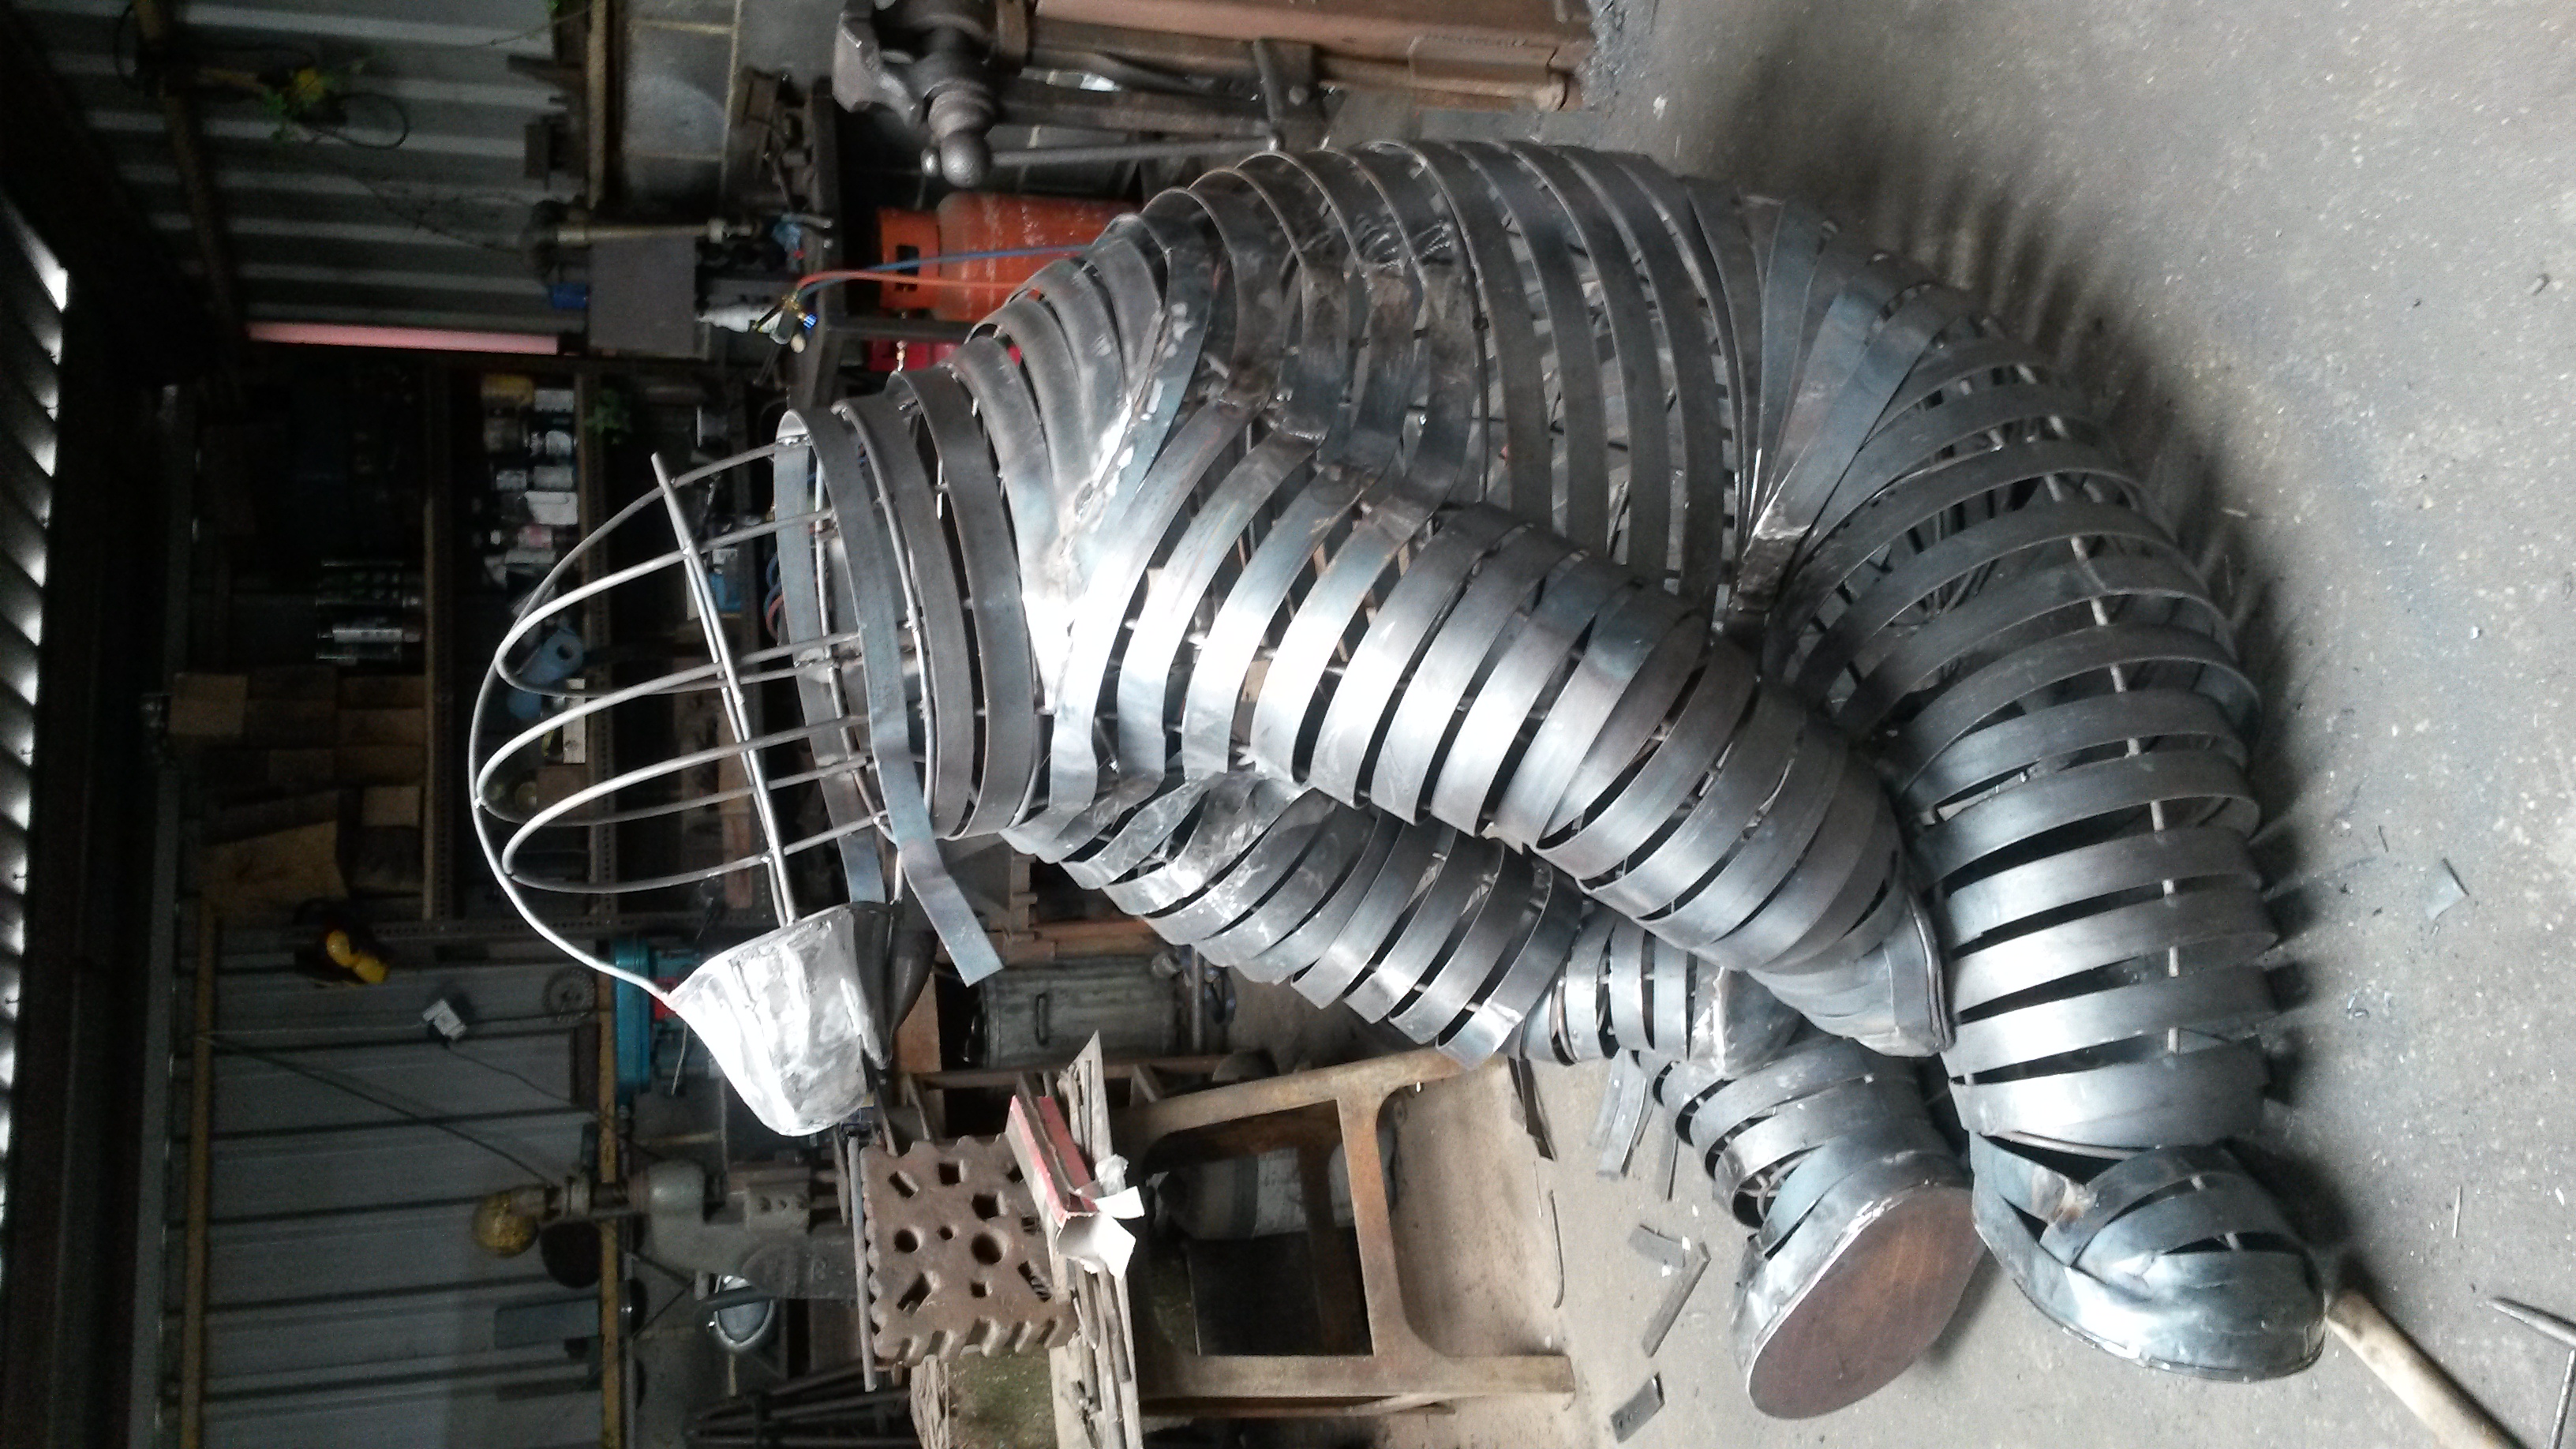
The fish eating idea was ditched early on.


-
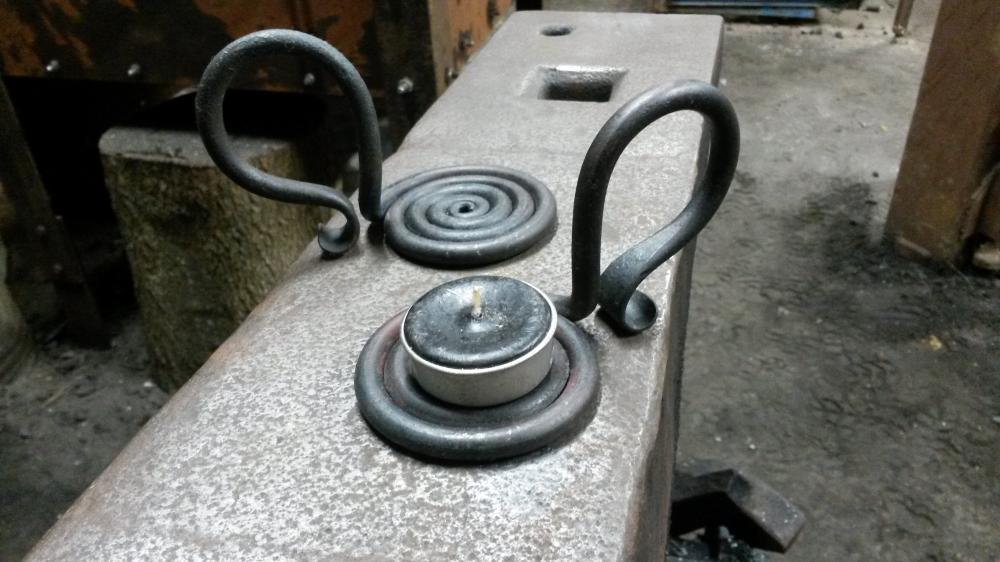
Here's an early Christmas present from me to the newbies, though I'm still a newbie to 'smithing. A short video of a method that'll speed you up no end when making these tea light holders. These tea light holders are a pretty standard project for newbies and they used to be a stock item for me to sell at markets. I haven't made any in a long while but I thought they'd make a nice addition to the present I've got for the inlaws. The one thing I forgot to say in the video is you have to pull towards you (as if you were pulling on a piece of string to keep it tight) as well as bending the bar down, otherwise the bar will bow in unwanted areas. Pulling it towards you makes the bar follow the coil tightly without any gaps. As I say in the video, getting the heat in the right spot is pretty important. The other great benefit of this method is that the vice naturally keep the coil flat. You'll figure out pretty quickly where you have to pinch it in the vice. I got a bit carried away and rolled up the coil in the video a bit far and had to un-roll it a tad so it matched the one I'd already done. Merry Christmas. https://www.youtube.com/watch?v=OUtdZbPVCLw
-
Correctomundo.
-
Hi, I was just wondering what buyers groups people belong to? Regional or national, either way. I'm going to try and sign up to Southern Farmers as apparantly there's a whole load of places you get good discounts at, including steel suppliers. As the name implies, it's a regional group.
-
I can't comment, I stabbed myself in the hand as a youngster & had to go to A&E due to stabbing the bottom of a Pringle can whilst watching TV, as you do, of course I missed when I looked up. Now I play with fire & power tools for a living, what could go wrong?
-
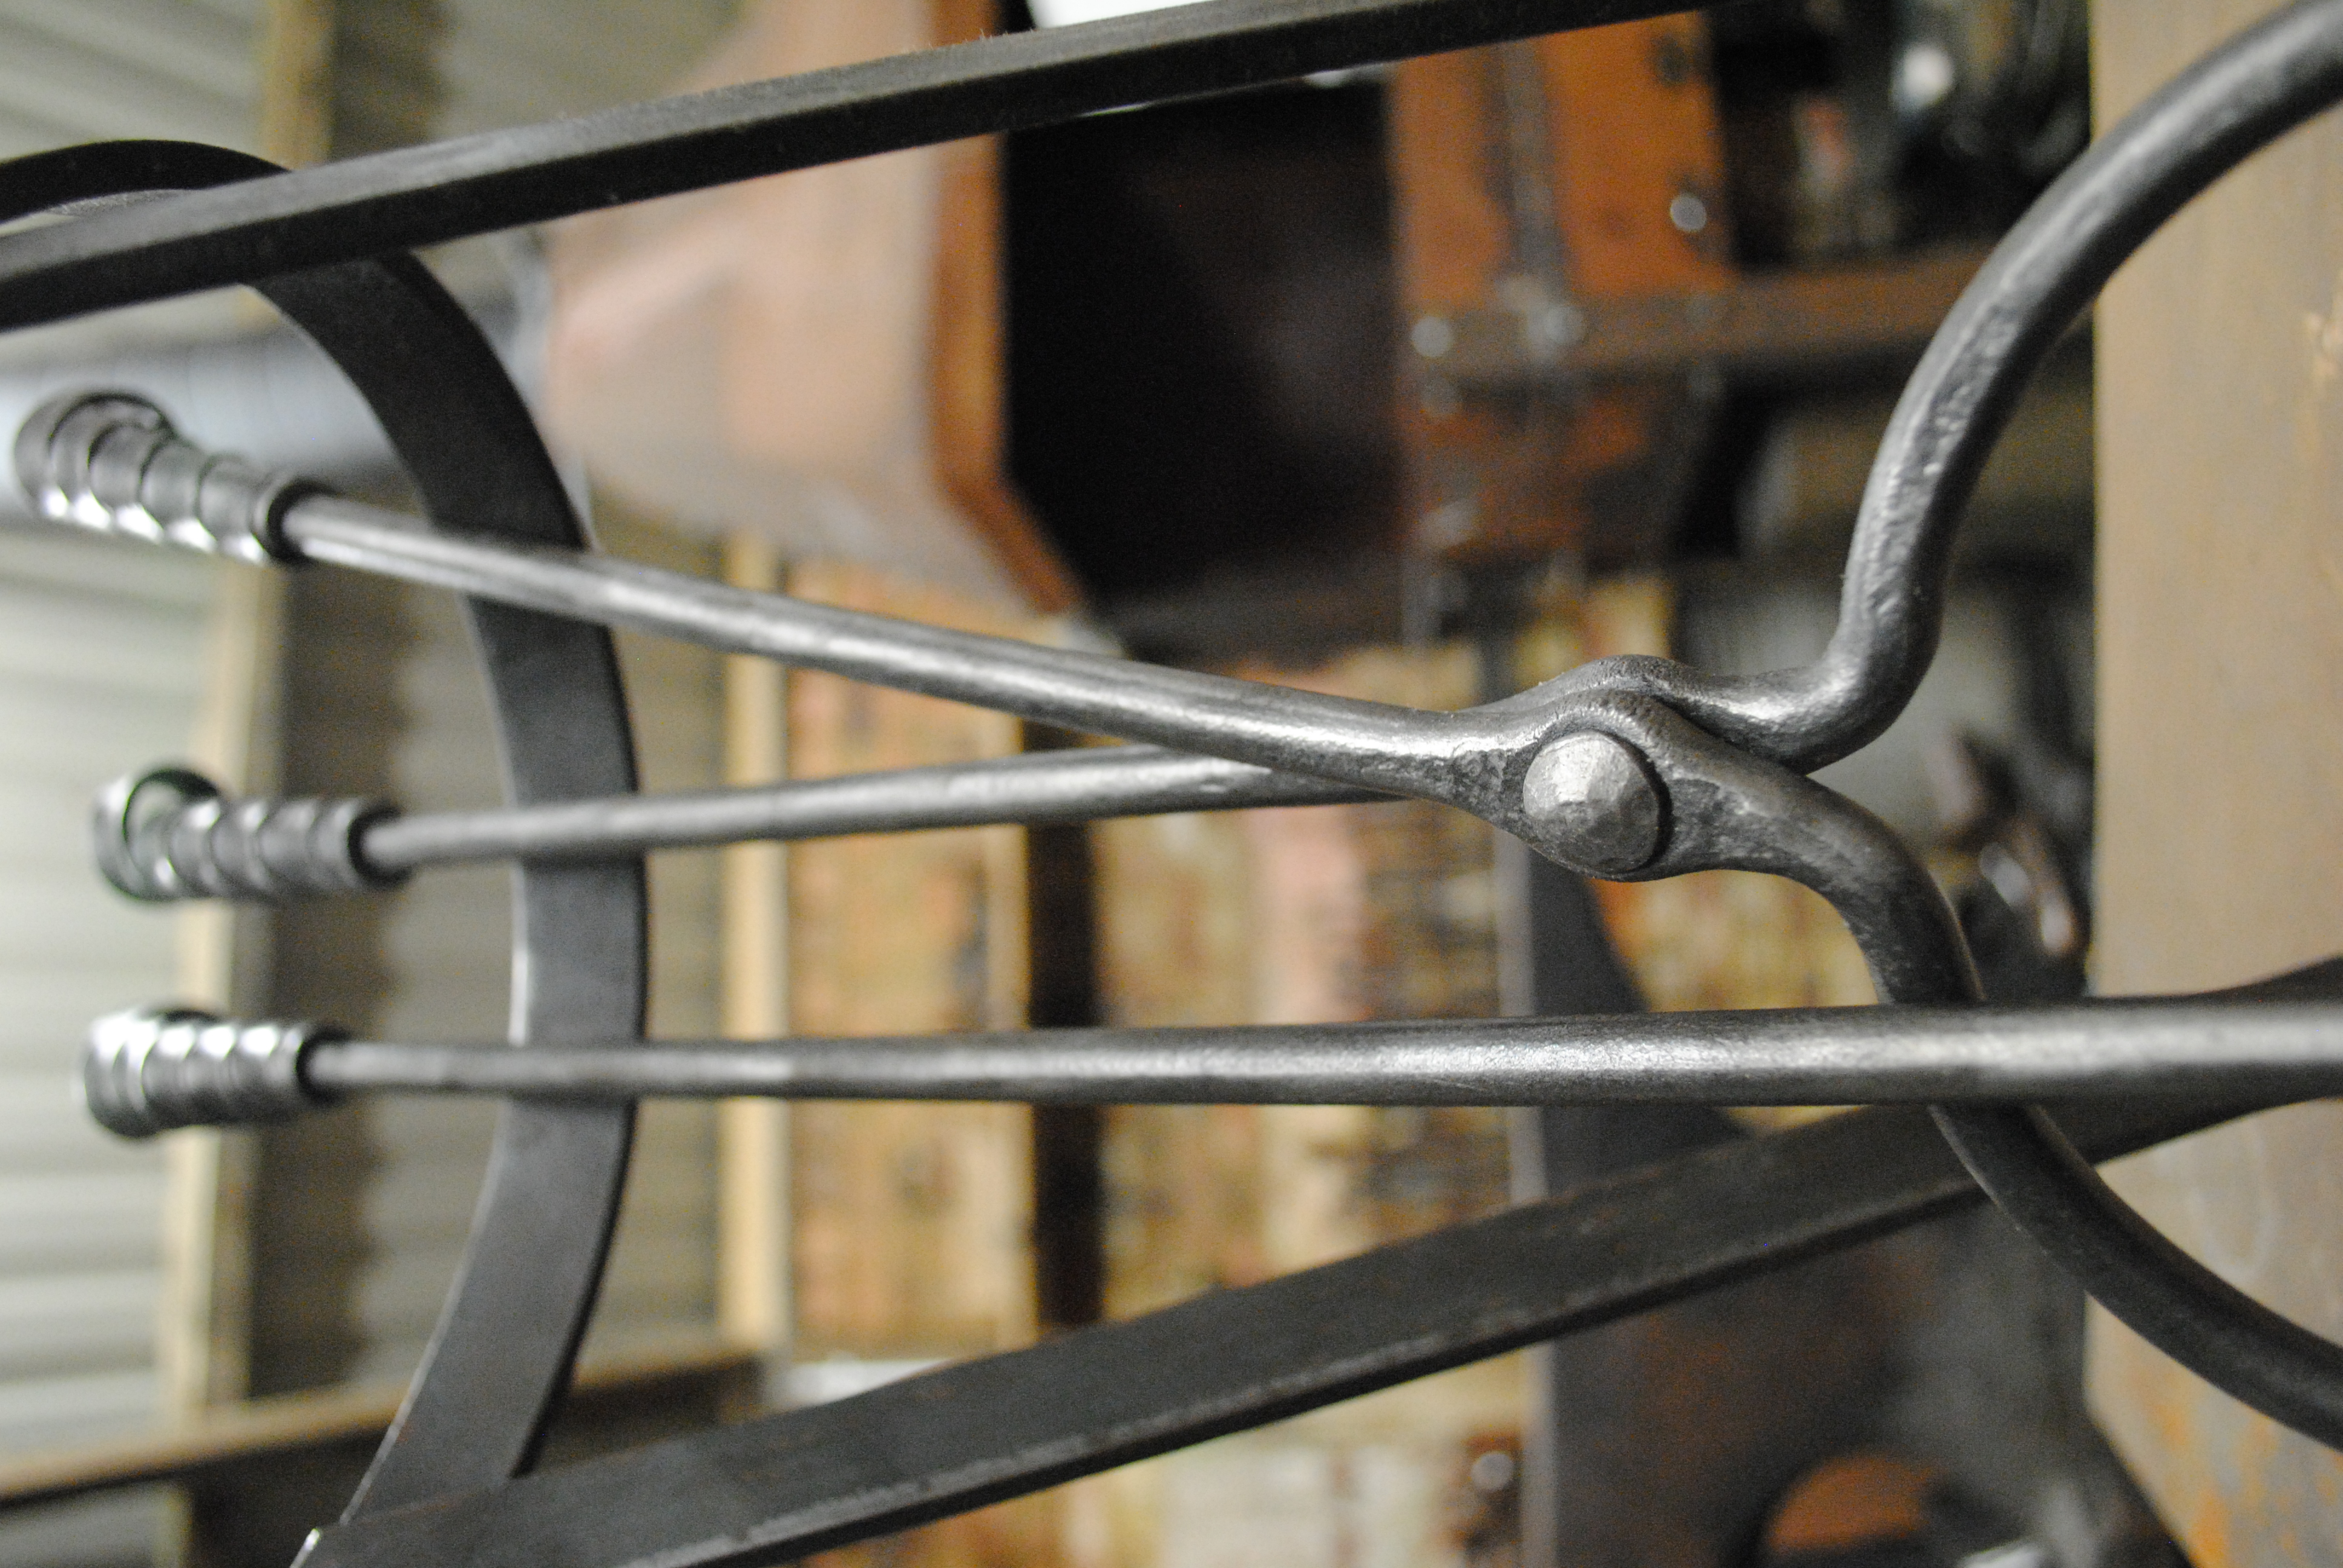
Nice tongs Curly. My reason for asking is because it kinda feels to me like (without upsetting the hinge zone substantially) there's not really a way to forge hinges from small diameter bar in a way that's good all round. Thinking aloud - Curly, the great thing about the type of thinned down hinge you've forged on your tongs means the tongs naturally open and shut in the same plain, and there's a good amount of surface contact area on both bars to keep their direction of travel straight, so as long as the shoulder on the rivet is a good size then their direct of travel should always be true and not toe inwards/outwards. The downside is the thinned down areas of the hinge are now a weak spot and could bend out of alignment if the user was too ambitious with the size of log they wanted to pick up, or if there was a side impact whilst the tongs are leaning up against the fireplace. Your tongs are obviously small one handed tongs for small fireplaces so you'd expect the user is trying to pick up logs of an appropriate size with them. I made some tongs yesterday for a companion set, I slightly upset the hinge zone then just split and drifted the rivet hole. Unlike your method of creating a flat spot, the downside of mine is that they don't naturally open and shut in the same plain, so the bars have to be slighty bent into alignment, and the only thing that's keeping their direct of travel in check is the large surface area of the rivet shoulder. The upside however is that the parent bar thickness is maintained throughout the hinge zone so their strength is maintained sideways. It strikes me that the only way to get the best of both worlds is to massively upset the hinge zone, then forge them flat (like Curly's), back to their parent bar diameter.

-
I haven't had any problems so far Andy. I fabricated my bosh and tue all in one so I just shimmed up the back of the bosh to tilt the tue nose down a smidge. I welded a 20mm plate cap on the end of my tue. Kubiack, with the depth of the cut outs you have at the minute are you finding you have to build bigger fires than you feel is neccessary so that you can get the heart of the fire high enough in line with the cut outs? When I first fabricated my side blast that's the problem I had as from the centre line of my tue to the top of the sides of my forge was 4", with no cut outs. I have since cut out some sections to reduce that height to 2". I did this after visiting a couple smiths who have always used side blasts and their forges were only 2" deep. I'm much happier with mine now as I can still build big fires, but importantly I don't have to build a big fire just work on something small.
-
I think you were aiming that at kubiack but FYI I used some 6mm thick pipe I found. 75mm diameter, not tapered. I have since heard that 100mm might have been better. I remember when researching what pipe to use I saw Alan Evans (I think) saying the pipe has to be thin enough to allow the water to cool the pipe, or it defeats the purpose.
-
Mine's not a hat, it's a helmet. I'm wearing it to soften the blows from Glenn's disciplinary stick.
-
Nicely fabricated! How are you finding the forge now you've got it up and running? Not so much the size of the hearth, I mean the depth of the pan and the position of the tue in relation to the height of the sides? How are you finding managing fire sizes/angleing work down/laying work across/ getting to the heart of of the fire etc? I'm curious because I've recently fabricated a side blast forge as well, but to different dimensions.
-
I suspect "period" is a less ambiguous and more helpful word than "traditional".
-
Which idiot started this thread?