Joel OF
Members
-
Joined
-
Last visited
Everything posted by Joel OF
-
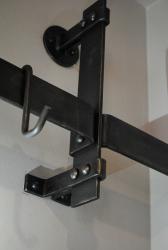
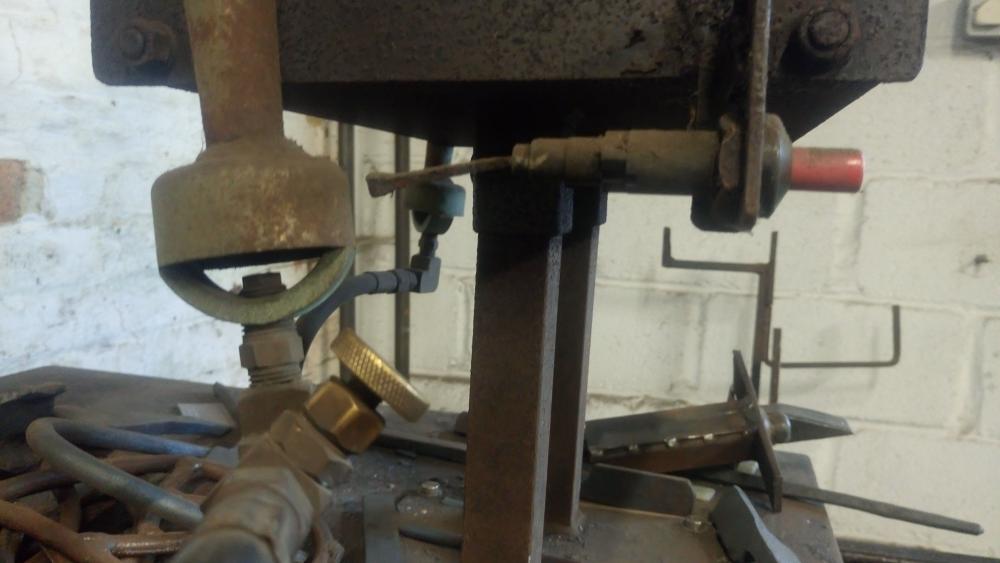
Are those wings you've welded on the sides so you can put it in the vise and hit down without it slipping through the vise because they rest on top? Especially as you mention countersinking the holes - I would identidy that more as a tenon making tool or a tool for rounding up bar to a specific diameter - but it should serve you as a riveting tool. If those wings are welded on for the reason I guessed, you may find you get twice the bang for your buck if you cut them off and instead use it over your pritchel hole, claming it shut with some G clamps. That would then also allow you to rotate the tool 90 degrees and use it vertically as my above mentioned tenon making tool. Unless you have a friend to hold the tool you'll want to weld a hardy shank to the underside of the bottom spring arm. I would suggest only countersinking the holes on one side, then the tool can be turned/flipped either way to give you 2 different types of shoulder on your bar. It's easy for those sorts of tools to flex out of alignment so I'd also be tempted to get it all aligned right, clamp it shut, then weld a small piece of flat stock to the bottom die so it covers the seam line, at the opposite end to the handles. That'll prevent the top die sliding over the bottom die and the holes becoming misaligned.
-
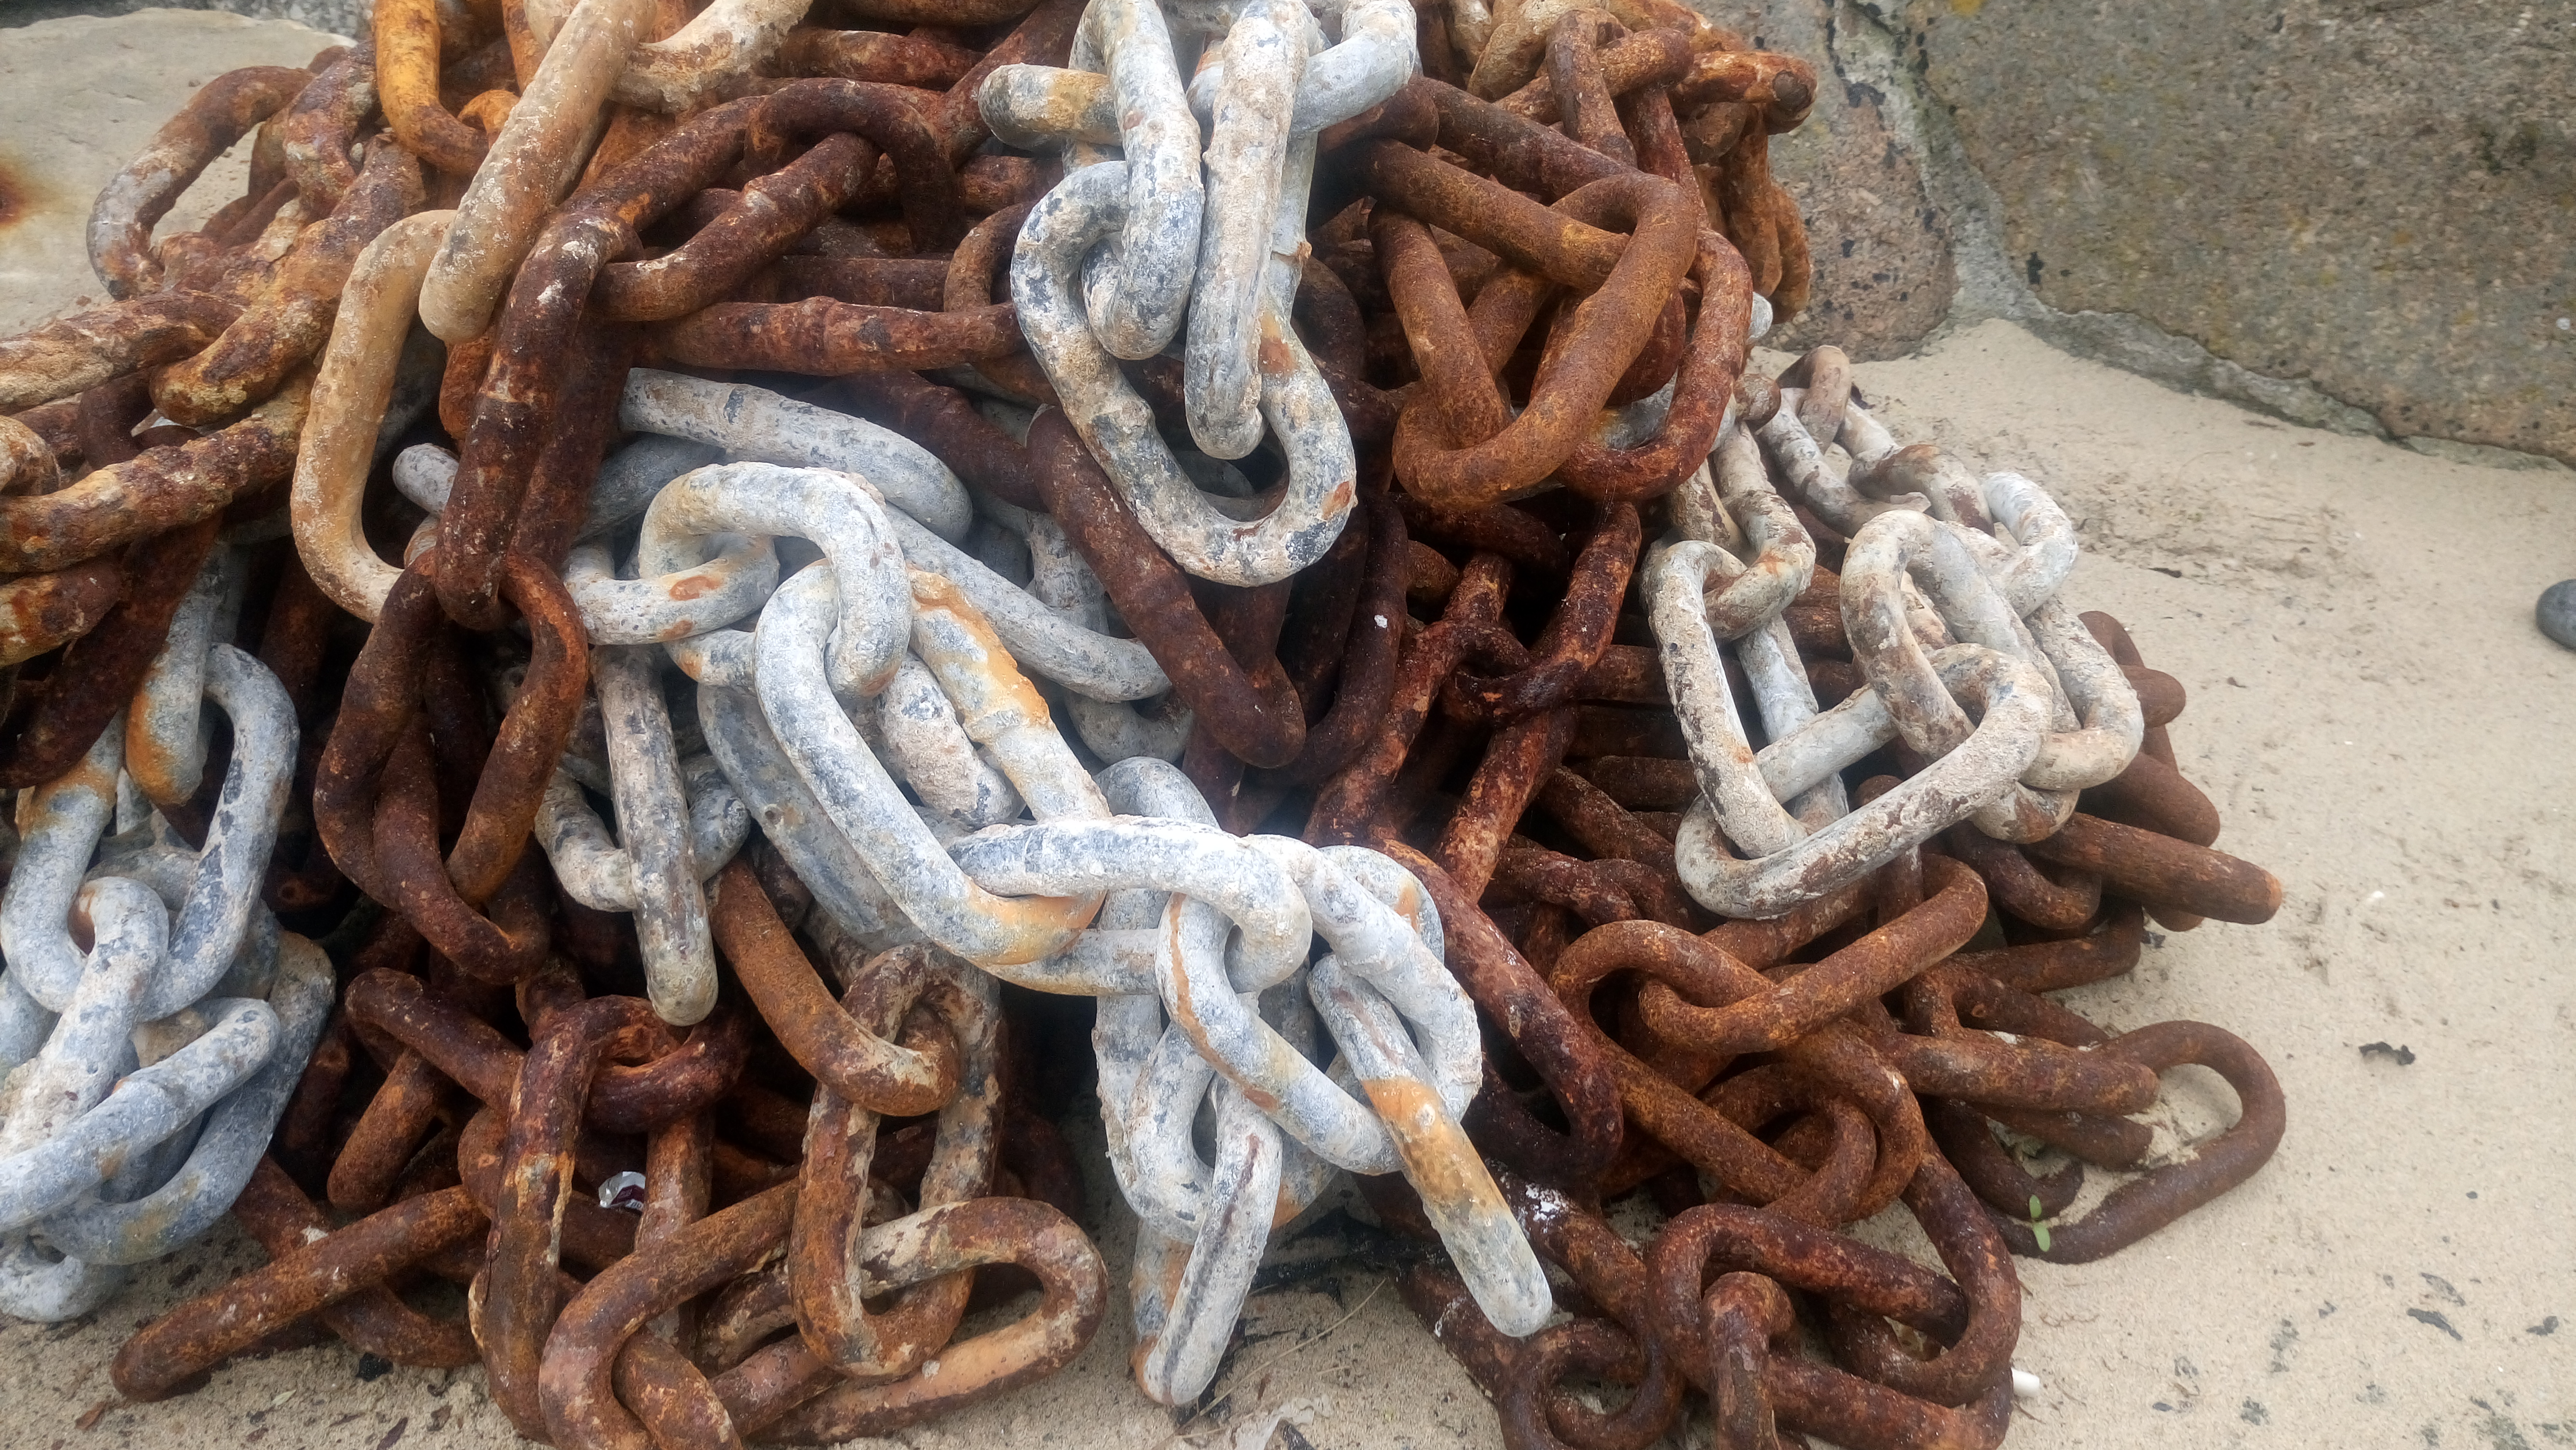
I was in Mousehole not so long ago, nice area with some stunning coastline just up the road. I took this picture on the shoreline below the hotel we stayed in, it's looking out over to Mousehole harbour. Also some heavy duty chain link in the harbour too that I liked the various stages of weathering on.


-
Ooh I'm glad someone enjoyed them. You could drill out & redo the rivets if they really bother you. I had some great advice Re: symmetry a while ago from a master blacksmith - things can look symmetrical without every detail needing to be a mirror image or repeated, e.g trees. Many trees look symmetrical, but if you look at their branches they're anything but. It's now a design "trick" I use reguarly in things like gates, having small variations either side keeps things visually fresh whilst still appearing even. Pure symmetry can be visually stale quite quickly IMHO as your eye easily reads the image as there's no variation.
-
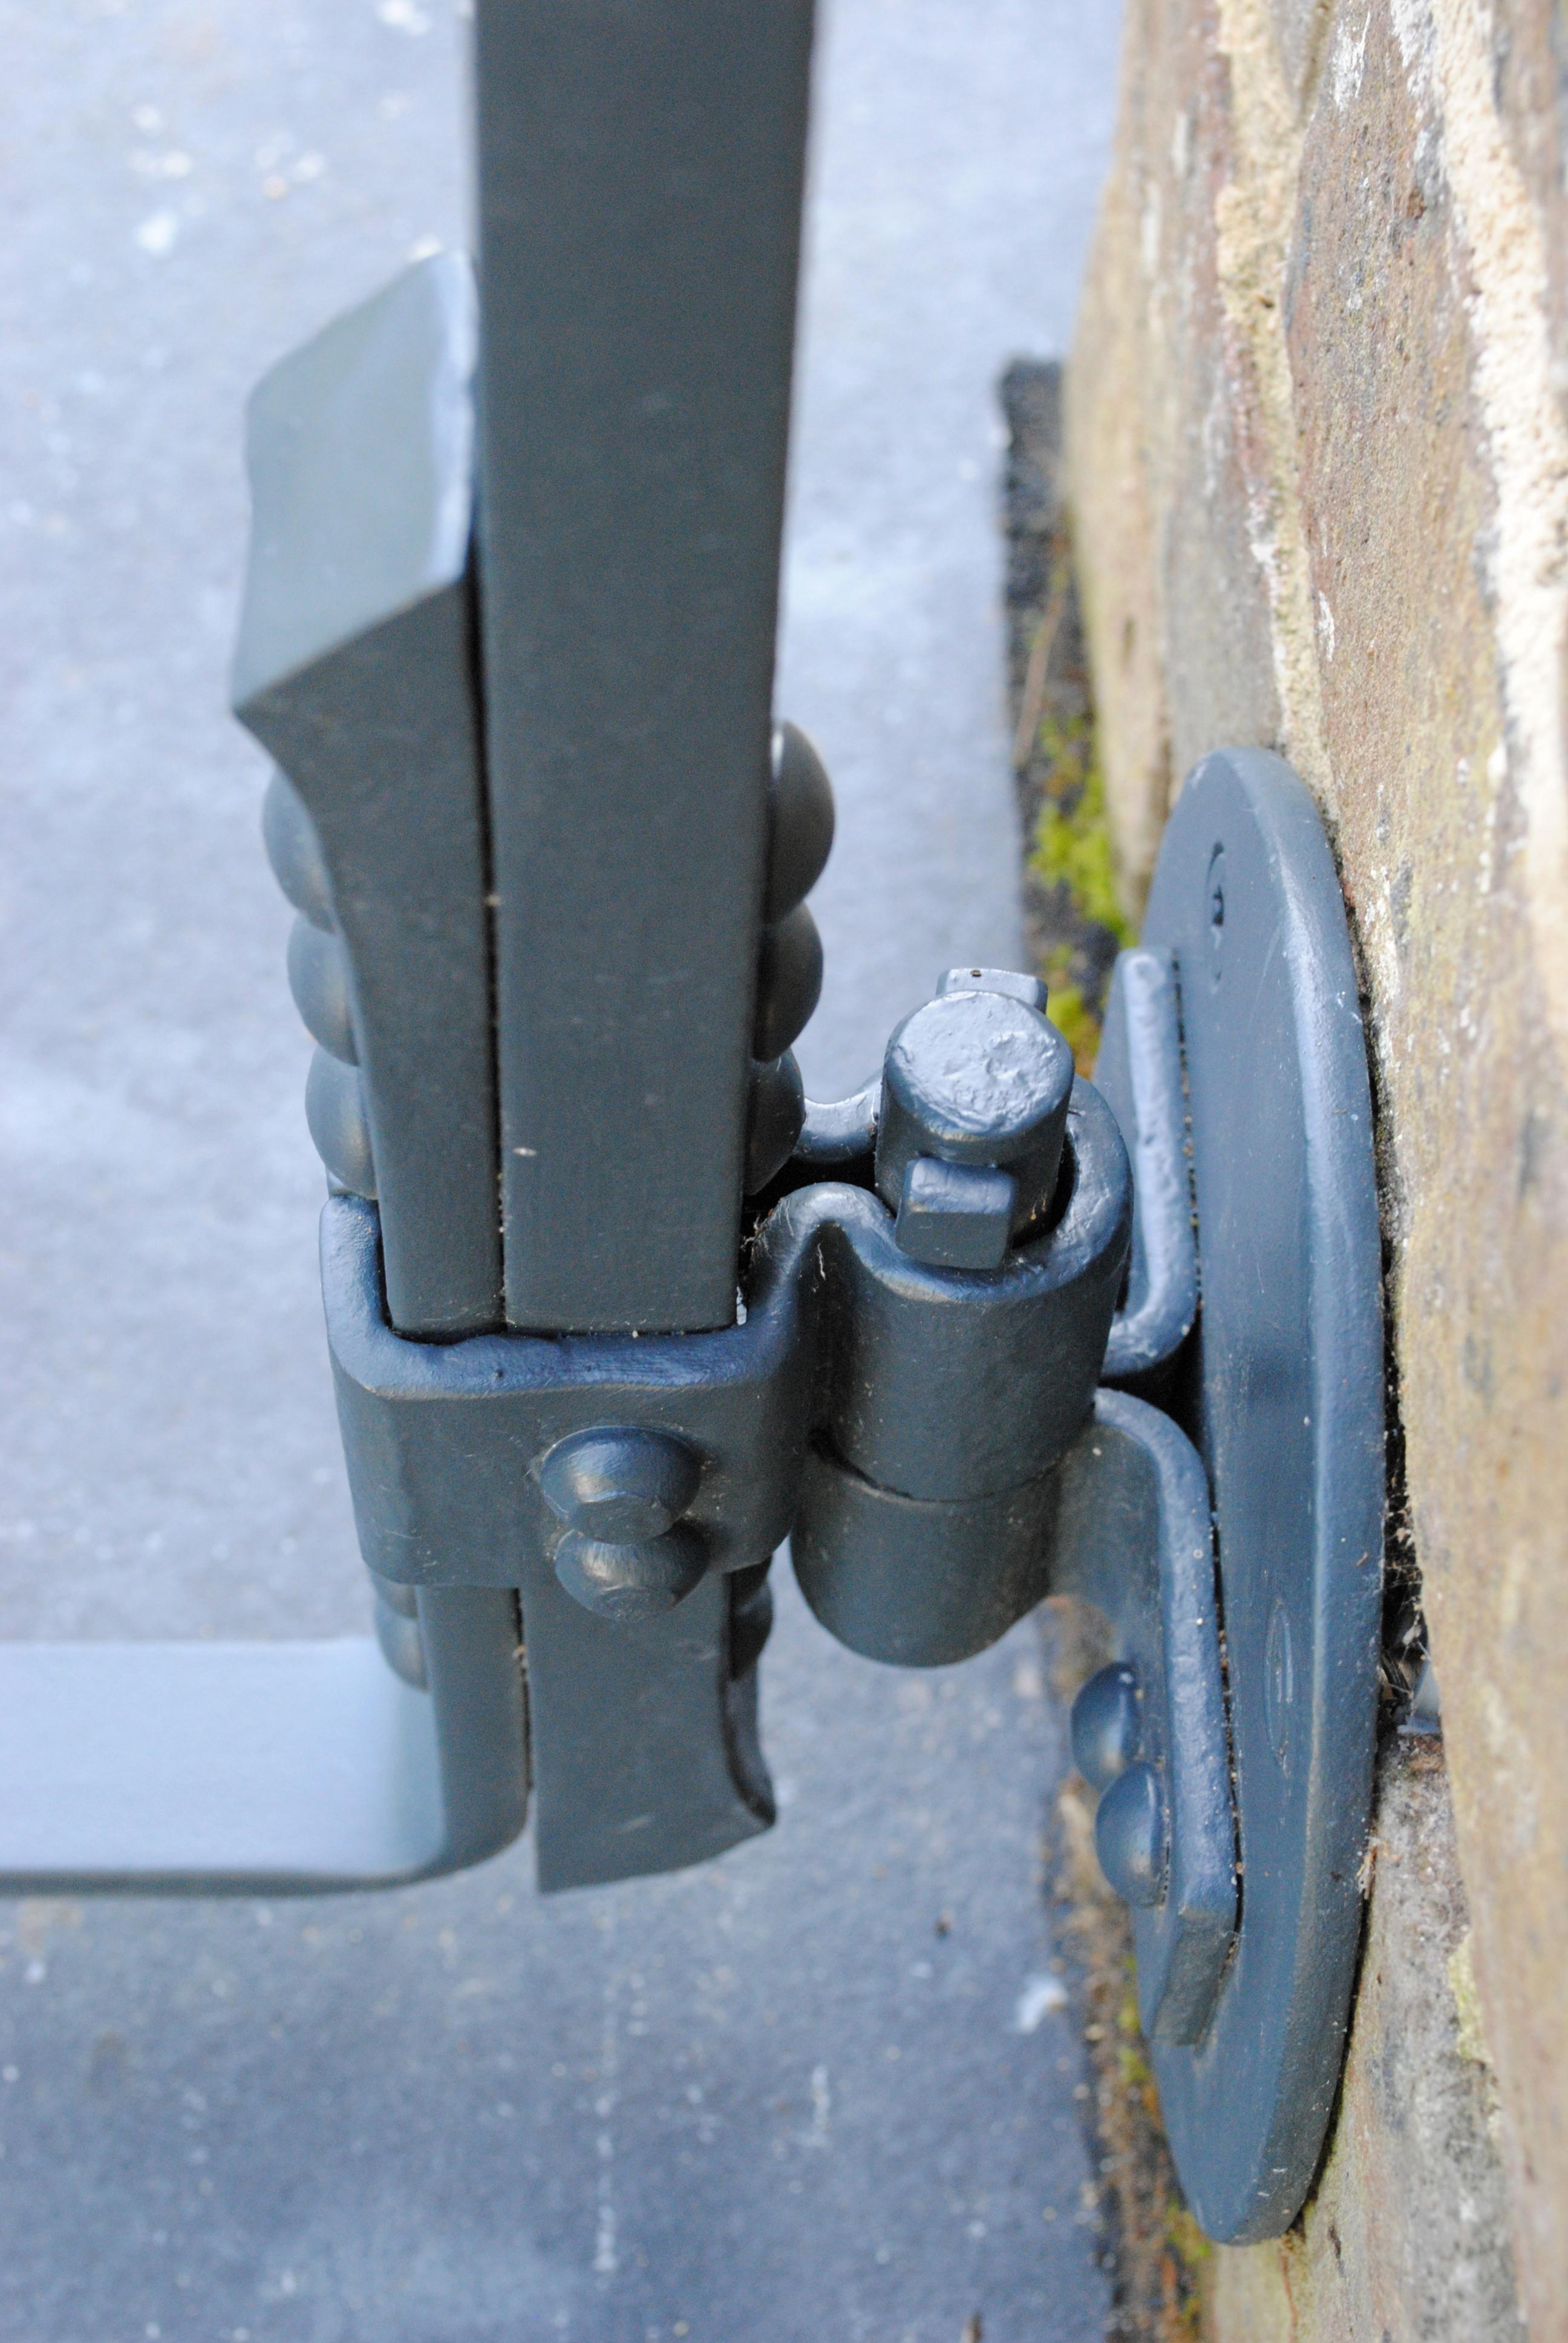
Cheers for the thoughts folks. Part of it's weatherproofing process will be zinc flame spray (similar to galvanizing) before a top coat paint so I'm reluctant to weld for the obvious zinc fumes...but also because I want the weatherproofing to be 100% throughout. In England rust is a constant PITA. I was thinking along Frosty's lines with a screw/bolt fixing if it's getting the zinc treatment...but you're selling me on the "paint on site" method.
-
Hi folks, I'm hopefully going to be doing a long handrail for some clients who have a Grade 1 listed house and garden. (Listed meaning it's architecturally important and additional work has to be sympathetic to the original building and approved by a conservation officer). They want the handrail to come straight down their steps, level out flat at the top and bottom, then curve off around the corners at both the top and bottom. I haven't been to site for a while but from memory the total handrail length would be about 5m. It would be made using half round square edge and made in 3 pieces as it's too long to manouver in one piece. At the clients request the posts on the steps are having feet that will be screwed down rather that resin/leaded in but the top and bottom curve sections will be cemented in. I think the join should happen around the area the rail levels out and at a post. I spent a few hours the other day experimenting to see if I could make the join work "in mid air" rather than at a post, it looked neat but it was too weak. (As you can tell I don't have a lathe yet). That experiment led me to think the join should happen at a post and I've got one or two variations in mind how that could happen, but I thought I'd put it to you good folks too incase I've overlooked something obvious. As they are local I plan to have a dummy run install to make sure everything fits ok, then take it for weatherproofing, then return once it's treated for the final fit. Can anyone offer up any ideas? Cheers


-
Thanks @Everything Mac that's brill, cheers. I'll post pics when I get crackin'
-
Well I'm sold.
-
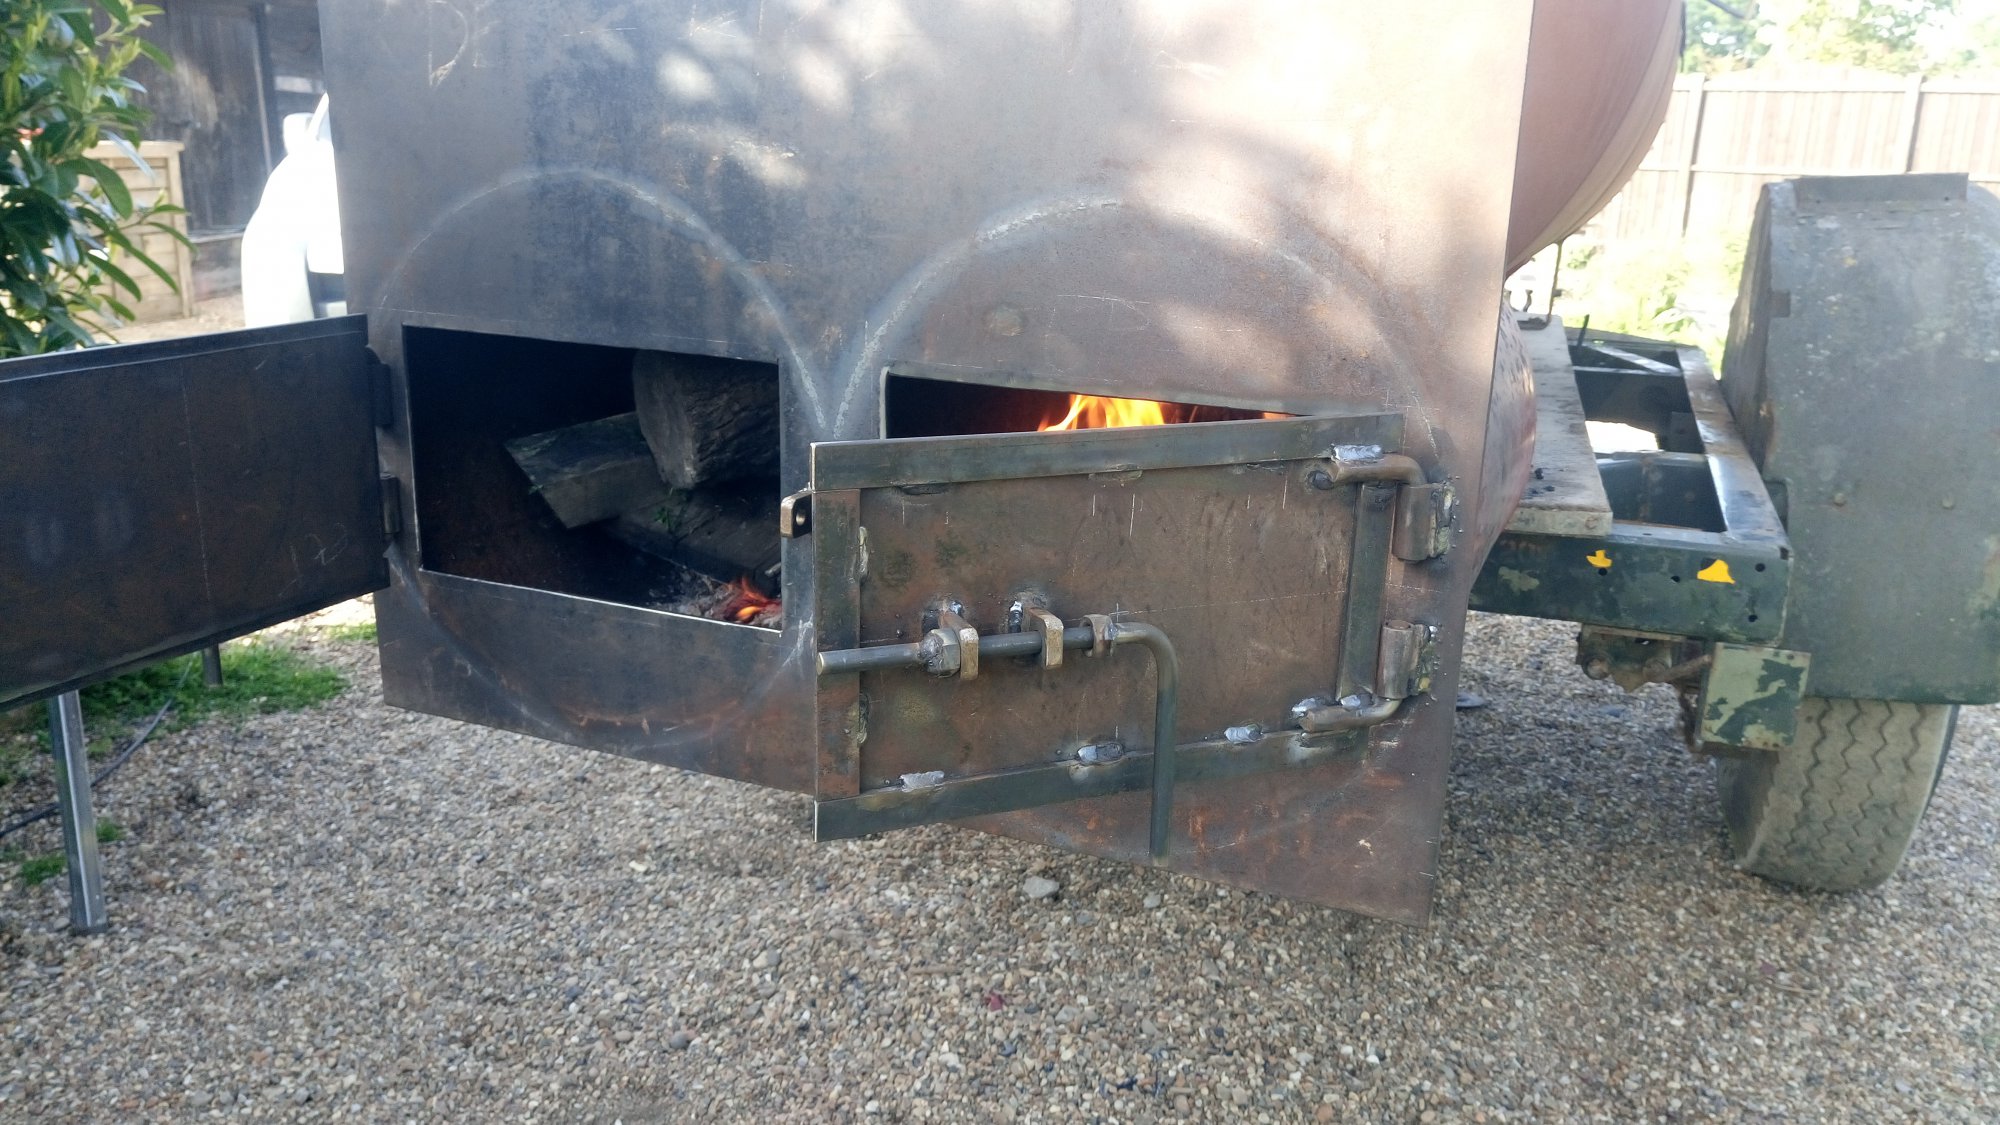
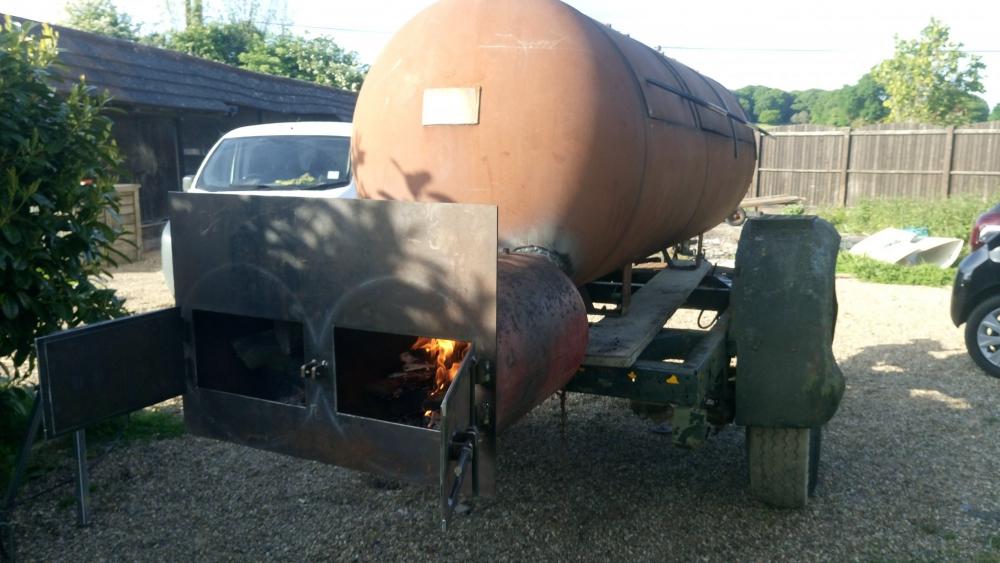
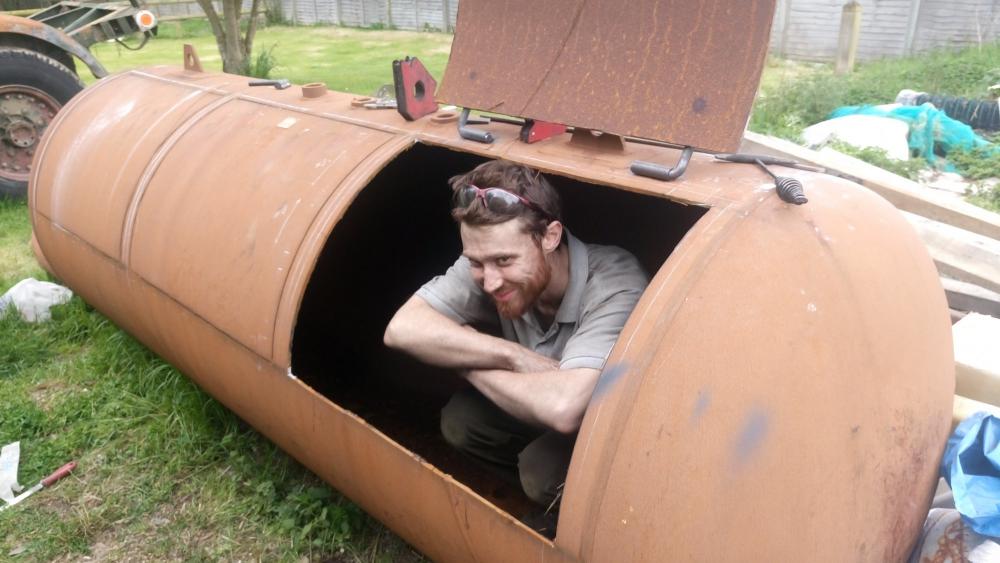
Don't know if this fits your bill but a while ago, under the direction of the tank owner, I fabricated together a huge old (propane?) tank and some gas bottles into a very big hog smoker.

-
Ho hum, I think the combination of wanting the 4 door shape that can't be achieved with bricks (nothing to support the central bricks) and the high cost of insulating board means I will have to at least cast the roof afterall. I think I'd use half an insulating brick at each corner to prop the roof up. I might rope a friend in to help me with the casting, I've never done anything like that before and he's a bit more clued up on that sort of thing...so I can blame him if it all goes wrong
-
I'm a self taught right handed blacksmith and I have mind on my hammer hand side. 2 reasons for me: 1) it faces away from my fire so I don't accidentally bash my leg on the tip of the bick. That really hurts. 2) If you're doing something particuarly fine, eg adjusting the centre of a very tight scroll on the very tip of the bick, you can bend your knees to get your face right down and up close to really see what you're doing. If the bick is on your tong side you have to hammer across yourself and you have to lean over to see what you're doing, which to me feels really awkward.
-
I've never used rebar but a rule of thumb you could apply when you want to drill any steel you suspect is harder than mild steel: Put it in the fire, get it hot, turn off your blower & let the fire die with your piece of metal in the fire so it cools as slow as possible. Drill it later that day or the next day. Without getting all technical, that's basic annealing. Same goes for filing hard metals. Annealing is like having a sauna. Quenching is like someone throwing a bucket of water over your head.
-
Hmm, now thinking about the shape I want I wonder if using insulating board cut to shape rather than bricks is my best bet. My current forge has 40mm (1,1/2") thick insulating board for the walls and roof. Any idea how insulating board compares to insulating bricks? I'd still back it up with 2" of wool.
-
Thanks for the tips @Everything Mac You've clearly thought a bit further ahead than me in terms of construction seeing as you're questioning the roof! T.B.H I don't know yet, I haven't drawn it up. I suspect something along the lines of channel section at the corners (2 pieces per corner, 1 facing width ways and 1 facing depth ways) to allow verically raising/lowering doors to open/shut via a very KISS engineering pulley system. I thought I'd tackle that once my dimensions have been approved...which they seem to be by all!
-
Ha! No I meant I'm taking it as a positive you didn't pick up on any of the shape reconfiguration details. E.g burner positions. i.e if my only obvious mistake is how I described the size of the burners, all else must be in good order.
-
Cheers for the tech info. I'm taking it as a positive that it's the only thing you picked up on.
-
Thanks for the quick reply. I looked up the bricks you mentioned but they seem to only be available in the US and I'm in the UK. Unfortunately I'm very green when it comes to gas forges and wouldn't have the first clue as to what's new or old tech. The only comment I could make on the insulating fire brick I have been guided towards by a supplier is they called it a Grade 26. I'm aiming to keep things simple as you may have already noticed my intended dimensions for the new forge shape is based on cutting 9" long soft fire bricks in half. One thing's for sure, on this forge at least I don't want to go down any route of casting insulation. I thought I'd just knock that on the head before anyone suggests it
-
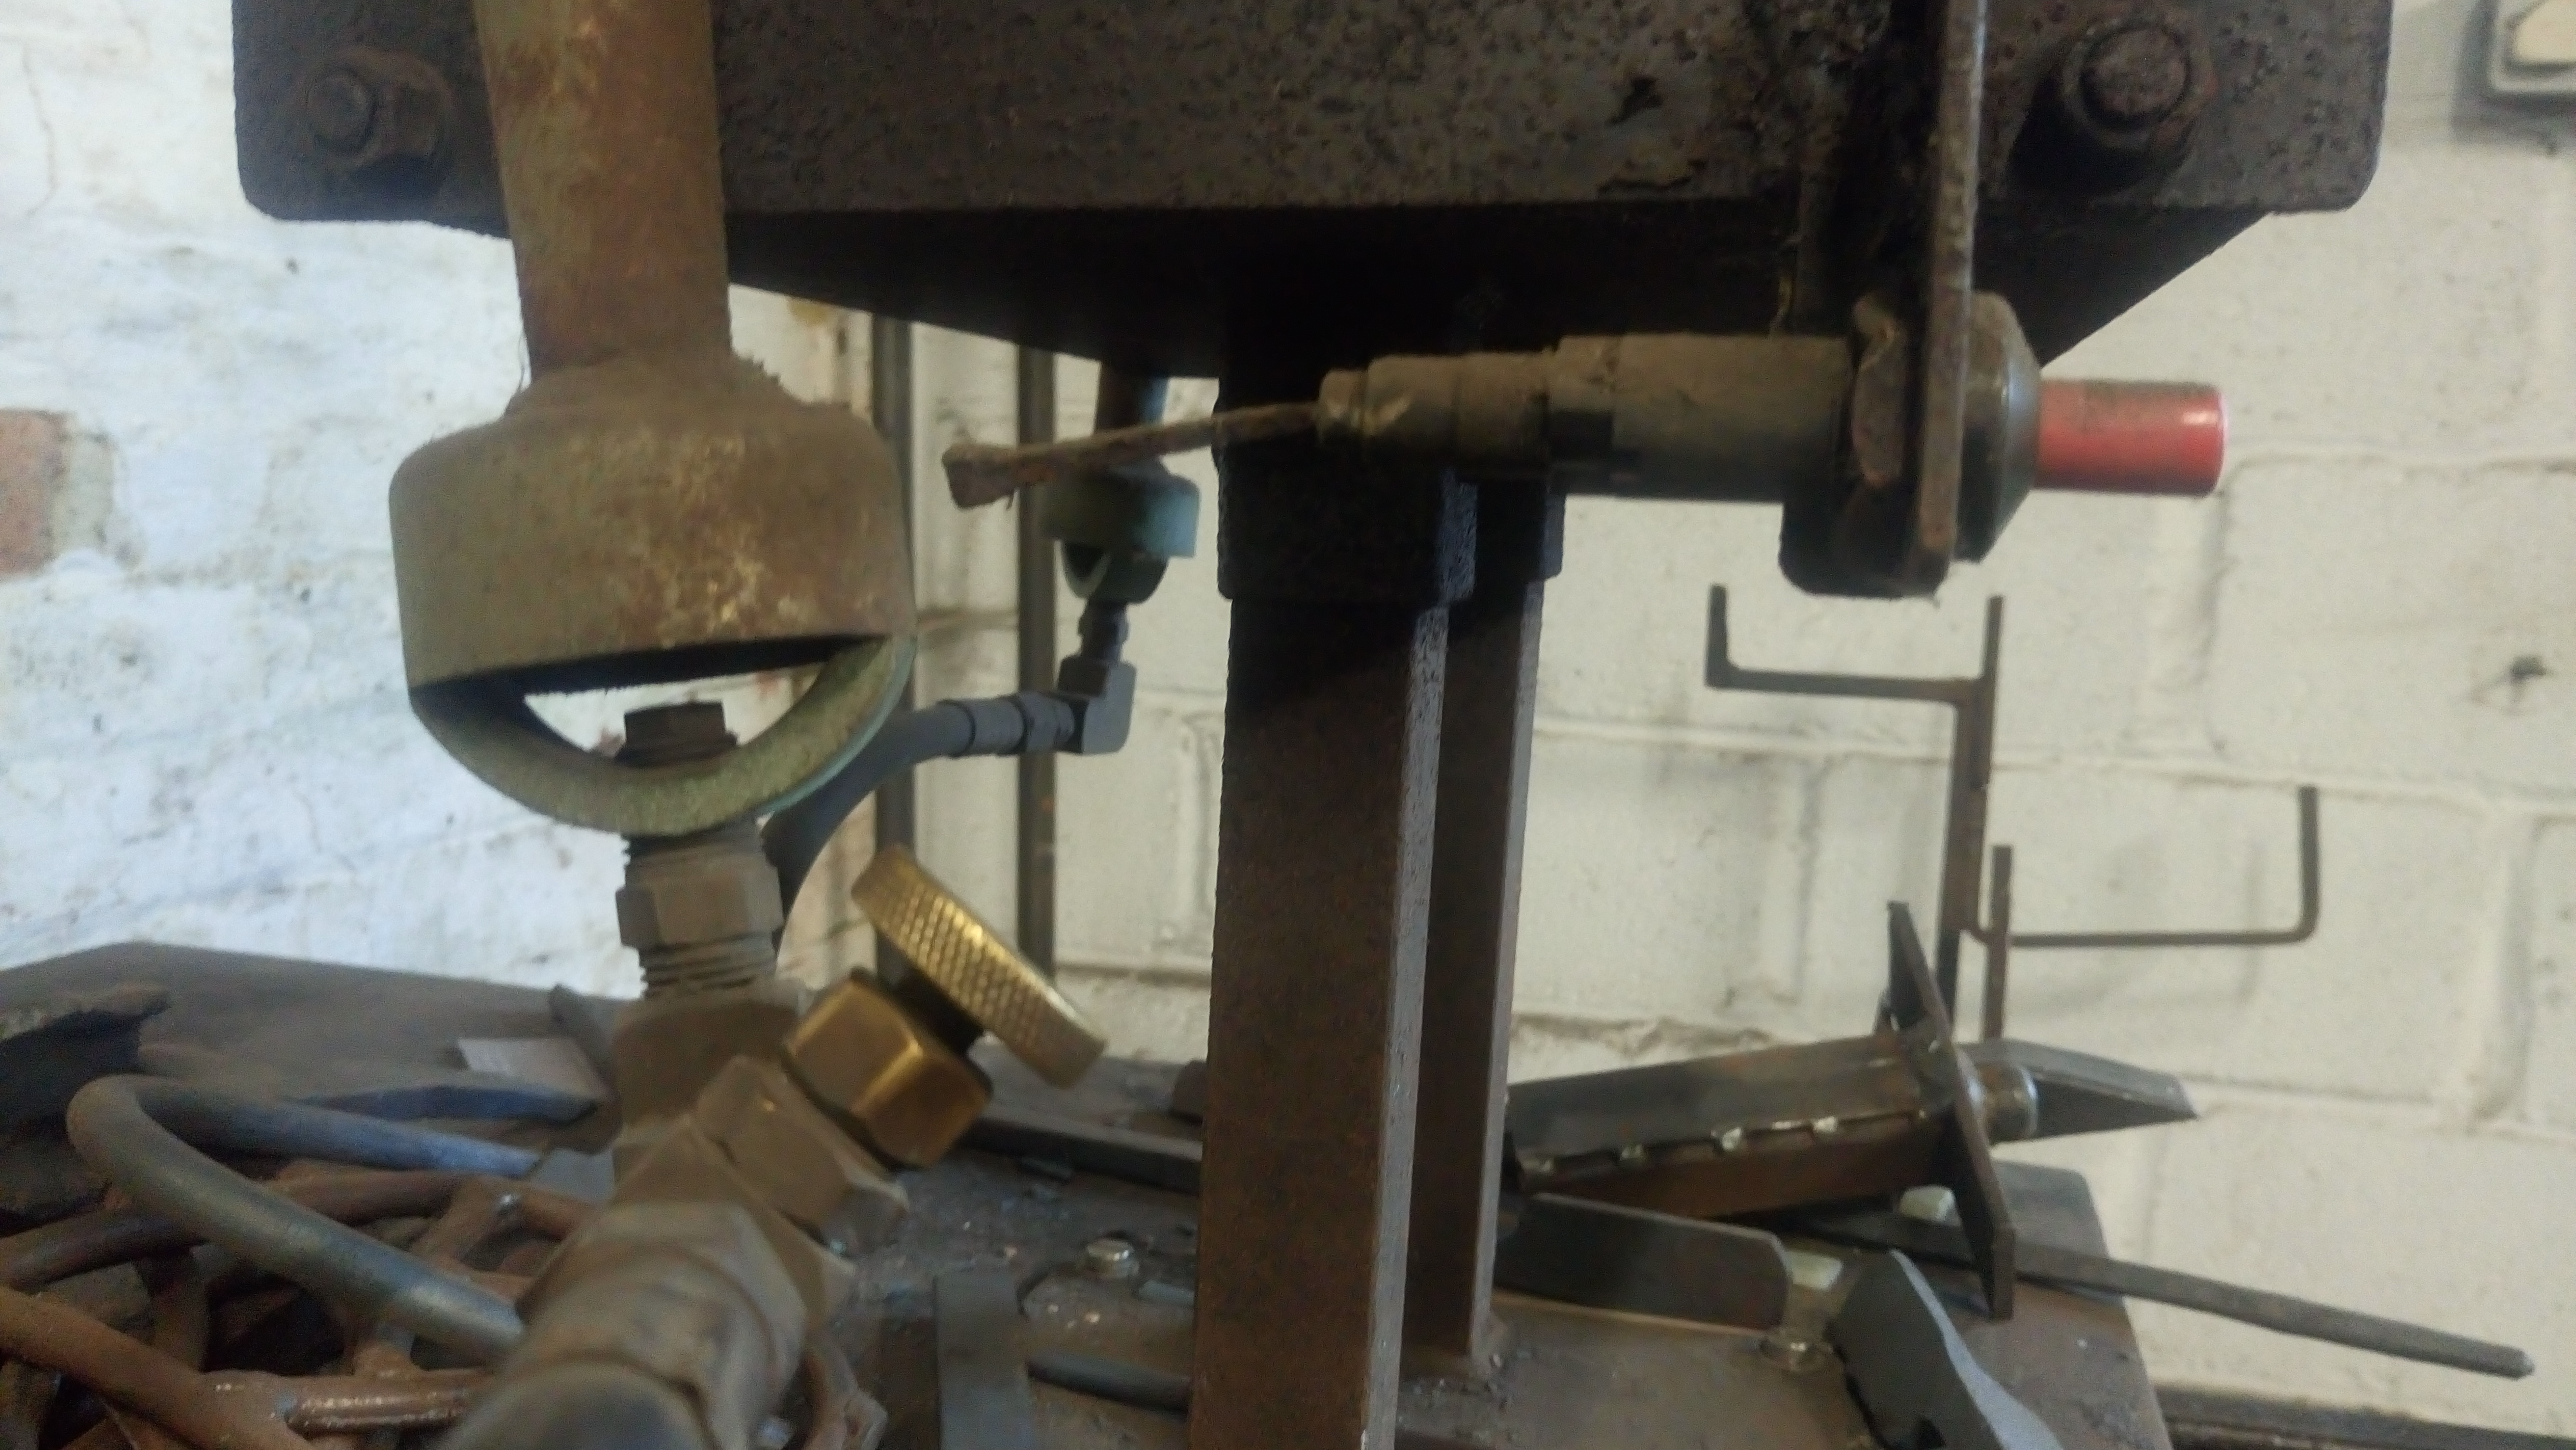
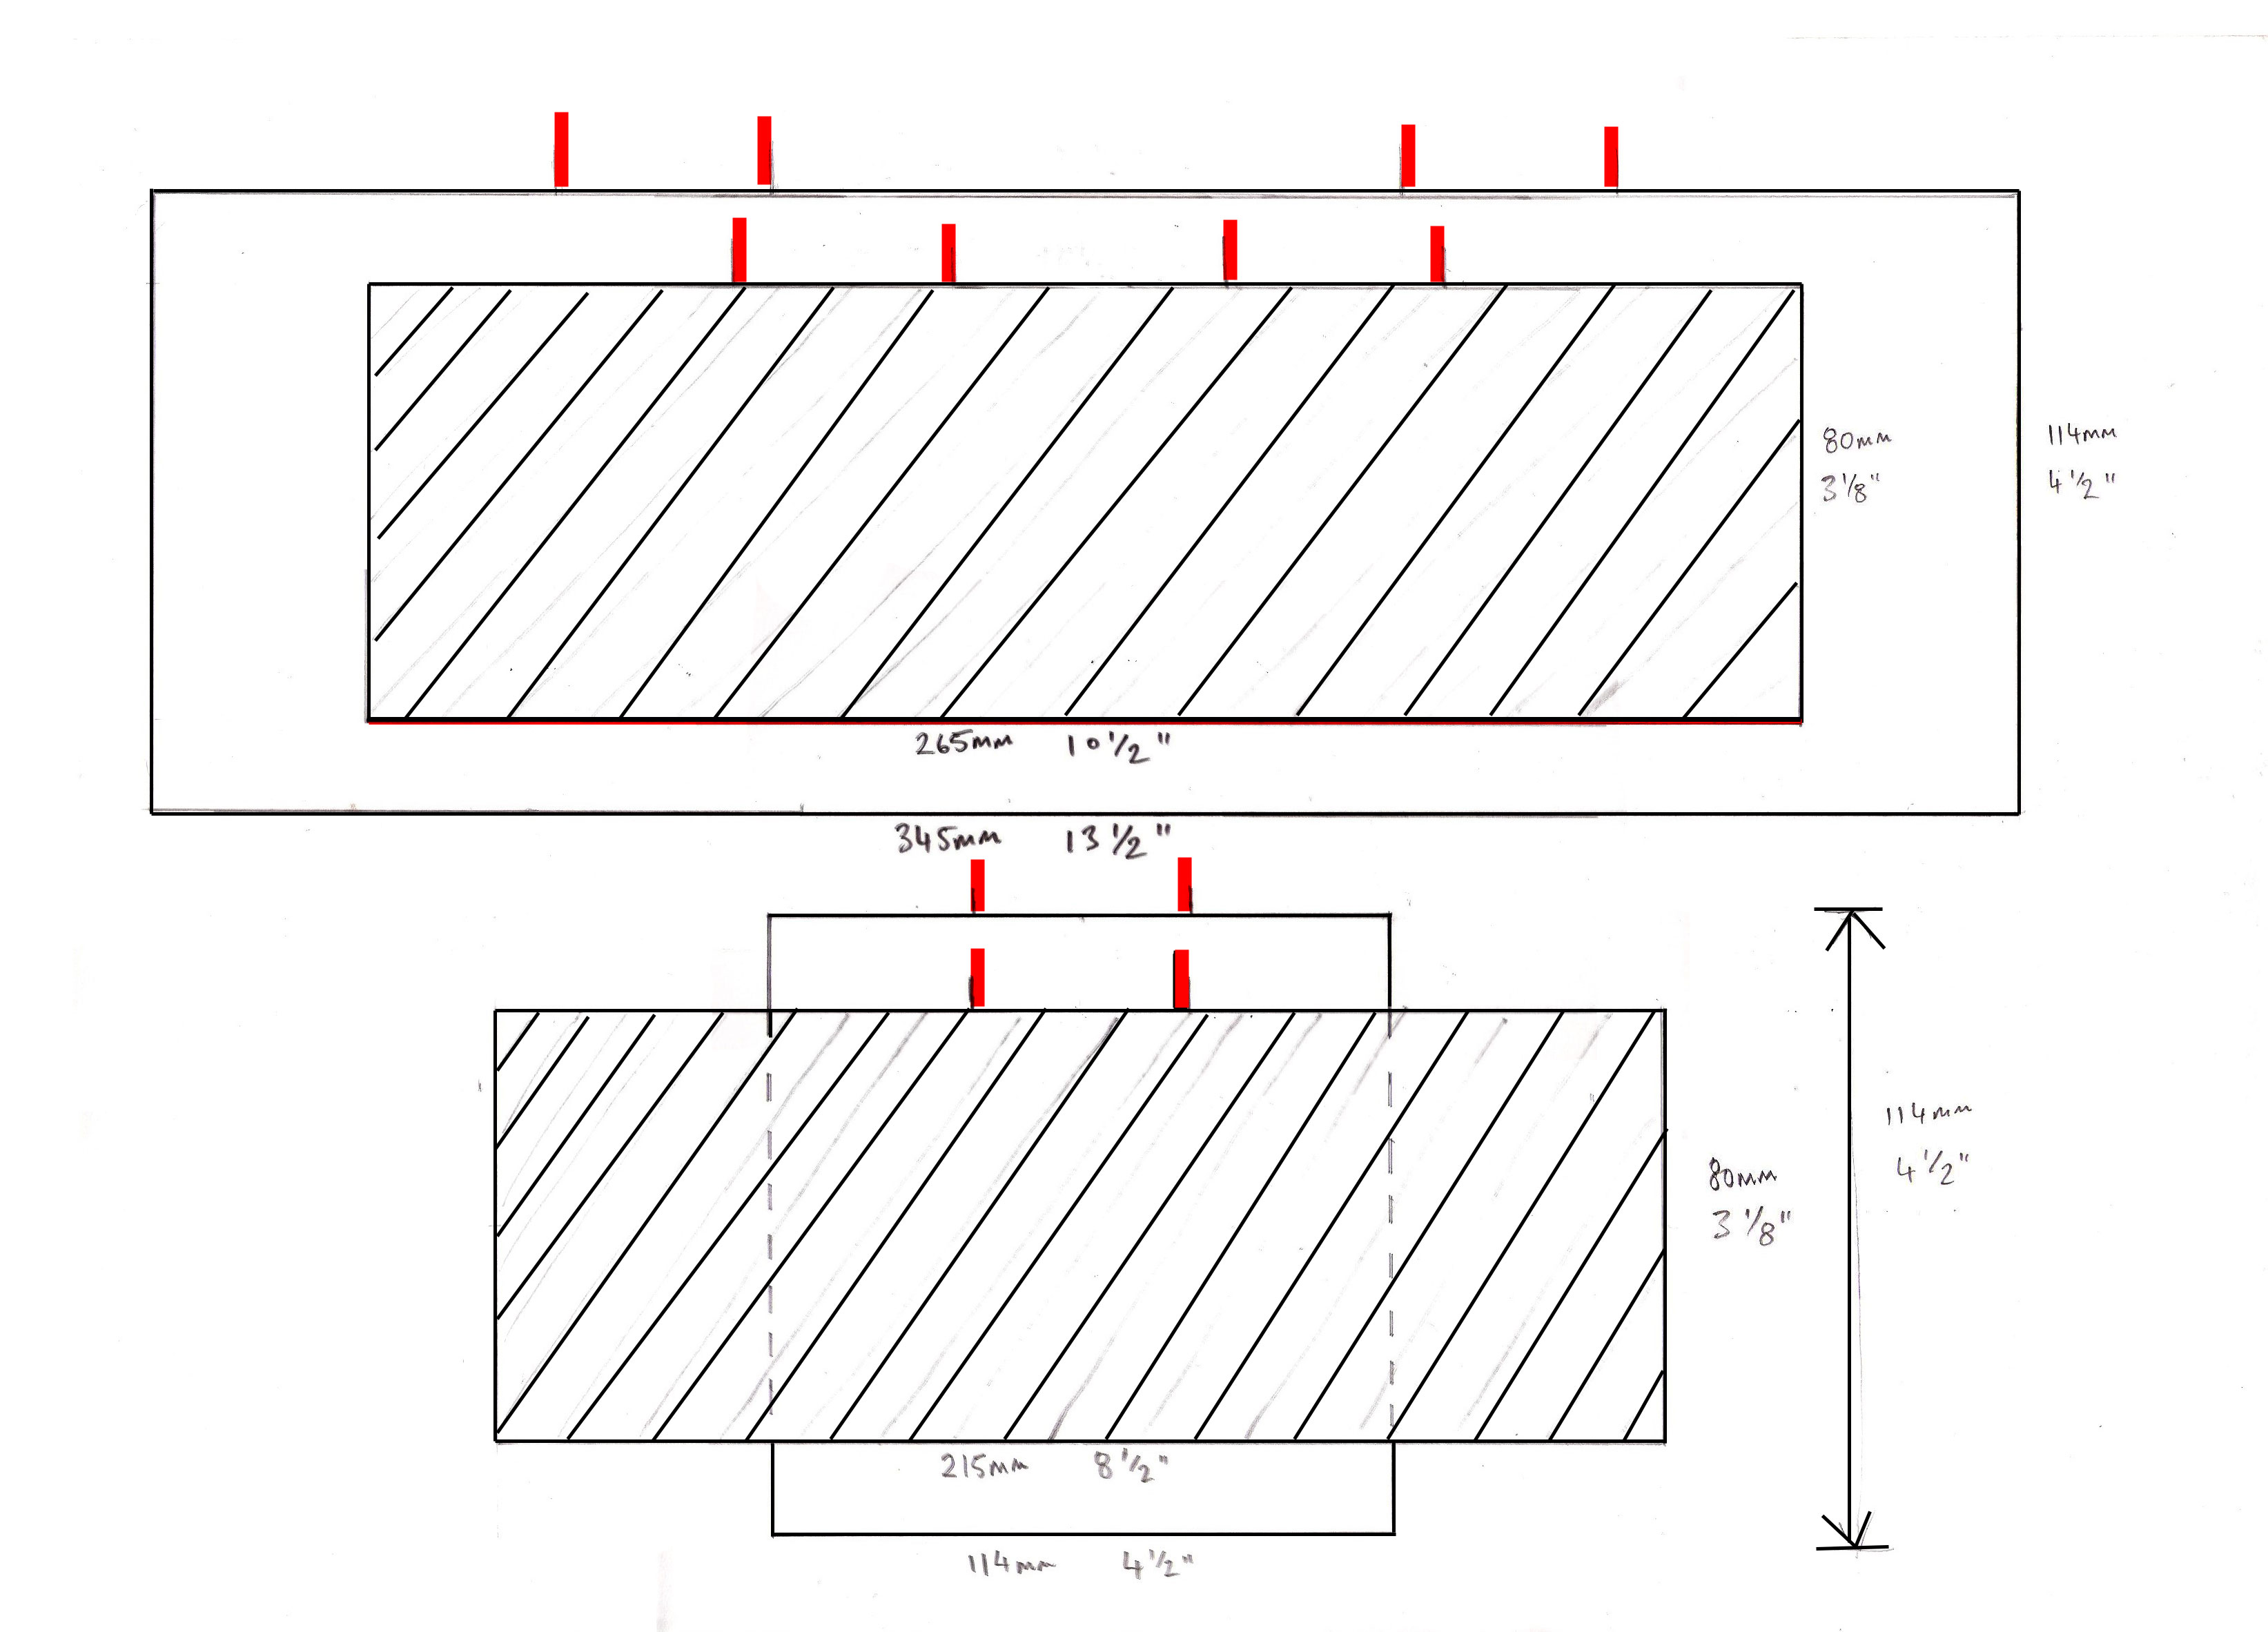
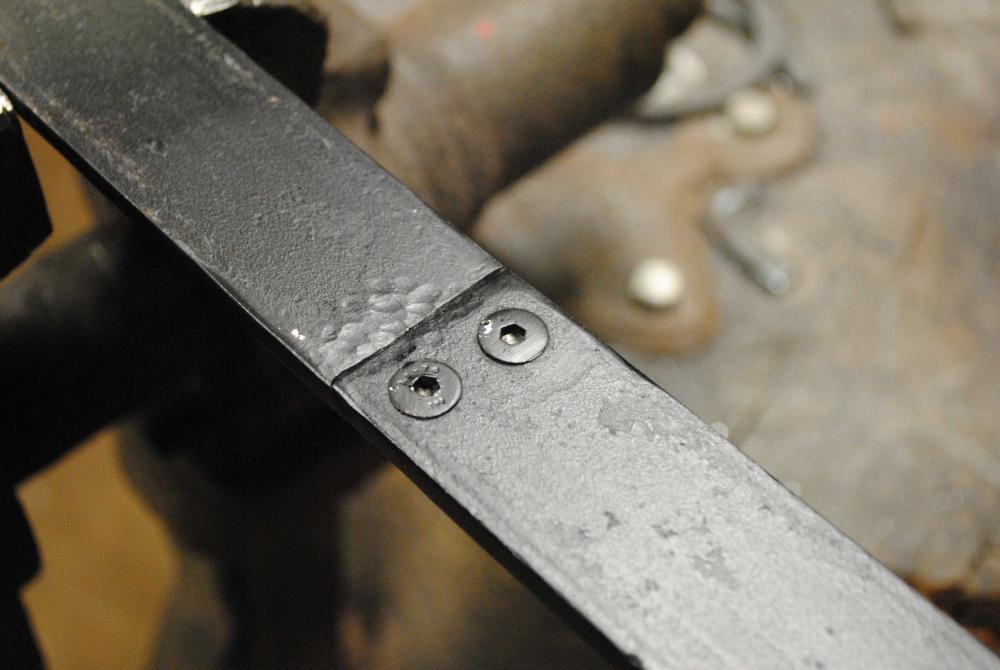
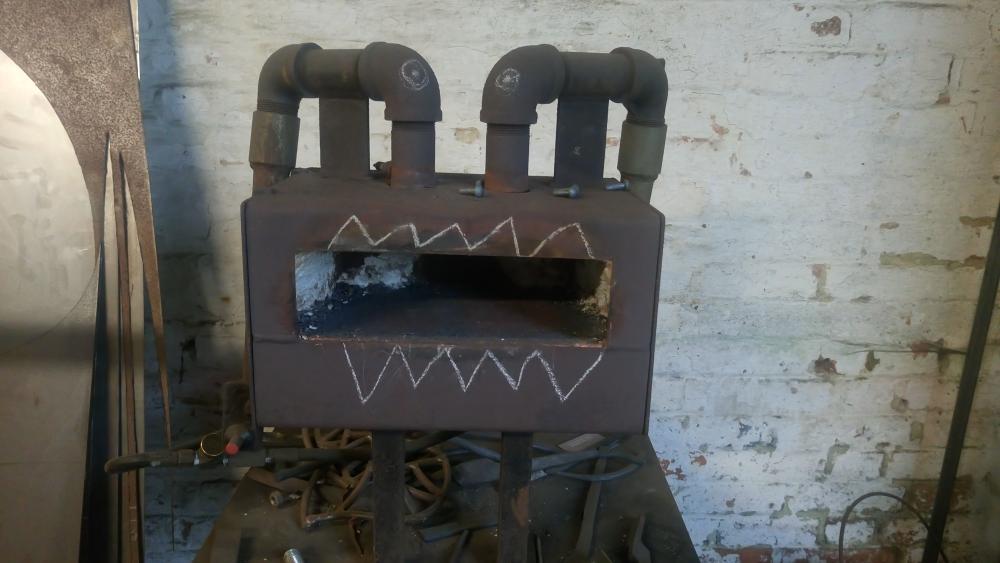
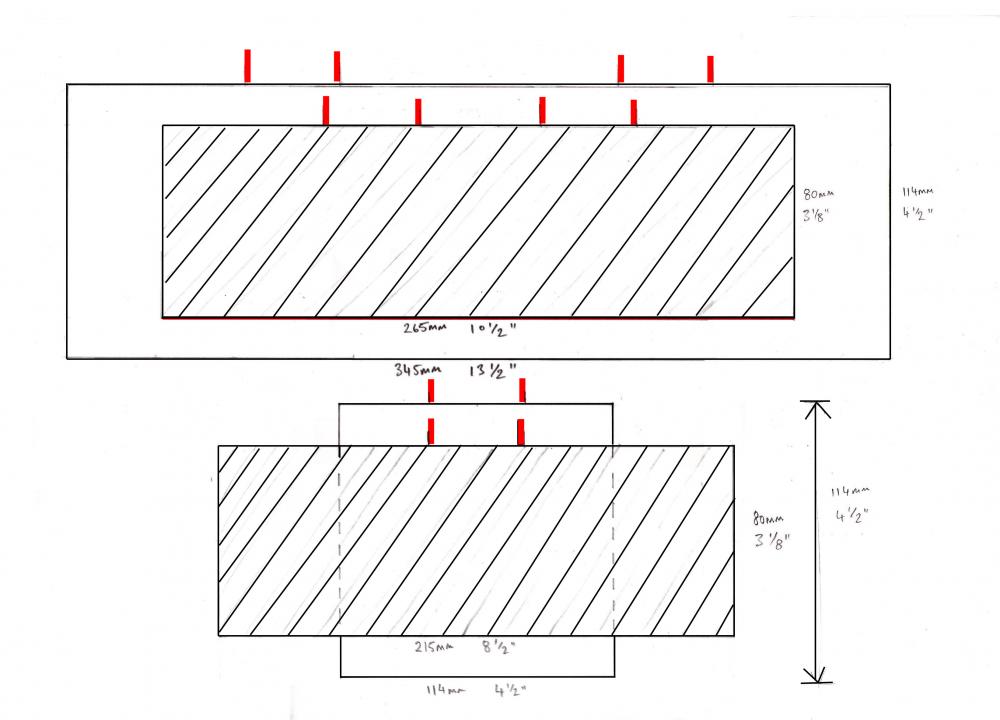
Hi folks, I've finally got round to giving some proper thought to the ugrade / shape reconfiguration of my gas forge which will utilize the burners I salvage from my existing forge and I'd really appreciate it if some folks could advise whether my ideas seem ok. I have attached some images of my existing small farrier forge, which really isn't working for me in terms of shape. The burners on this forge are 1,1/2" or 38mm in new money. I have also attached basic line drawings showing the internal working area dimensions of my existing forge (shaded in with diagonal lines) and the size I plan to reconfigure it to. The little vertical red lines are where my burners are currently placed and where I intend to move them to. Hopefully it's clear that what I want to do is make the forge wider, shallower in depth and taller in height. Incase you can't read my writing, the internal working area dimensions of my exisiting forge are: Width 10,1/2" Depth 8,1/2" Height 3,1/8" Cubic inches = 278 The internal working area I think will work better for me is: Width 13,1/2" Depth 4,1/2" Height 4,1/2 Cubic inches = 278 On my forge as it is the burners are spaced 2" apart. Do you think where I intend on moving the burners to looks about right? I have drawn them 4,1/2" apart. Although I haven't designed the doors yet I intend to have vertically opening doors on all 4 faces. The idea behind this is so that I can turn the forge through 90 degrees to either give me quite a long heat on a small number of bars going in the 4,1/2" x 4,1/2" doors, or a relatively short heat on lots of bars going in the 13,1/2" x 4,1/2" doors. I'm not a bladesmith. Having spoken to a refactory supplier I would be insulating the walls and roof with an inner layer of 3" thick soft refactory fire brick rated for 2550F (1400C), followed by an outer 2" thick layer of ceramic fire blanket. I will try and design the doors so they also have this brick + wool insulation in them. From memory the supplier's advice was to have a 1" thick 42% alumina dense fire bricks on the floor rated for 2730F (1500C), followed by the soft fire brick and wool underneath. By comparrison the insulation on my existing forge seems pretty rubbish. Gas forges confuse me quite a bit, I really don't understand the terminology much but I'd love it the wiser ones could cast their eye over these plans and give me a thumbs up / thumbs down in language I can get my head around. Thanks in advance.
-
Thanks all. A month to the day. At the time I was on Instagram and followed a guy called Inconoclast Constructs who rivets in seconds with the big boys tools and puts videos up showing his setup...we became online friends and I sent him a message saying if you could see my setup and how long it's taking me you'd fall over laughing. Approx 80kg from memory. if you don't like collar seams you can forge them with tapered ends so that the seamline becomes very discreet/invisible. Personally I like collar seams because I think it shows their mechanics, I don't think welding them would gain you anything aesthetically (as you wouldn't be able to weld the sides of the collar nicely) or gain you anything structurally.
-
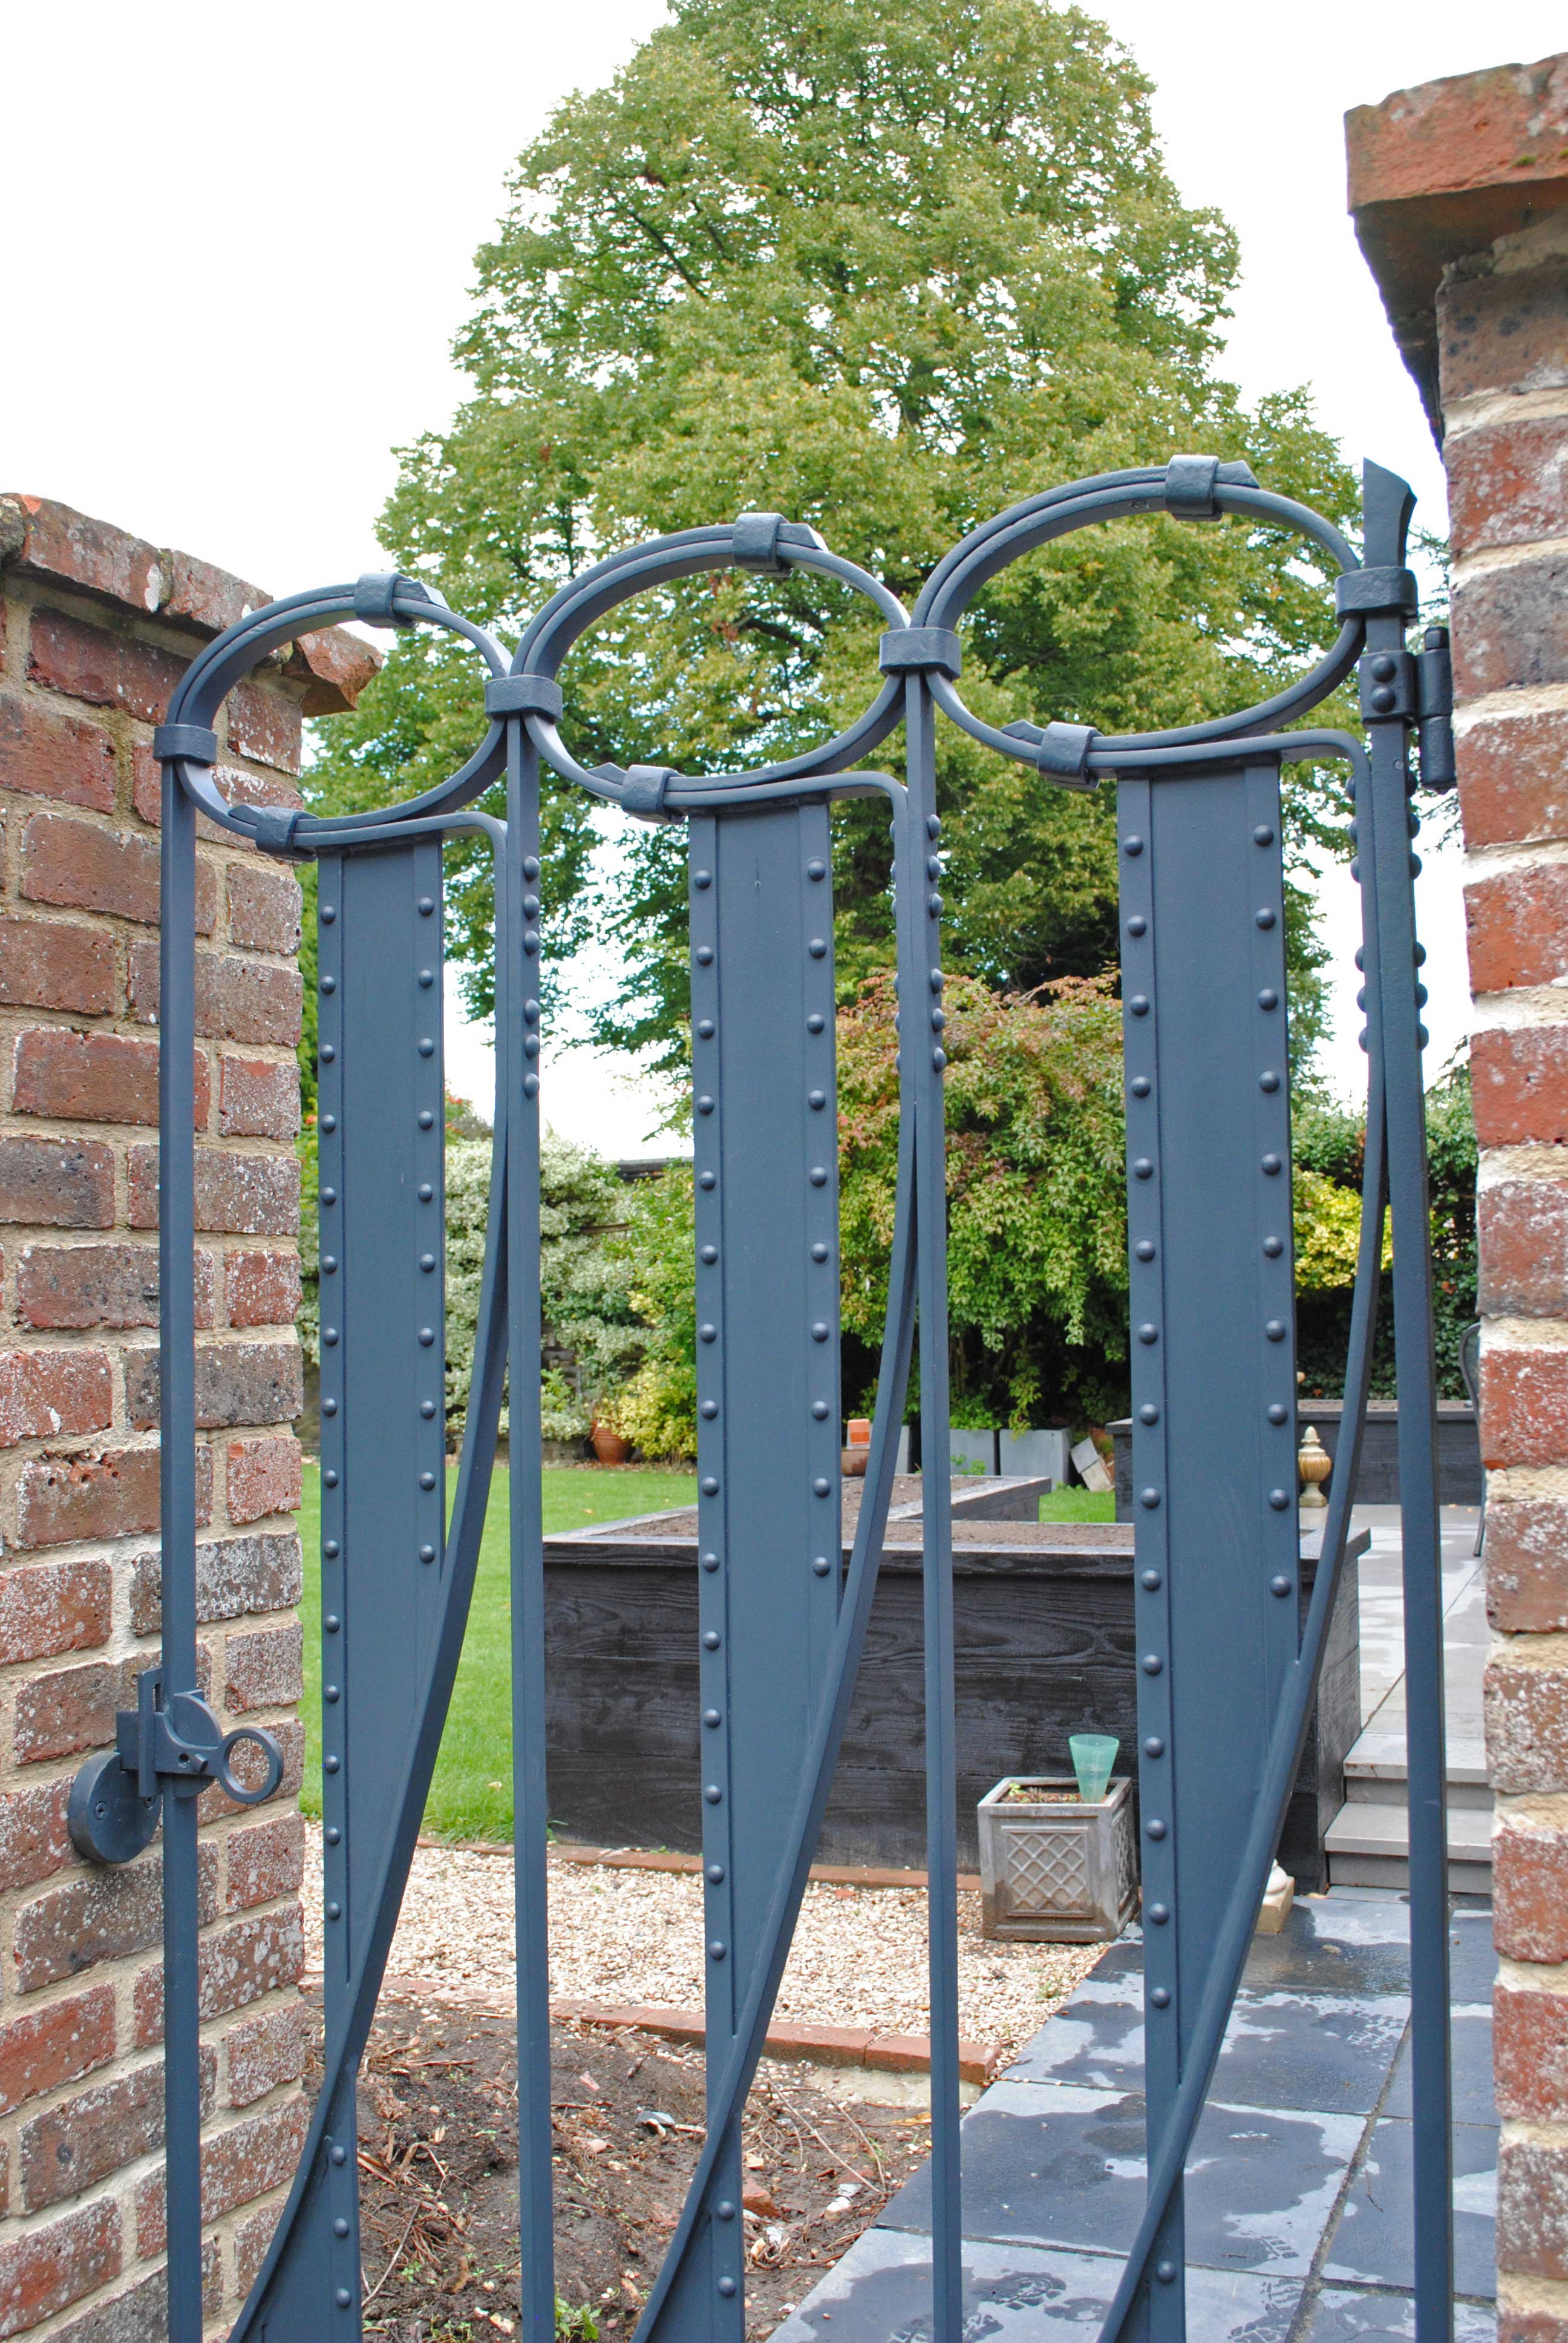
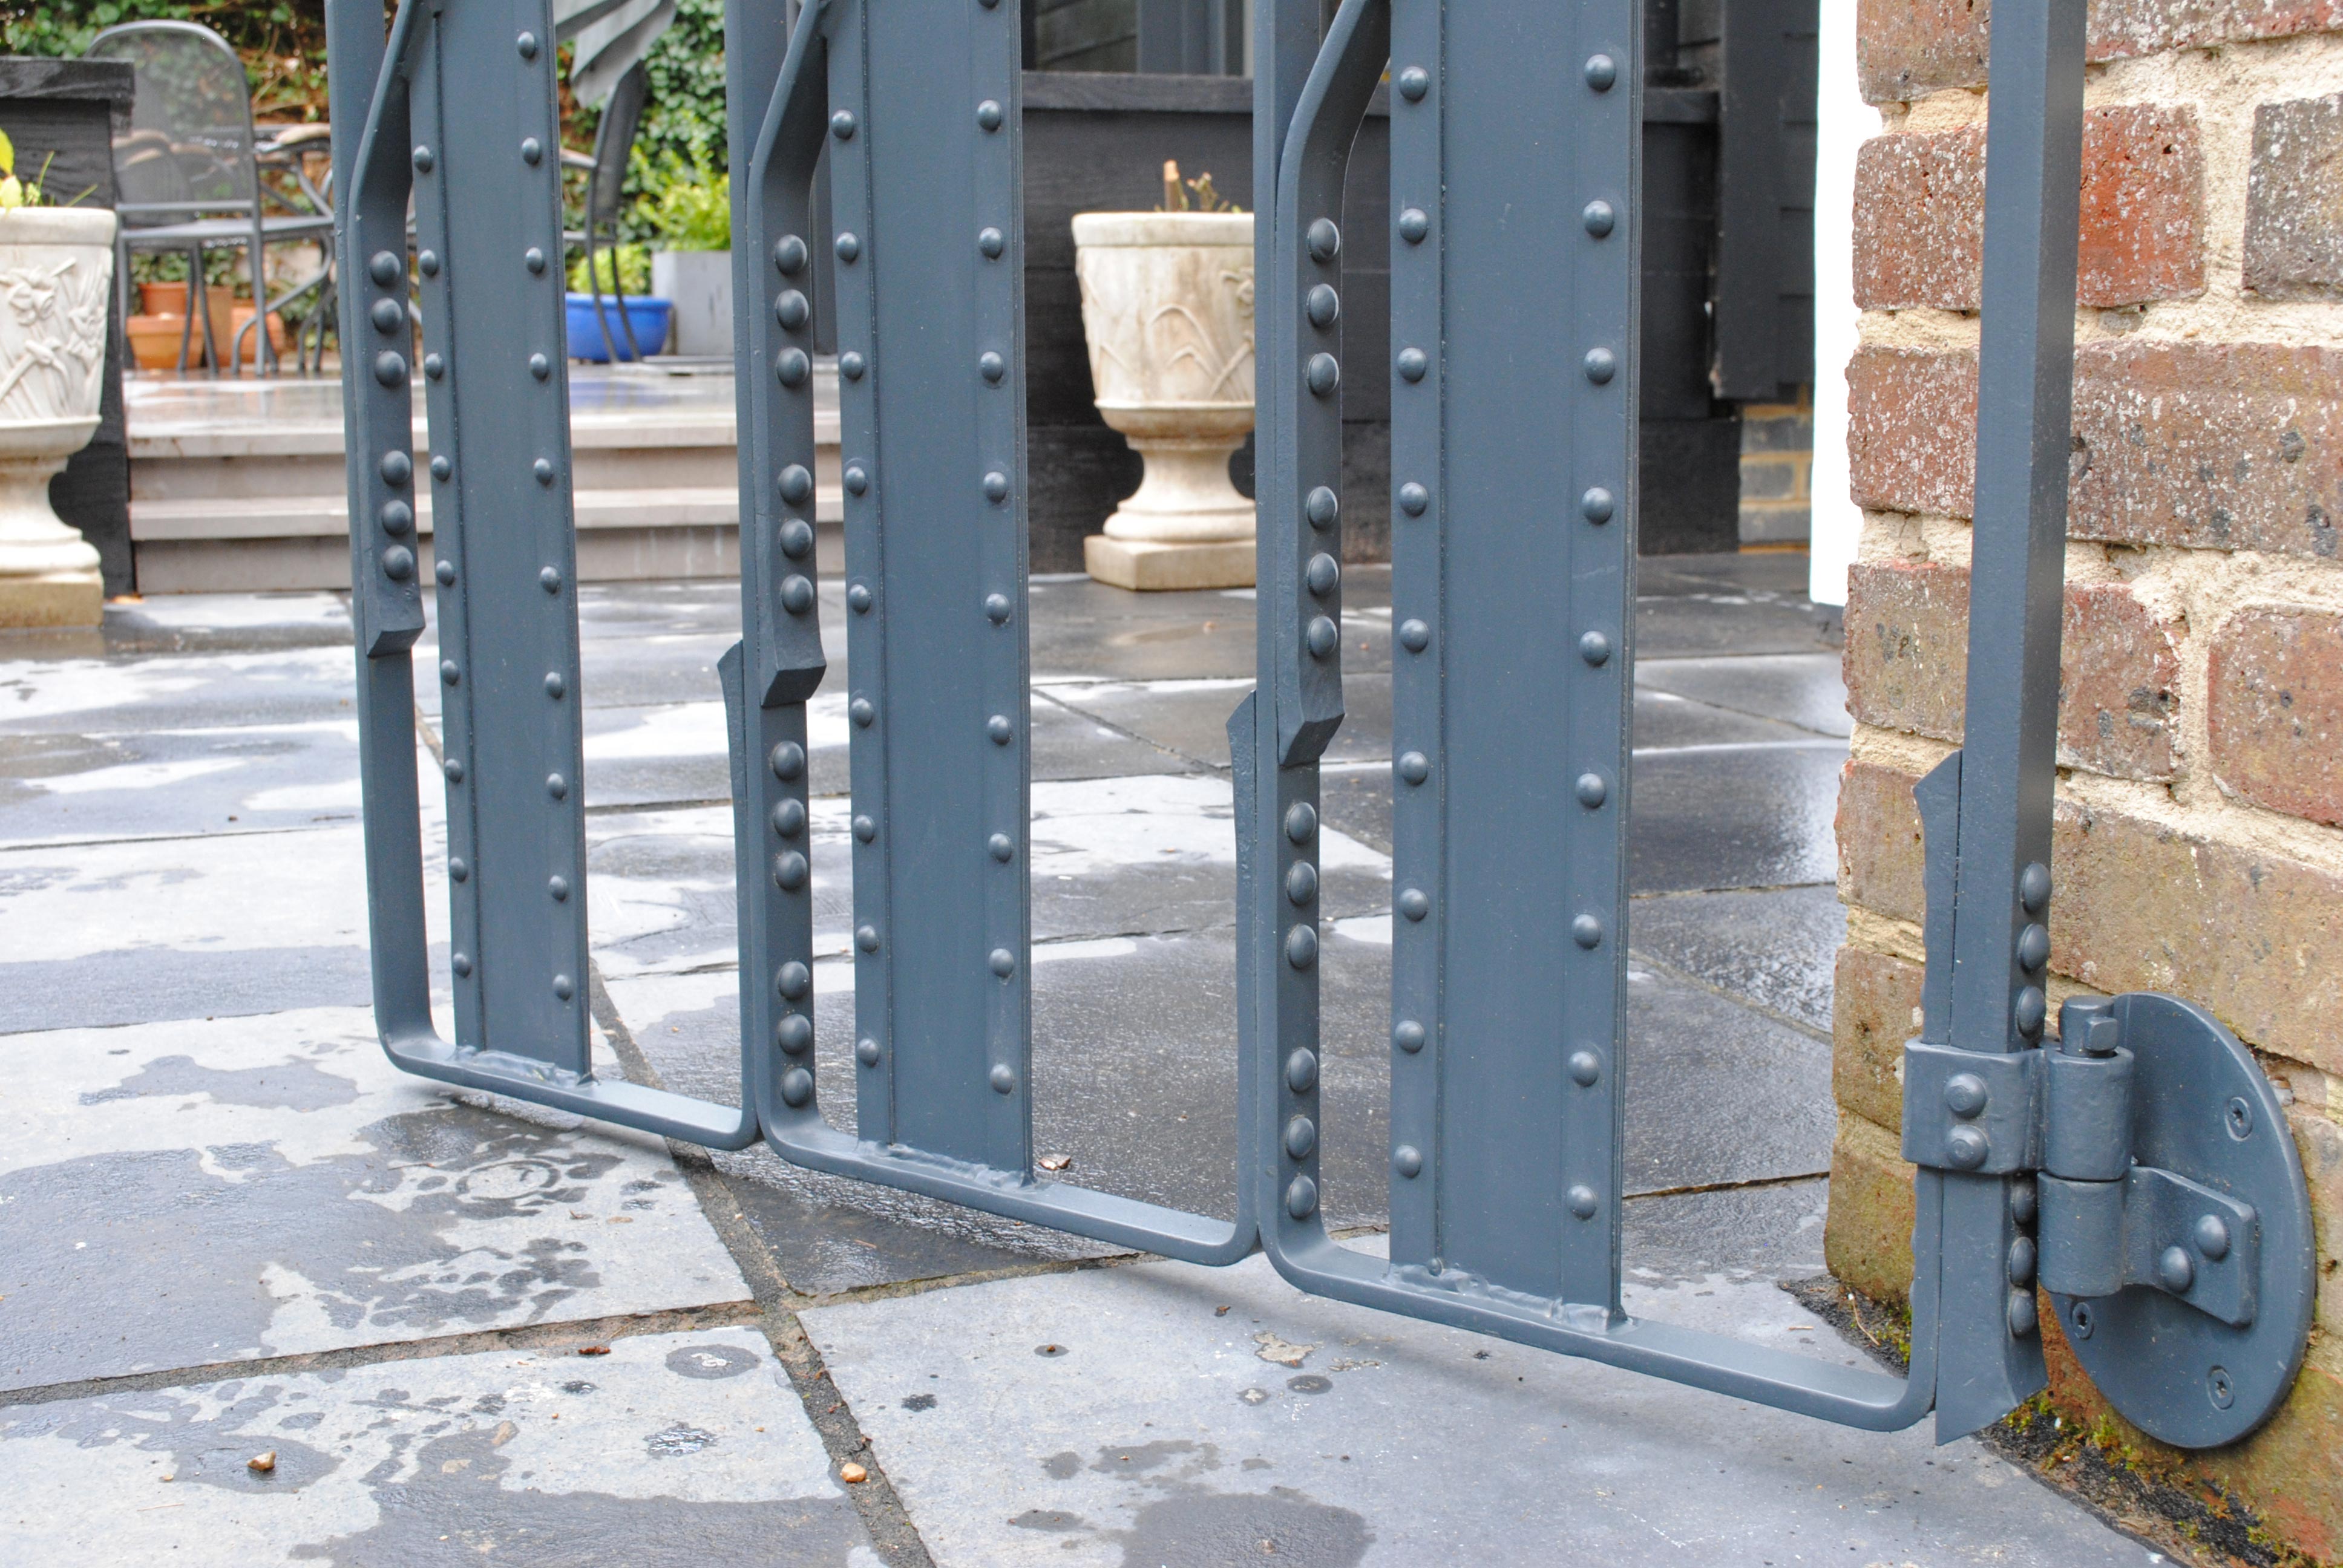
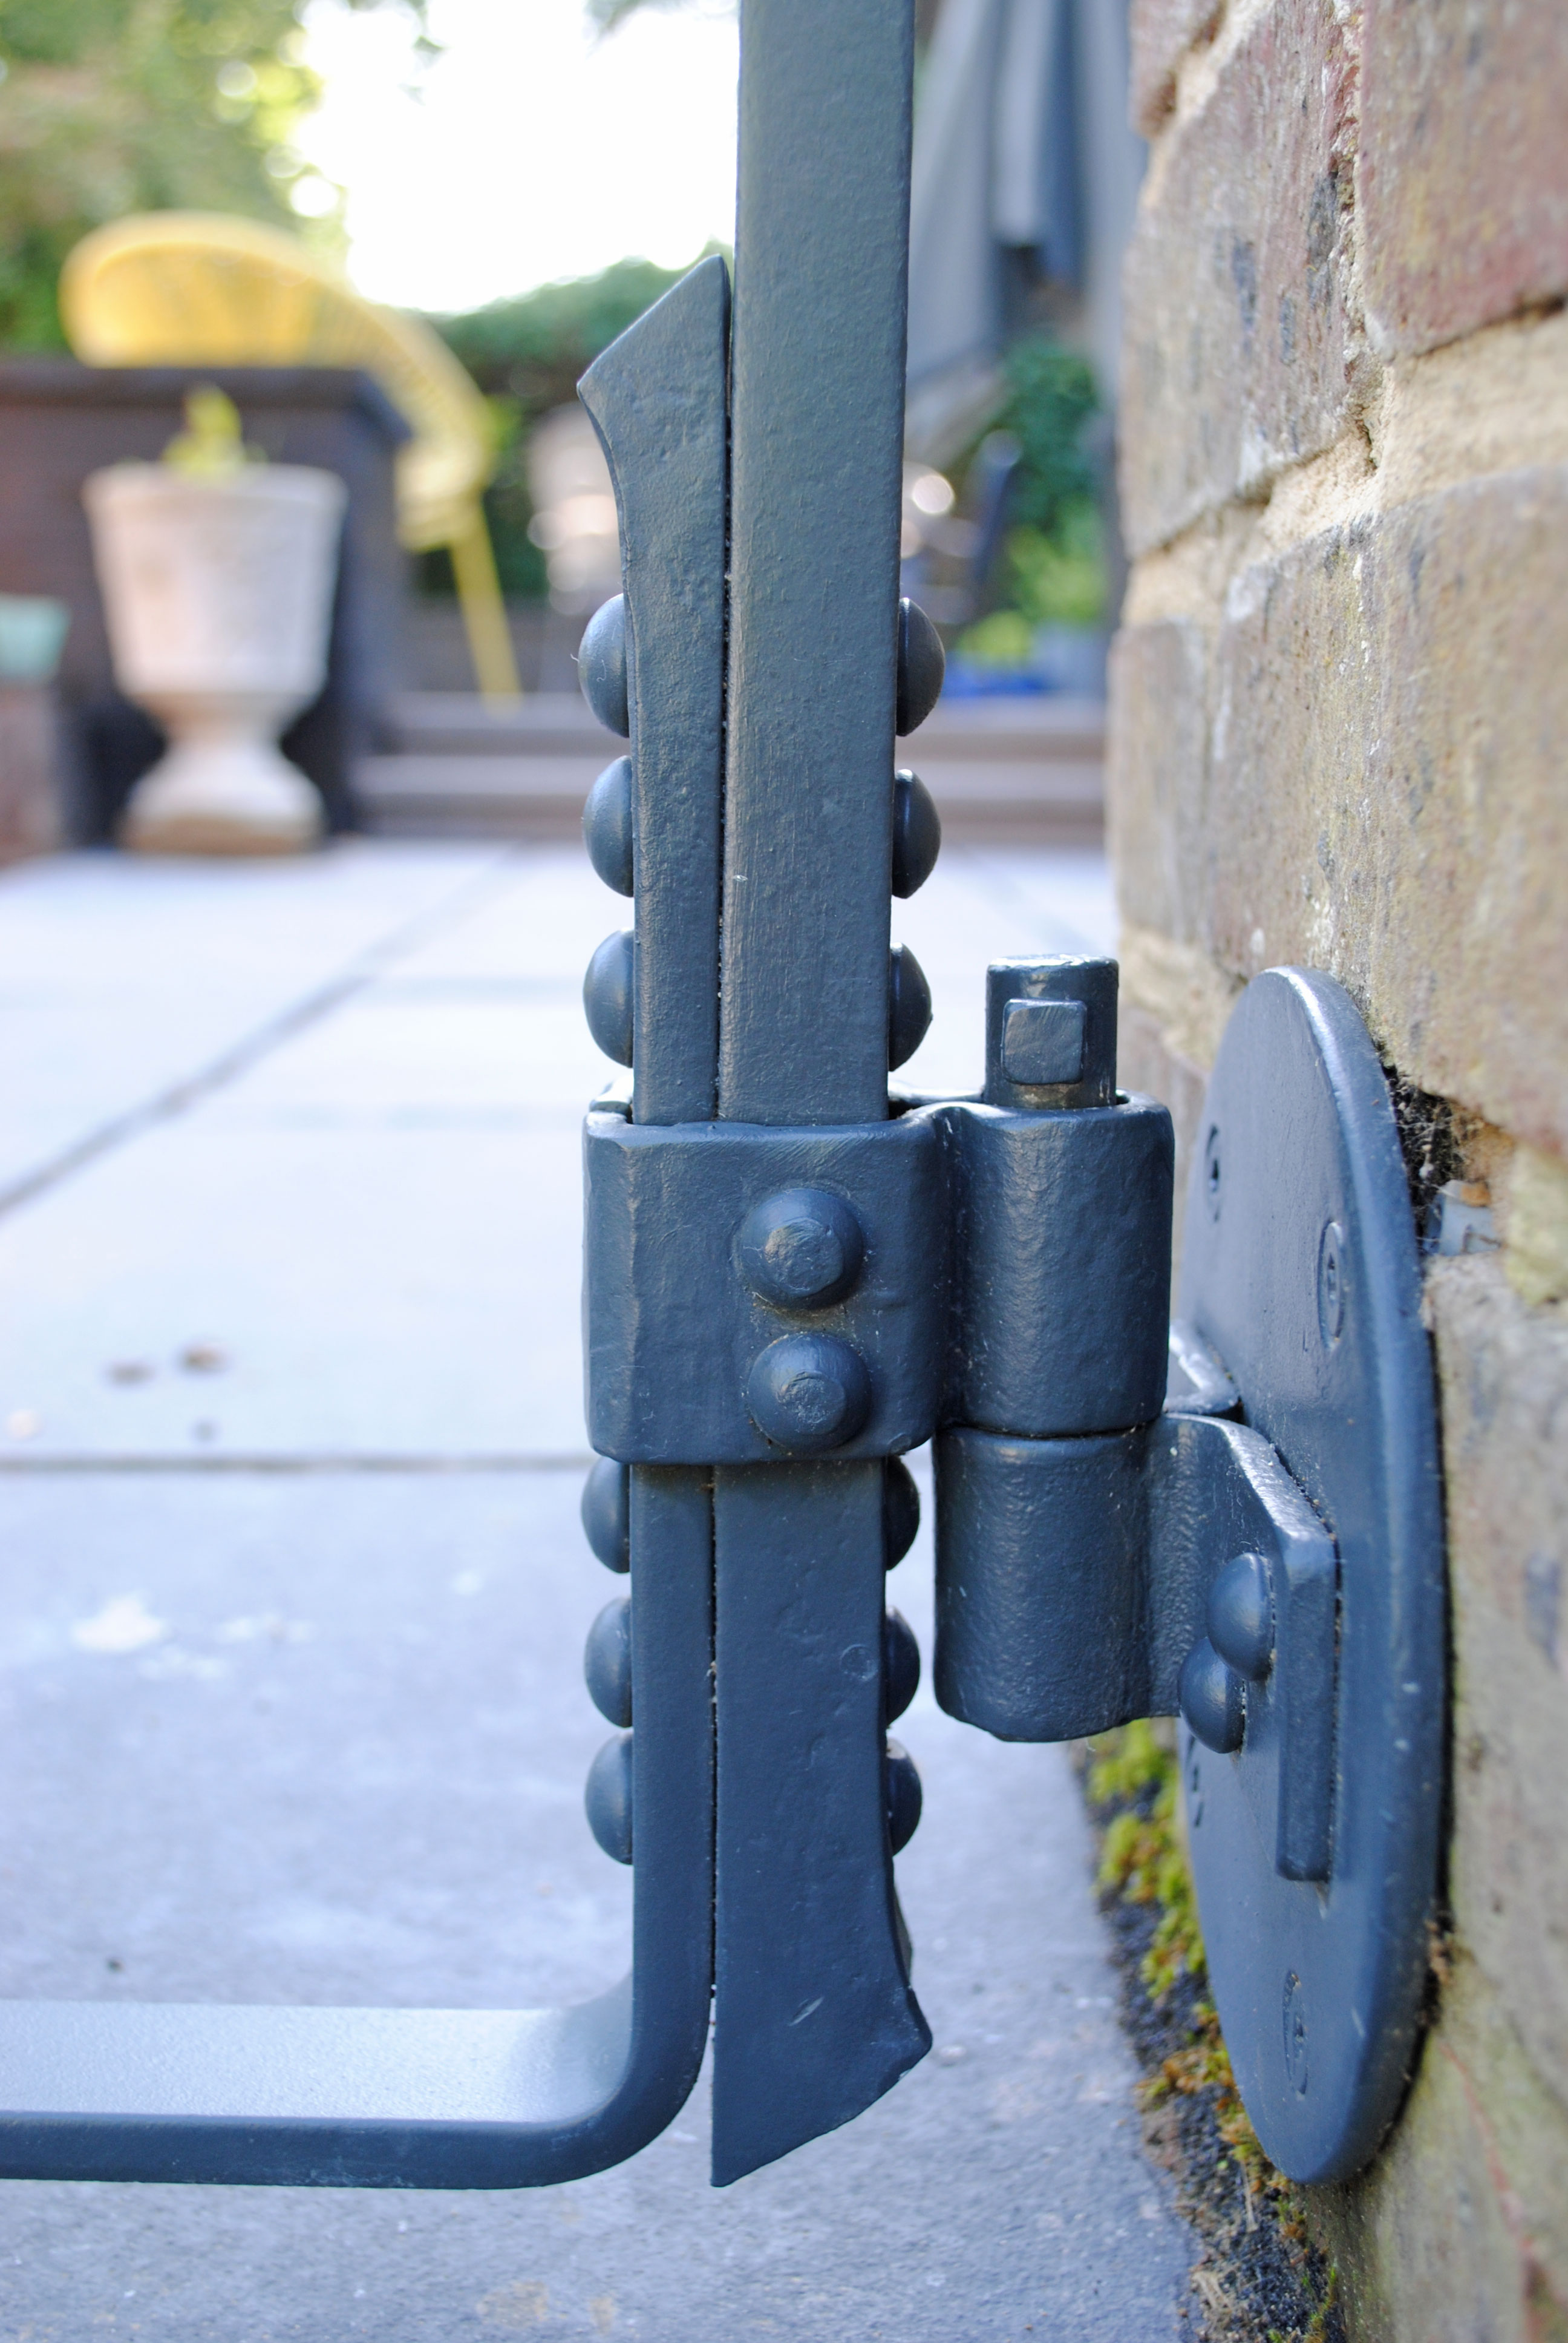
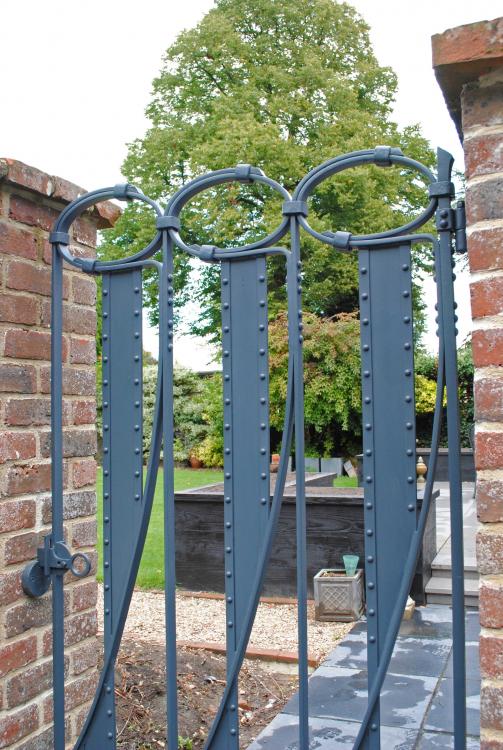
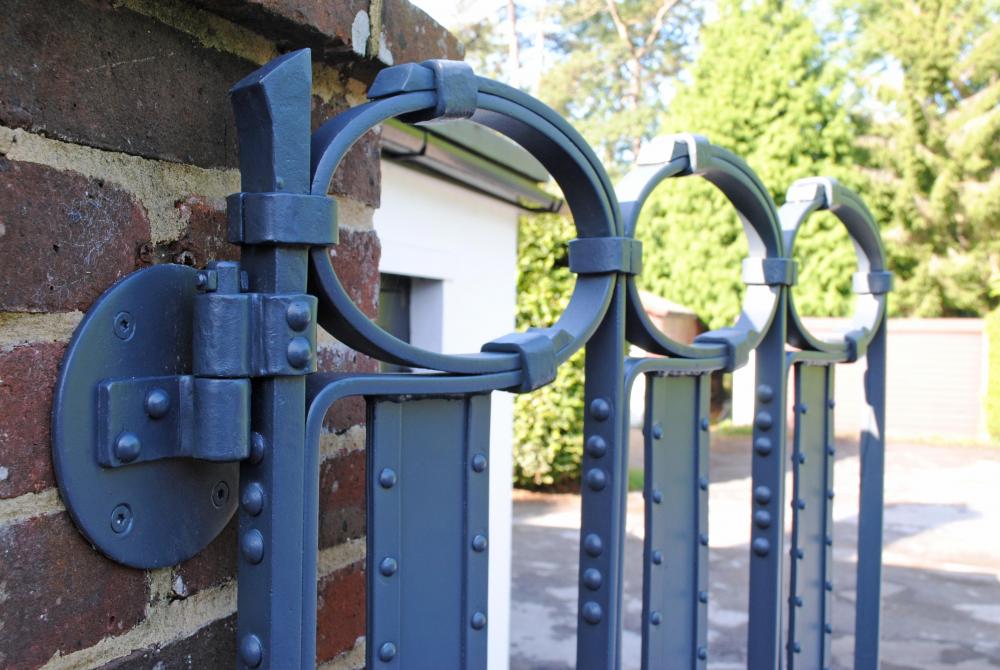
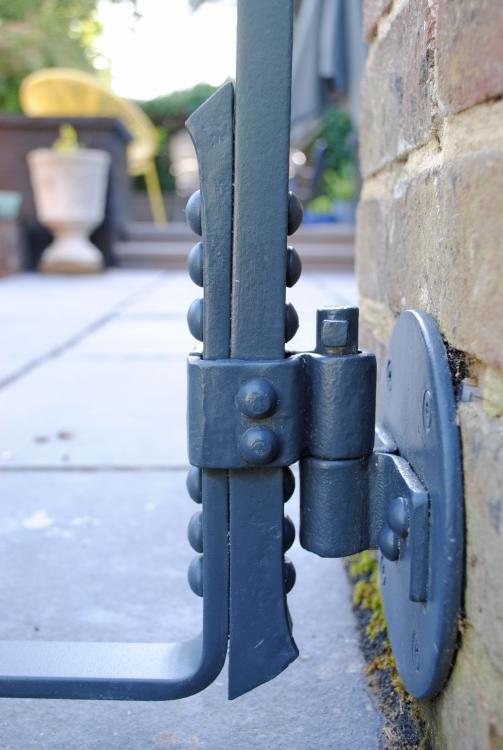
Finally got to take proper pictures yesterday now that my clients' renovation works are complete and all the scaffolding etc has come down.


-
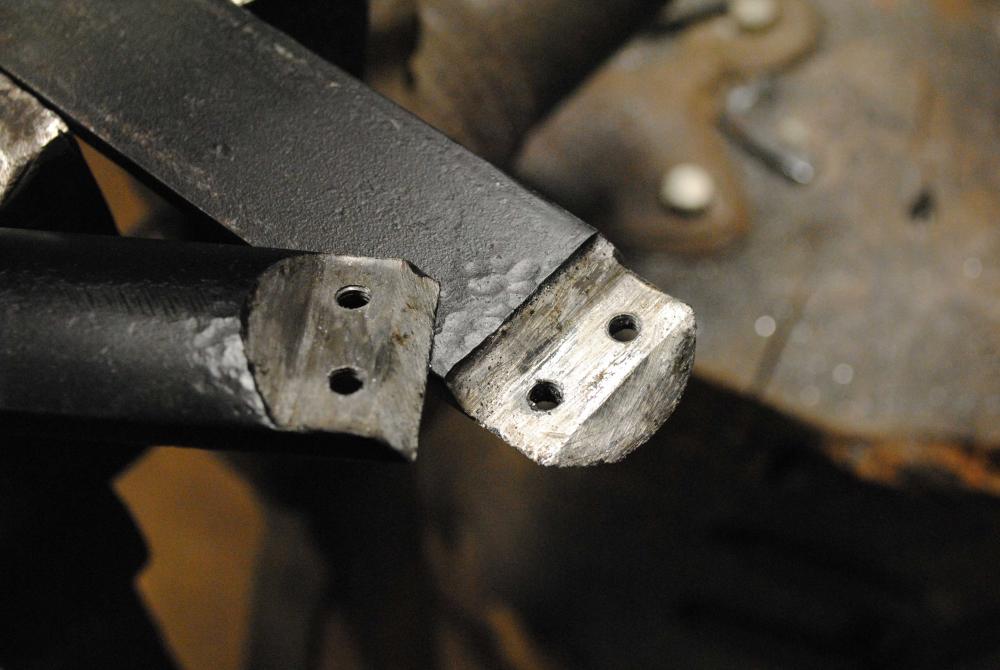
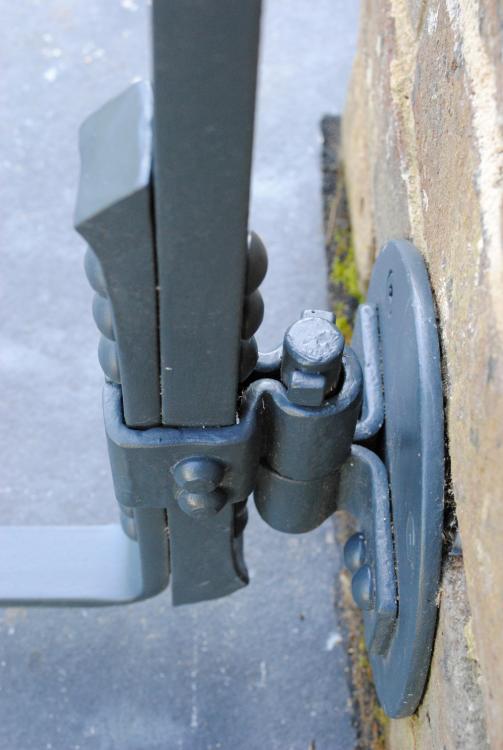
Hi David, Yes I'm sure it could be done without any jig tools. I only made myself the anvil jig because I don't do this sort of work very often and I thought it might make the job a bit easier. I don't really know much about steel types (you seem to know more than me!) so I couldn't comment on how easy or hard you'll find your leaf spring to work in comparrison to the mild steel I was working, which was 10mm thick. What I would say though is that you might find that on the side that has the 2 barrels with the 25mm gap between them; if you get your hands on a bit of 25mm wide solid square bar and lock it stood up in a vise, you might find that helpful if the barrells start to angle in towards eachother or angle out away from eachother. Hard to explain withouth a drawing but you'll see what I mean. Good luck!
-
That's one big time span to encapsulate in one hit under the blanket term of traditional. I'm not saying you don't know what you're talking about, personally I have very little interest/knowledge in "traditional" ironwork and I'm sure your experience and knowledge outnumbers mine 1000 fold, but as my Dad pointed out the other day (conservation architect) the Victorians did a lot of mock period ironwork, and in an O.T.T style to outdo their predecessors. Who does the traditonal work in that situation?
-
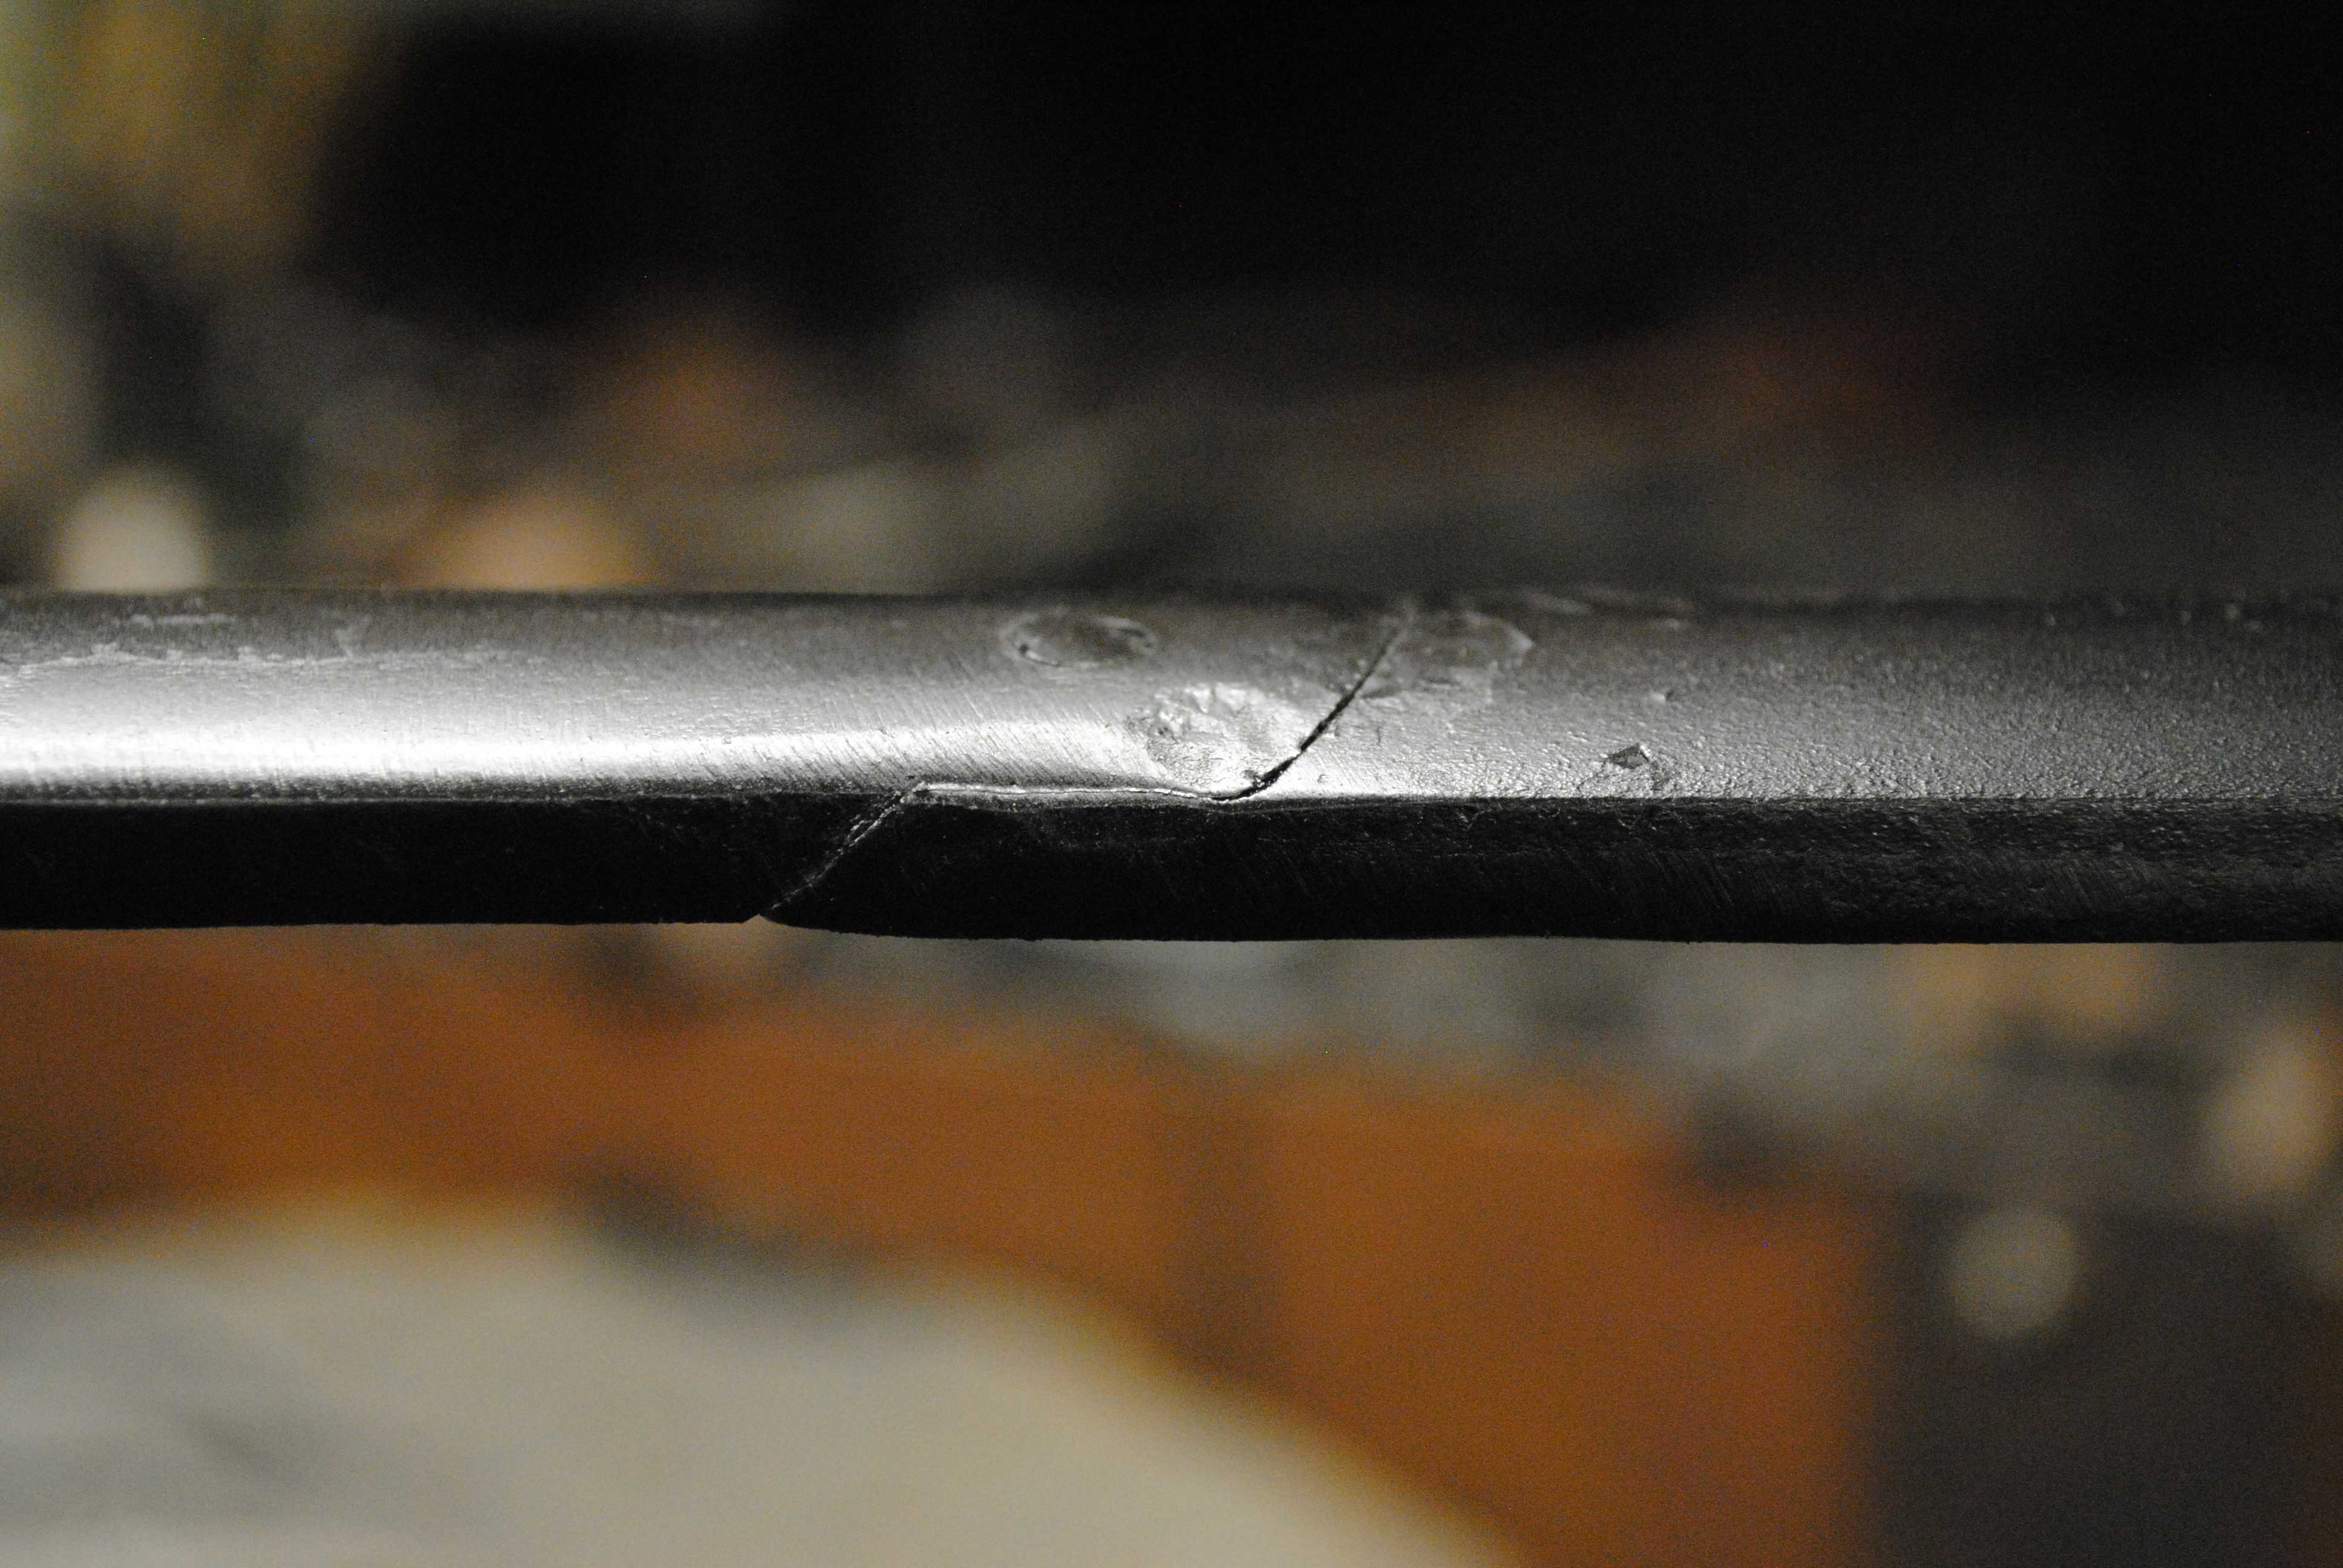
Cheers. Now got my cutting down to 1 heat, I only forged that the other day & haven't done any cutting like that before so it's new territory to me. Angleing the cutter more now as well. Haven't been forging the bevel because I want the cutting practice!
-
Hi folks, nothing too enthralling but I'm working on some cranked hinges using 60mm x 10mm flat bar for a local church at the minute and I recorded the hinge eye & cranking process for general amusement. I don't do much of this traditional blacksmithing kinda stuff as I'm more on the artist end of the spectrum but the process is enjoyable nonetheless. I'm sure the boys and girls that do this sort of work a lot will be better tooled up for it than me, (or may not need tools to aid the process at all?!), but in any case I thought I'd share this mainly for the sake of my anvil hardy tool which is proving to be helpful. Someone else who is as new as me to hinge eye making may want to copy it if they feel it'll help them too.
-
If I could I'd hit Like on your post, Frosty
-
Most definitely, I'm sure I wasn't the first! There should be a Like button on the site.