Frazer
2021 Donor
-
Joined
-
Last visited
Everything posted by Frazer
-
Definite possibility and more likely than them being made/finished by hand. I'll share a picture when I can so we are looking at the same thing, but you're probably right.
-
Oh, I apologize, I misread what you wrote. You may be right, perhaps what I saw as an impression from a bottom tool is actually from the track or some other wear pattern, but that isolation is recessed behind the face of the shank in such a way that it would be hard to make that impression while driving the spike into place. It's very likely I'm not describing that well, but if you're interested I can send a few pictures later when I'm back in the shop.
-
They are certainly WI, spark test, break test, and forging them all make me comfortable to say that with absolute confidence.
-
I agree. I will certainly say that just in doing these first ones I have gotten a lot faster drawing things out thin and round. My 1.5lb thrift store ball-pein hammer got a lot more use than it normally does over the last few days. Doing the last ones together one stage at a time helped me keep them somewhat similar since I could compare them along the way. However, I'm not going to claim that they are all the same. Granted there were a few different styles and size spikes to begin with, but that's not a reason why all the forged features aren't the same, that's all from me. In fact, the very first one I made I twisted the helix backwards. I didn't even think about which direction to wrap until I went to screw it into a cork and realized it was left handed! Anyway, perhaps by the last 10 or so they will be closer. (if you aren't interested in RR spikes, feel free to skip the rest) As an aside regarding the different sizes/styles of spikes I was given, just because I found it interesting, there was an obvious timeline that I observed when comparing them all. George N. M. gave me some very helpful information before I picked them up on how to identify the potential WI spikes by their smaller size. These smaller ones also had a different isolation between the head and the shank, where the transition was hammered over a bottom fuller and obviously by someone who was making these all day. The isolation was rarely square to the shank, the depths were all over the place, clearly someone putting the spike on the form, hitting it once and moving on to the next. Most of the spikes that were made like that were WI, but a few of them were steel. A very easy to work, low carbon steel, but undoubtedly steel. Then there were smaller spikes but with what I would consider a modern style head. I'm not sure how modern spikes are made, they are probably drop forged or something along those lines, but underneath the head there is that flat step where the spike interfaces with the rail. These ones were also steel, but they were softer than the ones I usually find laying around on tracks near me that are still in use. Then there were longer ones with the modern heads. None of them had any markings on the head. I'm not sure when this rail was built and when it was decommissioned, but even in that box of 25 or so he gave me it was kind of interesting to me to see how the spikes changed over time. He salvaged several hundred of them (with permission) when they were tearing the track apart to make a walking trail. There were also two spikes that had sheared in half, I'll give you one guess what material they were made from.
-
I used an angle grinder, so yes a whole bunch of cutoff wheels. That is what I have readily available, but ideally I would have used a band saw. I wanted to preserve the shape of the head both for ergonomic reasons and for visual intrigue, so hot cutting didn't seem like the best path. An angle grinder is far from a precision cutting tool so a couple of them aren't split evenly. One of the first few I did I scrapped entirely as it was just too far off center. I was more careful after that. I made 3 before I started doing the rest in a big batch. The first one took me a little over 2 hours, the second took about an hour and a half and the third took me almost exactly an hour which is where I was hoping to be able to get to. After that I did the rest of them in stages; clean up the faces (most of the spikes were quite old and pitted/bent up) and isolate the material for the corkscrew, split the heads, open up the T, draw out the corkscrew, and twist. (John, if I used the semicolon incorrectly, I apologize). Considering I had never attempted to make a corkscrew before I was given a box of spikes and was asked to give it a go, I'm still enjoying the process. I like the repetition and feeling like I'm refining the process as I go. However, I'm only 32% of the way there. So by the last one I may be spiraling into madness, so to speak. Luckily the store owner doesn't mind getting them in batches and there were several wrought iron spikes in the box that I'm using for other things. I decided wrought wasn't going to be ideal for drawing out that thin. So that breaks up the monotony a bit. Especially because I love forging WI, it's like forging butter. But I digress. Even if it does become a tedious job, it still accomplishes a few things. First, it's by far the biggest "order" I have received and the funds would be great for reinvesting back into the shop. Second, it establishes a good working relationship with the business owner who I only met recently while trying to find people willing to sell the things I'm making. And third, I'm still in the shop working at the anvil. Which is always time well spent IMHO. So even if I have to power through the tedium a bit to finish them all, I think it'll be worth it. Pardon my rambling response to two simple questions!
-
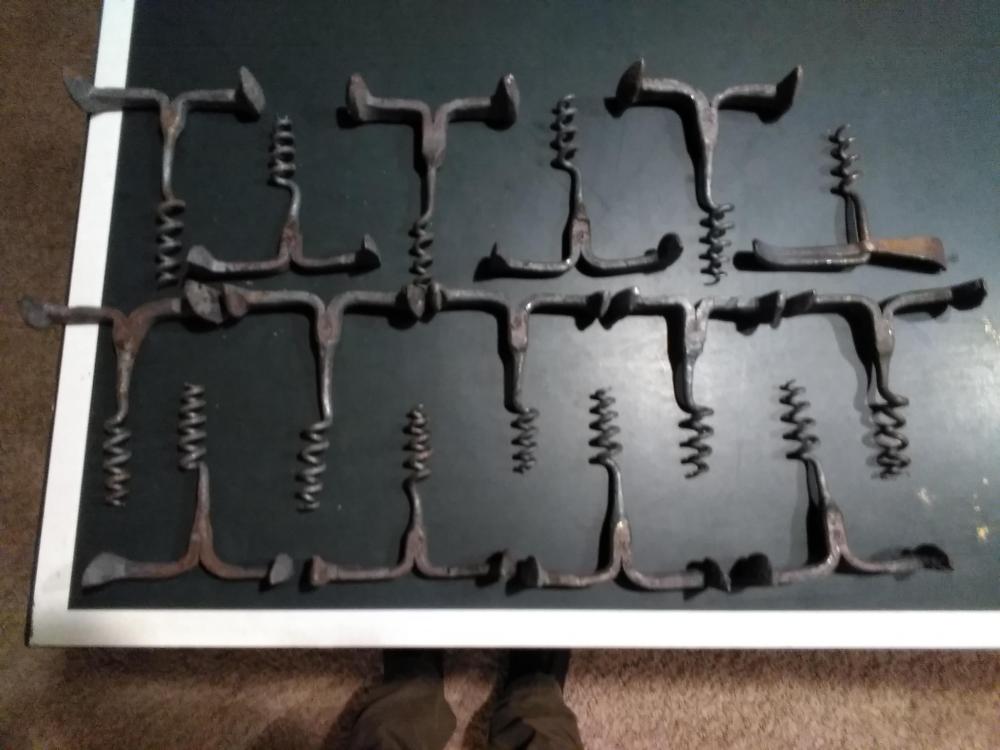
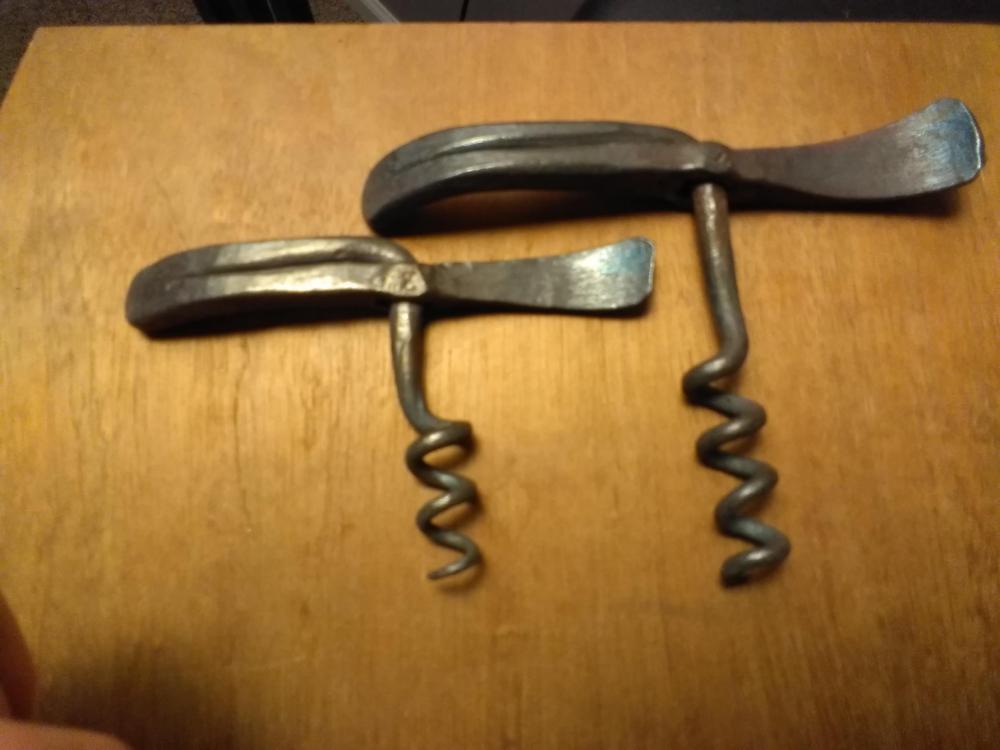
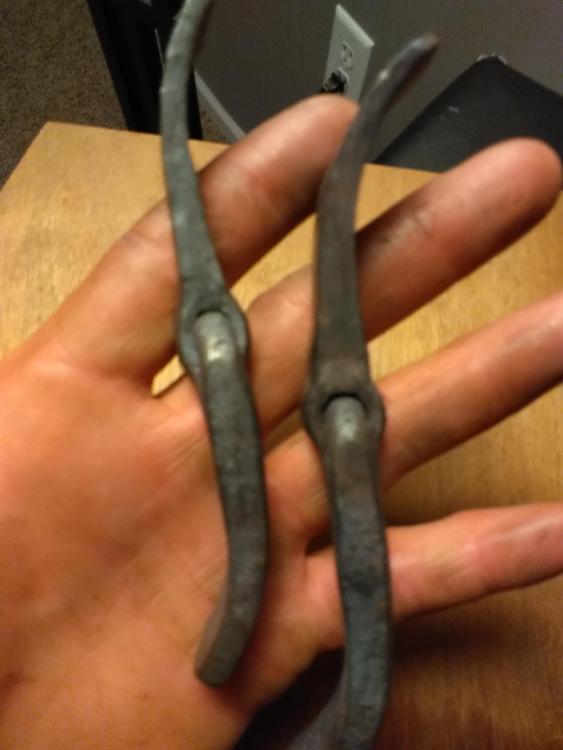
Finished the first batch of RR spike corkscrews. Well.. Finished forging them anyway. Still have to break all the edges on the grinder and give them a thorough wire brushing. Only 34 to go!
-
Around me, a scrapyard has primarily metal scrap (ie automotive, structural, heavy machinery, some appliances), and a junkyard has other things like consumer waste, other appliances, chemical waste, pretty much everything. One of the scrapyards near me allows people to walk the yard and buy whatever they can find at a certain price per pound, the other one does not. The scrapyard is just the middle man between consumer/industrial scrap metal and the plants that take that scrap and process it back into "new" material. and the junk yard is the middleman between consumers/industry and the recycling centers/dump. Sometimes the dump is also owned by the junkyard.
-
The other side of that coin is they might know just enough to know what to say in response to your questions! Caveat Emptor indeed! A lot has already been said, but my 2 cents is it's certainly worth checking out. Lots of life in that anvil and there are some aspects you really can't draw any conclusions on without seeing it in person. Also, I'll just mention that it may be worth checking it out sooner rather than later, that way you get take a look and make a decision before someone else makes it for you! (by buying it first)
-
Welcome aboard! Glad to see you're up and running! Tongs are a pretty tough project starting out, heck they're pretty tough in general, but those look about as nice as my first pair and I still use those every once in a while. I'm glad your HF anvil is working for you, but if you have some time I recommend stopping by a scrapyard or somewhere like that to find a suitable chunk of steel for hammering on. I think you'll find the material moves a lot faster when the force is applied to your piece from both sides rather than just the one. Still, use what works for you, just keep an eye out and give an improvised anvil a try when you can. That tear in your boss is pretty common from rebar, especially the thinner diameter stuff. I used to use it, but found it likes to shear and tear itself apart when you don't expect it to. Very inconvenient, especially with tongs. In general, when working with mystery steel, it's a good idea to use a few smaller test pieces forged to about the same cross section you plan to heat treat at, and to try quenching in oil and, if necessary, water then breaking it to see how the grain structure/hardness looks before spending the time forging a knife out of it. Thinking about the previous application of whatever piece of steel you have can help narrow down the search. Coil springs and ball bearings for example always undergo some sort of heat treatment, while structural steel, fireplace racks etc. don't require any heat treatment and so are generally mild steel. Anyway, I'm glad you got going, and remember there is no substitute for time at the anvil (preferably with someone experienced enough to give you some tips looking over your shoulder) when it comes to learning. P.s. Nice bike (and mirror finish ha!) P.P.S. If you haven't already, check out the "Read This First" tab in the banner at the top of every page to help you get the most out of the site.
-
Ha, well that settles that. Make yourself some striker tongs and extend your reach! I say that in jest. Although it could work...
-
What about a striker, like for oxy-acetylene torches? I don't know how how big of a flame you'll get on ignition/how close your arm will be to it using a striker, but worst case scenario you have another way to light your torch..
-
I did a quick search and this was the first result. I recommend using your browser and adding site:iforgeiron.com in your search and start generic. Reading through the first few results you may find the answer to your question even if the title doesn't appear to be exactly what you're looking for. You may even learn some things you didn't go out looking for. Threads merged
-
That is some serious forge welding! Looks like it will have a really cool pattern, I look forward to seeing it along the way.
-
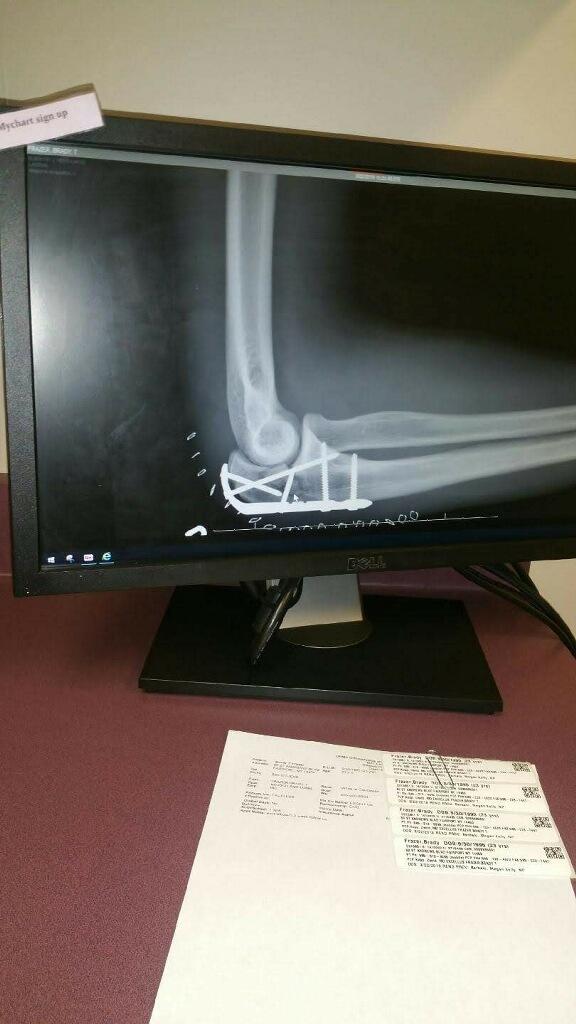
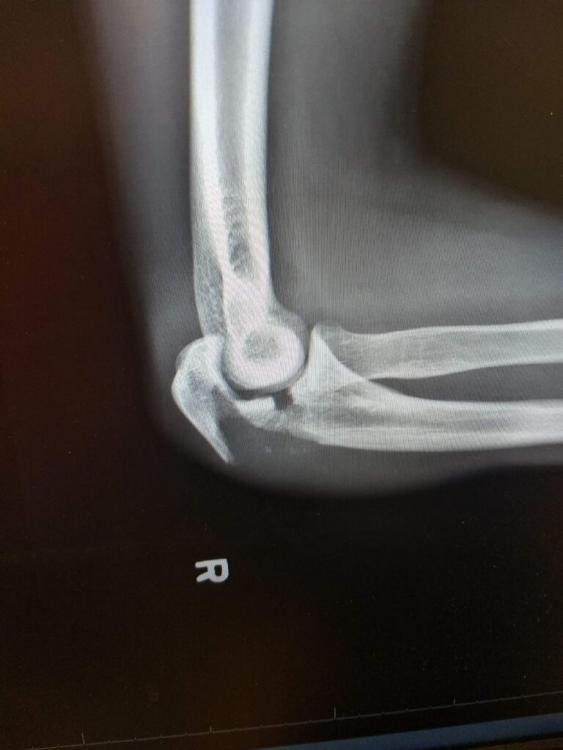
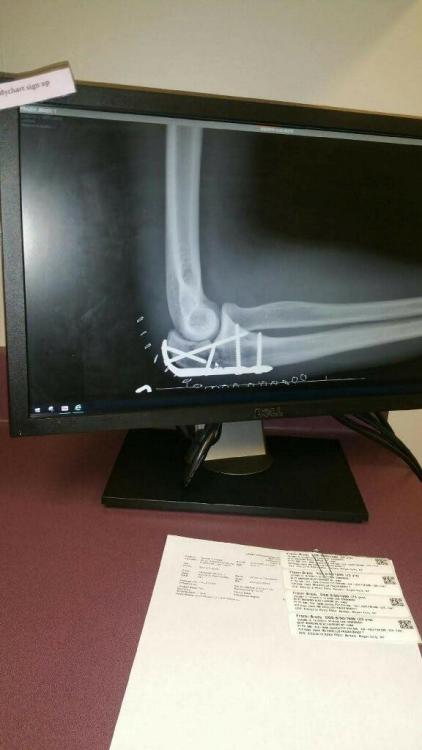
I can also attest to snowboarding being a dangerous sport. My whole elbow is screwed back together after a fall on some ice. That long screw is 50mm long... Yes, this is my hammering arm. Took me out of blacksmithing for several months, but I kept asking my doc, when can I swing a hammer or draw a bow again? She thought I was crazy... But she does good work. I decided if I ever have the plate removed I want to forge it into something... it's 316 SS. Only get one try with that one.
-
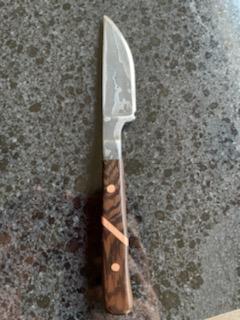
Welshj, Thanks! I can say with certainty that it is not zebra wood since that was one of the different boards I went through when I found this one. I bought it a while ago and the person that sold it to me told me what it was at the time, but it seems to have slipped my mind. It has a pretty open grain, which you can kind of see in some of the pictures. I usually prefer harder more closed grain woods, but I really like the way this one looks with a natural stain.
-
C-1, those are awesome! Very creative. Amazing what a skilled tradesman can do with a little artistic spirit.
-
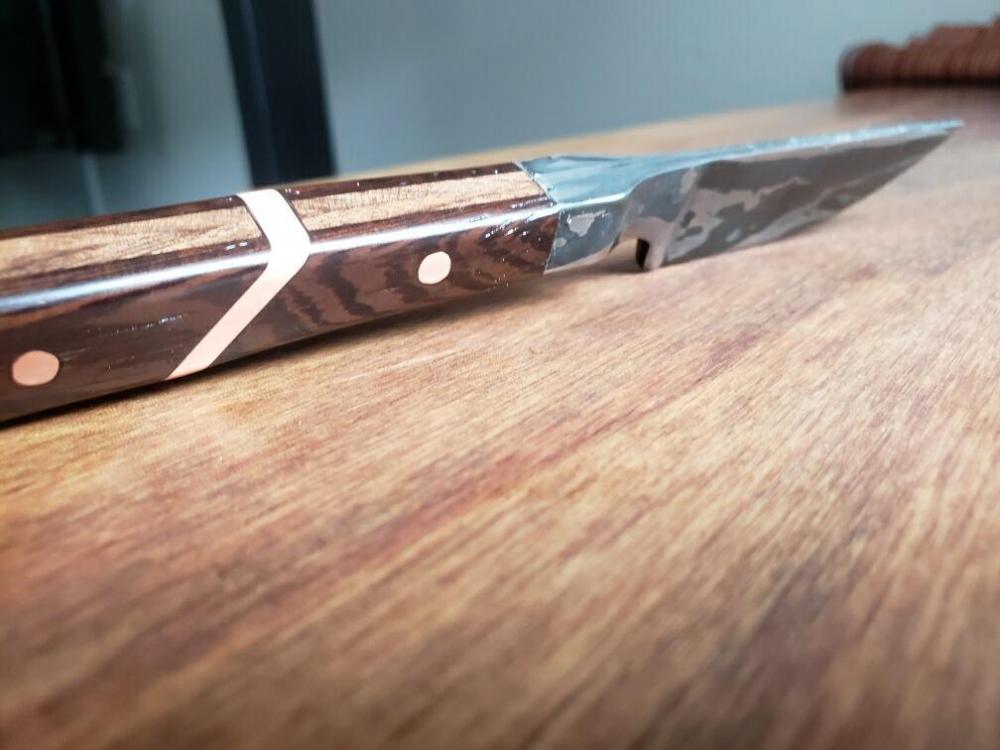
Latticino, I'm glad that has a name. I would have considered it a defect. Thank you for the info and the tip. From my initial sketch, I planned on putting two spacers in. However, I realized that one was going to be challenging enough and decided to center the one. I agree that, perhaps centering it wasn't the best place for it aesthetically speaking, but it did lead to the ex post facto name of "the divider". Now I don't make enough knives or honestly care enough to start naming them, but to cover for a possible design lapse, this one gets the name! I plan to go to the Genesee meet in August at Arc+Flame if NYS regulations permit.
-
My thoughts and condolences to Katheryne and all his friends and family. I'll be sure to keep them in my thoughts during what I can only imagine must be an incredibly difficult time for everyone involved..
-
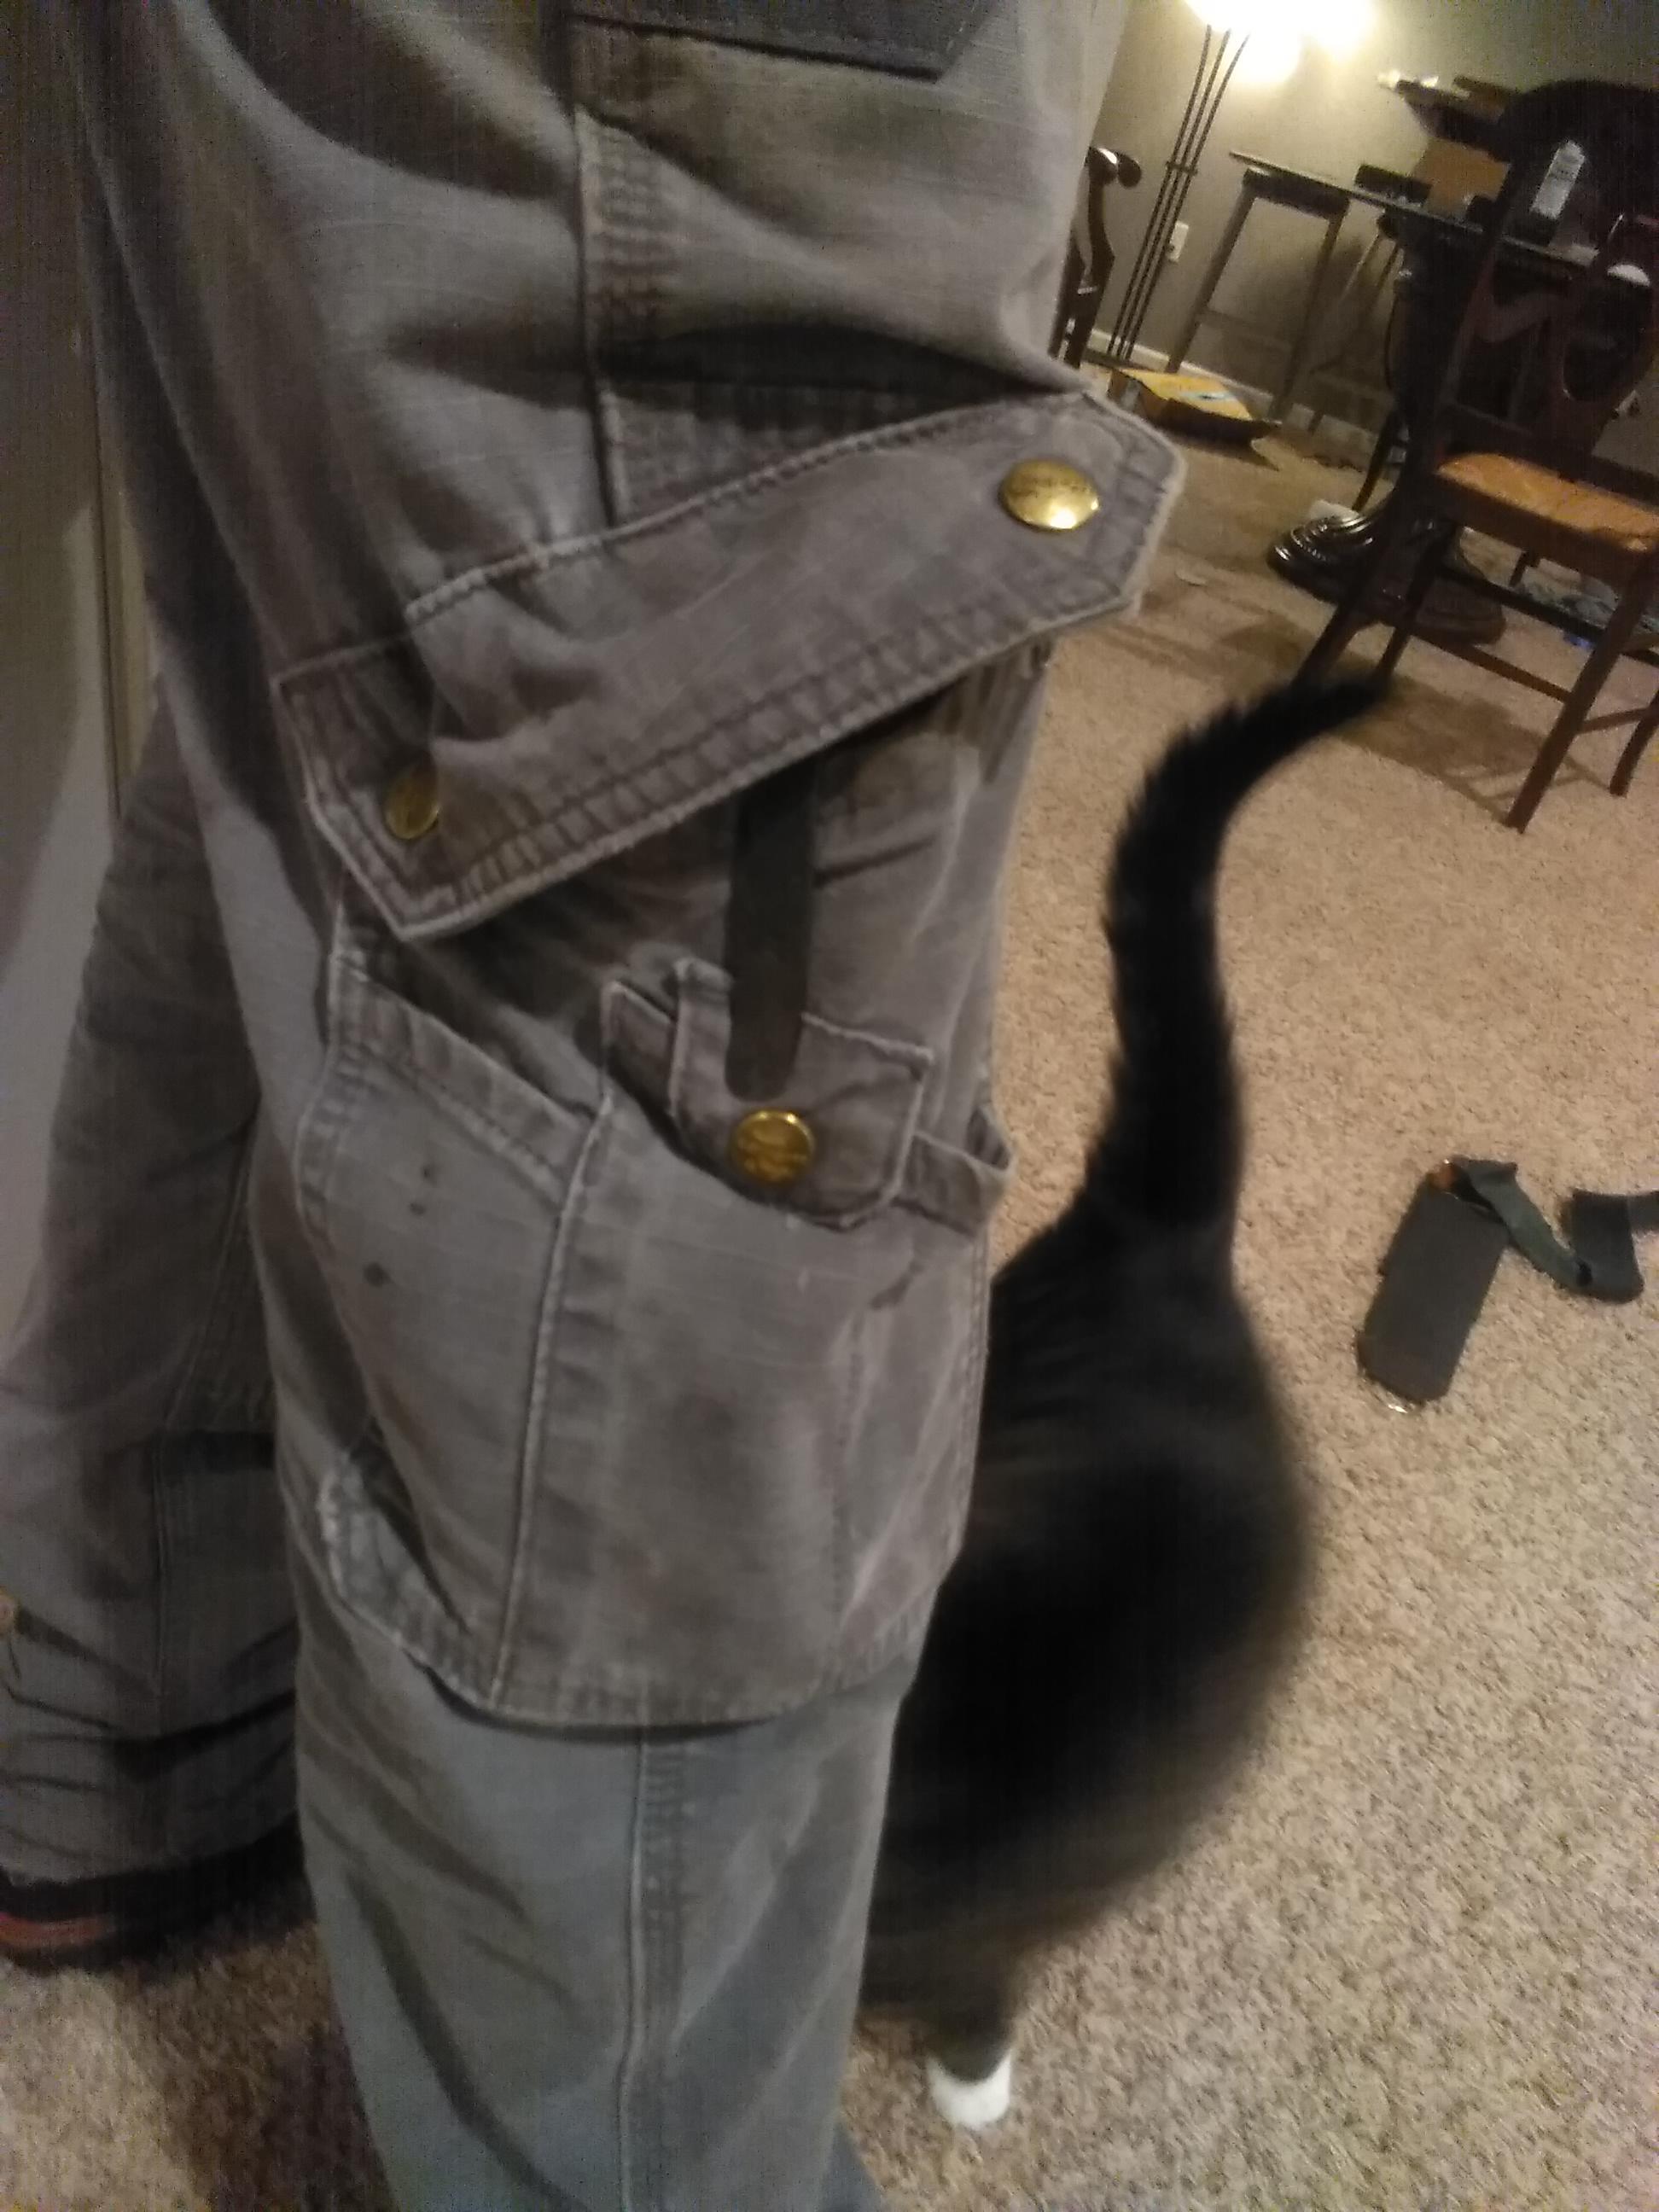
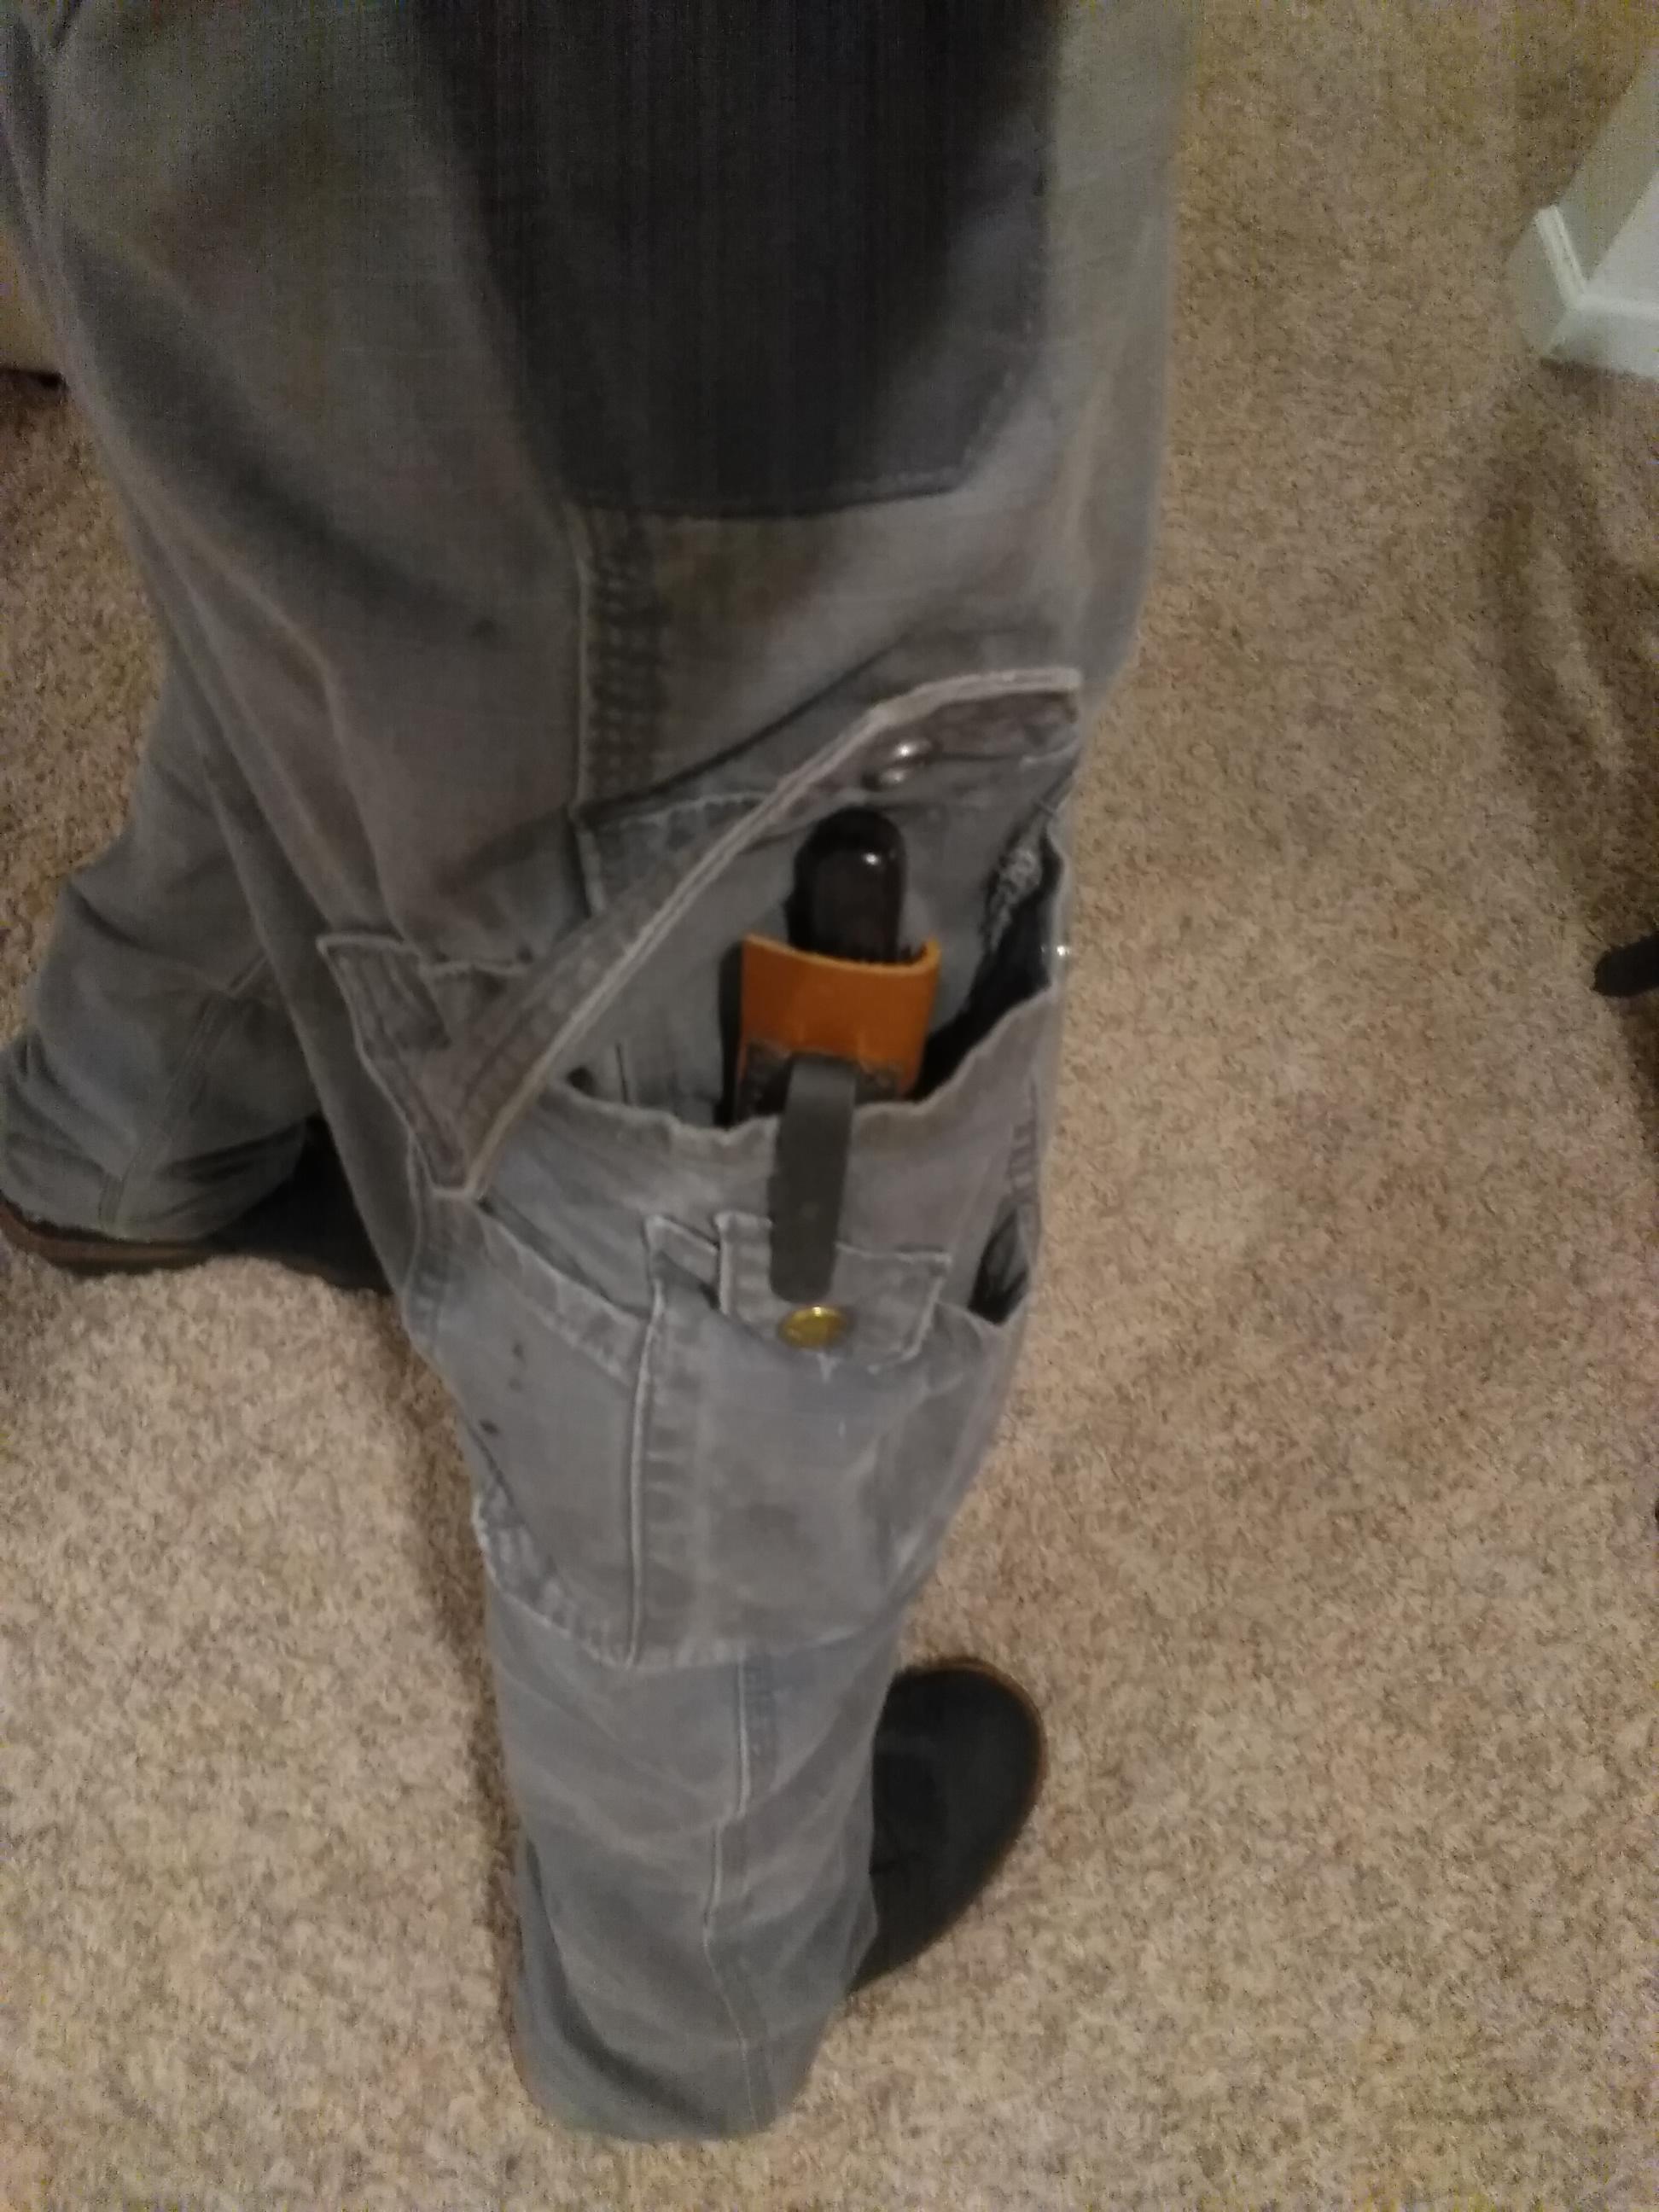
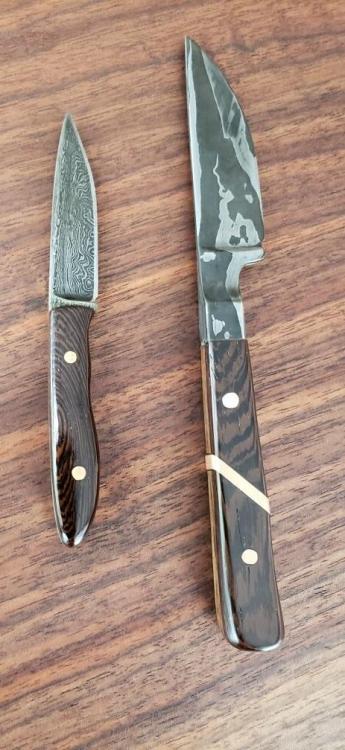
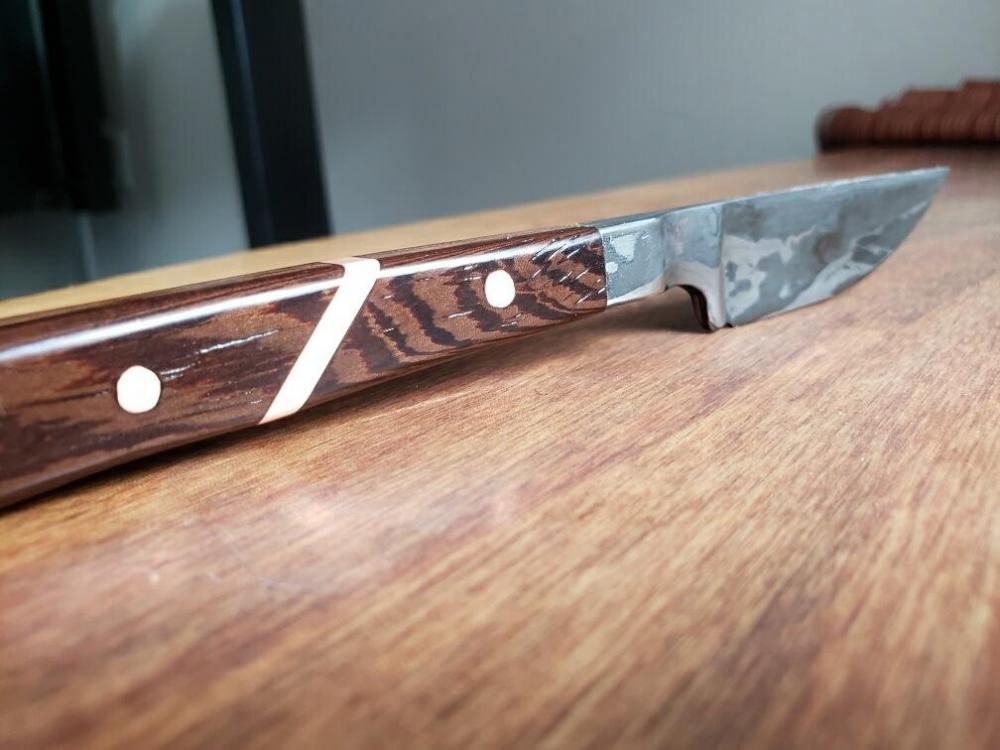
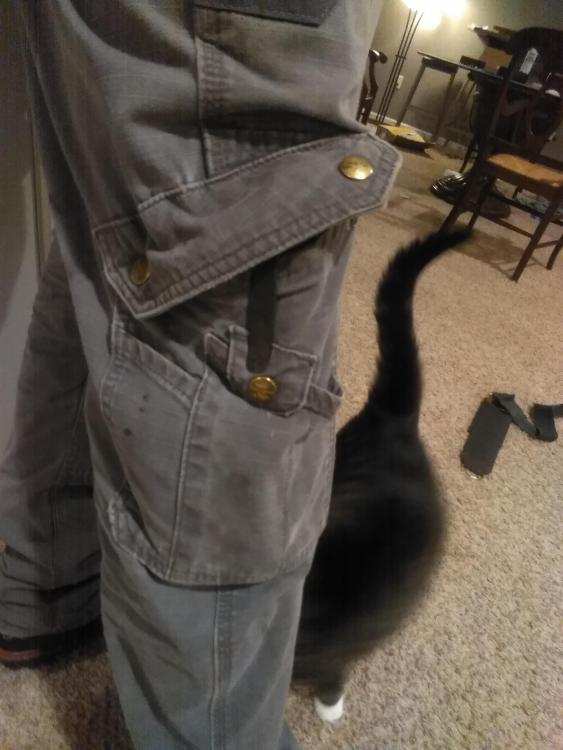
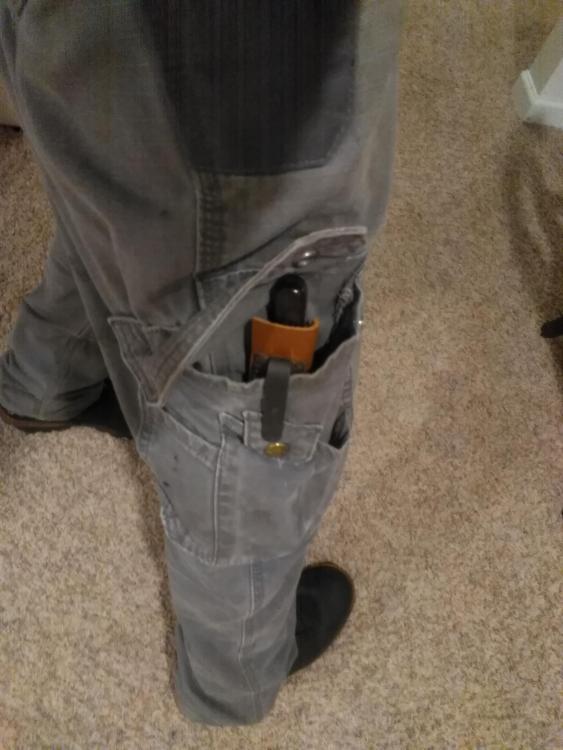
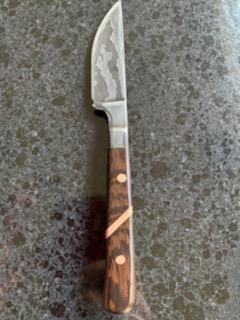
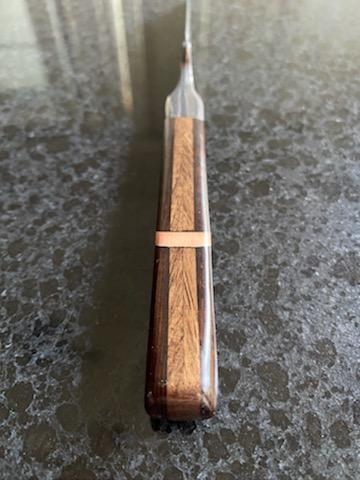
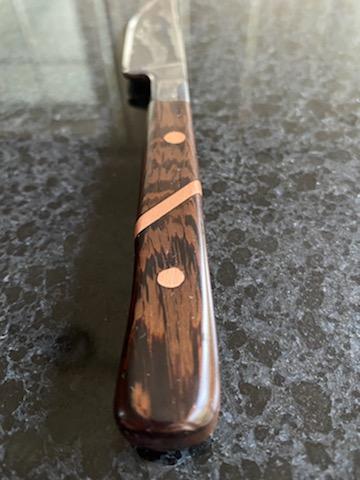
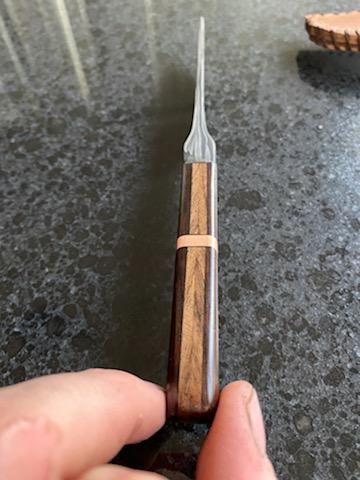
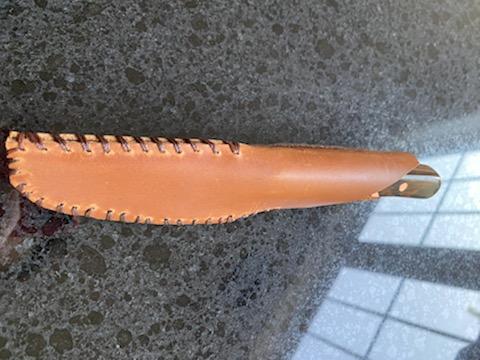
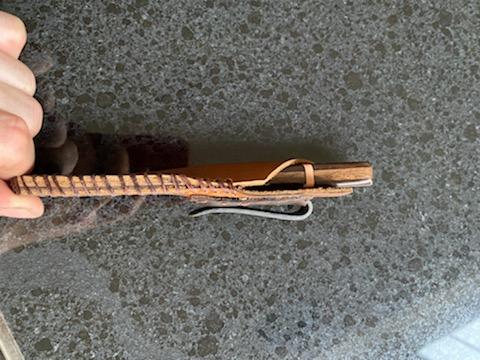
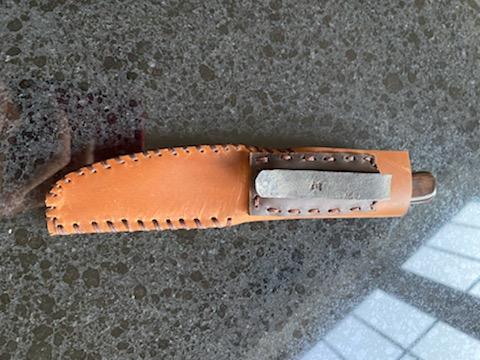
Marcus, Thanks, I also find the low layer really pops and you see some strange artifacts in the pattern that you wouldn't see if there were more layers. Yes, I did etch in FC, then sanded it lightly with worn out 2500 grit and finished in instant coffee. Didn't do a very dark etch, but it looks a lot lighter in the pictures. The handle took a long time to get right, putting that plate in on an angle certainly complicated things a bit, but the wood grain of the darker sides line up pretty well on either side of the plate, which definitely adds a little something. As far as finishing, I just sanded everything to 1500 grit, used a natural wood stain and sealed with several coats of poly, sanding from 400 to 2500 grit (going up one grit per coat). The whole handle is glassy smooth, and has a very steak knife feel to it. These were from before it was sharpened. I always have my knife in my right leg pocket of my cargo pants, so this is made to be clipped where the flap for that pocket covers the end of the handle. It actually holds the pocket and stays in place pretty darn well. Definitely not worried about it falling out. I wish the fit up between the handle and the bolster was a little better, right now there is a step about the thickness of a piece of masking tape on all sides, but it really doesn't bother me too much.
-
Just finished my most recent knife. Integral bolster, twisted damascus using 15N20 and 1095. I like the look of the low layer damascus. There are 39 layers total (yes I know that's an odd number) but there are only 12 layers you can actually see. 2.9" sharpened blade length. Handle is a sandwich construction with walnut in the center two layers and a darker wood on the outer two layers. I don't remember what kind of wood it is on the outside. Copper insert and pins. Forged the pocket clip using spring steel.
-
She's a beauty! I love my 151# Soderfors. The face of yours is in excellent shape. I paid closer to $3.60/lb for mine and it had a pretty significant amount of sway in the face. That doesn't really effect the performance in my opinion, but I would say you got a pretty good deal! No clean-up required on that beauty. Just needs a stand and some hot steel. Maybe a coat of lindseed oil on the non-working surfaces. A few things to note, my neighbors are somewhat close to me and boy was she loud when I first started using her. A quality Soderfors are known for. So when mounting her up, I recommend adding a nice thick layer of silicone caulk between the stand and the anvil. I also have strong neodymium magnets under the heel and the horn and a chain wrapped around the waist. Any one of these might be enough to deaden the ring of yours, but of the 3 I would say the caulk made the biggest difference. Even if you don't have neighbors that don't like listening to you work, your ears will appreciate you quieting the anvil down a bit since the ring was really quite loud when I first got mine.
-
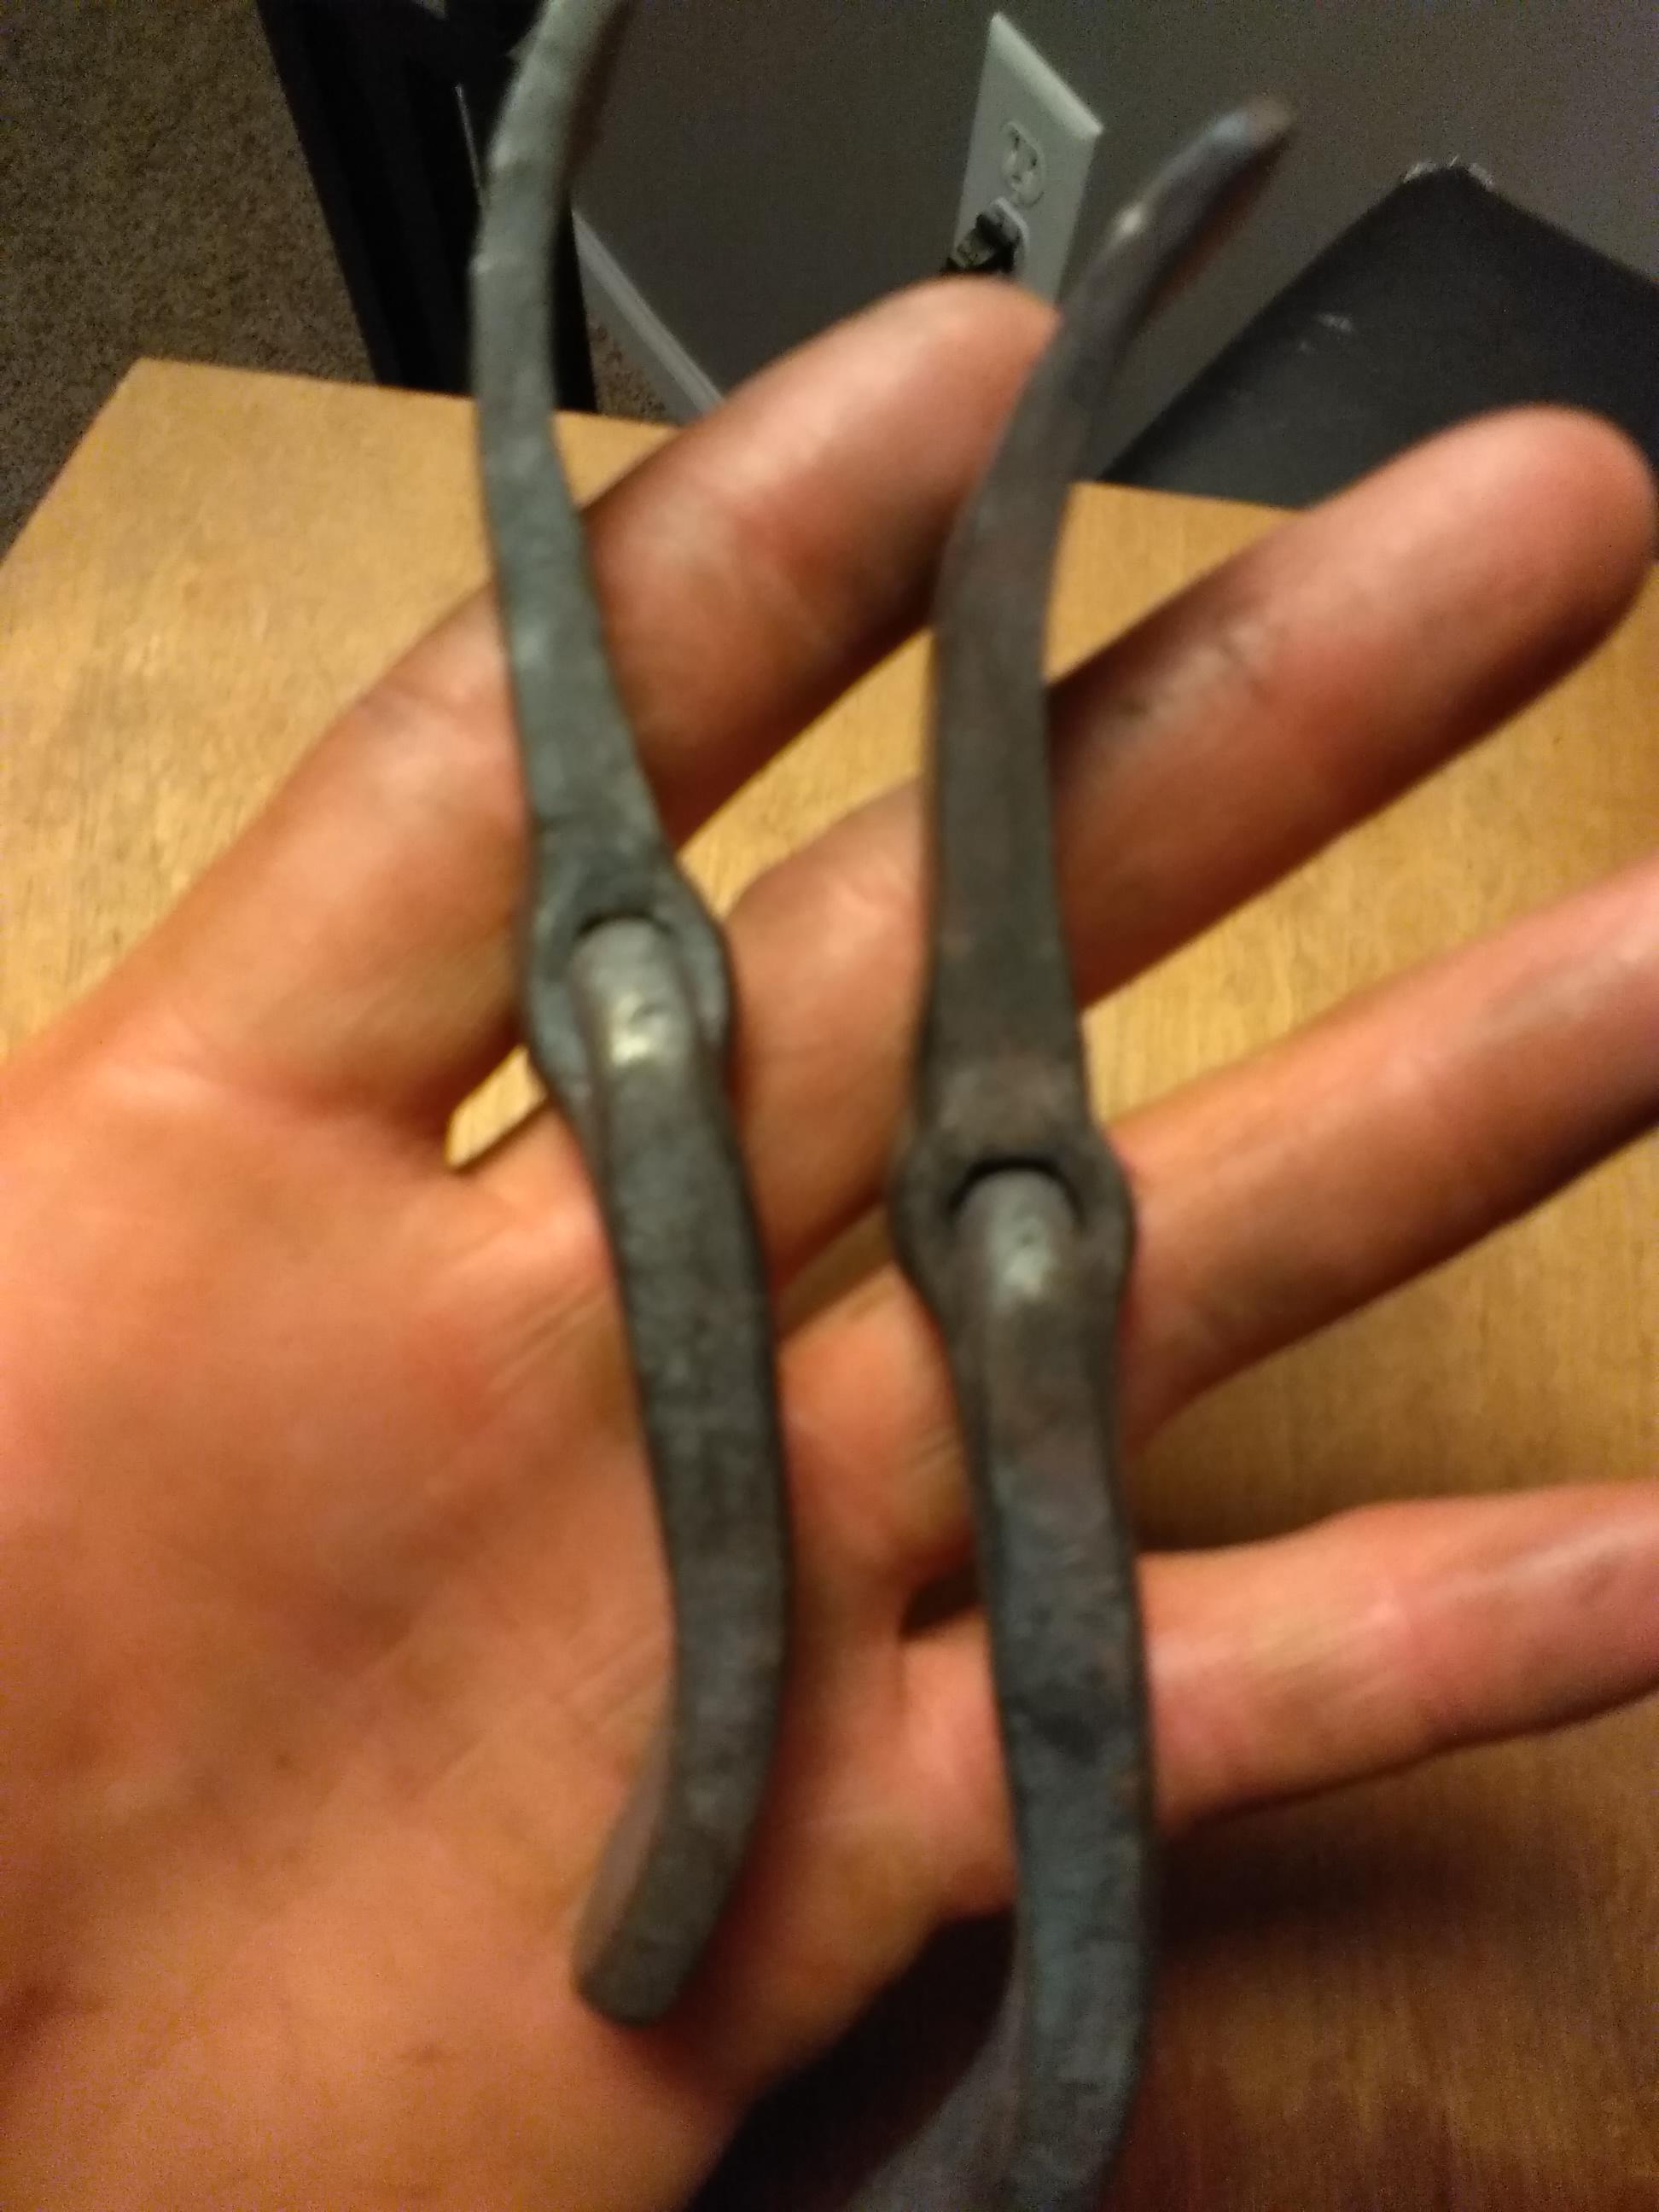
George, thank you that was actually very helpful information. I picked up the spikes today and I found 7 of them that were indeed wrought iron. They were smaller as you said and also the shape and style of the transition between the head and the shank was erratic with the angle of that transition all over the place. Very different from most of the "modern" spikes I have come across. Probably because they mere made and/or finished by hand. They were pretty easy to spot. What I found interesting is that about half of them that were made in the same style were actually steel. A very malleable and easy to forge steel, even compared to the the mild (A36) I usually work with. Probably very very low carbon. So I'm guessing they were both made around the same time period. Some right before steel was readily available and some after. All mixed in with some more of the modern styles I'm used to seeing.
-
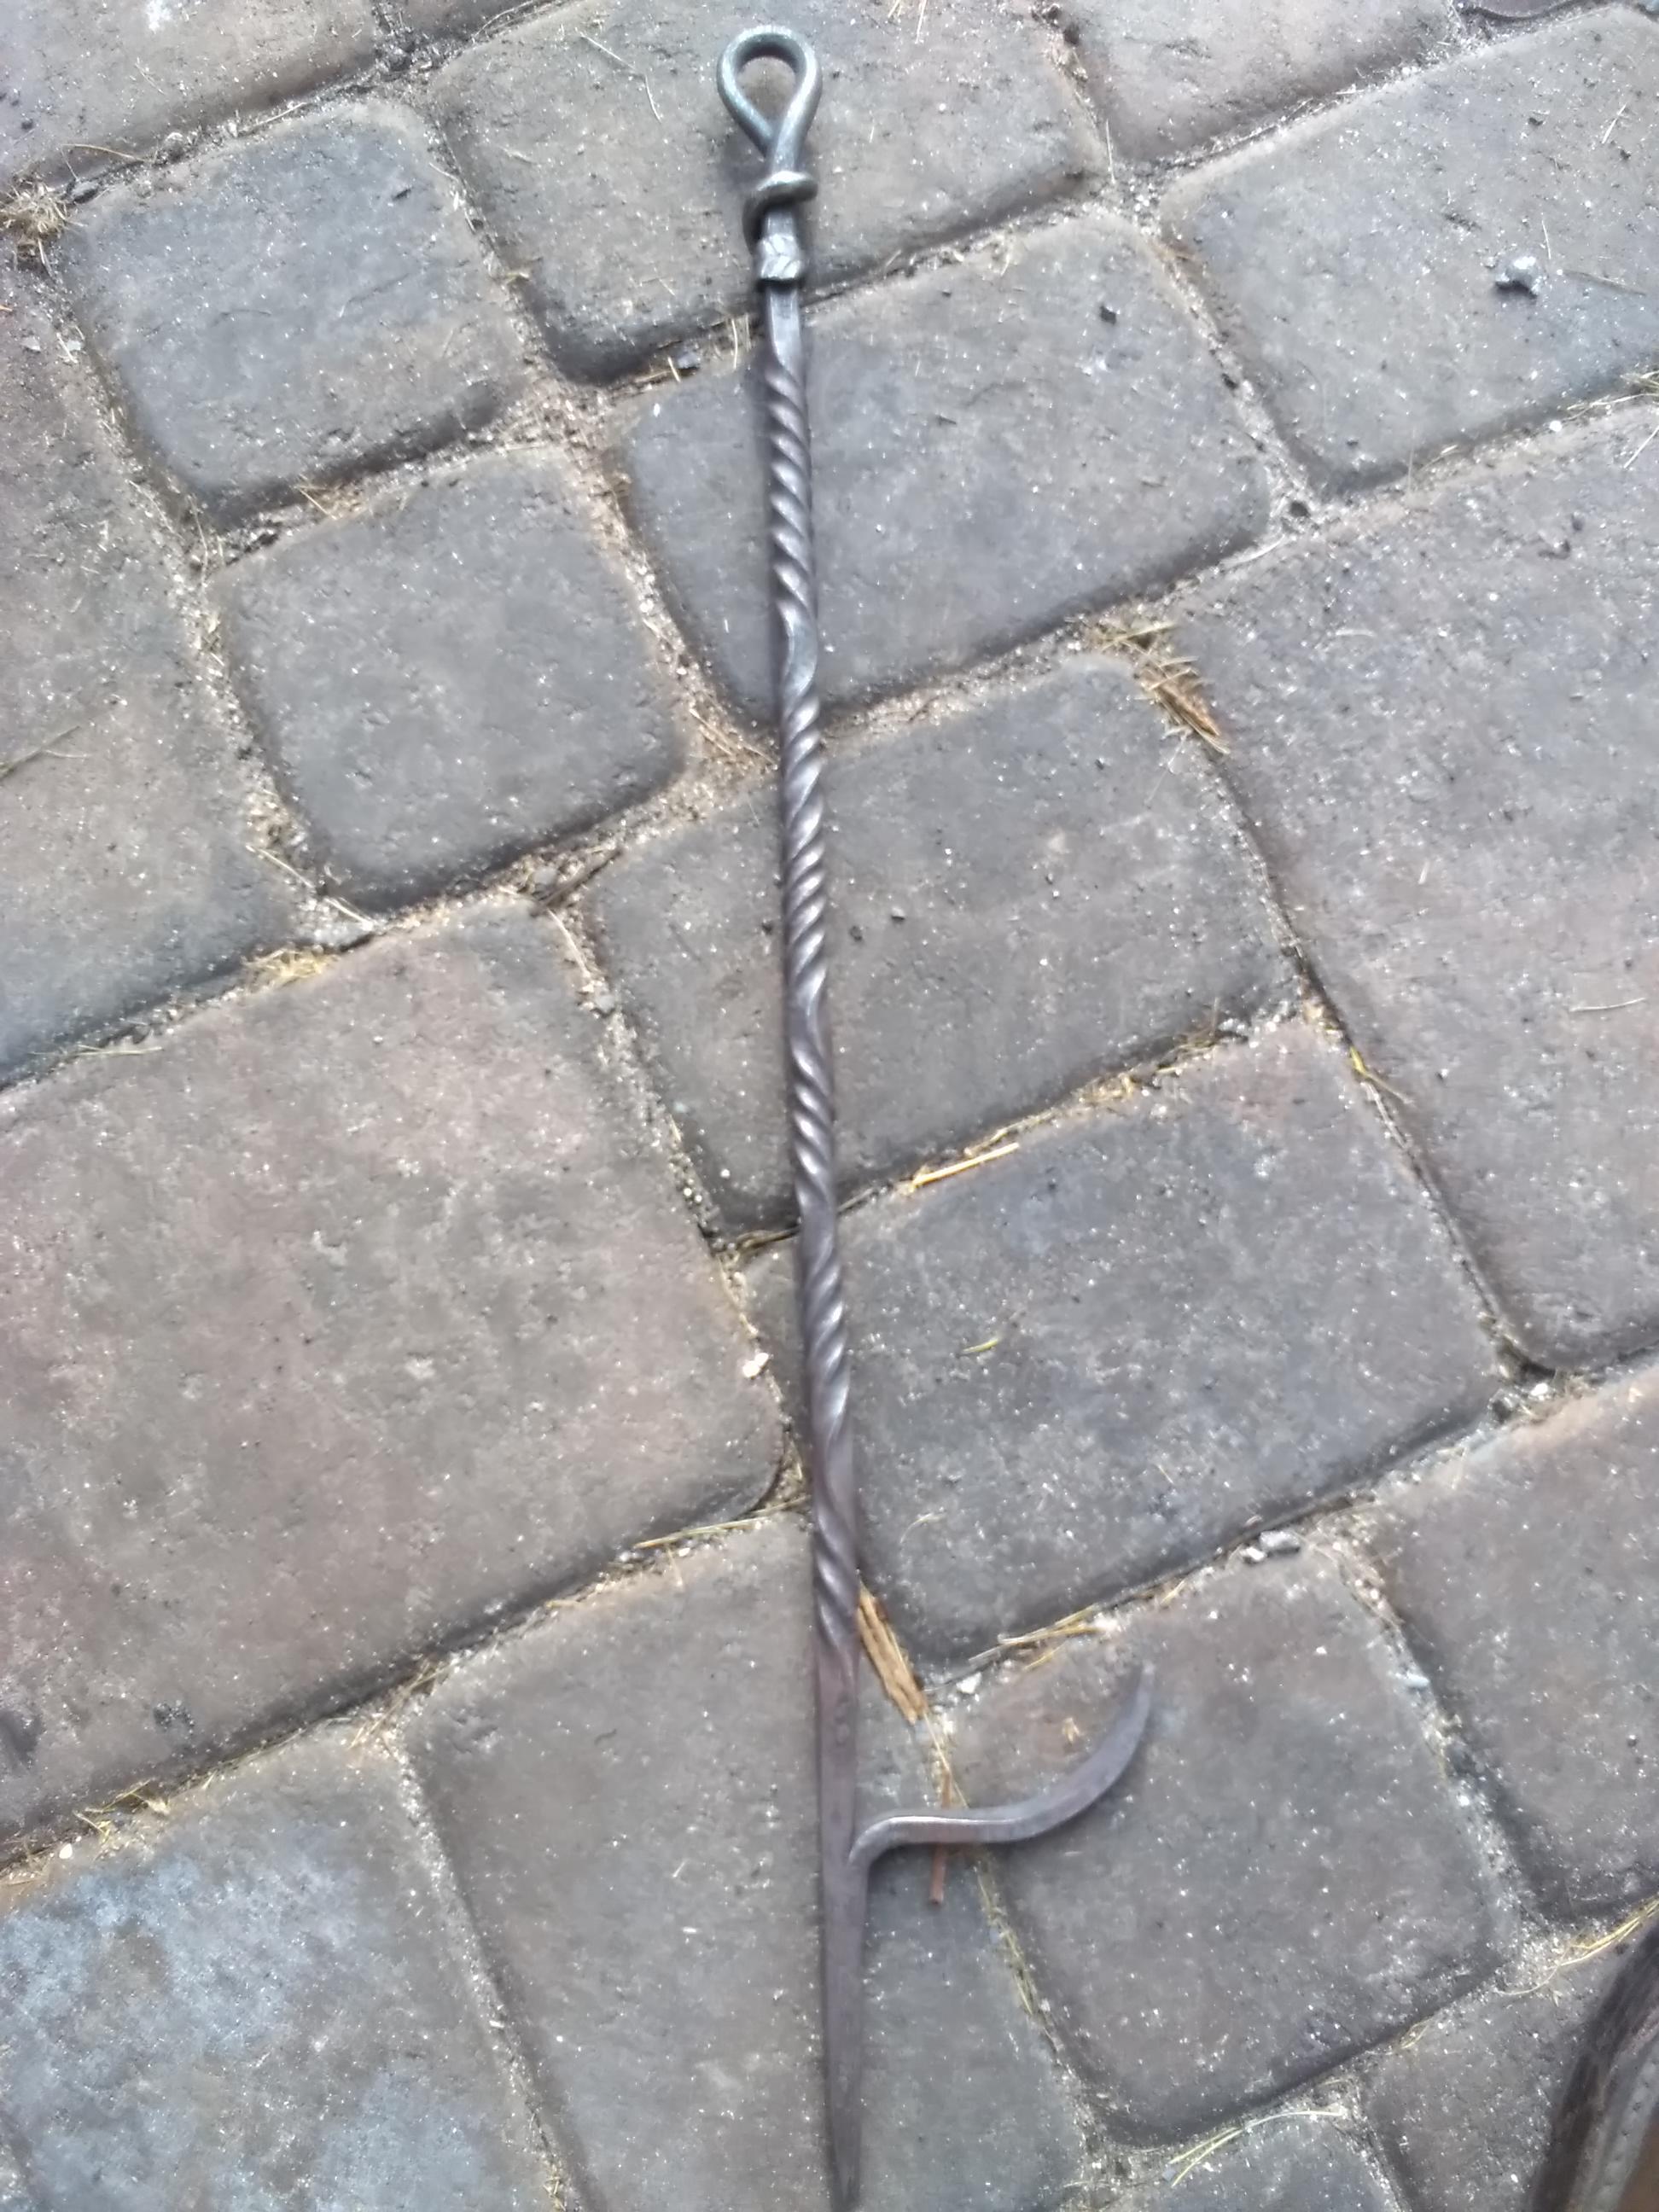
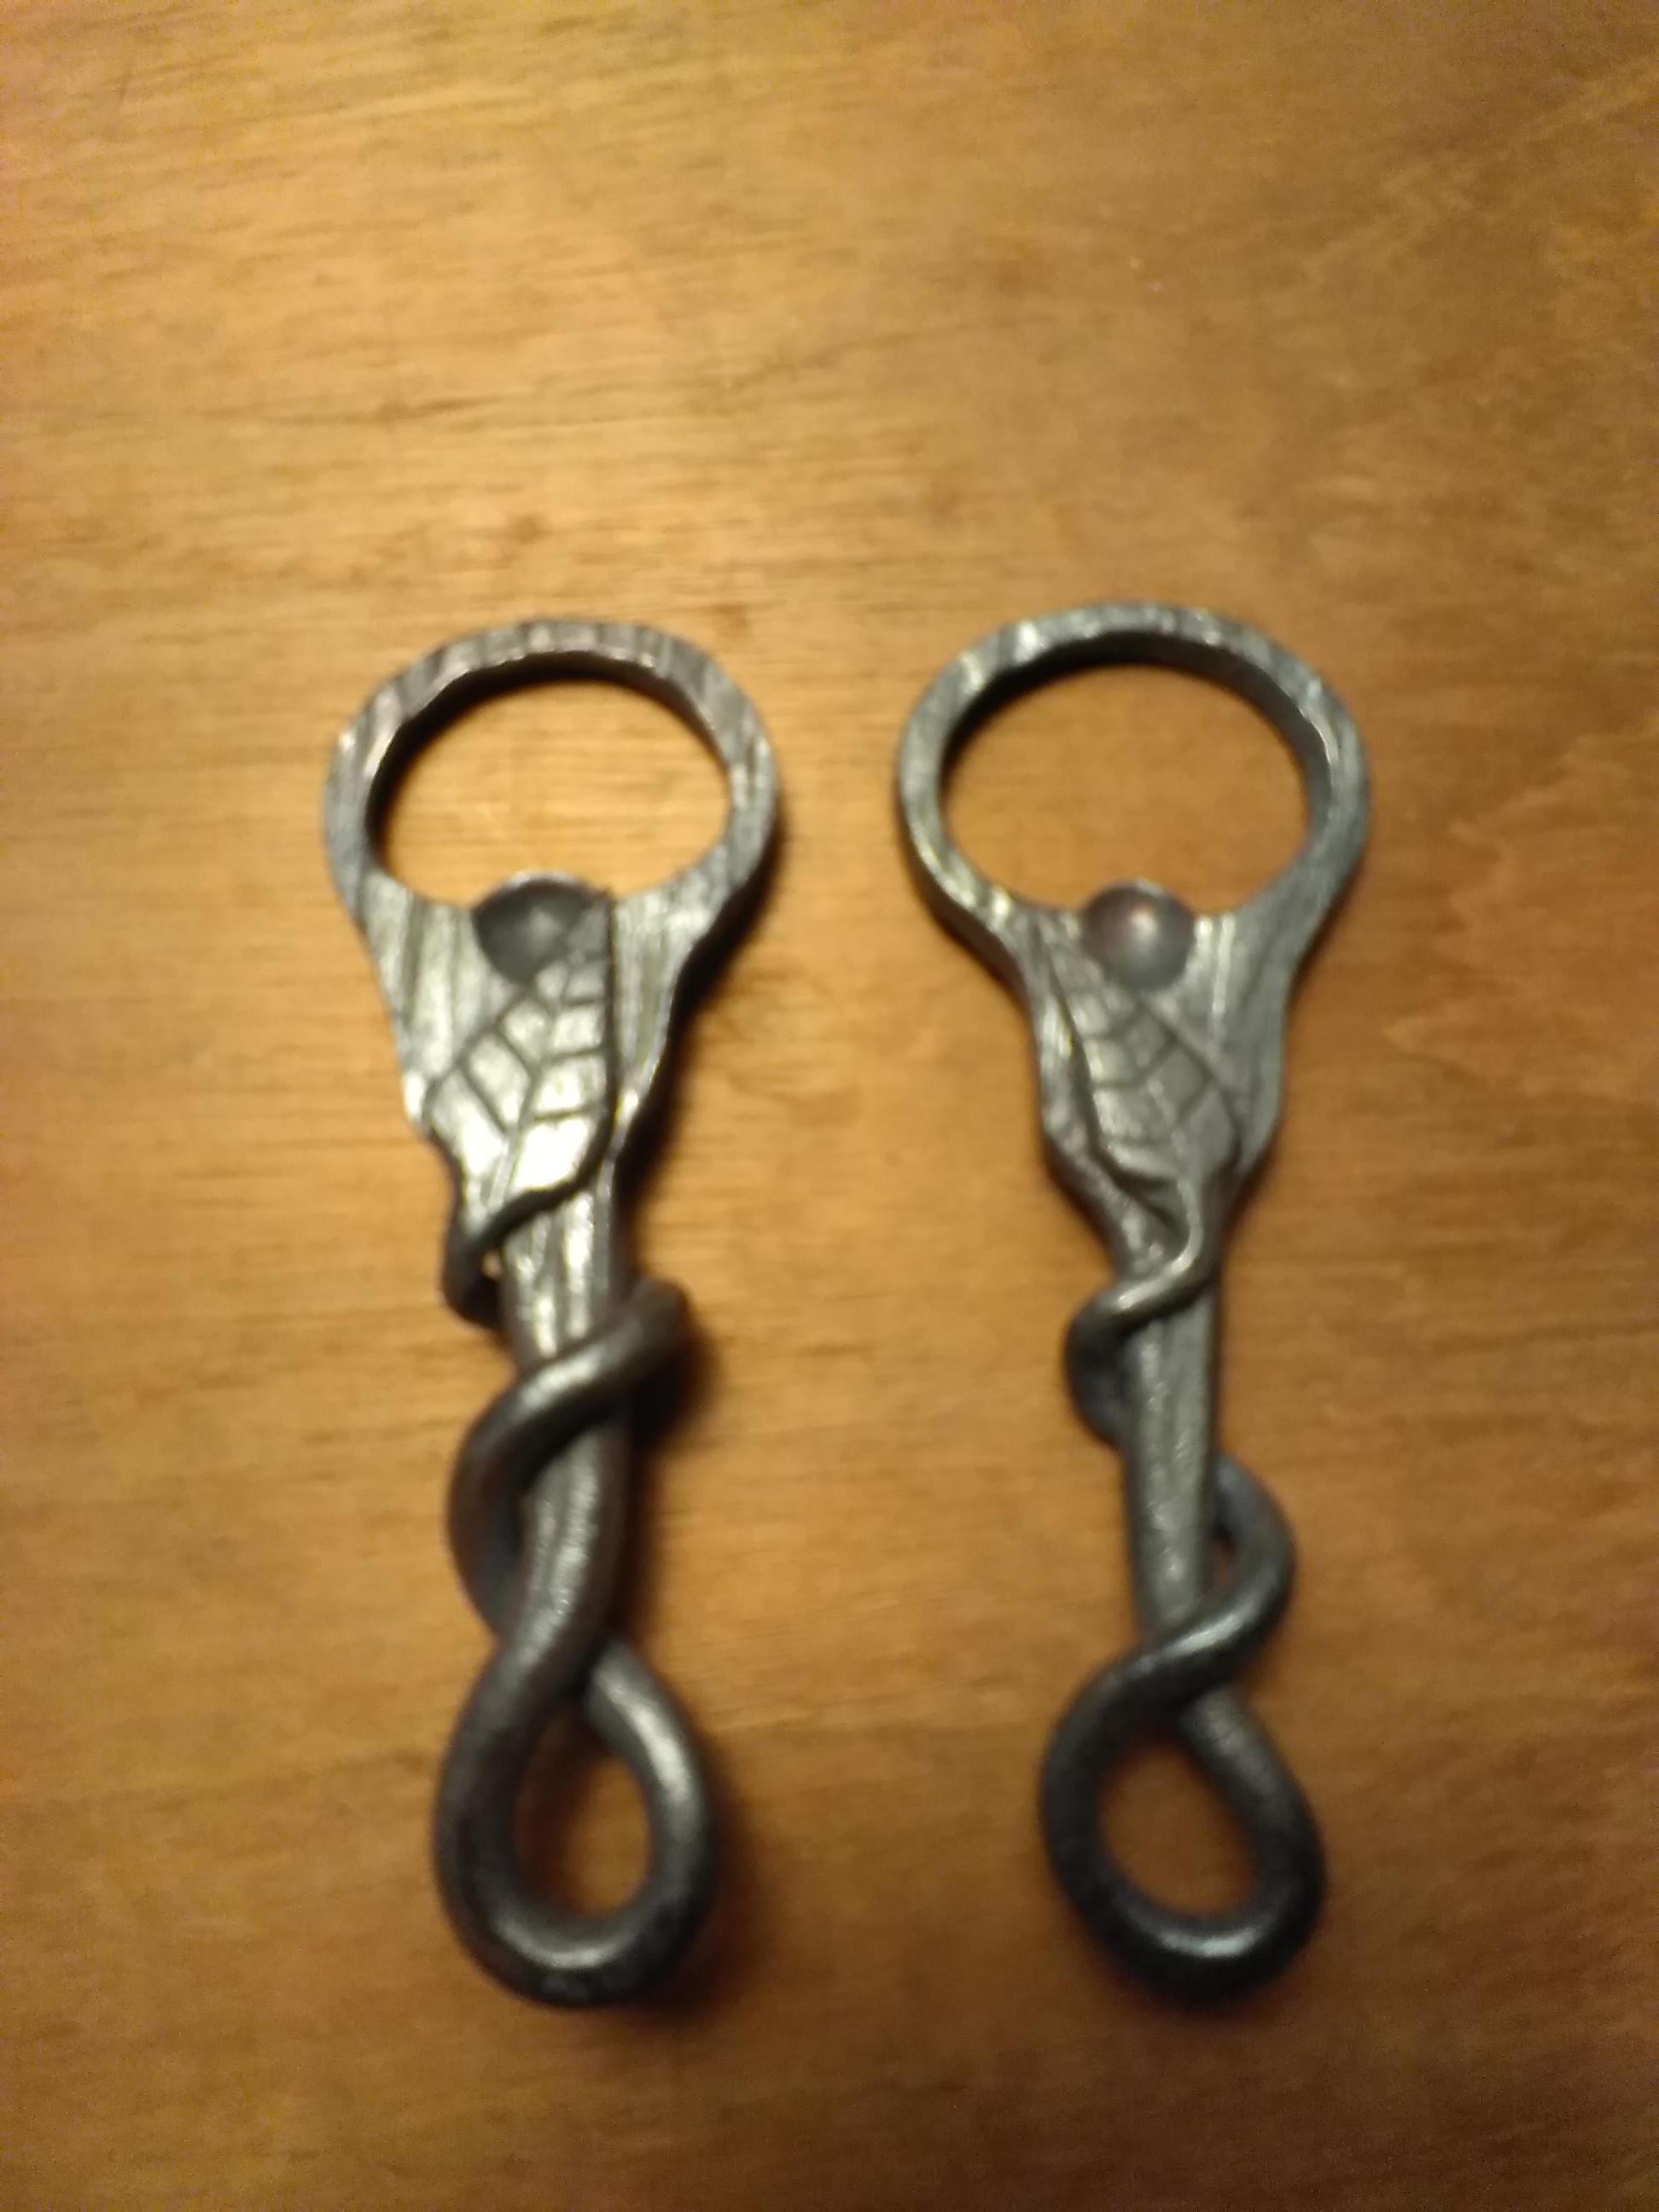
Cheech, that's a fine looking hatchet you have there! Also, it's good to see someone else has the same organizational system in their shop as I do. TP, that's like my dad (who started watching FIF when I started blacksmithing) asking me to make a sword all the time... I told him that's a pretty significant jump from where my skill level is/interests are. Even a small knifes take me weeks to do and just because I can make a knife doesn't mean I can make a sword. Totally different design considerations with balance, harmonics, etc. etc. You know, you worked under a swordsmith. Well, he said it's okay, it can be a small sword... . However, if you do end up making that mosaic counter-top, I'll take one too, but with gold and silver inlays and various gemstones set all the way around the perimeter for good measure.. What did I do in the shop (yesterday)? Finished up two cork springs and two bottle openers. The cork springs I made with a coil spring, and to further enforce that there are lots of different alloys used in springs, I found that this one in particular liked to air harden. I thought that was interesting. The last thing I did was heat up the the business end and let them cool slowly wrapped up in some ceramic insulation. I wouldn't want them to break from normal use because they had hardened without me knowing. They're plenty tough without any heat treatment. And straightened out the latest fire poker.


-
Irondragon, I got my Soderfors at what I would consider a reasonable price! So they do exist. TP, that's not a bad idea either. Maybe he'll bite. I may be getting a little ahead of my skis though since I haven't picked up the spikes yet. All I know is that most of them don't have markings on the heads and they were pulled off an old line. Which really isn't all that much. I'm just thinking it's a possibility.
-
Ha, seriously. When he said 50 I told him I can do it, but it will take time. They don't take very long to do individually, but to do that many I'll be at it for a week or two. I only get about 5 hours of forge time a day. I'll be sure to share a few pictures and the method I end up going with. First I have to get the spikes from him. He wants me to use those ones specifically since they came from behind his business. He says that line is from the mid to late 1800's.. I wonder if any of them will be WI.... if so, those ones might get put aside and switched out for some of the ones I have laying around . For two reasons. One, I have only ever worked with WI once before, an old horseshoe I took from my childhood home when my mom sold it (it came with the house), and it was a really fun material. Two, I imagine the more modern spikes will be much tougher than WI, especially in a thinner cross sections like a corkscrew.