Frazer
2021 Donor
-
Joined
-
Last visited
Everything posted by Frazer
-
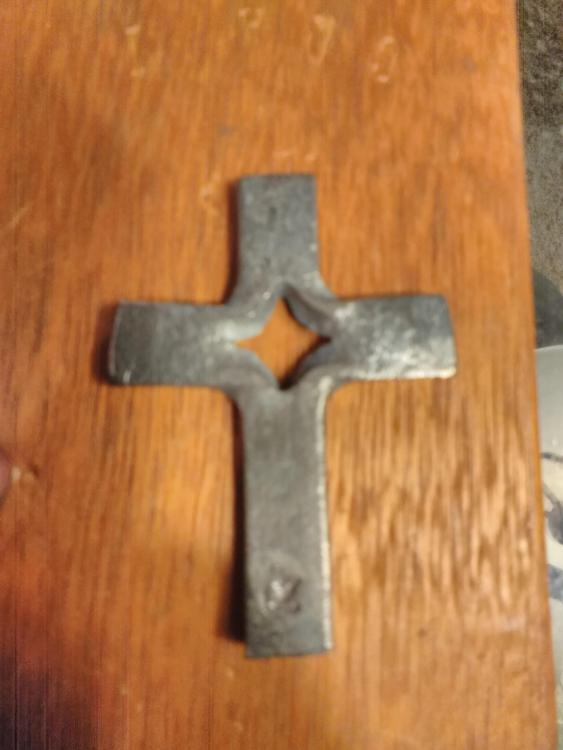
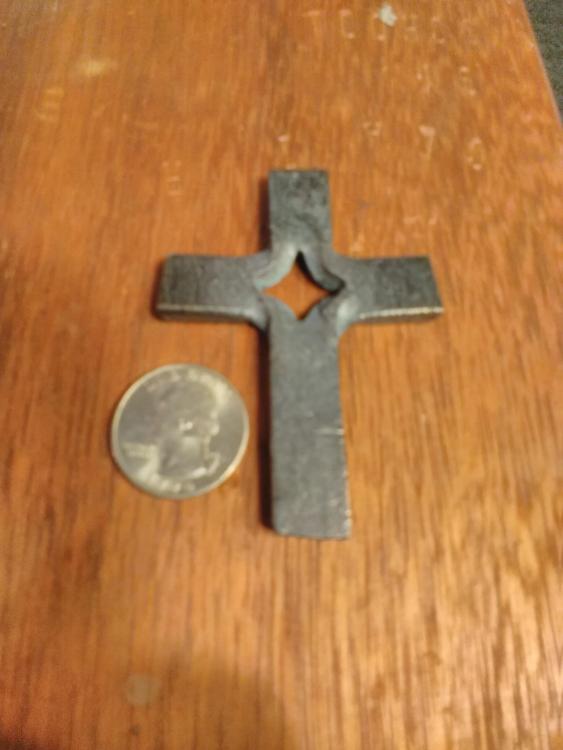
Alexandr, I couldn't even imagine having so much work laying around the shop as you so often do. Incredible as always sir. I tried my first pineapple twist for a little shovel my Ma wanted for planting seeds in the garden, when the time comes. Ill probably end up making several of varying sizes and widths. I also made my first split cross for my great grandma, shes 93. (for those concerned, it will be sent in the mail..) I also repaired one (and destroyed one) basket twist. The one I fixed had thicker round stock and i broke out the welder to reattach a couple strands. I have been having a lot of trouble with the second weld when the mandrel isn't keeping everything in place... Any suggestions? It seems they just don't wan't to stick like the first bundle which always seems to go well.
-
Mark, I went through her channel and here is a list of everything I recognized, although i don't think any of the listed items are what you're looking for specifically.. still, in case it is of use to you, or to anyone else, ill post it. (Also thank you Jennifer for sharing some of your work, it is really quite impressive. Across the board.) boot dagger (second from bottom [excluding axe]) https://www.youtube.com/watch?v=Cb3ek0r1_fU Carving chisel (third from bottom [excluding axe]) https://www.youtube.com/watch?v=KYSP_hfP93Y Colonial Style knife (bottom) https://www.youtube.com/watch?v=TZU_Sl8oTew Colonial Style Wrapped Eye Tomahawk - looks like there has been a handle improvement, or its not the same axe. Not sure. (far left) https://www.youtube.com/watch?v=-ftp5kJ-K8Q Knife hiding directly below the... Katana? https://www.youtube.com/watch?v=2GPFMQuMTBk Knife with hooked tang, center of pile on the bottom (i think) https://www.youtube.com/watch?v=jcOGzeCUE1I
-
Ramsberg it seems no one here is denying the validity of the concerns you have regarding the virus. However, for most people visiting the site, in search of "how to do such and such thing", the expectation of having admins add CDC info (which is changing as new information comes out) to every section of the forum where their search may lead, is a great deal of work. Especially on top of all that they are already doing to keep things running smoothly. It is is quite a lot to ask. Remember they are people like you and me and are also pressed with their own concerns for the same, or similar things as you. Follow the guidelines provided by the CDC and stated above and remember that, in many cases, shop time counts as social distancing. If you're worried of the things you're making harming someone, follow the necessary cleaning procedures and your customers/family will have nothing to worry about when it arrives.
-
If one has such a contact, that may be slightly more efficient than the swing and pray method I have described
-
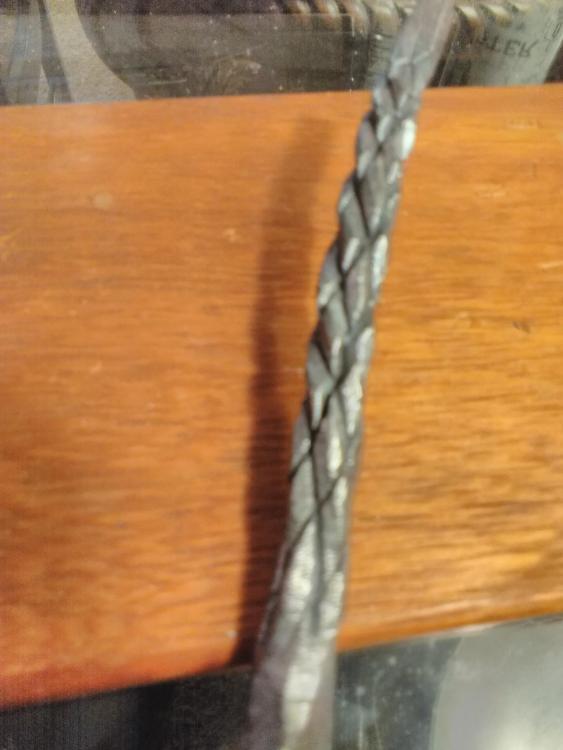
Well in that case, *disclaimer: for entertainment purposes only* And in the beginning there was steel. Formed by quite industrious fellows under the oversight of... *insert expansive and eloquent dissertation pertaining to the character of the societies/organizations/institutions responsible for defining the metallurgical standards by which various material properties are achieved* Then came the shadow, cast upon the fruits of these men (and women's) labor by an enclosure which had been formed from the carcasses of pulverized trees. For 3 days the darkness remained, while the contents lay nestled in a bed of compressible materials, safe from potential harm during the treacherous journey. Finally, upon reaching it's destination, there was light, and these fruits were removed from their safe resting place and placed firmly in the rigid jaws of a vise. Promptly, and with all of the precision that can be achieved with a hacksaw, the materials were dismembered and stacked, separated from its former self by the thickness of its neighbor, where they were together electrocuted quite intensely. By now the base brute, who was now their keeper, was wielding a blunt instrument. He cast the conjoined materials into the fire from which they were formed. And here they lay. When it seemed the heat was almost unbearable, they were removed from the fire. As the brute faced due north, and while muttering an incantation of sorts under his breath, they were struck. Pressing their faces together with such force that they had no choice but to join together to resist his blows. The beatings persisted, and only ceased when the heating resumed, or to be once again dismembered and rejoined with it's former self. And in the end, abrasives. Such a collection of abrasives that it would be impossible to recollect them all. All the while the brute continued to mutter his incantations. Although they were quieter now, and they were directed at the material itself. The same material which he had abused so mercilessly before. If you follow the steps performed by our anti-hero, and perhaps add a few of your own, you may indeed create a similar pattern.
-
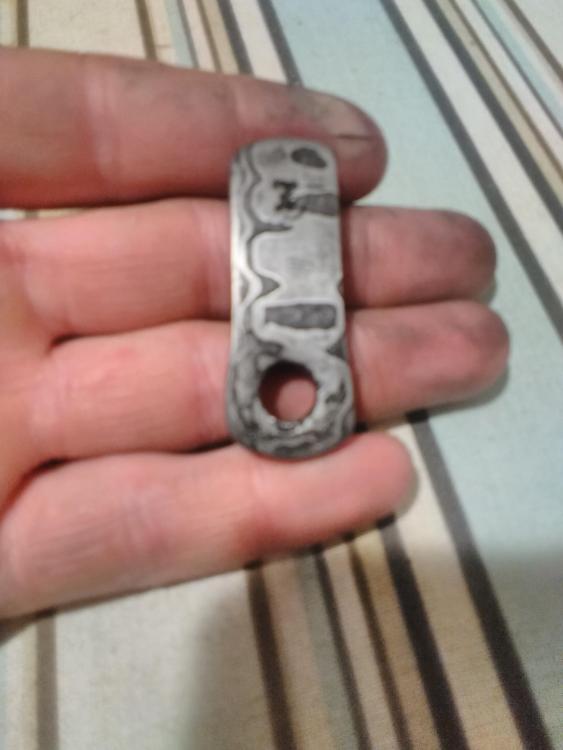
Thanks, I admit it was by chance, and not what I was going for initially. I had filed down through the layers with a round file and flattened out the tiny billet (like a ladder pattern). However, I have at this point sanded through all that and this is what was left.
-
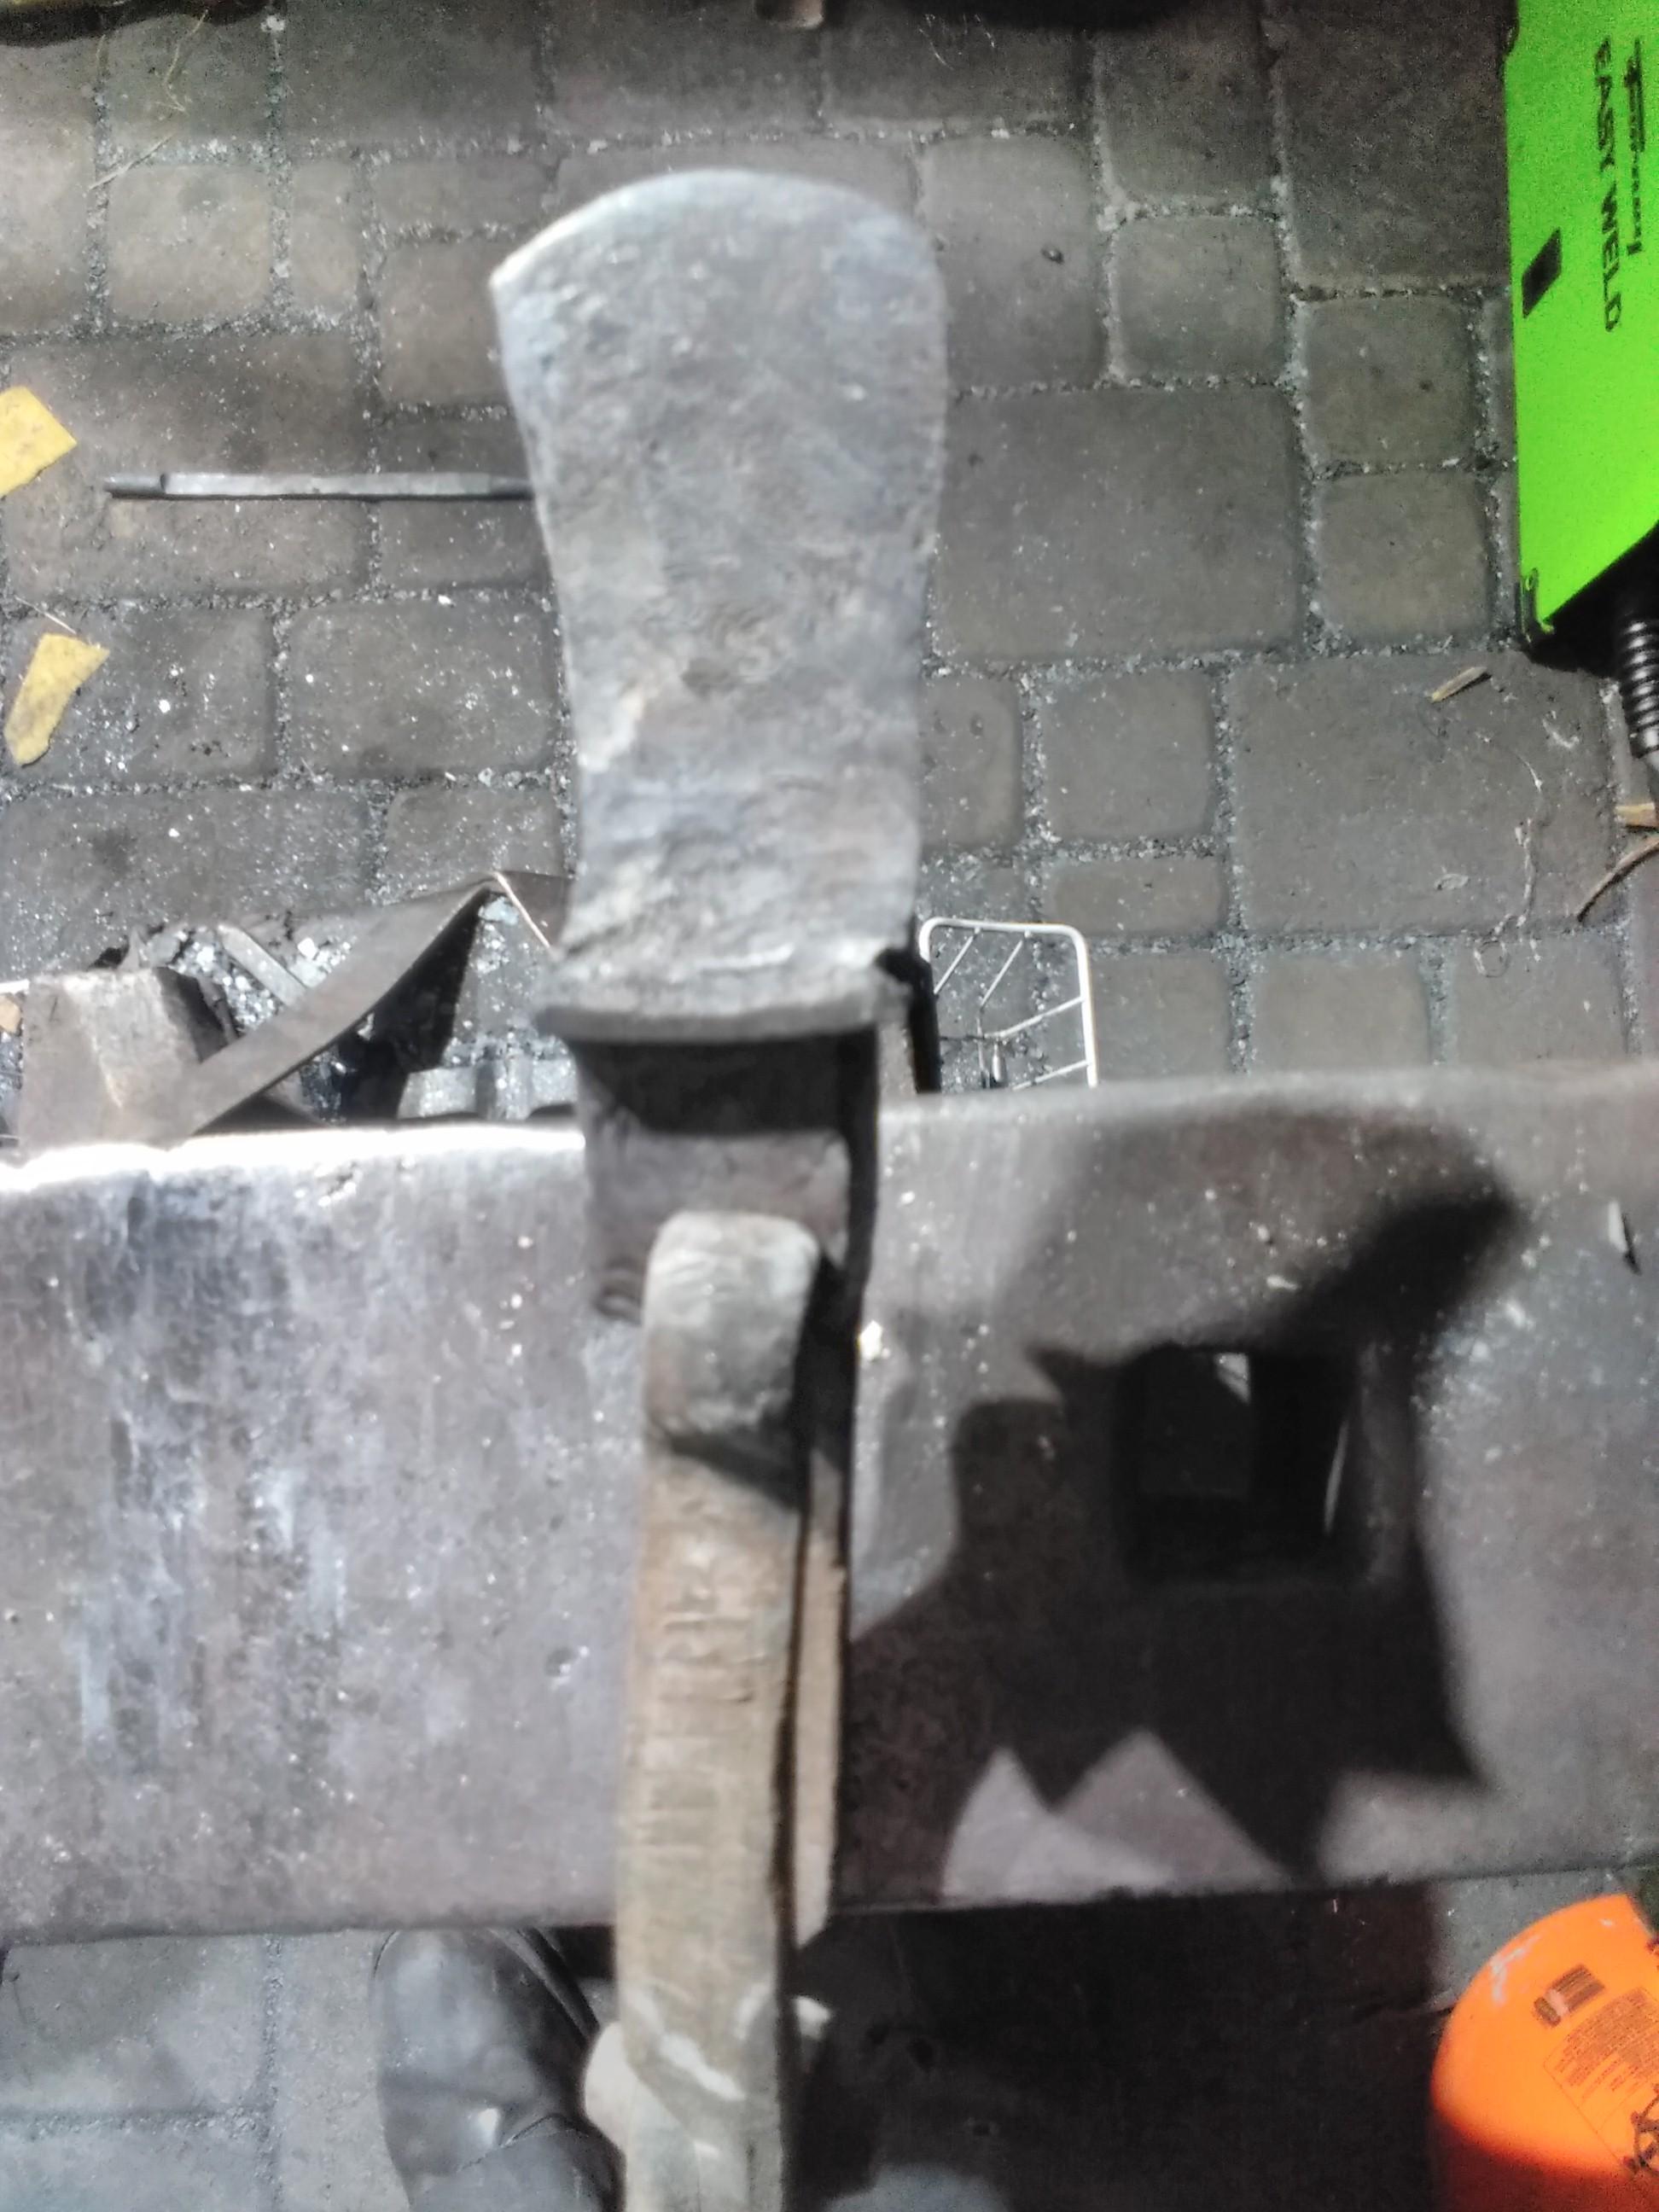
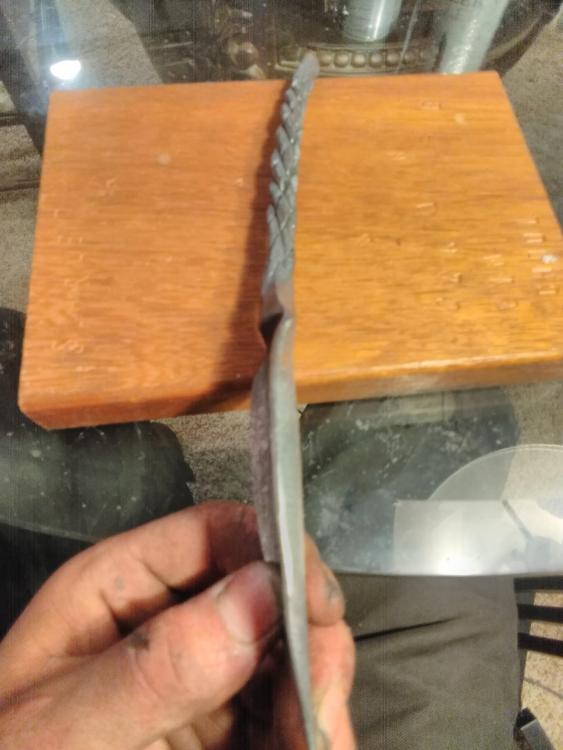
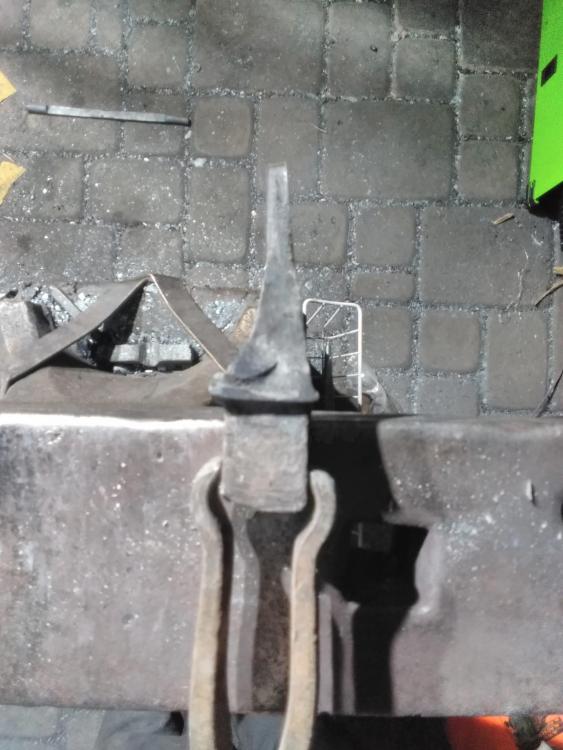
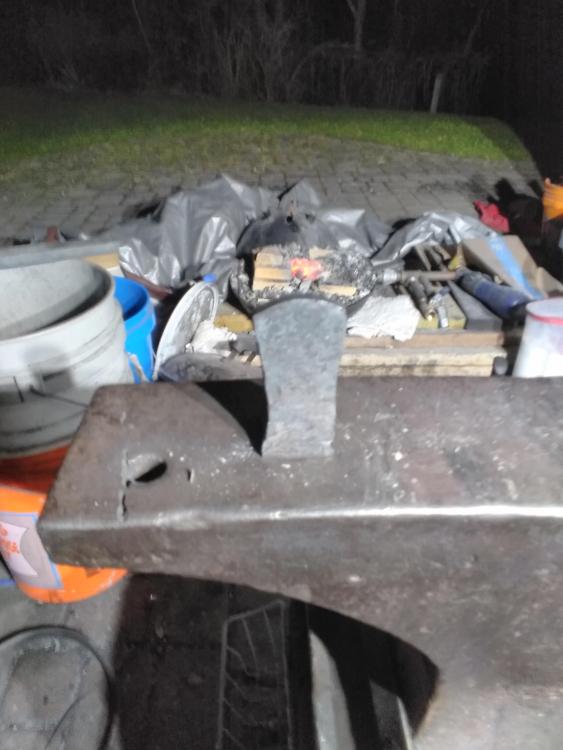
Finally began the somewhat daunting task, in my opinion, of making a hot cut hardie for my anvil. Certainly the biggest piece of material I have worked on (my anvil has a 1" hardie hole) and my little forge was actually was able to keep up, which I am happy about. Started with a 3/4" sq drop 5 maybe 6 inches long I had picked up at the steel supplier (they have a huge collection of miscellaneous drops they sell by weight). I upset it to 1", plus a bit, square then formed the shank and flattened out the rest to make the what will be blade. Then cut a slot down the middle, made a wedge with some 1/8" 1095 and forge welded that in for what will be the edge. I don't think this is necessary, and I'll have to temper it back significantly to avoid potential shrapnel, but it was fun. I've never tried that before. It's not very pretty, but it was quite a lot of heavy hammering, and overall I'm happy with the result. Tomorrow I'll put an edge on it, heat treat, and it will be put to good use. My angle grinder has been doing all my cutting up to this point, but it's loud and my neighbors already put up with plenty of noise. My brothers knife is coming along nicely, still hand sanding, but I couldn't help taking a peak at the pattern now that I'm getting close to final thickness.

-
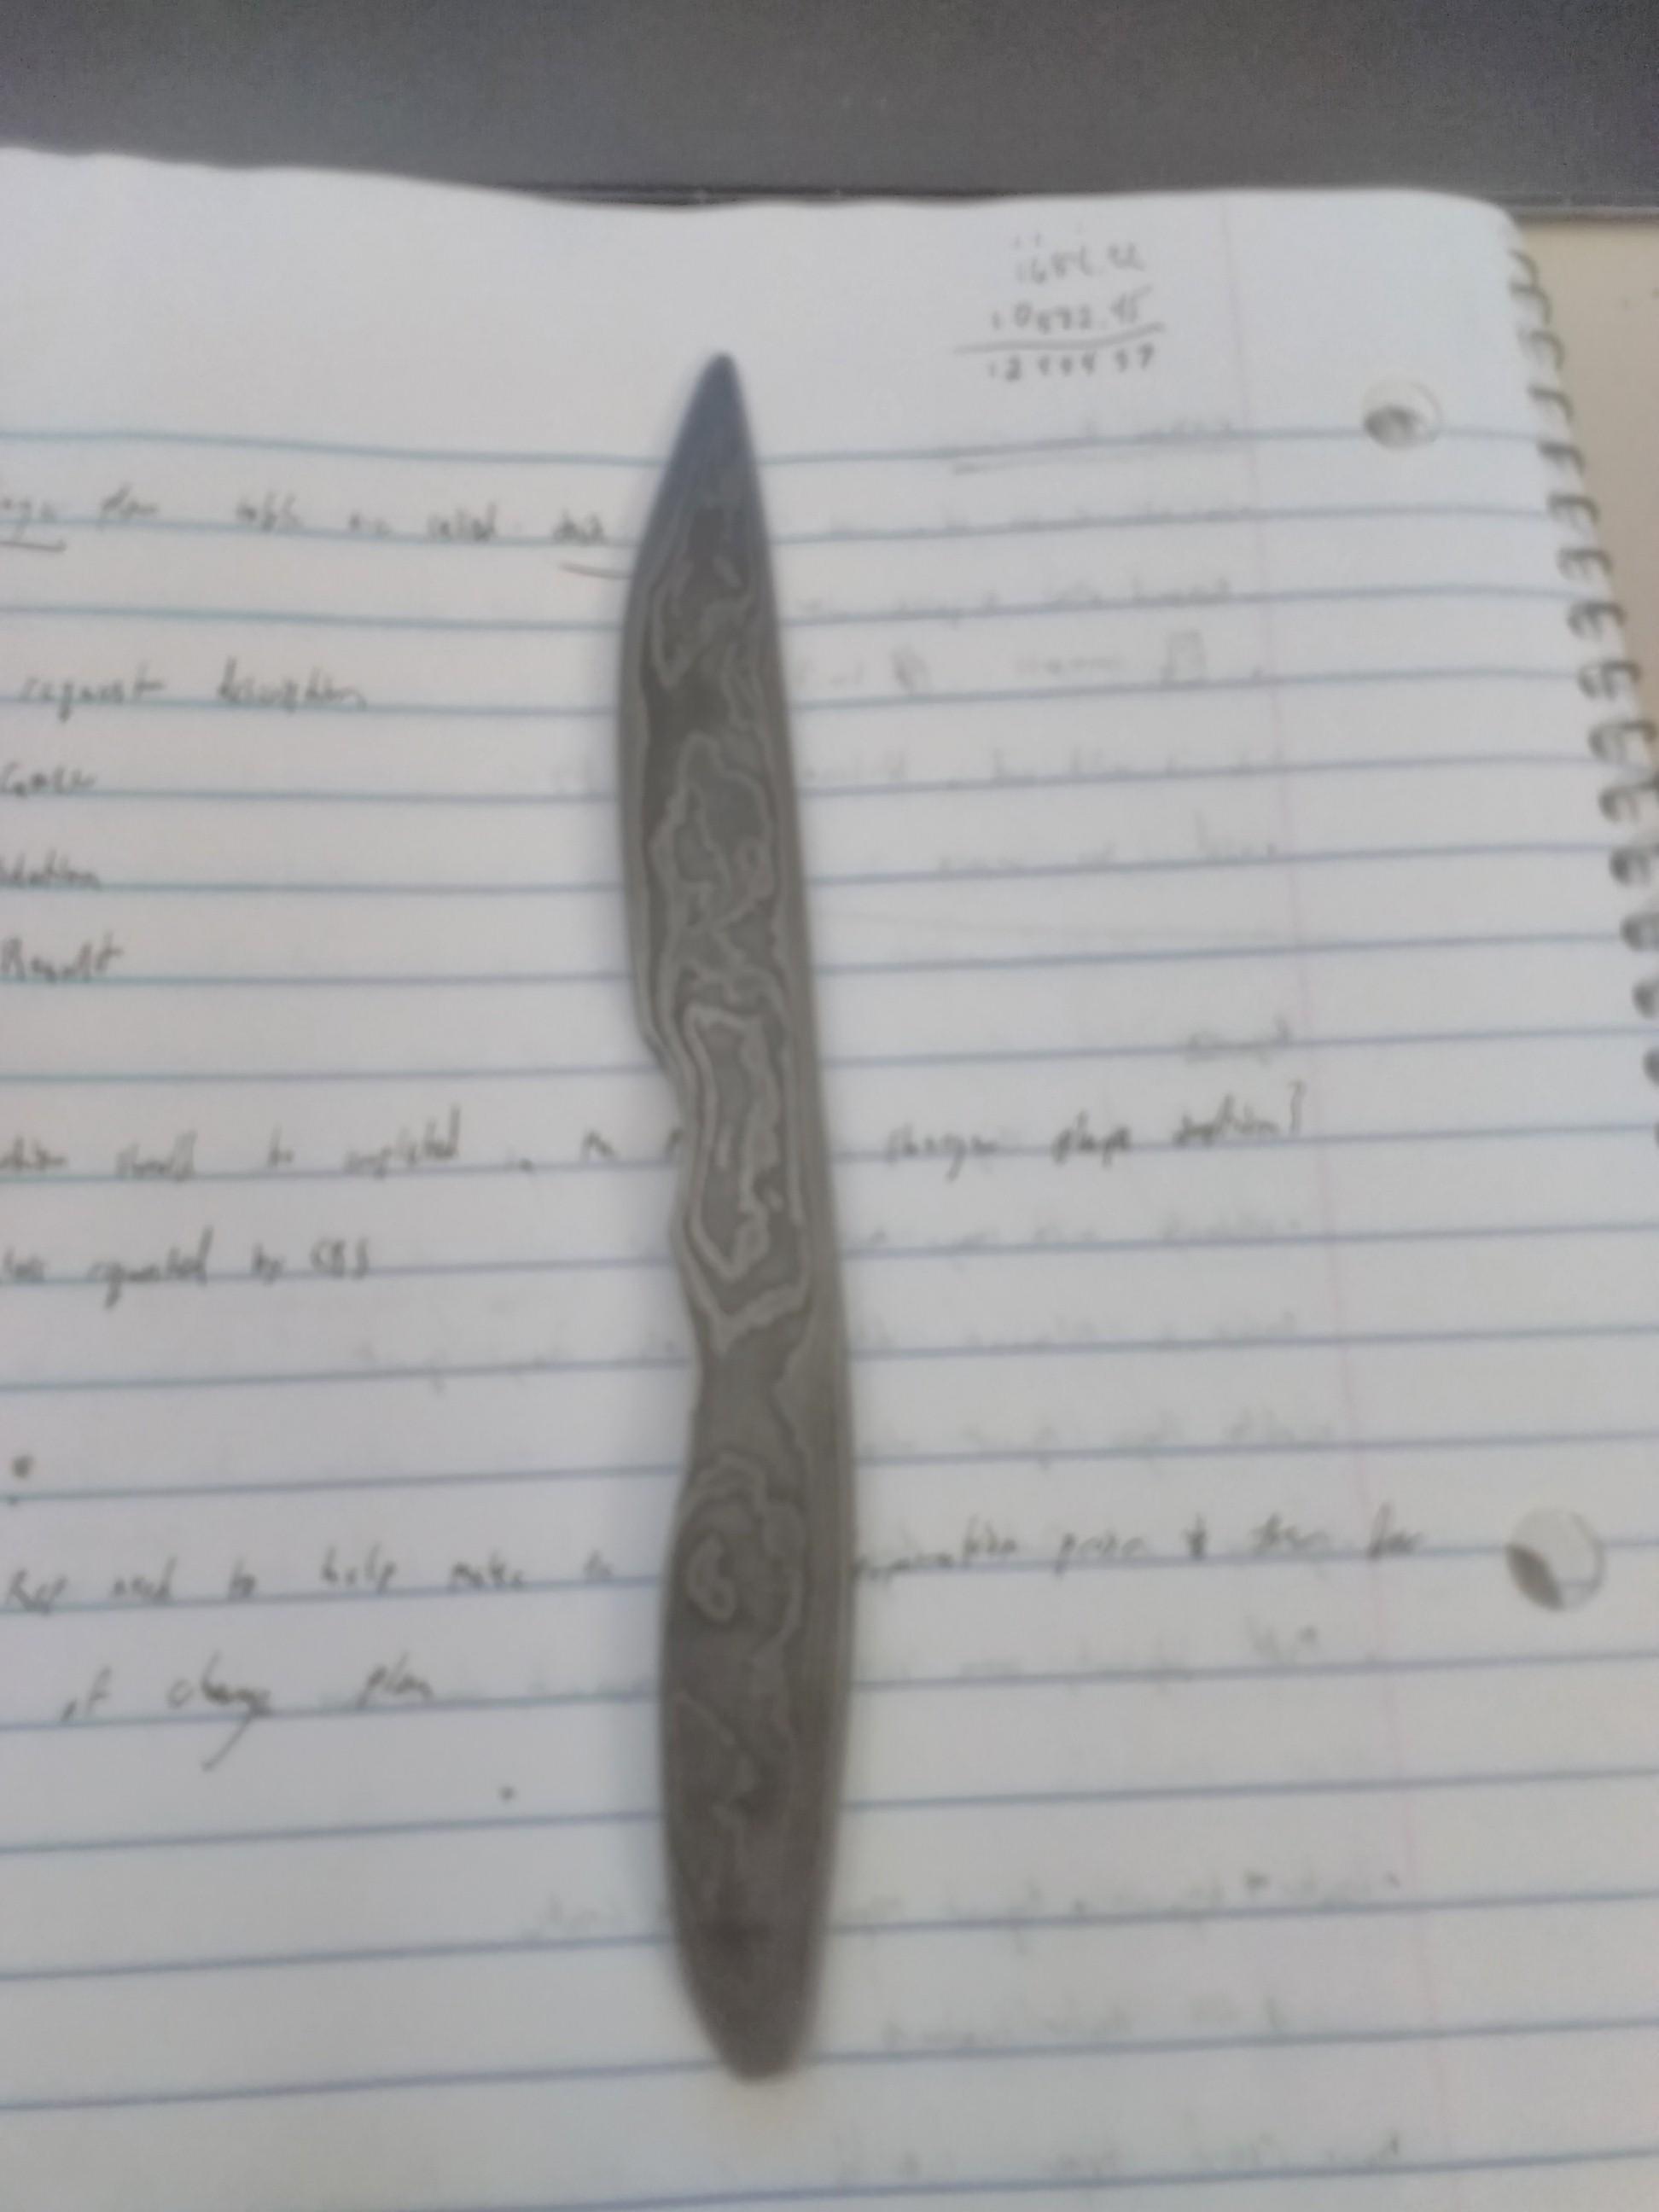
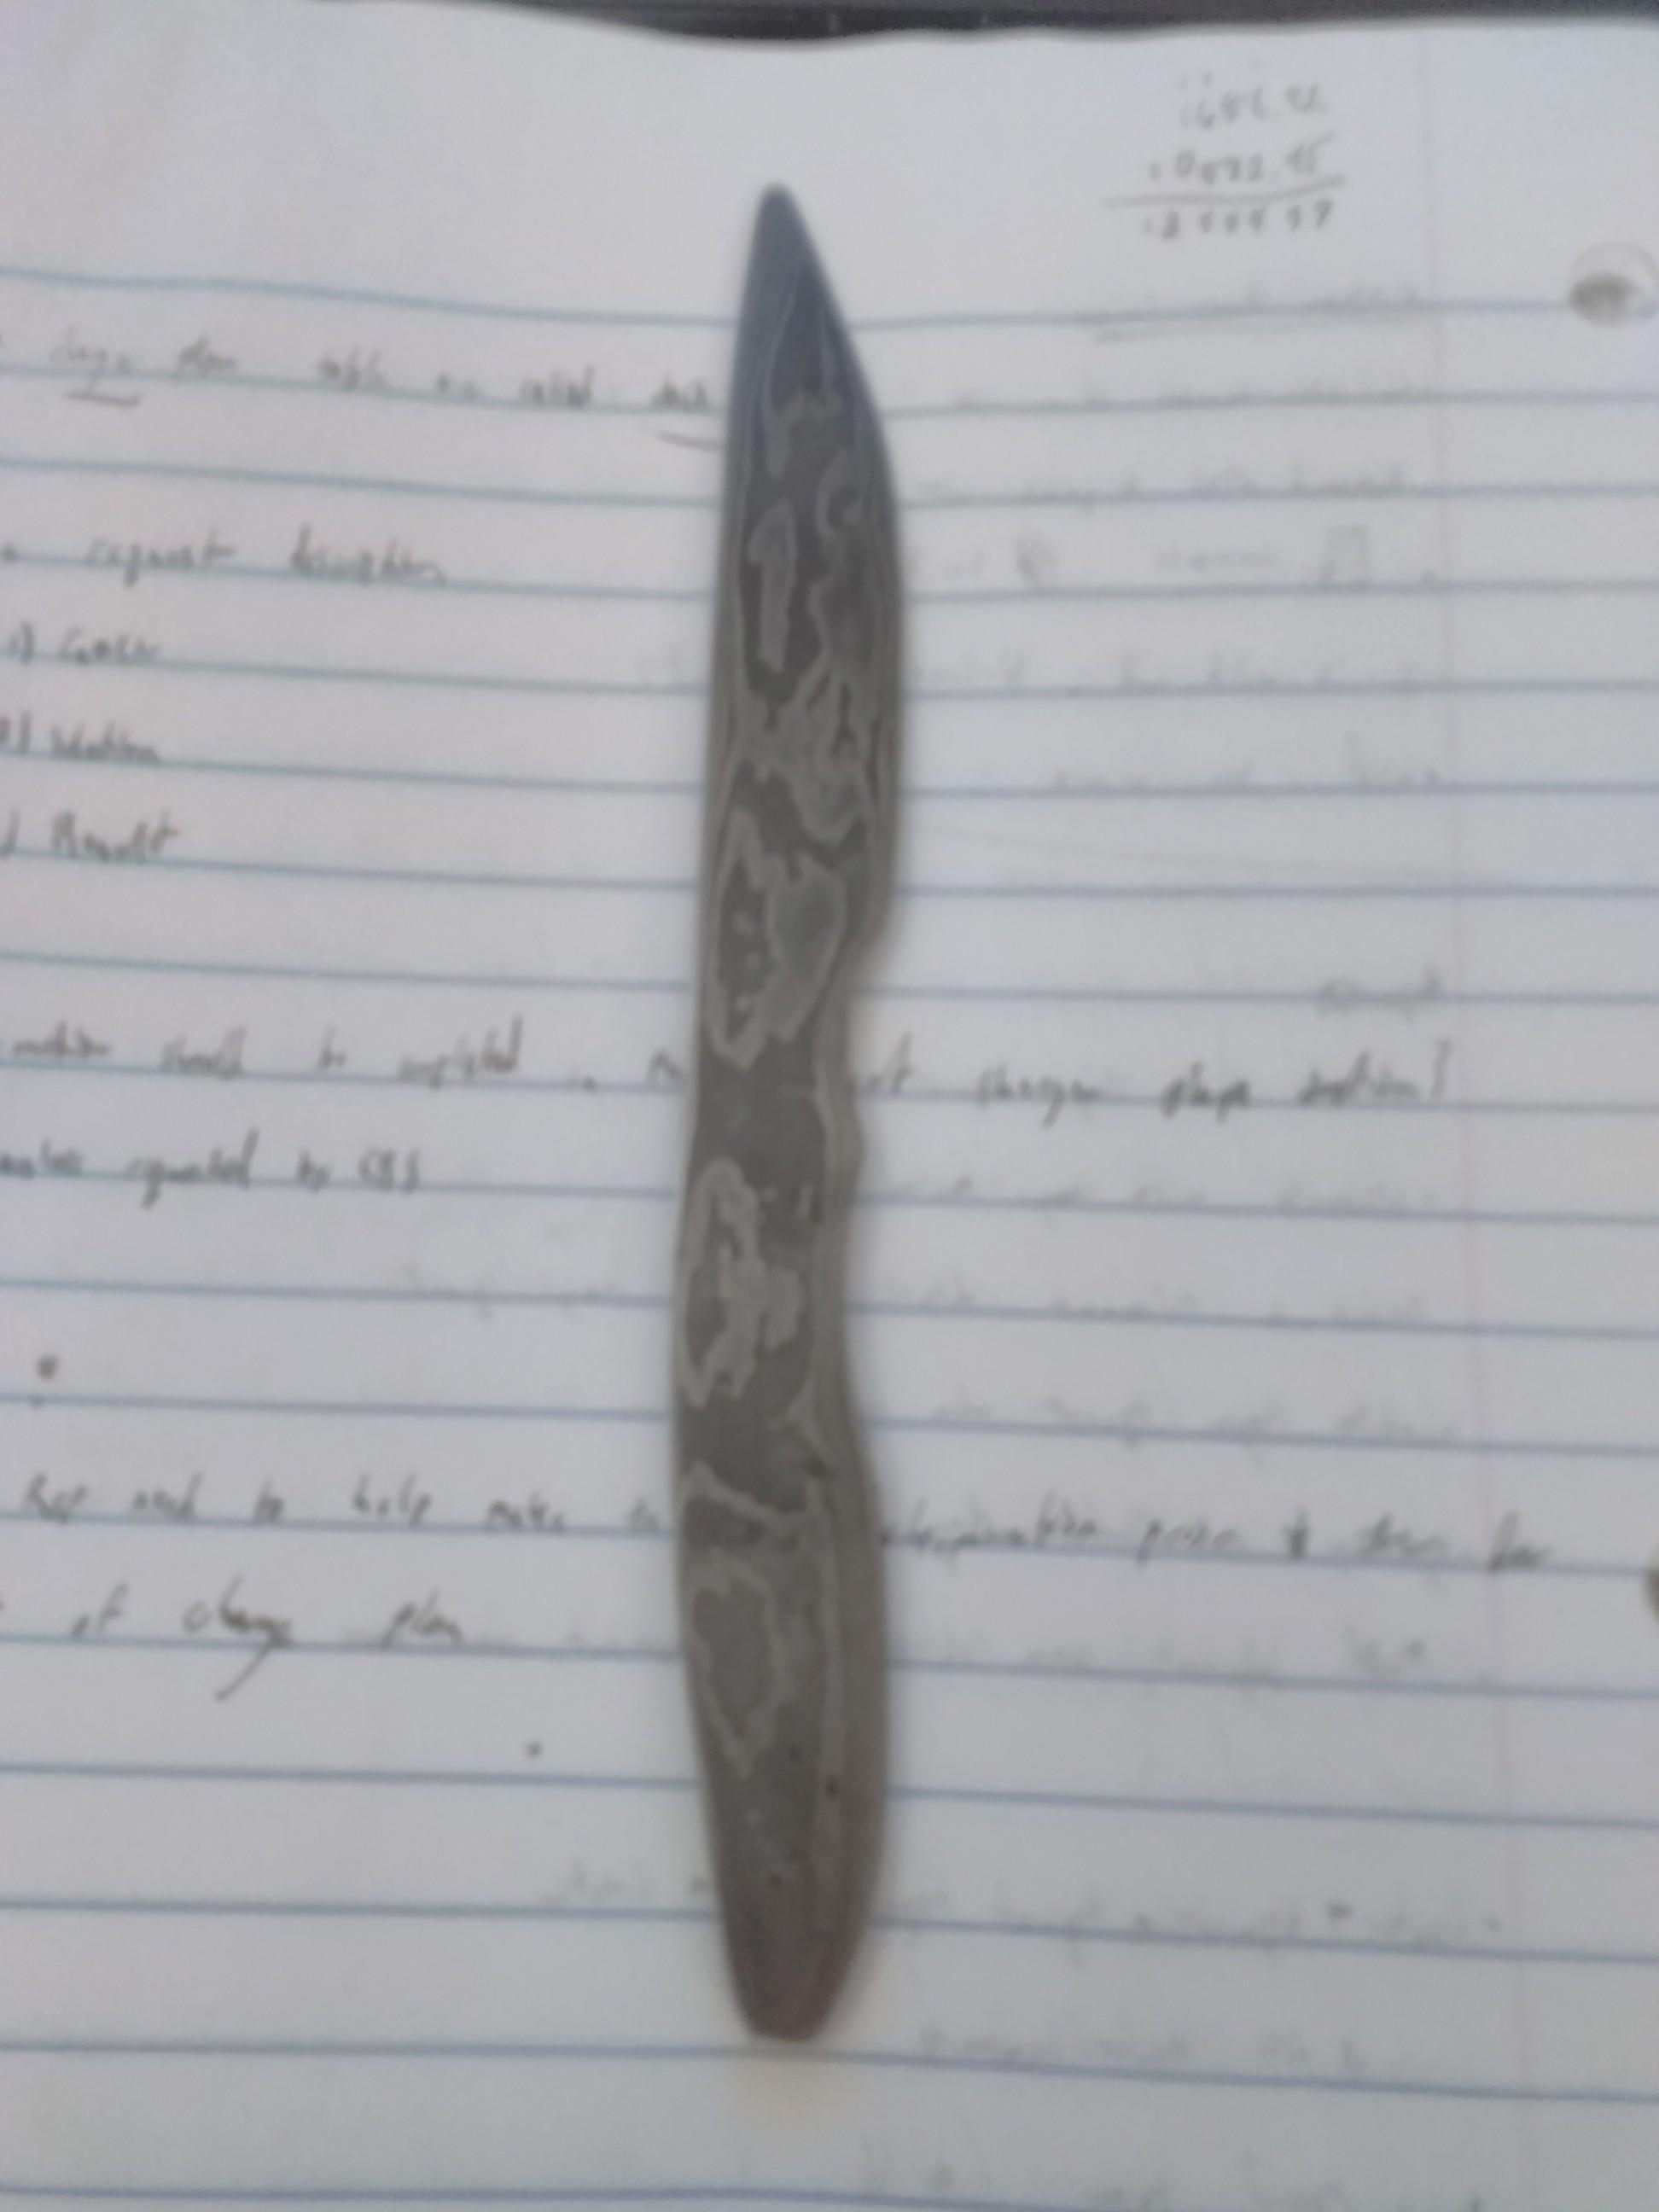
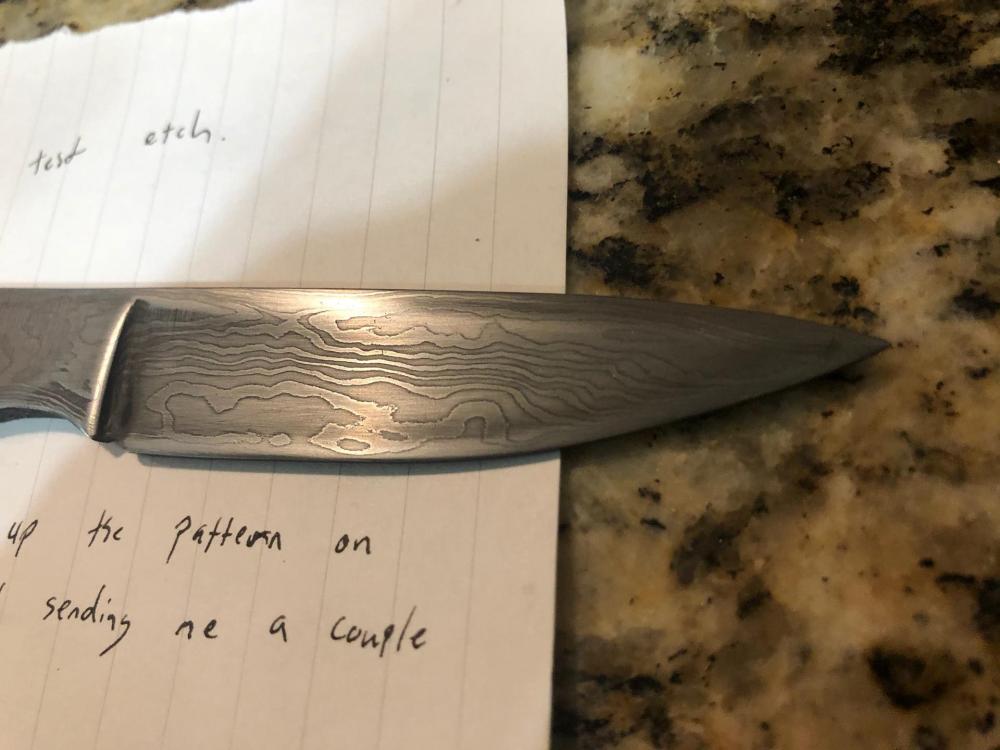
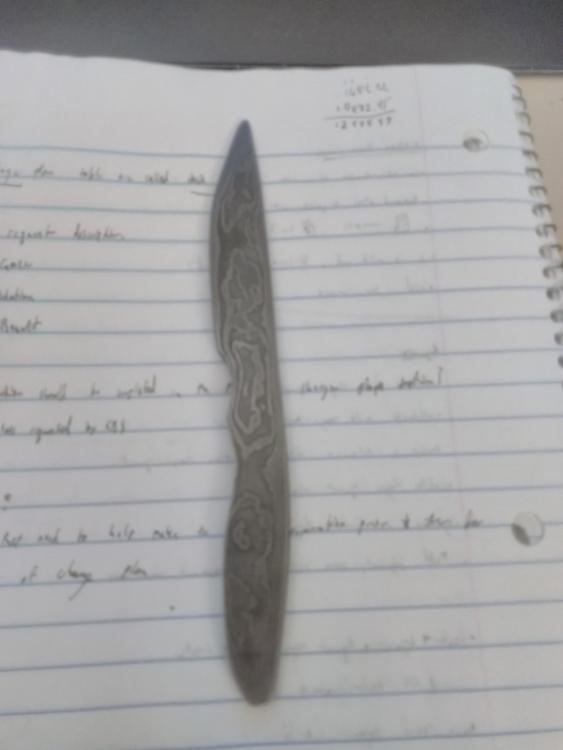
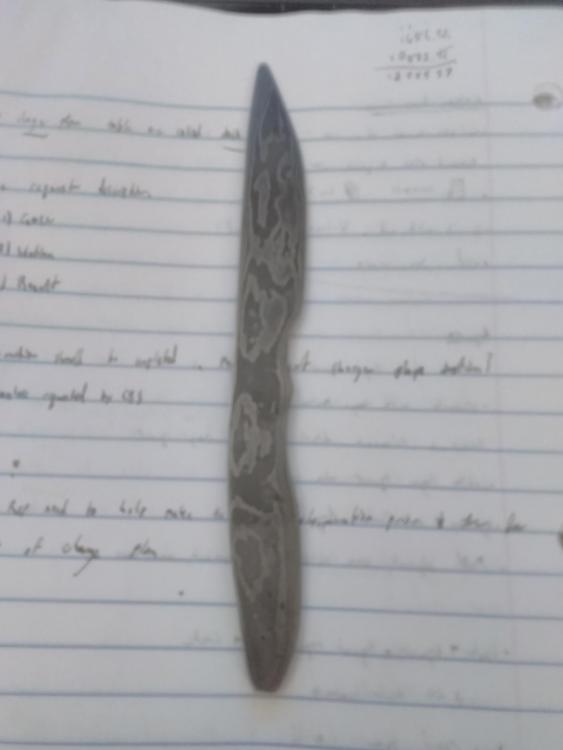
Starting stock really depends on the tongs you're making and how beefy they'll need to be, but I usually start with 5/8" round, sometimes 1/2" square, mostly because I have a lot of it. You could probably get away with smaller, certainly can get away with bigger, it just means you'll have some extra hammering to do. There isn't really a set rule as to what to use. Square or round or bar, doesn't really matter to me, as long as there is enough material. As a general rule I don't like to forge anything using rebar, as it is a very heterogeneous material. I've used scrap pieces and had something unexpectedly harden when quenched in water, then break on me, while the next section not 6" away wouldn't harden. It also seems to tear itself apart if overworked. It's hard to work with a material when you don't know how that particular piece is going to respond. Not to say everything made with rebar is junk, far from it, I have just found it a lot easier to work with a piece of steel straight from the supplier, especially after finding it to be so inexpensive. I think a 20' length of 1/2" sq was something like $18-$19 from the supplier that was about 30 miles from my house. Of course your mileage on my comment may vary. Oh, and if you don't have much luck at the scrapyard looking for something that may be 1045, A railroad spike should serve your drifting needs. I use them all the time. Spikes with an H stamped on the head should be around 0.3% carbon and will harden slightly when quenched in water if you like. But in all honesty none of my drifts are heat treated at all, they would all loose their hardness by the time they got half way through anyway. *Edit I didn't see you're in Sweden, so railroad spikes probably aren't the same there as in the US, or they aren't quite so easily found. Anyway, got to shaping out a little knife for my brother using the little piece of damascus I made. I certainly won't be getting into a habit of making damascus, it takes a LONG time with my current setup and I'm more than happy with my good old mild steel. I probably have at least a week and a half in this already (it wasn't the only thing I was working on). Still, welds are seamless and after a test etch I'm really happy with the pattern for my first go at it.
-
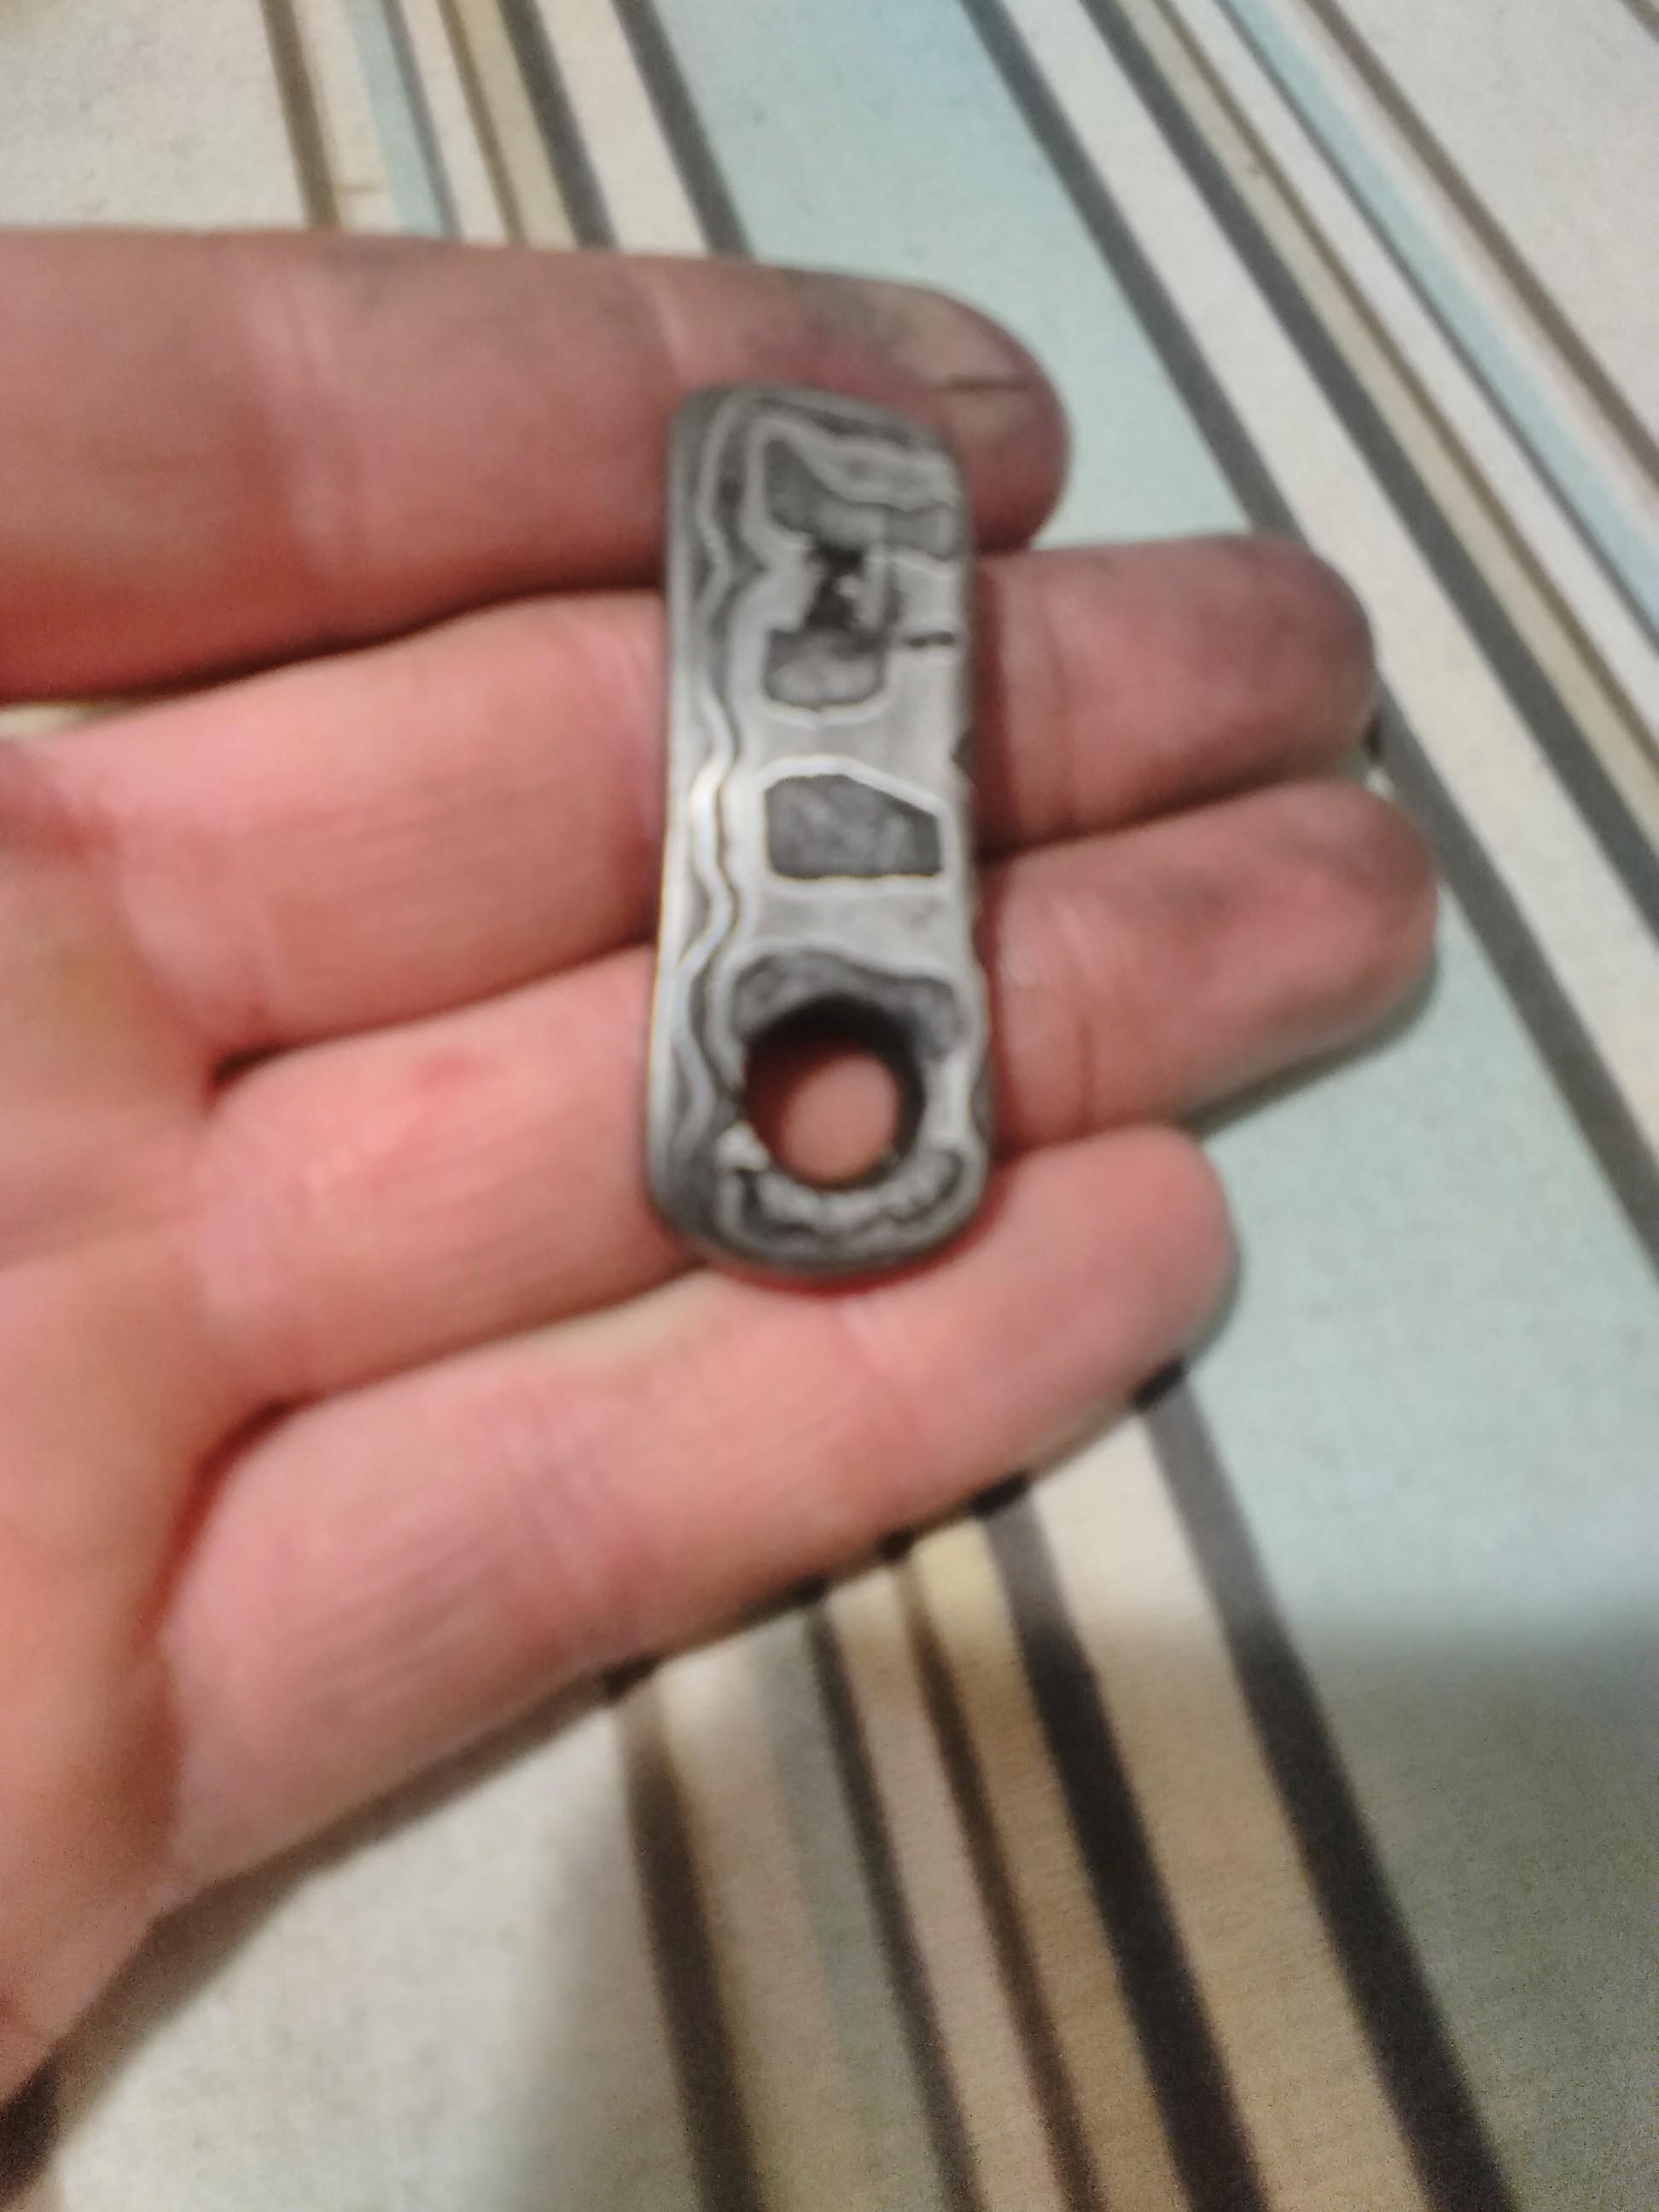
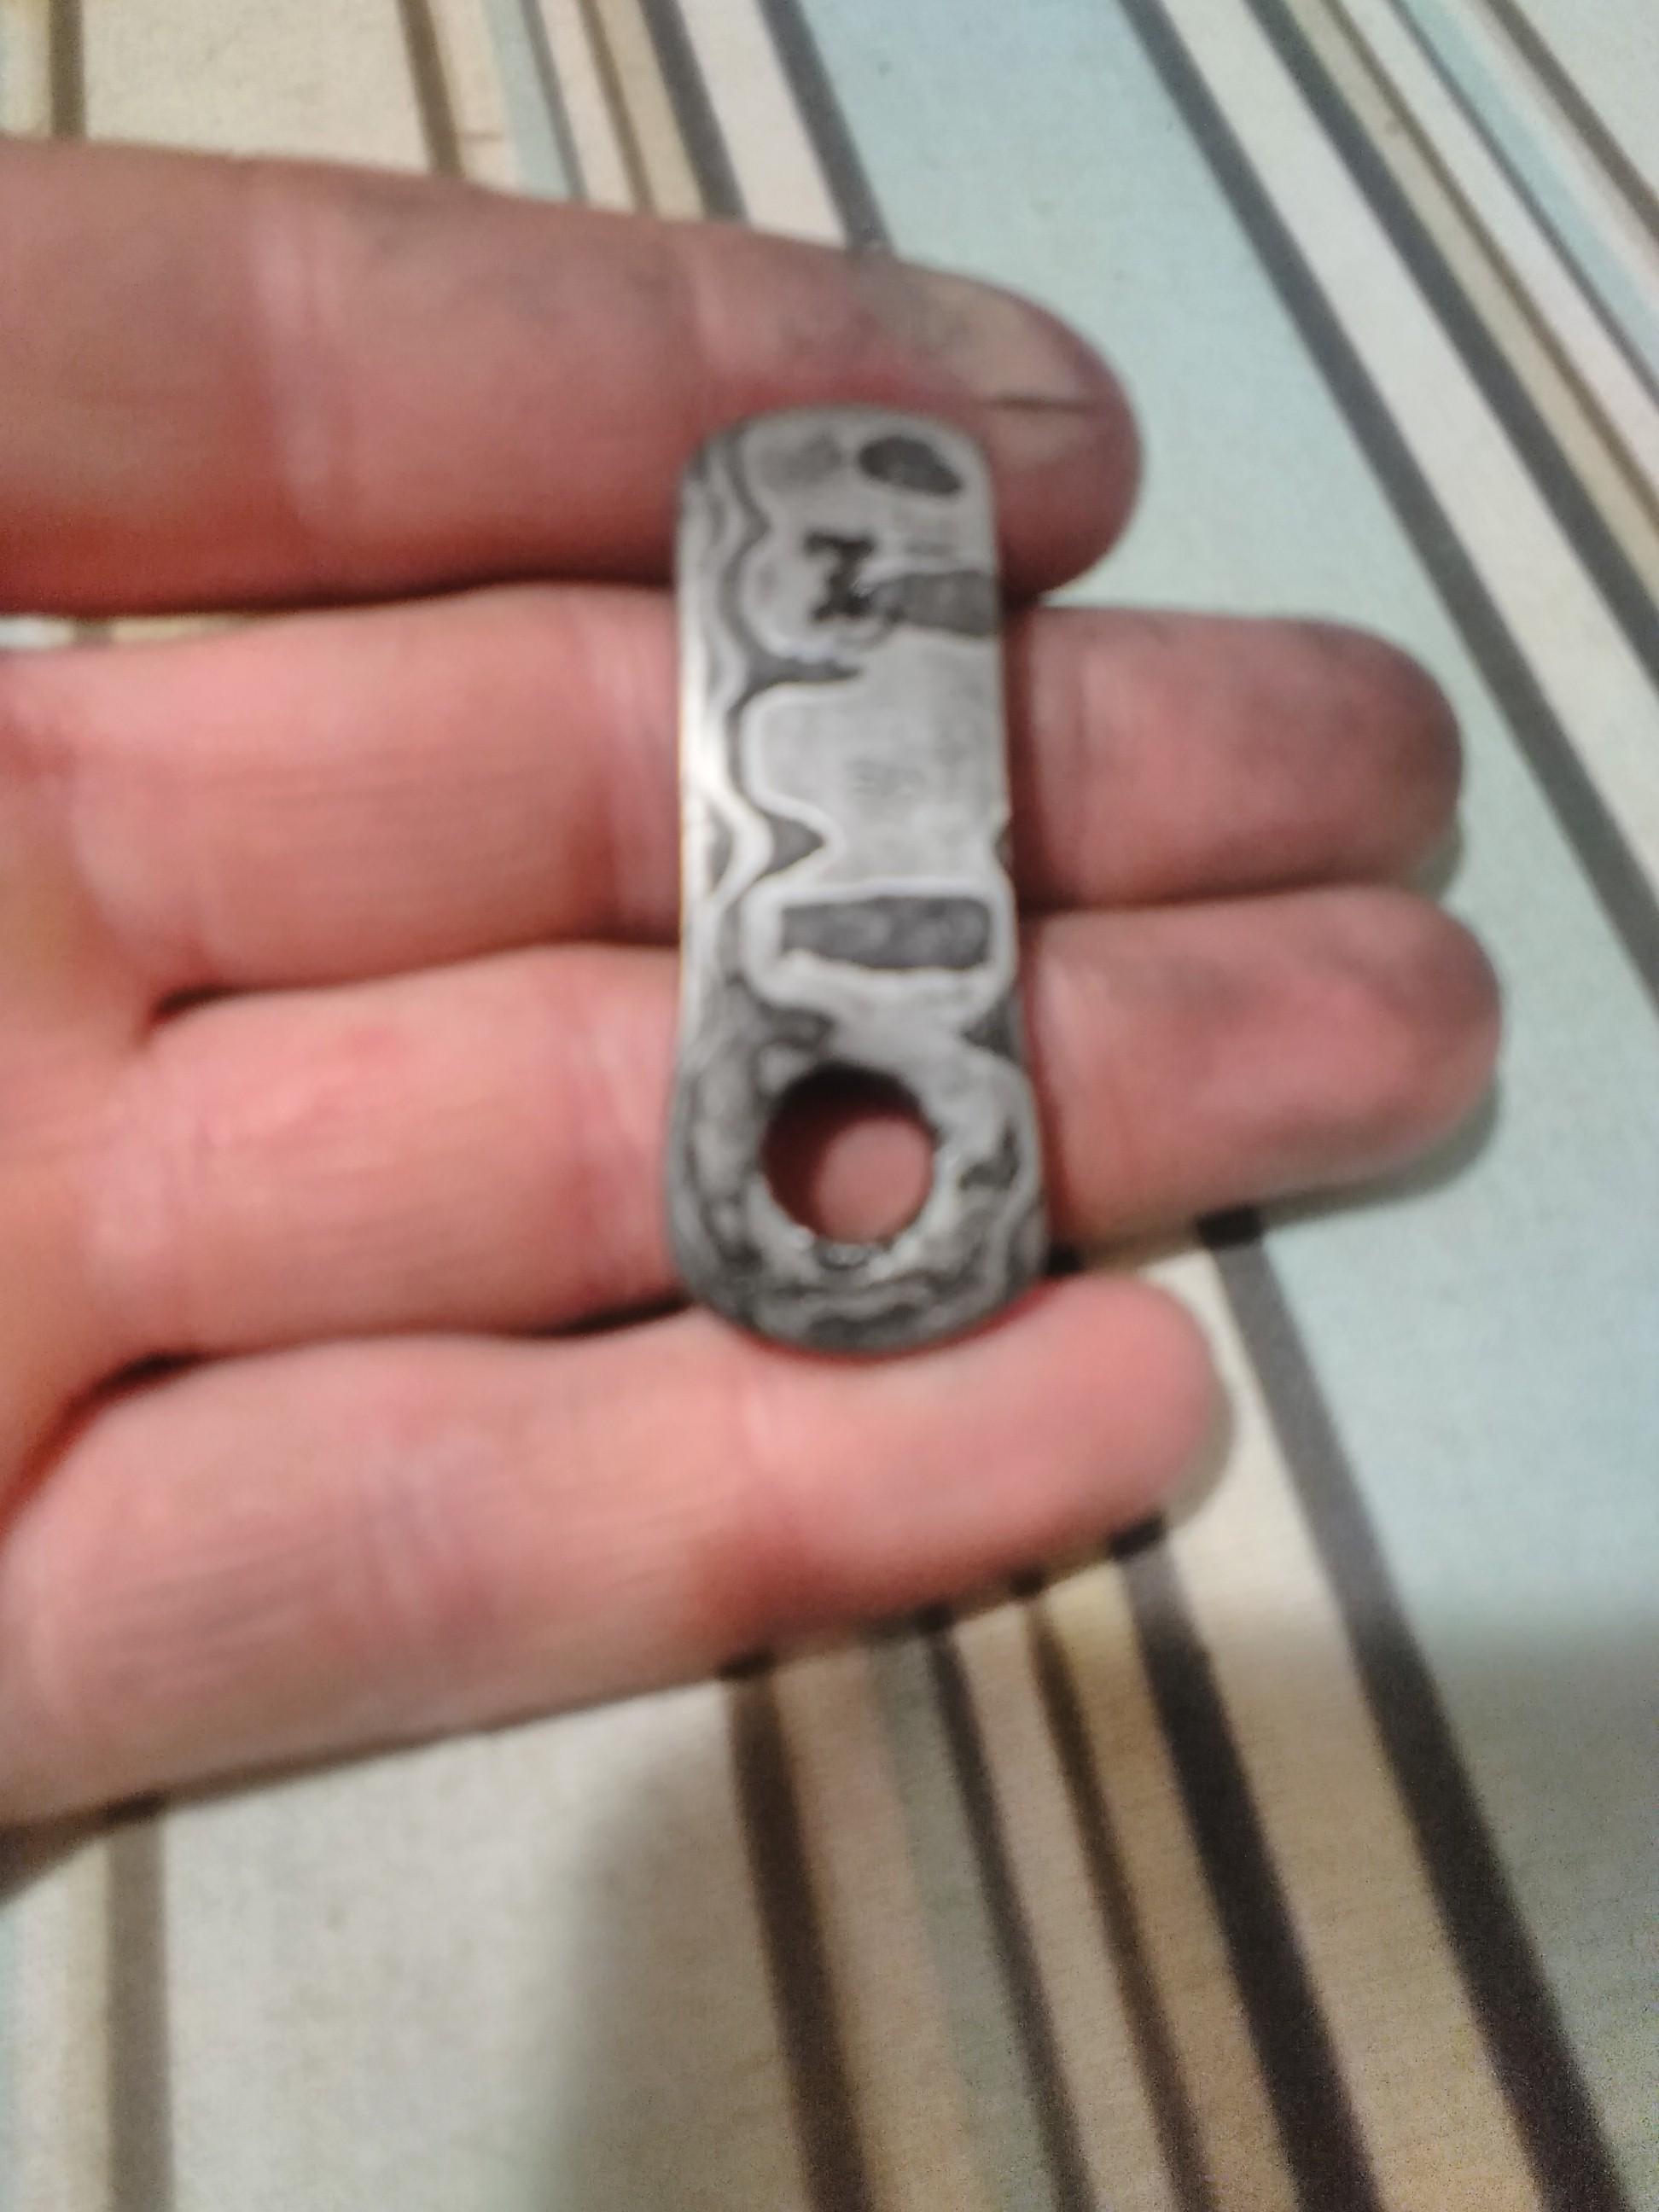
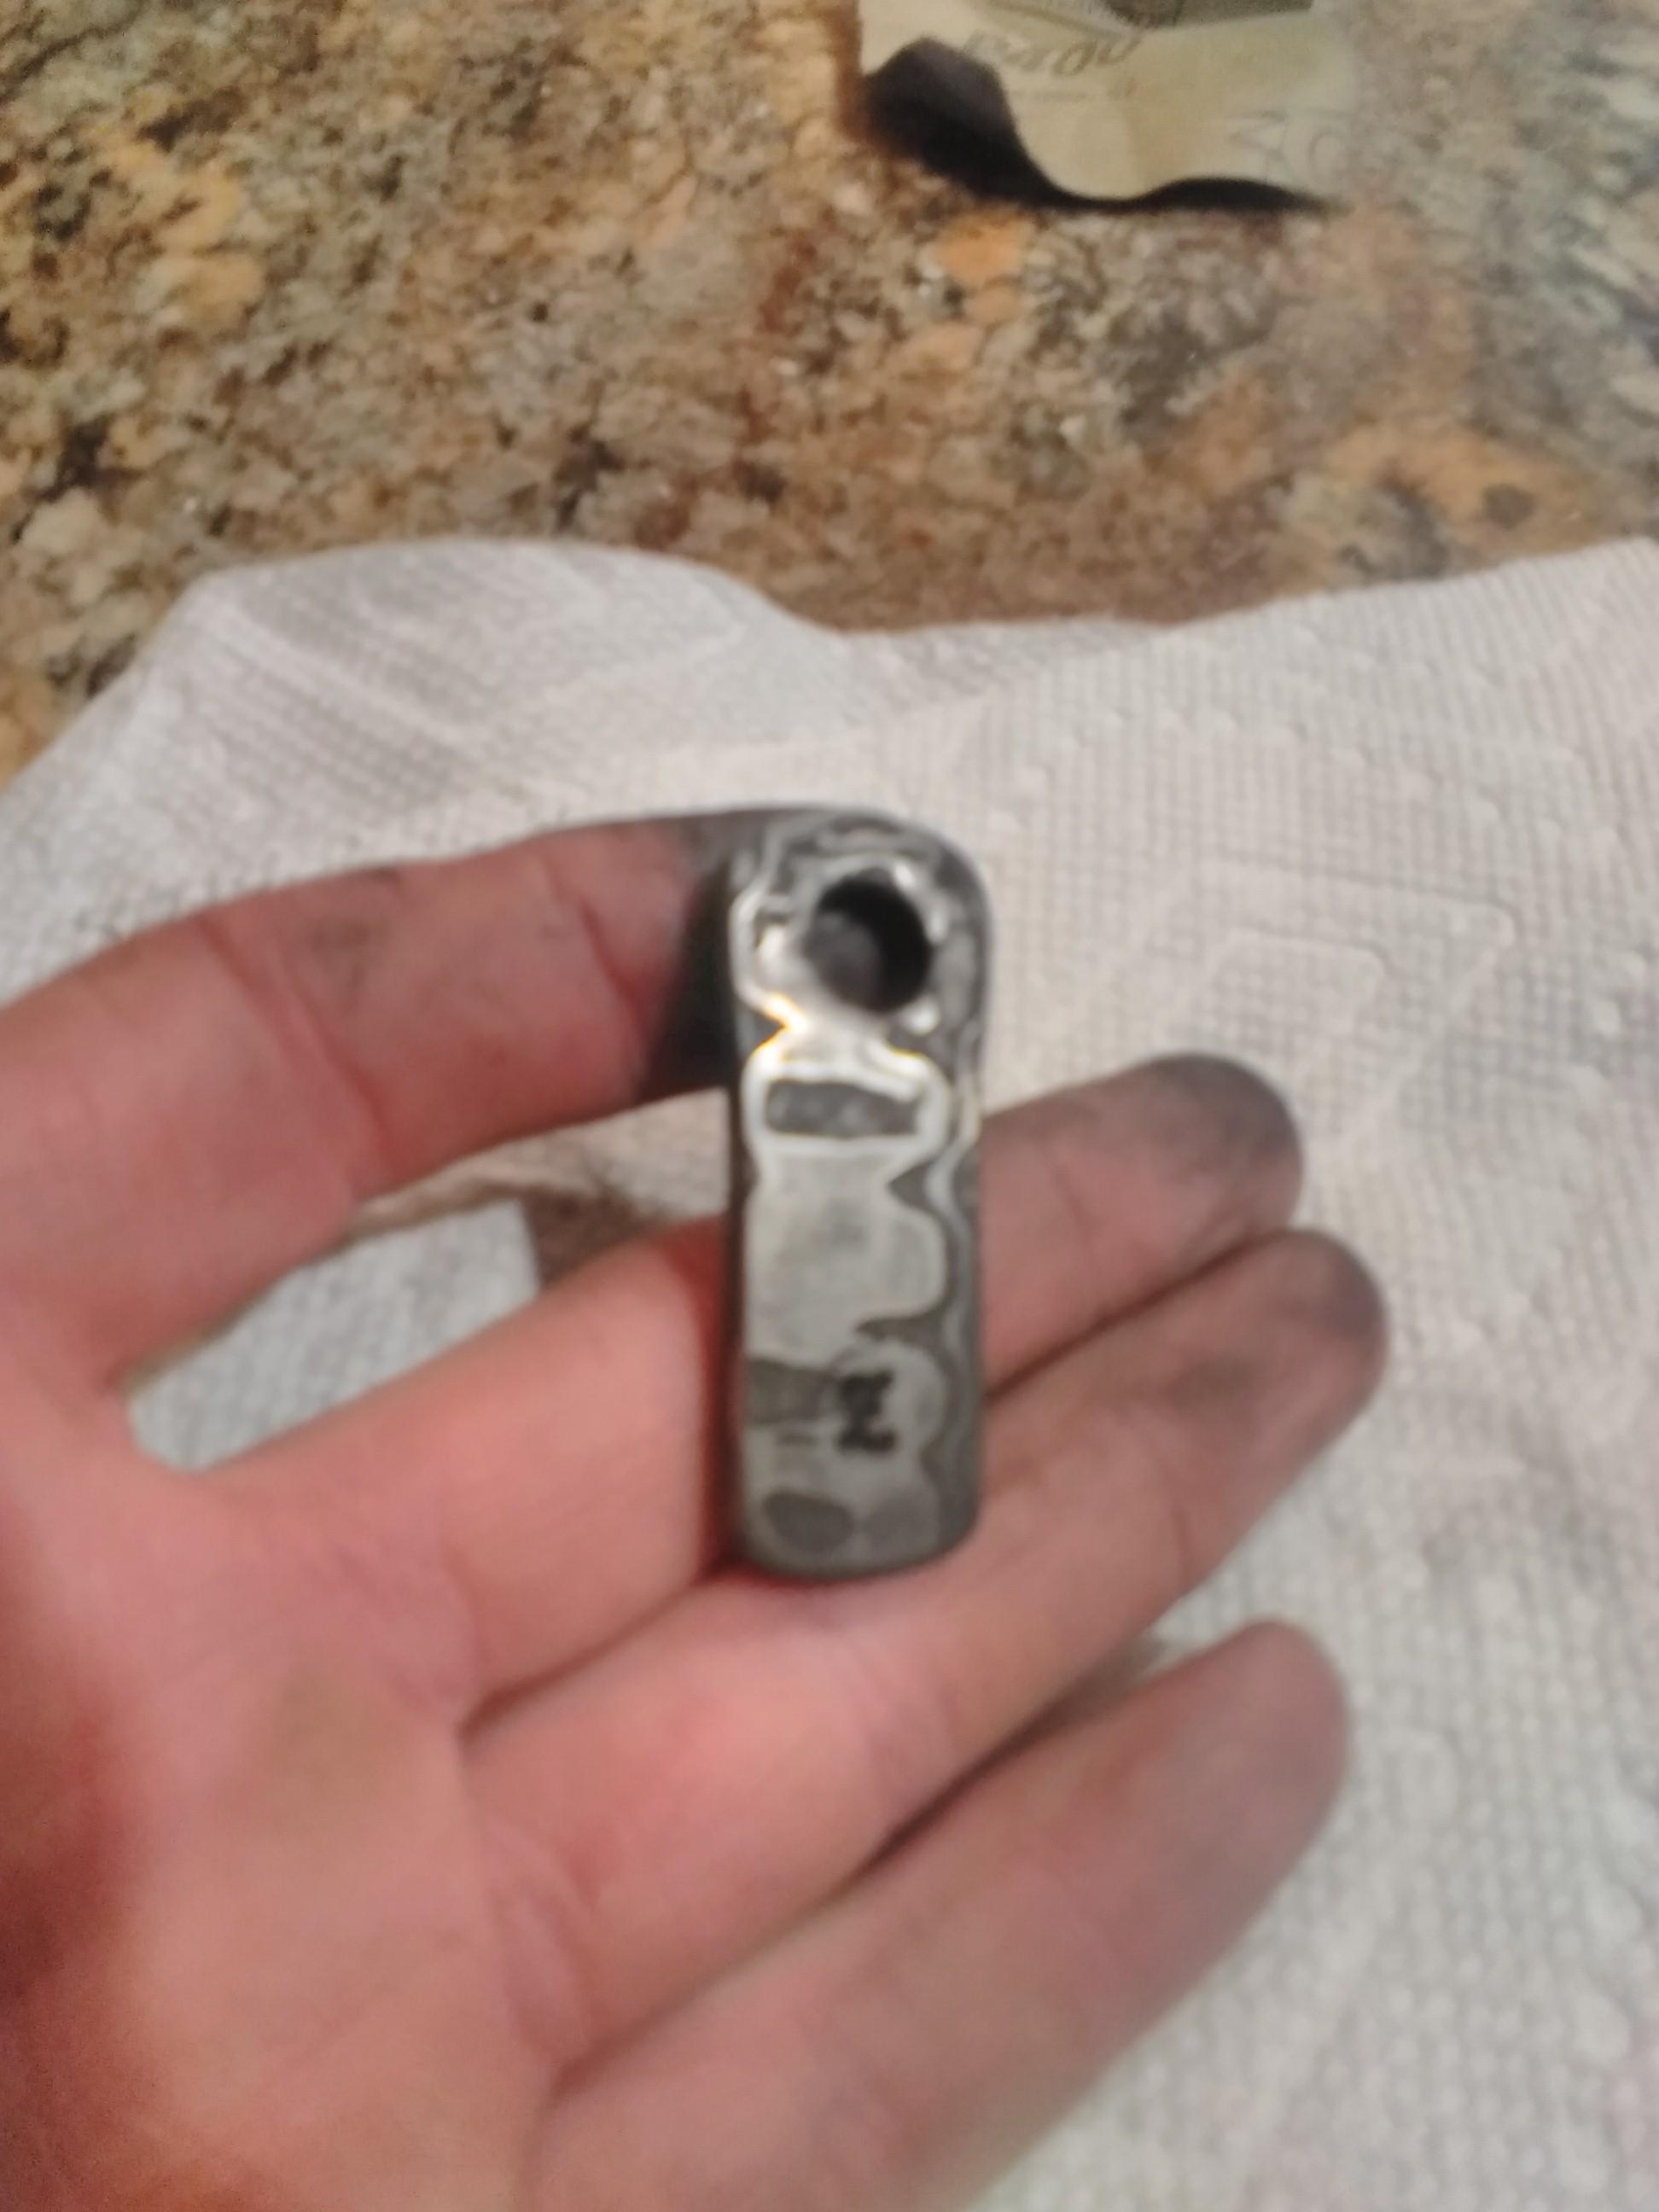
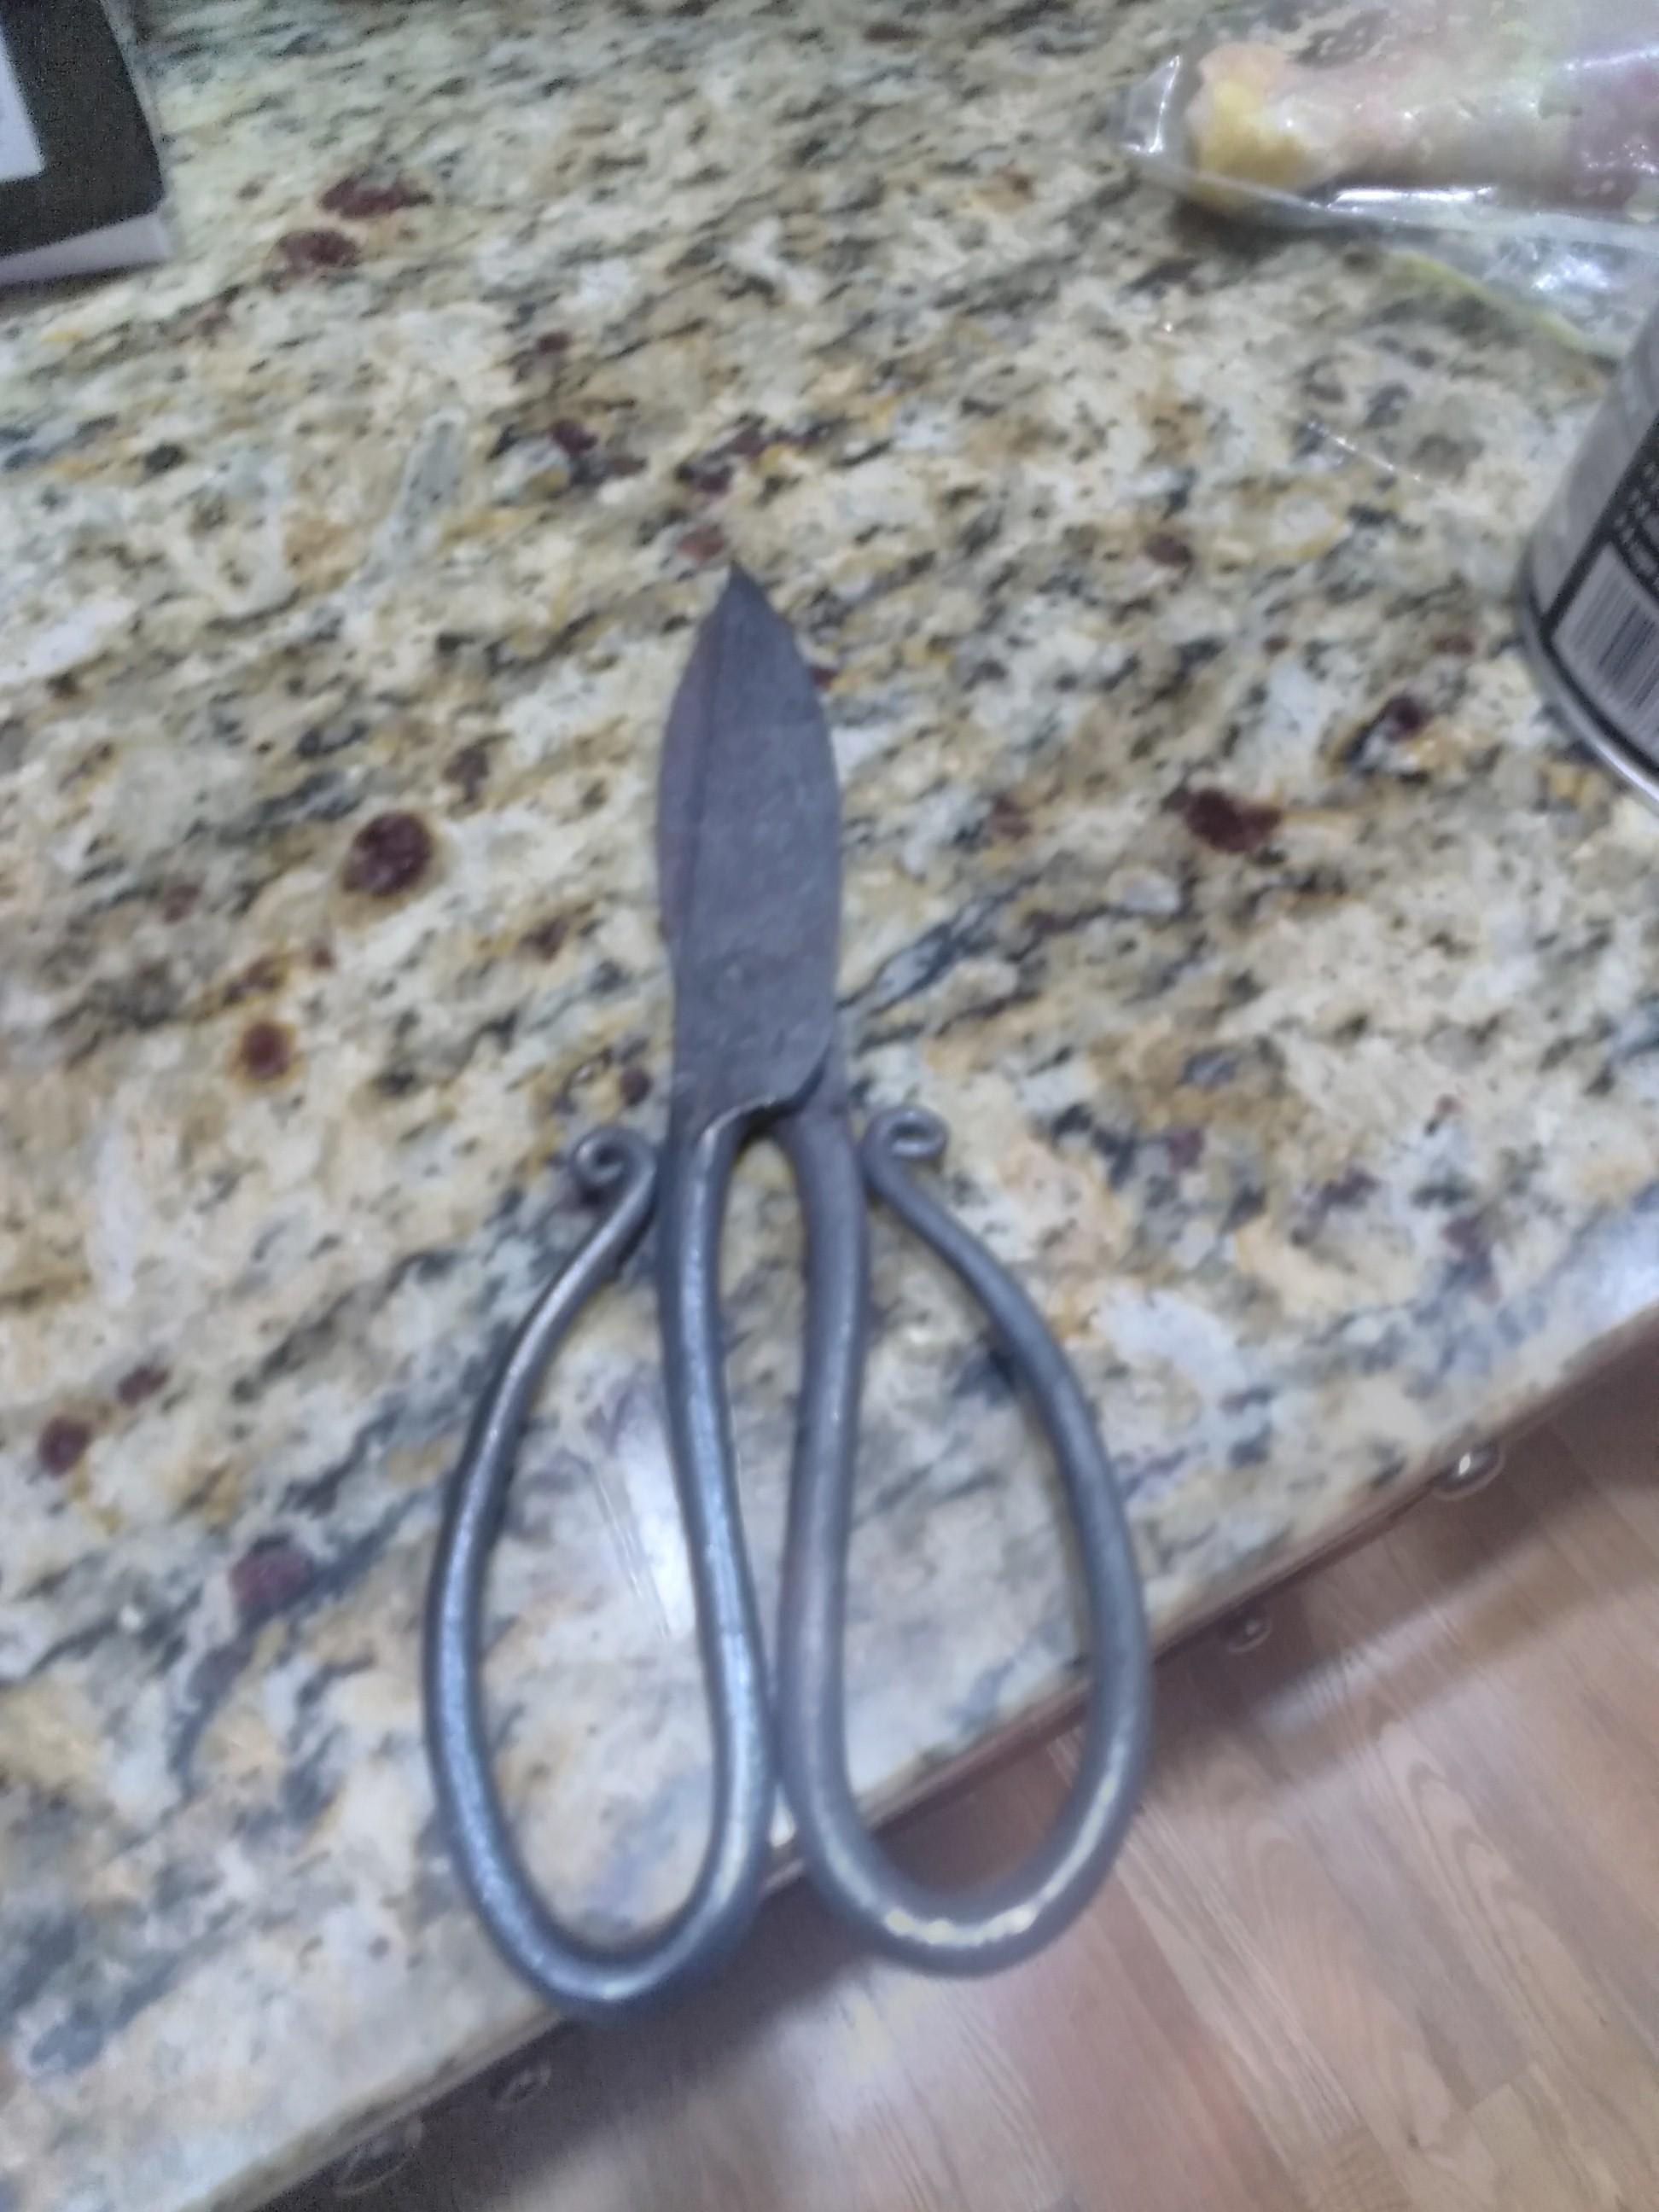
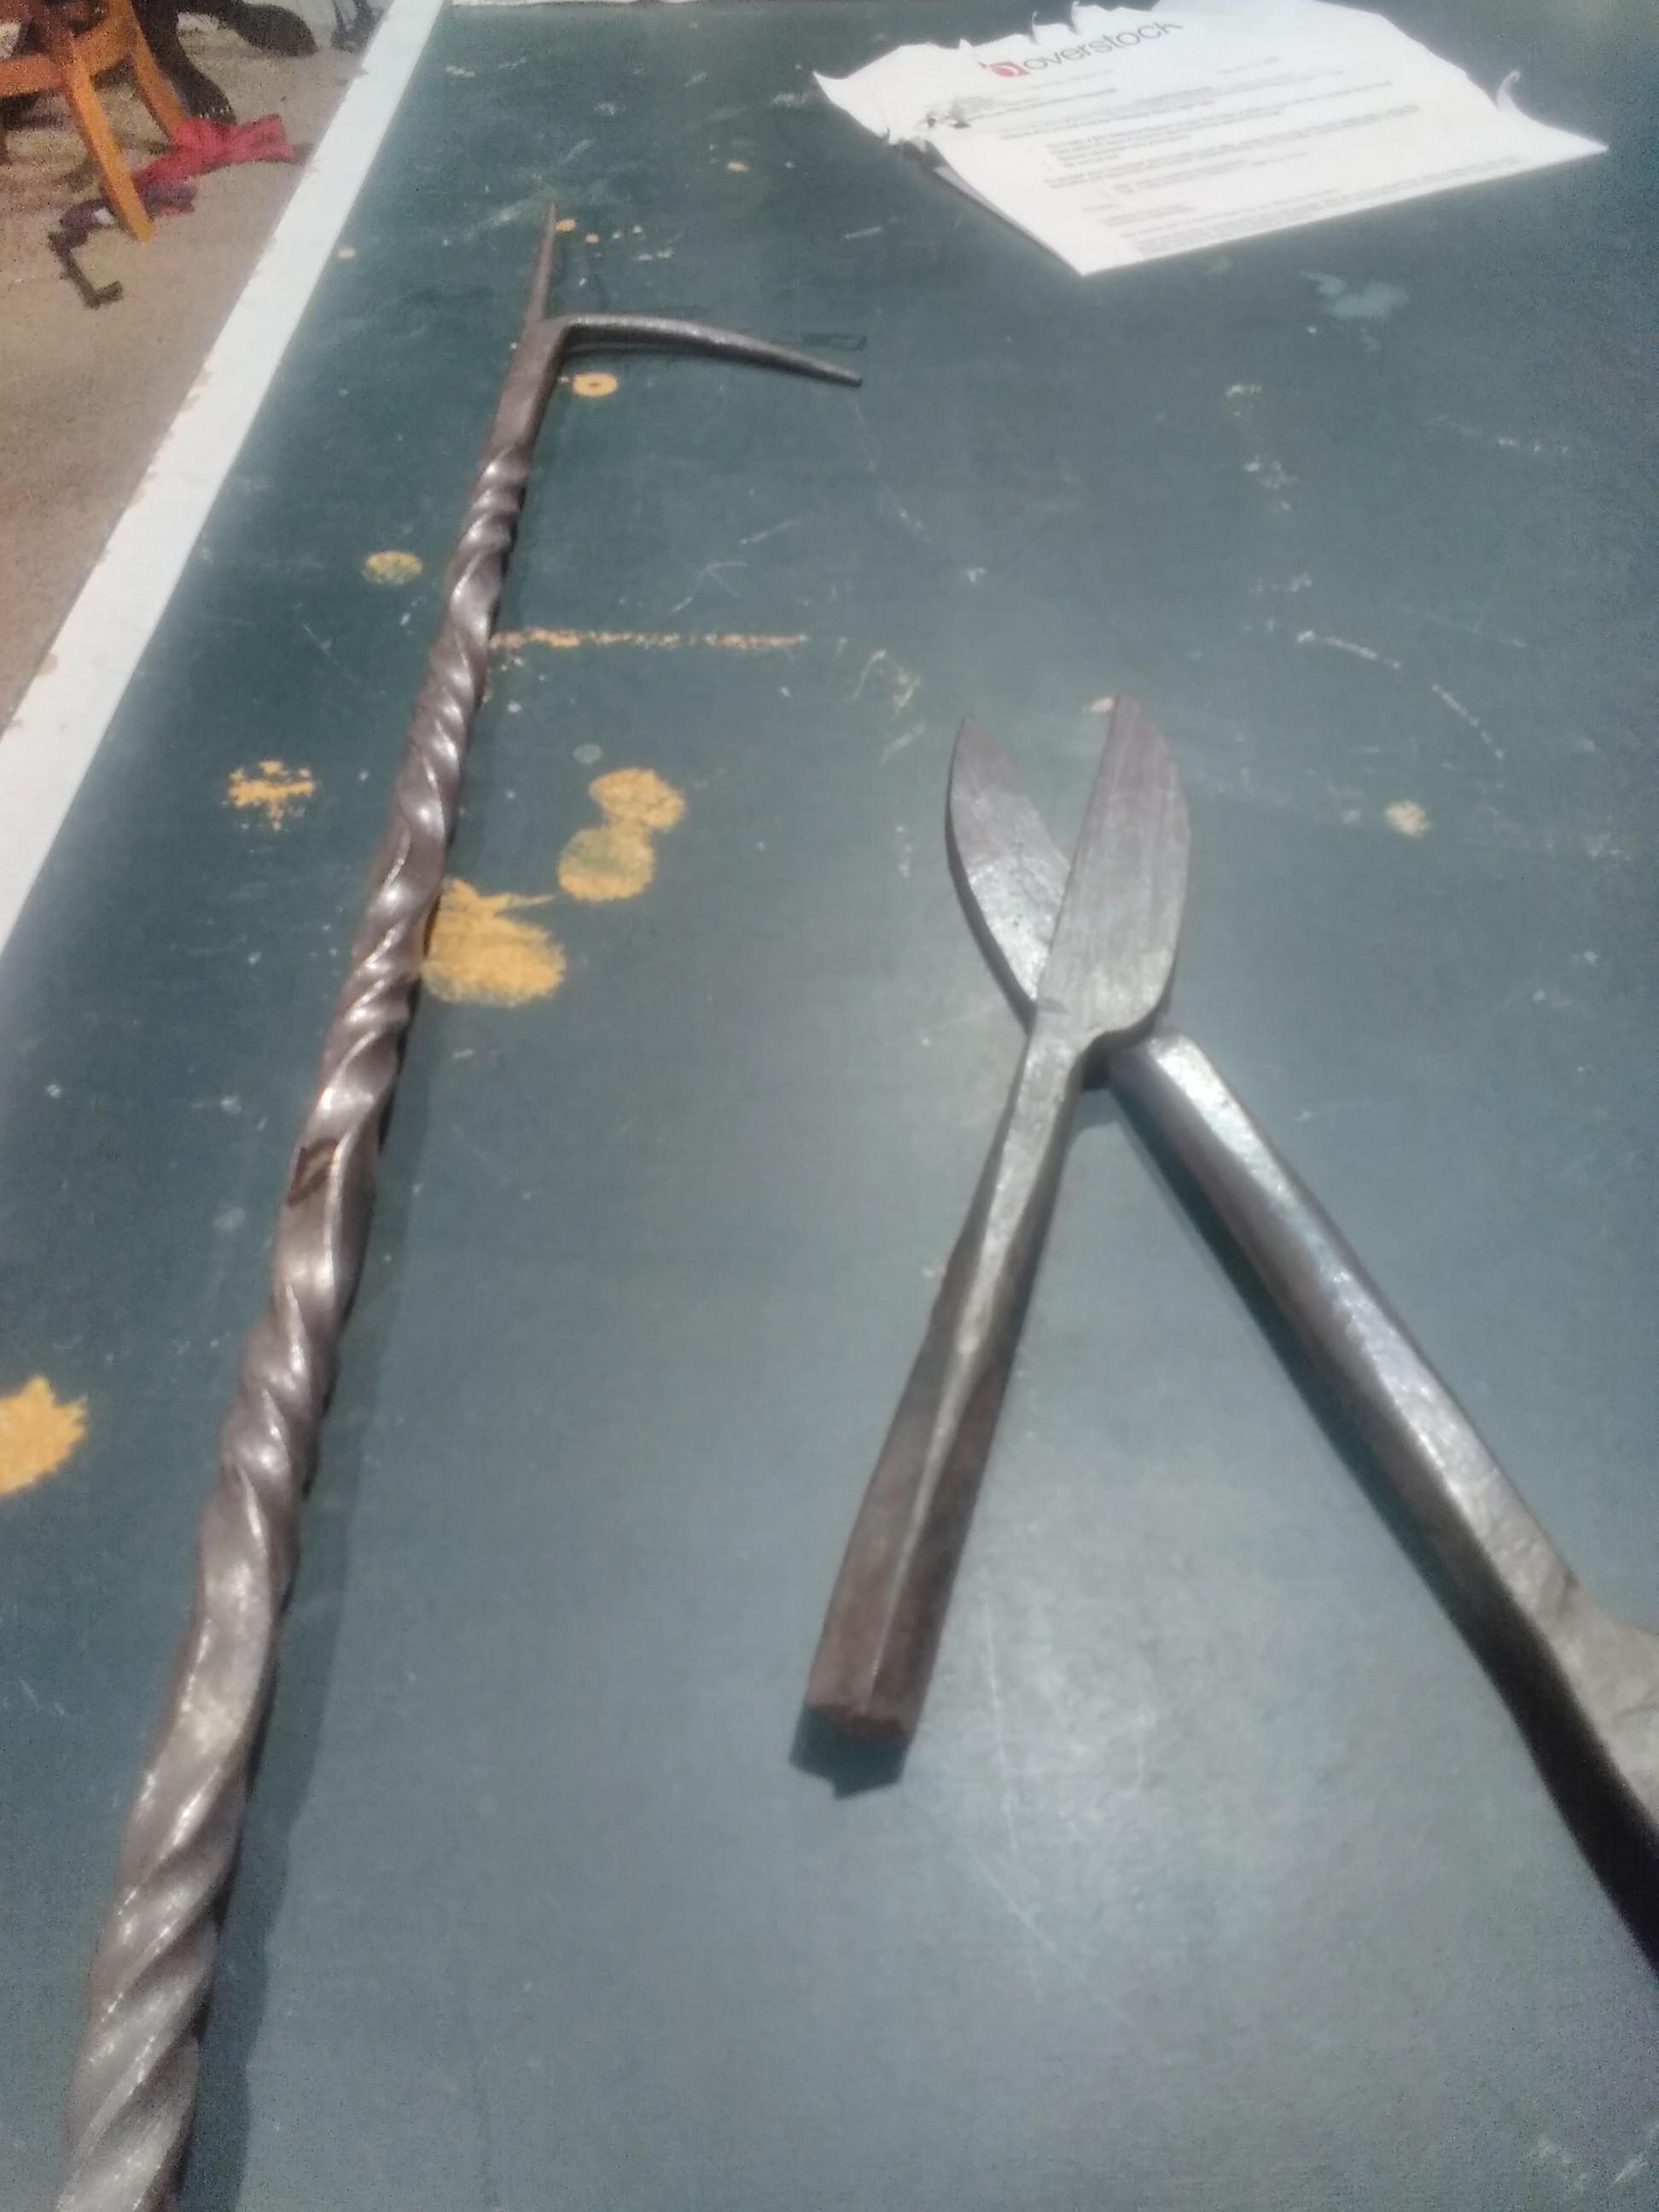
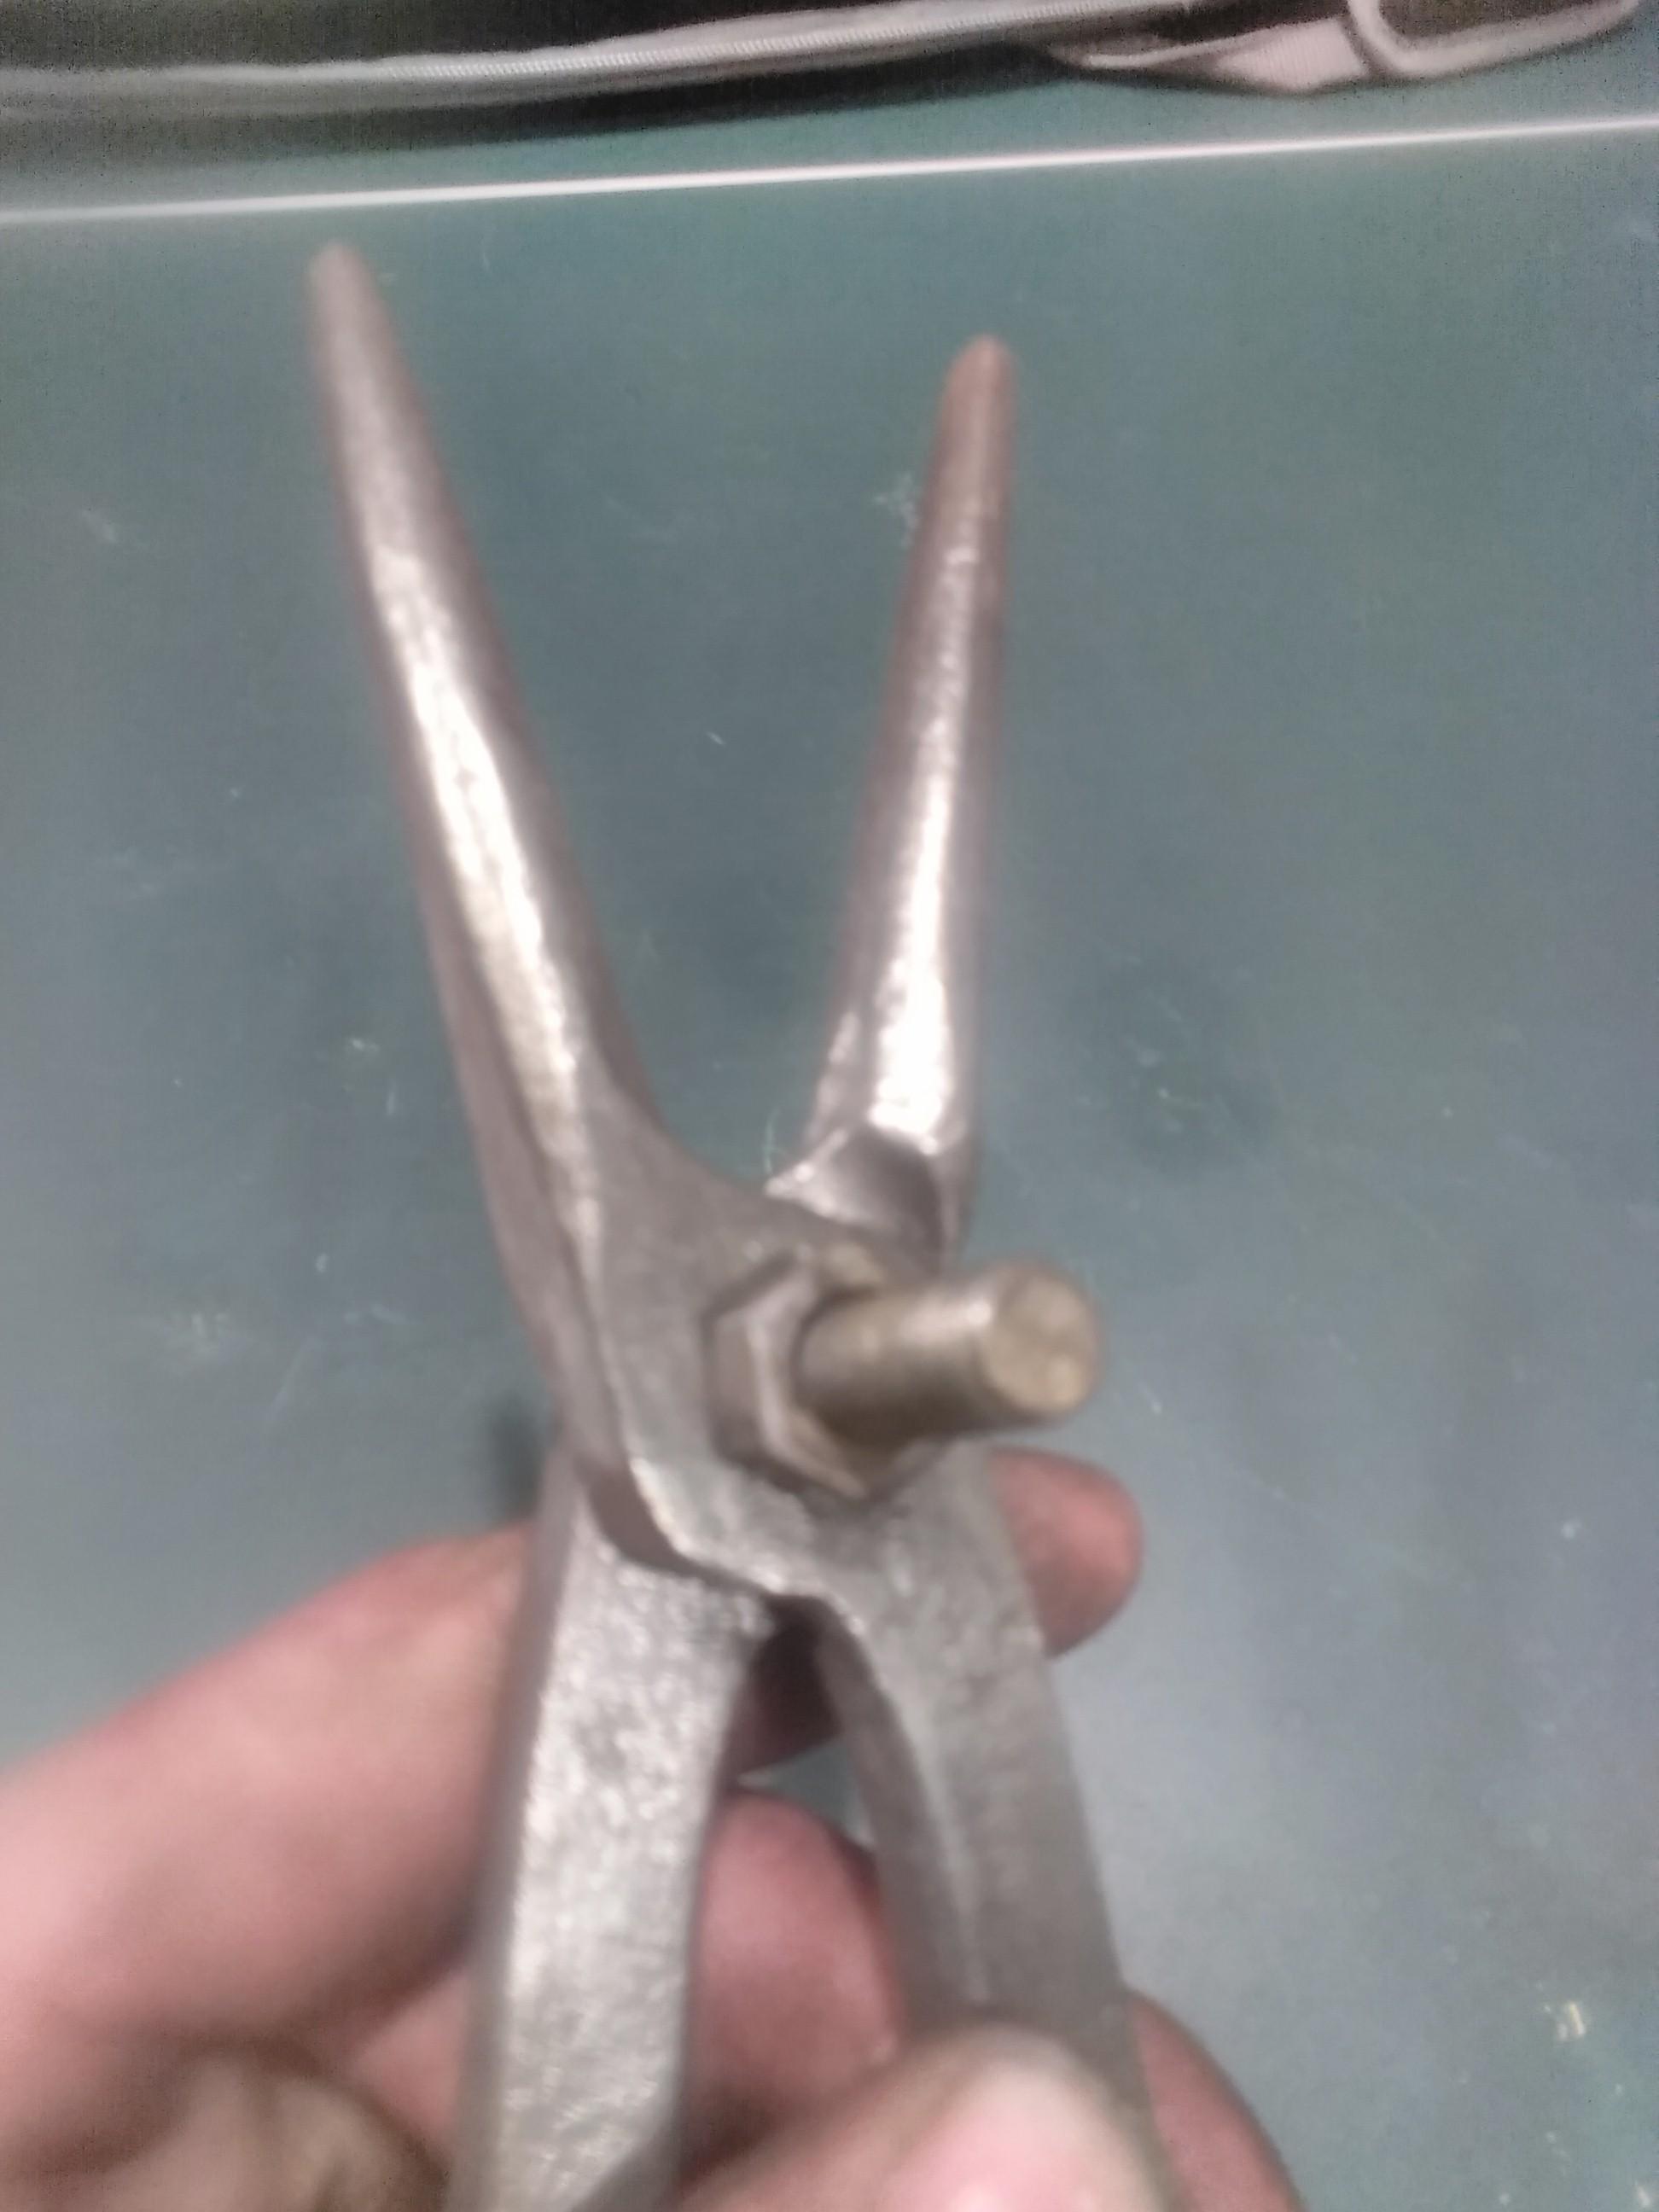
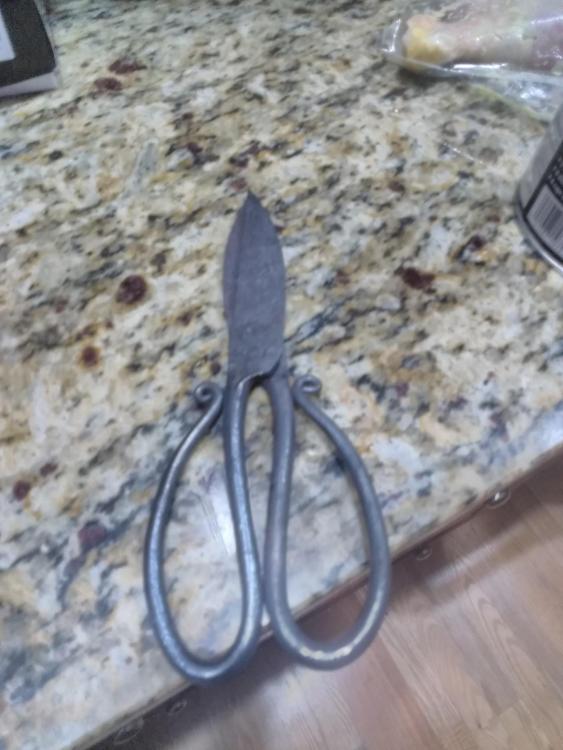
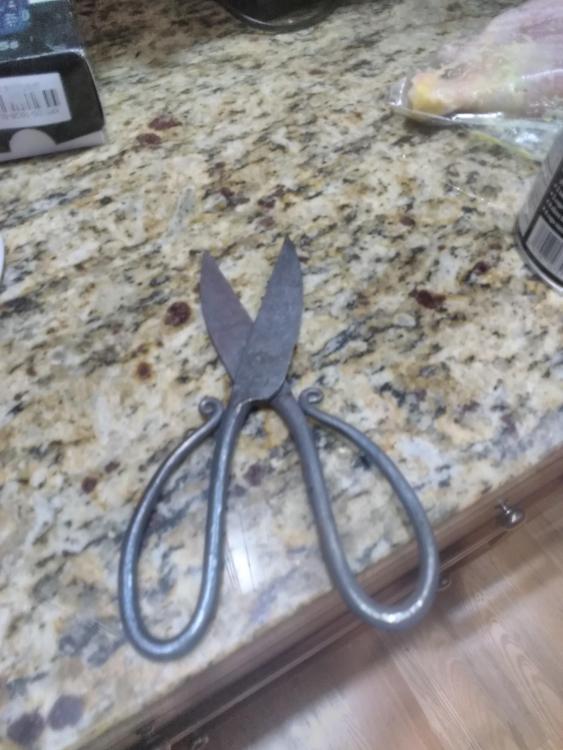
Bluerooster, I agree, I pretty much always end up giving away the things I make. Usually to family, friends, coworkers, and the like. I look at it as good practice and as I improve my work by making things I would have been making anyway then giving them away, I'm getting things out there so when I do feel confident enough in what I'm making (and can do things more efficiently) there are already people who have seen some of my work. Efficiency is definitely the main problem, some of the things I make, I may have tens of hours in hand sanding and file work in simply because I haven't bought a grinder yet. So putting a price on something like that is hard. To me, at least at this point in time, it's just about the experience and having some fun making things while my day job pays for the fuel, and materials and such. Anyway, speaking of spending a long time hand sanding, I've been practicing my forge welds and making a little damascus. I have another piece that's bigger (and by that I don't mean big! Wow Blacksmith-450 now that's some serious forge welding!) and where the welds went much better, this one had a little delamination up by where I punched the hole, so I called it quits on this piece and It'll just be a keychain of sorts. I like looking at it as it took me a long time to do. My brother is fascinated with damascus so I started this project with him in mind. I have also continued on my scissor project. most of the forging is done, but the handles are still a little uneven and there is still quite a lot left to do.


-
Haha yes, I can't remember the last time I wore matching socks. It's somewhat of a free for all when it comes to my sock drawer, I just reach in and grab 2. I have often even found I have put one sock on inside out as well! Aus, those snakes are awesome! Very lively!
-
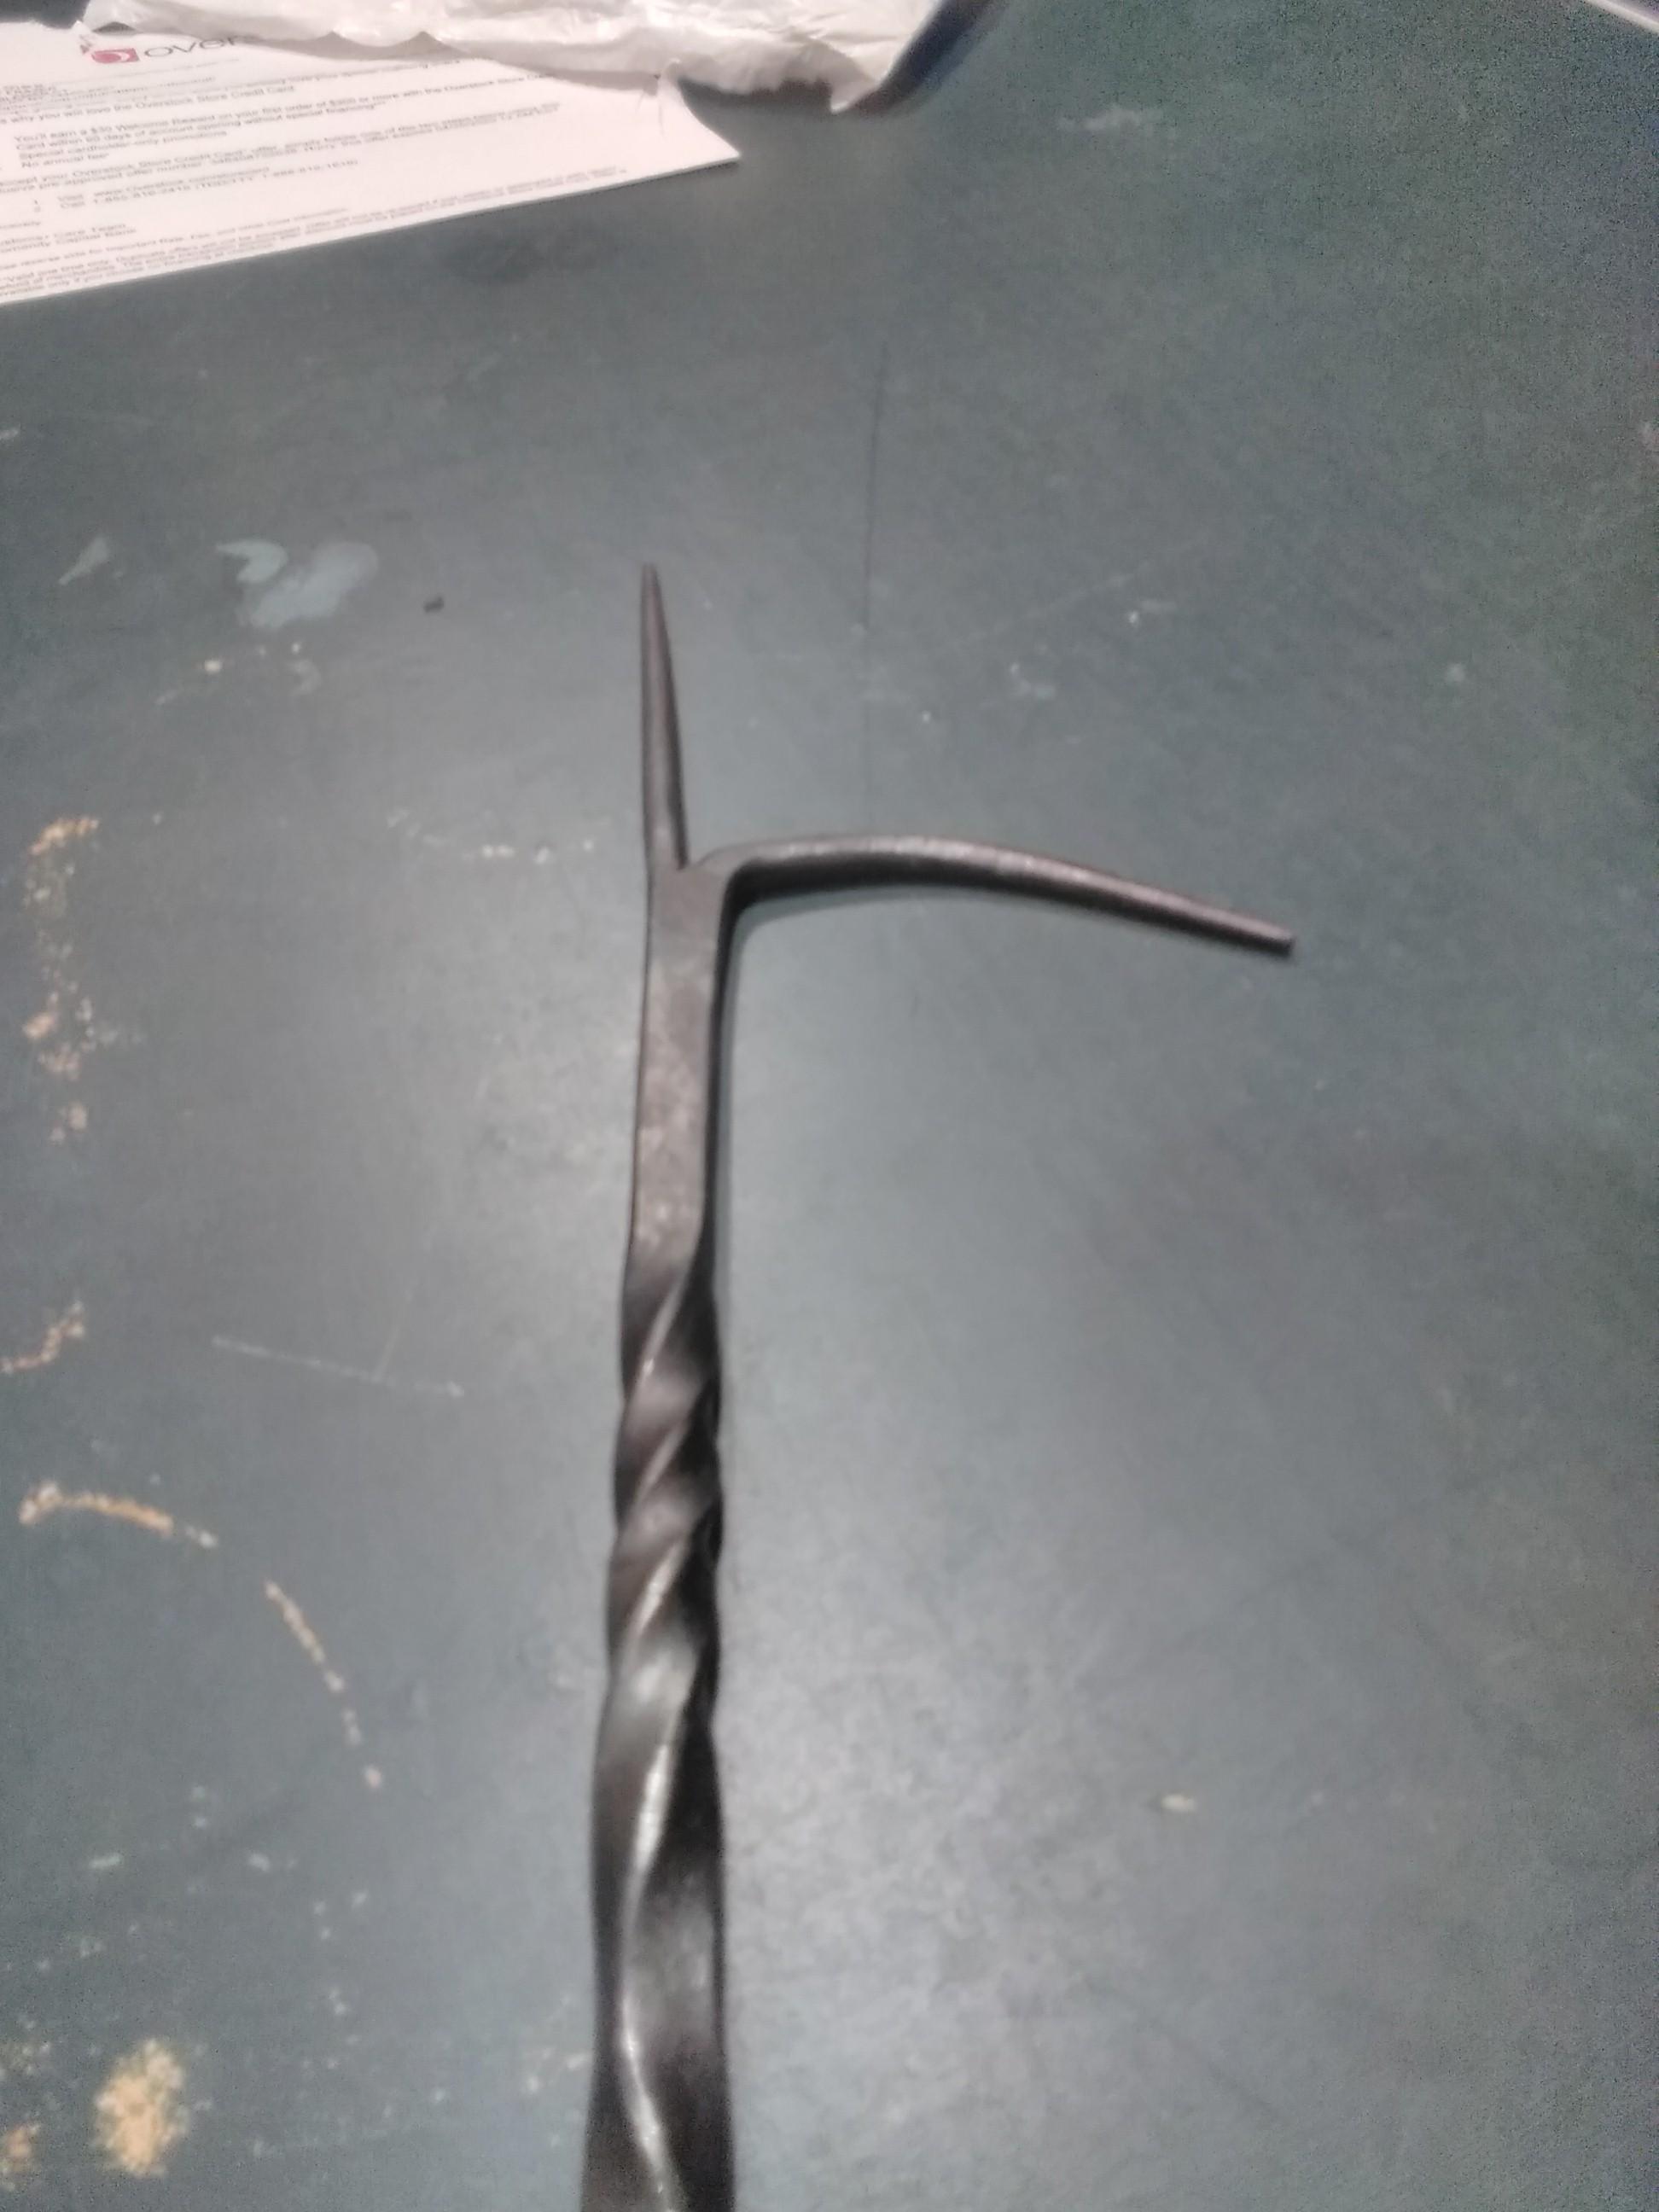
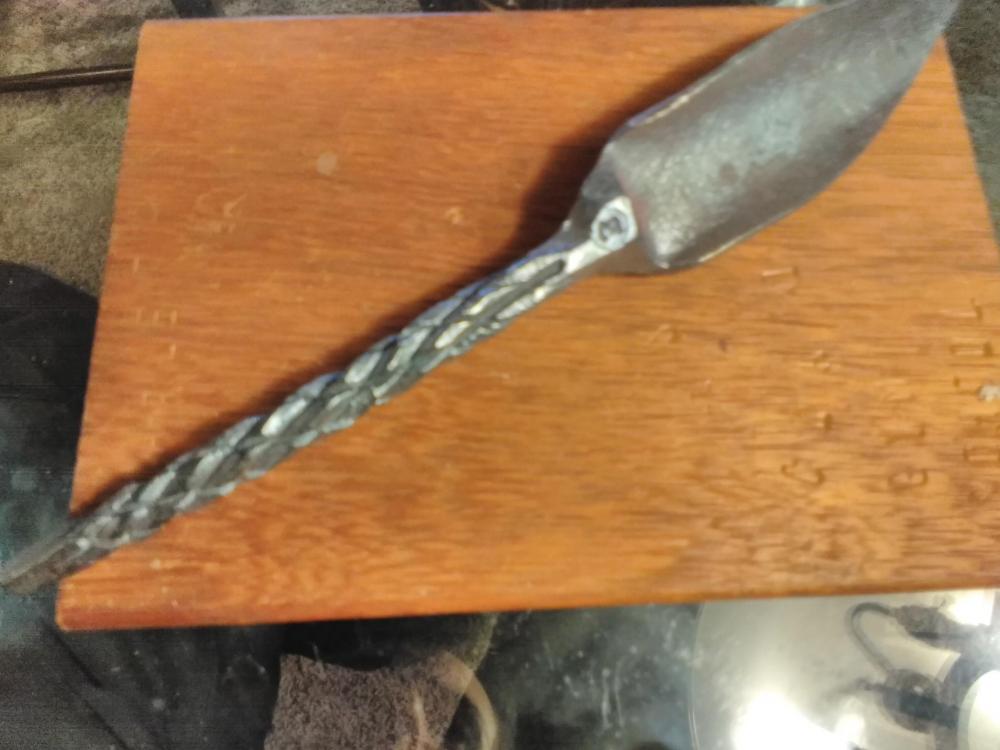
Finished another poker, I think I like this one a little more than the last one. I also got started on a pair of scissors. I'm following the method shown by Torbjorn Ahman. I think this one will be a fun little project.


-
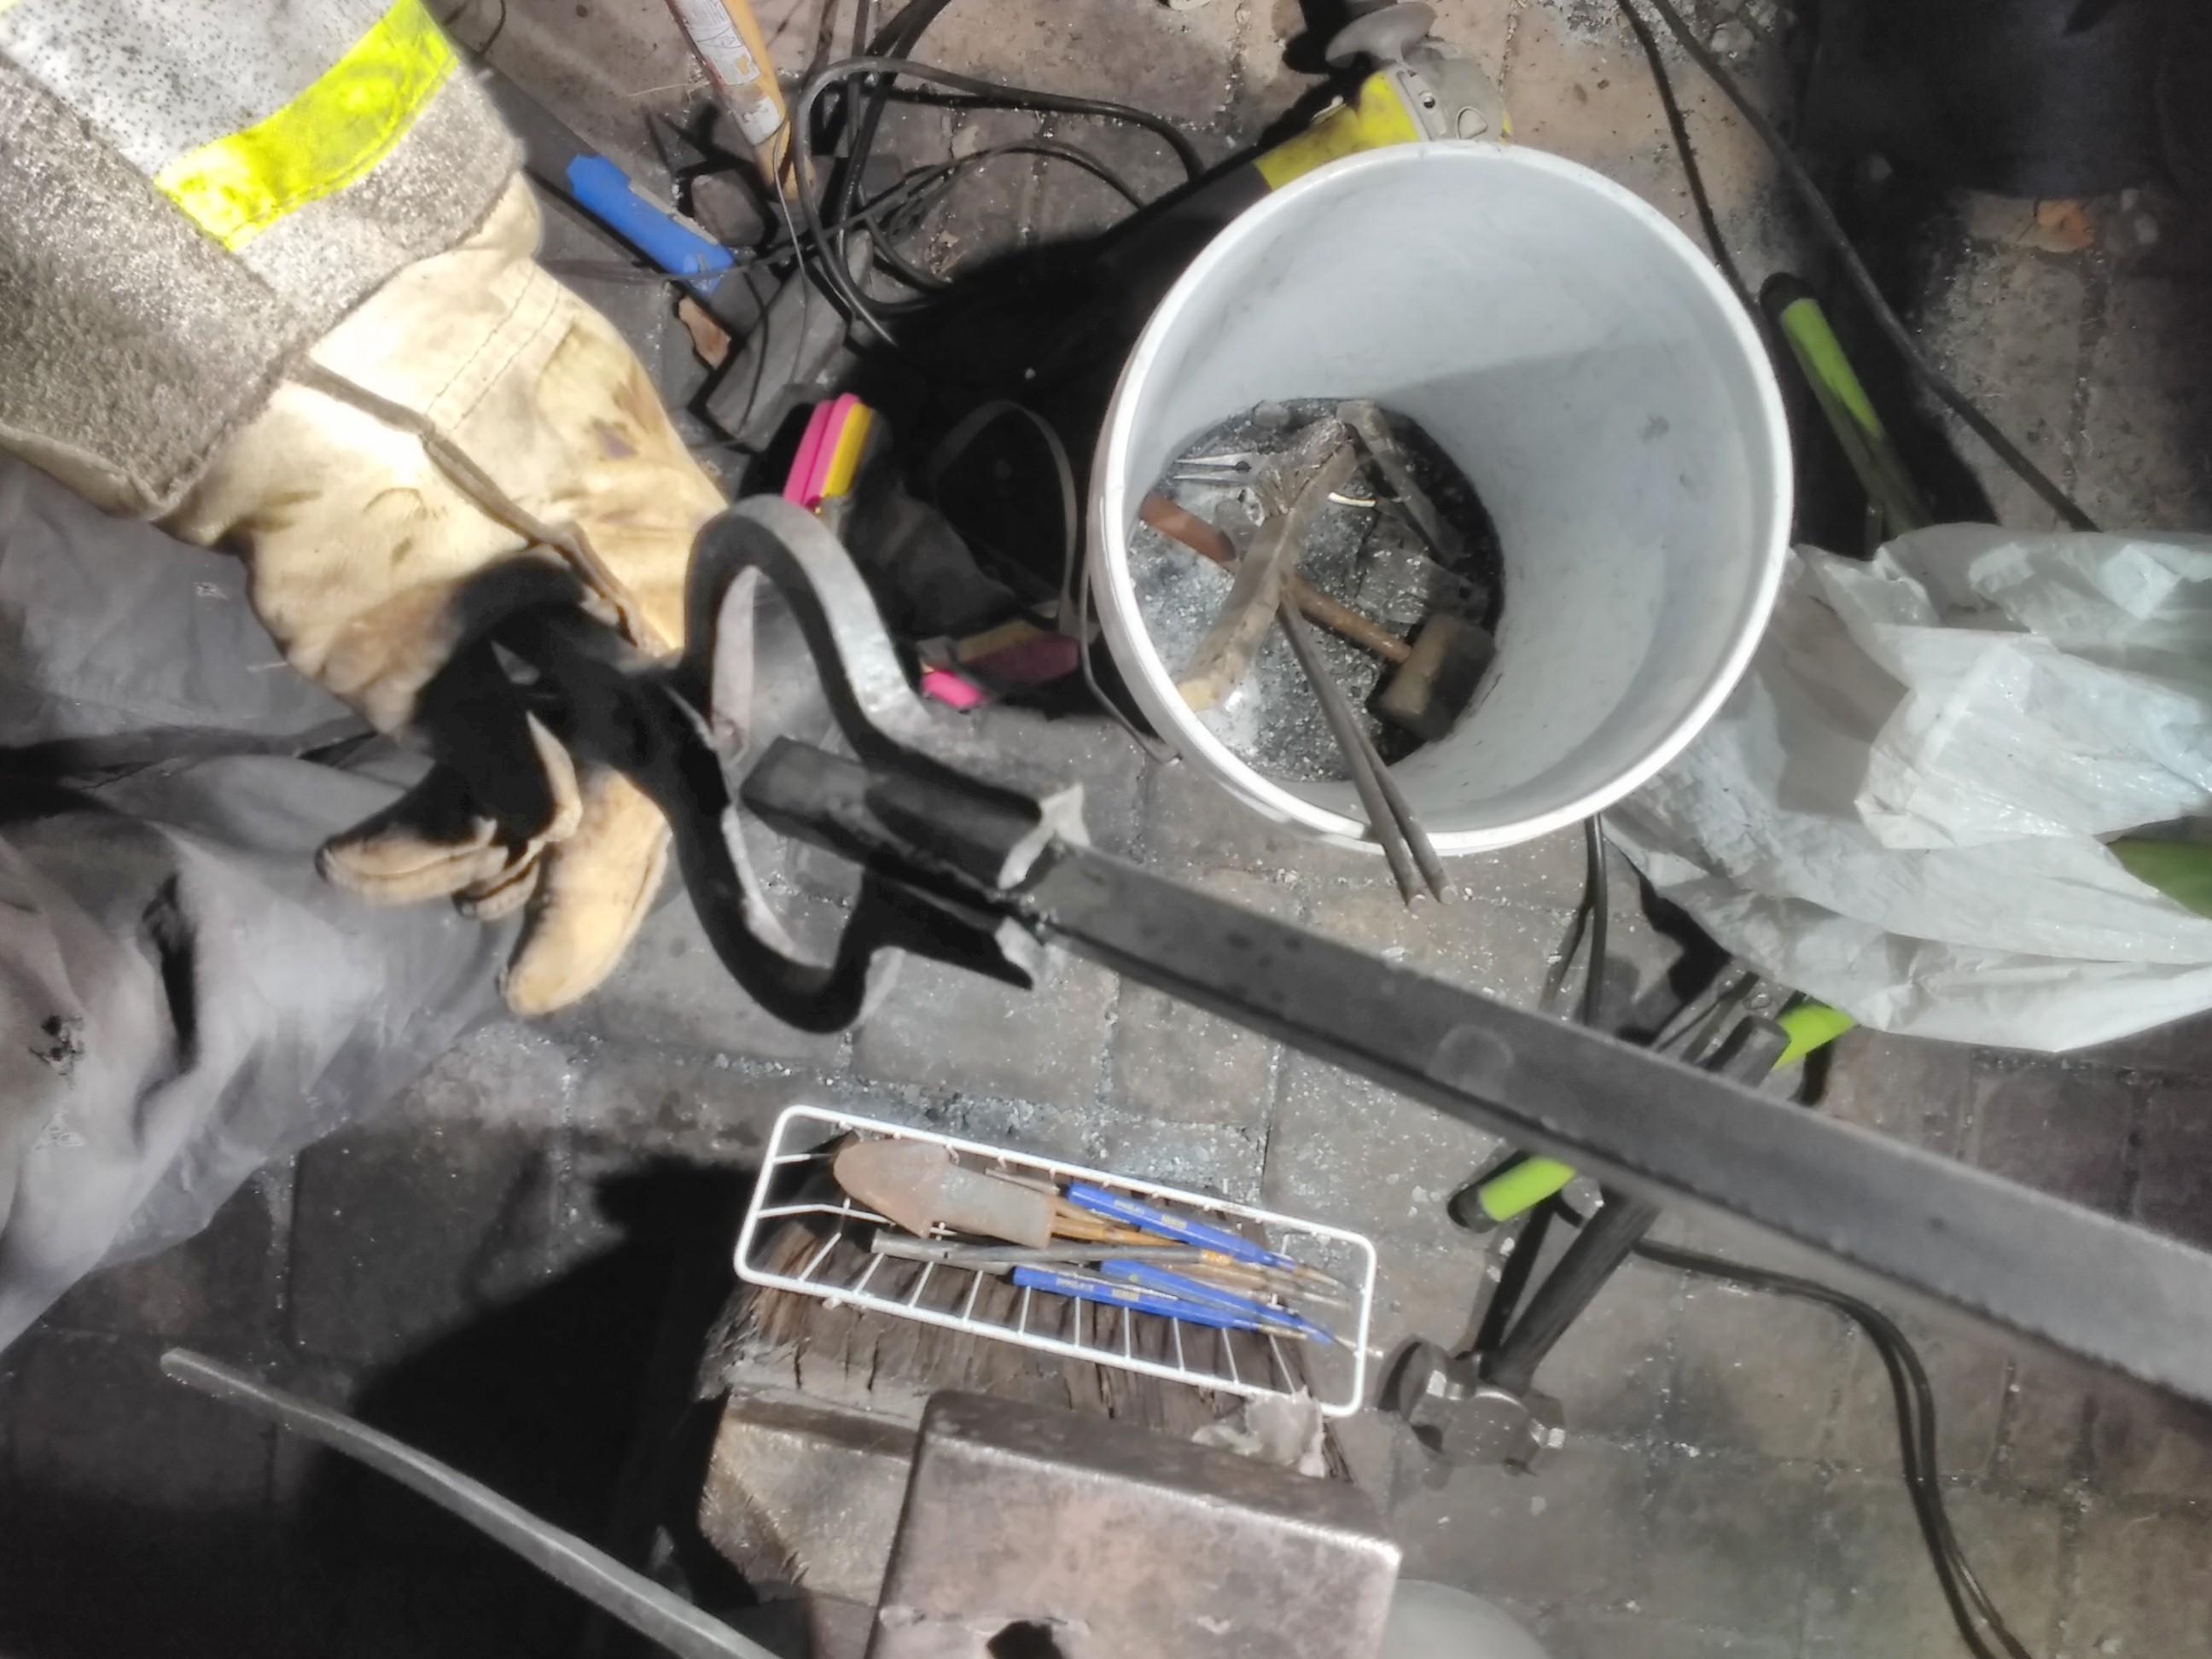
Thanks Frosty. Yep, that's why I like to save drawing out the reins and shaping them up as pretty much the last thing I do before riveting. Let's me bolt them together and see how they feel. I have also formed the reins earlier in the process and gotten a little carried away, drawing them out a little more than I probably would have otherwise. As for making several pairs, I'm sure that will happen. I'm finding tong making to be quite enjoyable. I would like to ditch my vise grips that I'll use as a substitute when they're the best option.
-
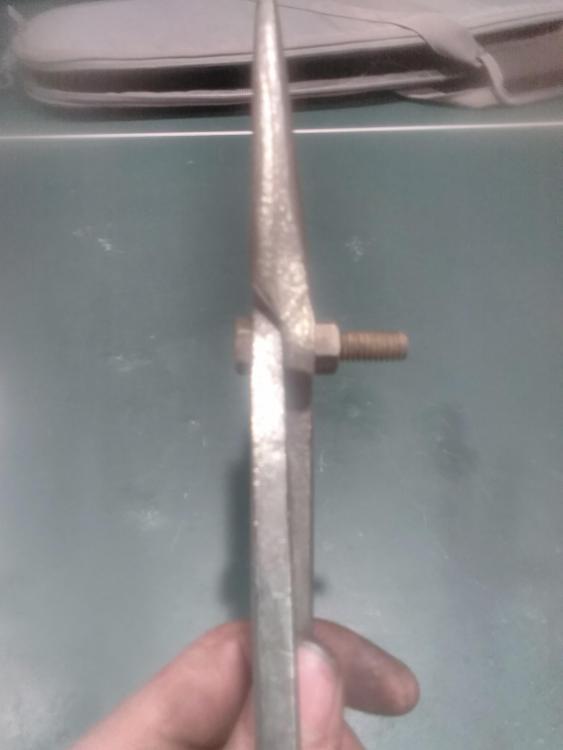
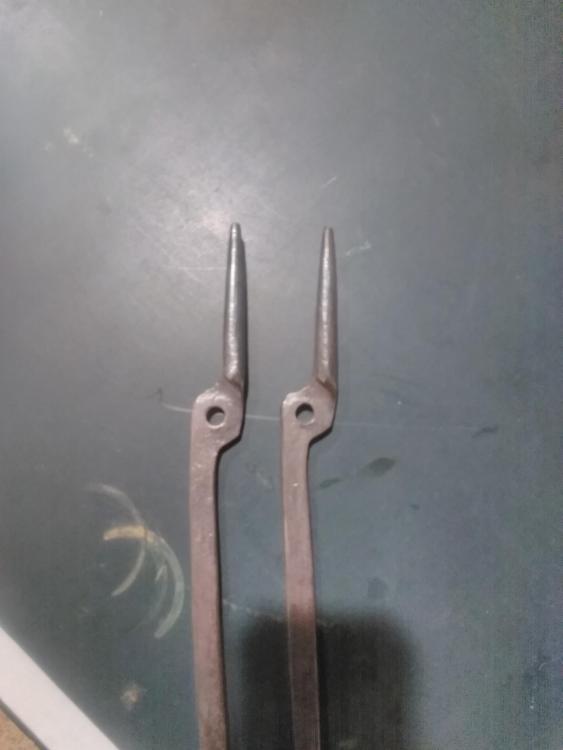
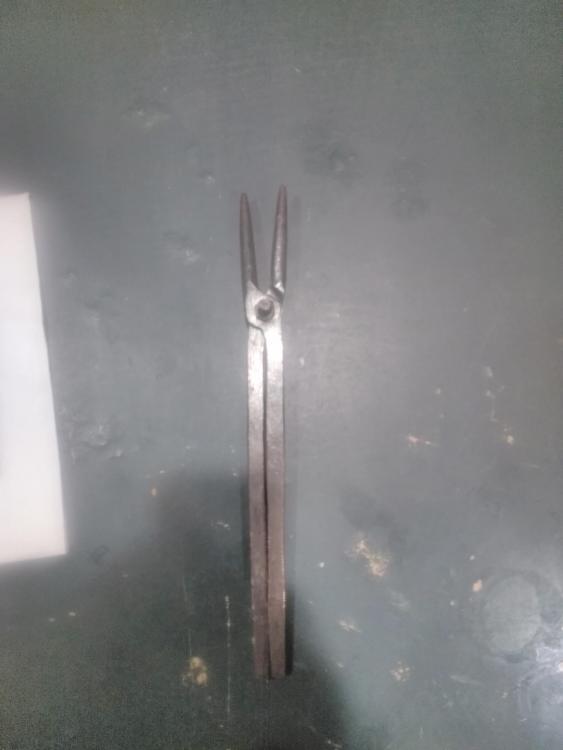
Started my first pair of scrolling tongs, just have to finish the reins and rivet them together. And make sure they actually close.

-
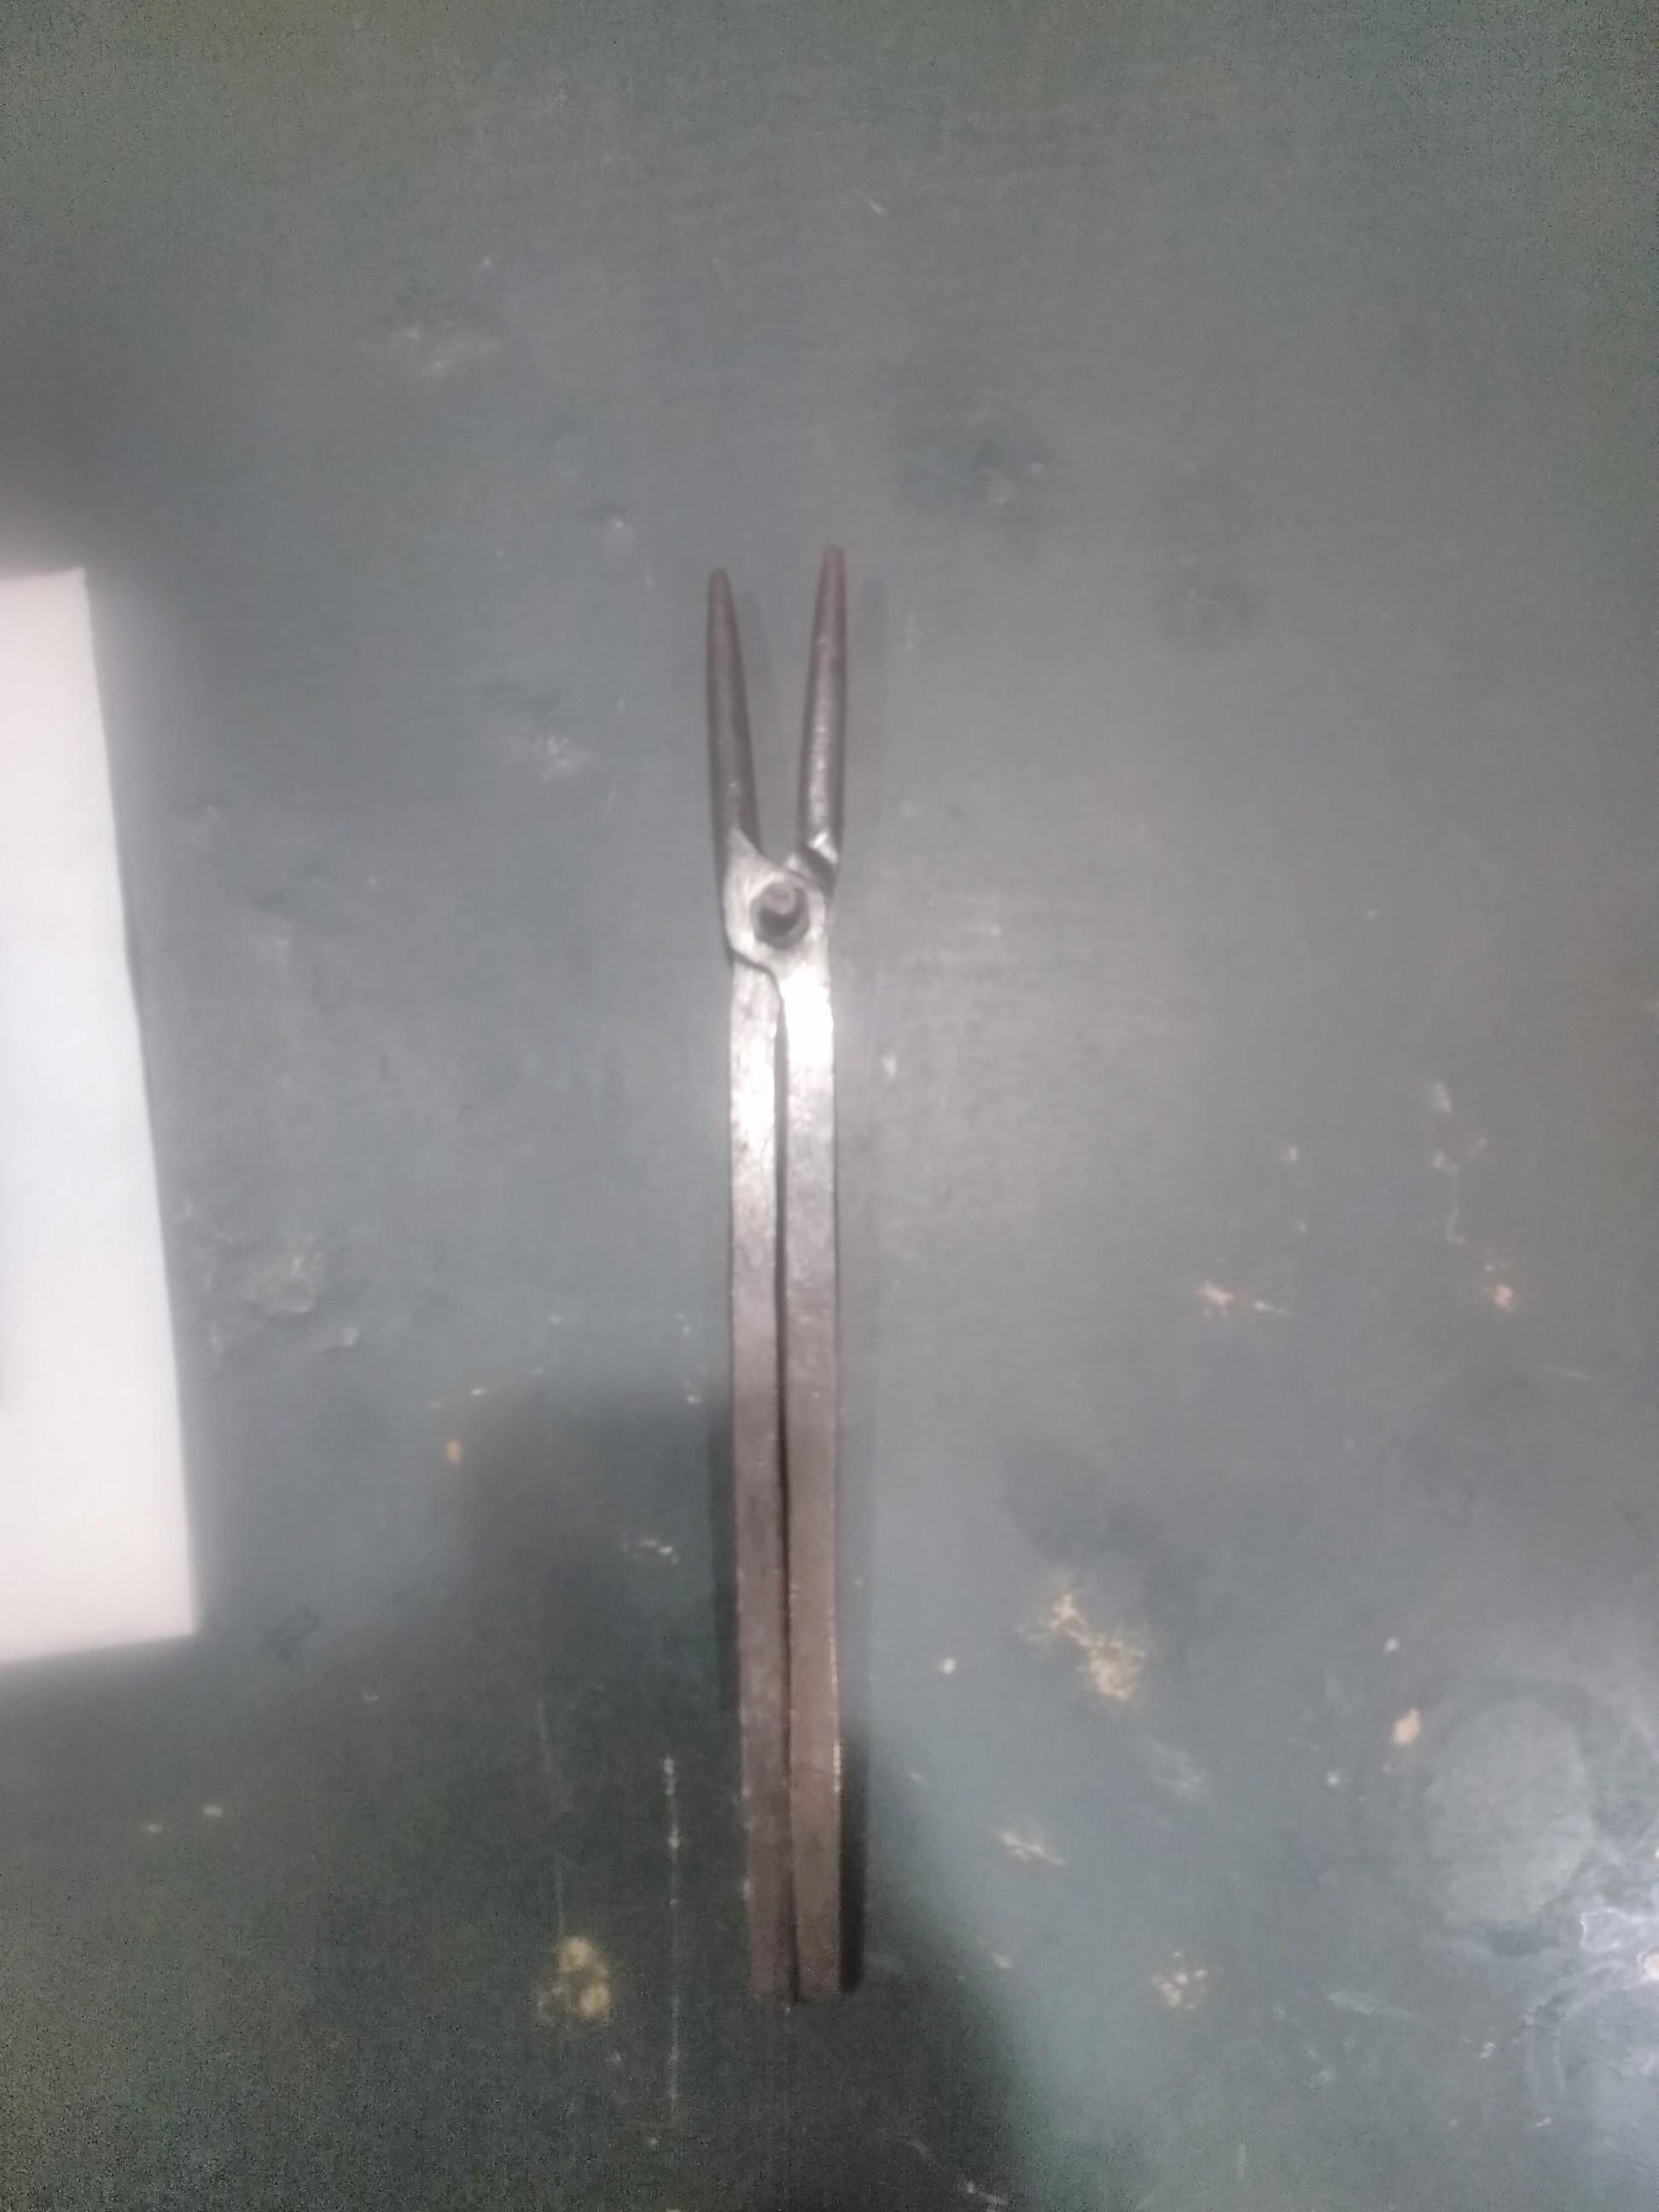
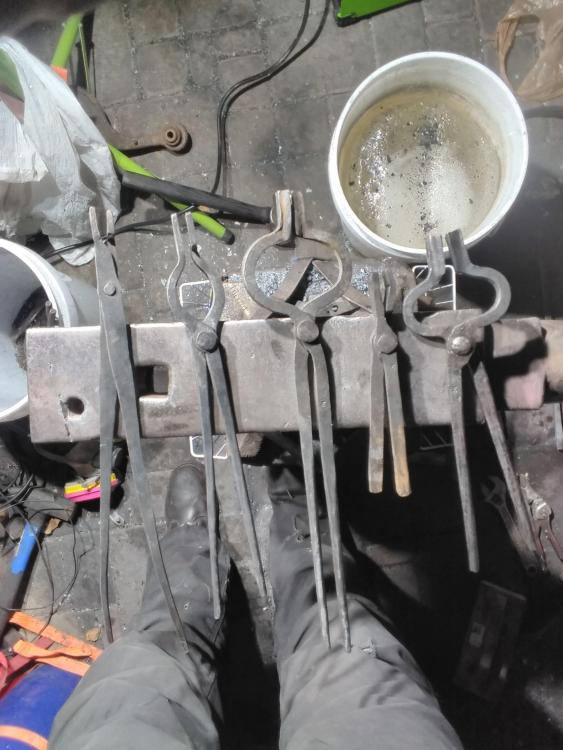
Billy, really like that handle. Quite a nice piece of wood. Finished the newest member of the tong family. From left to right is the order they were made. The new guy was made for 1/2" square stock.
-
Turned out ok. The top ended up getting away from me a bit since I didn't focus on enough area during the welds up there. Ended up just making them thin. However, it certainly came out much better than my first one so I'm happy with the progress.
-
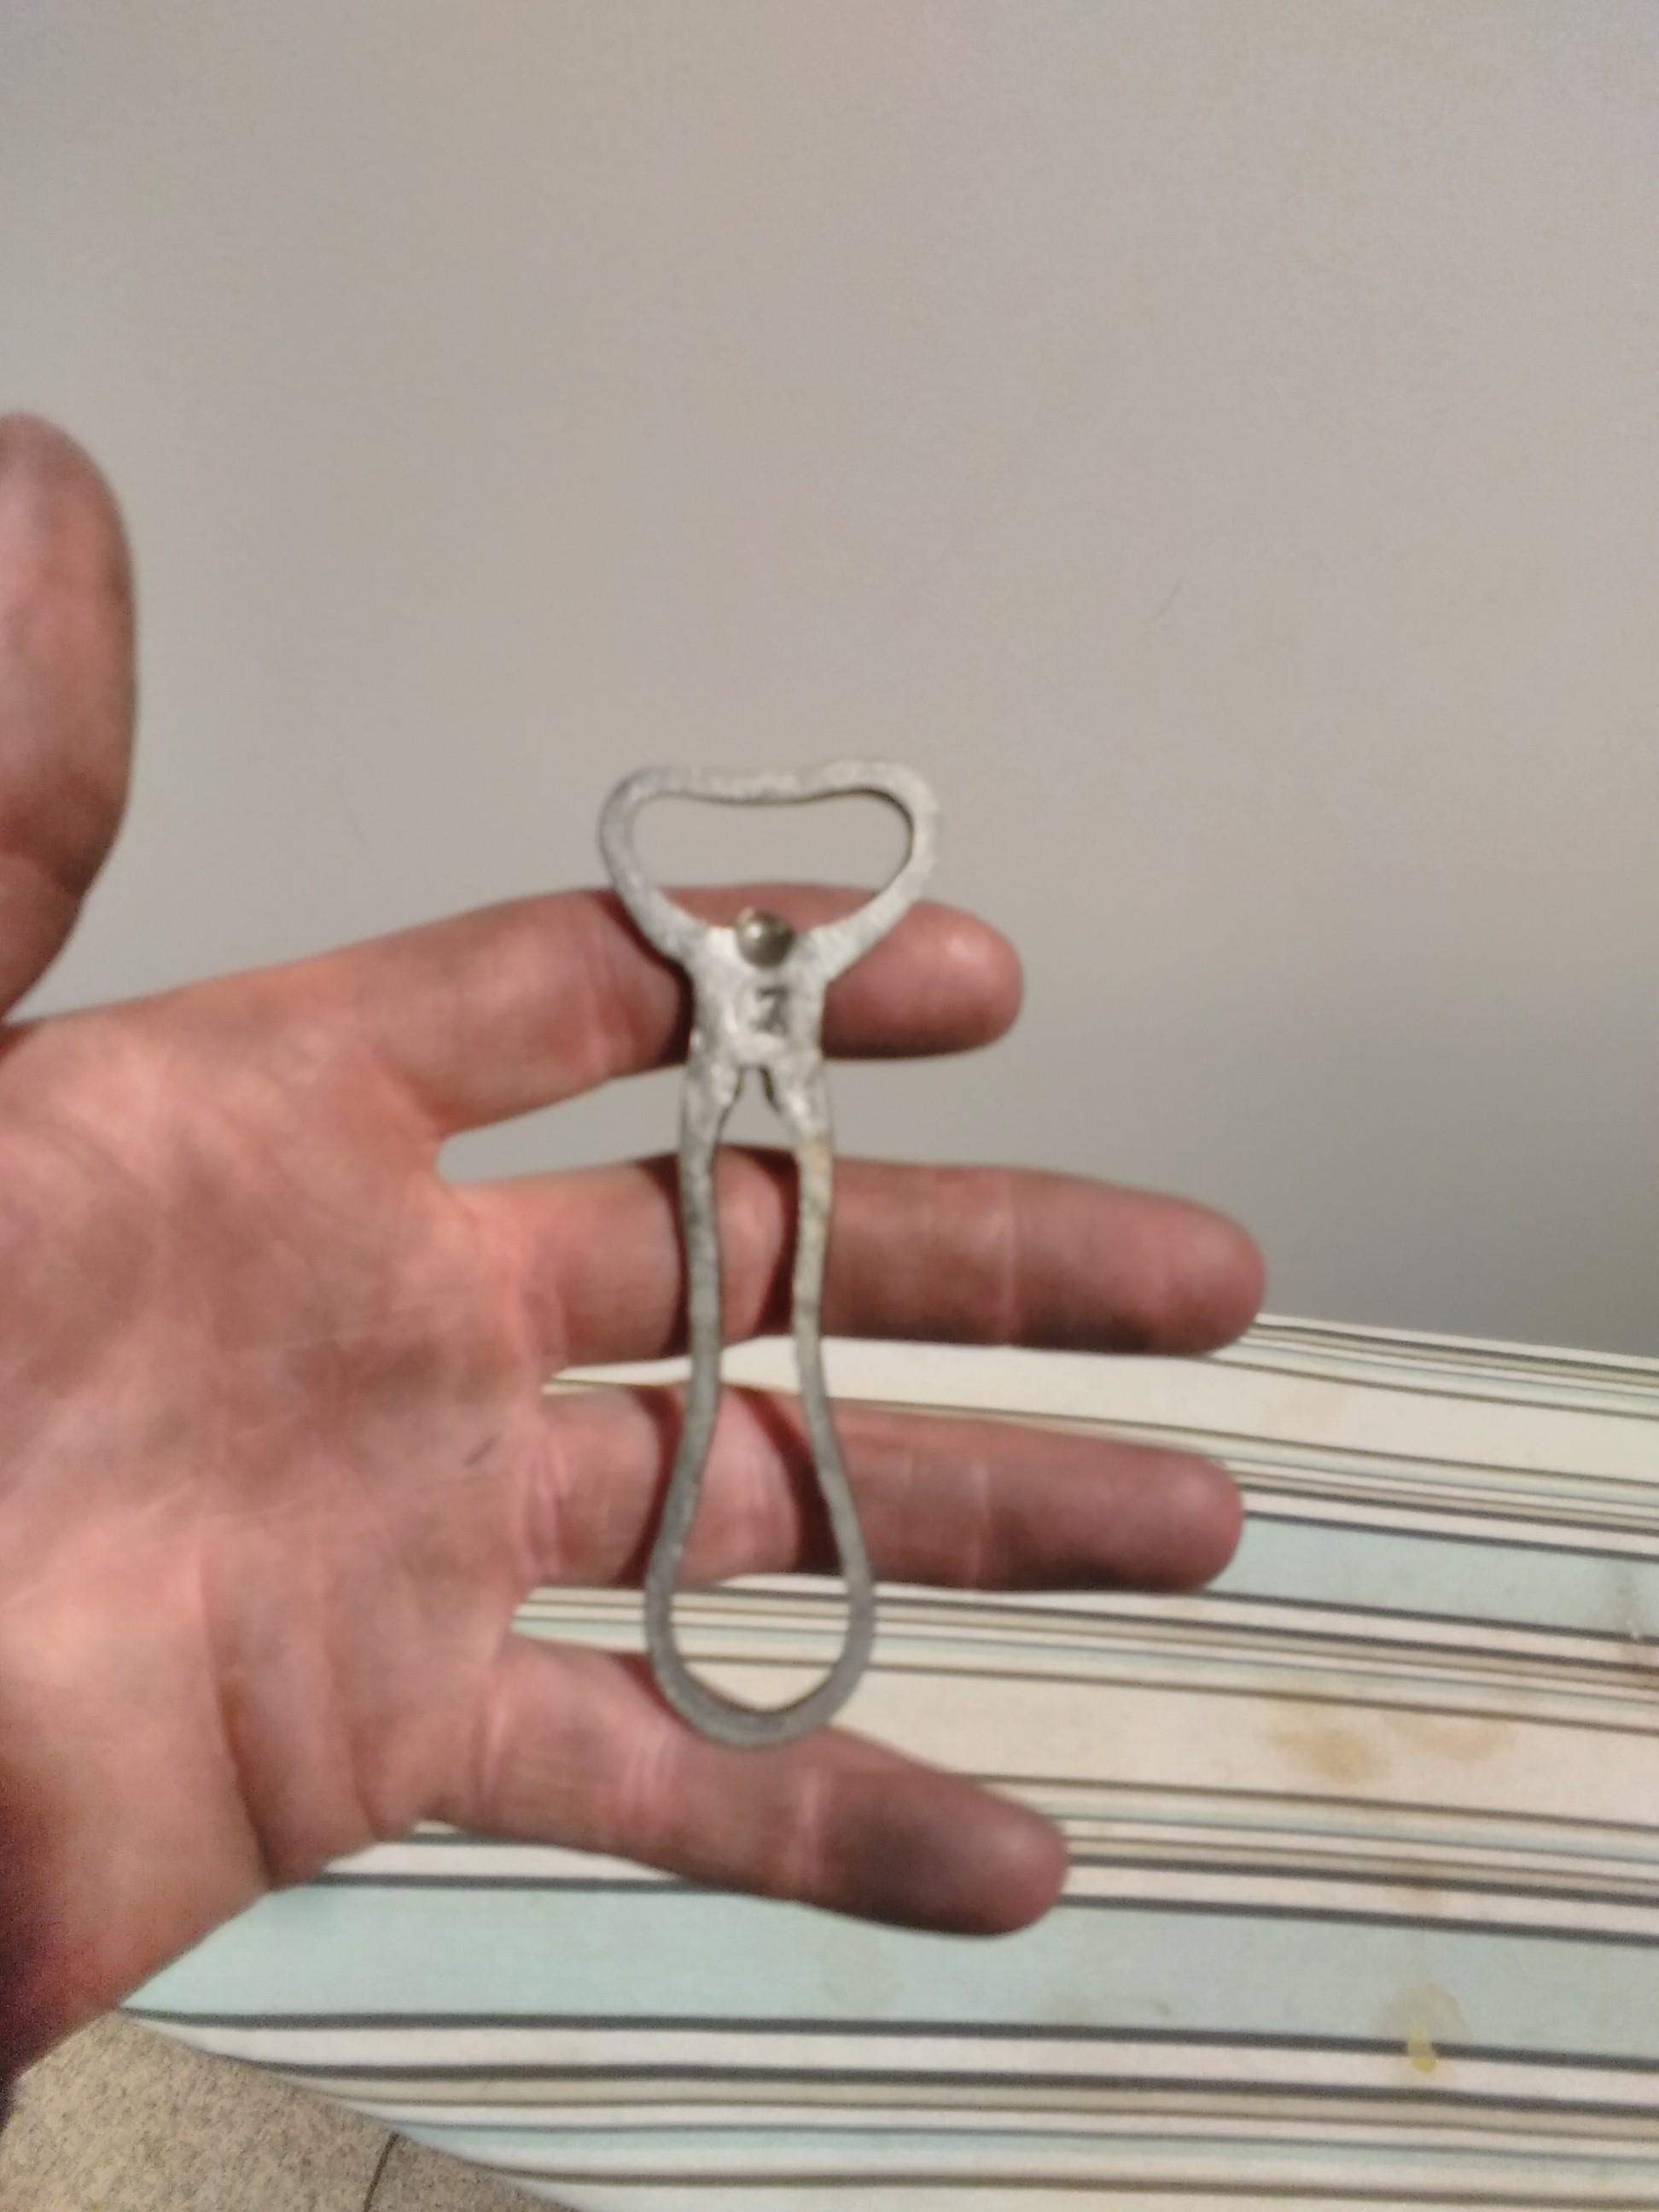
Rojo, bottle opener is a piece of coil spring, most of the things I make I'll use that. With some exceptions. There is a car dealership near me that lets me go through their scrap bin and I've accumulated a lot of springs over time. Jasent, well thank you for sharing, and thank you jlp for making the video. It was very helpful.
-
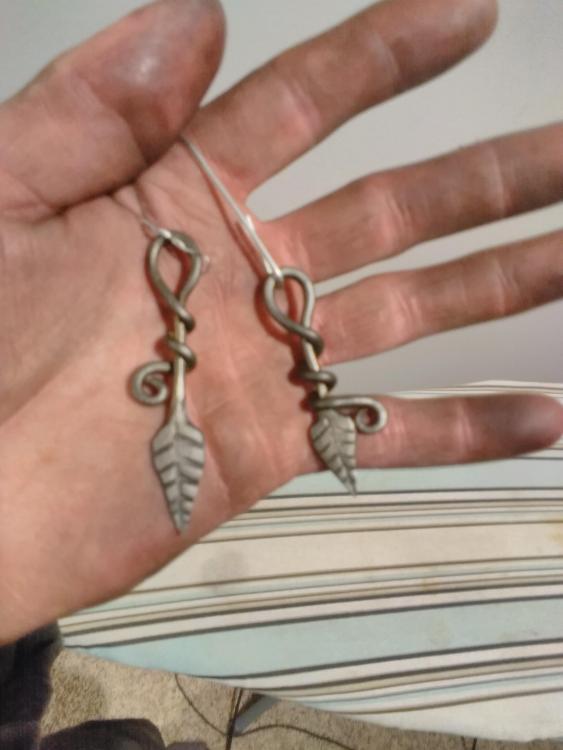
Jasent, thank you very much for sharing your video on how to properly make a basket twist. Got started trying it the right way today after work. Not only was the way I had initially done it totally wrong, but the way you demonstrated was much more efficient and made the forge welds way easier. So again, I really appreciate your help. Both ends are welded, but the top still needs some cleanup tomorrow, I ran out of time tonight. Ended up using 8 lengths of 3/16 round stock for the basket. I also made a bottle opener while waiting for things to cool. These were made yesterday, but a couple of keychains.

-
JHCC, hahaha I expect that is the case for many. Turn 5 hours of work into 20 or so minutes? Pretty easy sell. I'm still in the process of building up my collection of tools. However, the welder beat out the grinder in the hierarchy of required shop tools during my last cost-benefit analysis. Also, officer in the army or Baroque harpsichordist. Talk about a fork in the road. Thomas, fair point,. but I'm sure even the most critical of historians will forgive your approach in this situation.
-
Thomas, that is quite impressive, I'm sure it was more of a labor of love than an expectation of large profits on the other side (by all accounts much of the trade is that way to one extent or another). I would say bragging rights are well deserved for that particular case. I'm sure it is a reminder of the craftsmanship and ingenuity of the people of that time. And also of the reasons why people were always looking for ways to do things more efficiently. Not to sit here and glorify the "days of old" and such. If they had a grinder or a CNC or whatever in their shops I am sure many of them would have fired that bad boy up in a heartbeat. I on the other hand, sat at the counter for I don't even know how long (took me about 2 weeks of working on little bits at a time) making little piles of shavings, dust and spent sandpaper also to just make myself a simple little tool I'll get plenty of use out of. Not to be historically accurate (I was not by any stretch of the imagination), but just to make do with what I have available to me at this point. Besides what else do I have to do? Making things is fun, even when its tedious.
-
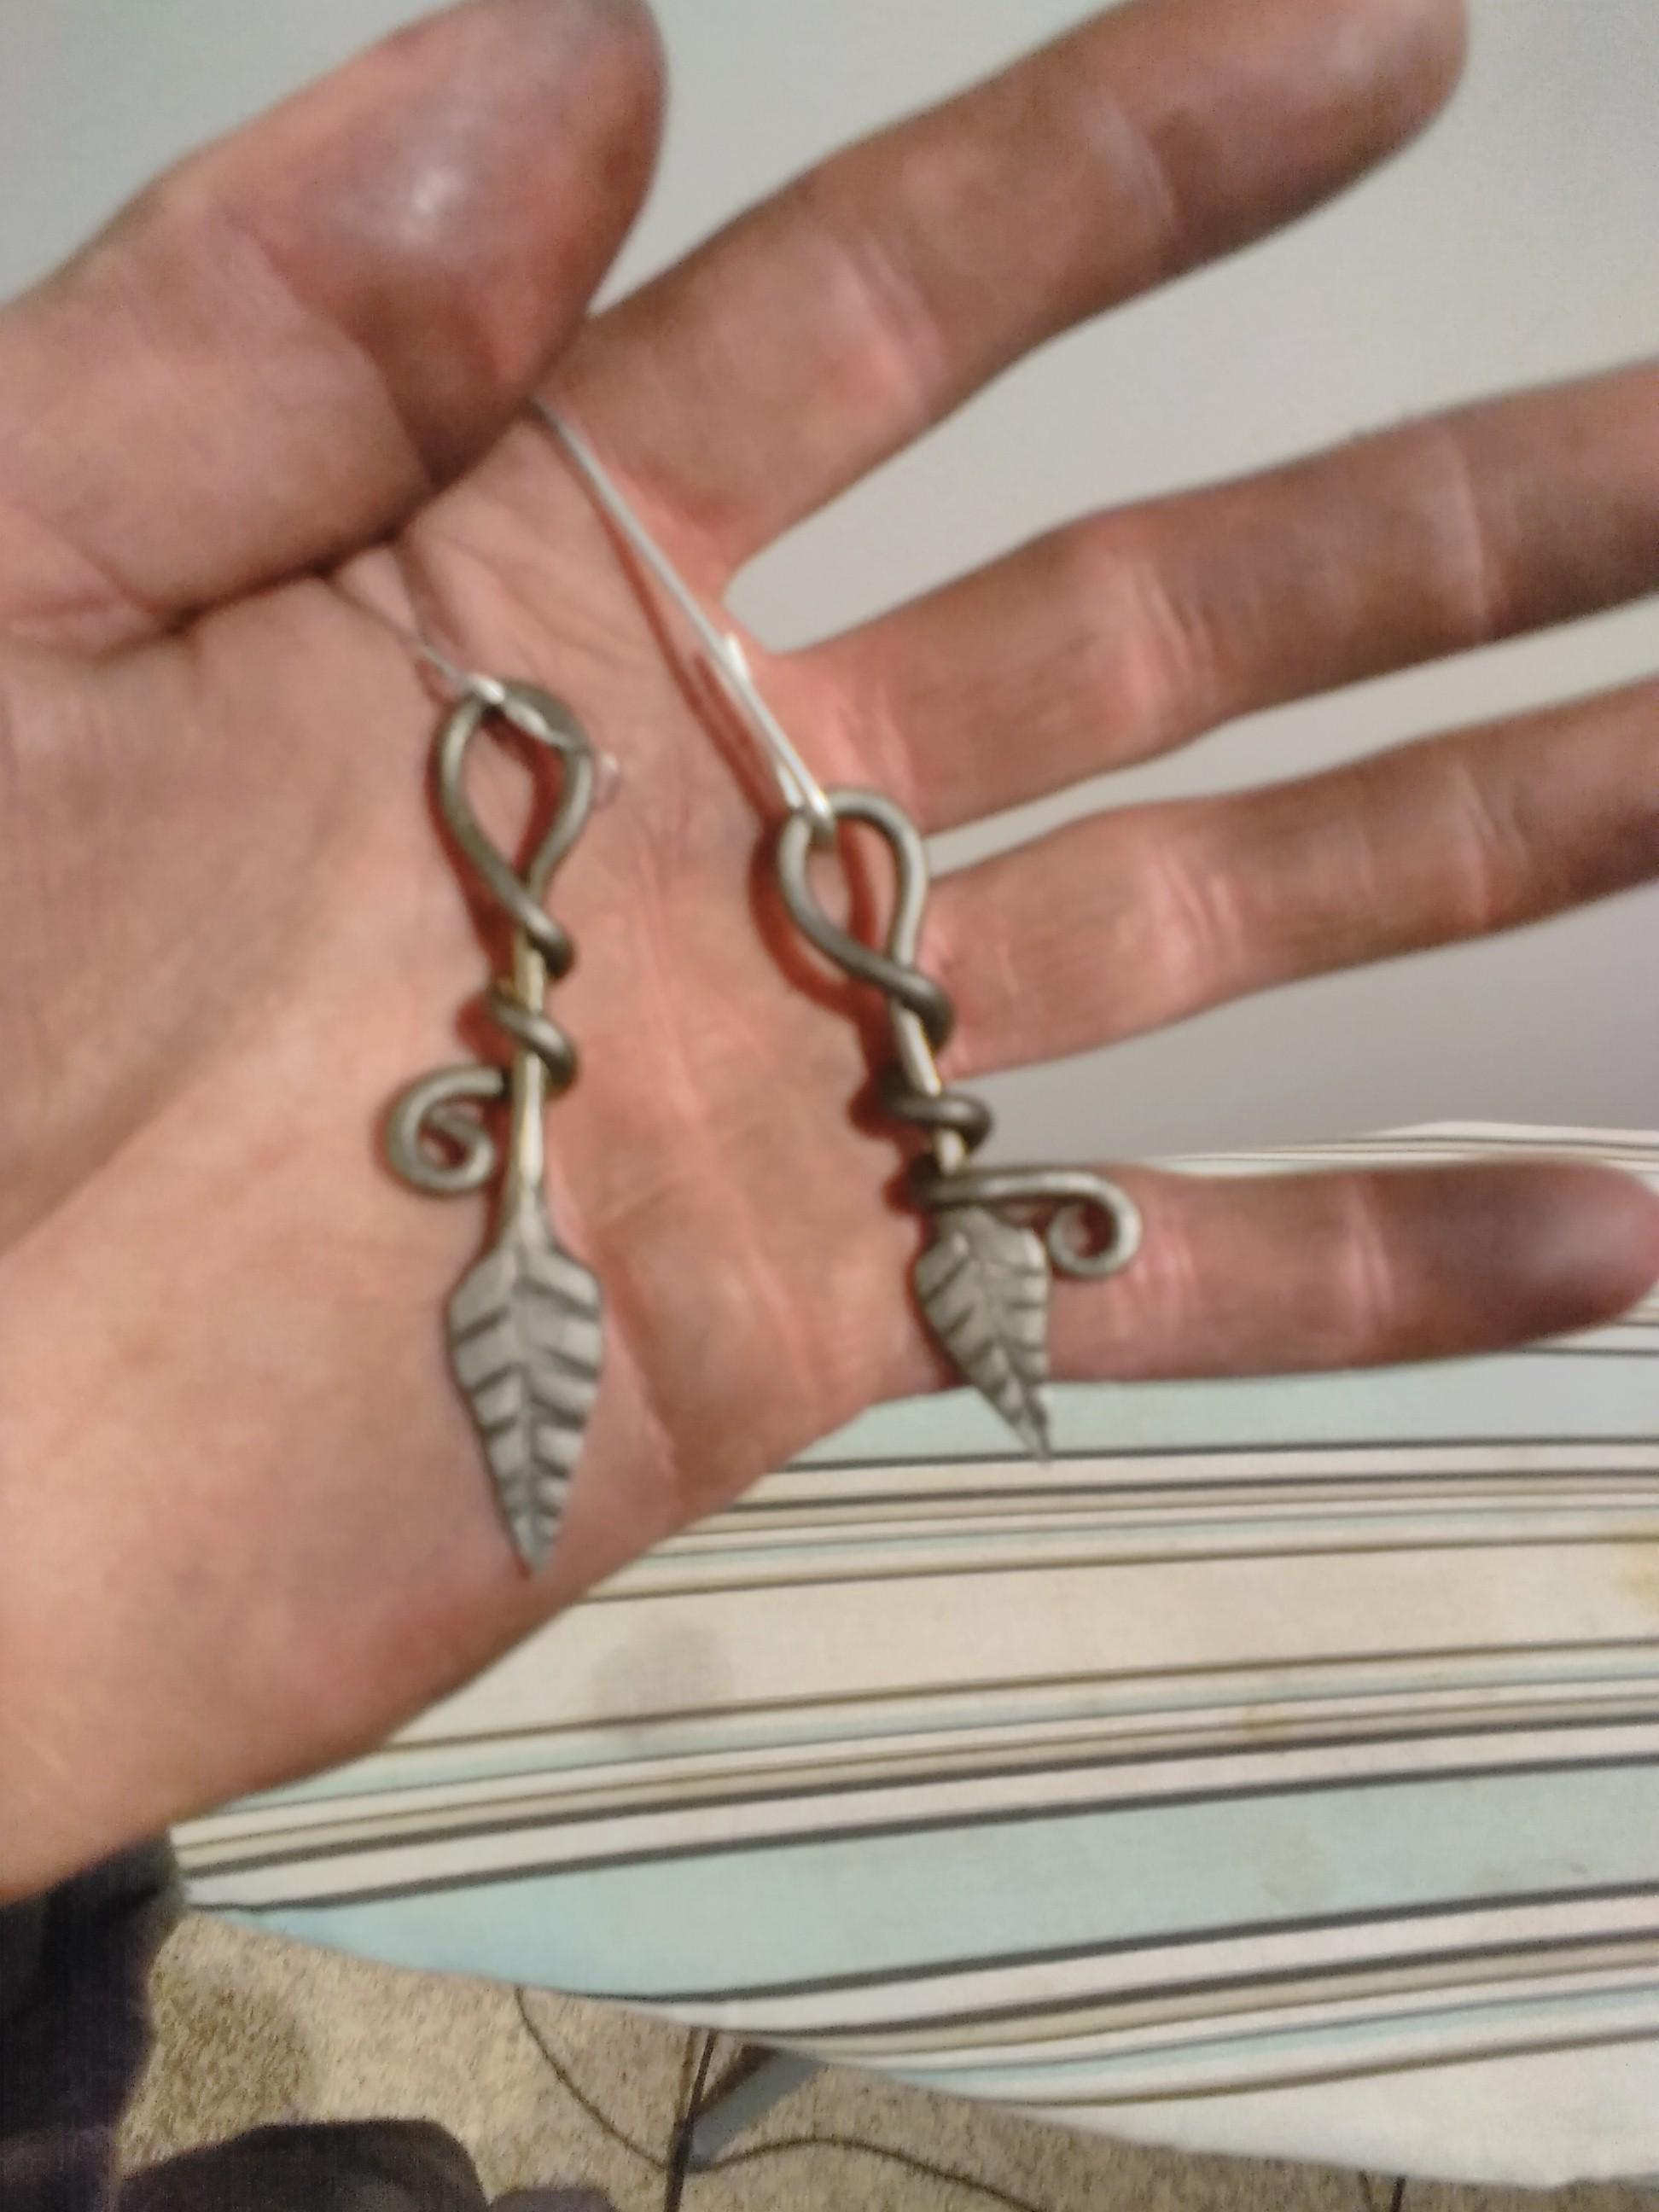
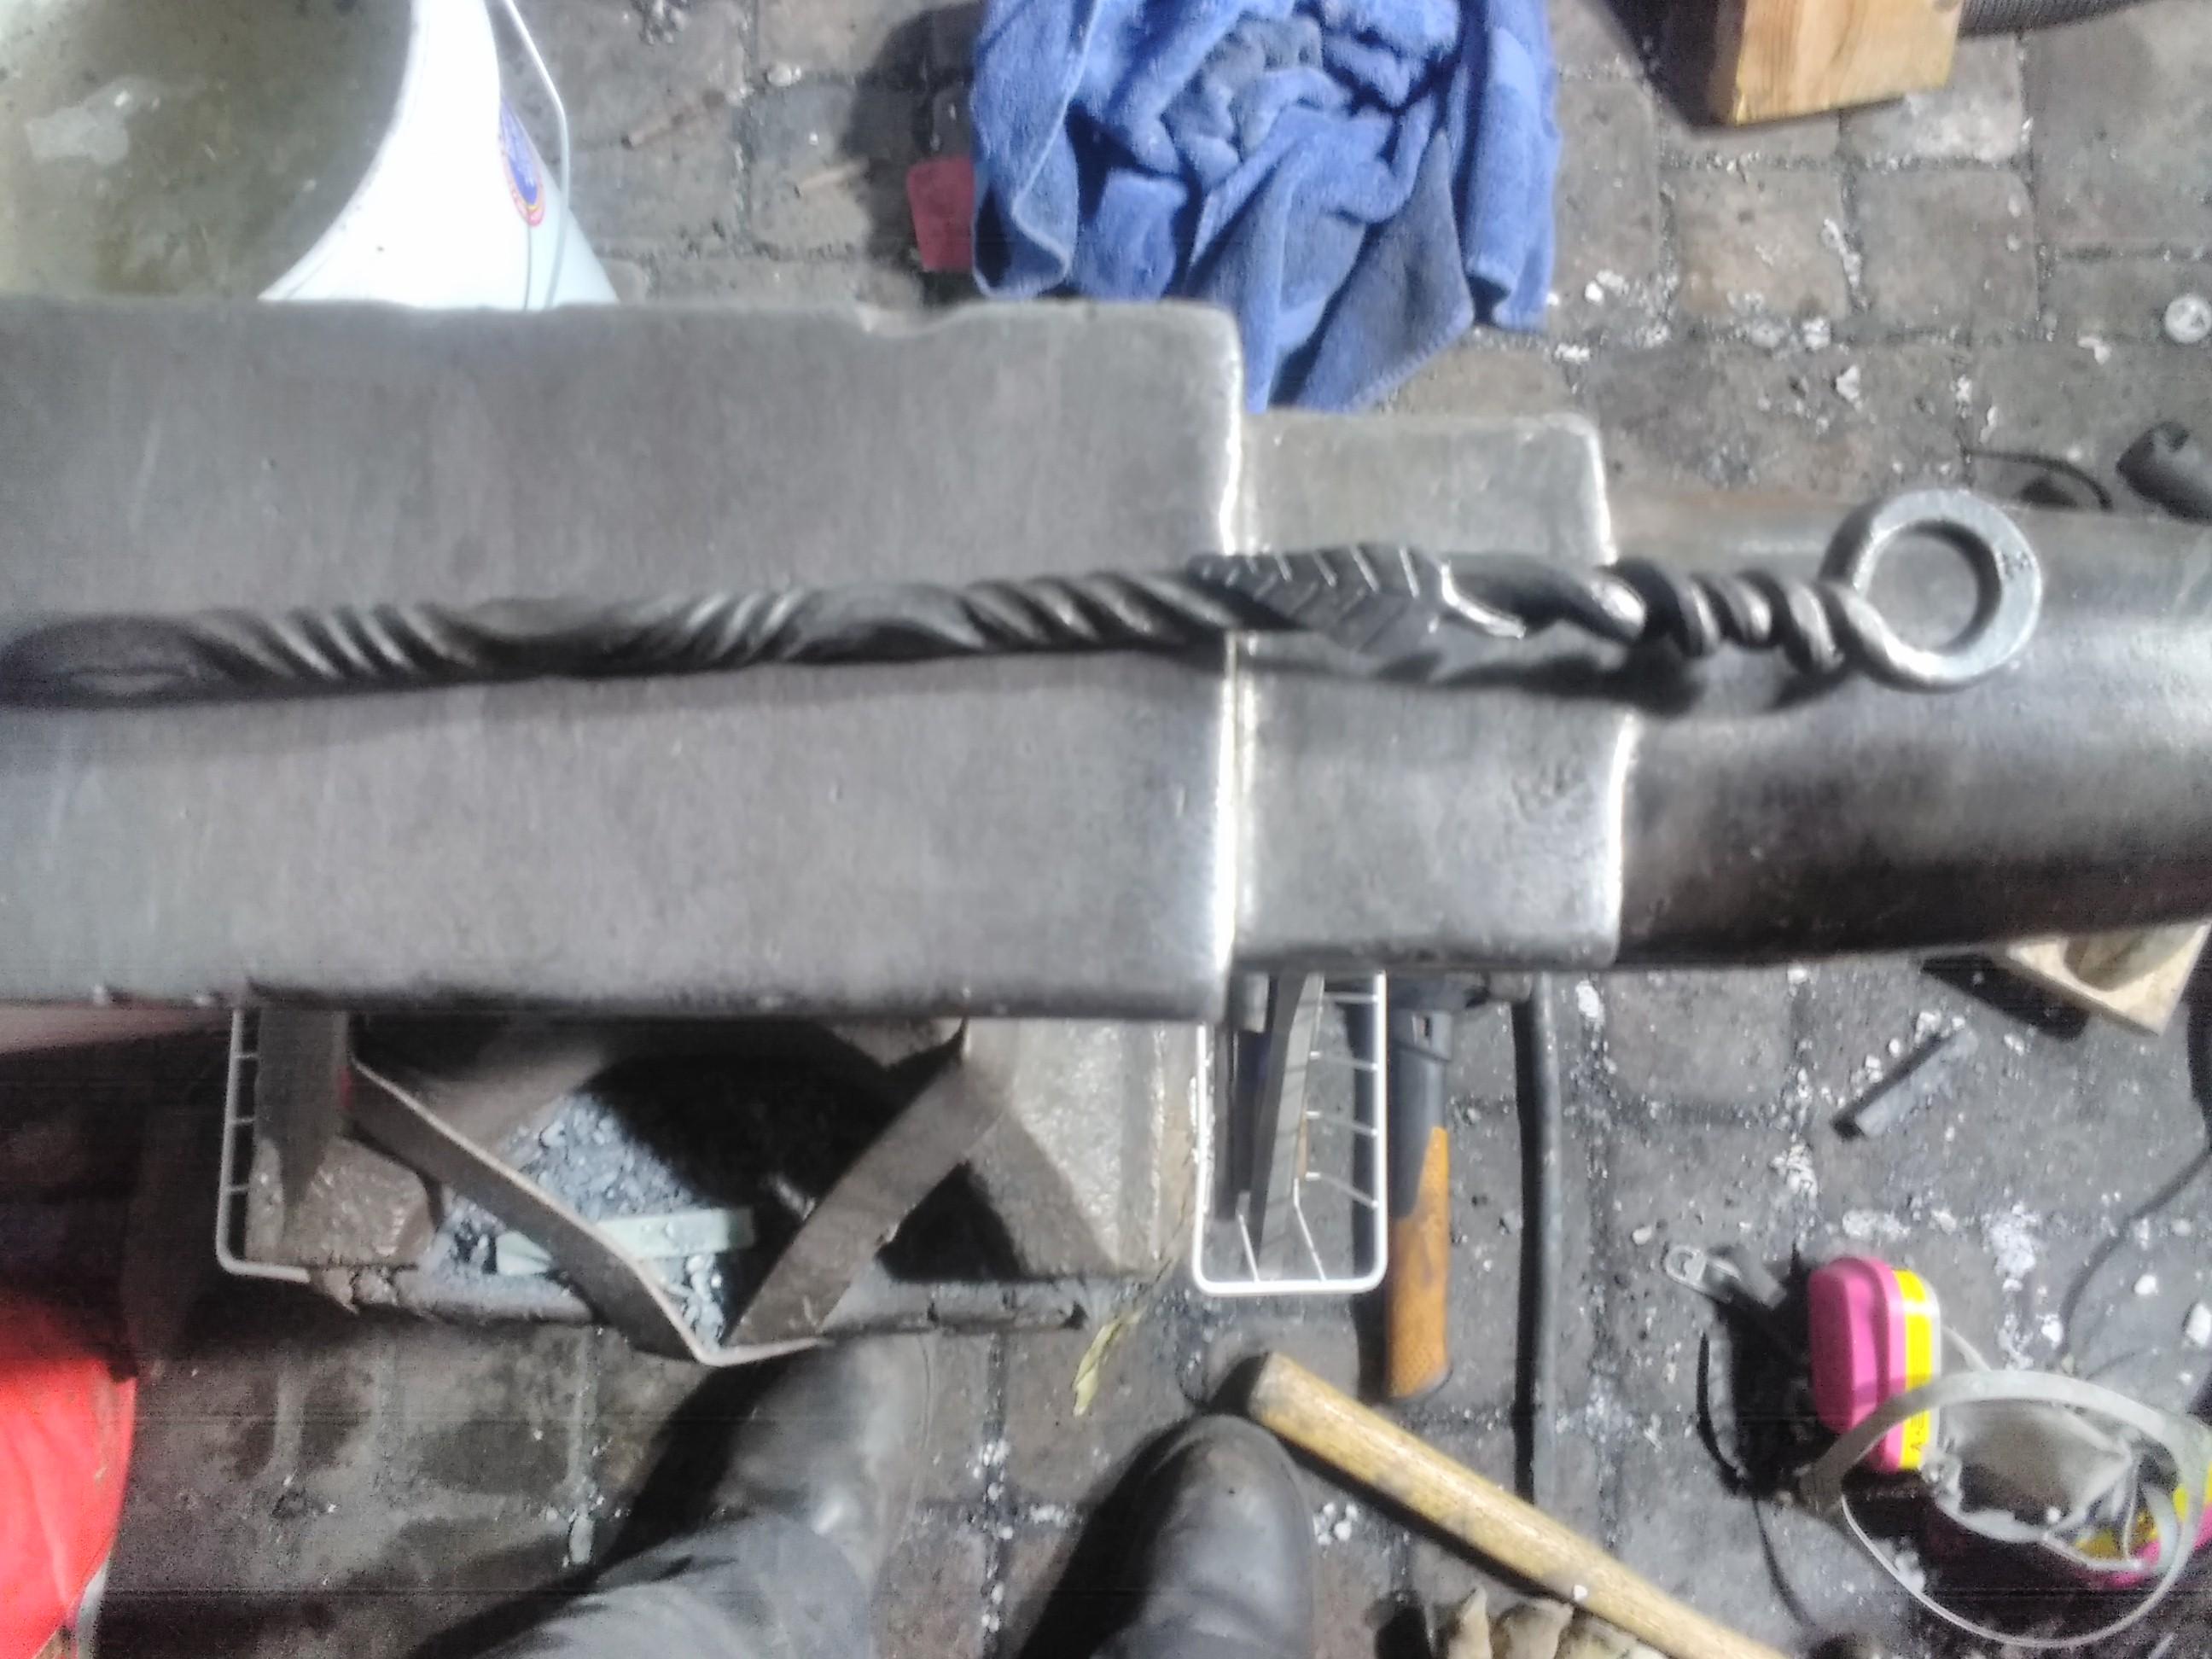
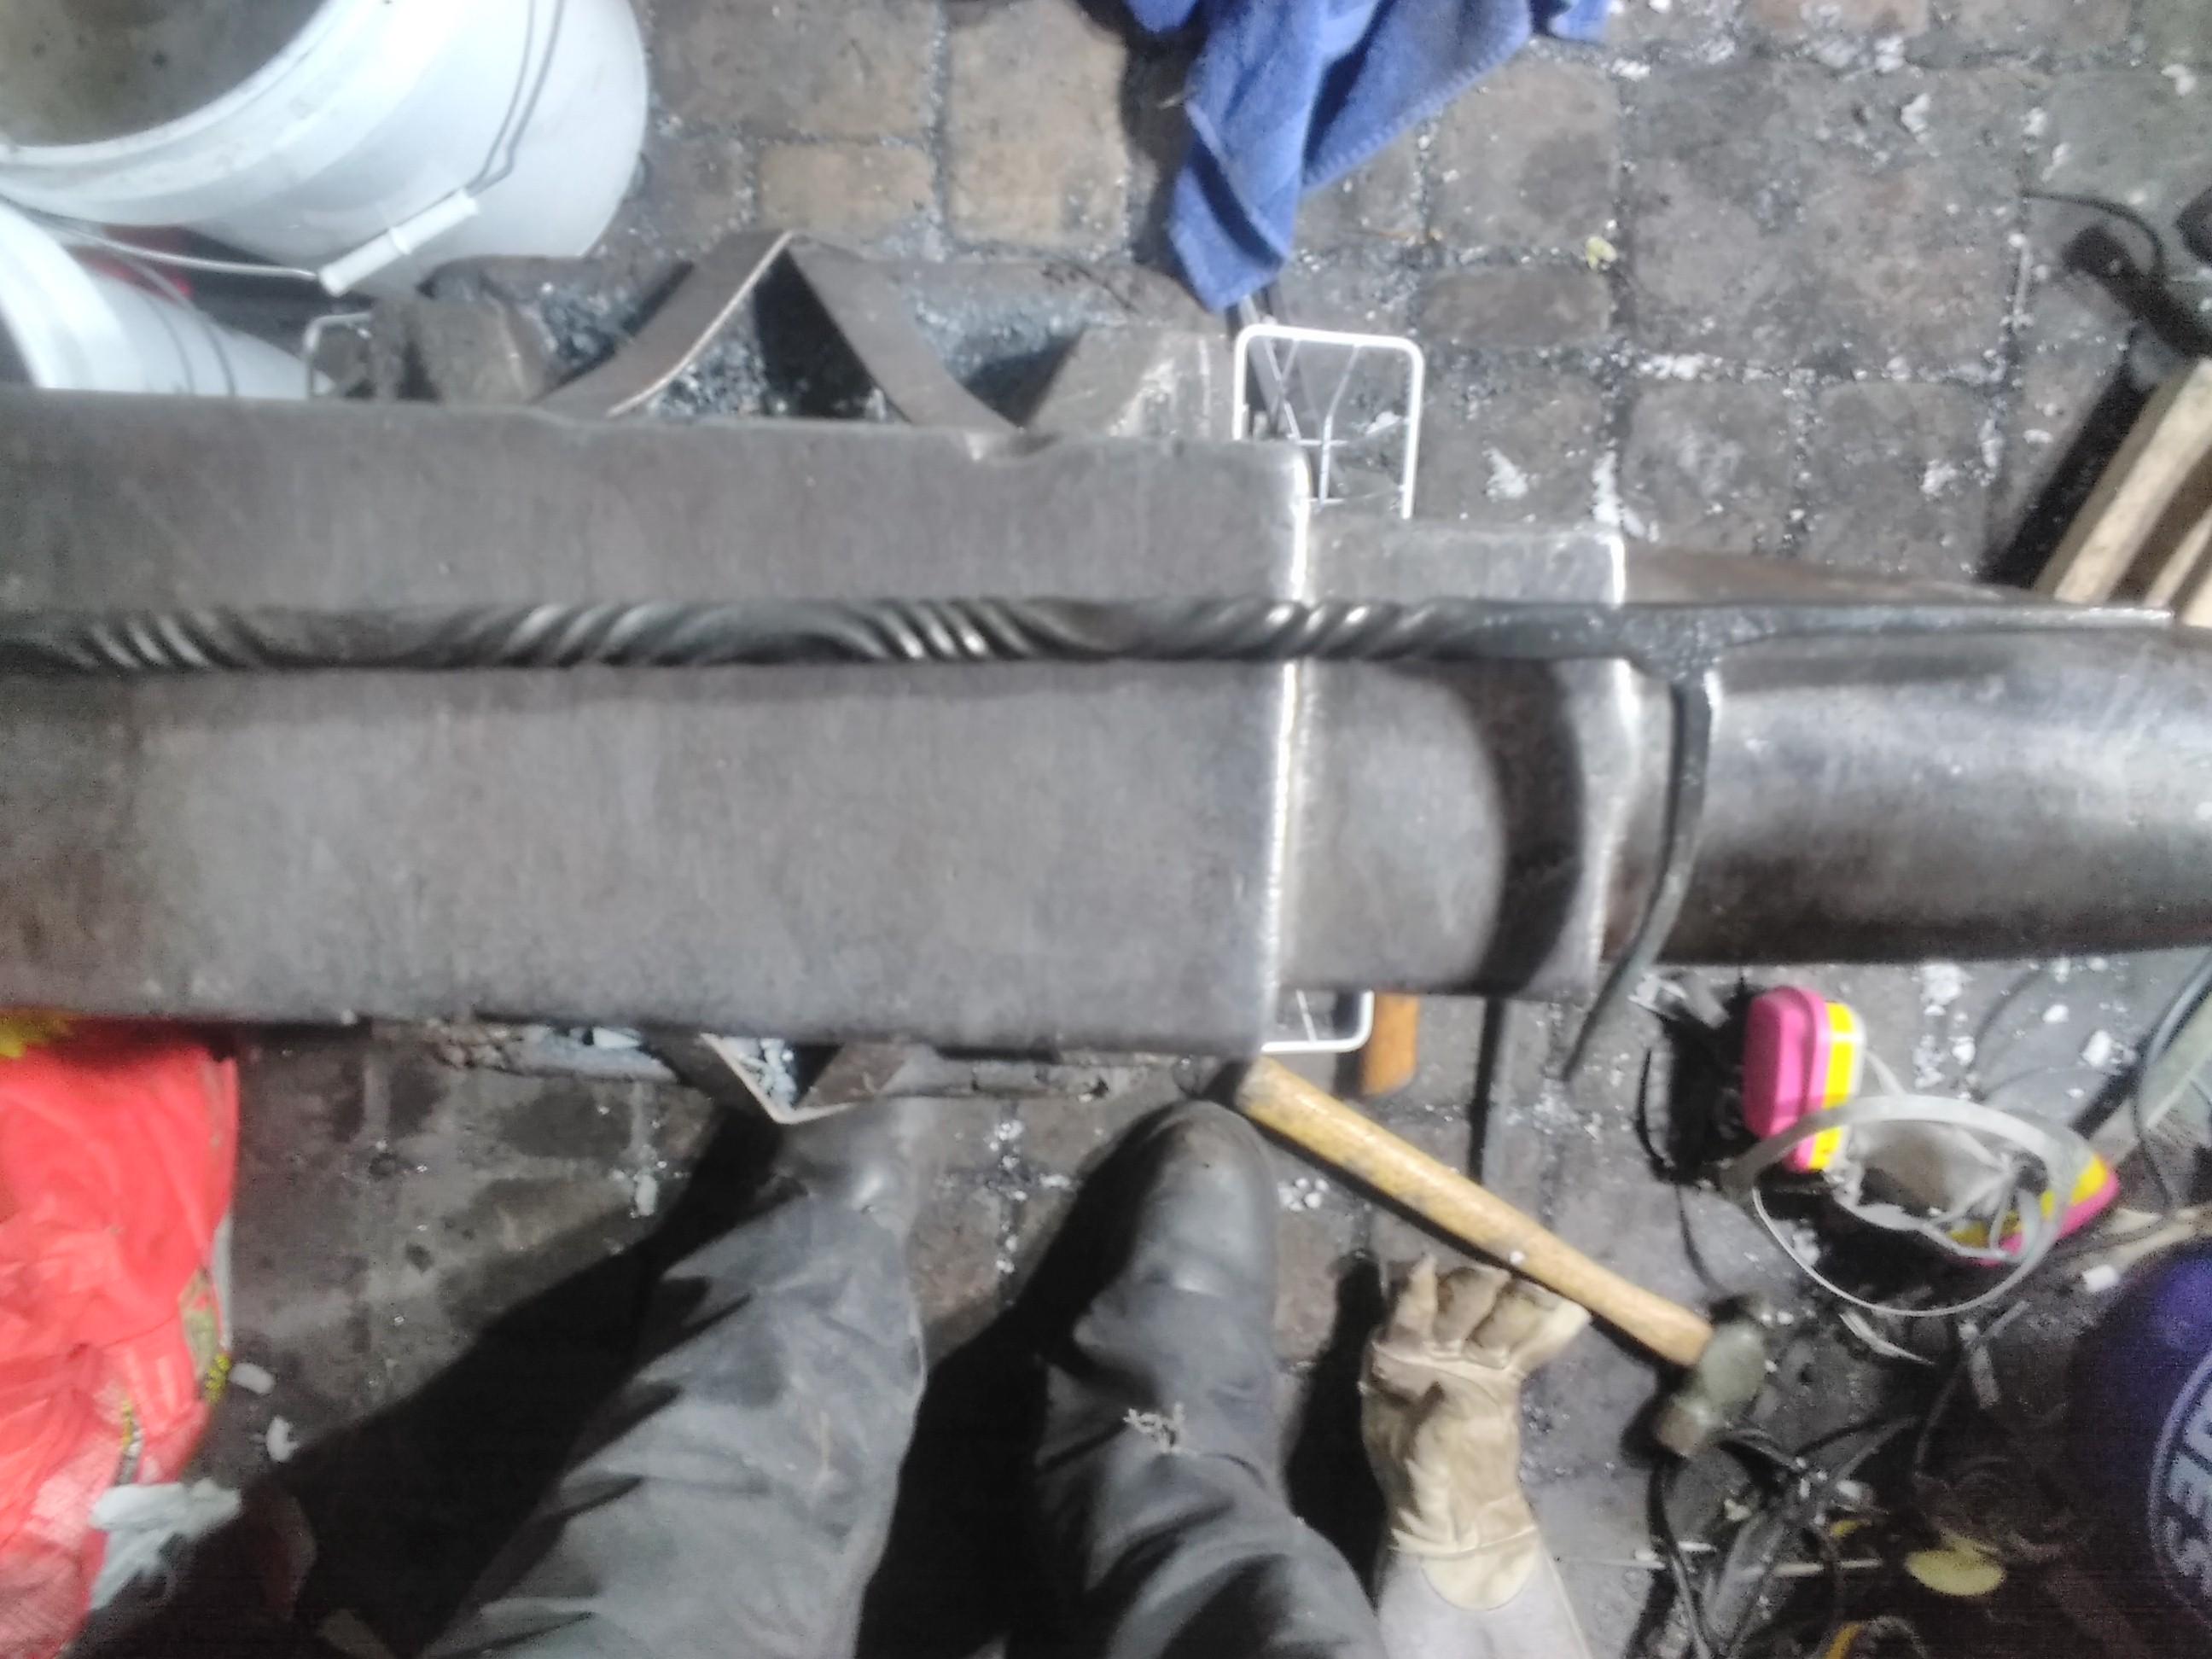
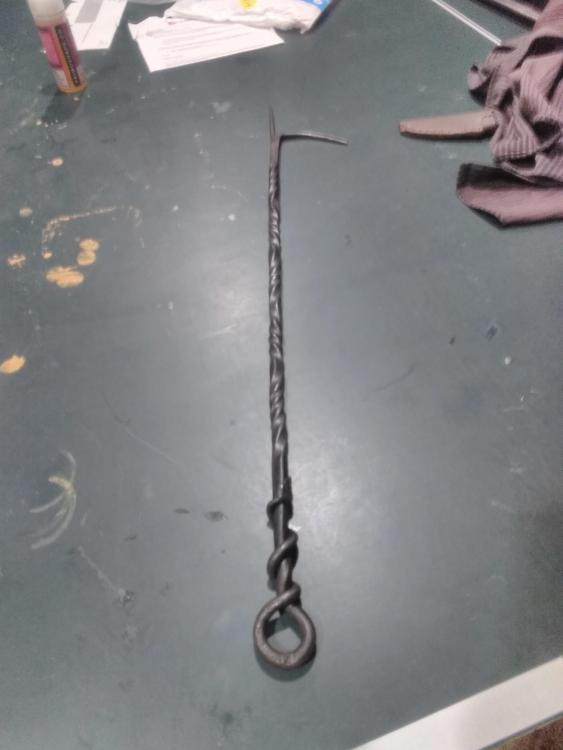
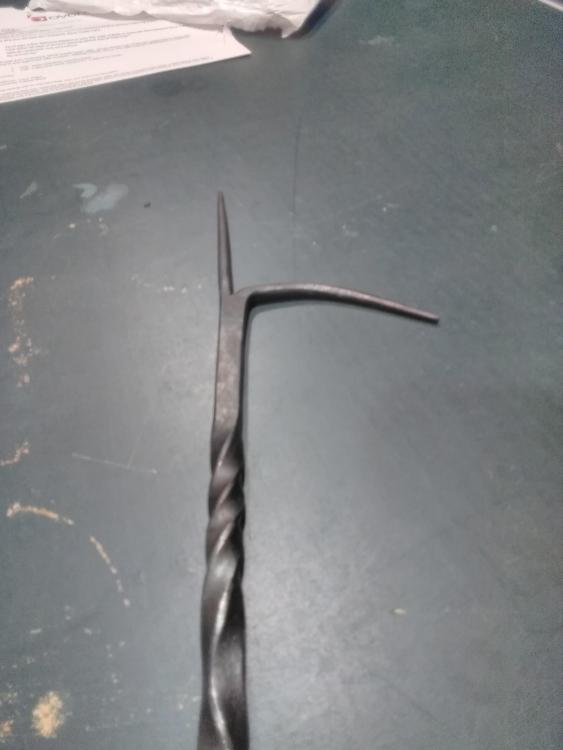
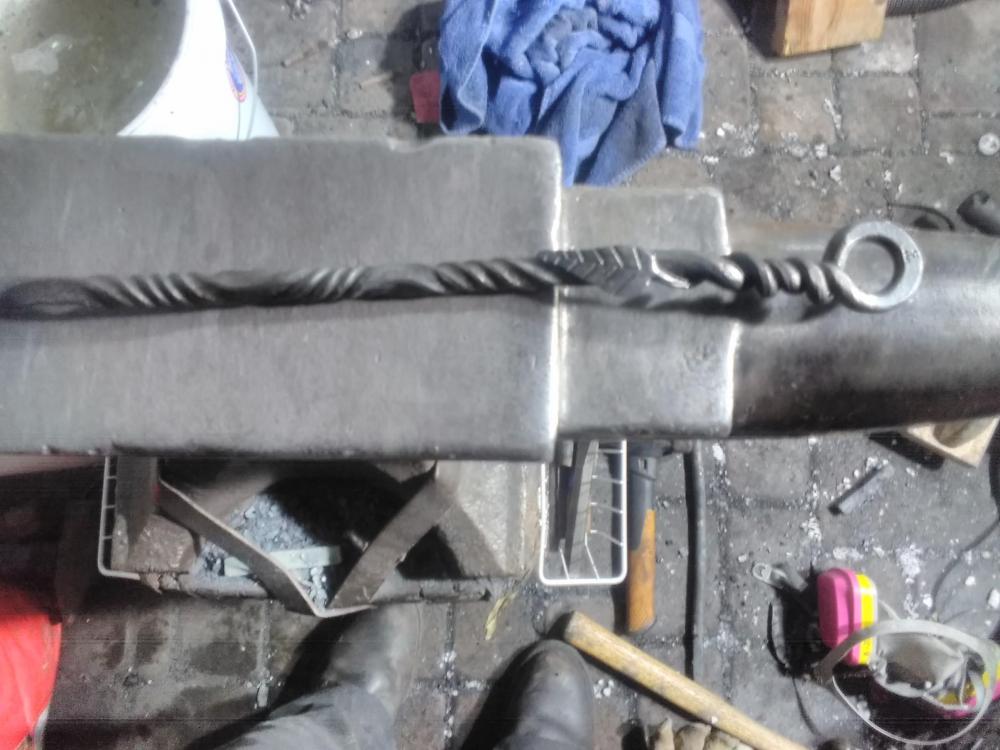
Thanks! It seems we are in the same boat then haha. Well minus the knife maker part, but that's just a matter of preference. You are likely far more patient than me. Unfortunately, there is no medal for doing things by hand. Simply for the sake of efficiency I'll get a belt grinder at some point, it has just been a lower priority considering I don't really need it all too often. For the poker, I forge with coal so I just heated up one section (about the size you see in the twists) at a time and like you said, alternated the direction of the twist. When heating the next section I tried to have just a little bit of the end of the previous twist at a dull red, so it kind of smoothed that transition from one direction to the other. Then I straightened everything with my handy dandy wooden hammer (a hand sized piece of 4x4) to protect the look of the twists. Also just a recommendation, cut yourself a little extra material than you think you'll need (I used a coil spring because I have a near infinite supply), square everything up and start making the poke-y end first, working back from there. The first time I tried it, I misjudged how much material I'd need and ended up making it too flimsy in trying to get the length I was looking for. Better to have a little extra on the end and cut it off than have too little and get stuck. To add insult to injury, I broke the leaf on the end off while working on the middle because I did things out of order. I always learn some ways not to do something along the way. Just important as when it goes well haha as I'm sure you know.
-
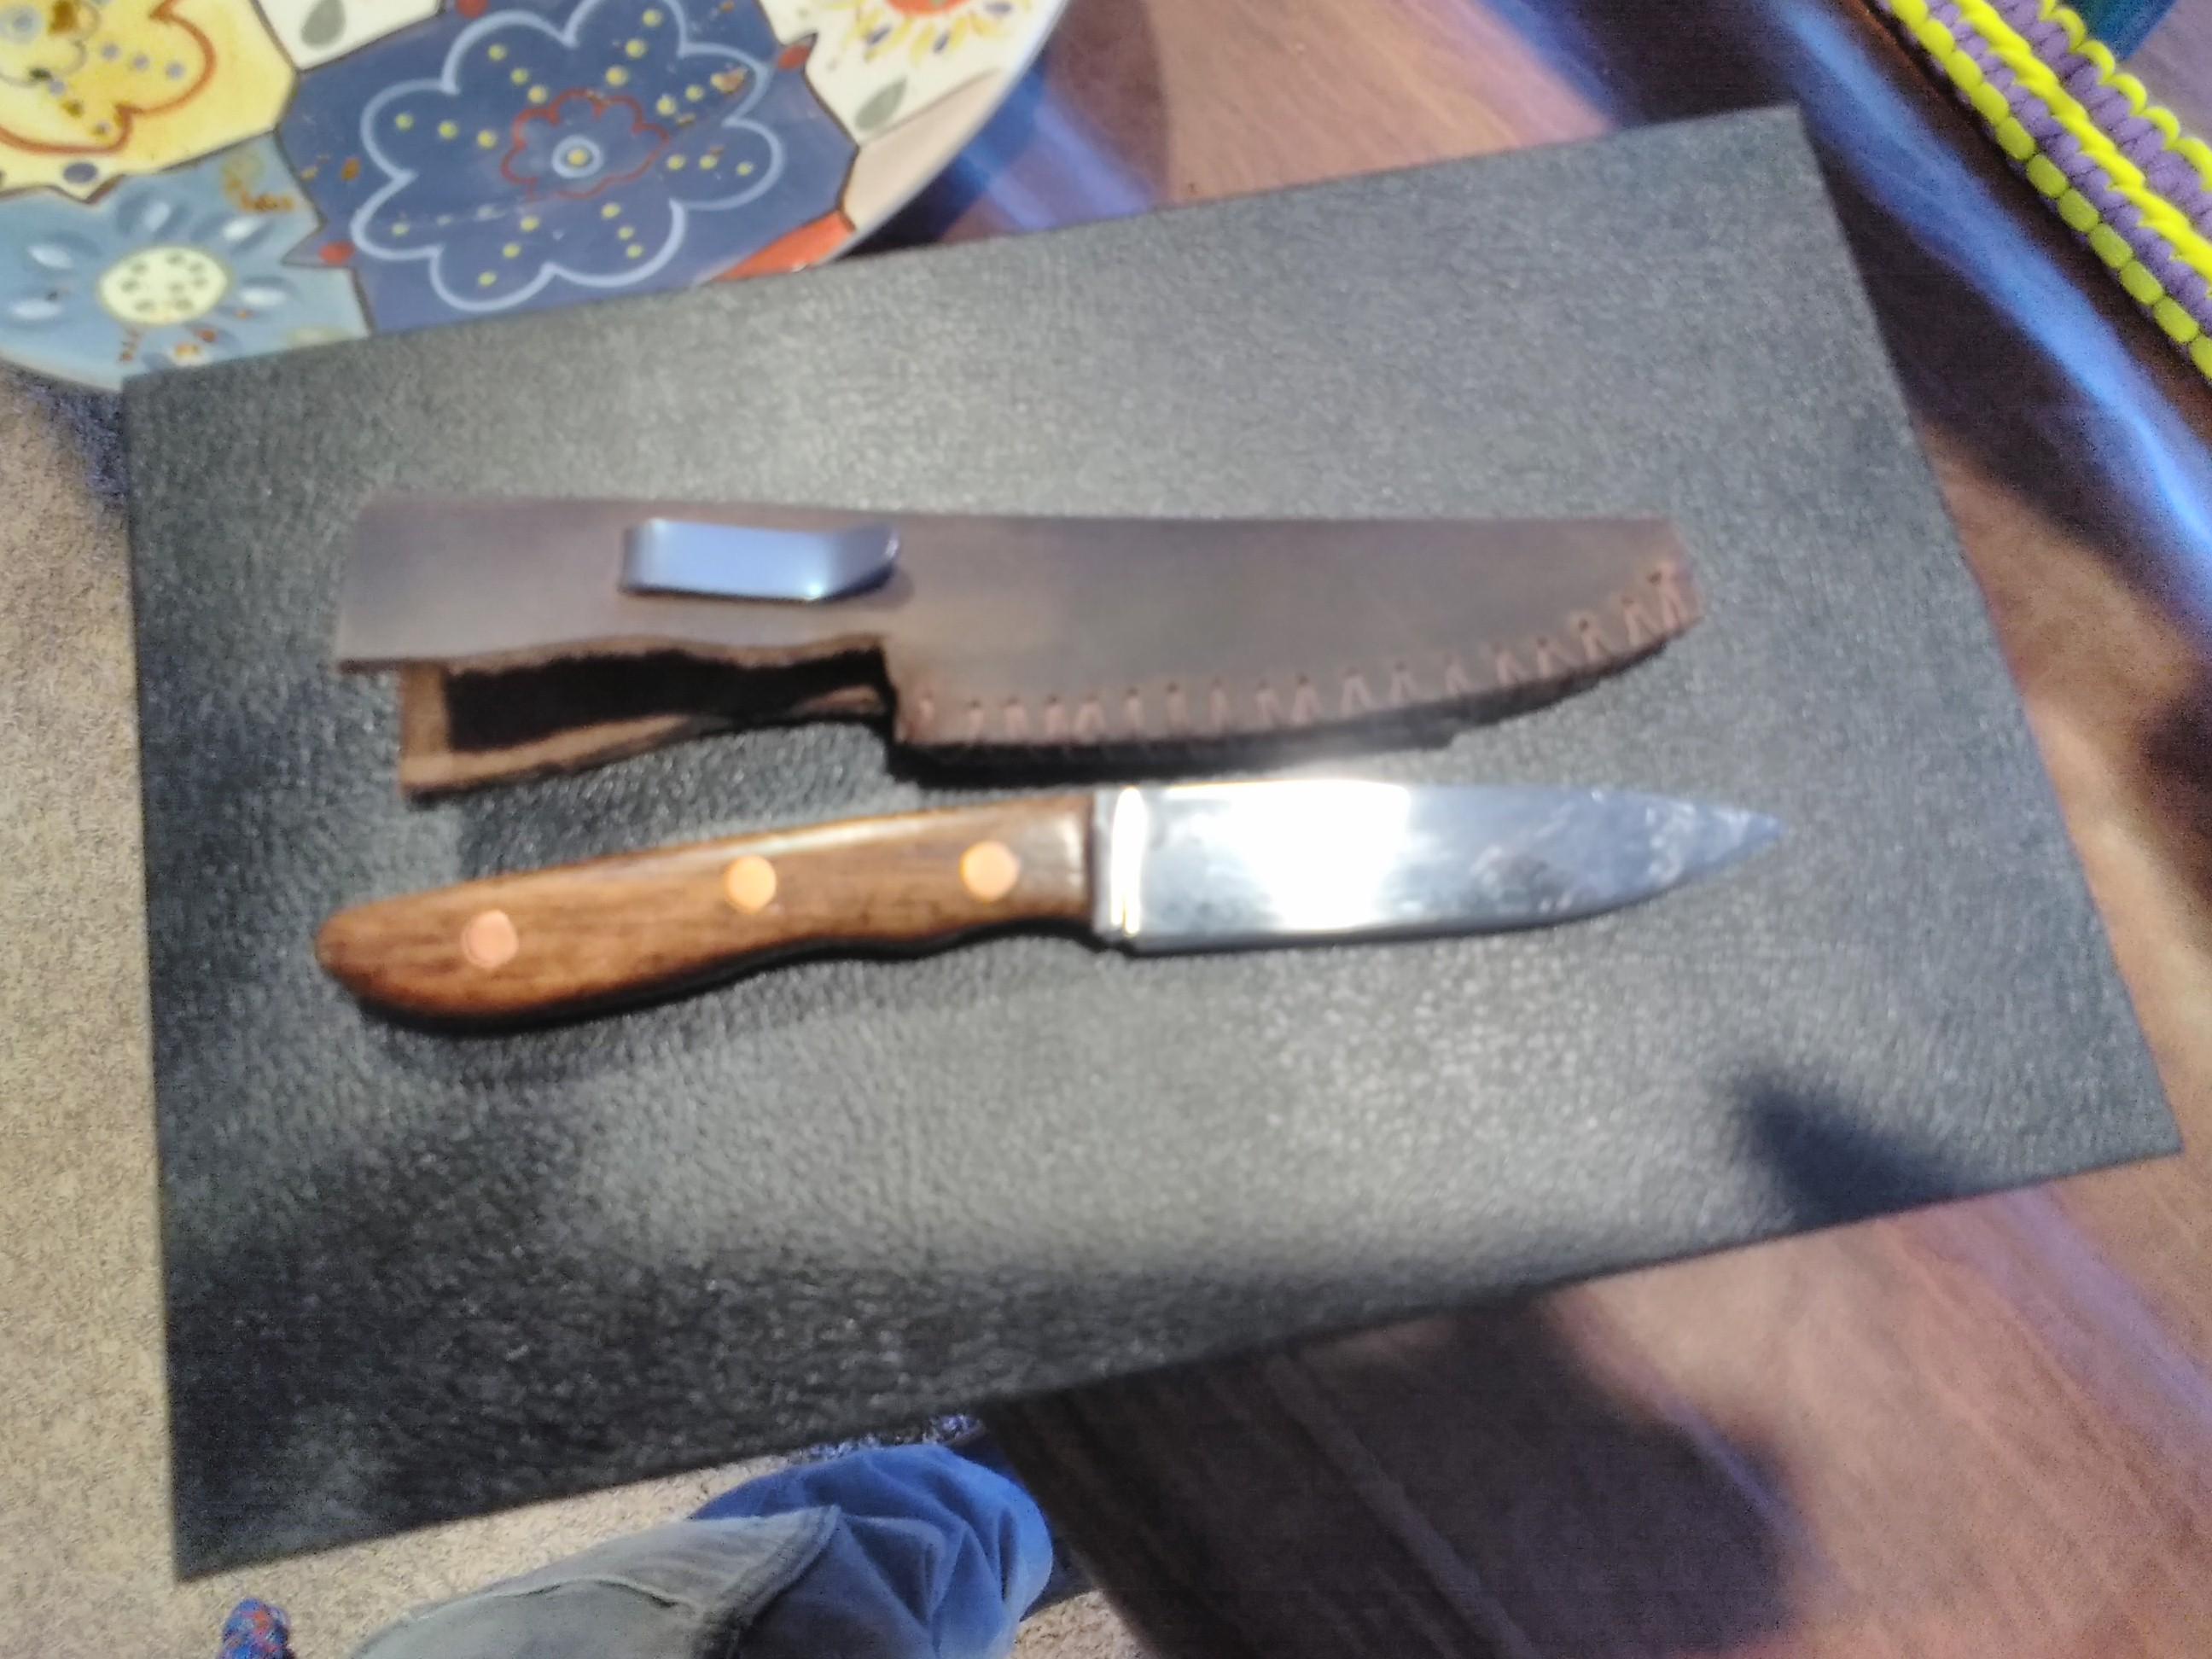
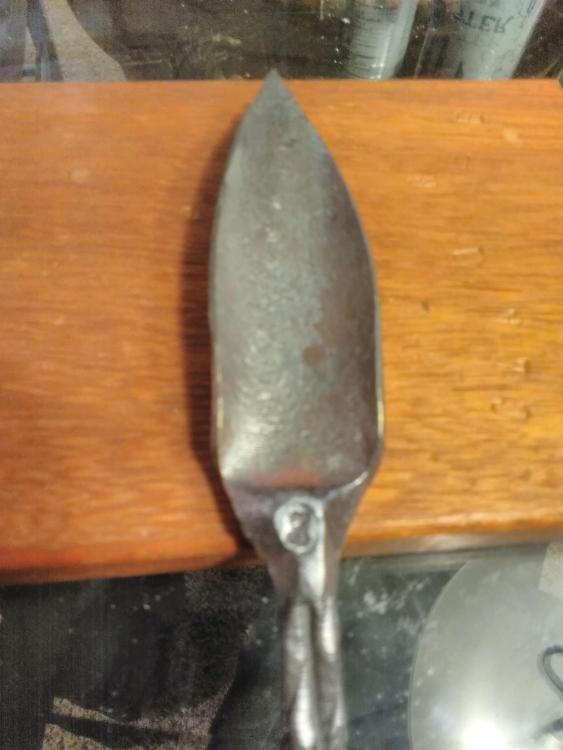
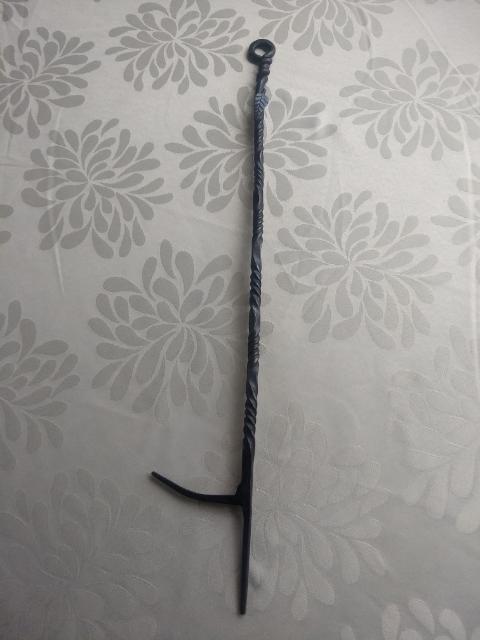
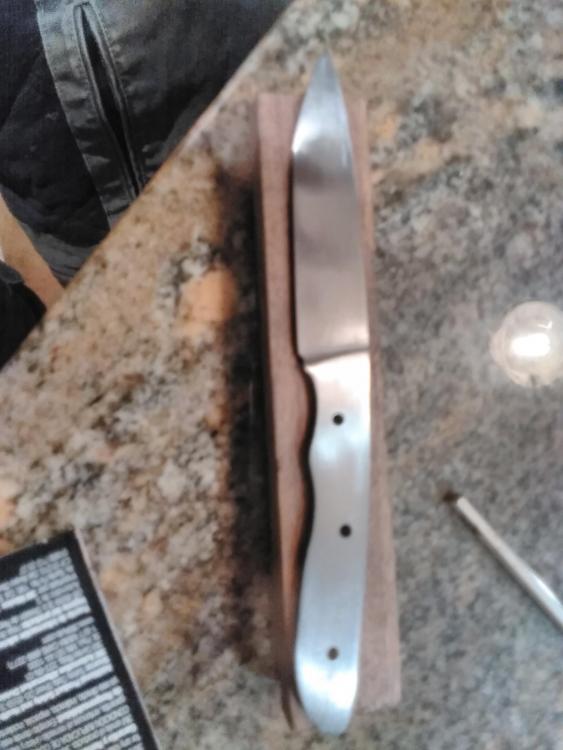
Finished this the other day. Every time I make a knife I am reminded of why I don't like making knives, so much file work and hand sanding (I don't have a grinder yet). I do however like to carry things that I make, so it's worth the time. Walnut handle, copper pins, started with an old Simonds square file I picked up from a tool thrift shop by me for $1. I love that place, very inexpensive second hand stuff. Full disclosure, I am not a bladesmith, but I do appreciate the handwork and time they put in to make nice blades like yours Michael. Heat treatment went well. It's about 6.25" overall length, pretty small to fit nicely in one of my leg pockets. I also finished this poker last week for my mom.


-
Jasent, that looks really nice! I think starting out with a thin round stock (like you did) would save me a lot of time, considering I started with a railroad spike.. Inefficient? Yes. Still fun? absolutely. JHCC, I knew I was forgetting something! Now where did I leave that thing....
-
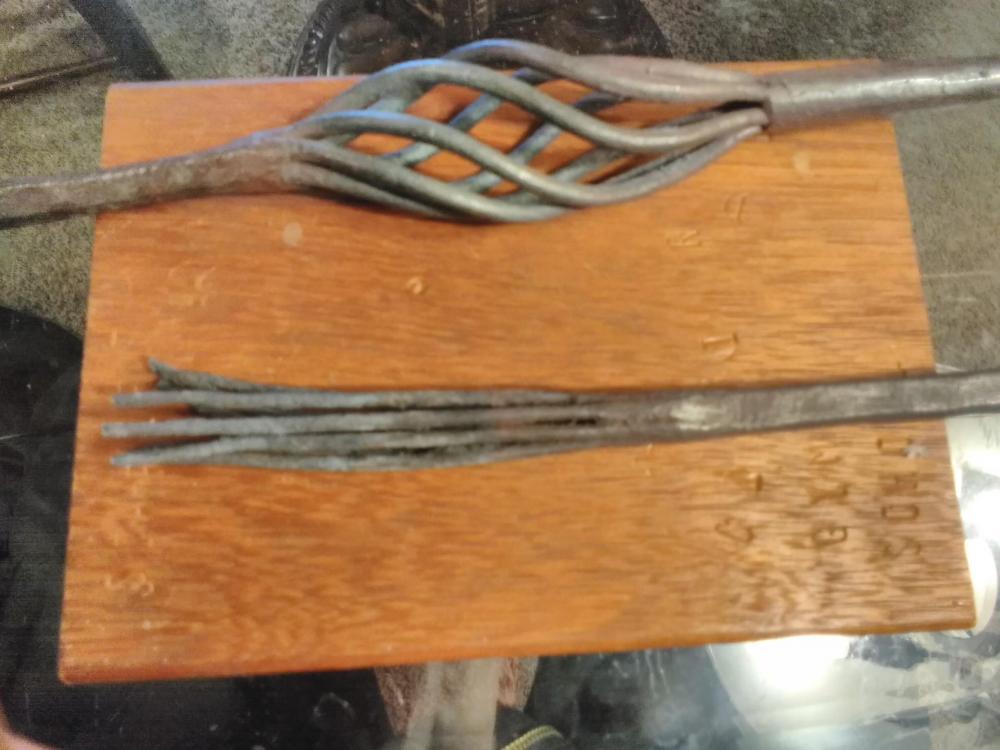
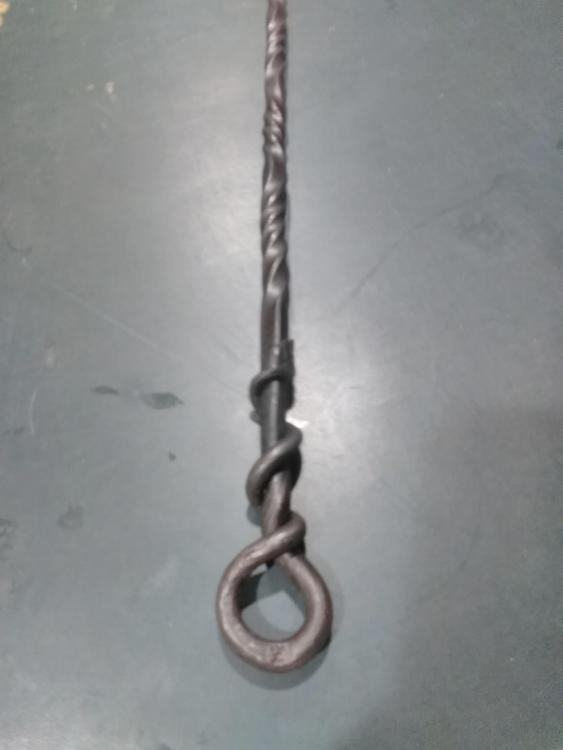
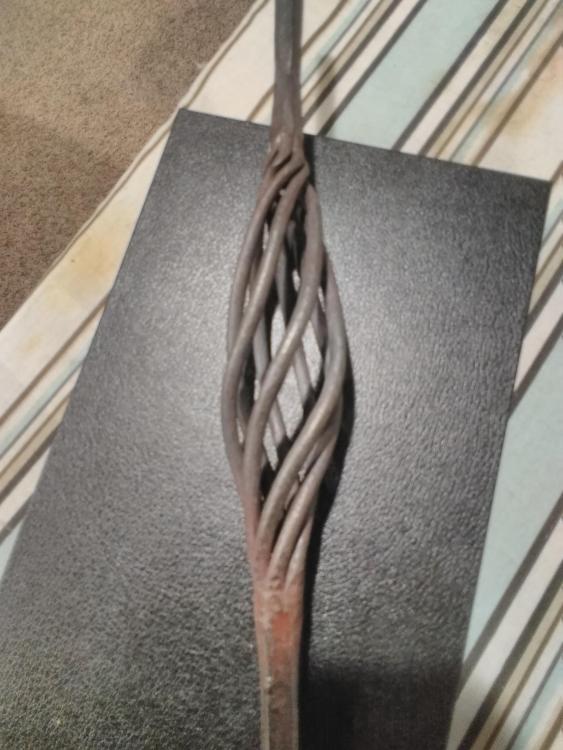
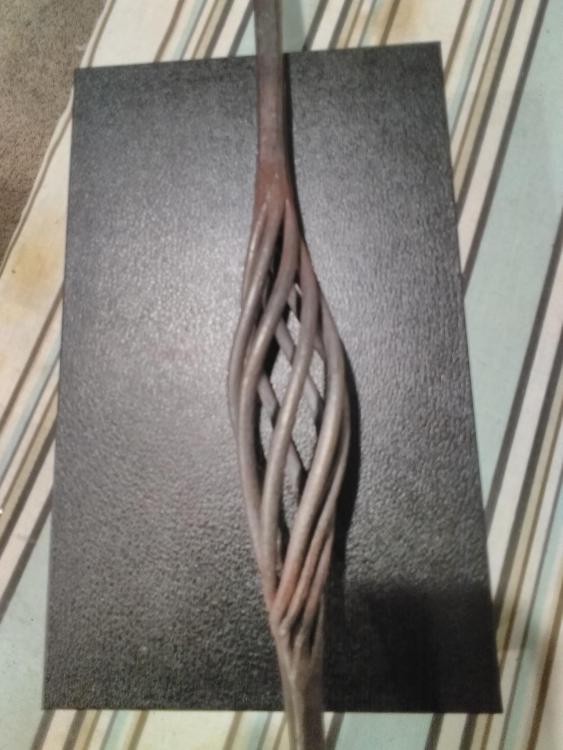
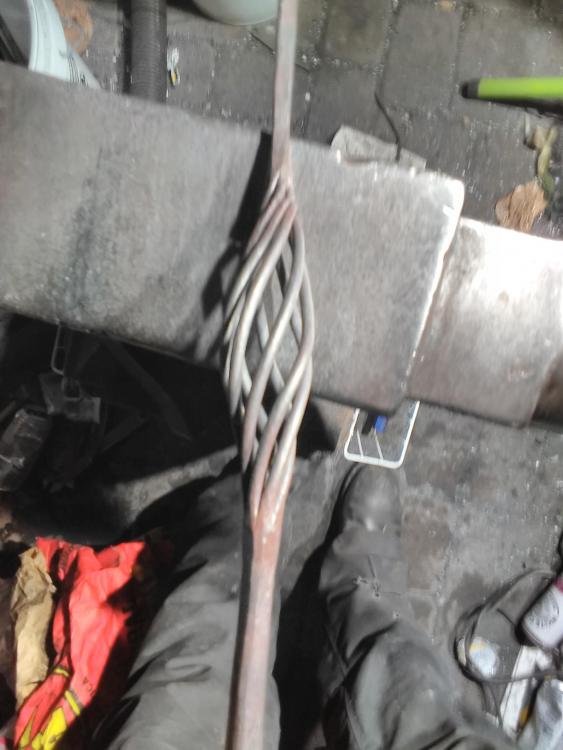
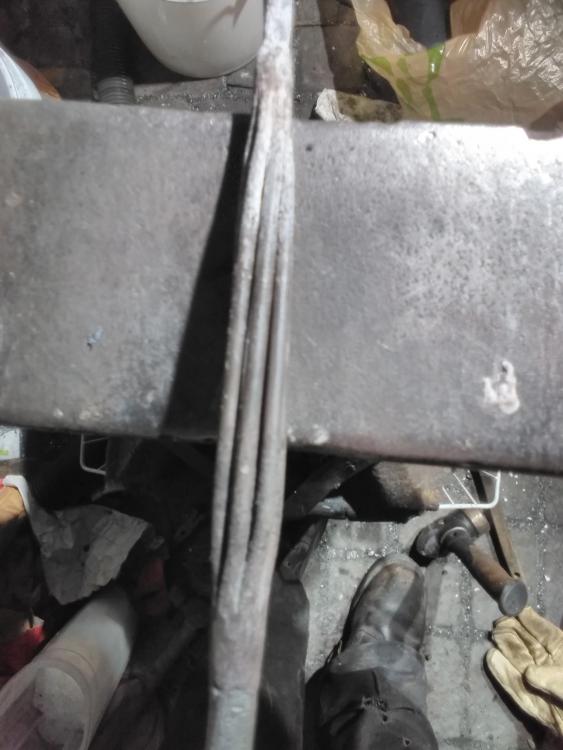
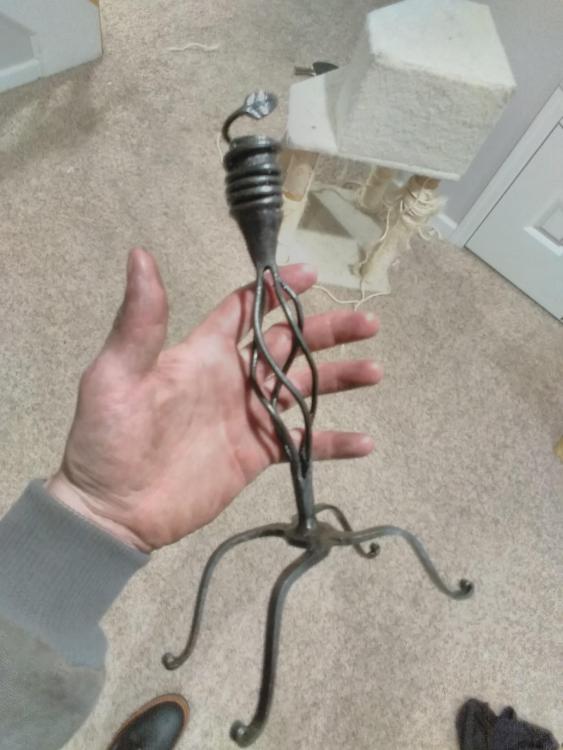
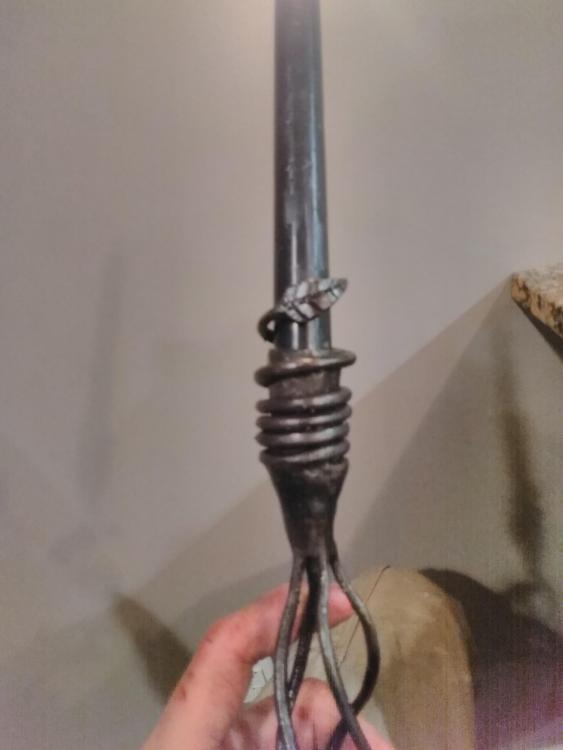
Thanks all. JHCC I like the 6 strand idea. It would fill up some of the uneven spacing between each strand. I was worried about one of them breaking off so I quit tweaking them to be even while I was ahead. In drawing out the upper portion (twice) I lost a lot of the material on the end of one of the strands to scale. I initially planned for it to hold two candles, branching out at the top in either direction with pretty much the same holder style at either end. However, quite recklessly I'll admit, I forgot to meditate for several hours prior to making my forge welds at the strike of midnight, and I unfortunately I was facing south-southeast at the time. So I experienced some.. *ahem* delamination. The likes of which I was unable to get to weld back together. So I chopped off the top and made do with the material I had left.
-
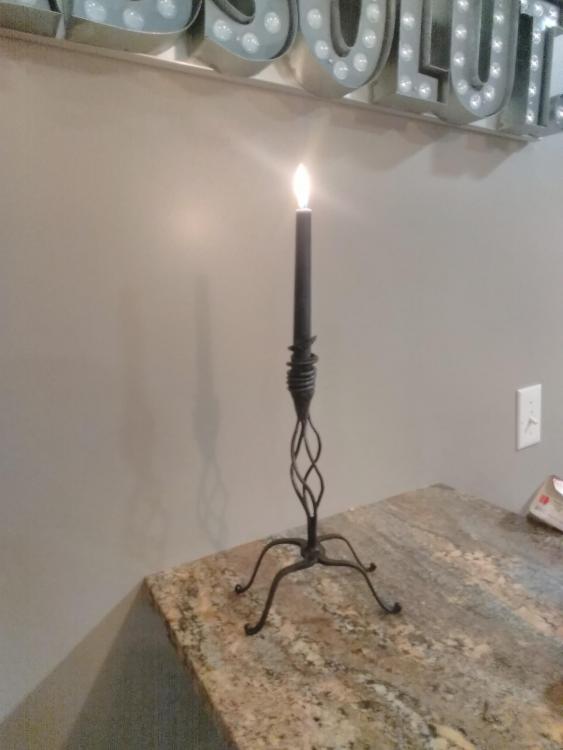
Finished a candle holder. First time attempting a basket twist so it could be a lot cleaner at the ends of the twist. I lost a more material to scale than I expected (note to self leave things a little thicker next time), but overall I'm still happy with how it turned out for my first go at something like this.
-
I agree that silicone will help on both fronts, and that protecting the ears from unnecessary noise is very important. I'm actually quite surprised by how well the two magnets killed the ringing. I ended up locating the one under the heel all the way on the end, on the vertical face and now there is no prolonged ringing at all. It is not a dull thud sort of affair, but I think securely fastening the anvil and the base with a nail hooked nail or something like that will get it as close as possible. I'm not sure caulk can hold the two together securely very long as I'm working at the horn. It isn't really made to resist the moment that will be applied during normal use, unlike a steel fastener. However, for the purposes of noise reduction, and really generally speaking, it certainly can't hurt. Very interesting information, thanks for sharing.