Frazer
2021 Donor
-
Joined
-
Last visited
Everything posted by Frazer
-
Looks good, looking forward to seeing what it turns into!
-
Chrome-moly (SAE 41XX, sorry i don't know how to write a generic series of steels for EU specifications. Something like ##CrMo#) is pretty tough stuff and is commonly used for shafts... But that's a big old piece of chrome-moly.. If it's not that it could be stainless steel. Of course I could be totally wrong, this is just my guess from half a world away... Edit: Magnetism test is a good idea, didn't think of that.
-
I agree, the whole point is to identify if there is a surface treatment before putting it in the forge. One thing I would try to determine whether the shaft has been surface treated is to grind into the shaft and try to rust the material both inside and outside your grind. Vinegar or salt water will accelerate the rusting process. If everything oxidizes (both inside and outside the grind) then the shaft has probably just resisted rust. But if everything else besides the shaft has rusted then this is unlikely. If the outer surface layer bubbles (generally indicates a zinc based coating) and/or doesn't rust but the inner material does then it's plated. If there are bubbles this plating can be removed by immersion of the part in a weak acid (white vinegar for example) until the bubbling stops. If neither rusts, then the shaft is probably stainless steel. Most modern (in my opinion 60s isn't modern) rotary shafts, if plated at all, are nickel plated rather than zinc plated and I don't know if vinegar will remove a nickel like it will zinc. This isn't a fool proof test, and I would follow ThomasPowers' methods if possible or if the test is inconclusive, but this may give you a better idea of what you have (especially since you will effectively be doing a spark test at the same time). It's also less dangerous than just trying to burn off any potential coating and hoping that you get far enough away for long enough... just my thoughts.
-
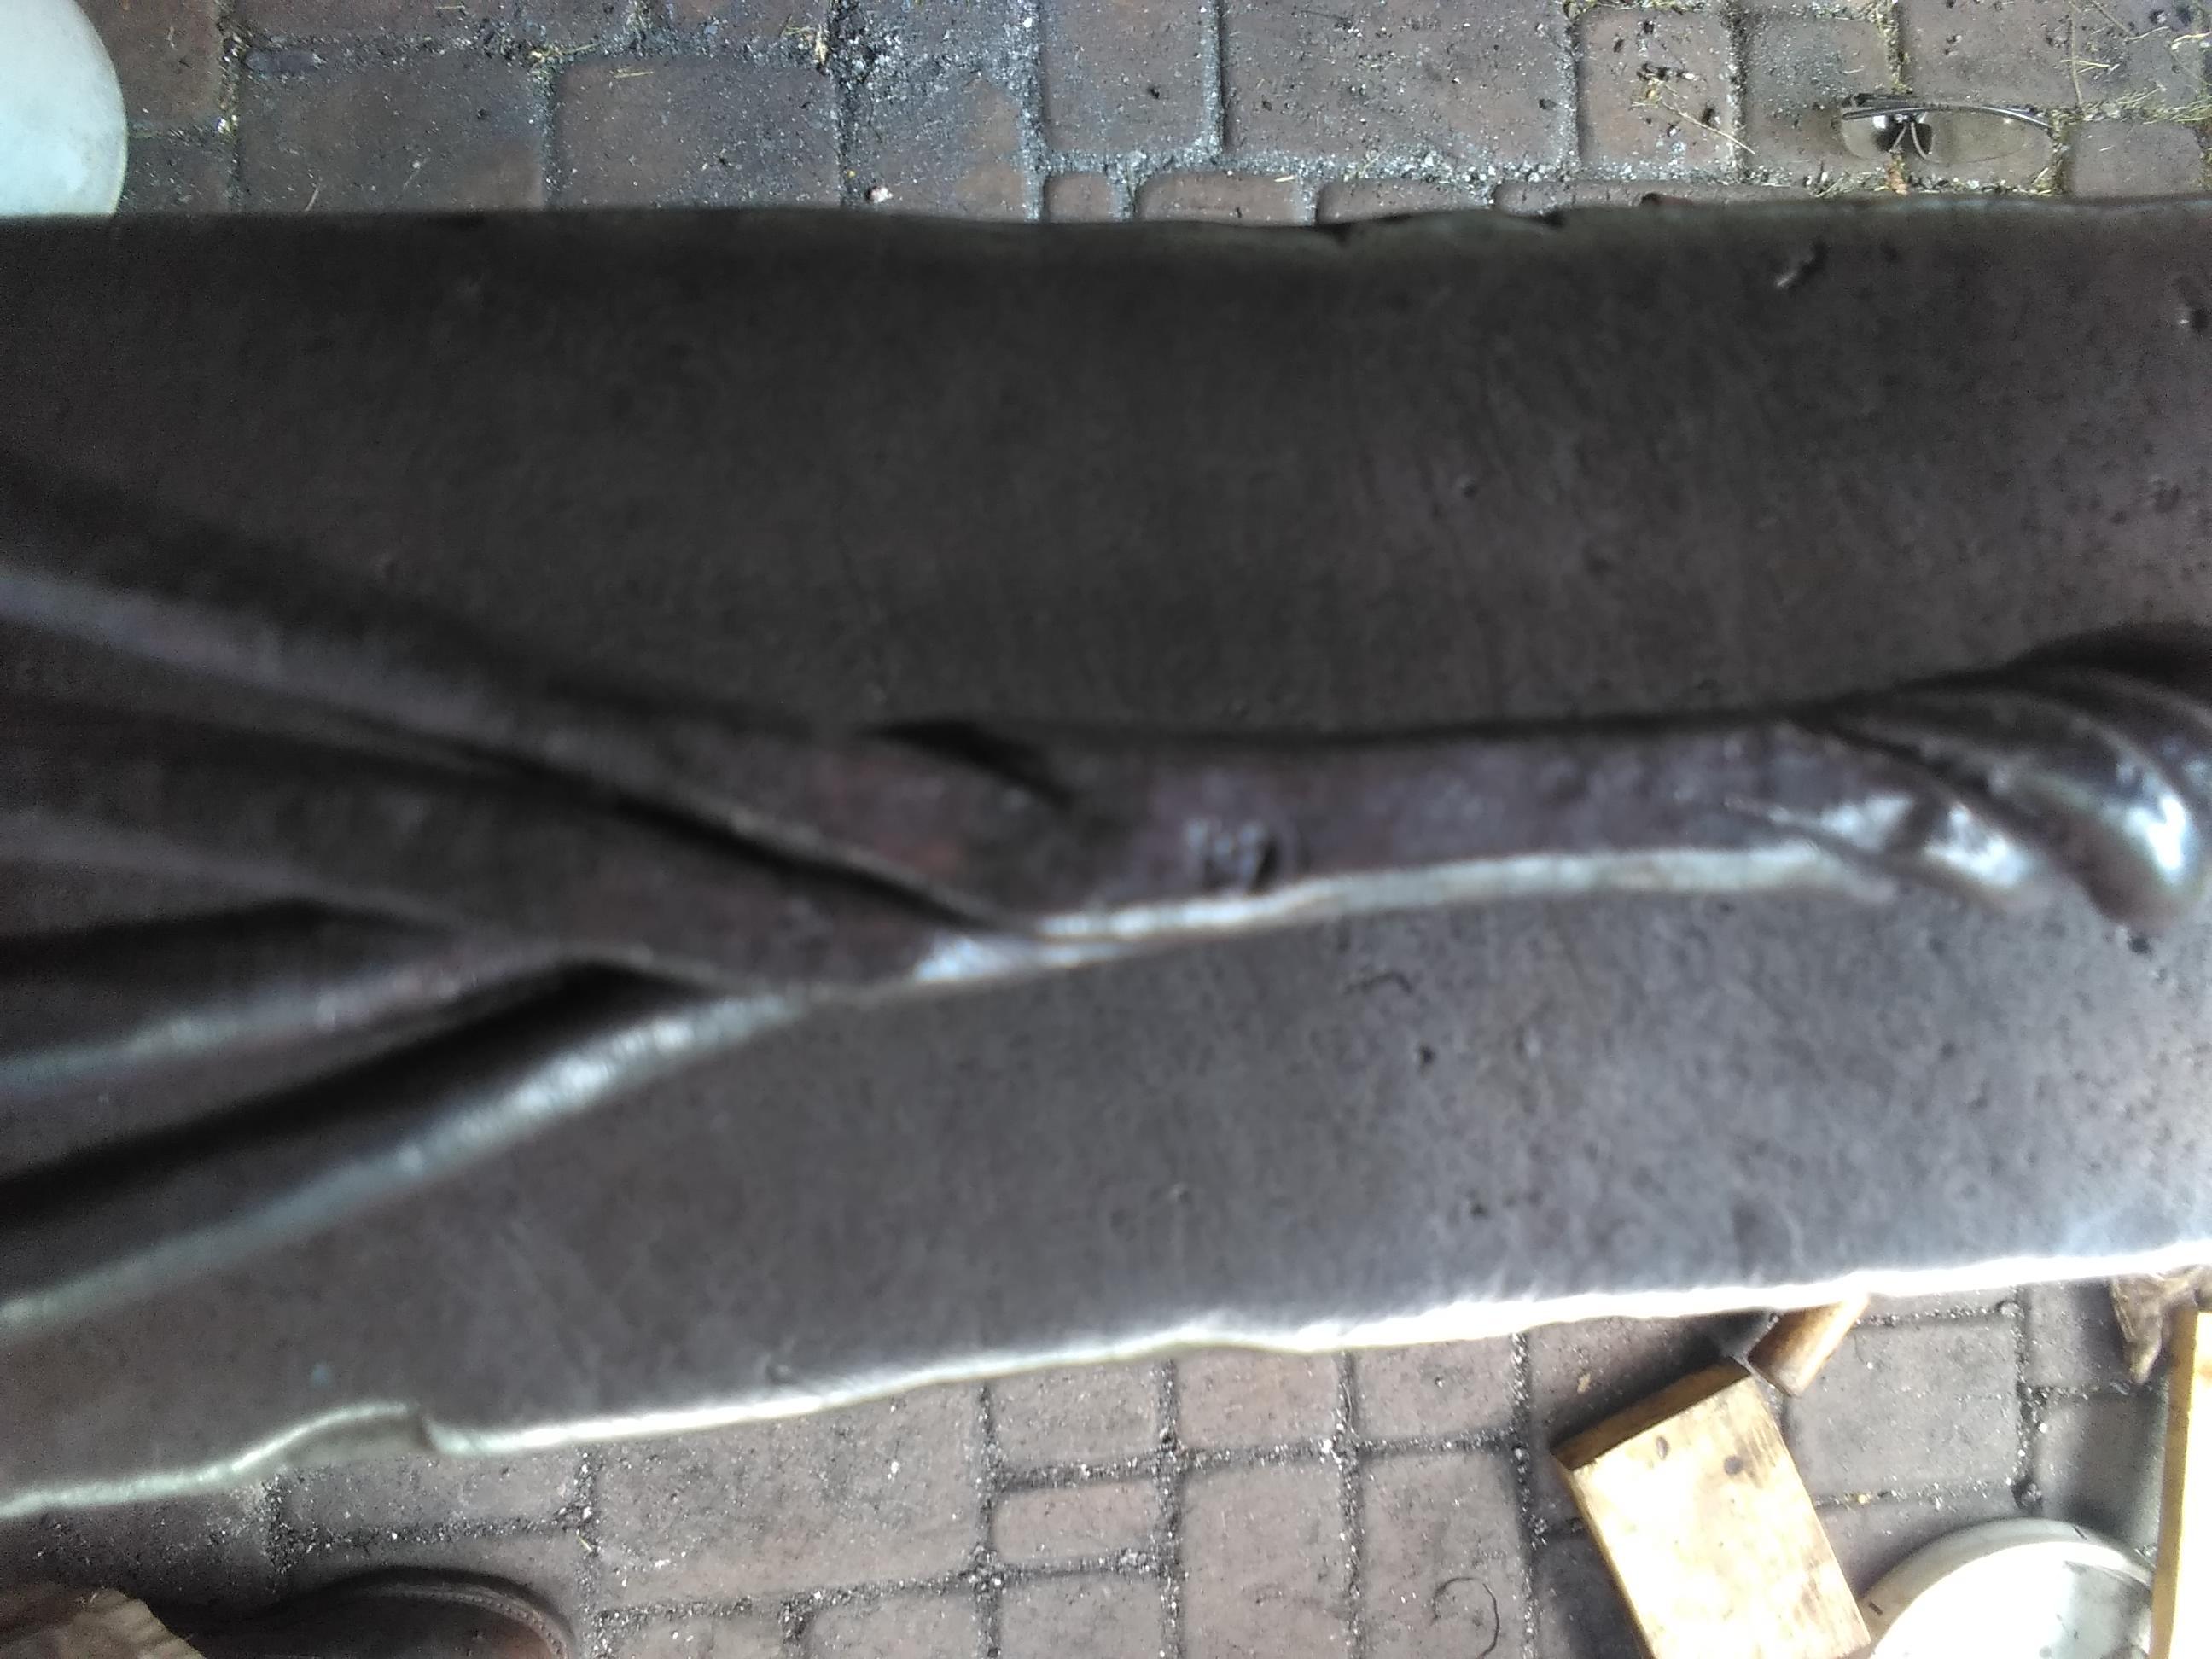
Looks pretty solid to me. That line looks like one place the weld didn't take, you may be able to grind it out depending on how deep it goes. However, if you're just using it for something decorative, it shouldn't be a problem. Just remember where that spot is and keep it away from anything critical. As Steve mentioned, the billet as it stands wont be suitable for a blade, but if you sandwich a piece of 5160 between your layered billet you could probably make a suitable blade with it. Just be careful to work on both sides evenly so your harden-able steel stays centered and forms the working edge. I'm not sure what pattern 5160 and mild will make, but judging from your pictures it looks like you'll have something there. I'd say pass!
-
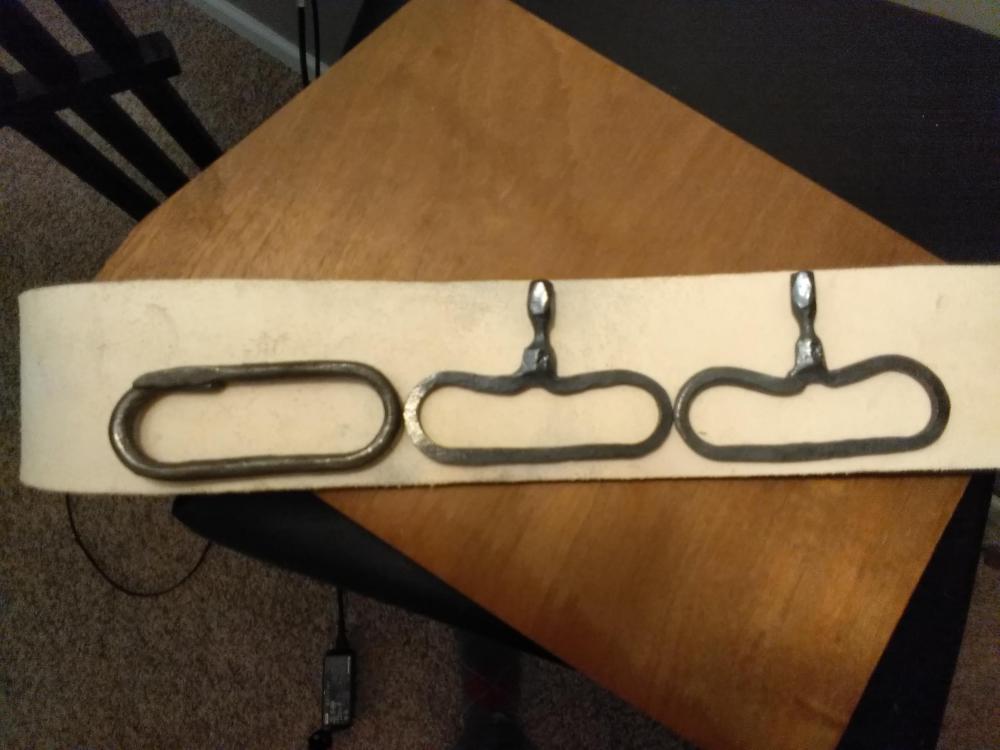
It's a spline shaft.
-
Just to make sure I am understanding you correctly. So you threaded the nut onto the bolt, tacked it in place with a welder, ground off the excess on either side of the nut and forge welded the nut and the bolt together? I am going to assume that's what you're describing. I don't know what your forge setup looks like, but I am going to assume it's capable of hitting welding temperatures. One thing to keep in mind is that, especially with thicker cross sections and gas forges, you should let the piece soak for long enough for the heat to get all the way to the core of your material. Just because the outside piece looks like it's ready doesn't always mean the inside piece is the same temperature and it can be very tempting to pull it out and get hammering (I do it all the time!). Another thing to keep in mind is that you are welding cylindrical faces so you want to work quickly and evenly on all sides. A half round swage of appropriate size can help reduce the material naturally wanting to spread out perpendicular to the hammer/anvil face which can open up your welds on the sides at the same time you're making them on the top and bottom. Heavy hammer blows will make this spreading worse, so set the welds first then you can start hitting a little harder once everything is together. You are right, with forge welding there are several things that cause the welds not to stick. However, there is a lot of good info on the forum re: forge welding. This is my personal favorite (you may have to scroll down a bit to read the article). A couple last things. I see this is put in the knife making section. There are 3 types of A325 bolts. Type 1 identified by 3 lines on the head spaced 120 degrees or with no lines (medium carbon steel) Type 2 identified by 3 lines spaced 60 degrees apart (low carbon steel) Type 3 A325 is underlined (weathering steel) None of these materials are particularly suitable steels for knife making as in use they are generally heat treated somewhere between C19-35 depending on the type. Also beware of surface treatments/coatings that are frequently used on fasteners as the oxides can be extremely poisonous. P.s. If you put your location in your profile you may even be helped by someone who lives near you!
-
According to my Machinery's Handbook 30th ed, common alloys for coil/leaf springs include: 1095, 4063, 6150, 1085 4063, 4068, 9260, 5150, 5160 Please don't interpret this as a complete list of all the possible alloys. Different manufacturers during different time periods use different alloys and without sending a sample off to a lab you really never know what you have. I think George has the best answer, pick up a few and do some experimentation with it to see if it will suit your needs. However, if you really want to use 5160, I would source it new from a reputable source. Especially since scrap springs have, generally speaking, undergone high cycle fatigue from numerous loading/unloading cycles. This may, to some degree, compromise the strength of your starting material and therefore your final product. That being said, people use spring steel for swords and achieve the desired results all the time.
-
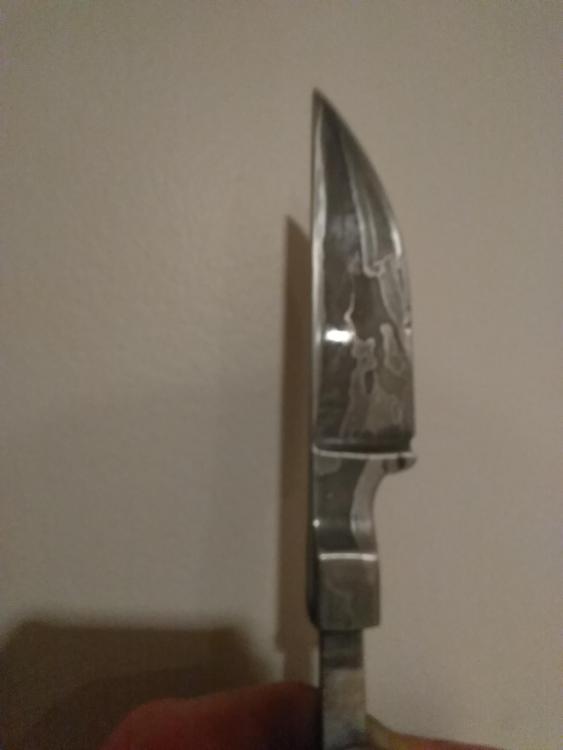
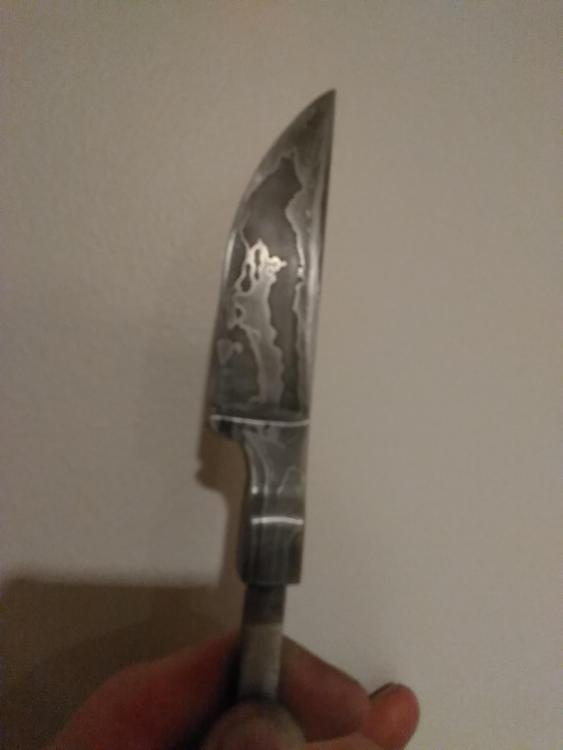
Weekend project, forged, ground and sanded a new knife, Pattern turned out pretty cool, was going for something very simple. After a quick test etch...

-
Marcus, you actually made me want to make a new knife as well. Integral bolster, damascus. She's already looking pretty good. The blade is pretty much done, working on the handle. It'll take me a little while to finish. I'm going for something a little more involved than I have done in the past. I use J-B Weld sometimes, Devcon others. The Devcon I get in the large 8.5 fl oz containers. It really depends on how much I need to mix up. Never heard of G-Flex, but I could see how something that cures slightly less brittle could be beneficial.
-
Hmm. Black epoxy... I should pick some of that up for myself! The fit up is definitely the most tedious part, I'm sure that took you a long time to get just right. But it's those little details that make all the difference when your staring at it with that grin of approval that I'm sure you had! As for the choil, I agree, yours is perfect as is. I have a little knife I made a little while back and thought about adding one, but I was concerned about the edge potentially chipping or the file skating off the place I wanted it and down the edge. So I decided to just let it be. I look forward to seeing the next one!
-
She's a beauty! I like the burl, and from where I'm sitting the fit-up between everything looks perfect. I don't see any pins or mechanical fixation between the blade and the handle, so I assume it's just bedded in epoxy? Which is totally fine, unless you plan to throw it at trees all day haha. Which I wouldn't recommend either way. I don't see a sharpening choil, which isn't really necessary, but over time after many sharpenings it might develop a slight recurve at the heel. Still, ascetically speaking, I kind of like yours the way it is without one. I'm also not a knife maker and I'm certainly not an expert. I've made a few knives, but yours is much, much nicer. Certainly something to be proud of and enjoy.
-
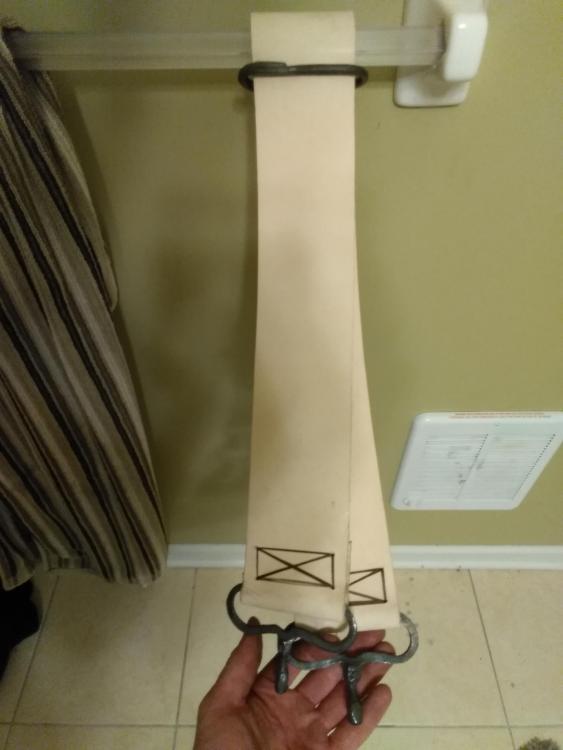
Well I look forward to seeing the final product! A belt is more than adequate I'm sure, I use mine for a straight razor so I like having it where I can leave it hanging in the bathroom and not look out of place for people when they walk in there.
-
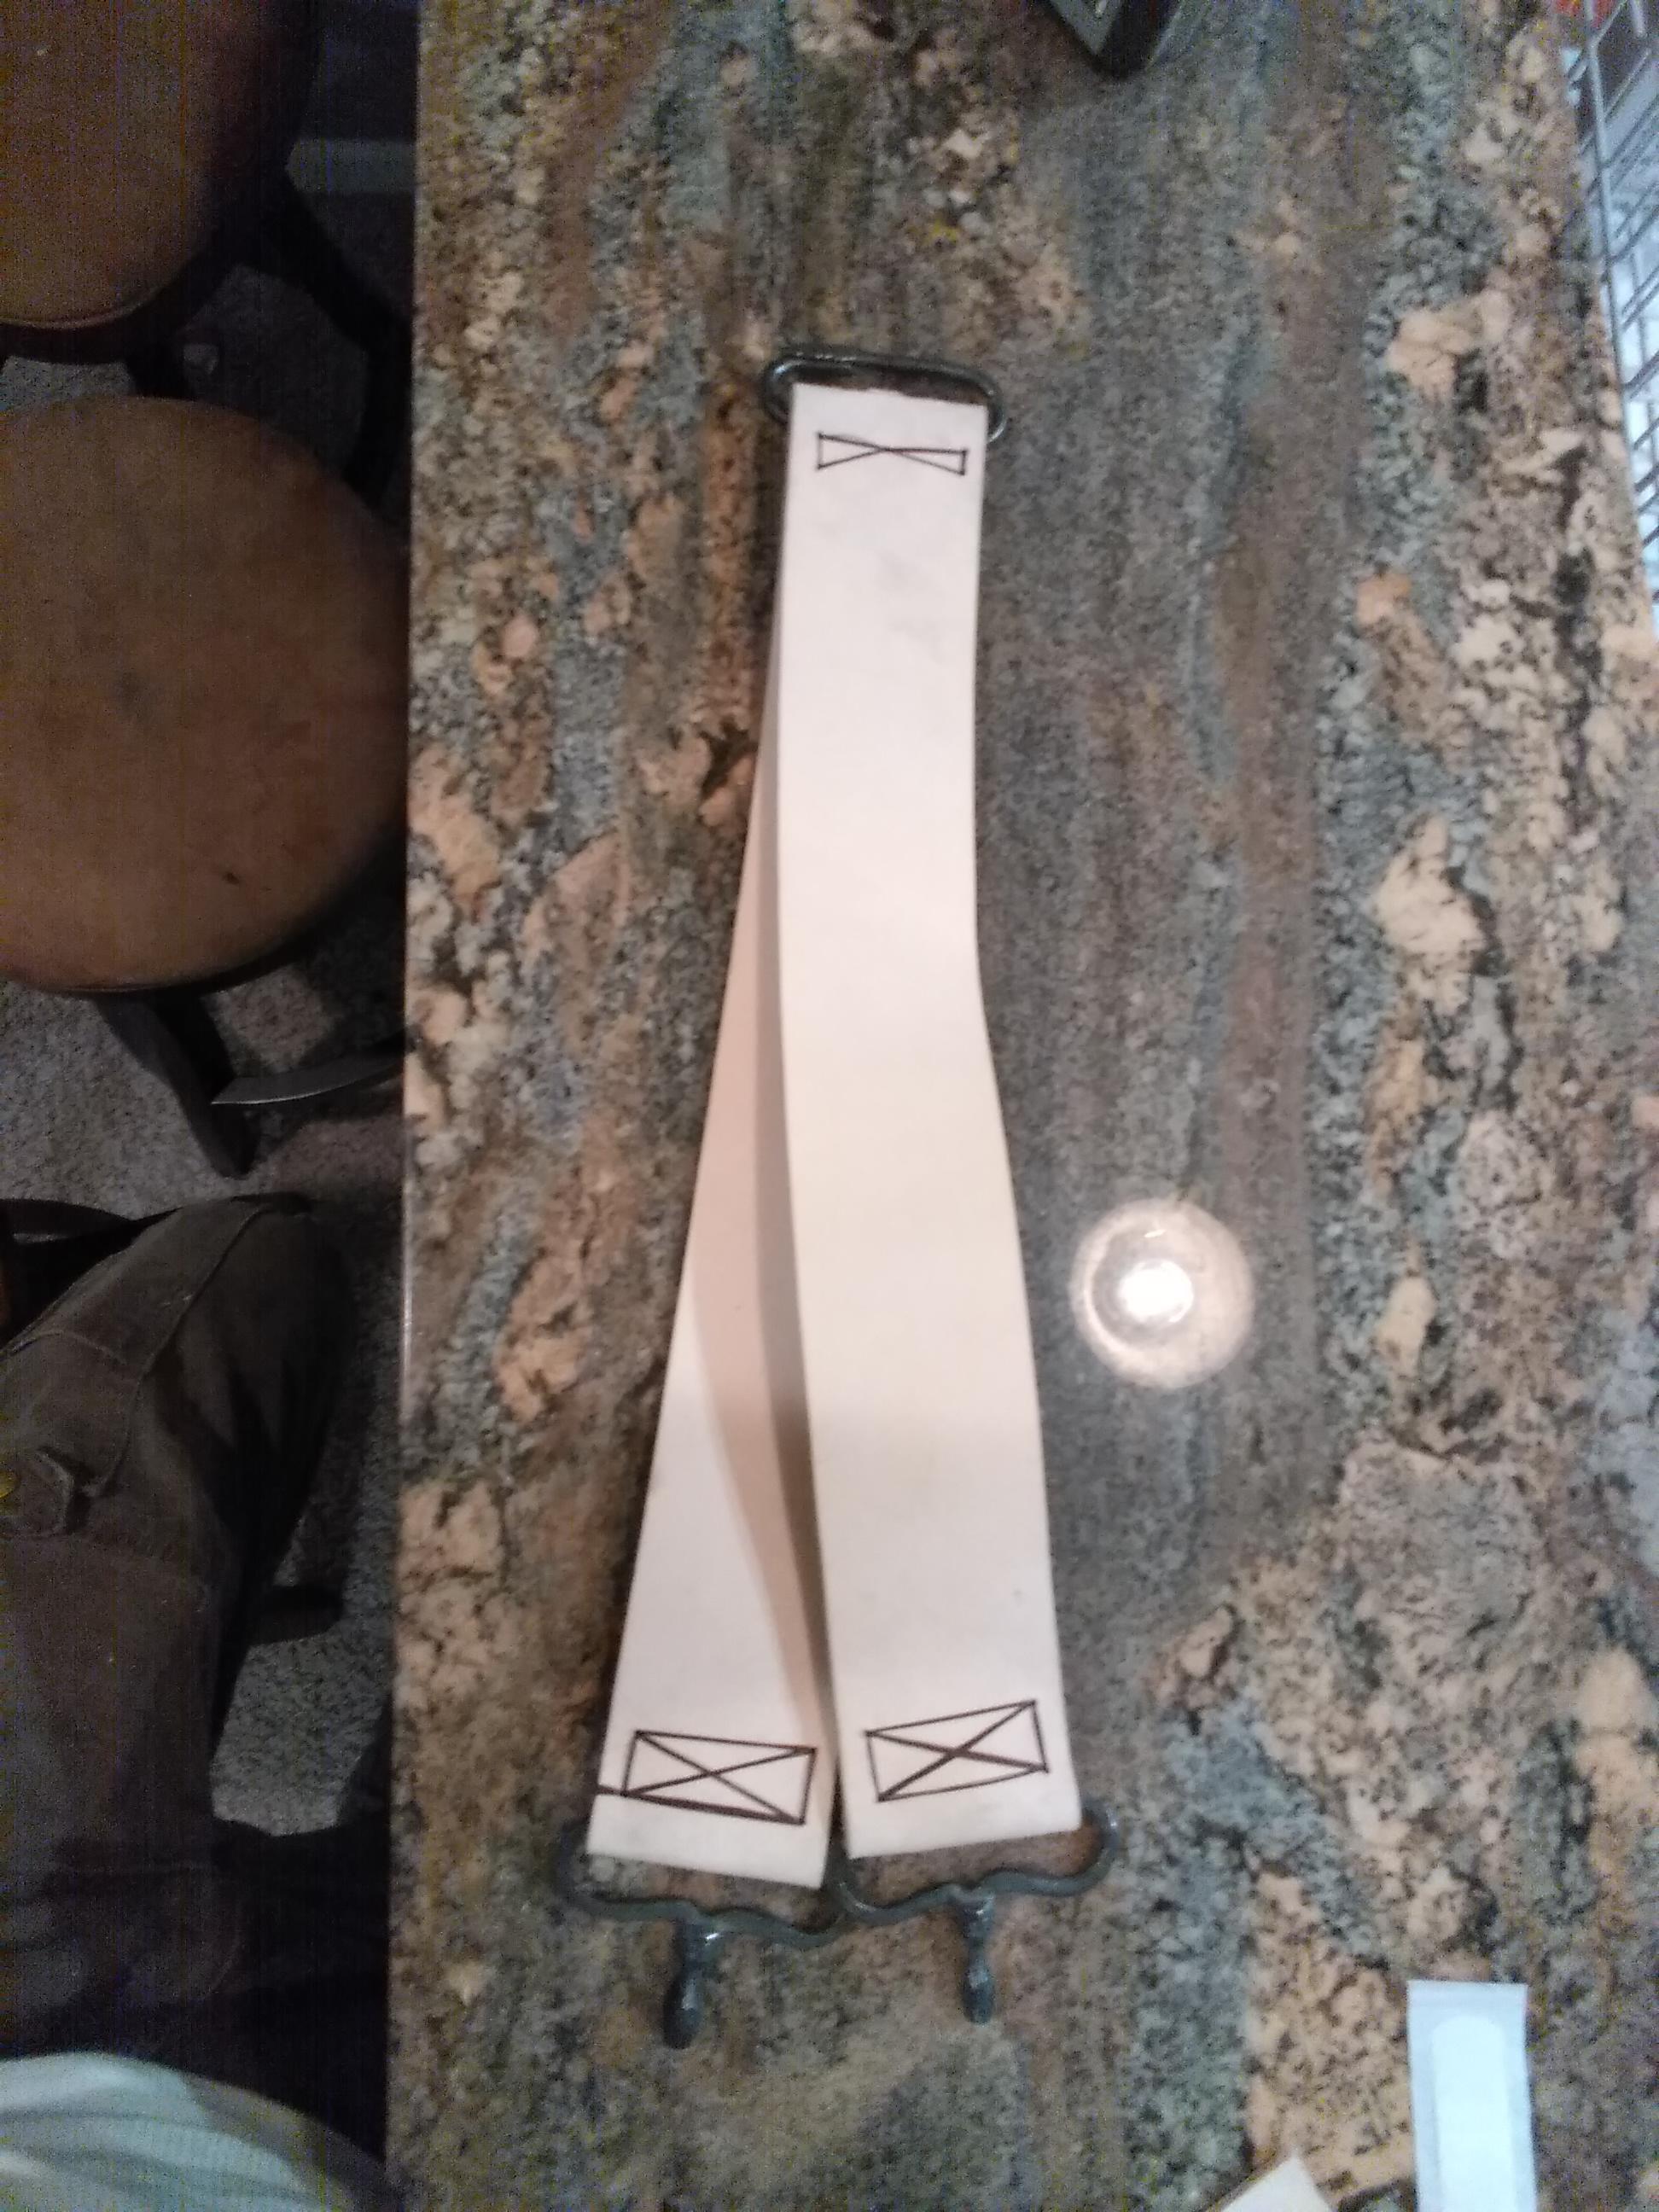
Alexandr, really incredible work. Absolutely beautiful. CGL, well now you have to show it! Unless you've buried it somewhere far away at this point! I do sometimes like the mistakes I make when trying something new. I even feel like I (sometimes) learn more from those disasters than I do when everything goes well the first time. Plus it makes the success all the sweeter right?? At least that's what I tell myself anyway. I made myself a new strop today, longer and wider than my last one, and I bought the hardware that time. New one is much nicer.


-
I don't know much about goats, but I know a thing or two about cats. They want in because they can't get in. I closed the door to a room when I found a stray kitten and she and my other cat decided that perhaps if they rip up the carpet, they can tunnel their way in.... "You can go in there, so there must be something very interesting we are missing out on!" I imagine the same applies with children. Another thing I don't know much about. Perhaps that's why they call goats kids when they're young.....?
-
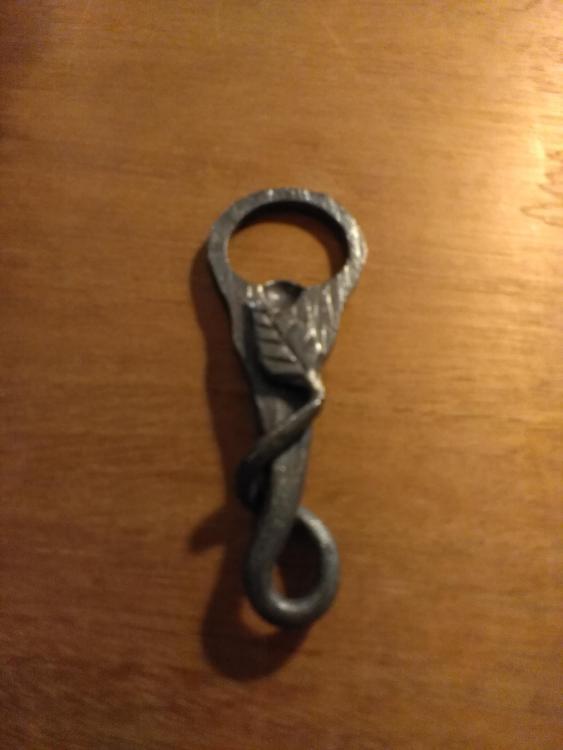
CGL, hopefully you see this and it finds you well. Here is my tribute to what I'm going to call your "elemental line" of bottle openers. I present to you earth. Thanks for the inspiration!

-
I've learned in the last week or so that it really helps to have a forge that's the right size, I couldn't have done this before, but yes, very fun and very useful.
-
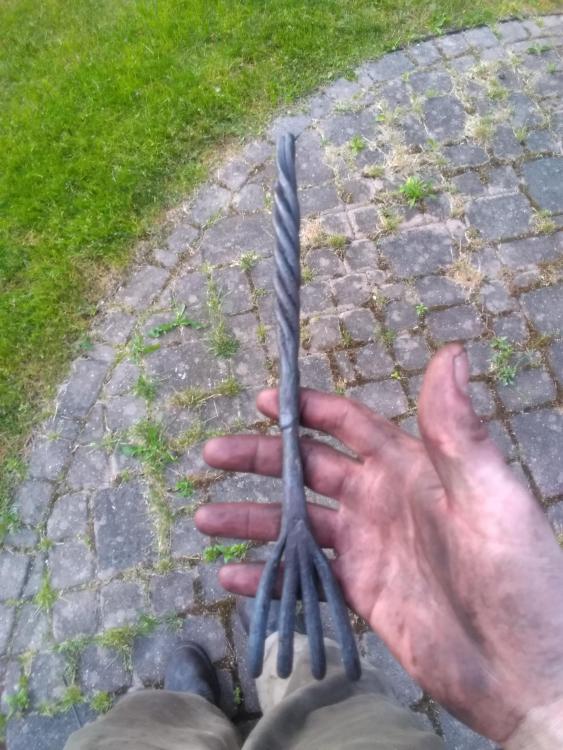
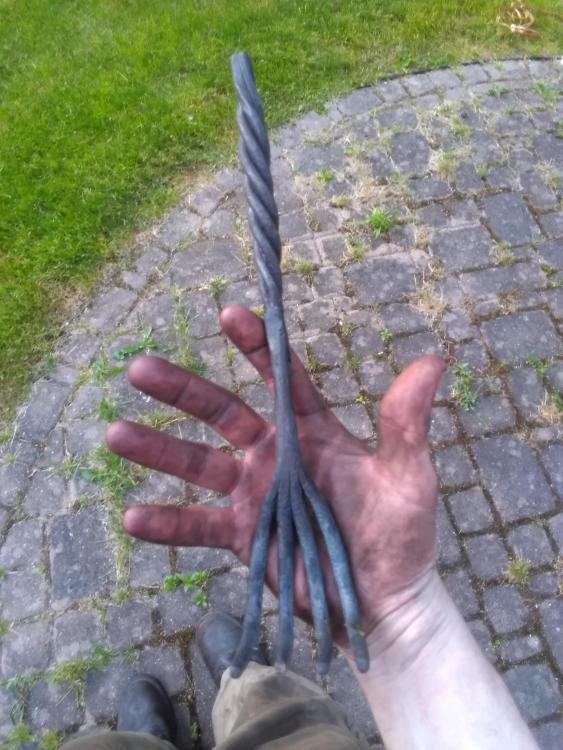
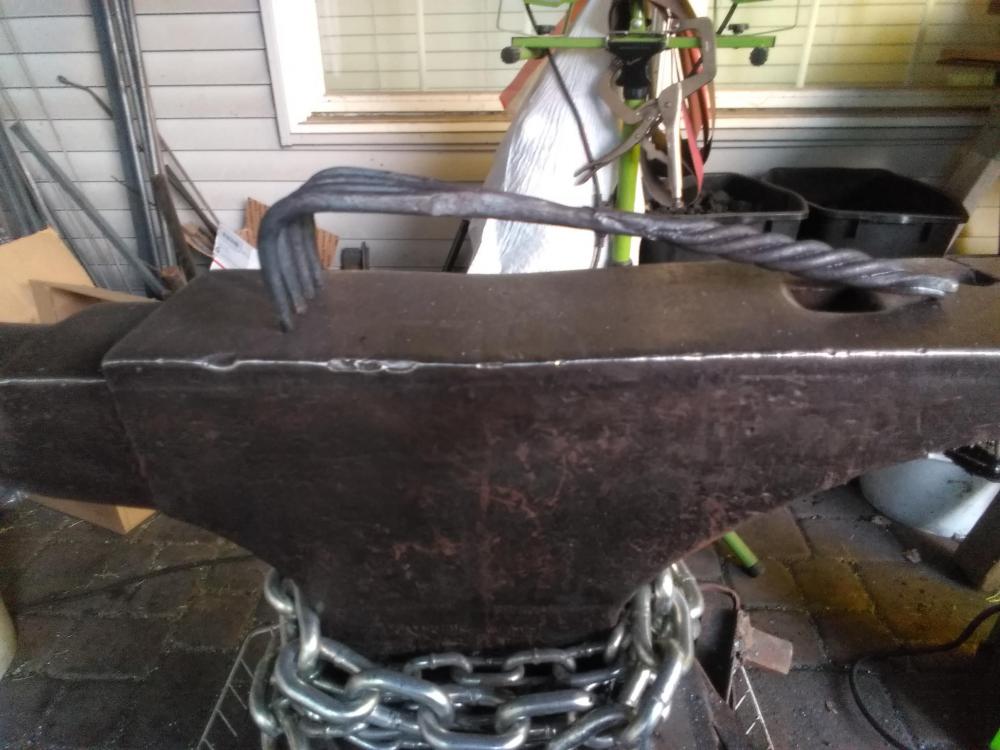
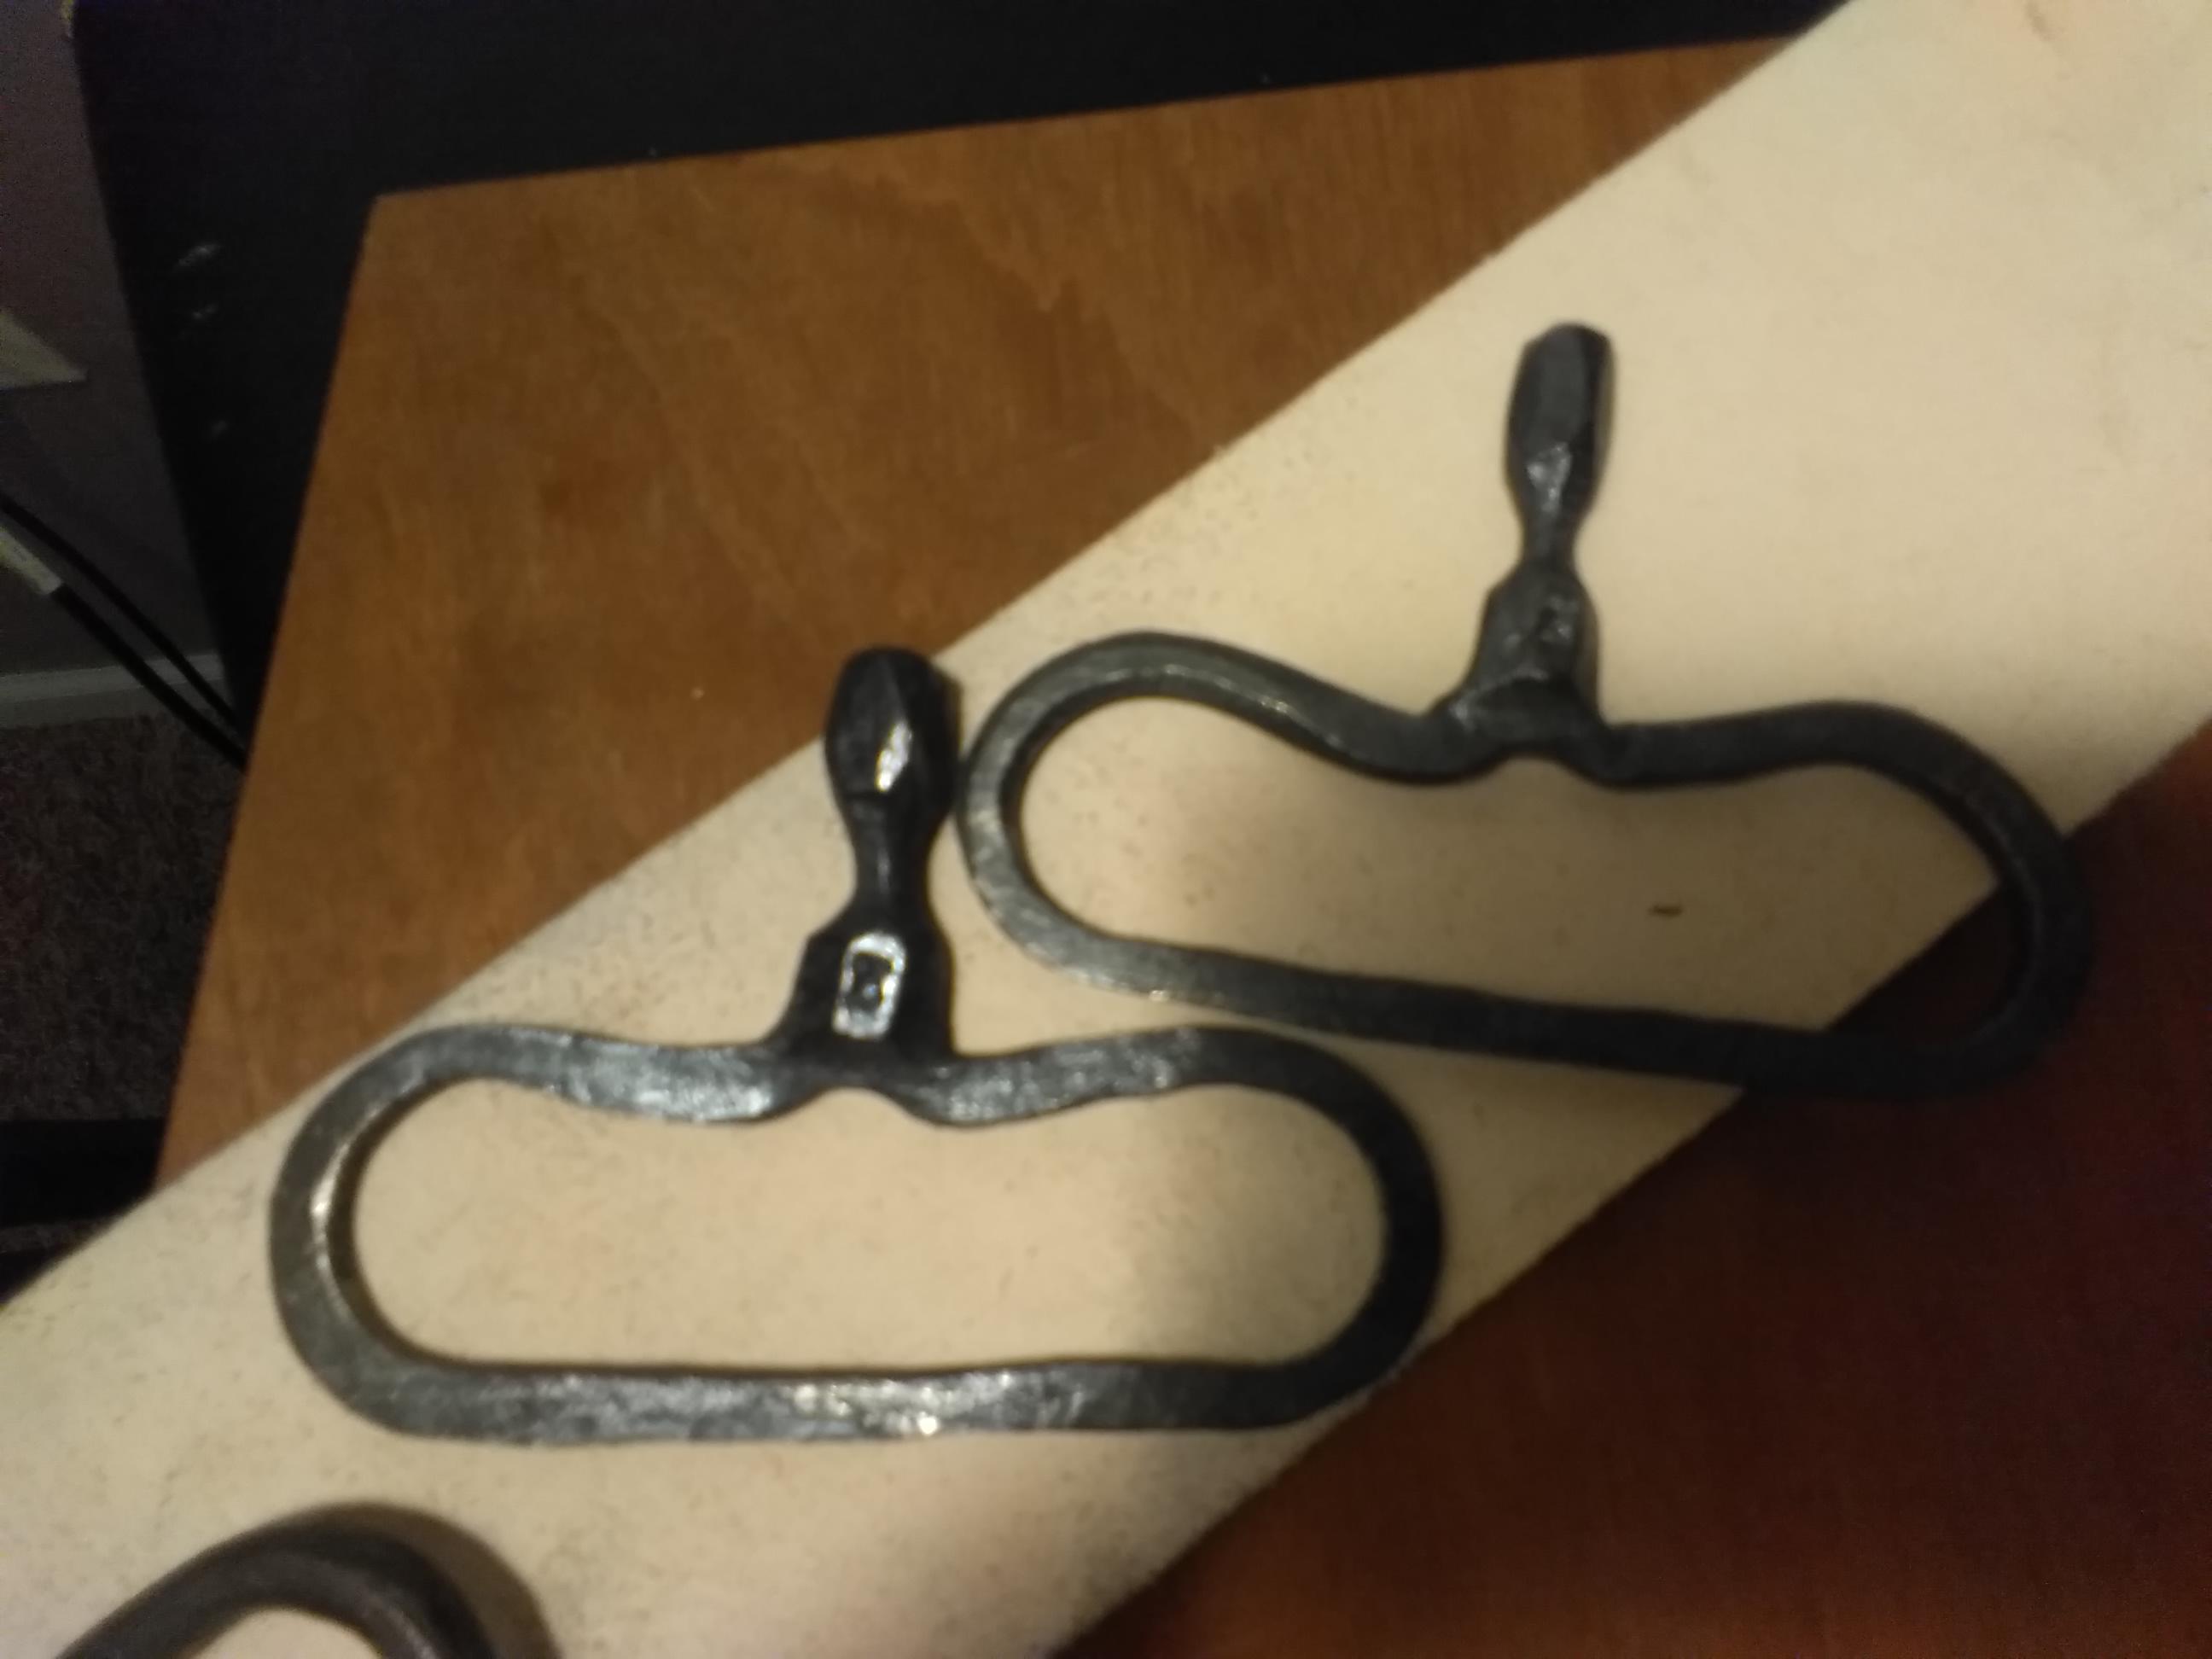
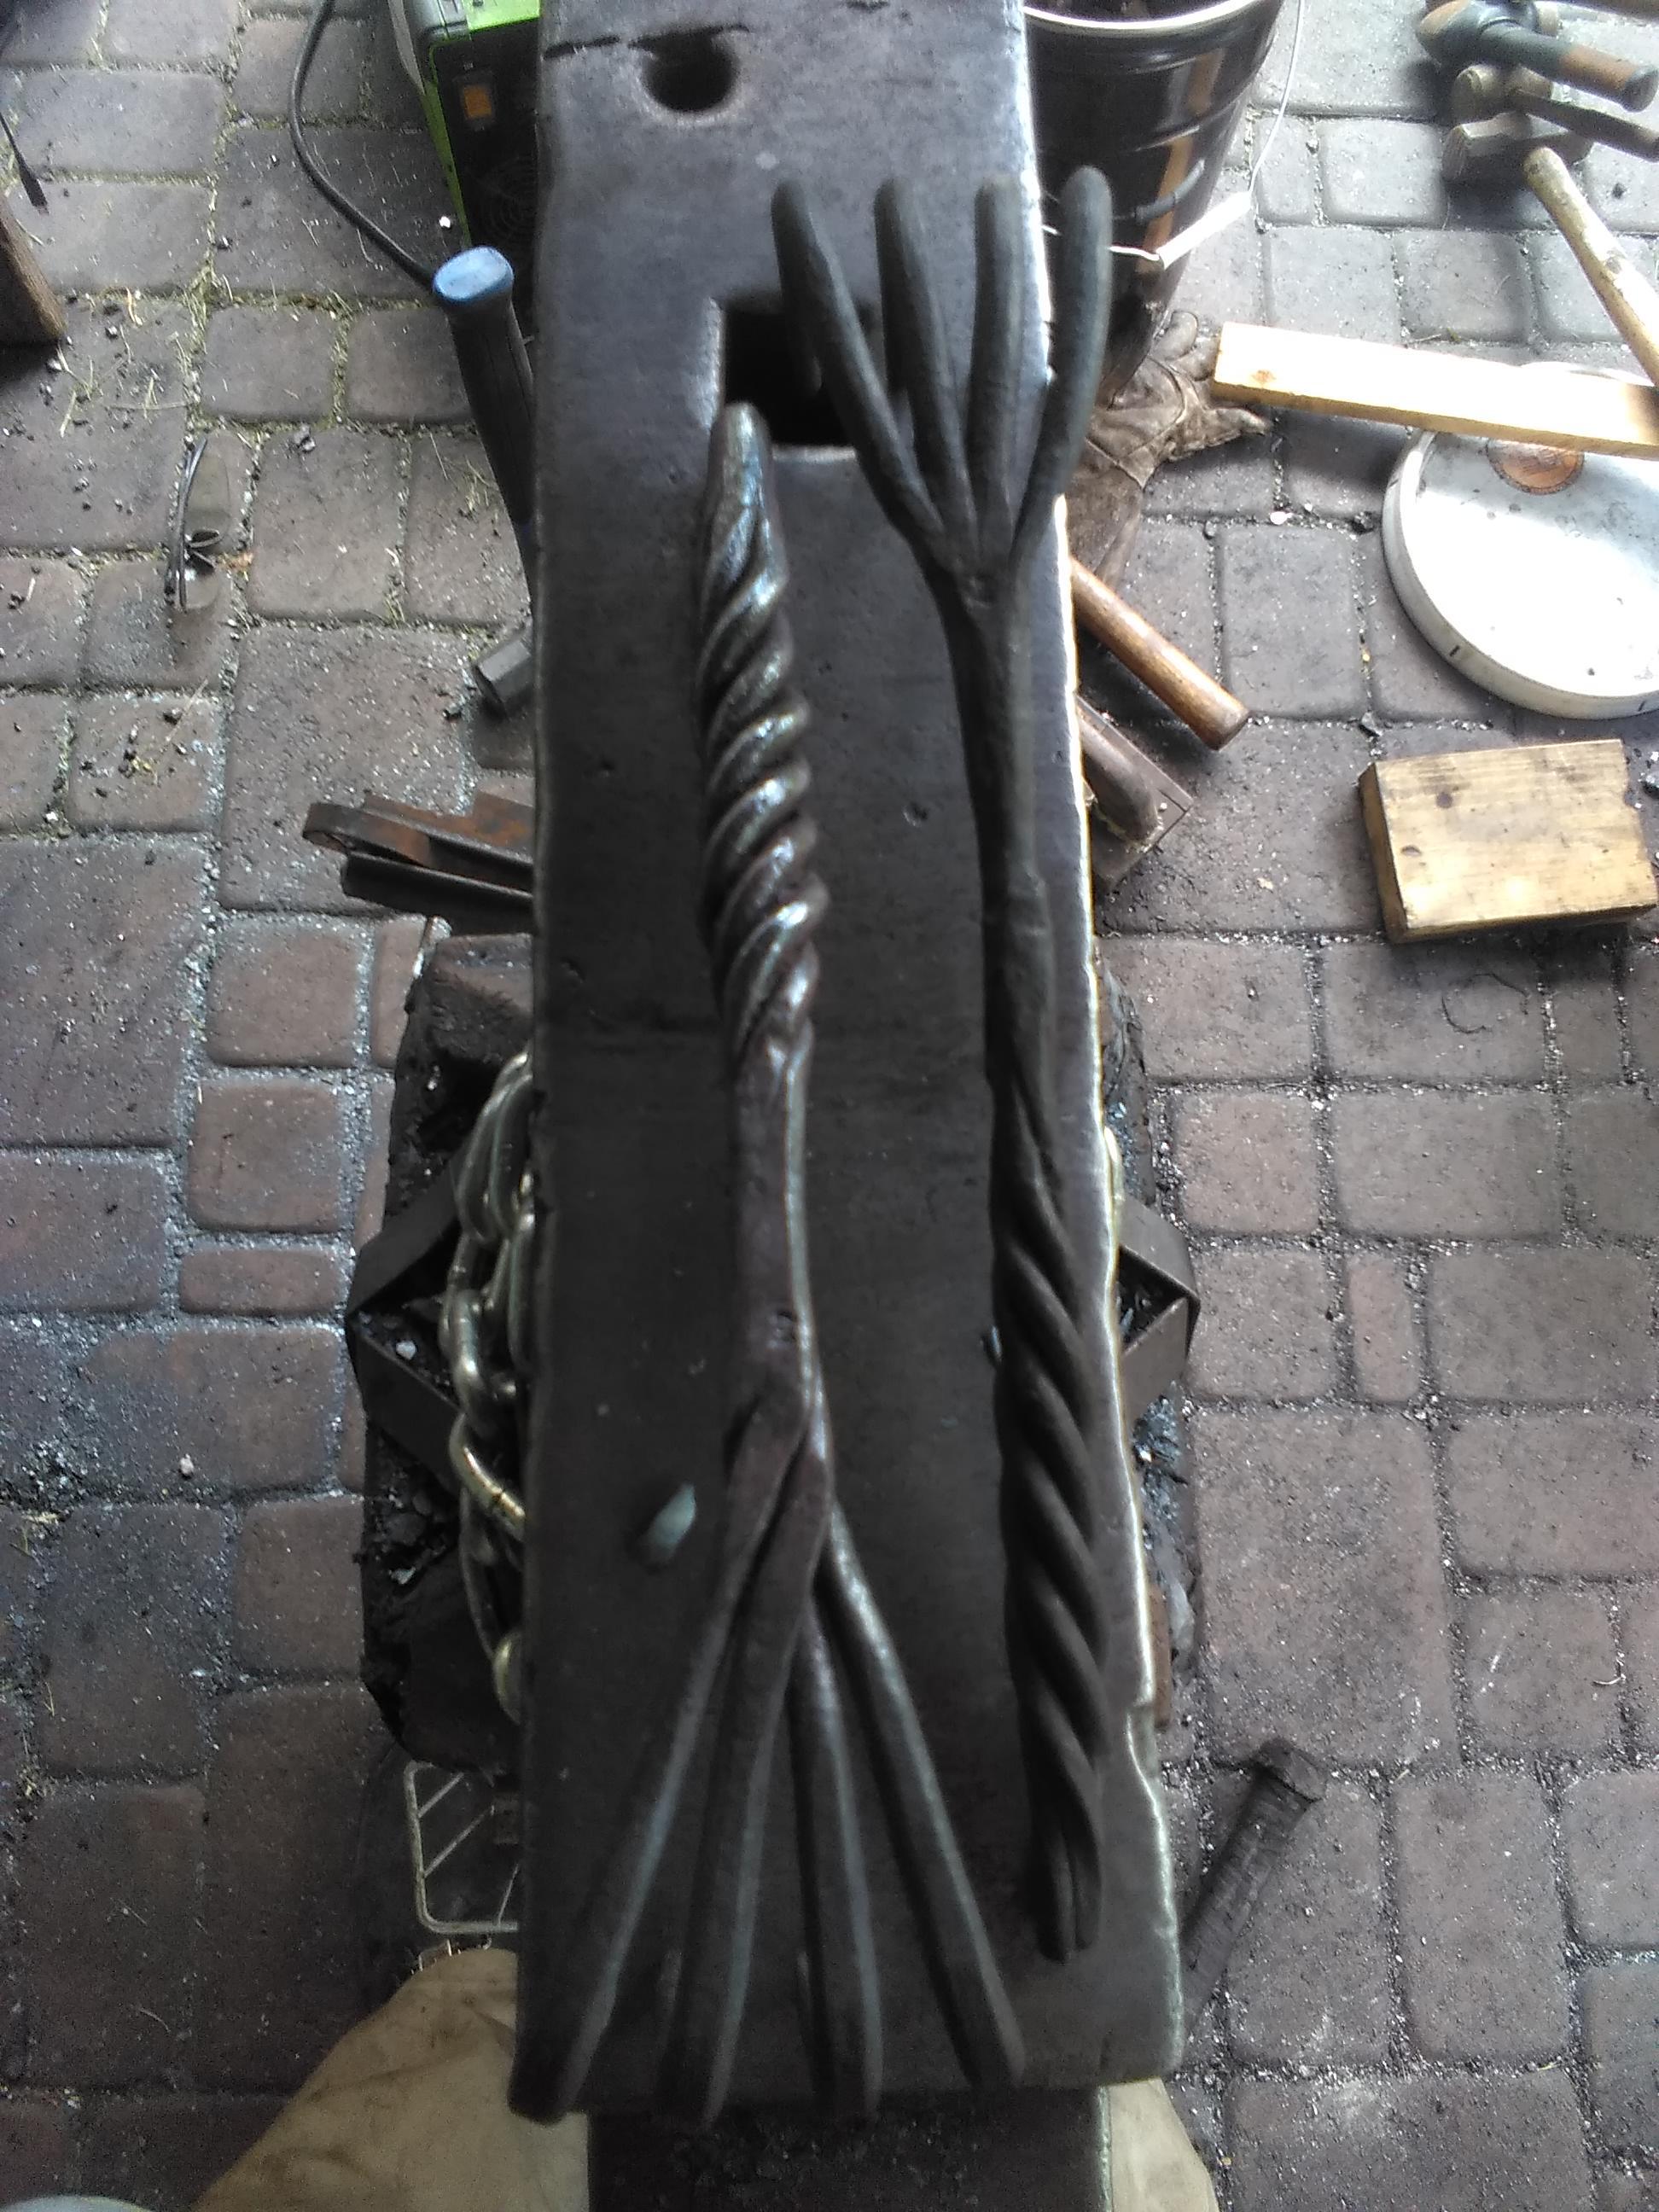
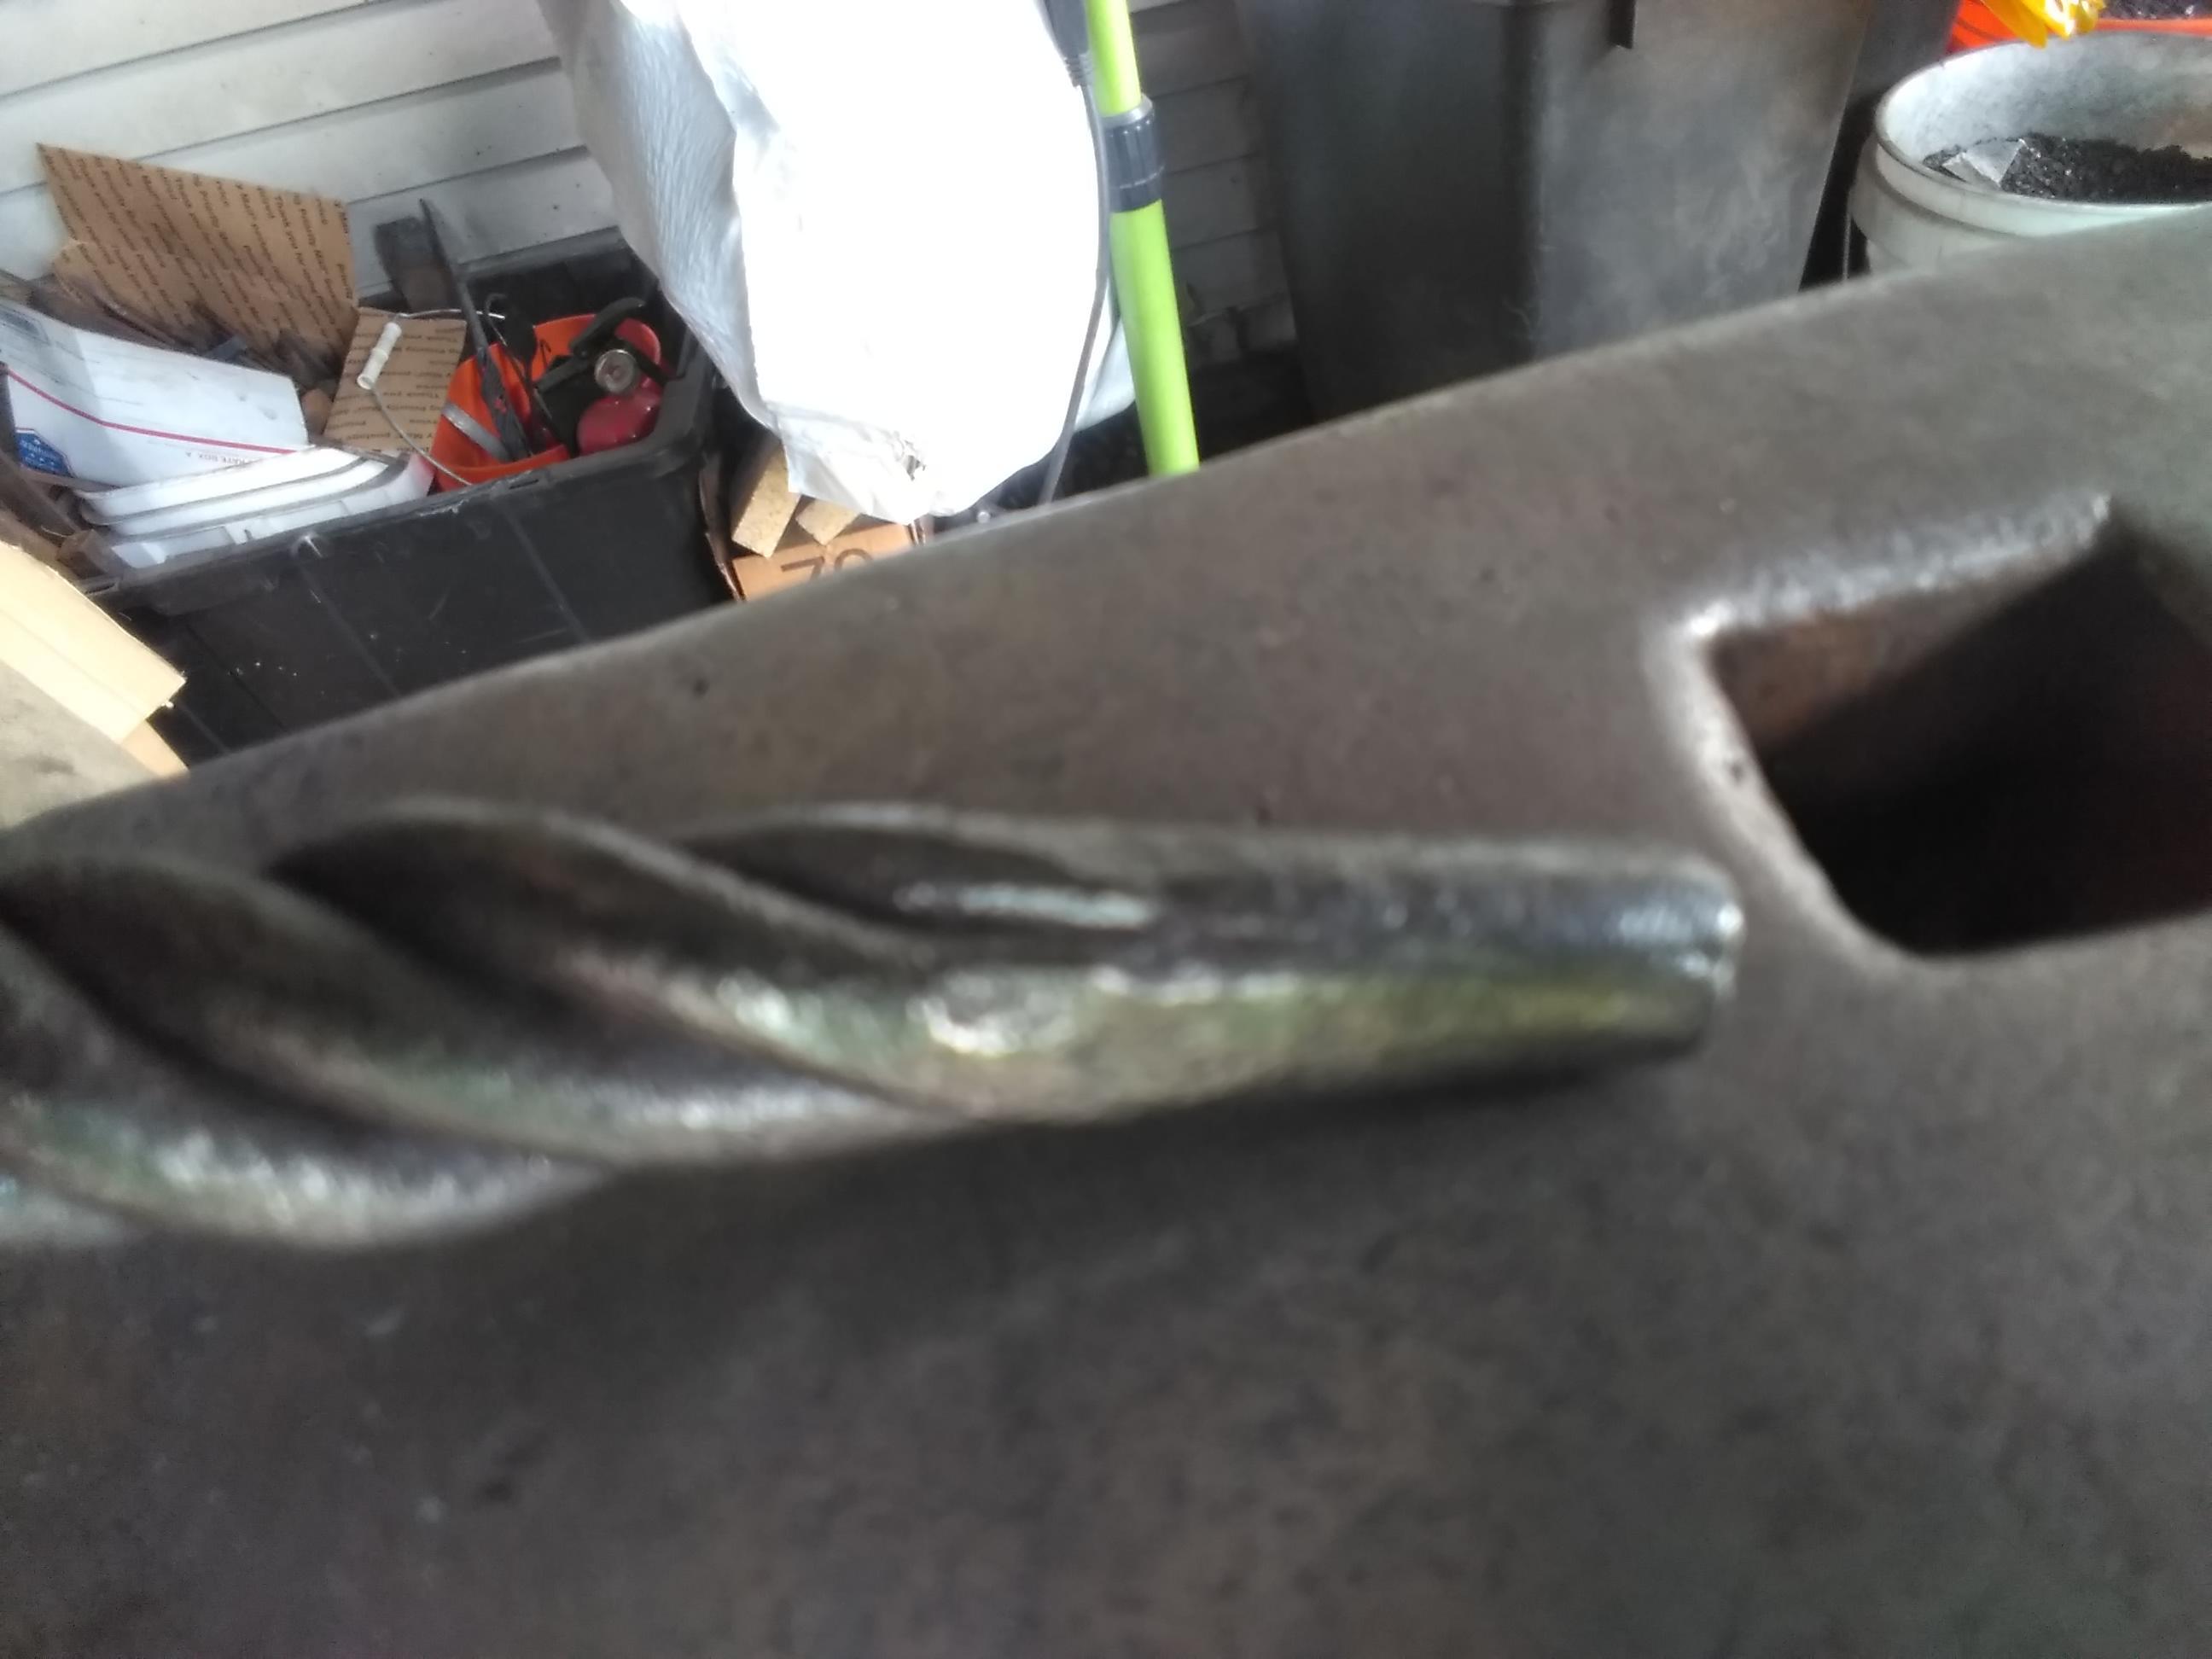
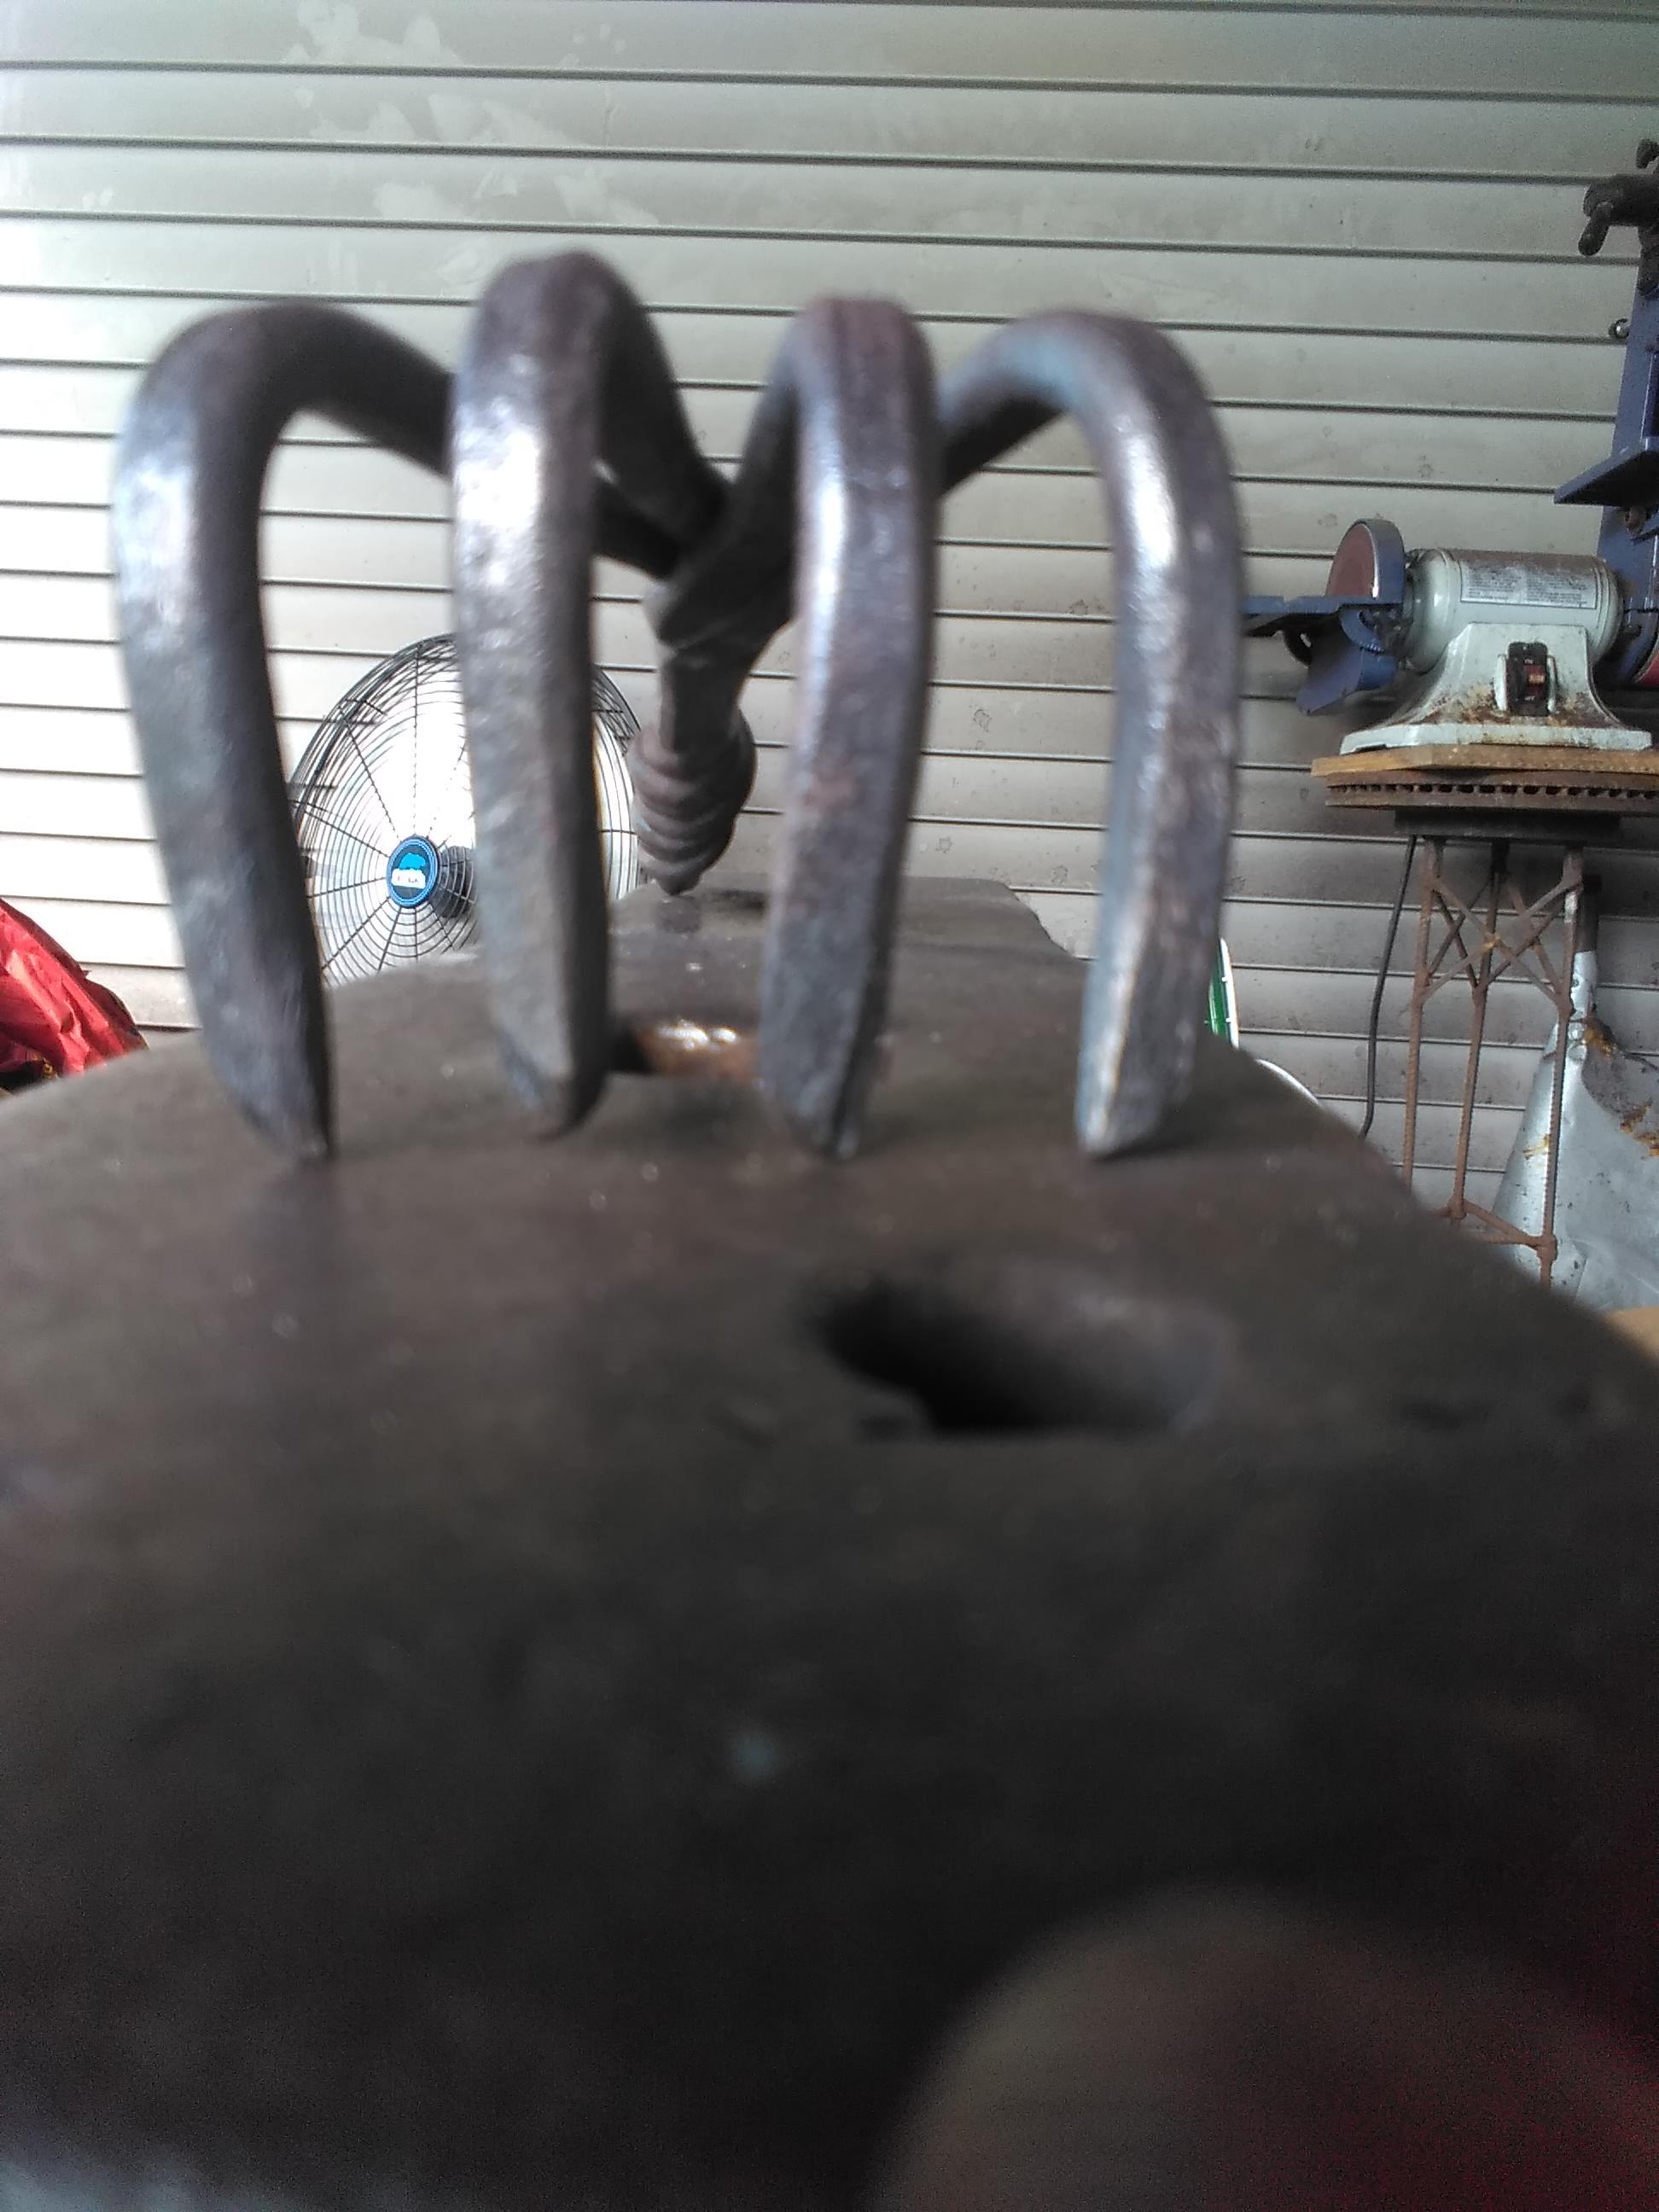
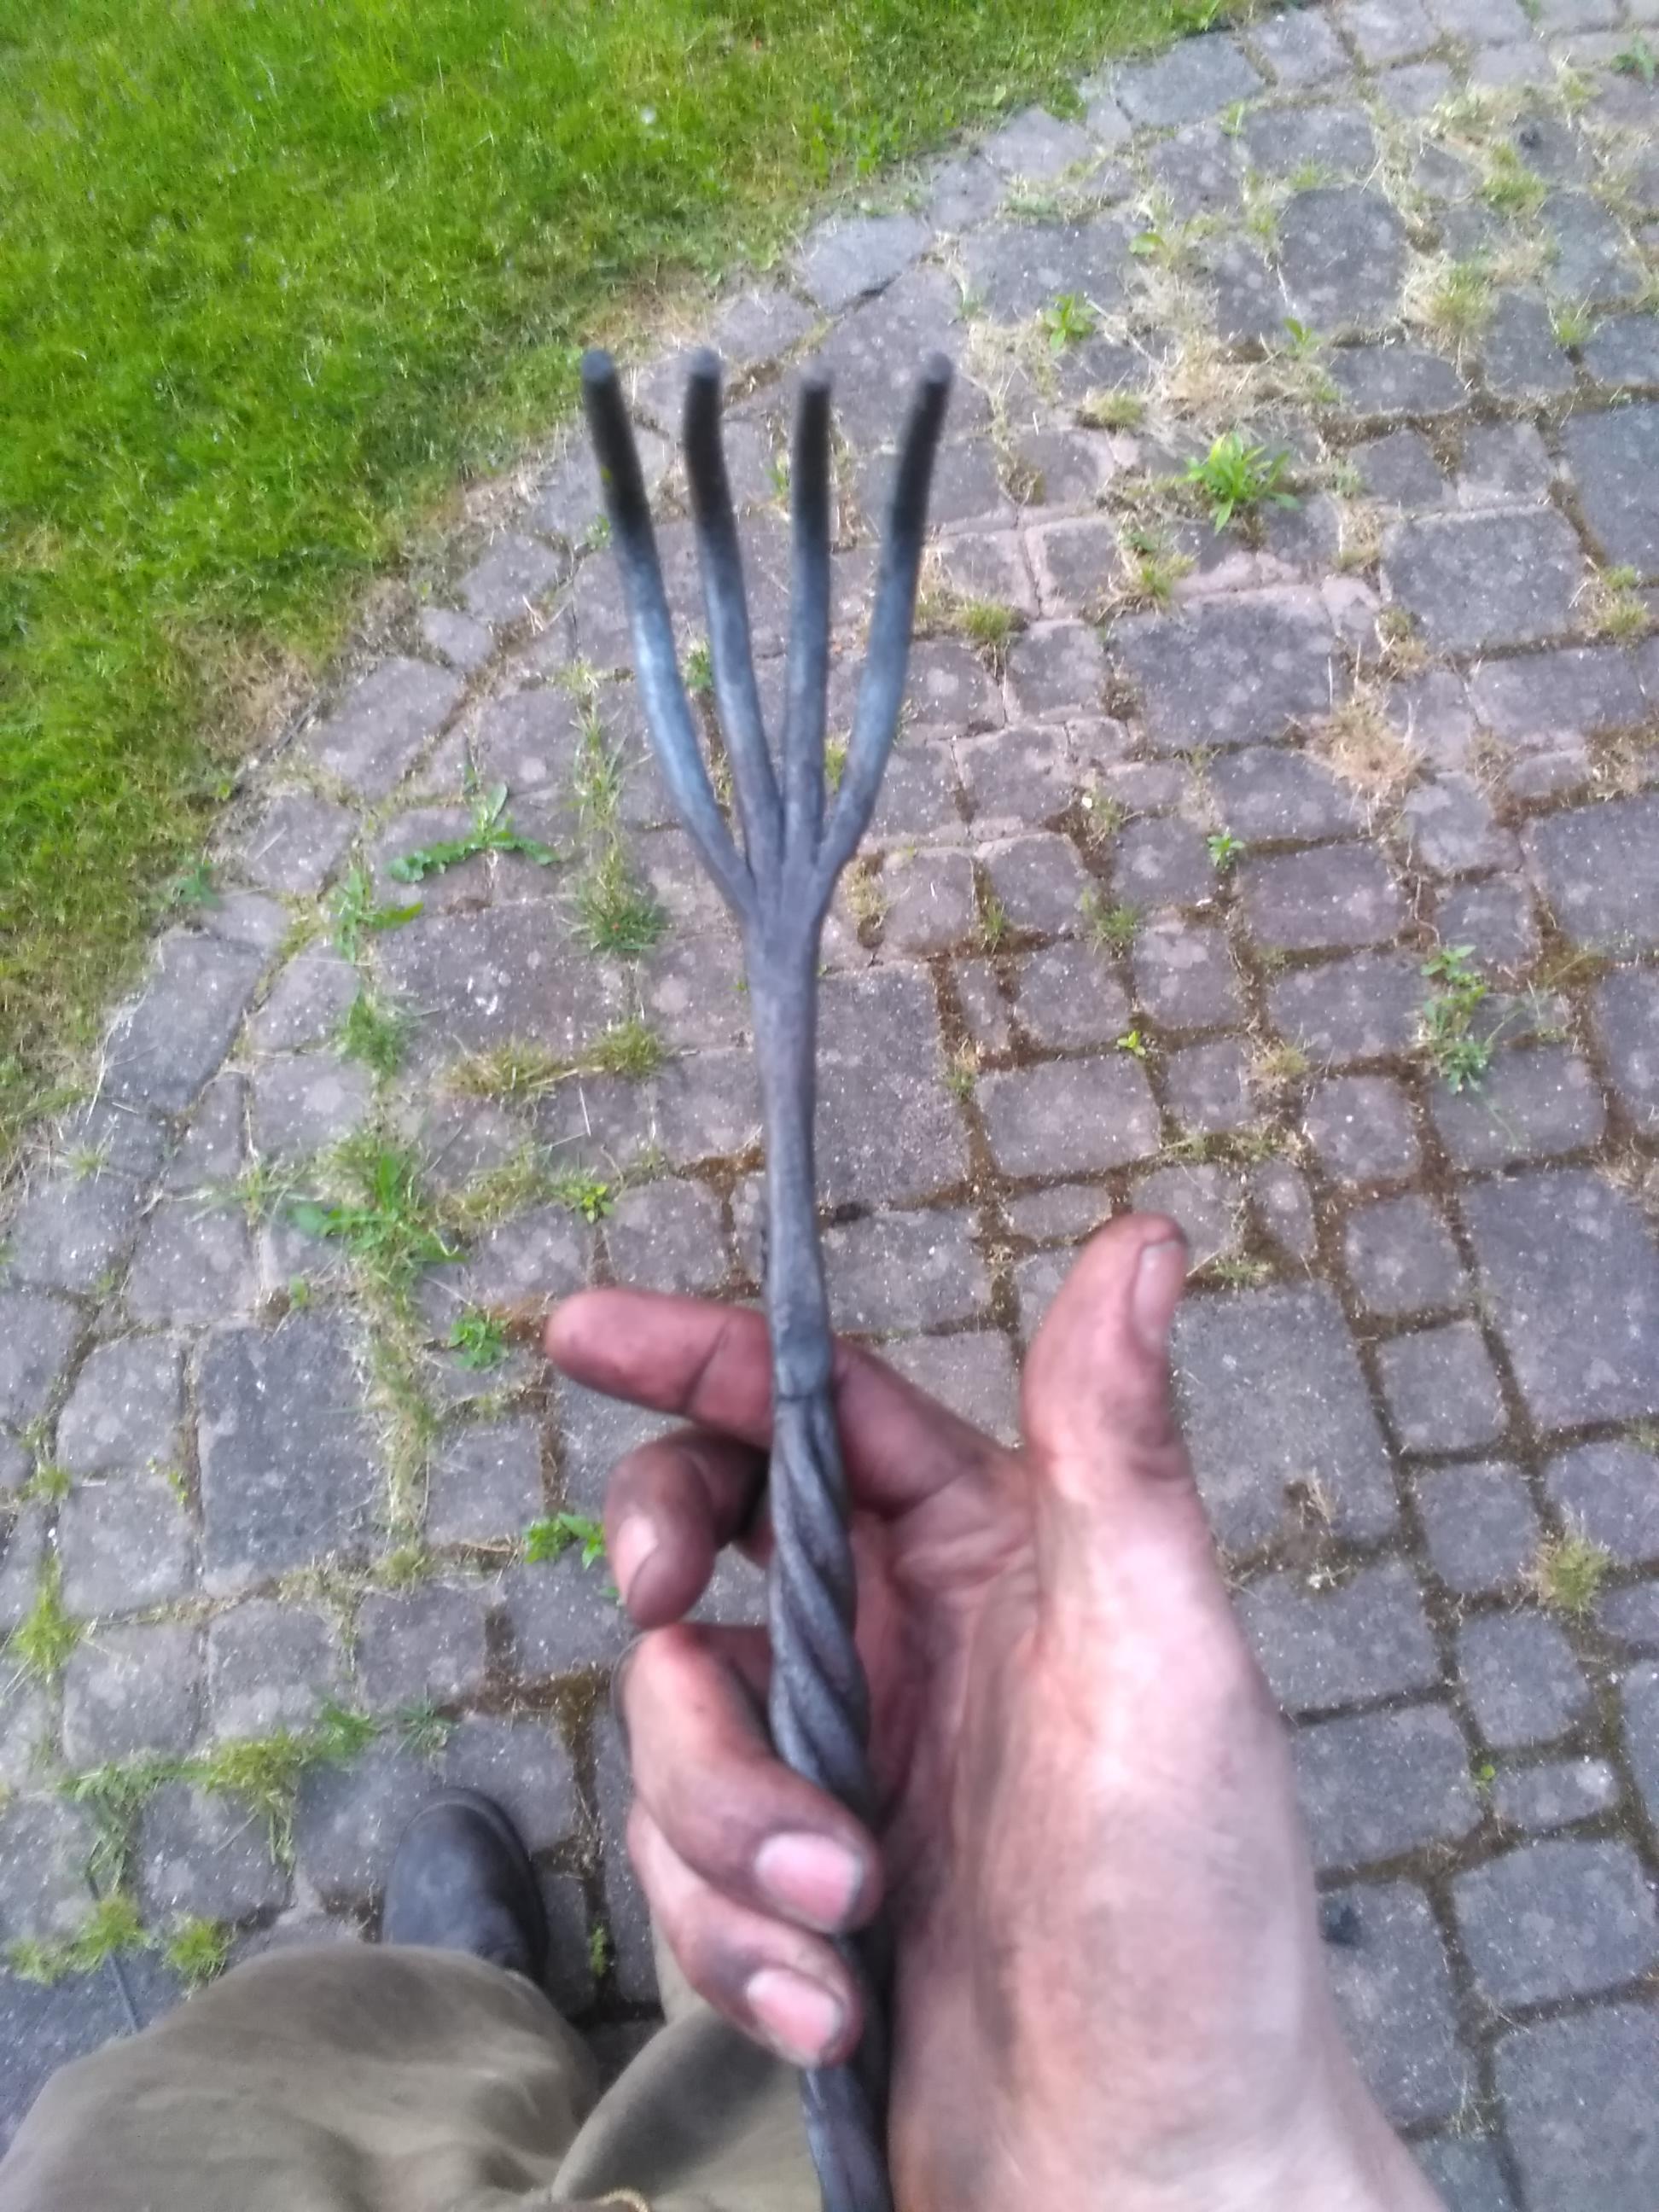
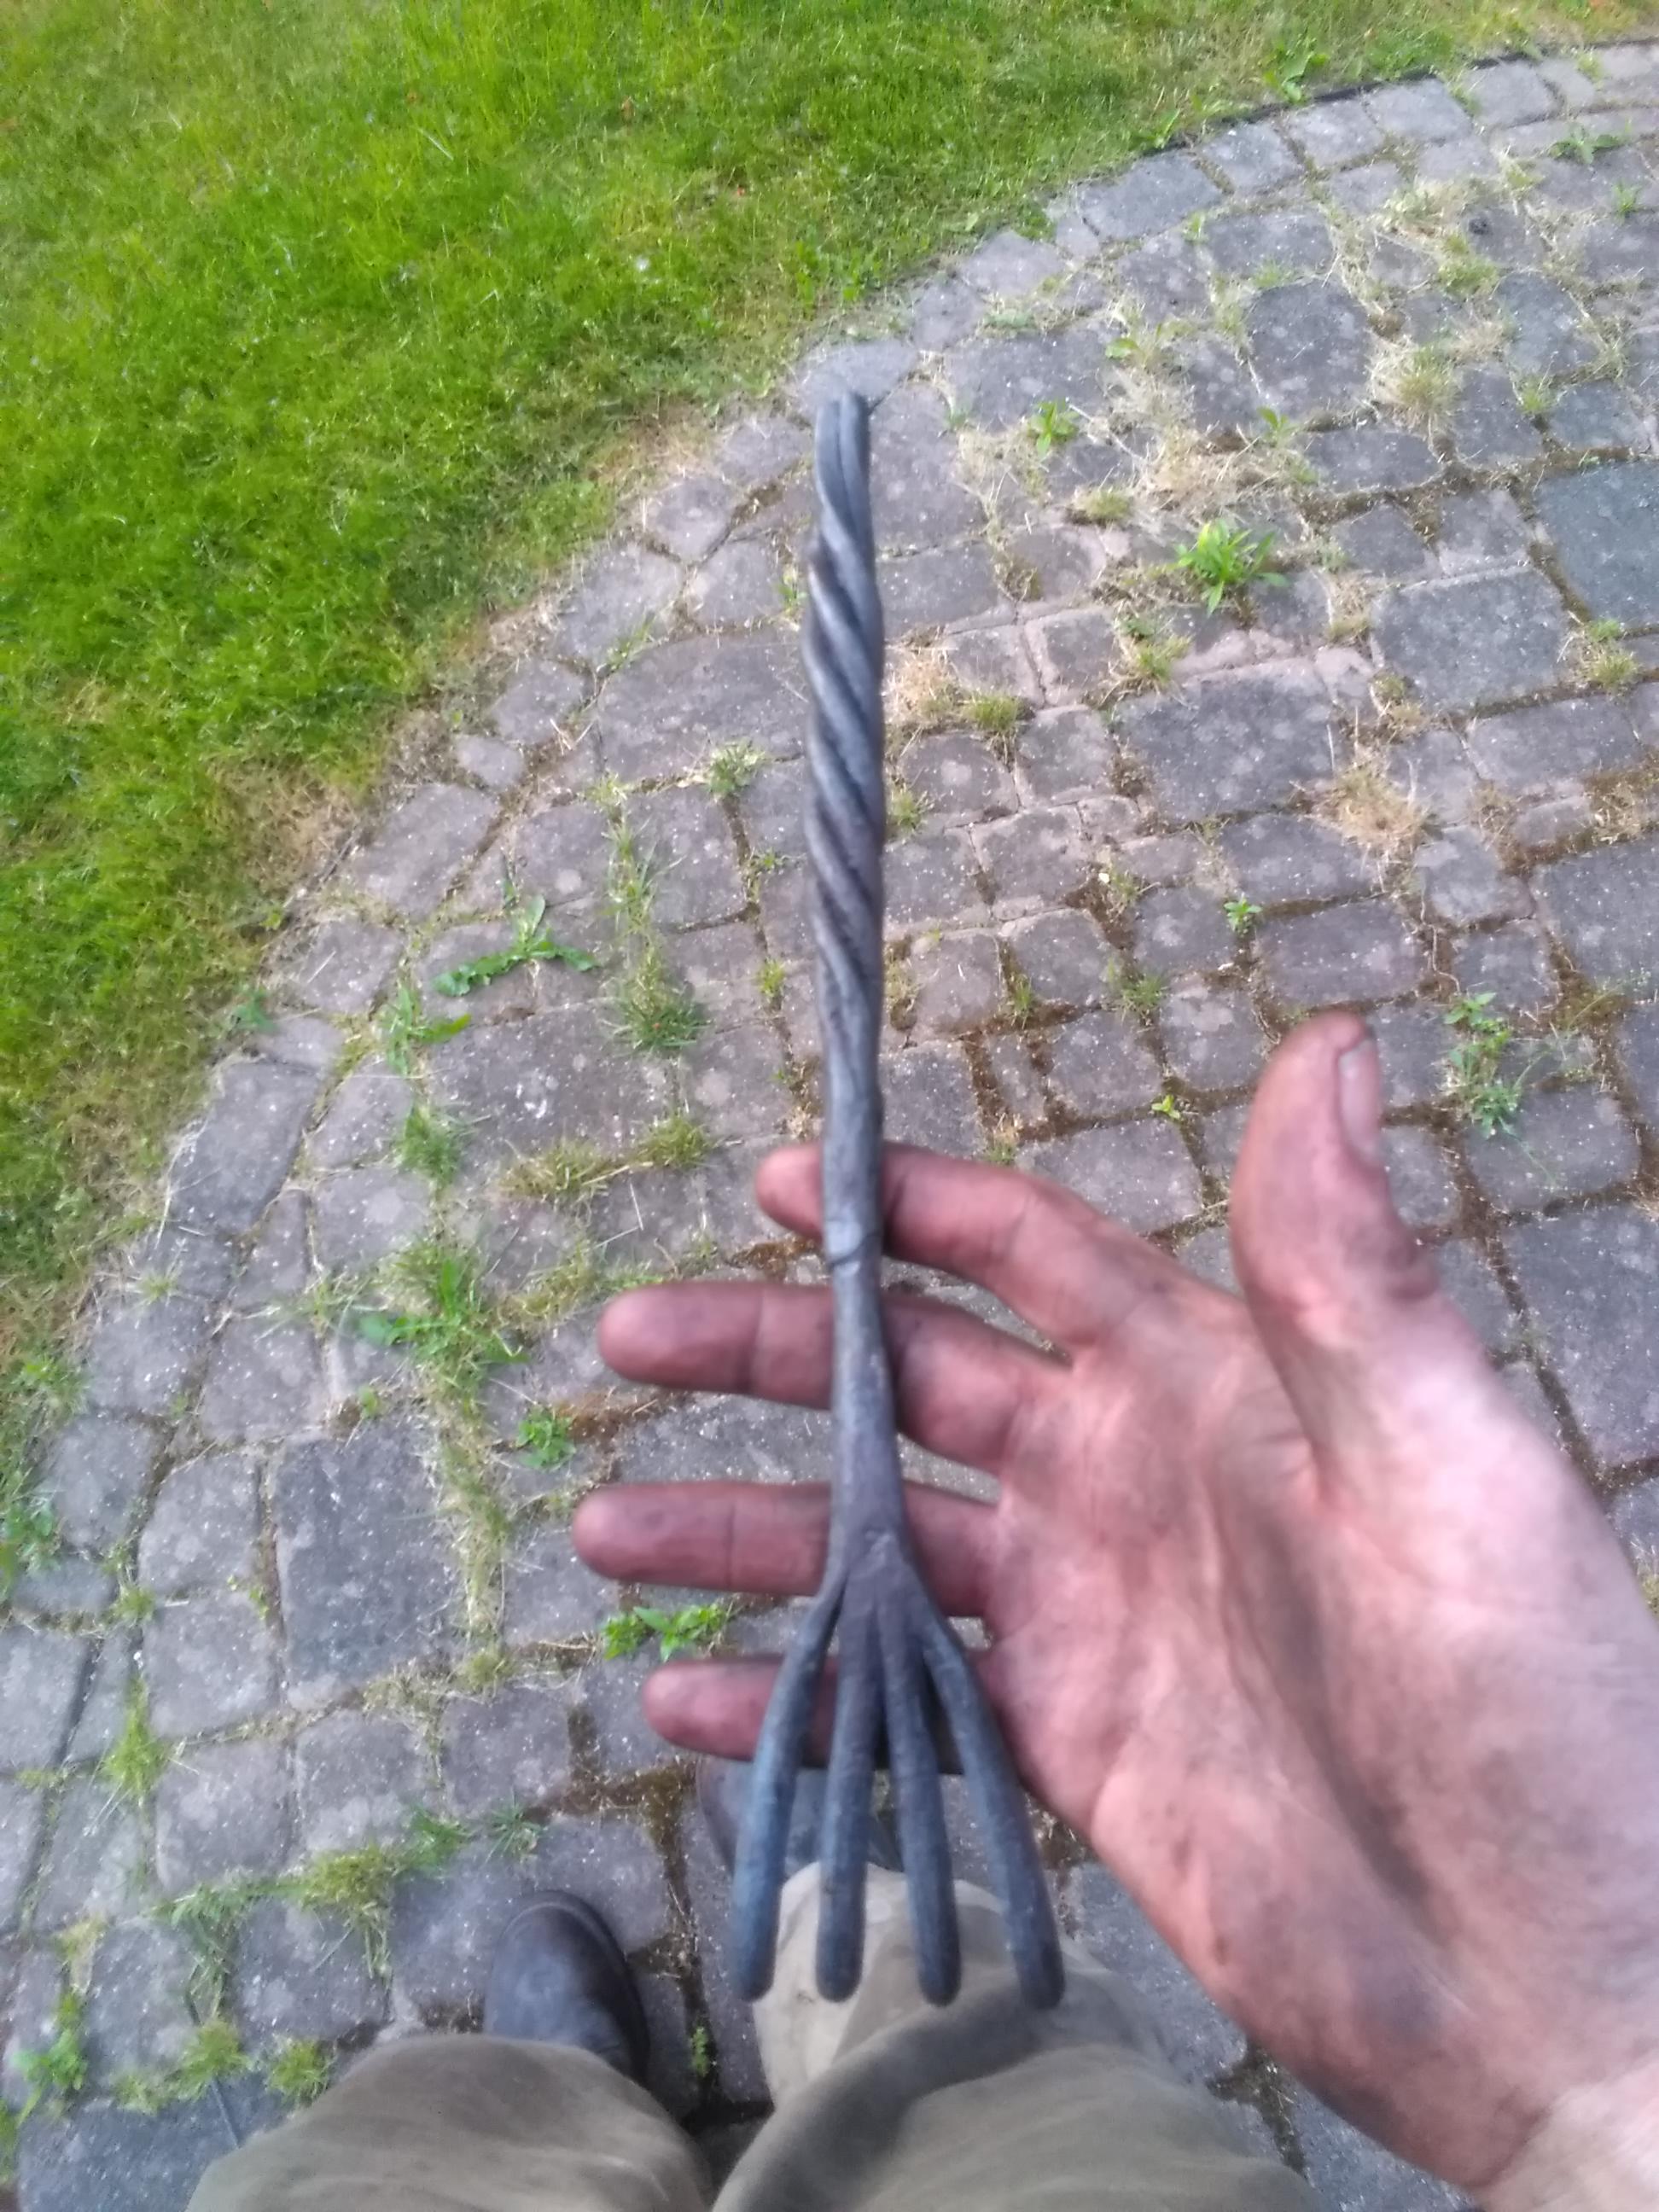
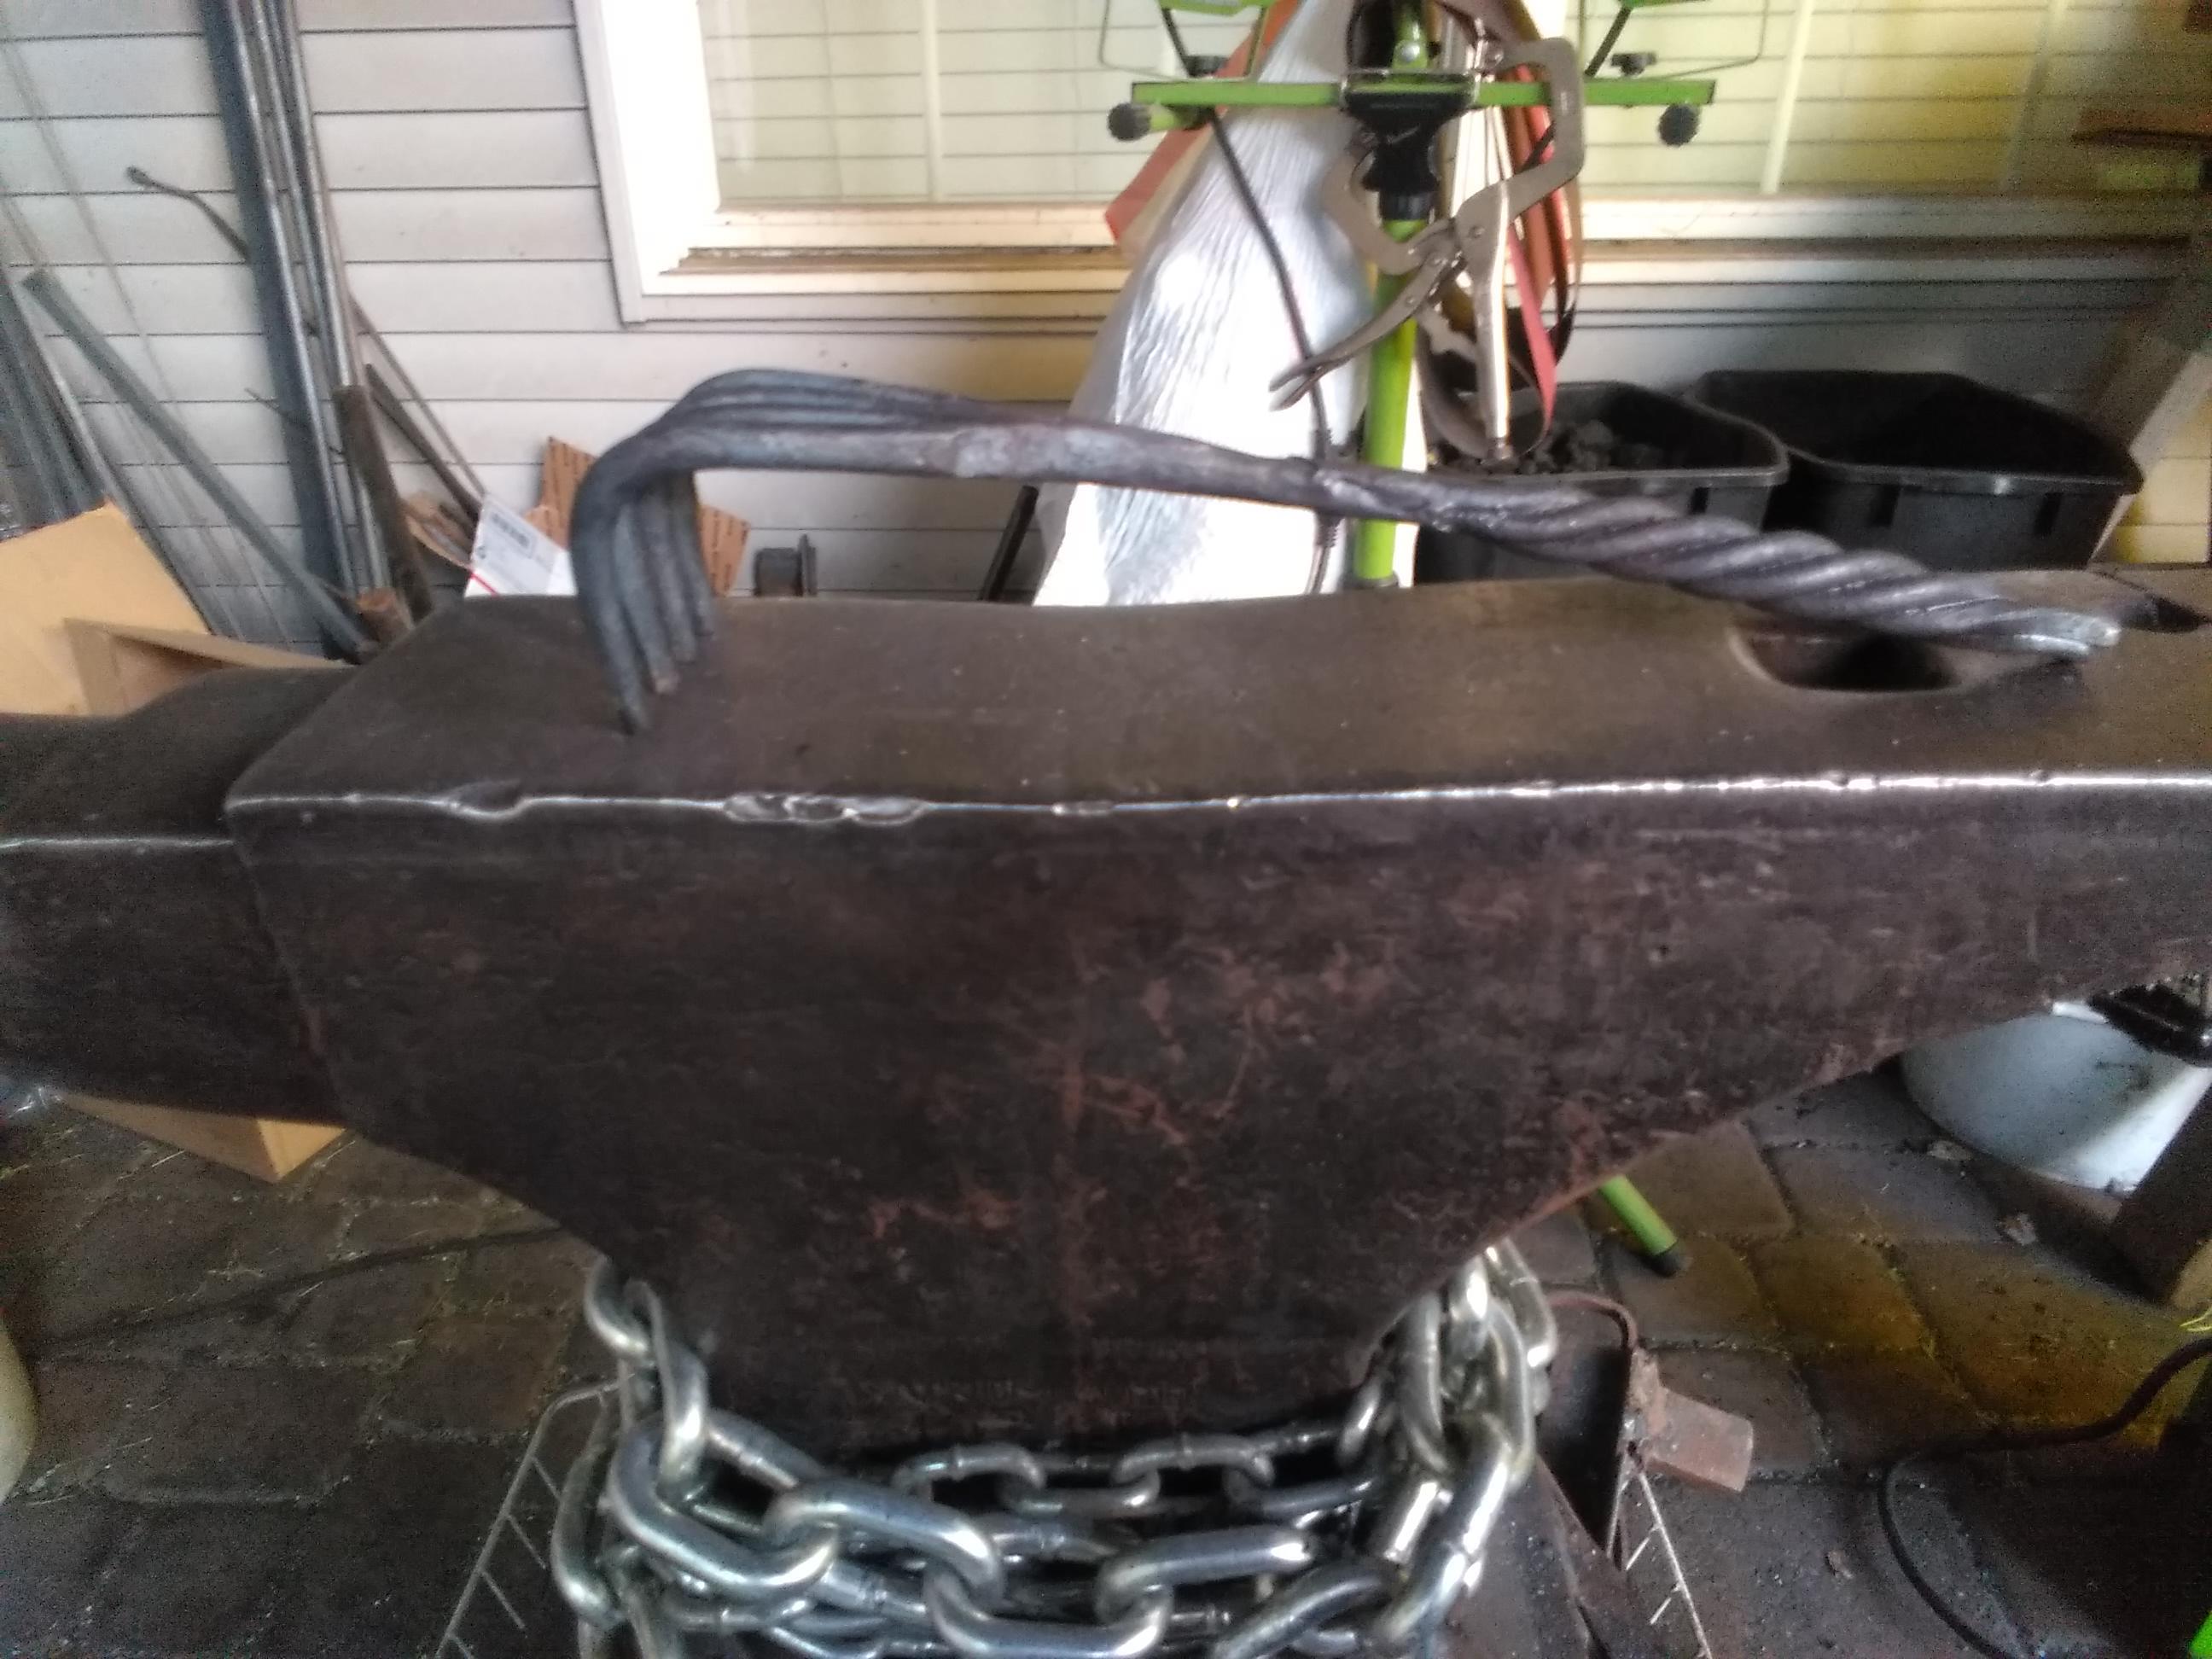
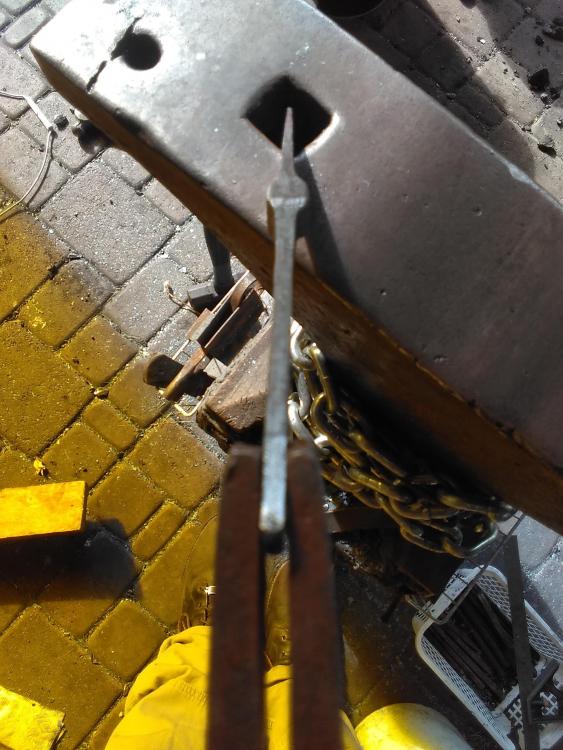
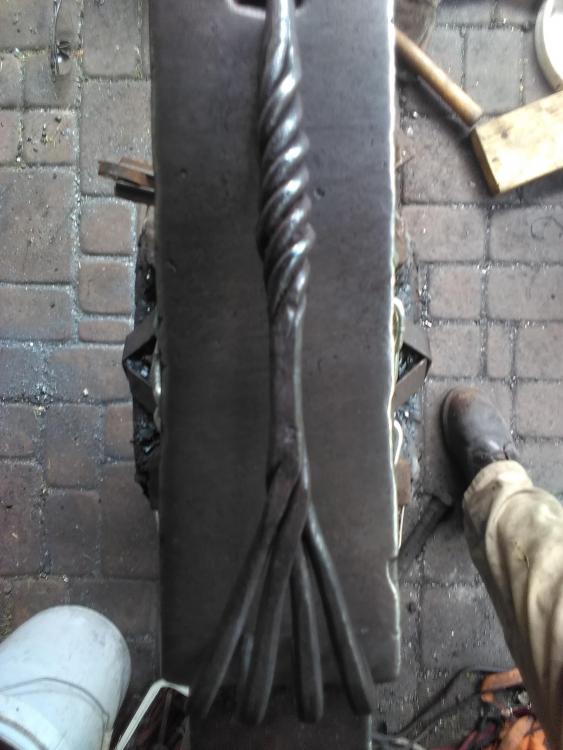
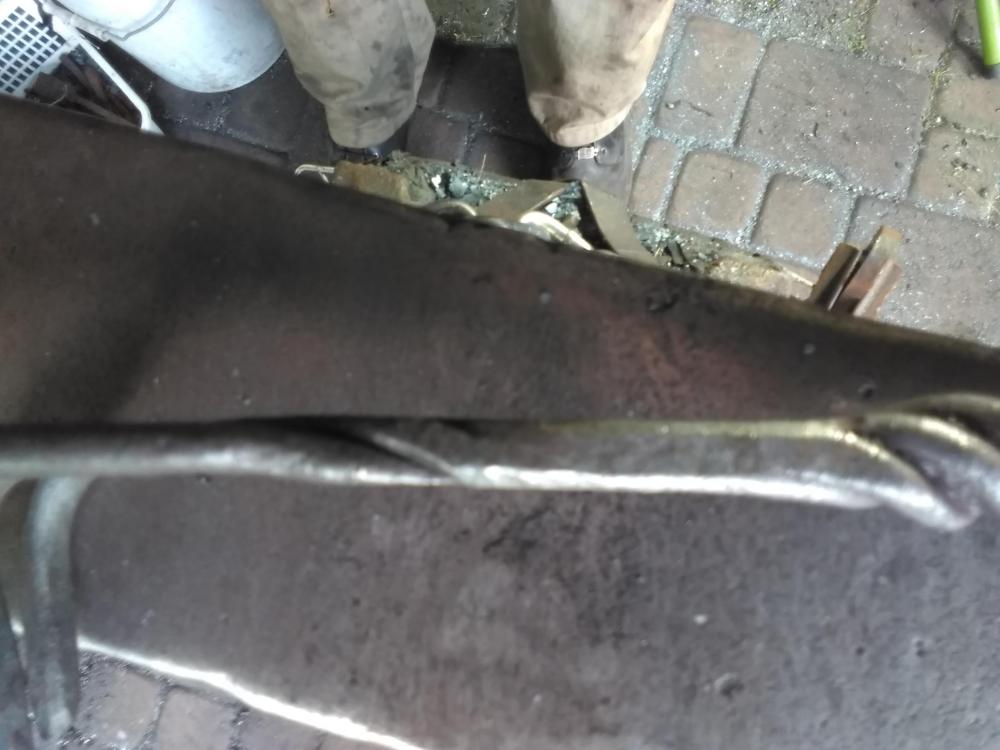
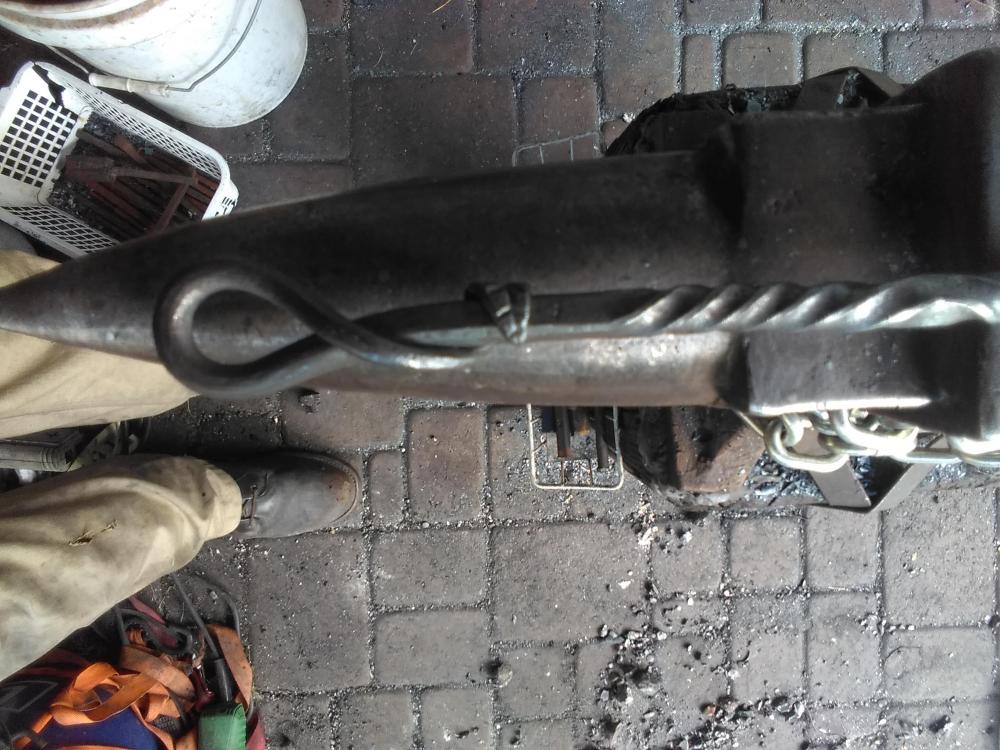
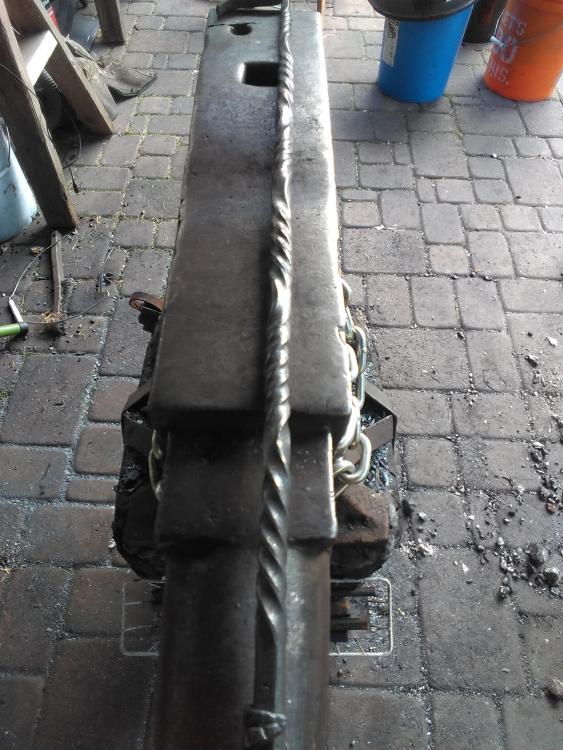
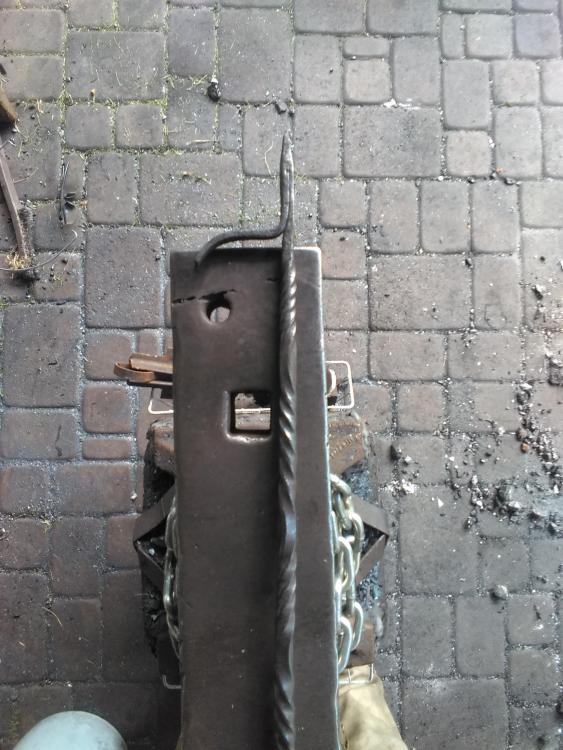
Jennifer, I tried making a grappling hook once (with 4 prongs/claws/pokey bits/whatever the proper name is) just for the heck of it. Lets just say it lives in my scrap bucket now.. I like yours much better. Re: Being protective of ones anvil, mine was definitely well used when I got it. So while I love it and probably won't ever part with it, I don't really mind letting others use it. However, I have been saving (slowly) for something and I imagine in a year or so Ill be very protective of it. Today I followed Frosty's recommendations and made garden rake v2. It turned out way better than my first attempt. It also took much less time since rather than starting with 6 different pieces there were only 2, which resulted in much less fiddling around. I may still add a finial of some sort before I call it complete, I'm not sure yet. I also did the twists for the poker I started yesterday. I'm not going to give any close-ups of the weld of the poker because... reasons.


-
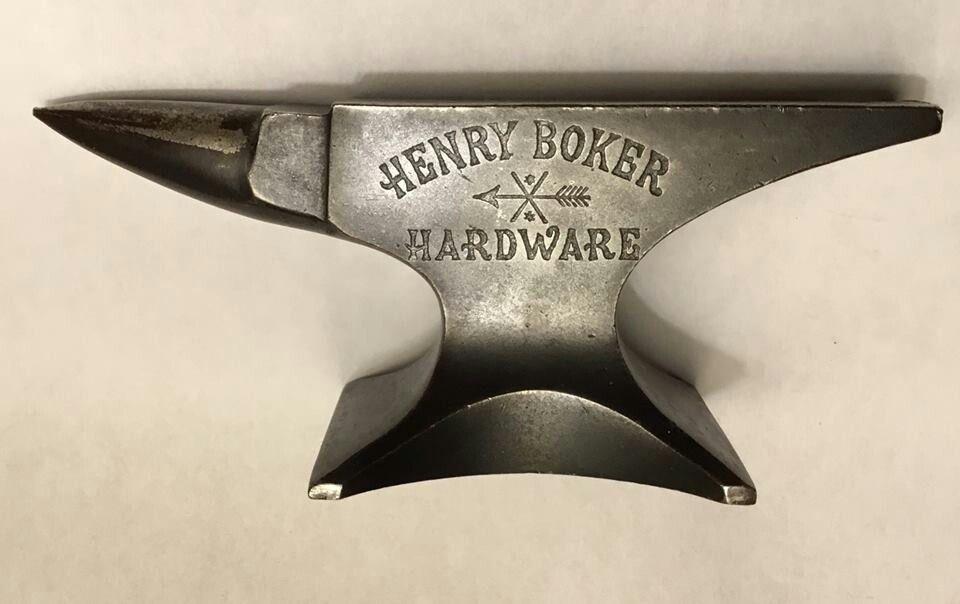
There are a lot of anvil experts on here that will be along to help give you more info. I am not one of them. But it's a Boker (for Henry Boker) the logo is the remainder of what you see below, which is just a stock photo of a newer miniature anvil I found that shows the whole logo more clearly, and not my own. That's a cool looking anvil, I like it
-
That's not a knife.... this is a knife! That looks like quite the chopper. If I were a small tree, I'd be shaking in my roots.
-
Ahhhhh, ok. Makes sense. I'll give that a try on the next one and let you know how it goes. Even just on paper it seems like a much more efficient way than what I decided to do
-
Haha good, sounds like a job well done, any plans to make a sheath for it?
-
Virusds, that looks awesome! Nice work! Have you stabbed it into stump yet to celebrate its completion?
-
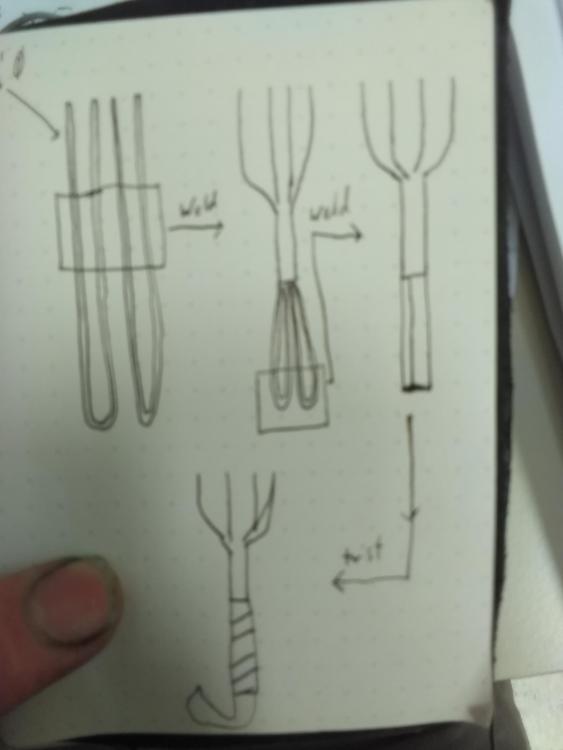
Frosty, I believe so. I made myself a little drawing to help visualize what i think you mean. Pardon my terrible drawing prowess. Is this what you are describing? If so I think it's a much better solution than what i did, where each tine was a single piece.
-
Haha I know how you feel about not having enough time to do everything! I always keep my little notebook with me so when I think of something I can write it down and maybe draw myself a little picture if need be. It always seems like have have all these things I want/need to do and when I have time I forget what they were! Same thing with grocery shopping. I forget the weird thing I needed until I get back home. Thanks for the compliment on the rake, I still think it's a little ugly and needs some refinement so it looks less like a birds elephantiasis stricken foot. But for a first try I still think it's kinda cool. And I bet it would make a nice back scratcher too.
-
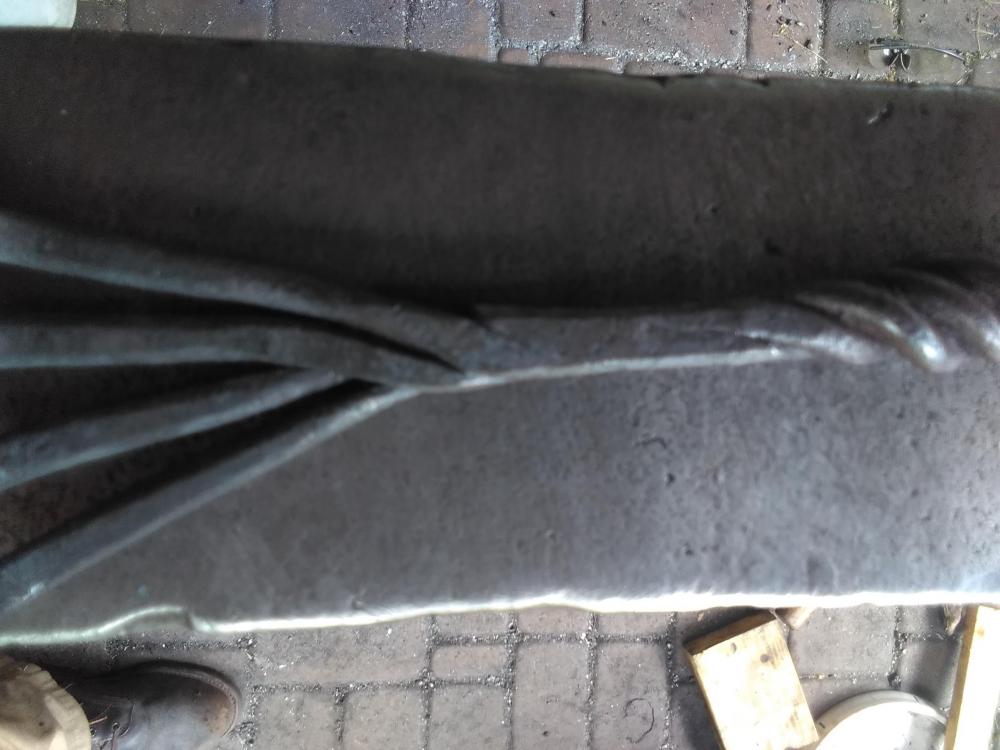
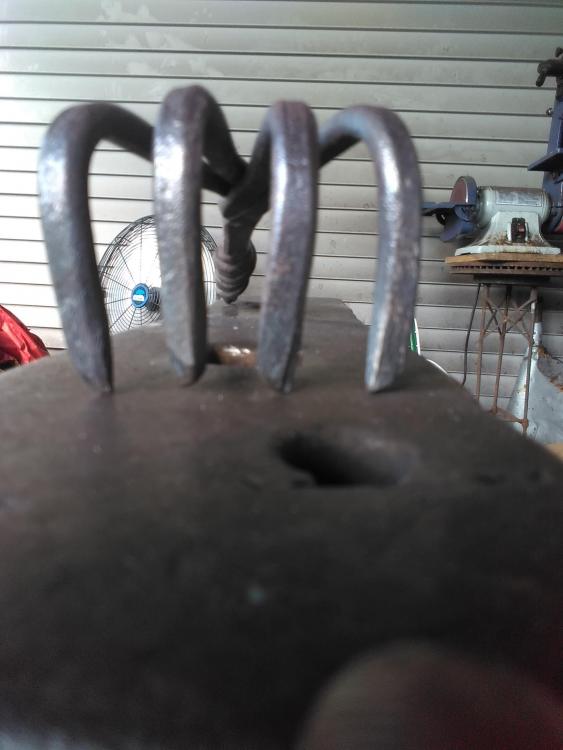
CGL, I also like those! Nice lines and, in my humble opinion very original design. They kind of seem like a pair, one makes me think of fire and the other water. I tried making a garden rake yesterday, it's a little ugly haha, but gave me some practice with my forge welding. Everything went well, For the most part. One of the tines started to split away when I went to spread them all out and I'd like to try to leave it a little thicker at the scarf next time, but in cleaning up the weld I took it just a hair too thin. Oh well. It's still a solid and hefty little tool.