Frazer
-
Posts
1,403 -
Joined
-
Last visited
Content Type
Profiles
Forums
Articles
Gallery
Downloads
Events
Everything posted by Frazer
-
I know I already posted them here. It's just that they are such dorks....

-

How do I get rid of this scale on my blade?
Frazer replied to RITA2xs's topic in Knife making Class General Class Discussion
A soak in vinegar will remove the scale and make finishing go a little faster. Forge scale can be hard on your files and sandpaper (while hand sanding), but if you're using a flap disk or a belt grinder it really shouldn't take much to get through without the extra step of removing it. The hammer marks on the other hand, those are usually easiest to get rid of at the anvil with light planishing blows at a lower temperature depending on how deep they are. Otherwise you just have to grind the whole face down. -
Colonial era anvil... Is it worth buying?
Frazer replied to JW513's topic in Anvils, Swage Blocks, and Mandrels
JW, you have a mastery in the art of suspense... How old is it??? -
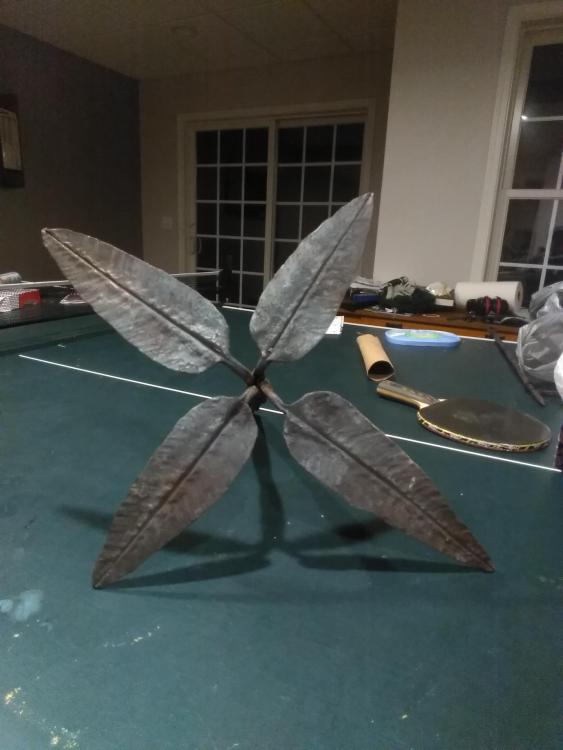
I'm with JHCC. I like to add decorative leaves at the ends of things like bottle openers or fire poker handles with little leaves. Sometimes a do big leaves. Depends on what I'm making.

-
Colonial era anvil... Is it worth buying?
Frazer replied to JW513's topic in Anvils, Swage Blocks, and Mandrels
220 years. Taking a wild guess. -
I looked at Holland's website and their anvils are cast H13 steel..... That's sounds pretty awesome. I've read elsewhere on the site that some people have had trouble with the face of their Kanca denting, but I have no experience with either. If it were me, I'd go with the Holland given the weight and material specs, but I hear you on the pattern preference. It's your anvil and it will probably outlive you so you have to like it. Still, I'm leaning toward the Holland being the superior anvil as far as quality goes.
-
Hearthstone, I'm not from that area, but my grandma lives in Cleveland. Anyway, I see a Metal Supermarkets warehouse is in south Cleveland. Also, on Cumberland Steels website they have a full catalog of the alloy and tool steels they have available. It looks like there are a few places near you that might have something you're looking for. Might be cheaper than buying online (even if it's semi-local). Especially if you're paying for shipping.
-
What did you do in the shop today?
Frazer replied to Mark Ling's topic in Blacksmithing, General Discussion
John, I like this solution. Thanks for sharing! -
What did you do in the shop today?
Frazer replied to Mark Ling's topic in Blacksmithing, General Discussion
Tongs are looking pretty nice so far from what I see. Especially for your first 10 hours of forging! Suggestion? Are you wearing a glove on your one hand to increase the amount of time between cooling off the holding end? It might get you a few extra heats before cooling it off. I generally don't like wearing one, but when you need one they are helpful. Oh, and when you get there, drawing the reins out over the horn makes it go much faster in my experience. Less time means fewer heats which means less fuel and a happier smith. I'm sure others may have more to add, but I would say it was a successful 2 hours. -
According to the Frosty T burner plans the length of your mixing tube should be 8D. In other words the length of the mixing tube should be 8x the diameter of the pipe. Consequently, 8 * 0.75 = 6" mixing tube. However, burners are not something I have experience with so I'm going to bow out here.
-
Do you have any pictures of them? Or perhaps any additional information regarding rebound/ring/general condition/price? That may help people weigh in with their opinion. The question as stated is a little too general for any informed advise.
-
A collection of questions I have about punches
Frazer replied to Nathan Kraft's topic in Slitters, Punches, Drifts, etc
Once I tried buying a set of punches from the box store and they bent in half on their first day.... As always I couldn't have said it better Glenn. At least for me, half the fun of the forging process is making the tools for specific projects. If you can't make a long round taper or a chisel or a punch you're probably going to have a tough time making a bottle opener or whatever your end goal is. I'm going to speak generally and based on my limited experience, but very often with a lot of these top tools, being in the general ballpark as far as material/geometry goes will be good enough to get the job done. And sometimes the "textbook" geometry for a specific tool doesn't end up being what works best for your project. I will say that on almost every tool I've made and kept around, with the exception of a few drifts, I'm just using spring steel. It's generally pretty easy to heat treat and is tough enough to withstand extended use. It's getting harder and harder to buy high quality tools without paying a premium for them and as far as blacksmithing tools go wouldn't know where to point you. My only recommendation would be to take just as much care/attention when making the tool as you would when making the thing you plan to use it on. Especially when you're still figuring things out like me. Also, if you're like me and you tend to forget what you did, "that time you made that thing" write things down in your own words so you know what you did. Especially when something works really well or really poorly. Soon you'll have a whole bucket of tools and your main problem will become finding the one you know you already made 2 of and is around here somewhere... -
What did you do in the shop today?
Frazer replied to Mark Ling's topic in Blacksmithing, General Discussion
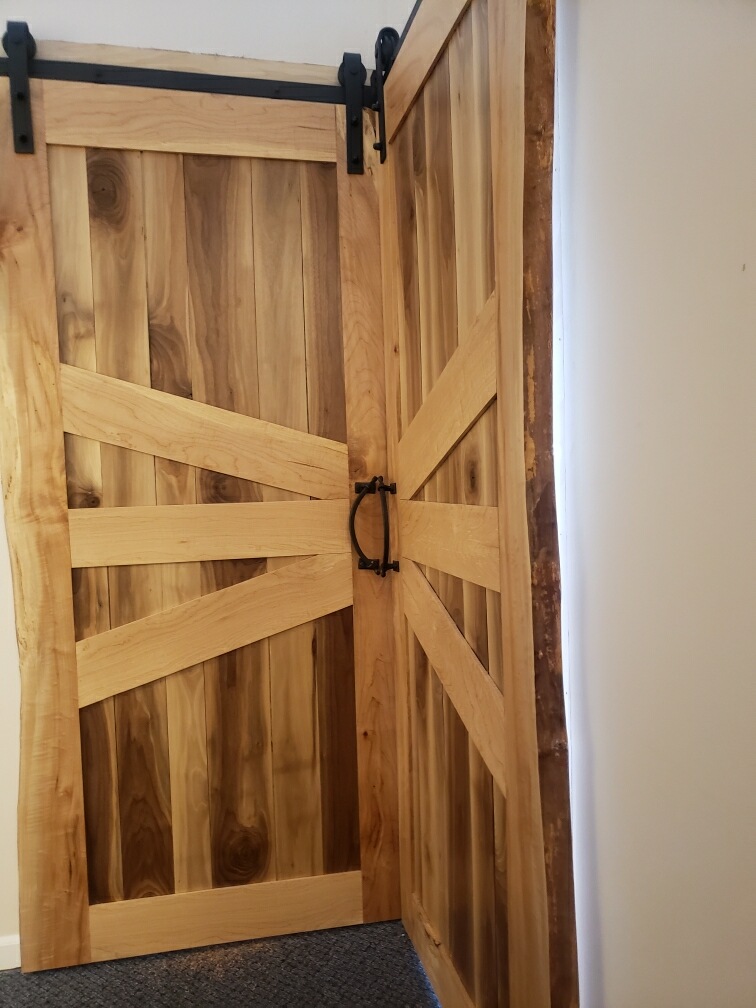
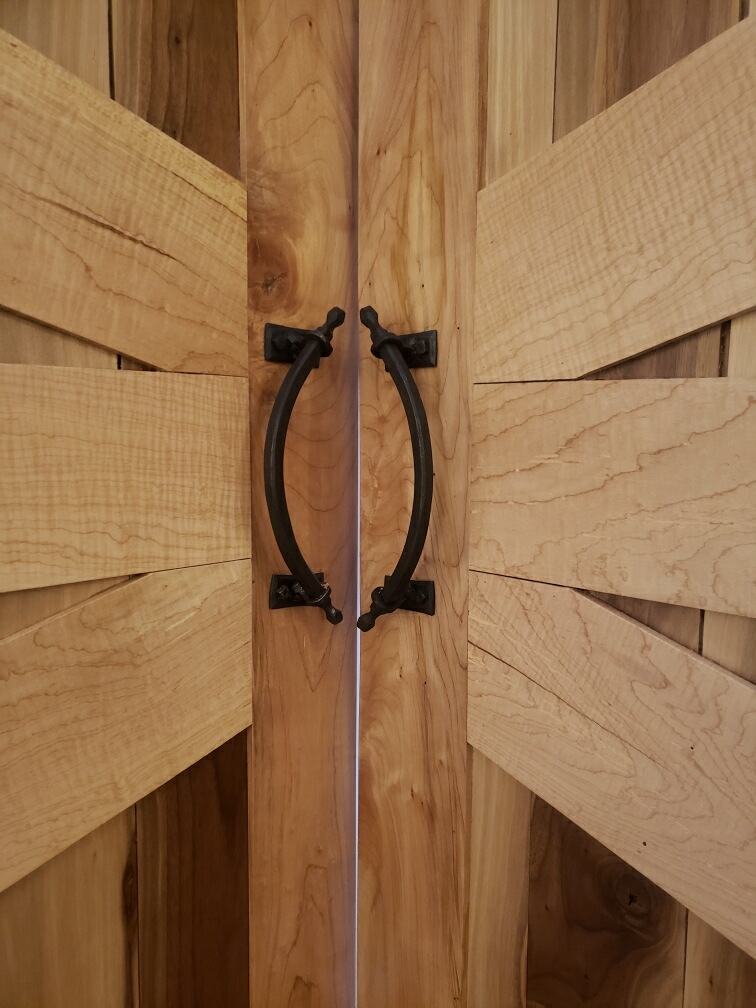
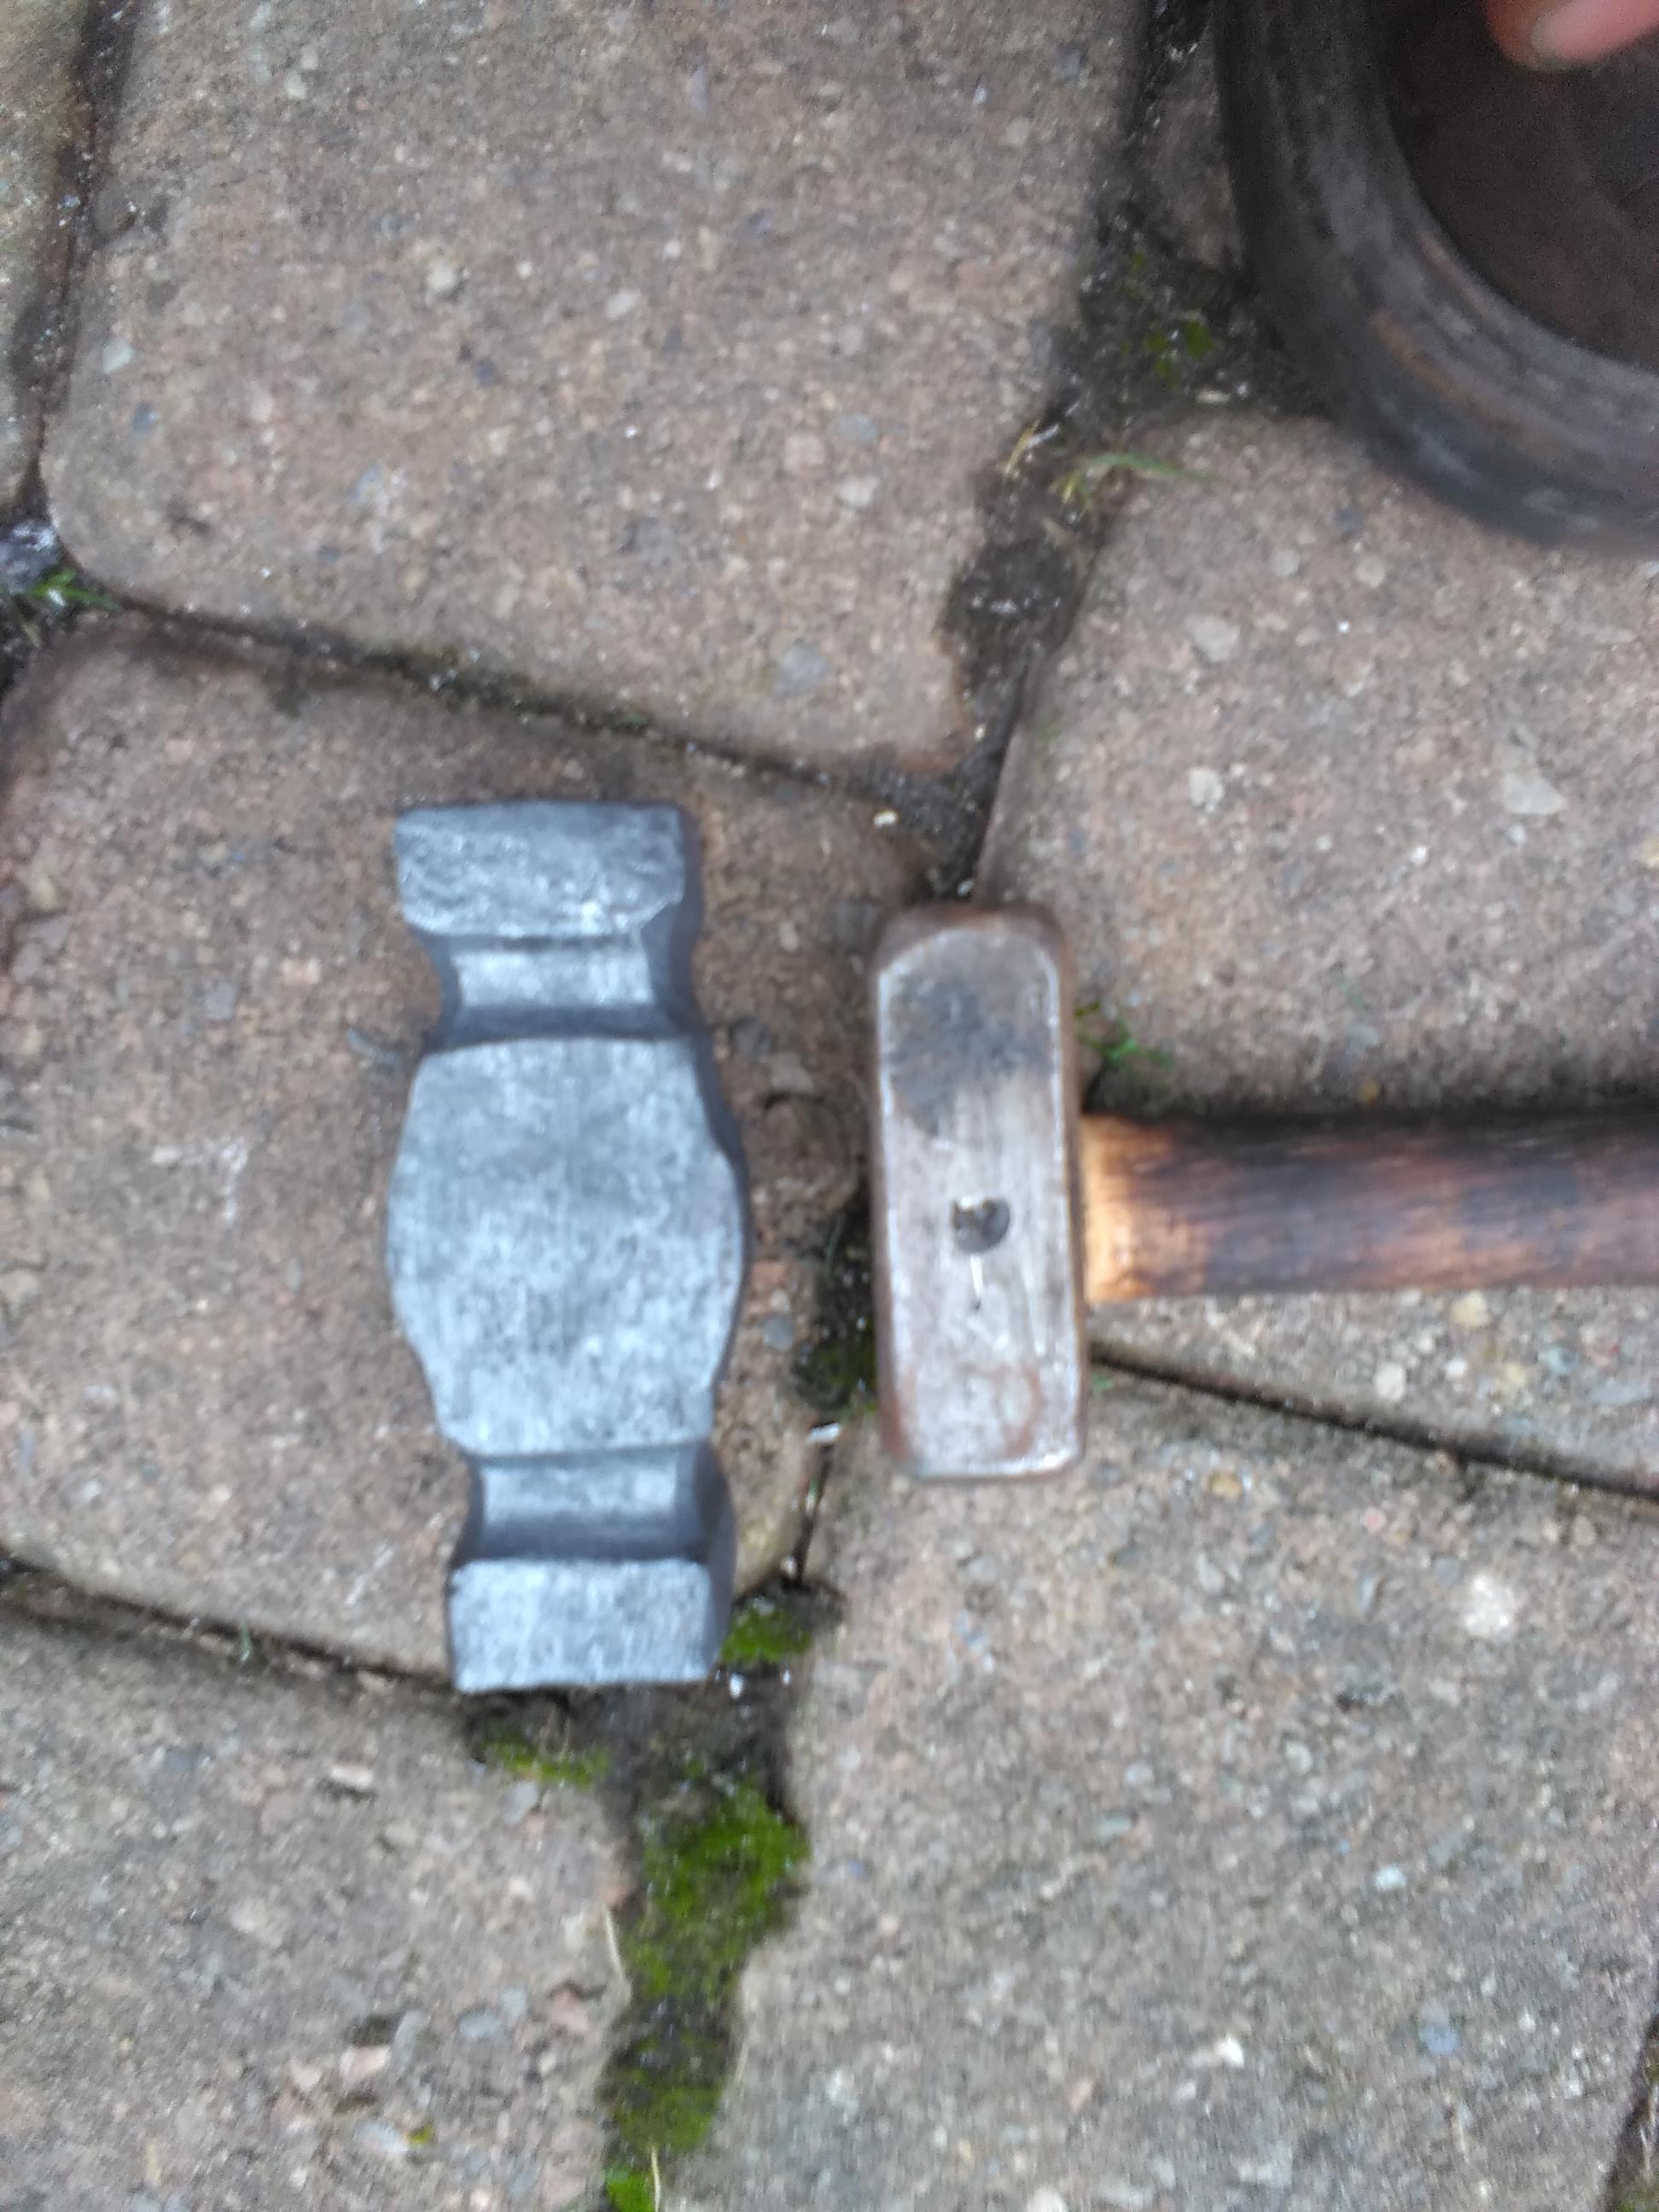
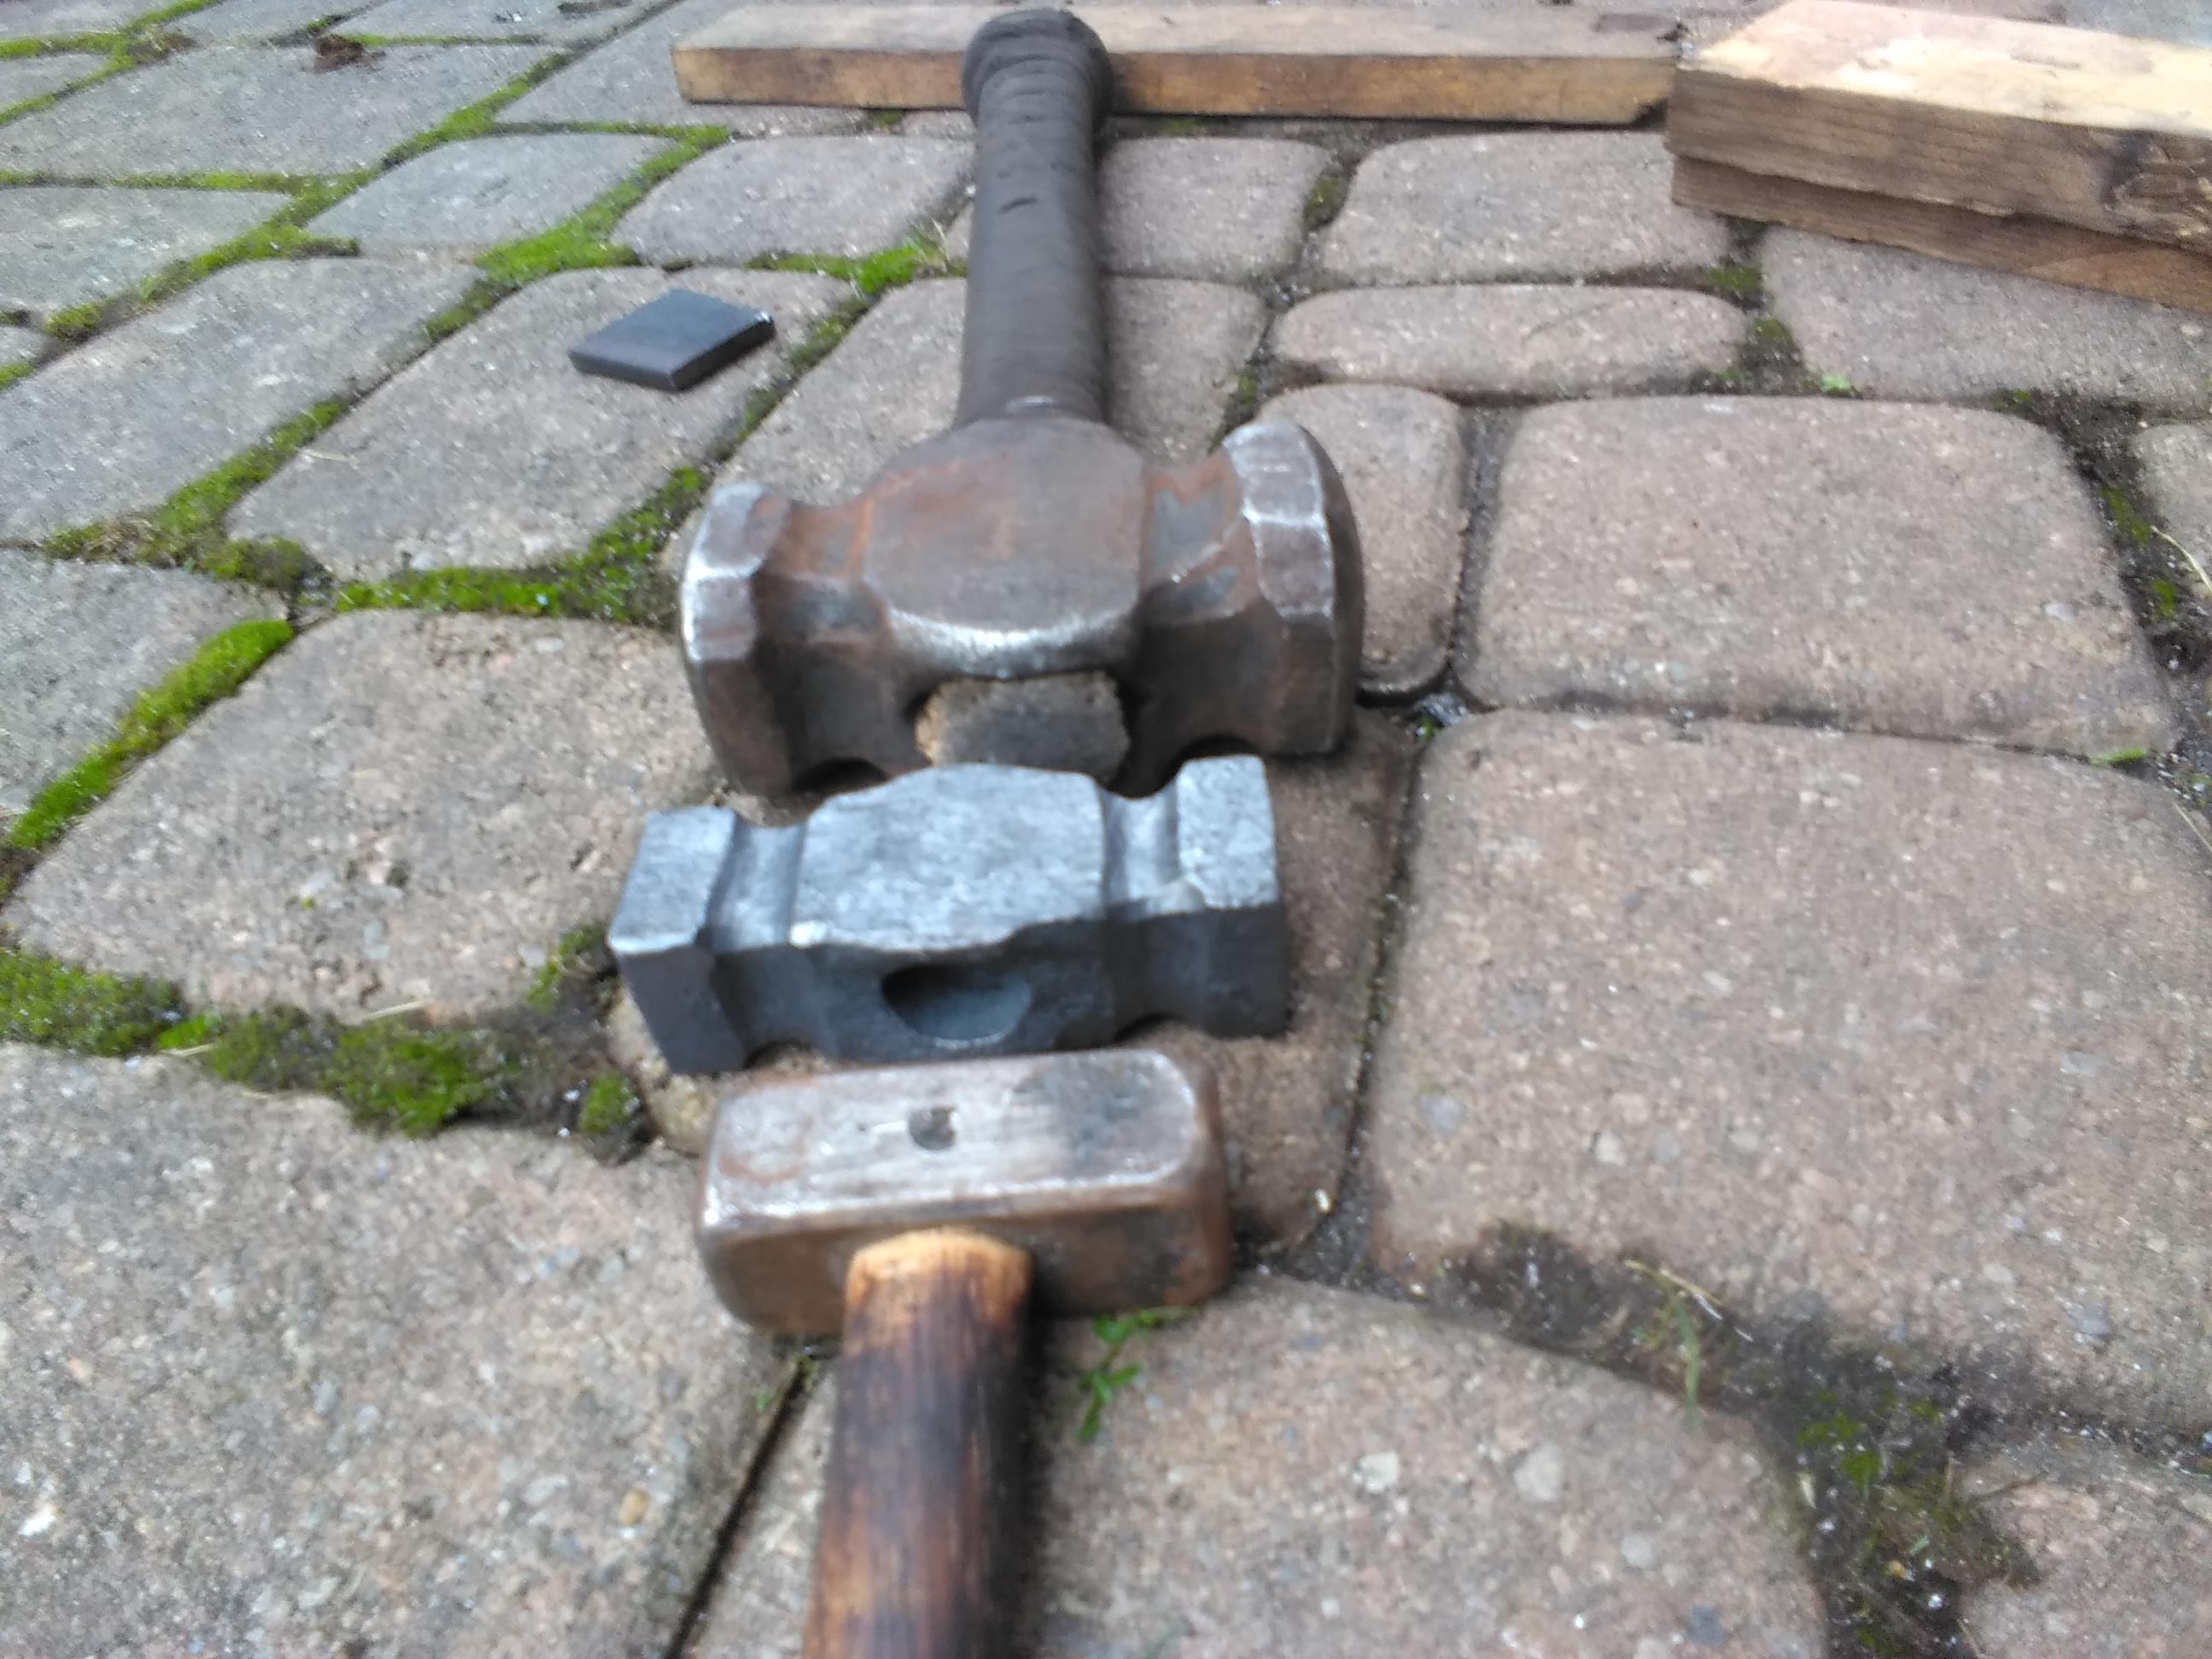
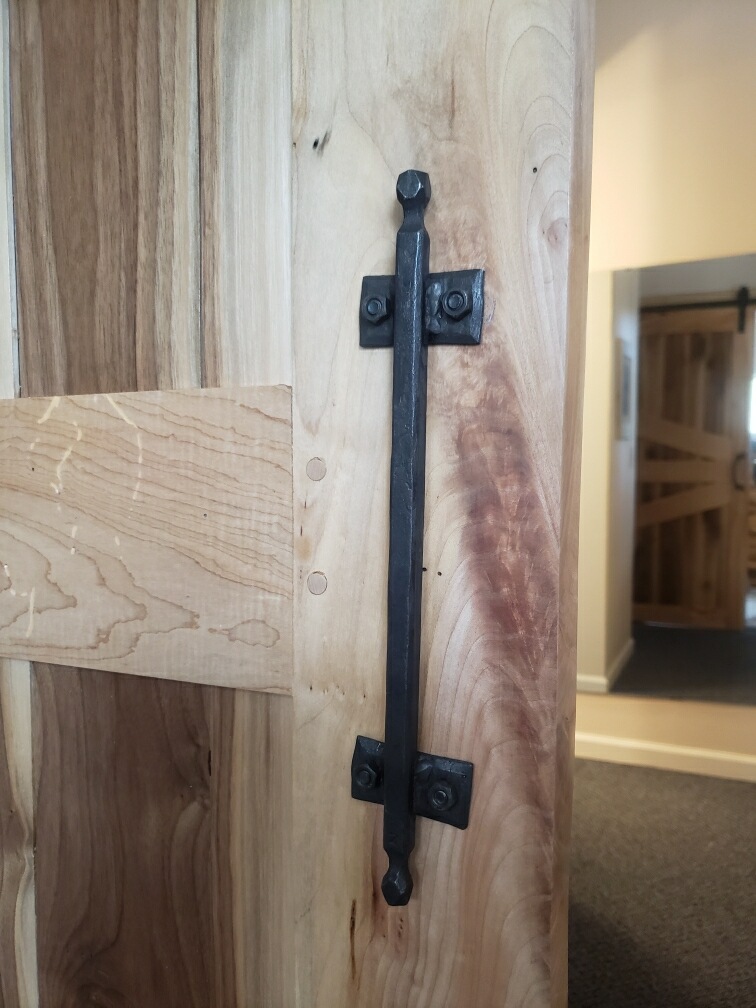
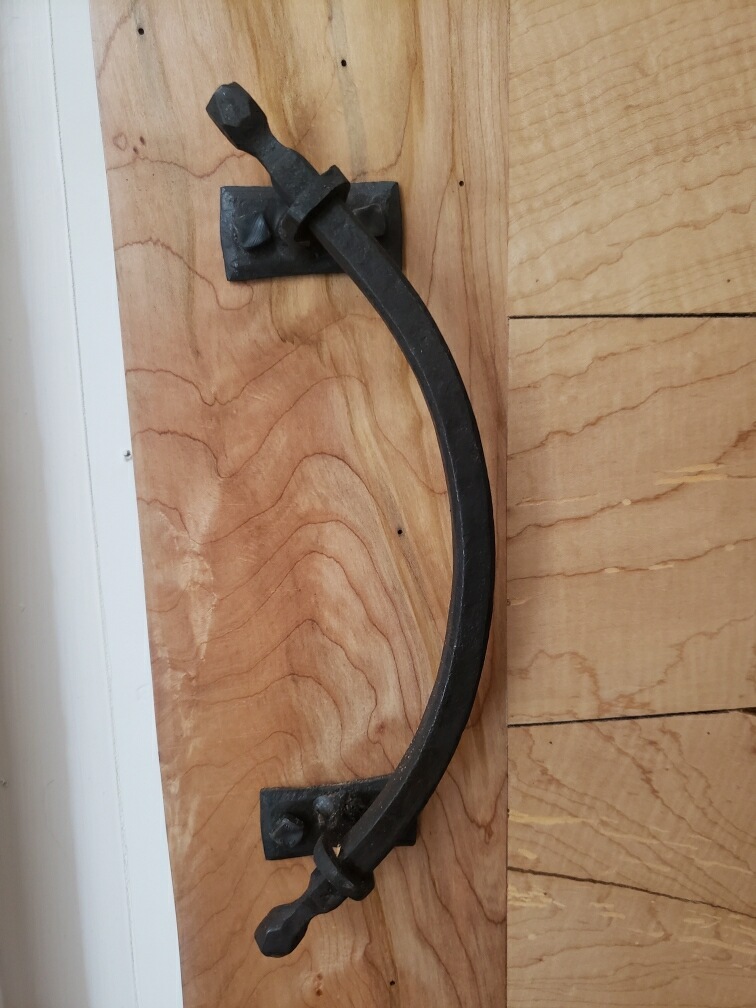
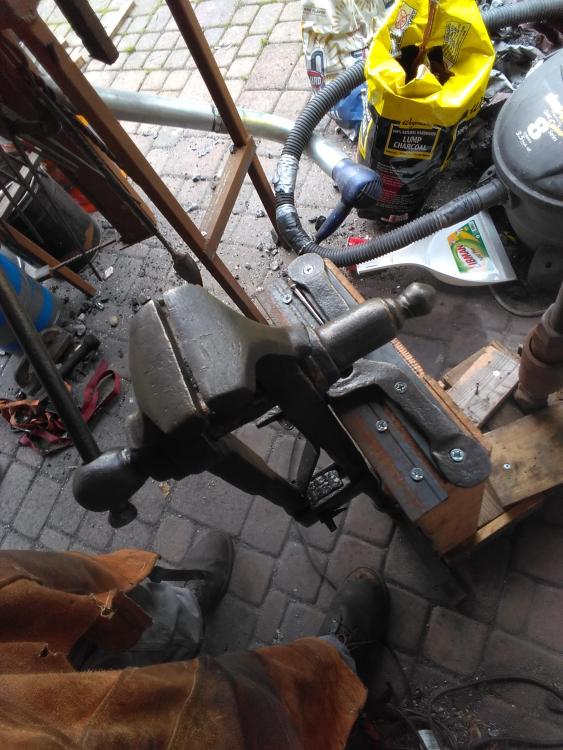
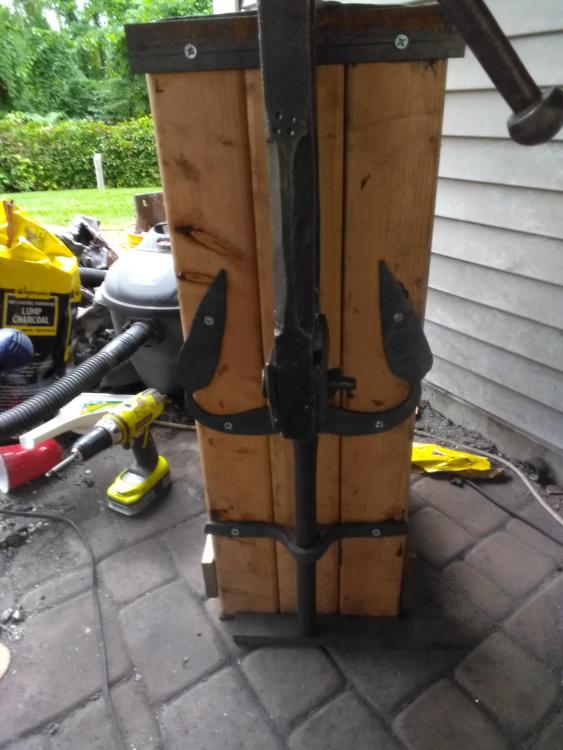
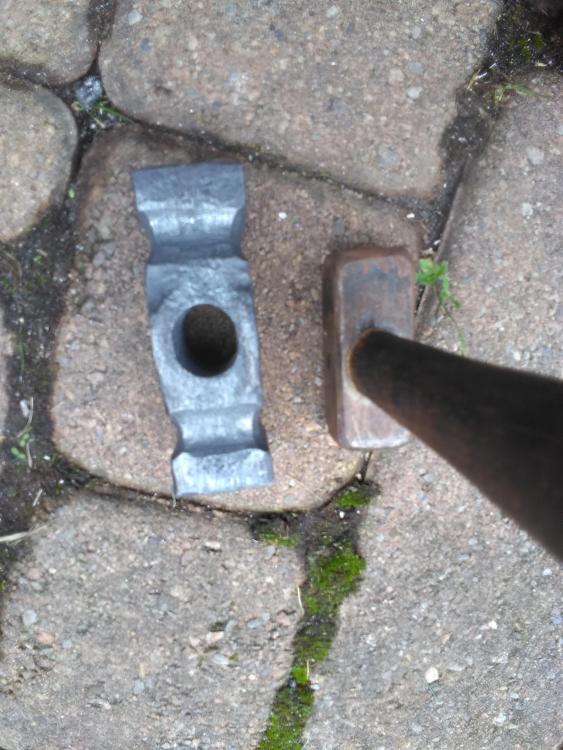
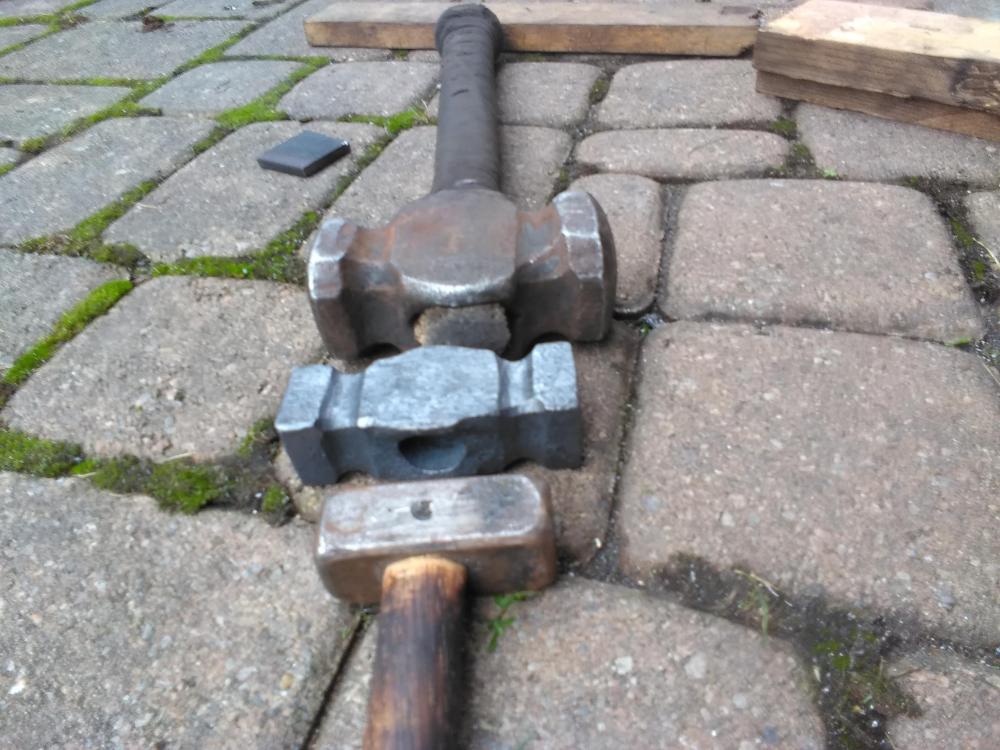
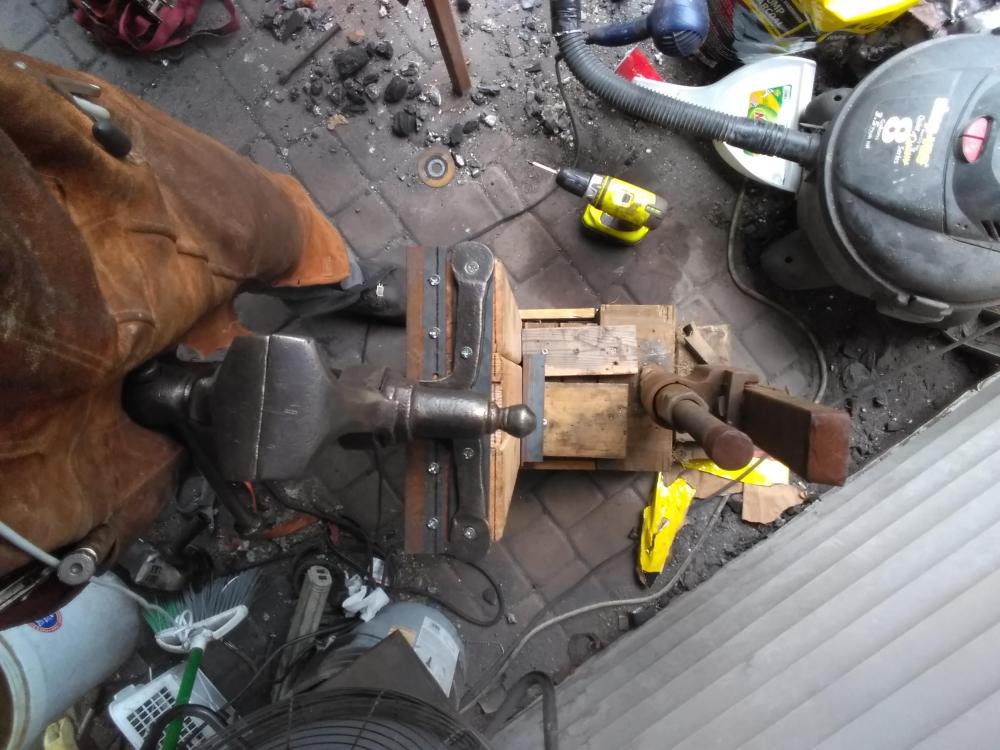
Dennis, that is turning out very nice indeed. I'm sure it took a belt or two to slim it down 250g.. Today I made some significant progress on a few ongoing projects. First, the pull handles I made several months ago finally had the doors to mount them on. There is still a third door they haven't been installed on yet. I need to make longer bolts than the ones I provided initially. That door ended up being thicker than the other two. The exterior handle of the third pair isn't curved like these are. The handles on the inside had to be low profile to fit in the 3/4" gap between the door and the trim. I also made some progress on hammer number 2. A 1.25# rounding hammer made from some RR track. The eye will need to be a bit longer (more of an oval) for the handle I'll be using, along with a few other aesthetic adjustments, but progress is progress. For reference, the tiny hammer is the first hammer I made, weighing in at a staggering 7.375oz (210 grams). The other is a 3# rounding hammer that I did not make. In hopes that some might have stopped reading by now I saved this for last.... I've had a post vice sitting in the corner of the shop since I bought my anvil... ~9 months ago.. I have just been using a bench vise since it was easier to mount at the time and I was lazy. Yes, yes, I know shame on me. Well, I cleaned it up last week and the more I saw of it (without the thick layer of rust) the more I liked it. The tang mount and number of pieces that were used in it's construction suggests it is likely pretty old. The screw box and threads are all forge brazed together. When it was made and by who I don't know. She purtied up real nice though.. Shame my flip phone can't show it off well enough for gratuitous before & after shots. The stand is surprisingly solid as is, but I'm going to be adding some cross bracing. I don't trust that one piece of angle iron in the back. The other chunk of steel attached to the vise was my first improvised anvil. Some piece of RR scrap I acquired when first trying to set up my shop, but it only got used as such twice before I went to the scrapyard and found something better. Now I use it when A.) I need something heavy B.) I need a weird shape or bend somewhere. There are a lot of useful surfaces that... thing?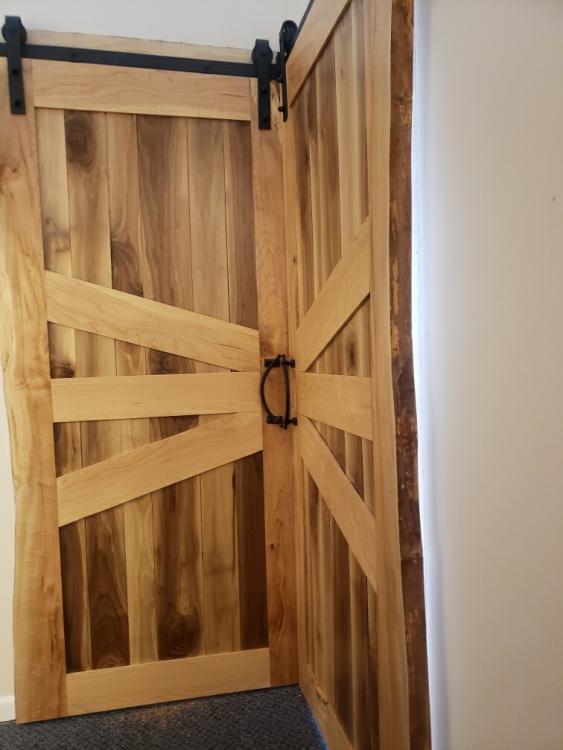


-
How much do you pay for coal?
Frazer replied to P. Bedard's topic in Solid Fuels: Coal, Coke, Charcoal, Wood, etc
12cents/lb is what I pay. That however, is for anthracite. It's not the best coal for the forge, but if I were paying over a dollar/pound on fuel I would go broke real fast. -
PM Smelting from catalytic converters
Frazer replied to blackwolf365's topic in Smelting, Melting, Foundry, and Casting
I'm not sure I follow your train of thought here. Can you bring us up to speed? Acquire some what? Rubber gloves? Catalytic converters? Crucibles? An electric arc furnace? I think you'll have better luck with getting an answer if you provide some more details. BTW, welcome aboard! Have you read the information in the "Read This First" tab located in the banner at the top of every page? This contains all the helpful tips to get the most out of the site. One such tip is to include your general location in your profile as where you are located in the world can have a significant impact on the price/availability of many materials. -
My forge and anvil stand
Frazer replied to Tracemaster's topic in Stands for Anvils, Swage Blocks, etc
Aluminum will work, it is a much better conductor of heat than steel is and will therefore char the wood below it much faster than steel (there is a reason why most heat sinks are made of aluminum), but it would still be better than nothing. Regarding horizontal vs vertical, I don't know why vertical mounting would be any more expensive or less mobile, but if you prefer to use it as is, it looks like it will work well enough. -
That's a pretty heavy hammer for forge welding... 2#s is more than sufficient. Light fast strikes make better welds than heavy ones generally speaking. Too heavy of a hammer and you lose accuracy and are more likely not to hit straight down (pressing the to faces together), and instead slide the faces across each other. Could you grind a couple pounds off it? Sure, but I'd rather have the sledge laying around in case I needed it and pick up a lighter hammer for general forging. It doesn't have to look like a "blacksmith hammer" to hit hot steel. I seldom even use my 4# hammer for forging as my arm gets tired. But then again I'm no Hercules ...
-
I used 1/8th wall thickness tubing, angle iron and flat stock for my build also. Although JHCC's is bigger. And nicer..... haha
-
I usually use my cut off hardys for cutting off sections rather than splitting. You cant see where your groove is so you sometimes end up with two starts to the cut right next to each other. And somehow neither of them are where you wanted them to be.. It's a lot easier to cut straight using a top tool. Plus with a hardy you don't want to hit the edge with your hammer (which you come pretty close to doing when your slit becomes very thin) as you will roll it over/chip it/mark up your hammer in doing so. I would say a chisel will serve you best. Of course an angle grinder with a cut off wheel works too. Some may consider it it "cheating", but if it's something you are doing a lot of and just want it done in a few seconds rather than a heat or two, then I say use whatever tool you need to get the desired result. If it's just something you're doing for yourself, then getting some practice with top tools will serve you well. Note: Hit the tool and not your hand. Which hurts on it's own even without it being pushed down onto hot steel... or wear a glove I suppose. Note about note: If you're worried about hitting your hand you're more likely to it your hand... Coil springs make nice chisels in my experience. Edit: JHCC types faster than I do..
-
What did you do in the shop today?
Frazer replied to Mark Ling's topic in Blacksmithing, General Discussion
Those bolts are likely going to run somewhere between 0.15-0.30% C depending on the grade. For what it's worth, I can say that my experience with RR steels has matched the info in that blueprint for the most part and I have made a few tools using those bolts specifically. If you're looking to make a knife from railroad scrap, your best bet is going to be railroad clips or anchors. Still, it's always a good idea to test salvaged/scrap material as the "true" alloy will remain an unknown and is going to depend on when it was made and by whom. Jungle, a few serrations and that could also carve a mean pumpkin. -
equipment for a 10 year old smith in the making.
Frazer replied to ChrisRecoveryForge's topic in Tools, general discussion
The EU does regulate borates differently than we do in the states. Even down to contact lens packaging solutions, which are often phosphate buffered saline (PBS) or borate buffered saline (BBS). Lenses packaged in BBS and sold in the EU will soon require additional labeling warning of toxicity to reproductive health. I'm not sure if this translates over to "how available is 20 Mule Team Borax in the UK", but working in the contact lens industry I can definitely attest to the EU's heavier regulation of borate based products. -
Taylor, definitely worth the time and small investment. I find I can do much more than I could before and have been working much more efficiently now that I am able to heat larger stock much faster. Plus I spend less time maintaining the fire and fighting to hit welding temperatures. I have made a few incremental improvements over time. First, I reduced the tuyere by dropping a 2" black iron flange at the bottom of the rotor. I reshaped the fire pot using a mixture of clay, crushed firebrick, ash, and a bit of sand to reduce the diameter and depth and eliminate the 90 degree shoulder at the bottom of the (rotor) hat. It now has more of a bowl shape rather than being cylindrical. I welded on a rack made of 3/4" black iron pipes & fittings for my tongs below the surface of the table (a long U spanning the full length). Now I use the upper rack for tongs I'm using (the hot ones) and use the lower one for the rest. I also added a piece of 2"x1/8" plate behind the fire pot, long enough to reduce "spillage' of the coal off the back of the table, but not so long that I can't put long pieces in at a diagonal. Overall I'd give it two thumbs up. My old forge (the weber grill lid) now serves as a cover for the new forge
-
It kind of looks like the Tesco logo. Not quite the same, but not far off either. To find it i did a google image search of: hydraulic cylinder manufacturers "logo" diamond Then I just scrolled around for a couple seconds and found that. Can't really help you too much beyond that point though.
-
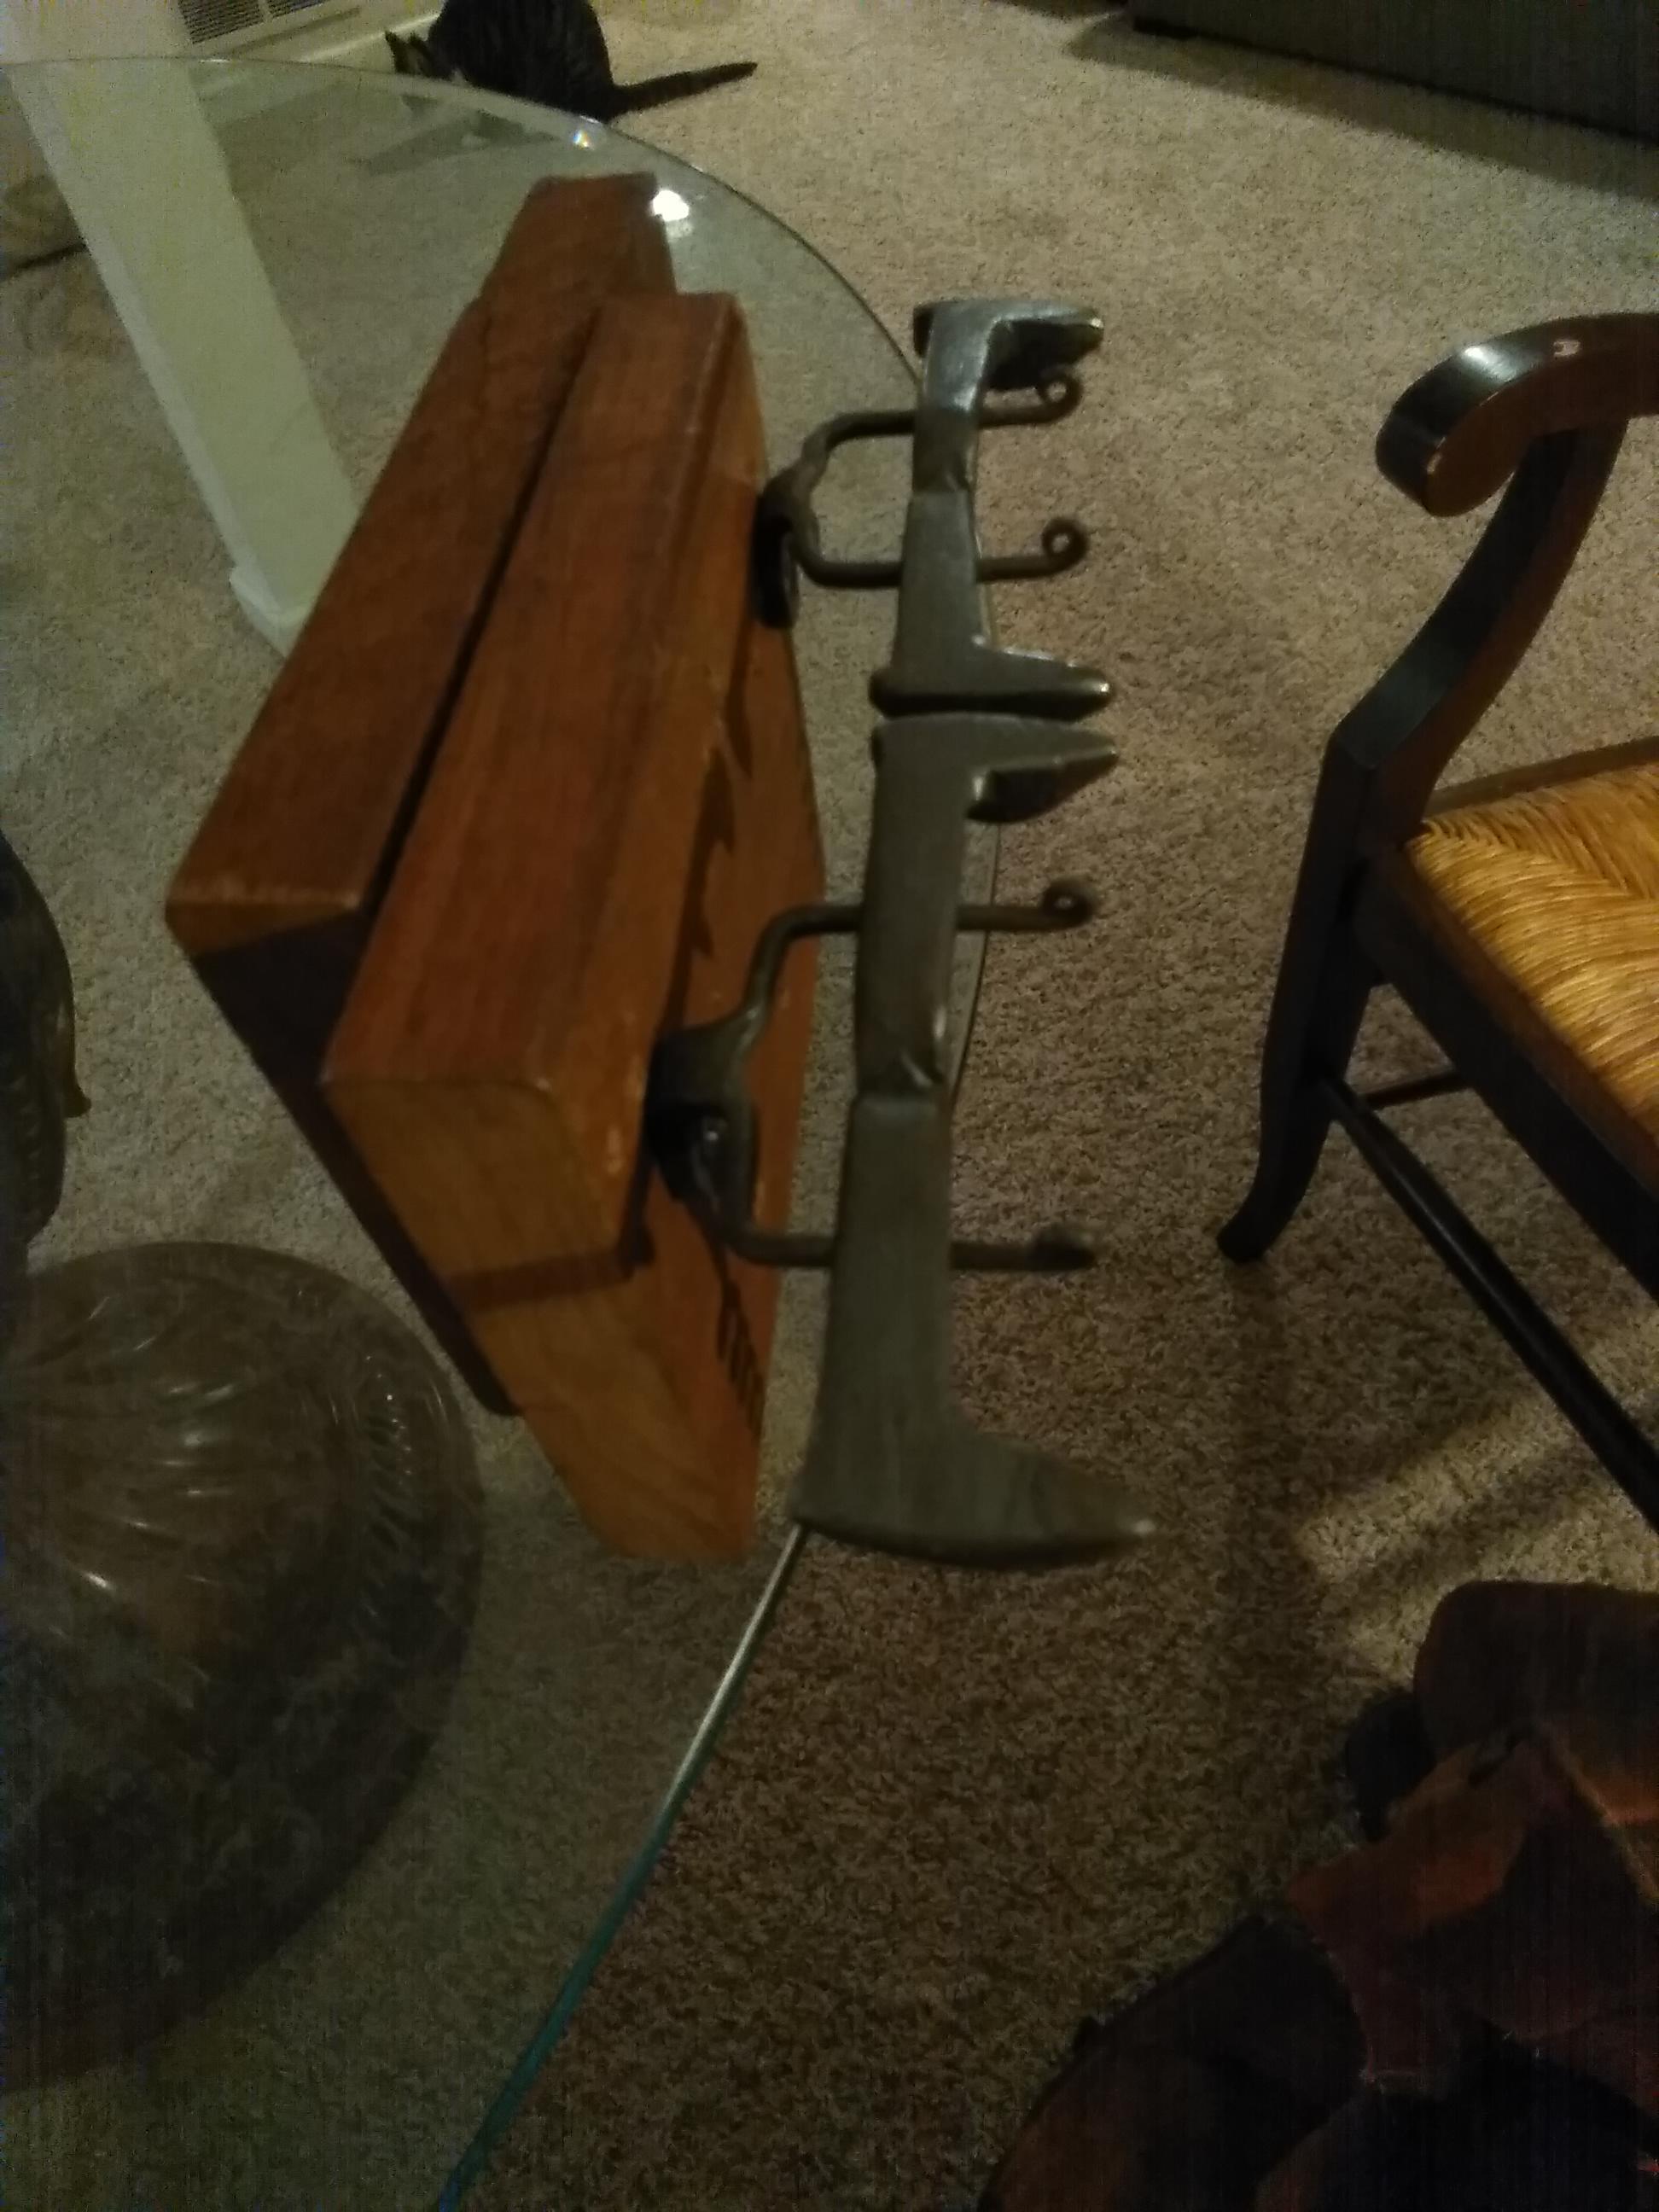
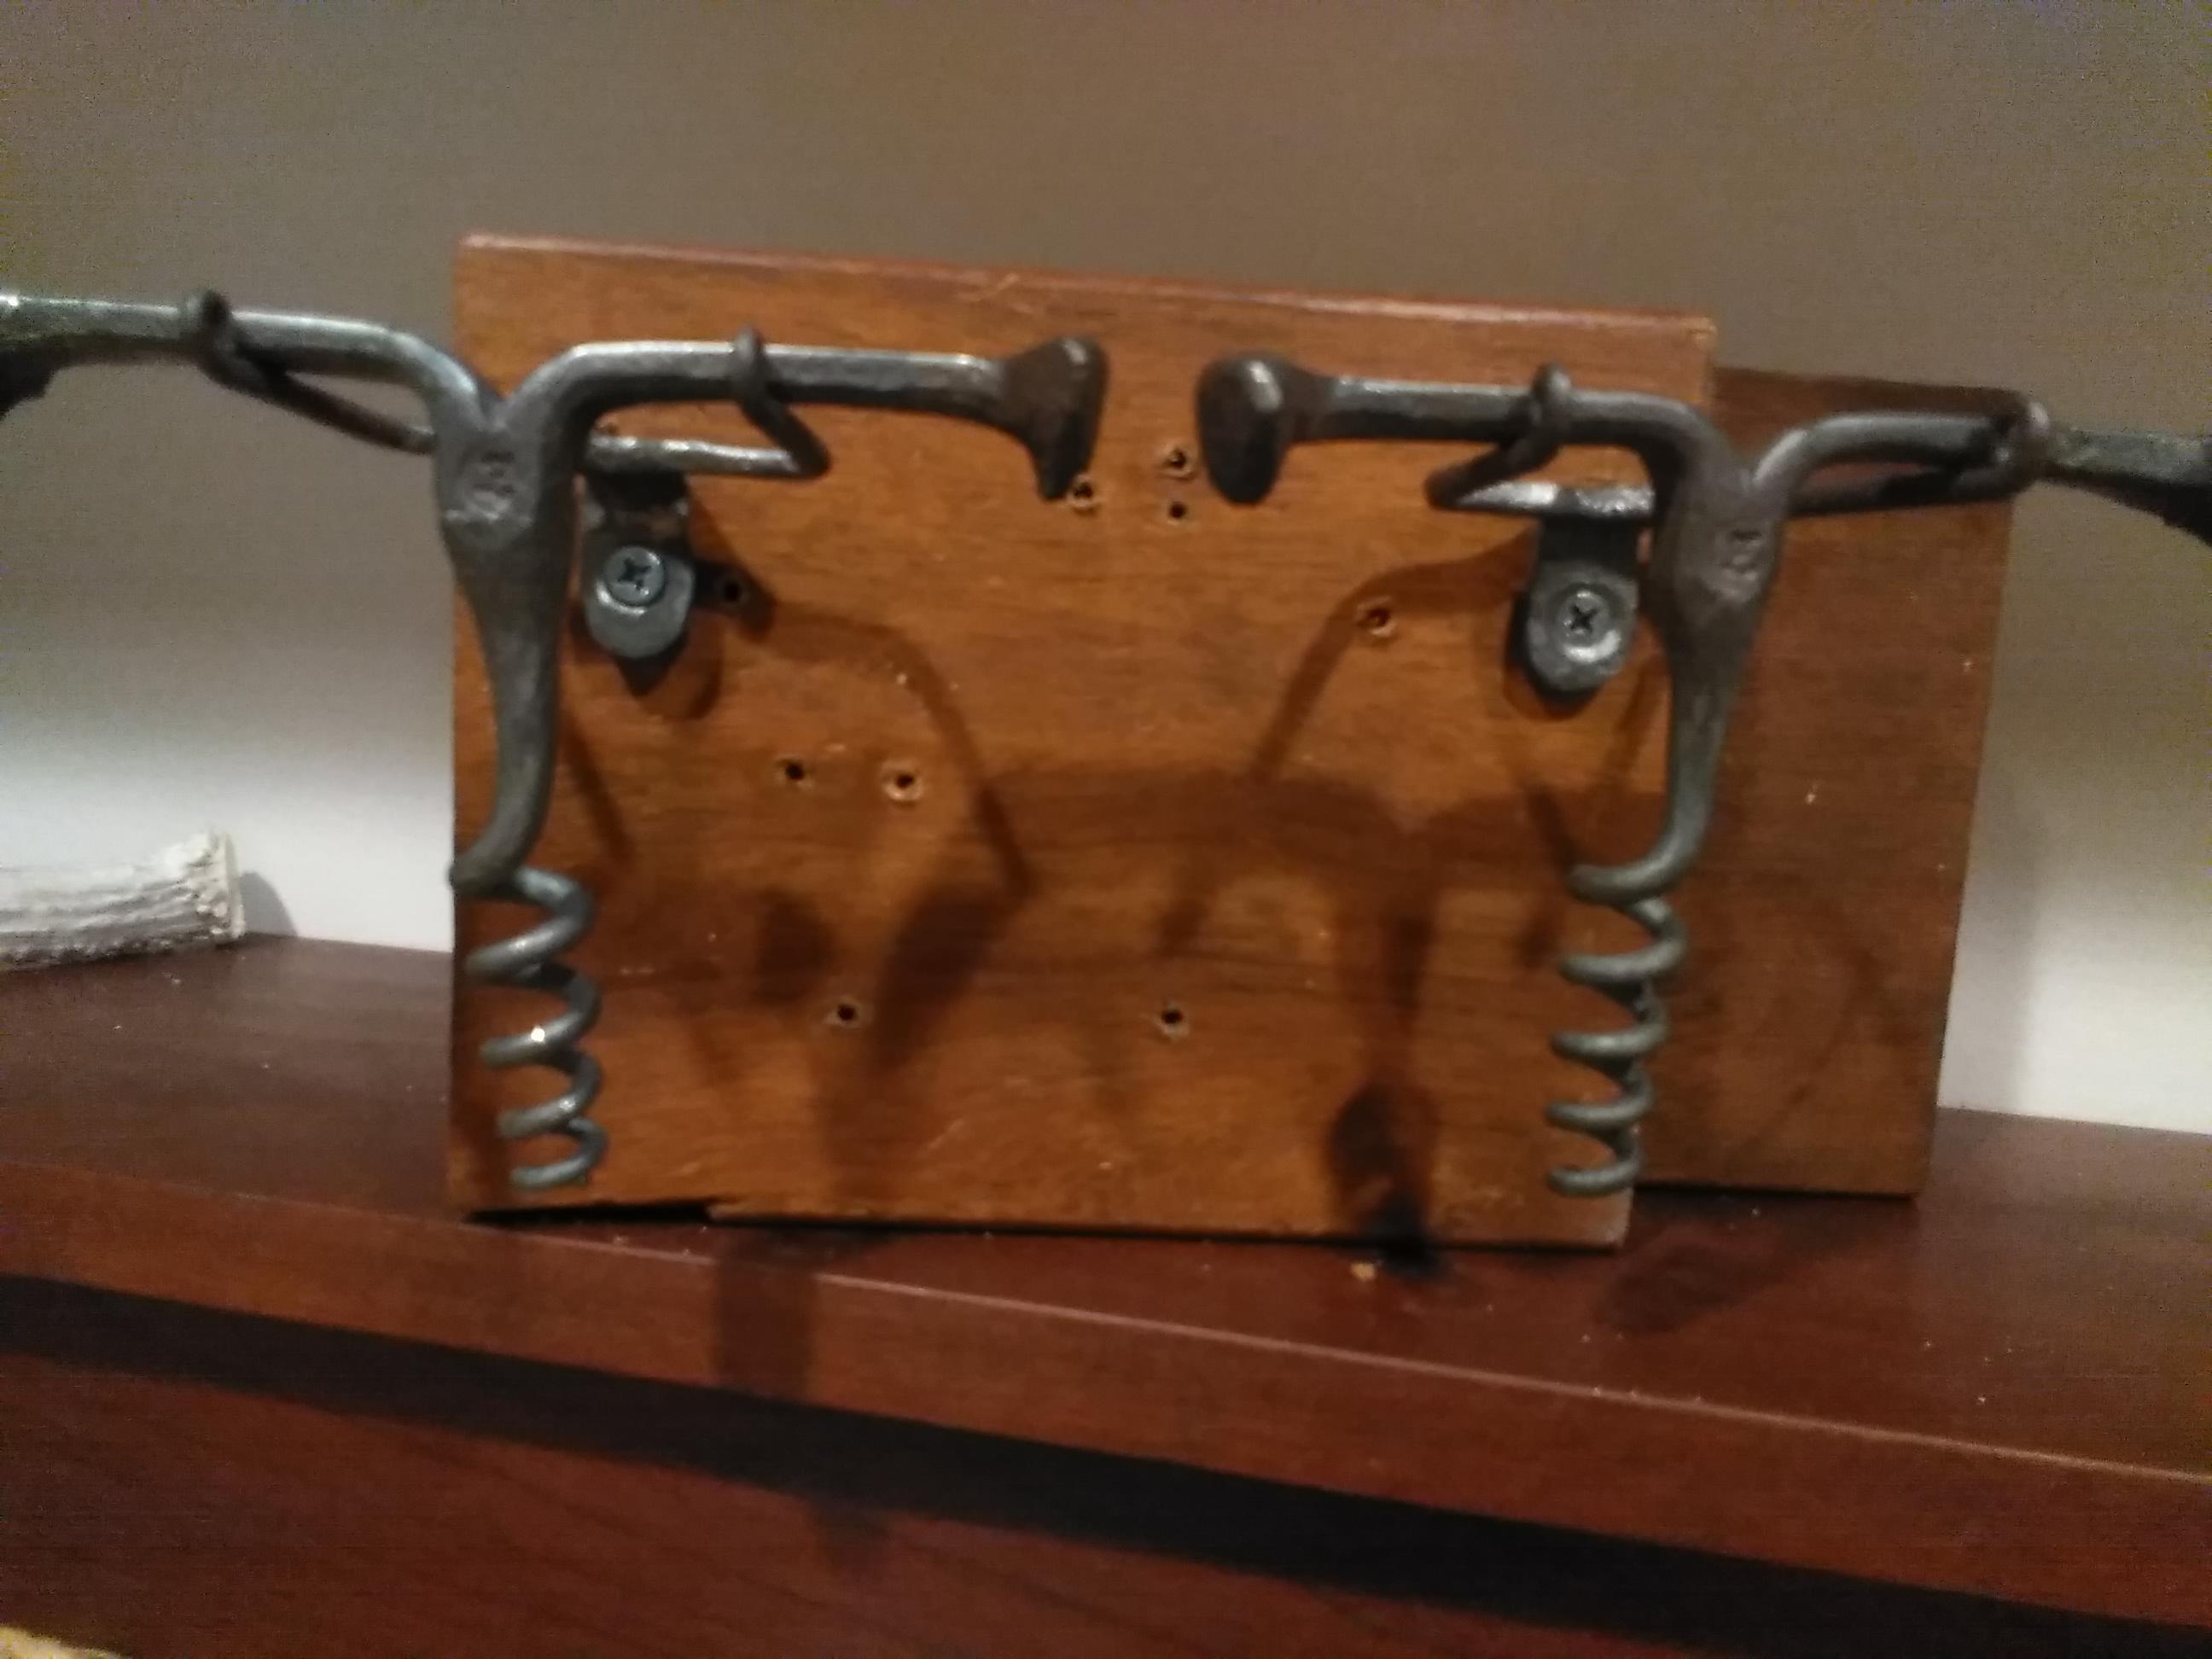
What did you do in the shop today?
Frazer replied to Mark Ling's topic in Blacksmithing, General Discussion
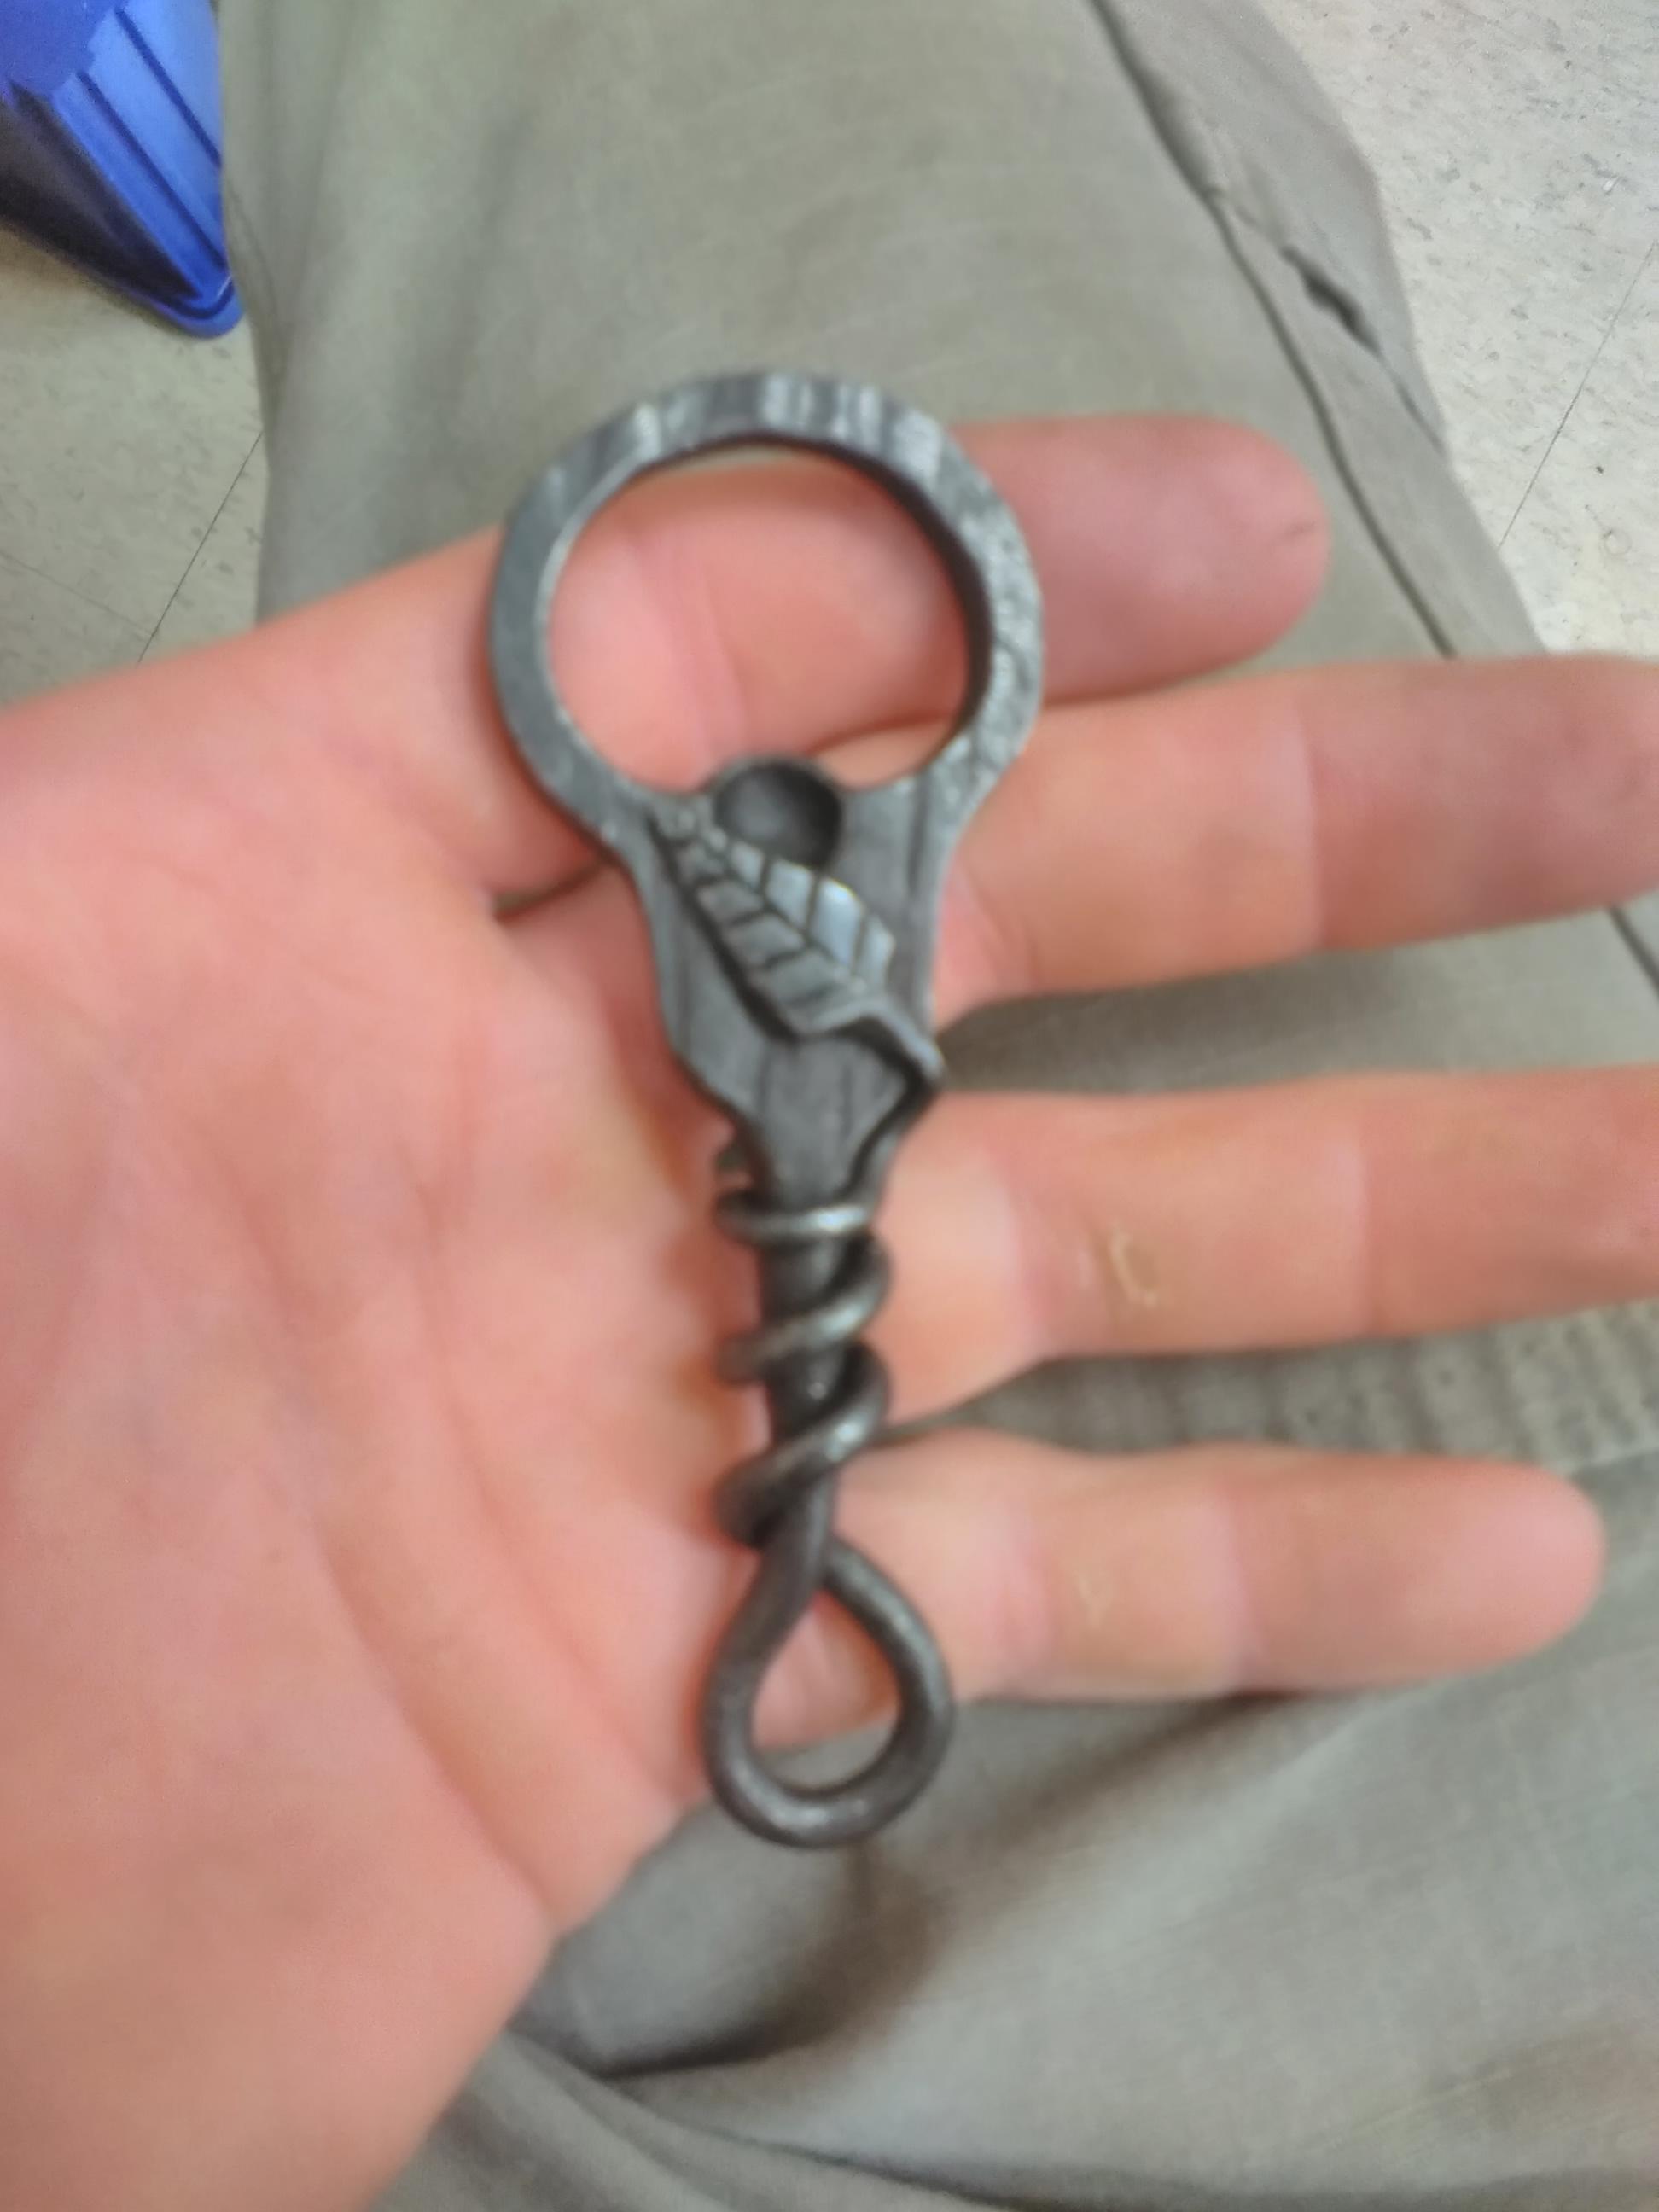
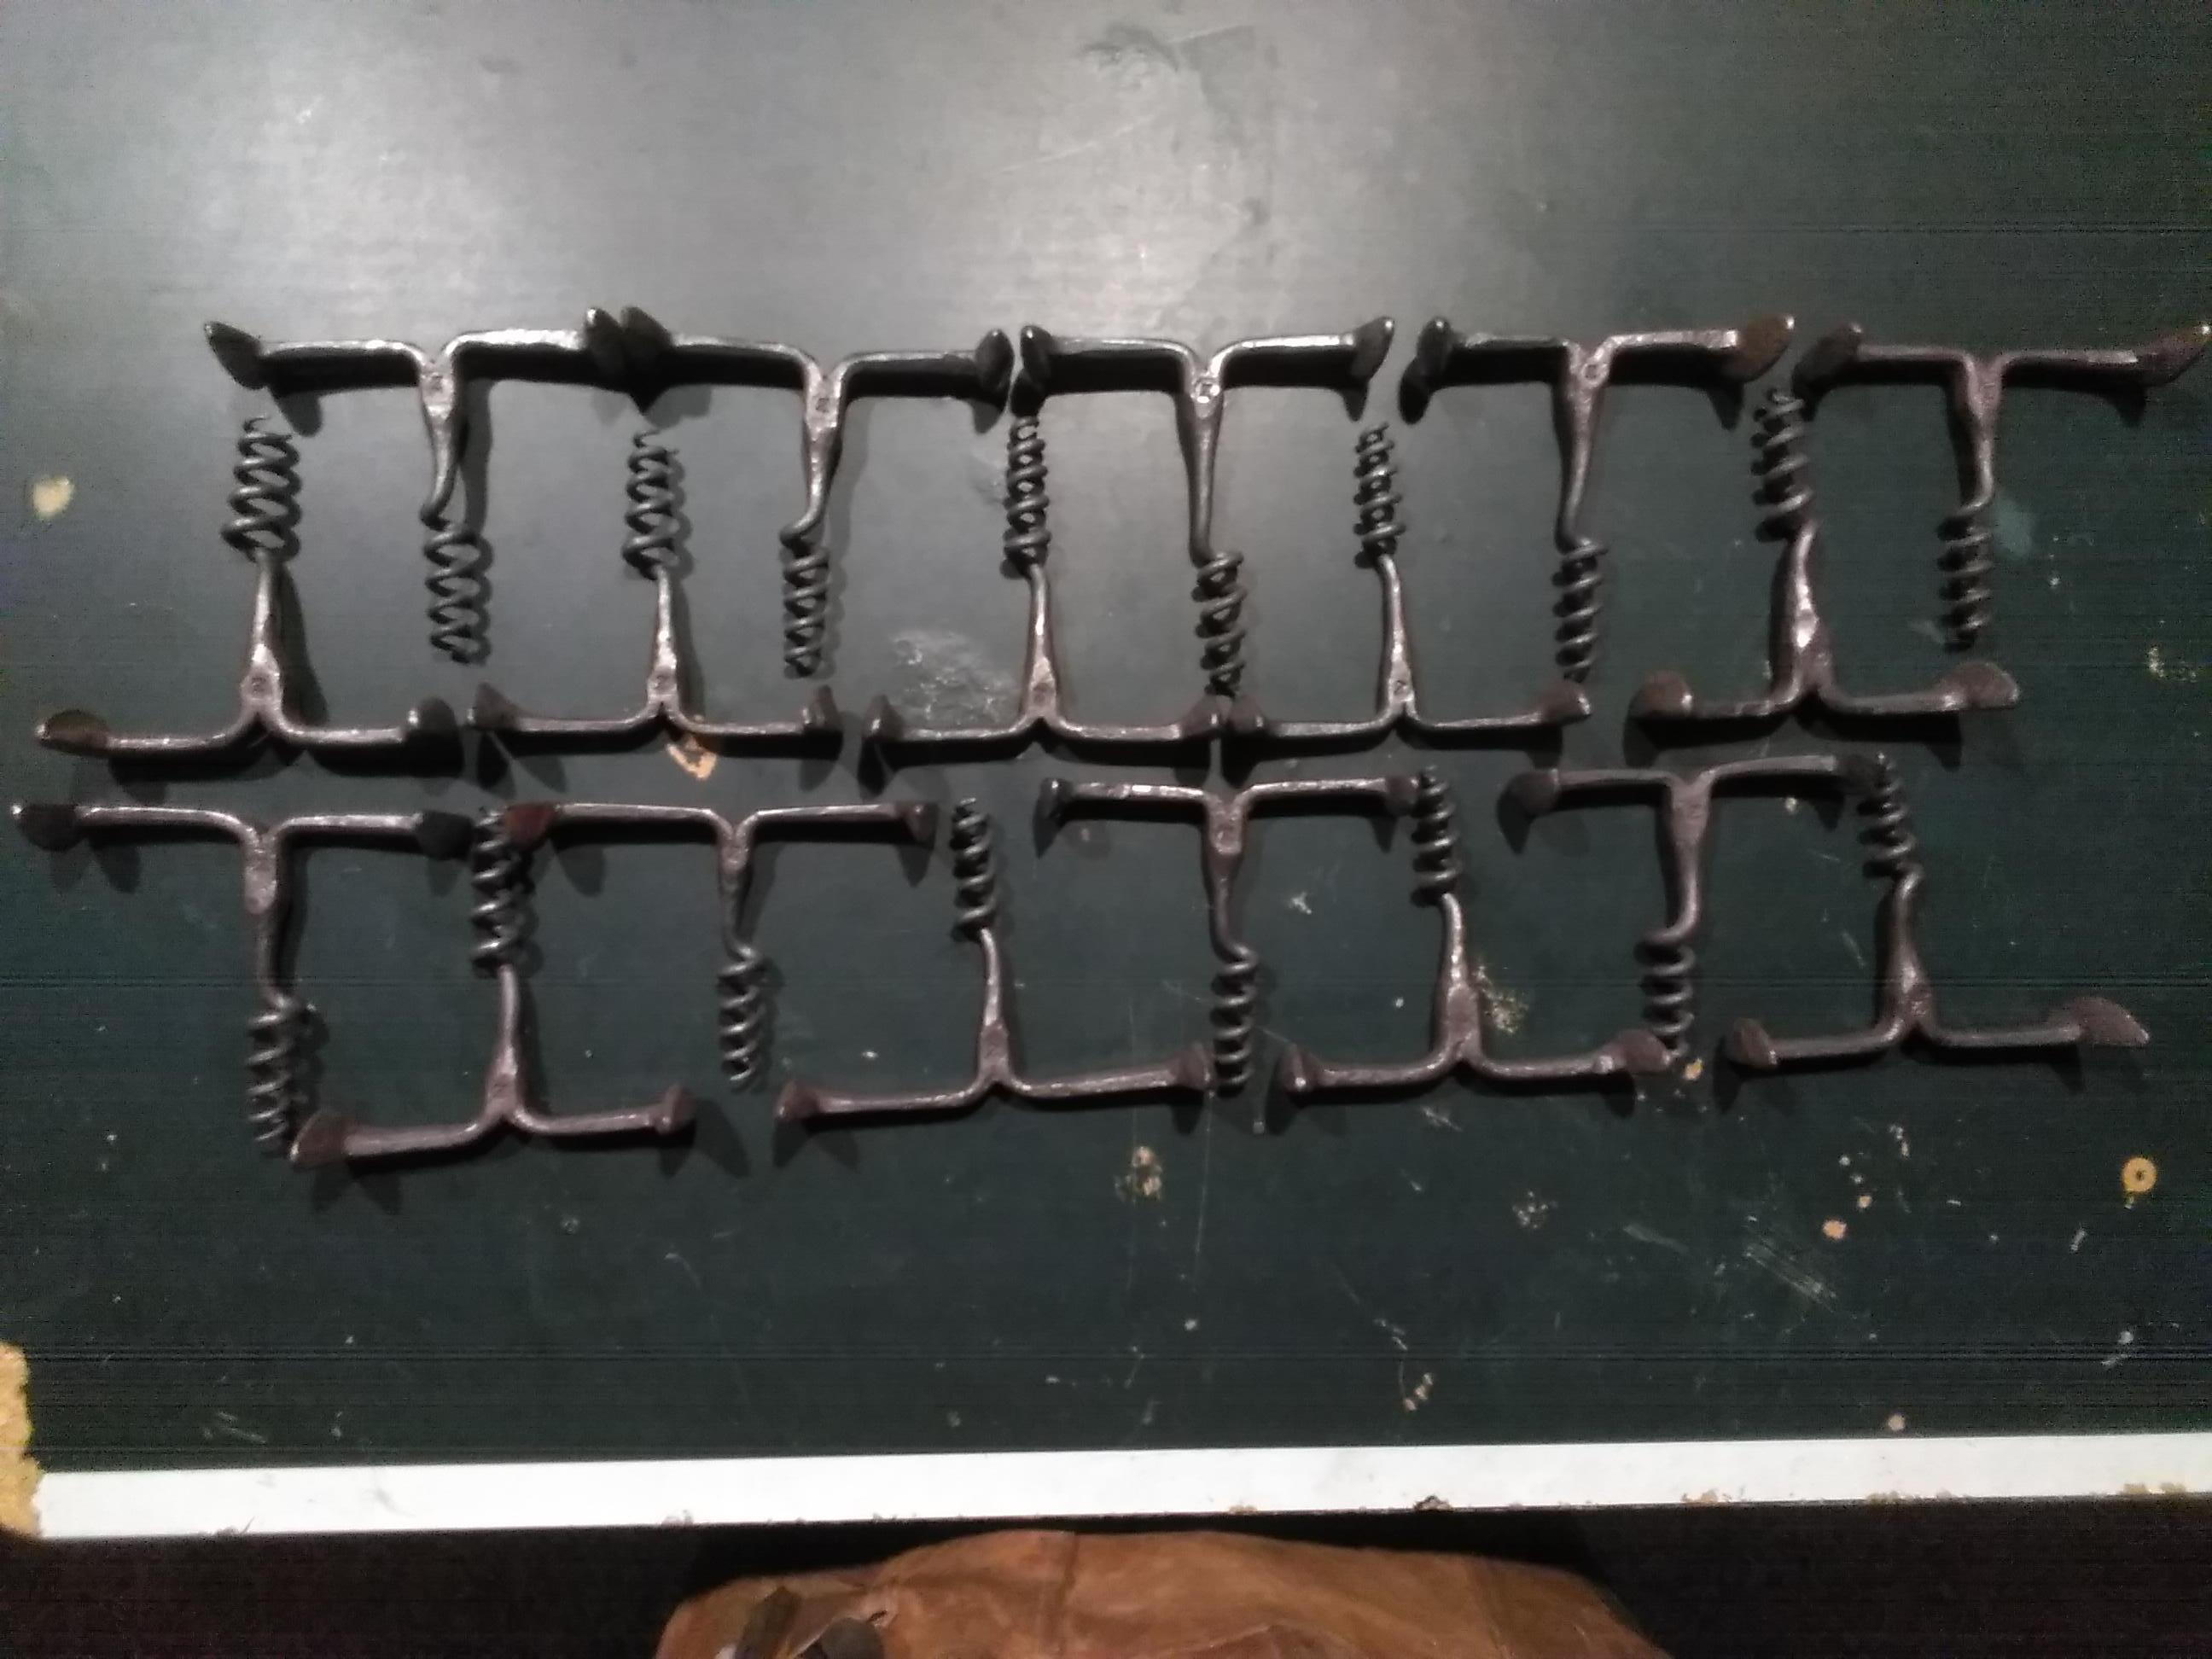
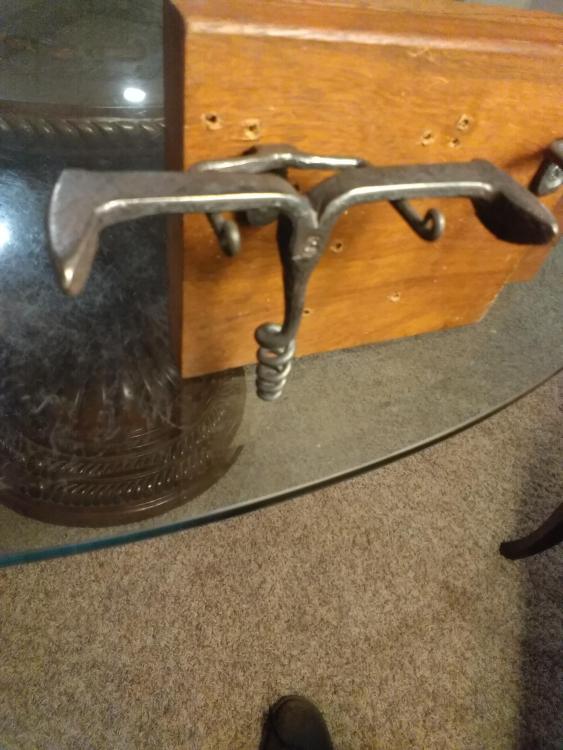
Ha, very nice JHCC. Second batch of corkscrews is ready to be dropped off tomorrow. This one definitely took longer to do. Mostly because I procrastinated on doing the twists until most of the first batch had sold. I made wall hangers for about half of them this time. Only 16 more to go.


-
I'll just leave this here.....
Frazer replied to AlienWired's topic in Anvils, Swage Blocks, and Mandrels
That's an interesting combination. I feel like the vise would get in the way being put right in the sweet spot, but maybe not.. It looks pretty new, so I'm going to guess it's cast steel and that's how they get away with having a hole straight through the center of mass.. I've never seen anything like that before. Granted that's not really saying much, I haven't seen a lot of things before. I wonder who made it. By the photo being from 2011 I'm guessing it's not yours? Did you learn anything more about it wherever you came across that picture?