Will W.
Members
-
Joined
-
Last visited
Everything posted by Will W.
-
You could always make brass tubing, if you have none. I've done it myself, before I located a source if it. Cut your pins to the proper length, measure and find exact center, and drill a hole down through. The ID of the tubing will determine the thickness of the walls, obviously. Like Glenn says, if you never build a box, you never have to think outside of it!
-
Nice work, Stan. Looks functional and practical. I know you didn't ask for critique, but the placement of the center pin really sticks out to me. Other than that, it looks well made. Love the handle choice, never heard of Jatoba before, but it's certainly an attractive wood.
-
If my math is correct, the hundredweight of 112 should equal 142 lbs or roughly 60 kg. I cannot help with identifying the anvil, but I can say that it is a fine looking one which should serve you well. Based on the way the one side chipped, it appears to have a steel face. How is the rebound? Scrambler One assumes that a previous owner modified it with that groove to fit their own needs.
-
I'm not so sure zombies would like politicians, Frosty. Too bitter, I would think. The blade looks pretty good, papadooks. Were it me, i would have bent the end of the handle out to act as a guard, like Das mentioned, dont want to cut your own hand with zombie blood everywhere. I'm curious though, what happened to the edge to chip it?
-
Agreed, Lowes and Home depot don't sell anything worth making a blade out of If you can't afford blade steel, I agree that salvaging old tools is the best way to go. I've made lots of blades from old crowbars, wrenches (not chrome plated!!!) chisels, coil springs, leaf springs, and axles of varying sizes. Check local scrap yards, machine shops, and auto repair shops (especially the ones that do lots of lift kits, they usually have springs.) Many of these places may even give you the steel for free, just to reduce their own scrap pile. As has been said here before, bringing coffee and/or donuts and being polite may make you some friends.
-
SWEEEEEEEEET!!! I love it. Has a post apocalyptic/survival feel to it, but it doesnt go crazy with it like most knives of those categories do. Fantastic work.
-
The fit and finish is near perfect, as is common with your work. The same could be said of your photography skills. Loving that root handle as well, looks great. Outstanding work, templehound.
-
Thomas Interesting. I don't know a whole lot about copper alloys, so thanks for the info. Thank you, Lou. I also meant to mention, after quenching I differentially tempered the blade. Spine was taken to blue/purple and the edge to dark brown. The blade is nice and flexible!
-
The assumption that similar items are ALWAYS the same alloy "Forged from leaf spring, probably 5160."
-
How has this not been commented on yet?! I'm a little dumbfounded to be honest. They're all really nice, especially considering the exclusitivity of being hammered only. I REALLY like the 6th one from the left, the longest one. Looks like it would fit perfectly on a 2 meter long pole as a Pike. Sockets have been the bane of my blacksmithing journey so far, so I commend your ability to make them. Great work.
-
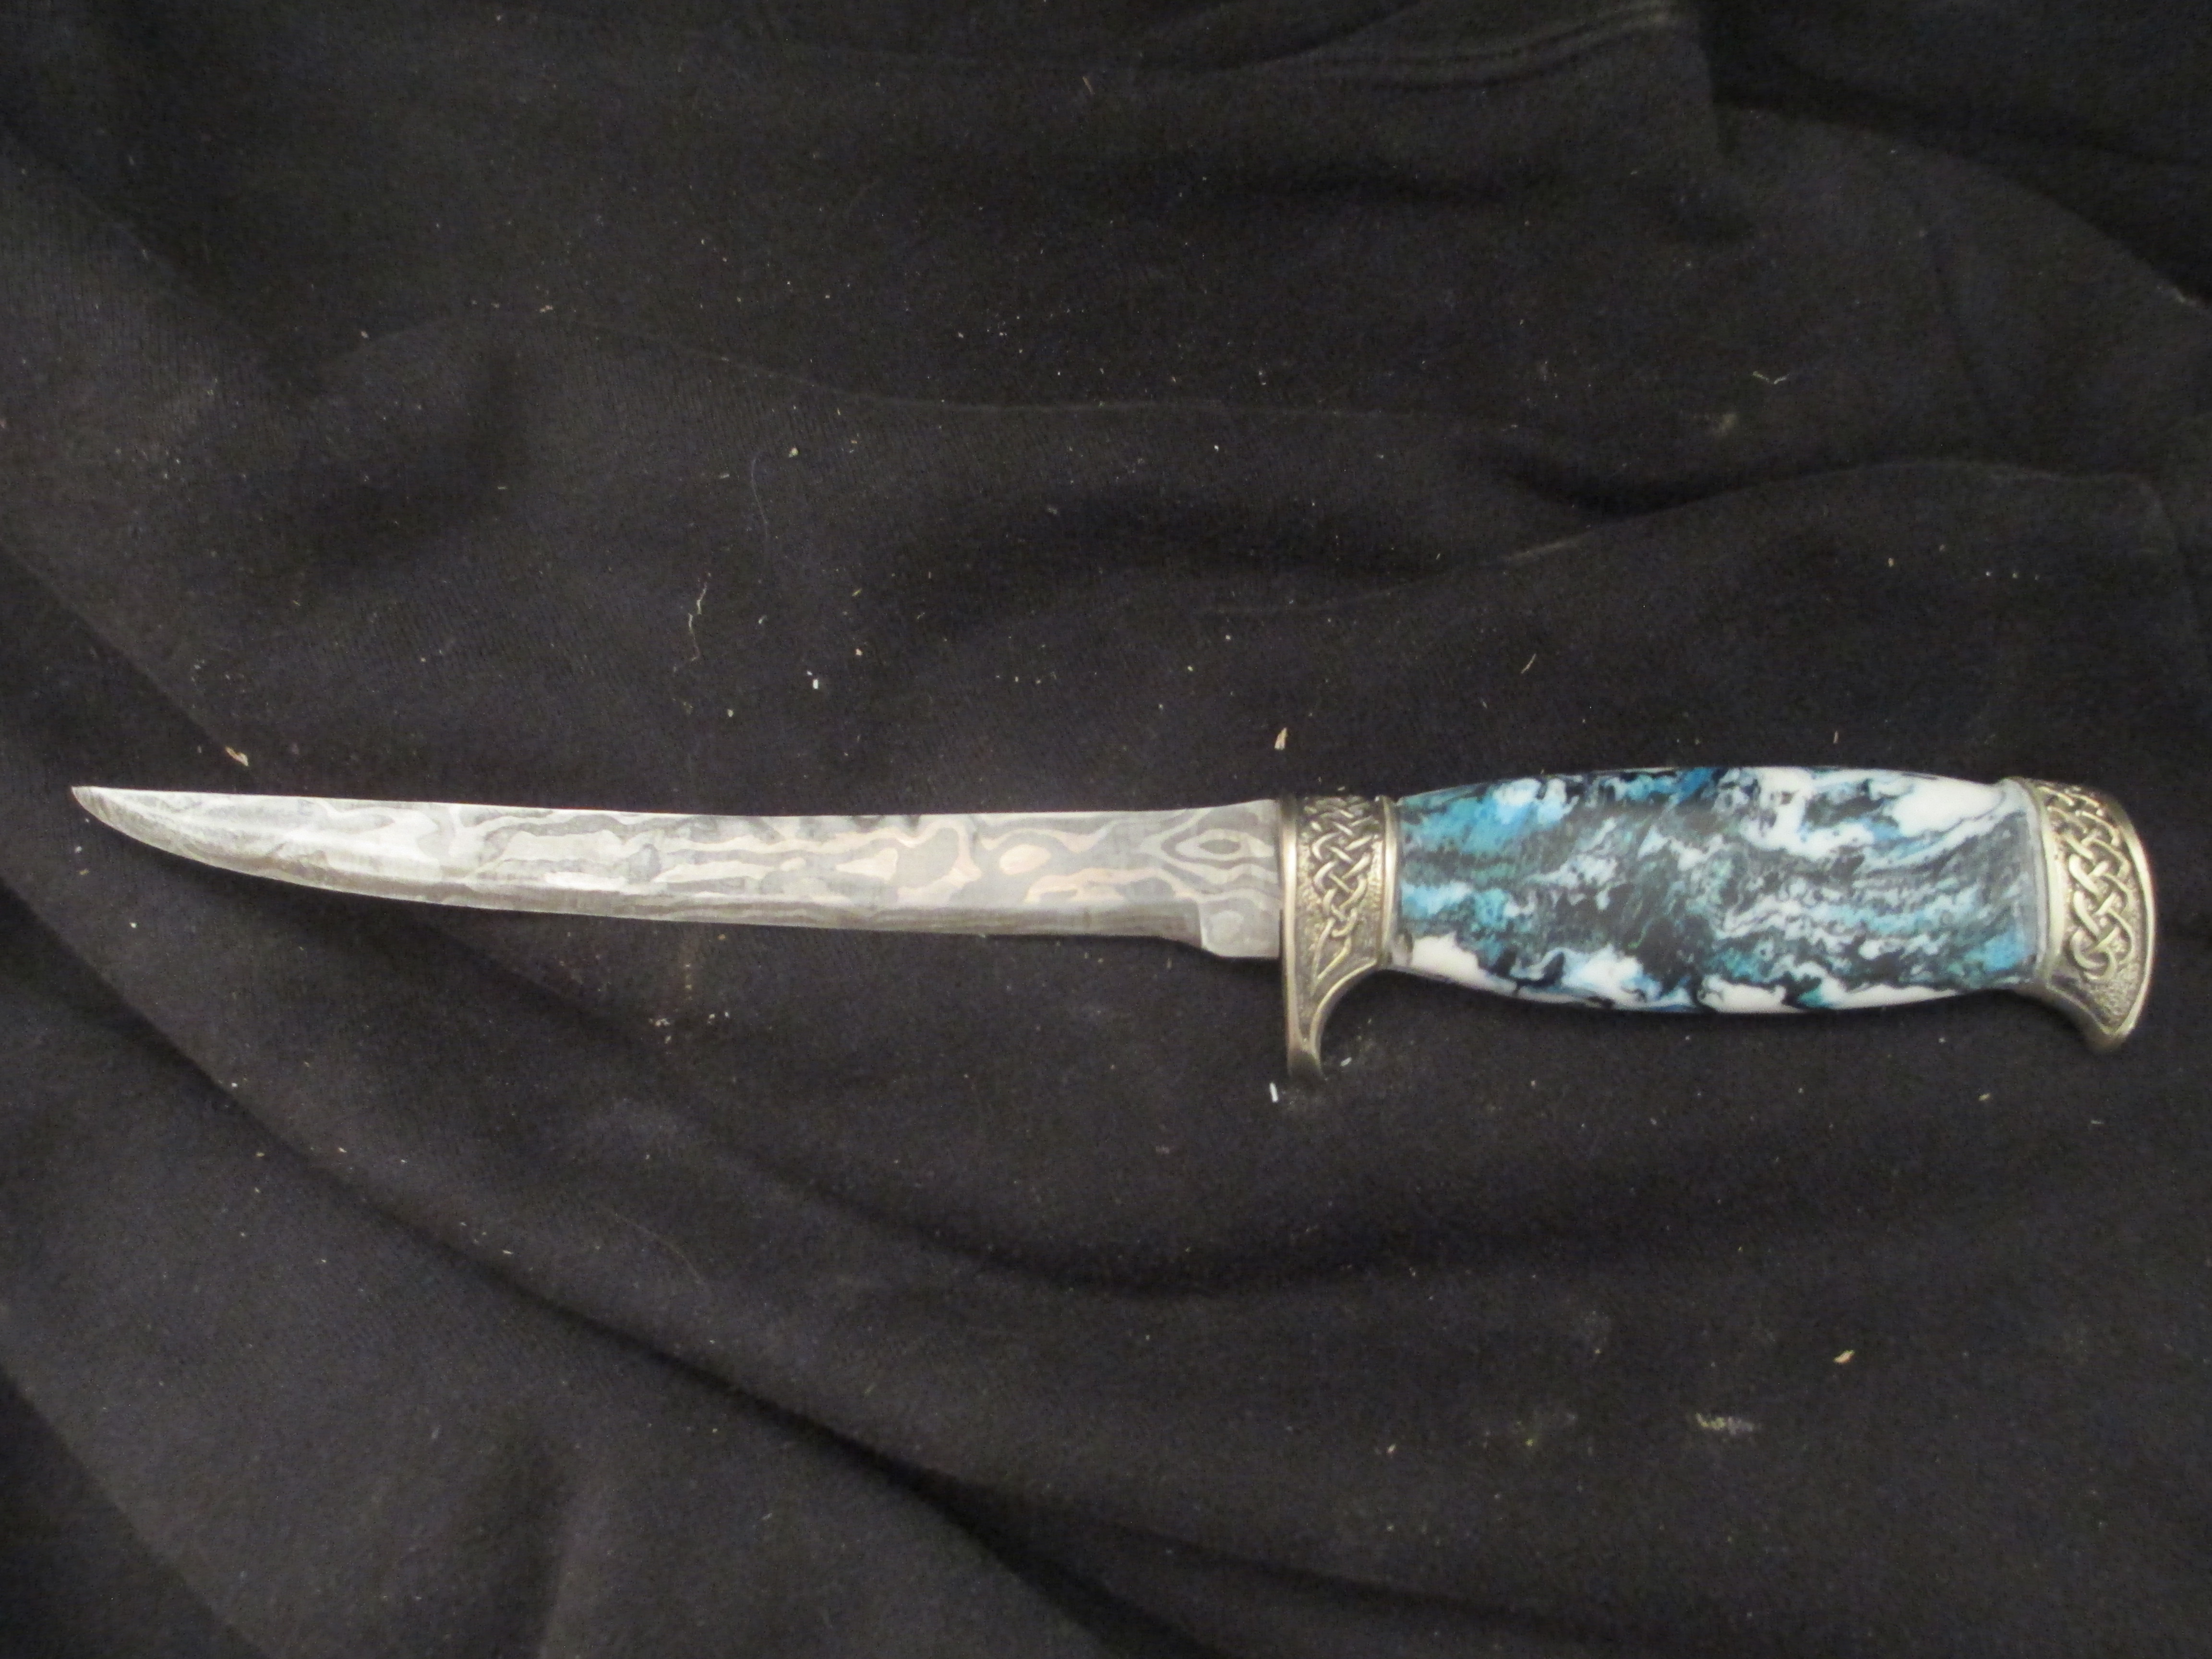
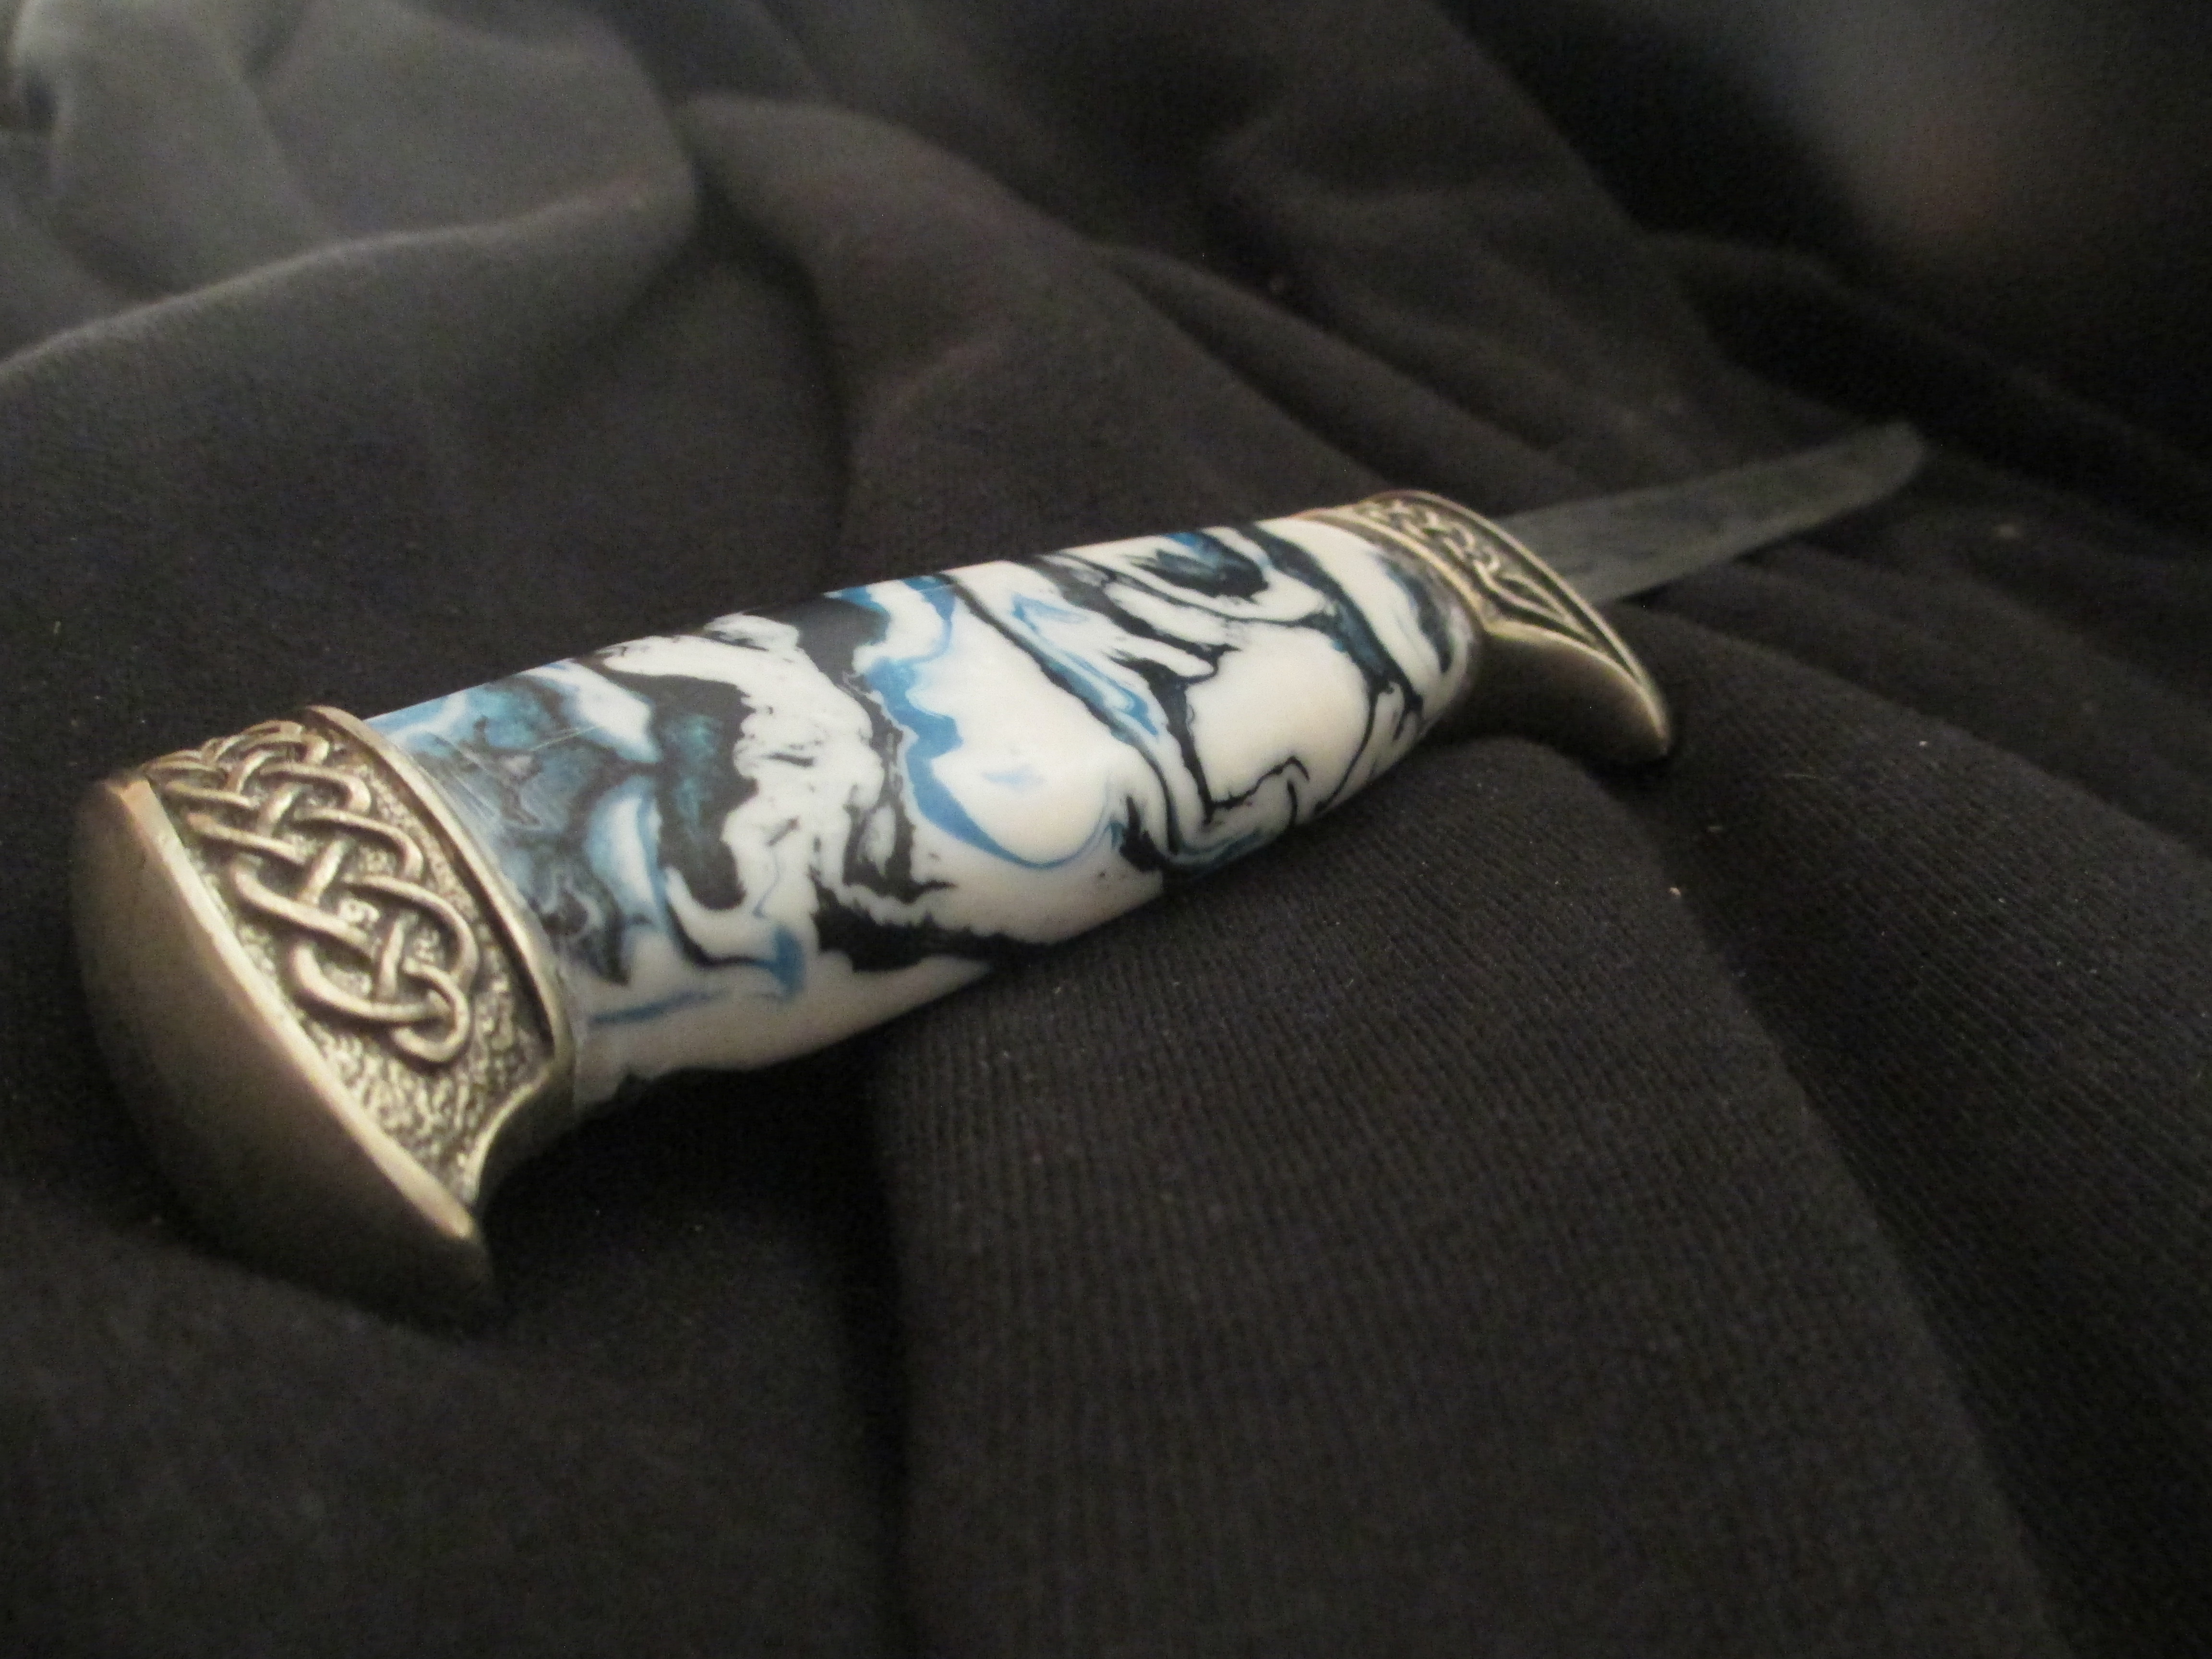
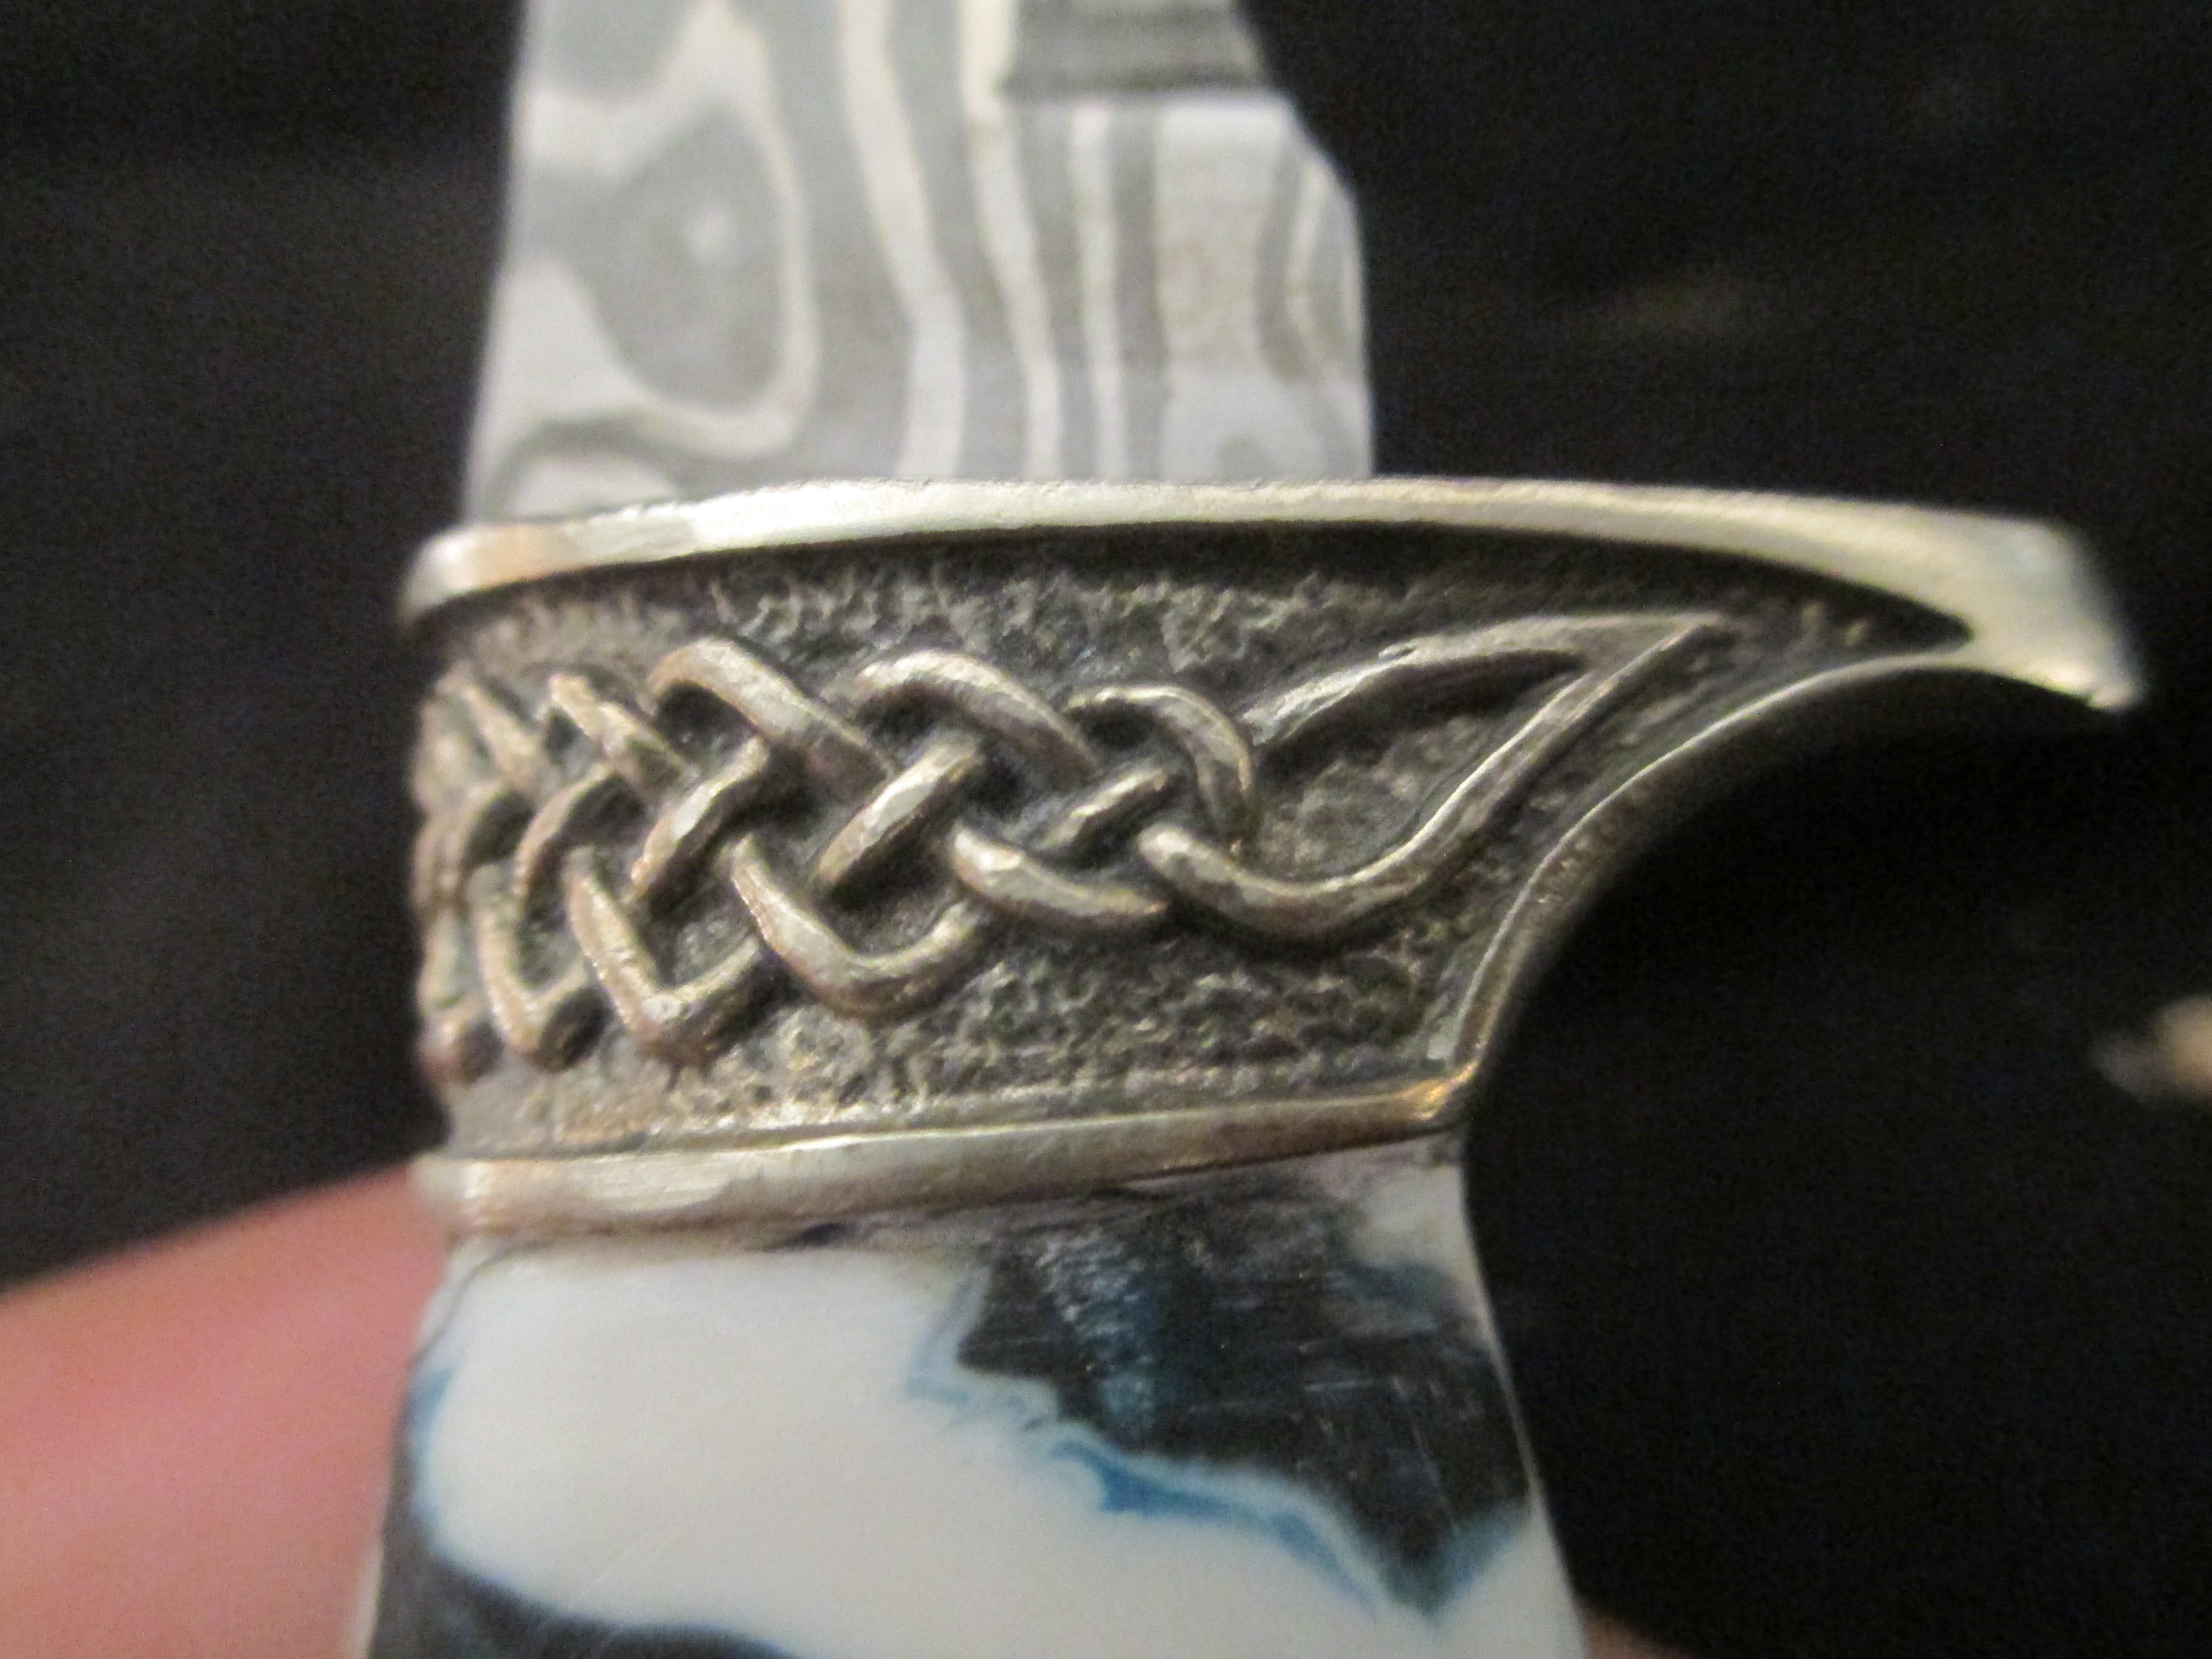
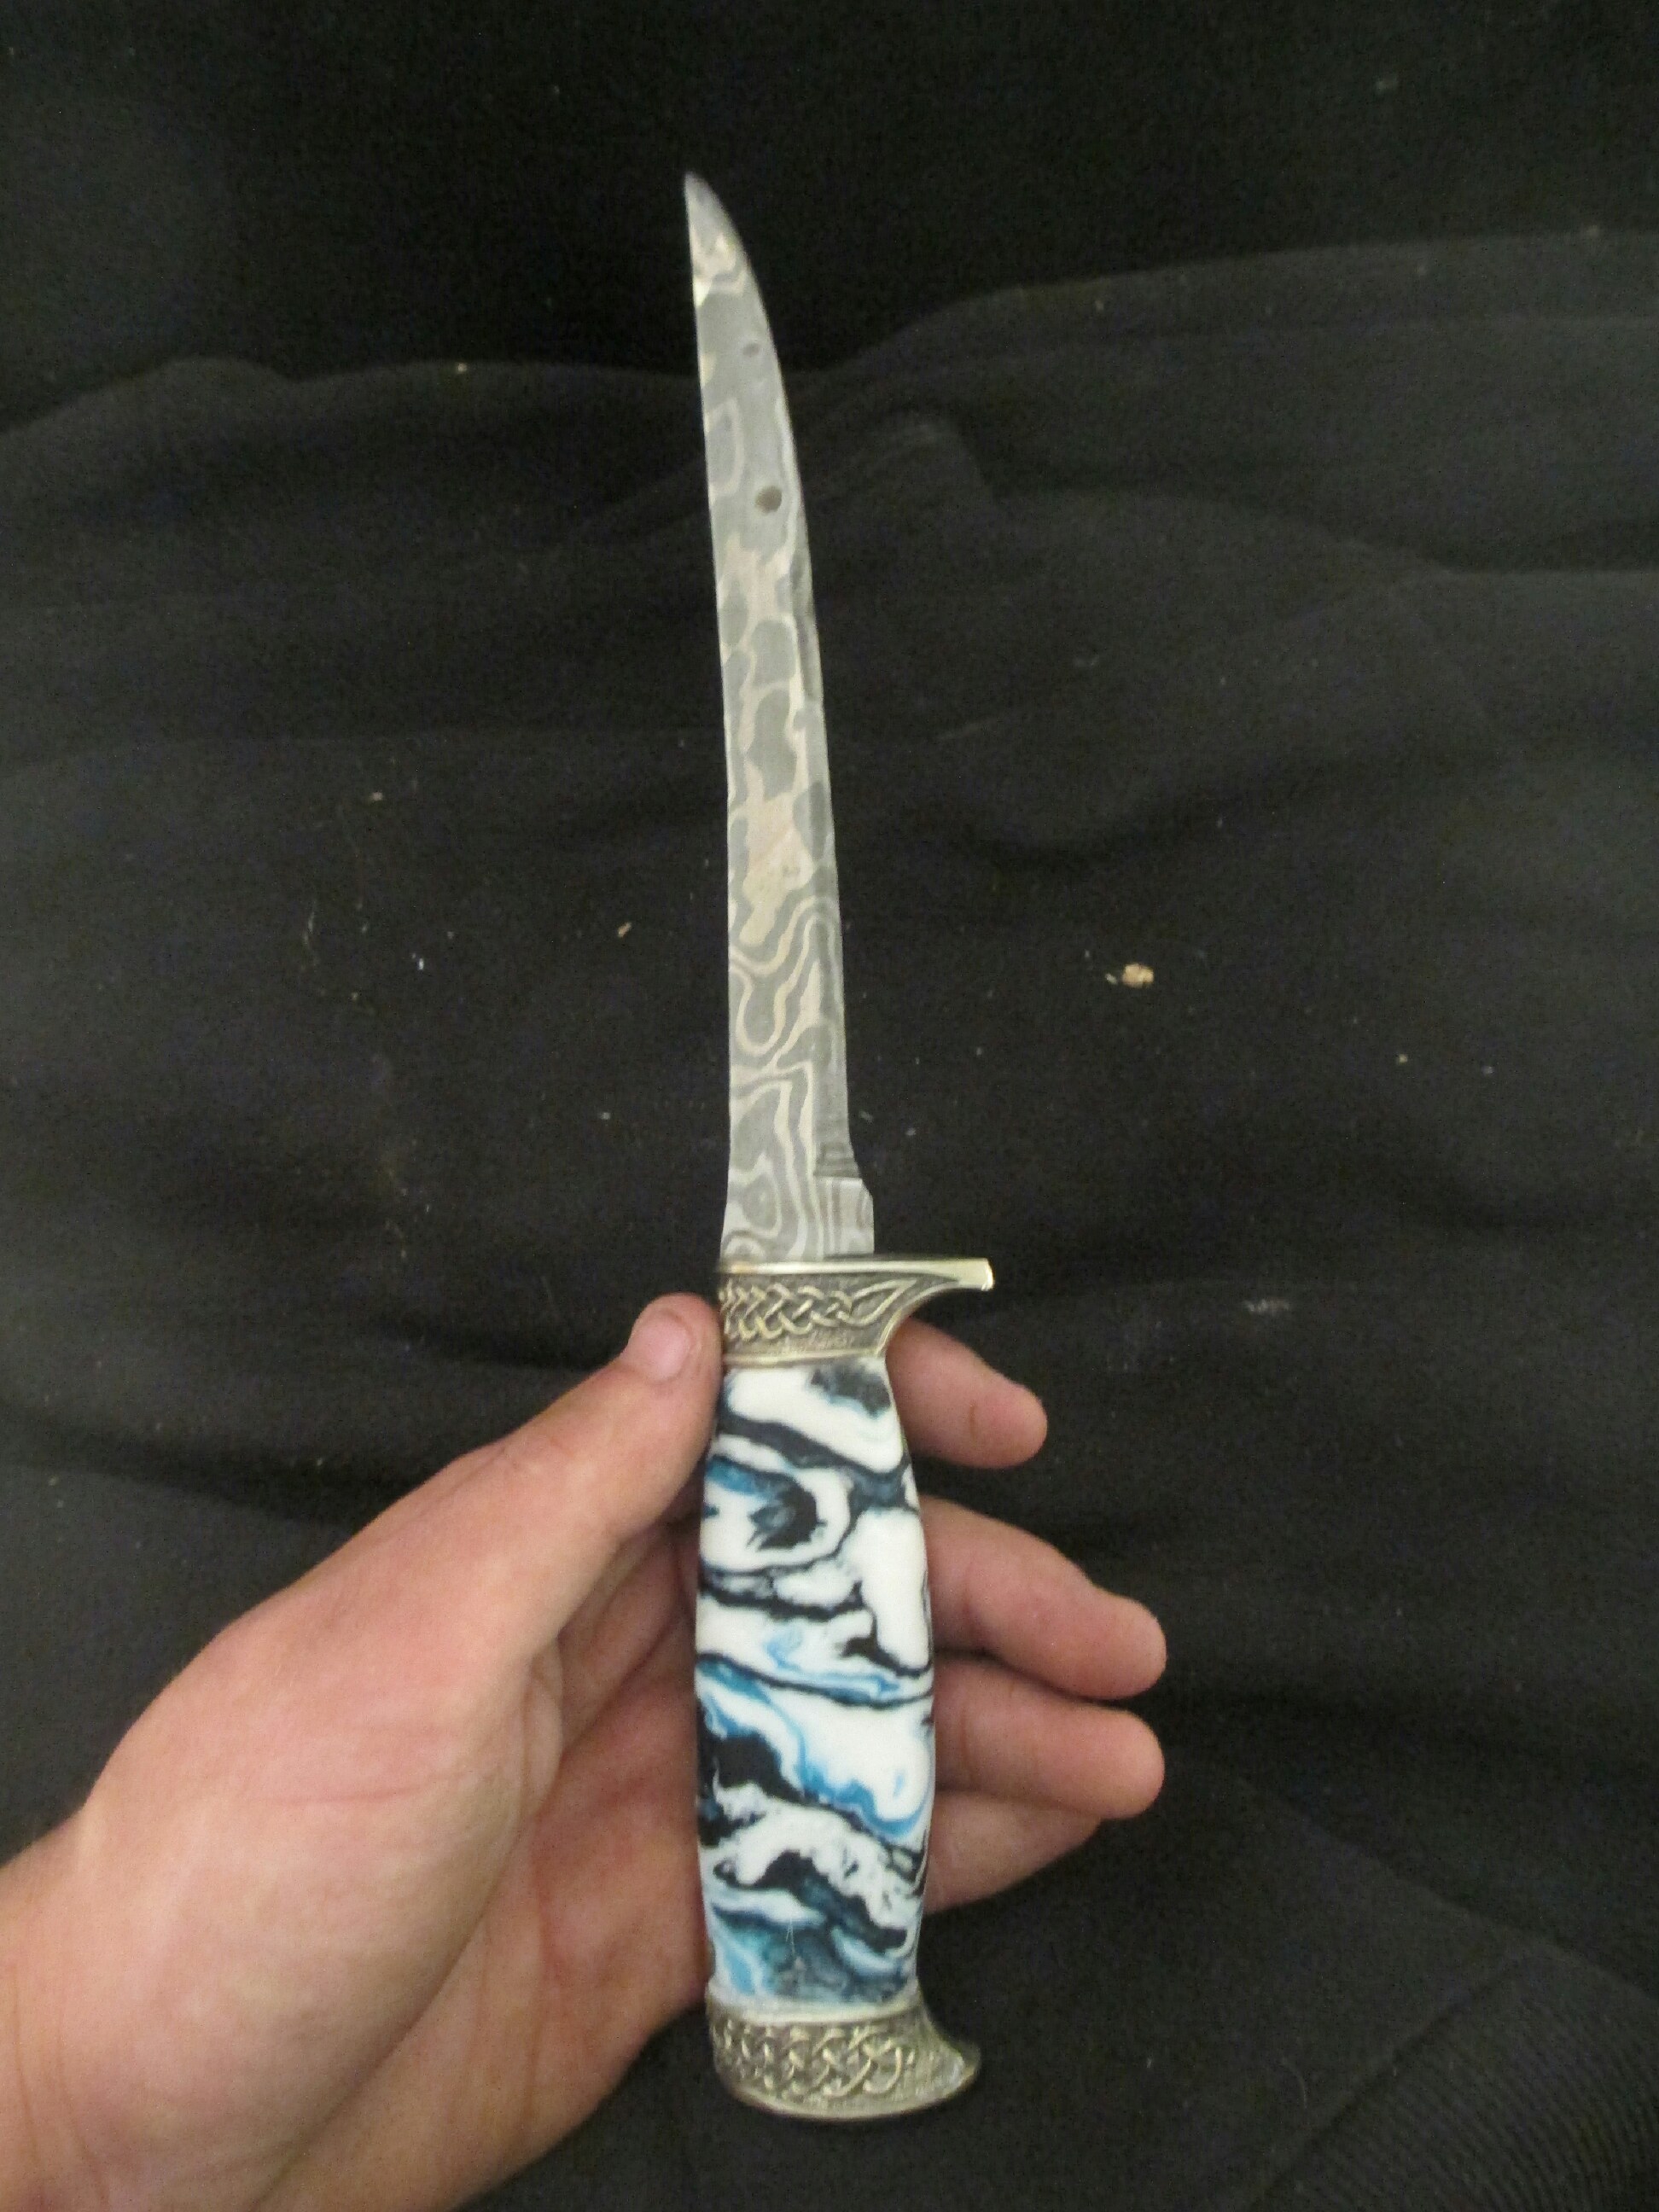
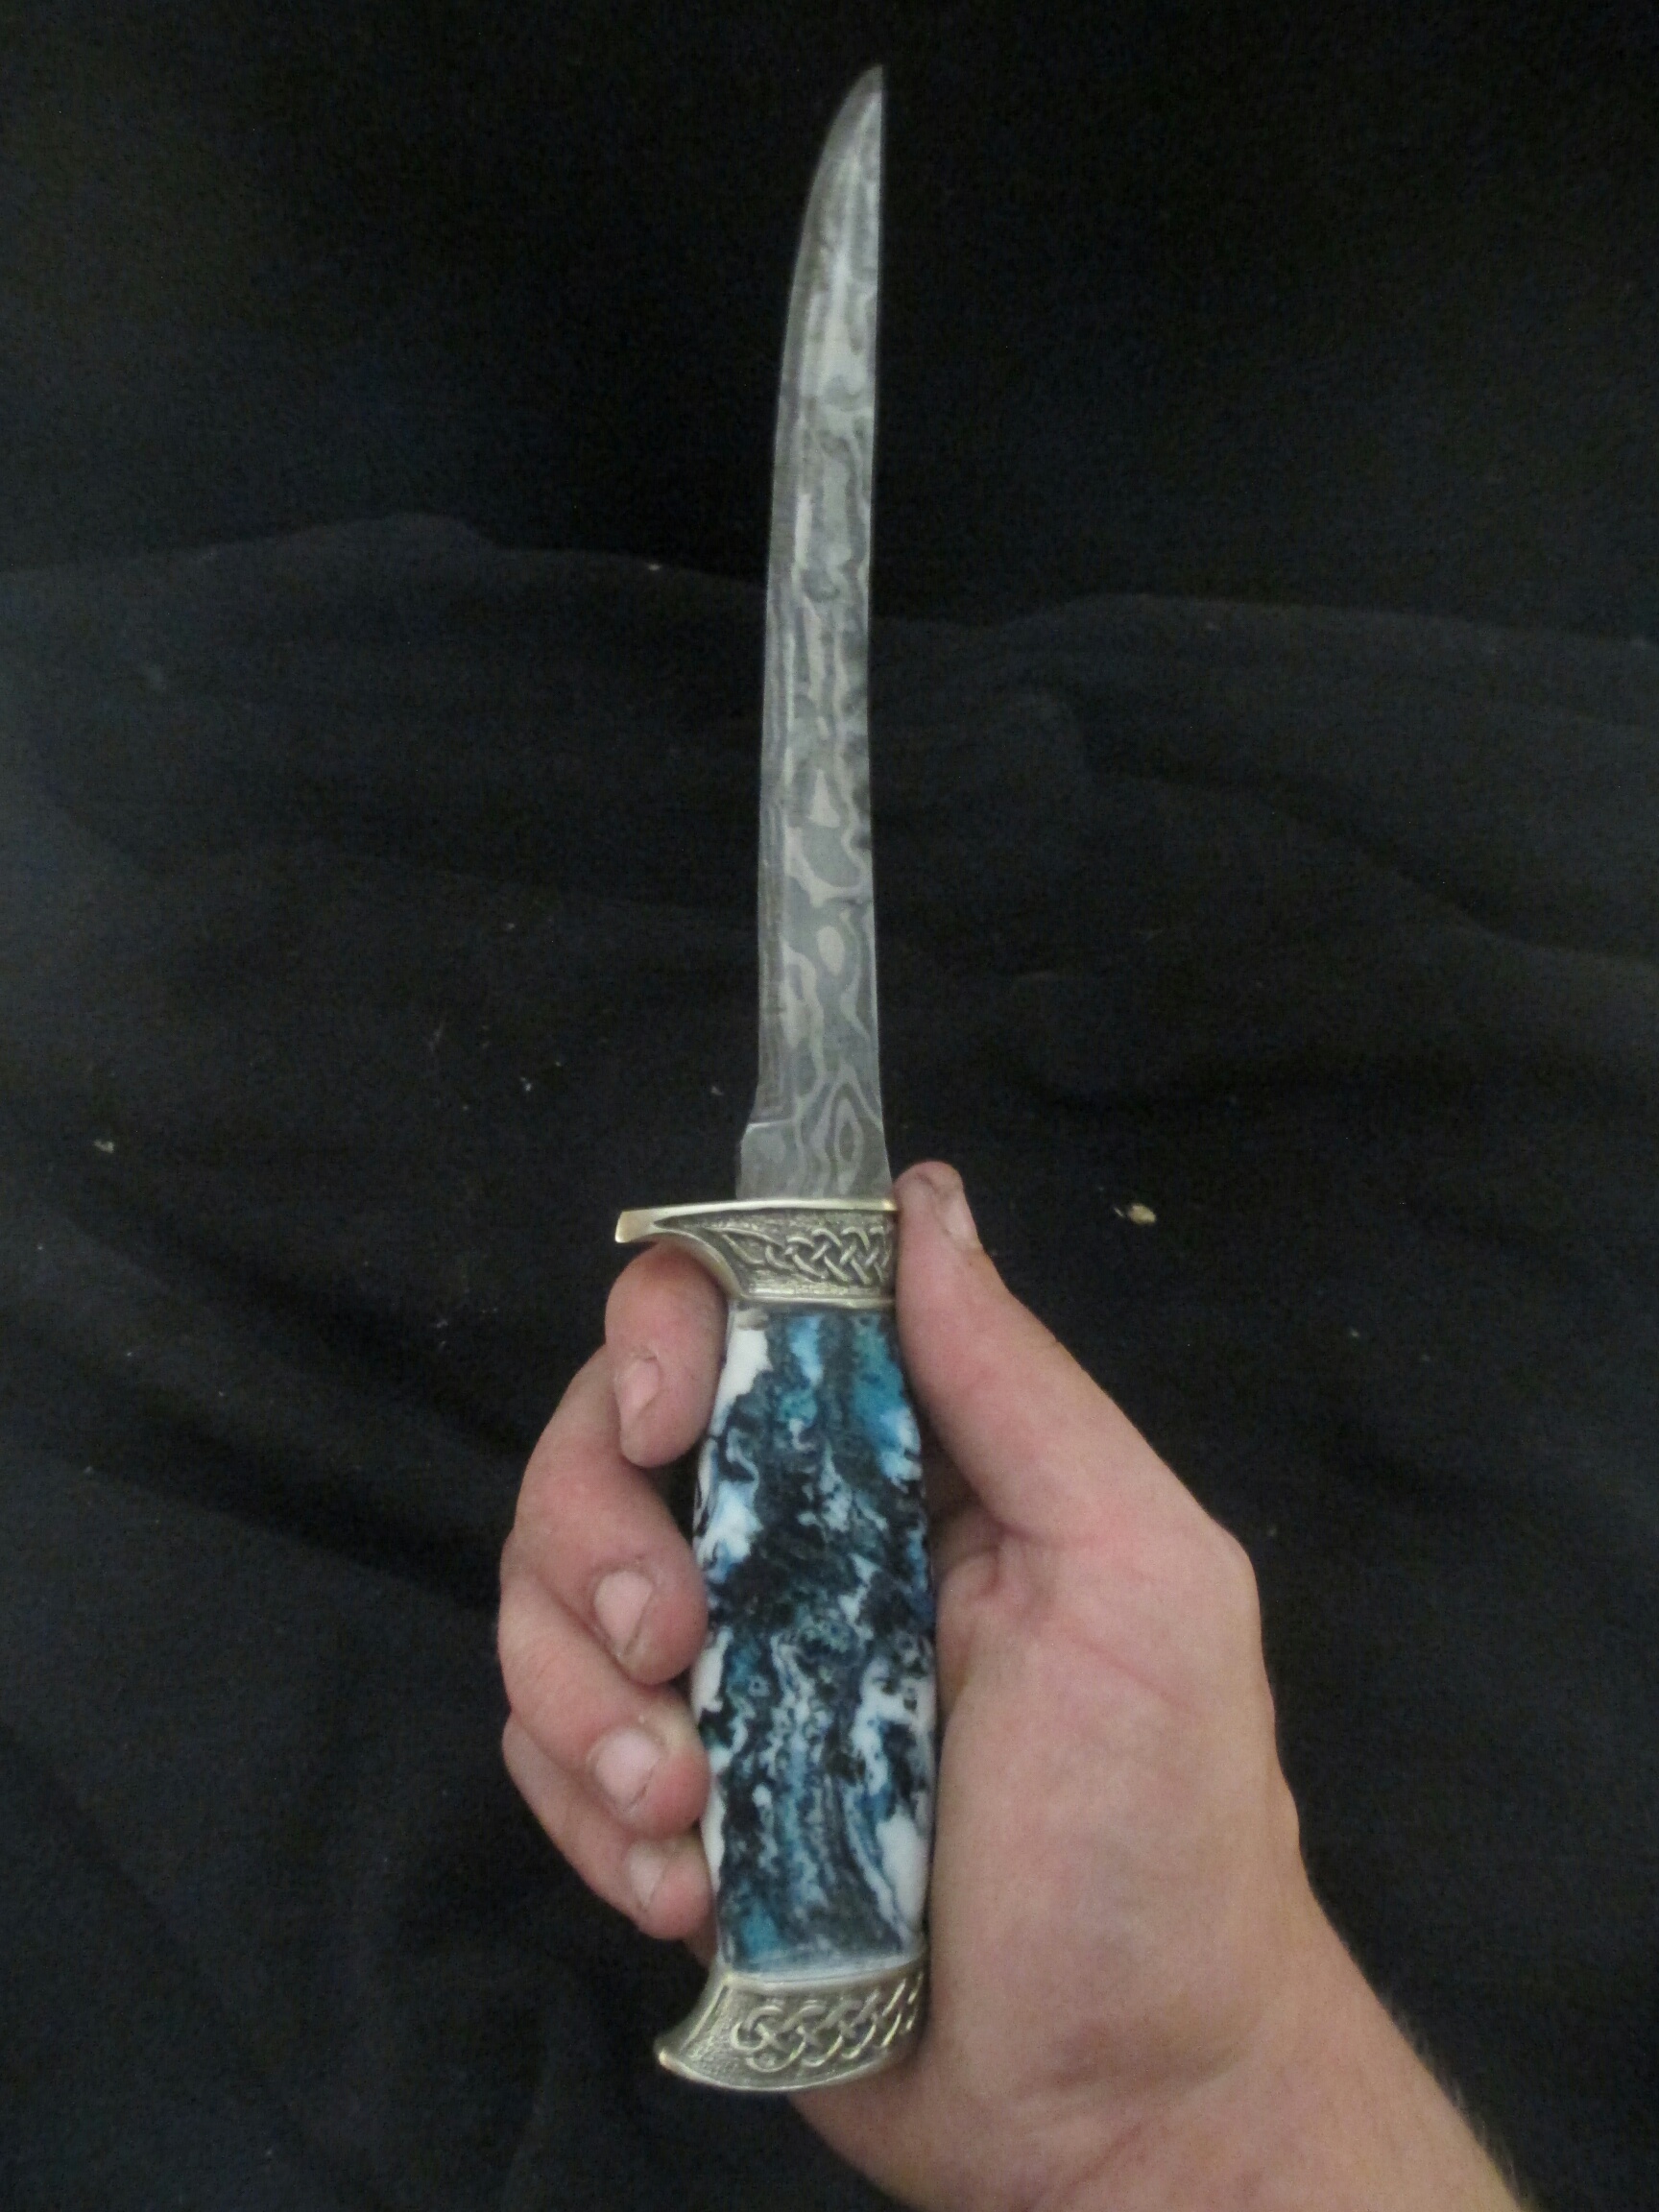
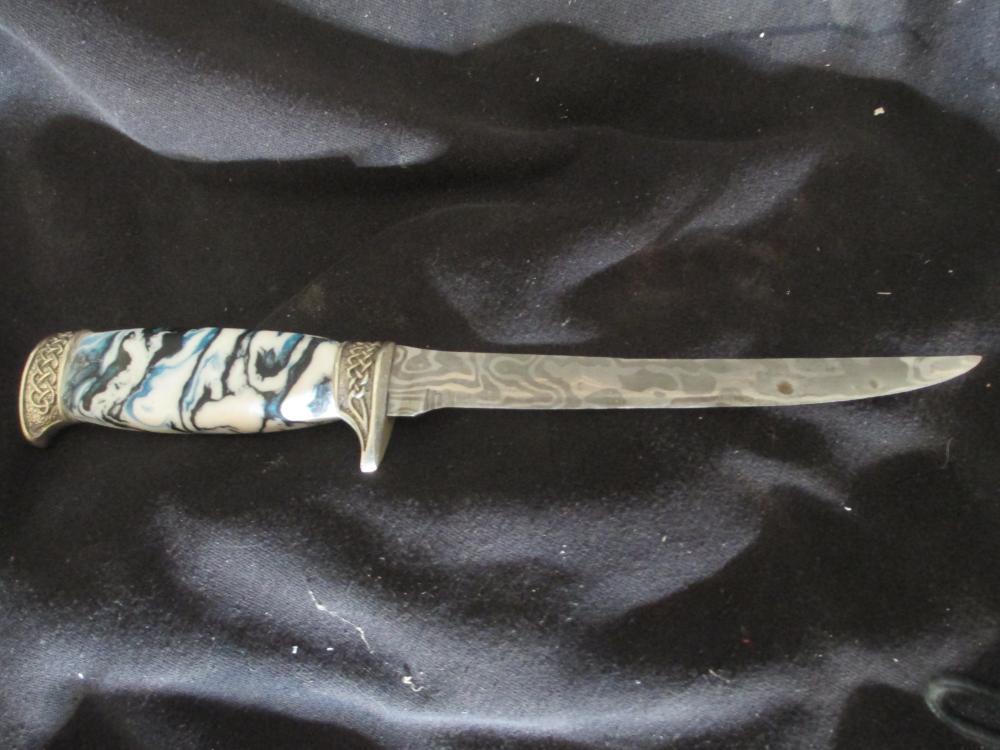
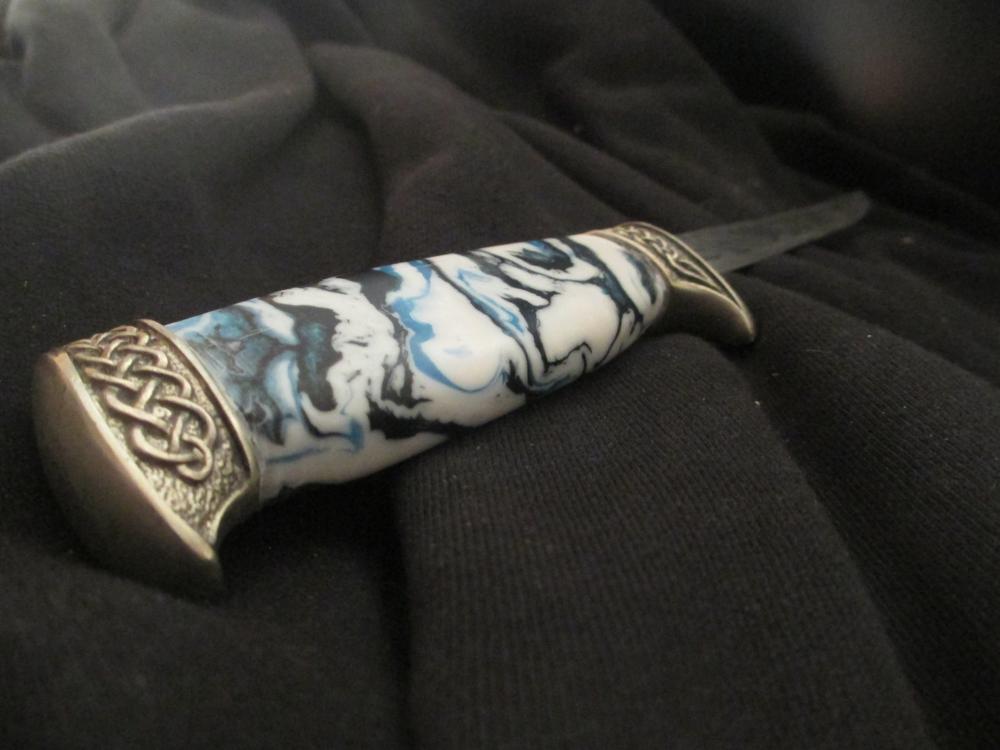
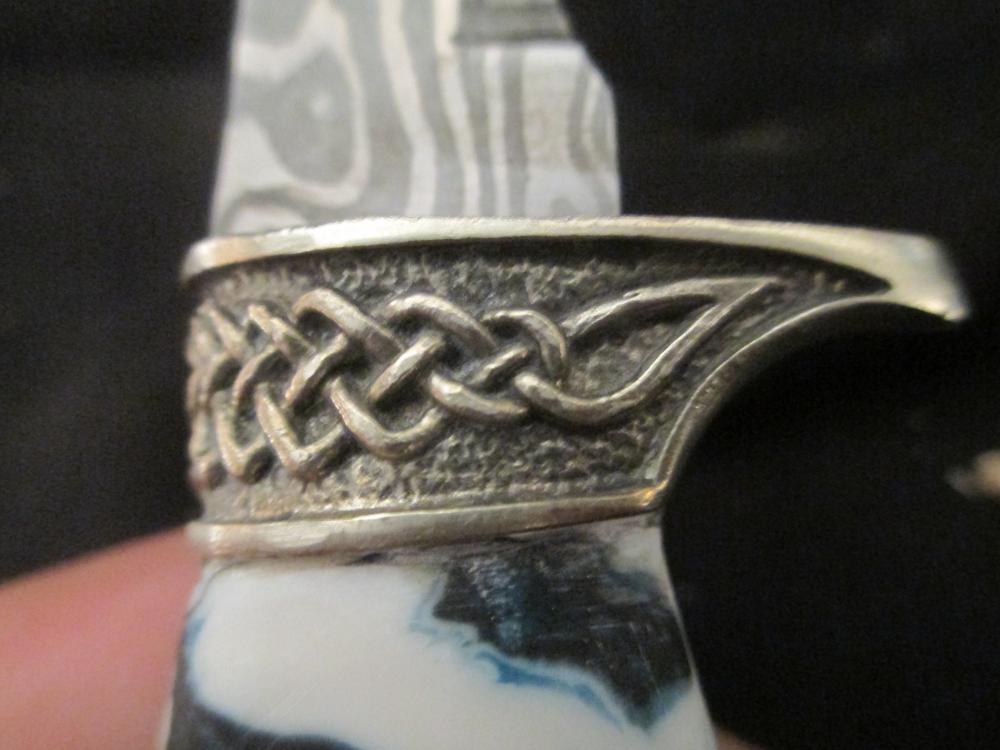
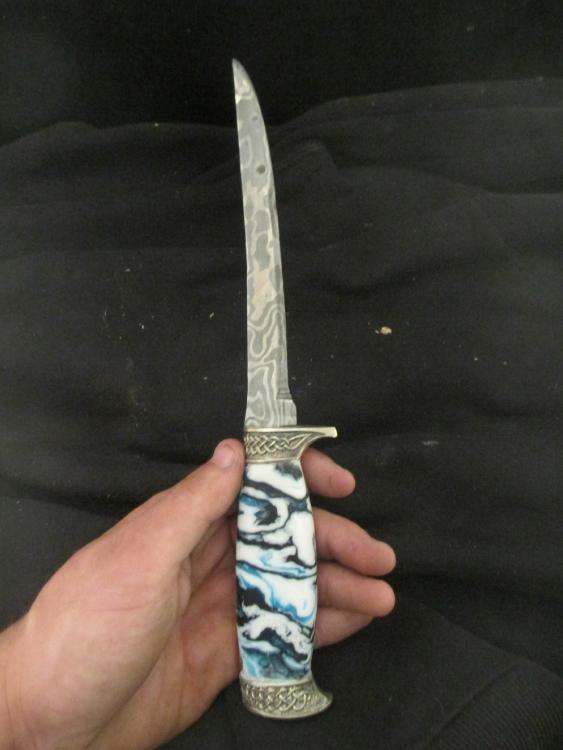
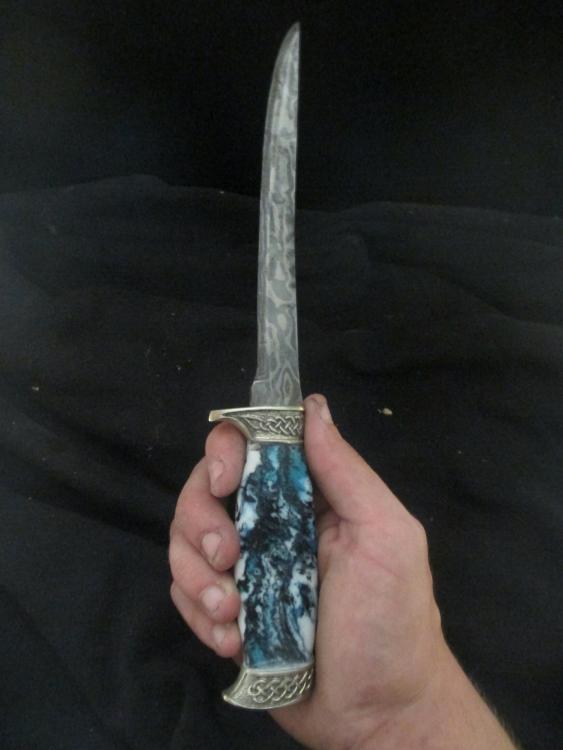
Hello everyone. It's been a while since I've posted any of my work. Recent life events (good ones, thankfully) have kept me quite occupied, but the forge has been busy nonetheless. This knife was a serious challenge. I have never made anything this thin, and thankfully, it all turned out well (with only a slight warp lol.) I was very worried about the integrity of the welds while drawing it out so thin, but they held. Everything besides the steel was of the customers choice. The damascus was forged from 1080 and 15N20. Roughly 30 layers. Etched in hydrochloric acid. The guard and pommel were advertised as bronze, but I believe they are brass. The handle is acrylic liquid inlace, "Frostbite" color. Overall length: 10.5 inches Blade length: 6.5 inches Width: 3/4 inch at the ricasso Thickness: .75 mm, or roughly 30 thousandths of an inch. It is flawed, no doubt. The bevels are short, the pattern could look a little better, and the biggest error of all is right in the edge side of the guard, beneath the ricasso. I just could not get it to line up perfectly and flush (third pic shows it best). The customer is very happy with everything however, so that is what matters. Let me know what you think! Comments and critiques are, as always, very much appreciated. A close up of the guard: And an artsy one, for the road

-
No, I meant the bottom one. The edge just seems to cut up towards the tip all of a sudden. More of an angle than a rounded radius. It may be the photo, however, like I mentioned.
-
I agree. I really like the bottom one. The pattern is really interesting and idk what that wood is on the handle but that looks great as well. What are both the handle materials? And dimensions of both knives? As far as critique goes, the bottom one, the edge seems to cut up to the tip rather abruptly, not quite as smooth and gentle as the top one. Kind of a small note, and maybe it's just the photo that makes it appear that way. The top one, the end of your bevel and beggining of your ricasso is a little crooked, not quite as straight as the bottom one. That's all I can really see. I think they look great. Nice work.
-
I would worry more about getting those welds to stick for now if I were you. Do you have a set up to do cryo? I would temper immediately after quenching and forget the cryo. The shock of it may be bad for questionable welds (though if they survive the quench, they have a good chance.) And the cryo will likely do very little, if anything, for 50% of the billet (the W2) so the risk vs. reward does not seem worth it IMO.
-
That is one cool looking sword, Das. I would proudly hang that on my wall.
-
Great work, I also think the 500 layers looks beautiful.
-
Alright, I'll look into it. Thanks for the info on the 5640. Funny, everyone at work calls it "hard steel." They've obviously never worked with properly heat treated 440C before! Lol.
-
Hello everyone. Recently, I've become employed at an industrial machine shop, and with some persuasion, I could get my hands on the cut offs of steel. Now, the steels we work with are 5640 and 5673. I've never forged these alloys, so I'm curious if anybody has any experience with them. Will they make good tools? Perhaps a knife? I know stainless alloy numbers can be weird sometimes, but the 40 and 73 are, I assume, 0.4% C and 0.73% C, respectively. Any info would be much appreciated. Thanks in advance.
-
Alright, thanks. I figured to get any information out of them, I would have to buy their product. Lol.
-
Thanks Thomas. I'll check online. If I have no luck there, the library should be able to get a copy.
-
-
-
Hello everyone. I wasn't exactly sure where to put this, but it is a finish that I wish to apply to a knife (and several old gun barrels as well) at some point, so here we are. I'm just curious as to what the exact ratios of water, sodium hydroxide, and potassium nitrate are. Like 10 g of KNO3 per gallon of water and 30 g of NaOH per gallon as an example. I understand the process fairly well, and I understand it's basic dangers (get it? Basic?), and I realize you can buy pre mixed solutions to use, but I have these ingredients already (perks of being a backyard chemist) and I'm just curious as to the proper mixtures. I couldn't find much information regarding this through my research. Thanks in advance.
-
Practice forge welding on projects so that when you go to make Damascus, you're more familiar with the process. Make some chain, for example. Nice thing about chain links is that they don't take too long to make one, so they're also a good item to destructively test your welds If your experience is anything like mine was, it will be difficult and seem impossible for a good while. Read up on the process and tips here on the site, and just keep practicing, and you will get it.
-
The pipe is not required to get an even heat or a reducing environment though. When I harden my blades or tools, I crank my blower (without the steel in the fire) pretty vigorously so the charcoal gets nice and hot. Then insert the blade or tool into the fire and bury it underneath hot coals, and completely stop adding air. Let it soak for a few minutes. The cold steel cools the fire to the perfect temperature, and when you're ready to quench, the temperature is very uniform across the whole blade and usually at a perfect cherry red (to my eyes.) On top of that, there is 0 scale, so post quench clean up is minimal.