Latticino
2023 Donor
-
Joined
-
Last visited
Everything posted by Latticino
-
He probably means a melting furnace. Crucible supports in those serve several purposes including the following: Provide a replaceable, level, flat bottom to properly support the crucible Elevate the crucible above the furnace floor to improve heat circulation and raise smaller crucibles to more easily accessible heights Provide a clean, flux and old spill free surface that the crucible won't stick to (see replaceable from #1) I'm not sure what you mean by fire brick and ceramic brick. The crucible support needs to be able to tolerate the temperatures your furnace will experience and still support the weight of the loaded crucible. I suspect the best option would be a high alumina refractory fire brick rated up to 3,000 deg F, but those aren't cheap. A fire brick from your local big box hardware store won't cut it unless you are melting aluminum.
-
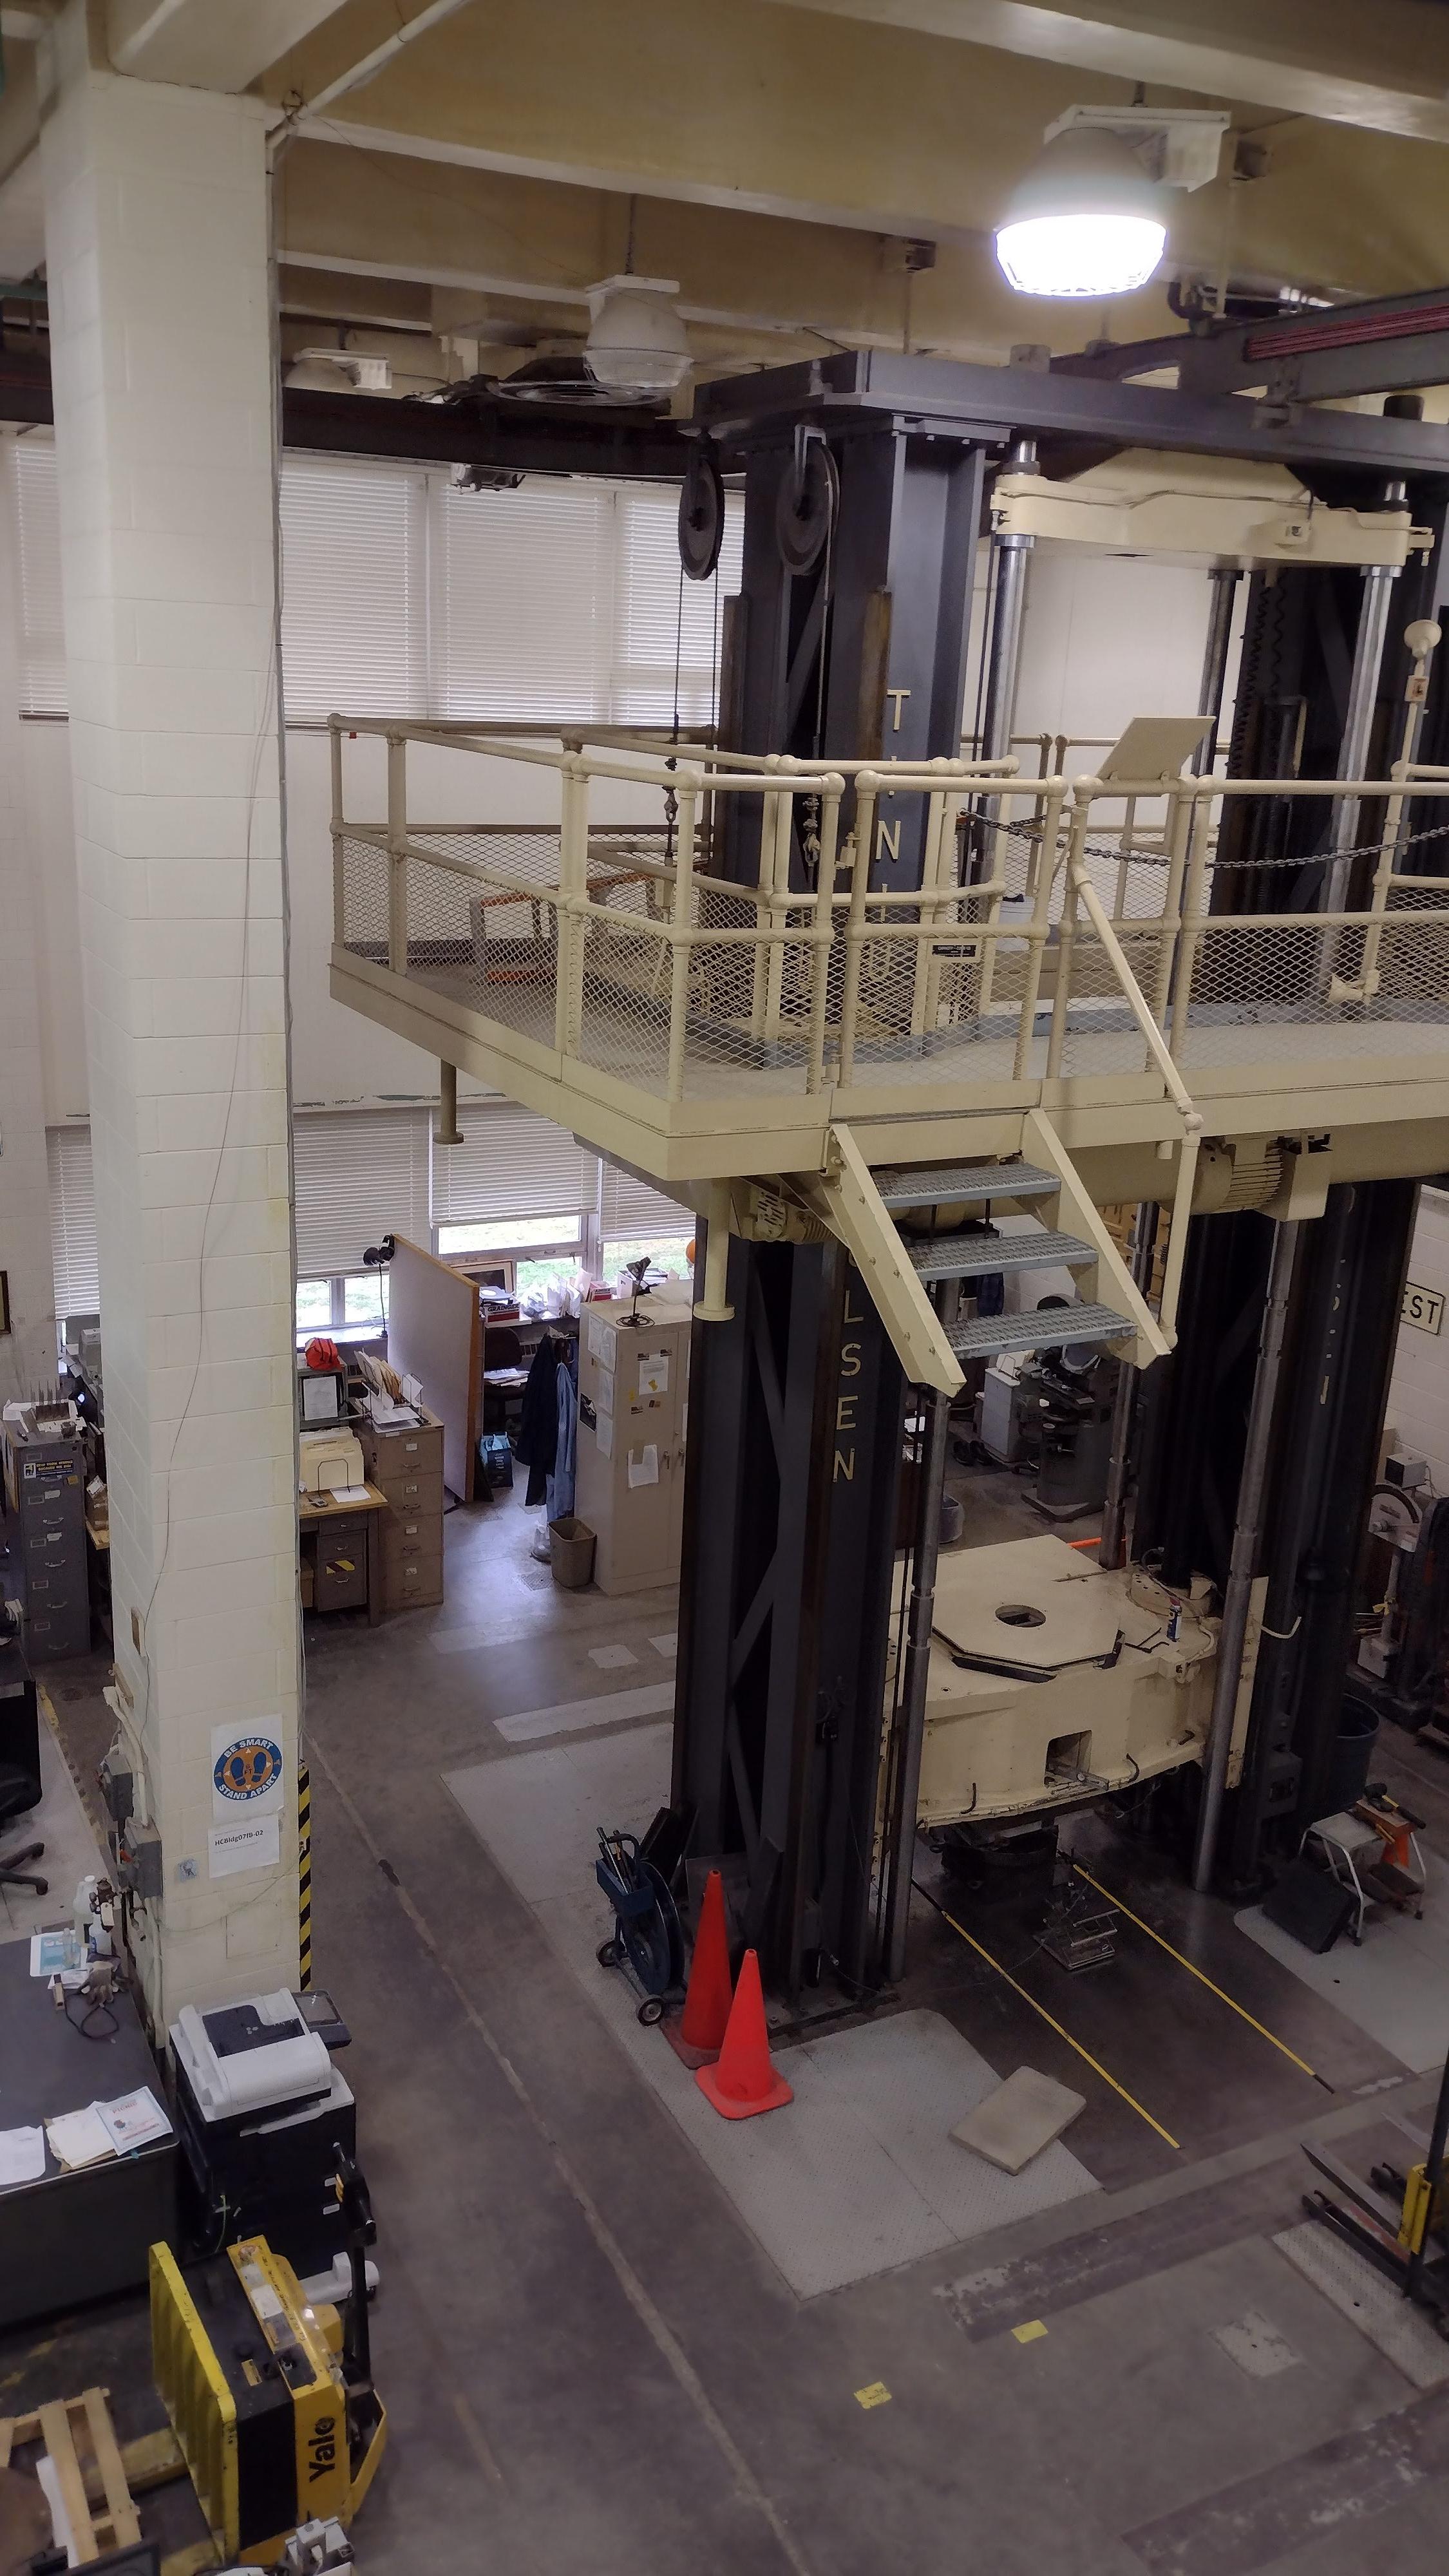
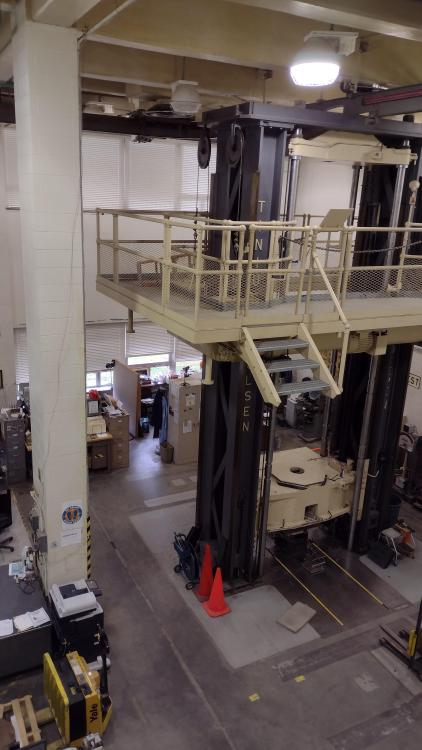
If metal is heated to the correct temperature, and held at that temperature while stretching, it is certainly possible to stretch it. After all, that is essentially what we do on one side of a piece of stock when we bend it. However it is no minor thing to maintain that even temperature or to safely provide the required force to do the stretching. If I had to do this I would more likely do the fabrication that others have mentioned, but if the only choice was to actually stretch it, and the client had VERY deep pockets, I would be looking at coordinating with someone who had a extremely large tensile test machine. I visited one recently owned by the Department of Transportation in Albany NY. It was around 25' tall and could exert many tons of force.
-
Most split crosses I've seen, or even the few I've done myself, are made from square bar stock. I think you may have some trouble with the quantity of steel in each twisted arm not being sufficient if you use round. Of course that might make selection of a jewelers saw a good choice, rather than the more standard hacksaw or portaband. Hopefully you are patient and have fairly aggressive jeweler's saw blades. Why not try it out and see for yourself? If you don't know this trick already, you might want to periodically put some paraffin wax on you blade to lubricate while sawing.
-
Light industrial furnaces like this one also have integral safety systems in the gas train. From the photo I see what appears to be a safety solenoid valve as well as a final internal regulator. Both will have to be functioning properly to use your forge. Note that he regulator may be setup like mine as a zero pressure regulator that varies the flow of gas in parallel to the air flow. If so you may have an adjustable orifice as well, which will set the relative proportion between the two. You still would likely have to change out the orifice if you switch from natural gas to propane. If you do have natural gas available it will be more convienient. When lighting a forced air gas forge it is critical to turn the air on first. Then deal with your ignition source (wadded newspaper or hand held propane torch) and only turn the gas valve on after the forge door is open and the ignition source is lit near the burner. As George mentioned, you may get a bit of a blast when it first lights. You will need to learn what air and gas settings are best for the initial firing. Shutting down is the opposite sequence (gas off first, then air after a few minutes to keep the burner cool. Note that these old furnaces were not really optimized for hobby work. They typically have a lot of thermal mass and due to that take a long time to get up to heat (but hold their heat well during operations that open and close the doors regularly). The other issue you may have is the operating range for the furnace. Unless you get a manual somewhere there is no easy way to tell what it will tolerate. The insulation may not be rated for forging temperatures.
-
Cracking is usually working too cold. Remember that the smaller the crossection, the faster it both heats up and cools down. You also may have forged in a cold shut when you forged down the taper. One good trick on these small diameter tapers is to leave a small "bulb" at the very end of your taper until the final steps of the taper. It is easier to demonstrate than describe
-
Likely getting preignition inside the burner. Typically happens as the flame front moves back towards the air/fuel source which happens when the forge/melter/furnace starts getting hotter. You have to keep the flowrate up at higher fire and not turn it down as the chamber approaches temperature and be careful to let the waste gasses flow freely (don't close the door too far). Sometimes can be addressed by allowing a small amount of secondary air to be induced by the burner outlet (gap between the forge shell and burner port).
-
Was this at Penland? I've blown glass down there in years past. Sorry you missed the final product viewing, but it has to get into the annealer before it cools too far or it will likely crack.
-
Look into substituting ductile cast iron (though reportedly it doesn't forge at all well). I don't know why anyone would want to forge a material that can be cast, but YMMV.
-
You have foundries and such in high schools there? Even back in my day they didn't have those here. These days they are removing most of the real hands on stuff from the typical public high schools (metal shop, automotive shop...). Still have wood shops, but pretty de-emphasized. Everything is going over to "technology" with multiple computer stations and 3D printers. Not that there isn't a place for those, but it is a shame to lose the practical classes. I know HS graduates that barely know which end of a screwdriver to hold.
-
Mark, We aren't all that organized. Join the club, it's cheap, and there are meetings (unfortunately also on the weekends) for the Buffalo based chapter as well (Niagara) on alternate weekends. Typically our meetings are a bit of a free for all, but there is usually a demo to start and plenty of smiths hanging around to chat and forge with. The website isn't great, but it does have some good information: https://nysdb.org/ I think it is in process of being upgraded.
-
Chuffing can also be caused by preignition inside the burner mixing chamber. If the burner gets too hot from being inside the forge chamber or radiant heat from the forge during "turn-down" from high fire to low (less fuel air mixture in mixing tube = less localized cooling effect for the burner), that flame front can move right into the mixing tube.
-
Flashback arrestors are not typically needed for propane. Venturi meters are superior to orifice meters IMHO. A characterized pressure regulator will give you some indication of flow vs propane pressure (see below), but simply knowing the pressure in the pipe at a single point in the fuel line will not necessarily give you the flow velocity unless you have done testing for that particular gas train with a calibrated flow meter. Since you have ignored my request to elaborate on you eventual aims for this steel casting exercise, I'm done here.
-
These are indeed the basic physics of what you would need to do, but the practicality is something else. First you must consider how to source an air flowmeter that is accurate in the ranges of CFM for the size blower outlet. There are a number of options, but you most likely will have to either cobble something together or purchase a fairly costly instrument (a multipoint pitot-static array with calibrated magnahelic would be nice, but I don't think it will work all that well in the turbulent air you will most likely get with a blower assembly not designed for same and the relatively small duct diameter. Perhaps an orifice meter with a fixed cavity calibrated for that level of flow and static pressure? I saw one CDI meter that seem to be close to that range for a 2" pipe, only around $1,000 and may not be all that accurate at the flows involved). Another option might be to source a characterized blower with a known blower curve, measure the discharge pressure and associated RPM directly and calculate the flowrate from that. Then you have the problem of getting the flowrate from the propane valve. Unless you are planning on using a rather expensive characterized pressure regulator style control valve I don't think you are going to find any kind of simple relationship that will directly apply to your gas train. All of this can be done, with the right application of test equipment and the time and knowledge to utilize same. I think as a budding melter on an admittedly slim budget, you should start a little slower and just get the basics of melting and pouring relatively low temperature metals without causing accident before starting to worry about steel. You can play with your furnace atmosphere at the initial stage the same way most of the rest of us do (loosely metering the level of oxidation or reduction by judging the exhaust by eye and the sound of the burner) and learn the basics of casting before jumping into the deep end. Please consider there may be a reason you don't see a bunch of backyard tin can melters or at least give us some idea of what you plan on melting the steel for so we can offer better advice on how to achieve those aims.
-
If you know the basics, then you know there is a significant difference in the level of difficulty and danger in melting steel vs melting aluminum. If you are looking for advanced information you will more likely find it on a site more dedicated to casting than this blacksmith centered site. Depending on your plan for the steel pucks created, it is non trivial to maintain the carbon content and homogeneity, and this variation can have an impact on your end product. Asking about maintaining a stoichiometric ratio without describing how you are going to measure the air/gas ratio used is not necessarily productive. If you keep your flame slightly reducing, you should have less oxidation, particularly inside a closed crucible. However I'm still finding it hard to see this as an economical process based on the effort involved in closely packing a consumable crucible with steel, cost of fuel, replacement of crucibles and relative value of questionable steel material produced. If you can look up the correct ratio you should also be able to look up the temperature that tin volatilizes at, and see how that compares to the melting point of steel. If the tin doesn't volatilize and escape through the "small hole at the lid", it will stay in the fluid container with the steel. Due to a combination of these factors I would recommend sticking to melting aluminum and finding some other method to recycle the tin coated steel cans. As previously stated, even melting the aluminum for scrap is a questionable economic solution. Now if you were to melt it and cast it into something that had some more intrinsic value than scrap, it might be worthwhile (but then you might want to use recycled cast aluminum stock instead (i.e. automotive wheels, engine blocks...)
-
Old school hammer making with hand cranked coal forge and strikers. Good times, but I would have brought a sledge with a shorter handle if I had known what was planned. Think I had only one bad strike all night, and that is the one John captured in a photo... Fraser has a nice little forge setup with a lot of hand forged tongs, made quite well. Another young smith with great skills and a promising future in the craft. Hard work does pay off.
-
ODP (Open Drip Proof) means that the motor windings will be exposed to the metal dust generated from grinding operations. This will likely reduce the lifespan of your motor considerably. I know HF allows easy returns on some items if they fail, but don't know if that applies to motors. You might want to consider other alternatives, or try to work out a way to mount your motor in a filtered box.
-
Just make sure the motor you bought is rated at least TEFC (or you have an extended warranty).
-
George is giving good advice (as usual). In my experience the quality and type of the work in a craft show can have a great bearing on what sells as well as pricing... Juried shows, at minimum, are my recommendation. Of course show fees go up, but sales should as well. Back in the day I used to travel all over the East Coast, and even as far west as Ann Arbor Michigan to get to the better shows. If I recall correctly, there is a good one in State College PA and the 3 Rivers show in Pittsburgh used to be good also (not to mention the associated free concerts). If you go for the higher end shows I would certainly be prepared for commission work, and don't underprice.
-
I can see a couple of other potential problems in addition to the regulator which will have to be swapped out: Hard to tell how forge is insulated. Is that floor a steel plate? Any thermal breaks between the floor and the exterior of the forge? What is the crown made of? You have bell reducers as burner outlets. These shouldn't be needed inside the forge, and they certainly shouldn't project past the forge inner insulation liner You will likely have trouble with running three burners off a single 20# barbeque tank. At full fire you may see problems with freezing. It may be prudent to support the gas manifold from the forge frame. Less stress on the burner gas connection. White teflon tape is likely not gas rated. At least around here it is yellow. From the photo it looks like there is a large hole in the middle of your forge floor. What is that about? Pretty large size forge. You are going to go through propane quickly Doors?
-
As a former "glass guy" I would venture to guess that he used a standard glass slumping oven to slump plate glass into your iron forms, rather than a microwave. These glass slumping ovens are essentially the same as bladesmith heat treating ovens, but don't usually have to get to quite as high temperatures. One of the more critical parts of the process would be the required annealing for the glass. I wouldn't expect that a microwave would be well adapted for that. In fact, I thought that microwaves were fairly transparent to normal glass, so can't see how they would heat the glass directly.
-
Agreed on all points. Not a drastically older photo. I'm in my mid 60's.
-
Just recall that thermal shock can also be reduced by reducing the thickness of your casting, taking care with the geometry to avoid rapid changes in thickness and crack initiation points, and allowing the burner head to warm up and cool relatively slowly. This is why I prefer the Joppa style cast burner heads over the Pine Ridge style that everyone seems to be using these days.
-
Cross-post with the OP. What I found when googling "Farm Cylinder Bars" was some form of combine part. To me they look like flat stock with numerous holes and chopped up edges. I suspect they are some form of steel that is tough, but doesn't necessarily get very hard (like lawnmower blades), but that is just a guess. May not be what the OP had in mind, but is suspect it is. Personally I lean towards using known steel for making blades these days as the steel cost is only a small fraction of the investment (unless you are using something exotic), certainly in comparison to your time and proper abrasives. Here is a photo and drawing:
-
They better be the gold standard. Their website lists their linesmen's boot starting at $650 and peaking at $810. Don't get me wrong, they look fantastic, but I can't see spending that kind of money on boots. I struggled with $160 for my last pair of OXO boots, and that was just because I wear size 14...
-
Kastolite 30 is an insulating castable refractory. Greencast 97 is a castable refractory. It will hold up quite well to flux, but can be prone to thermal shock, so be careful rapidly heating or cooling to avoid cracks. As cast it has very limited insulating value (compared to ceramic blanket, Kastolite 30, or even soft firebricks).