Purple Bullet
2023 Donor
-
Joined
-
Last visited
-
It may not be necessary to melt and recast. John (JHCC) mentioned cutting up, annealing and reshaping the result. Here is another possibility along those lines. A plasma torch could quickly reduce the vase into strips and circles or plaque shapes. The strips can be used as brazing rods with brazing flux to weld everything together. (Brazing is joining high melting temperature metals by heating them and flowing lower temperature brass onto it. Since this is melting the brass together it is welding.) The result will be uneven but you can then sand or grind it down flat. I do knife guards, bolsters and pommels like this using brazing rod and actually brazing them onto the tang. That being said, I think David (Goods) had the best solution, unless there is some symbolic or sentimental reason for re-using the same material.
-
I like it. Good use of a case-hardened farrier's rasp if that is what is was. I have a few more fixed blades to make before I try a folder. Thanks for posting it.
-
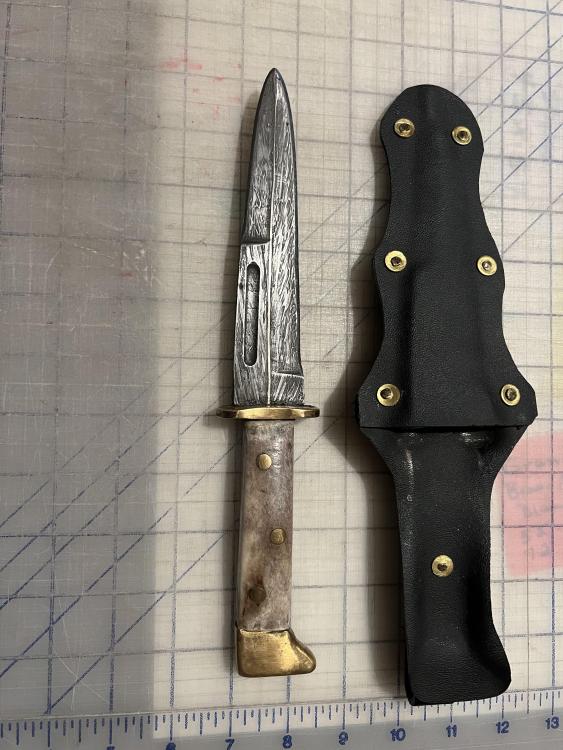
Thanks Irondragon. It’s probably short for a midshipman dirk but I’ll call it a dirk until I find out otherwise. My next one won’t have the nickel strip all the way to the point so I can put a finer point on it. This one reminds me of an oyster knife but I felt the nickel needed some steel around it.
-
You’re right, John. But *I* know and its another of those skills I’d like to do well even if I never “master” it. Making knives for nephews is just an excuse. I hardly know some of them. When I run out of nephews, brothers-in-law and friends at church… well I’ll cross that bridge when I get to it.
-
Thanks, George. I kinda feel like its cheating, but I used my mill with a round end bit. I’ve tried to actually “fuller” a blade before, but either I don’t have the skill or my tools need improving. One actually leads to the other doesn’t it? I’m starting to work again on my inertia press. A fuller with a fence might be a good project for it.
-
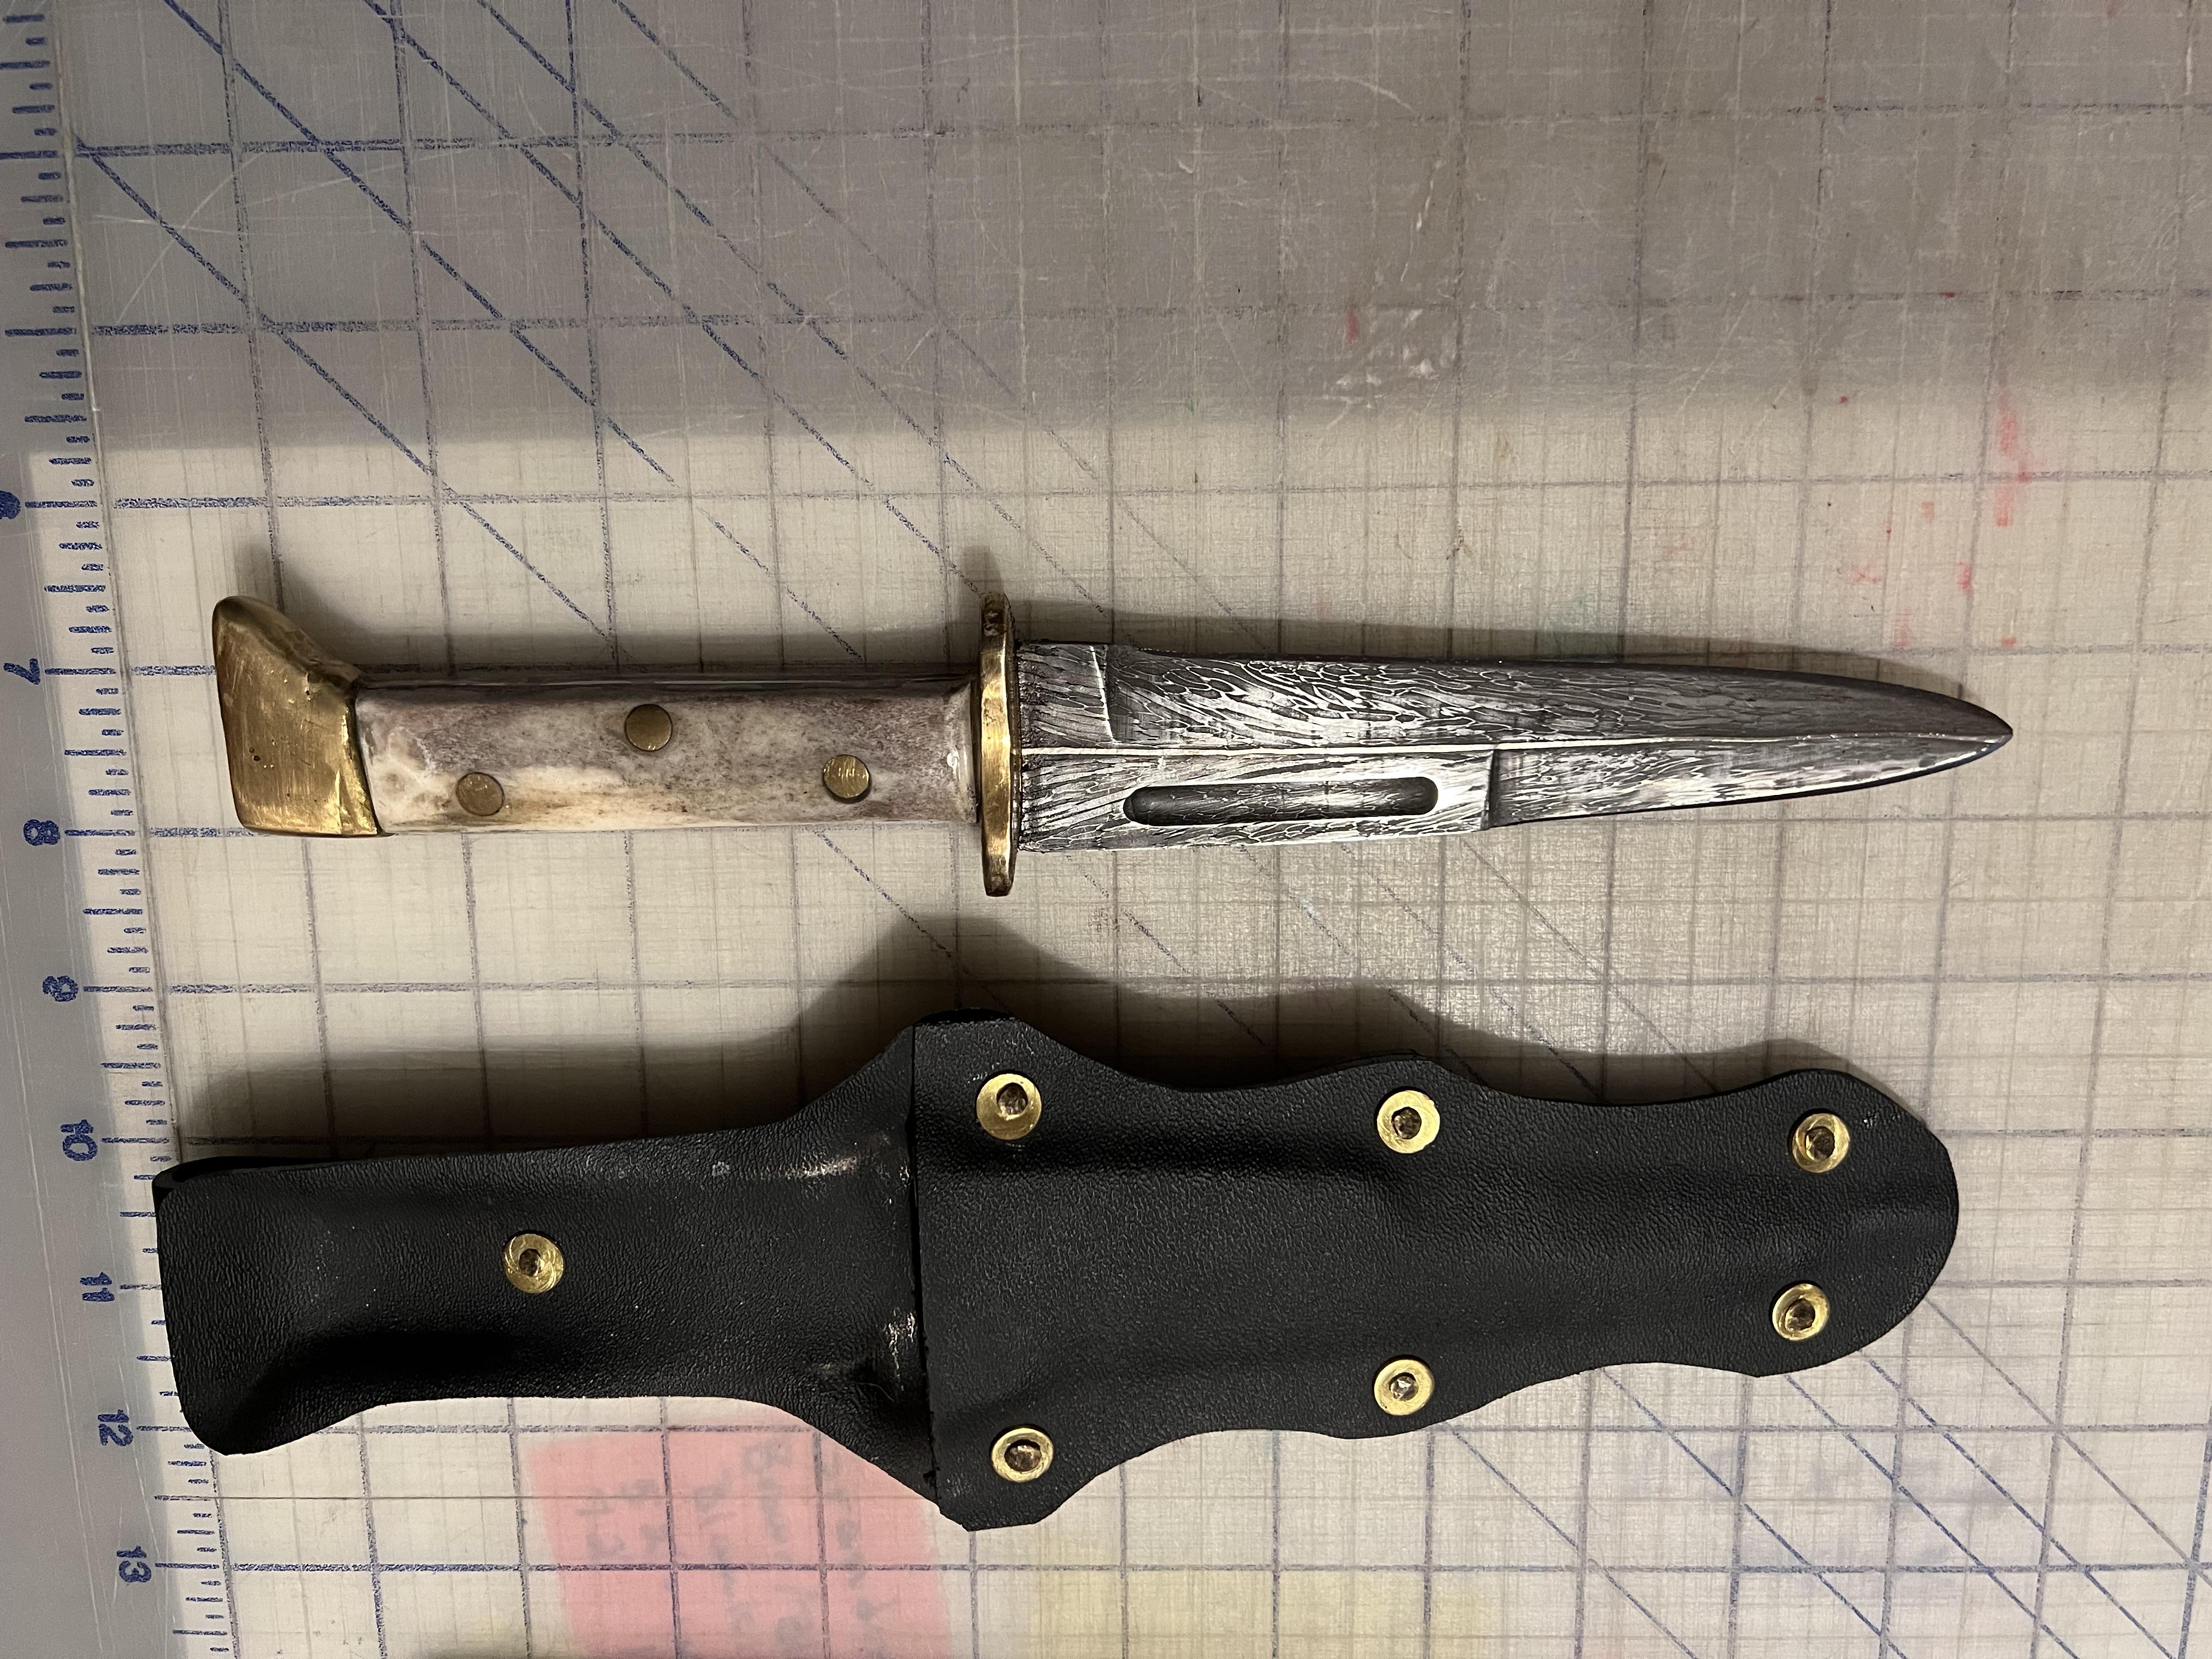
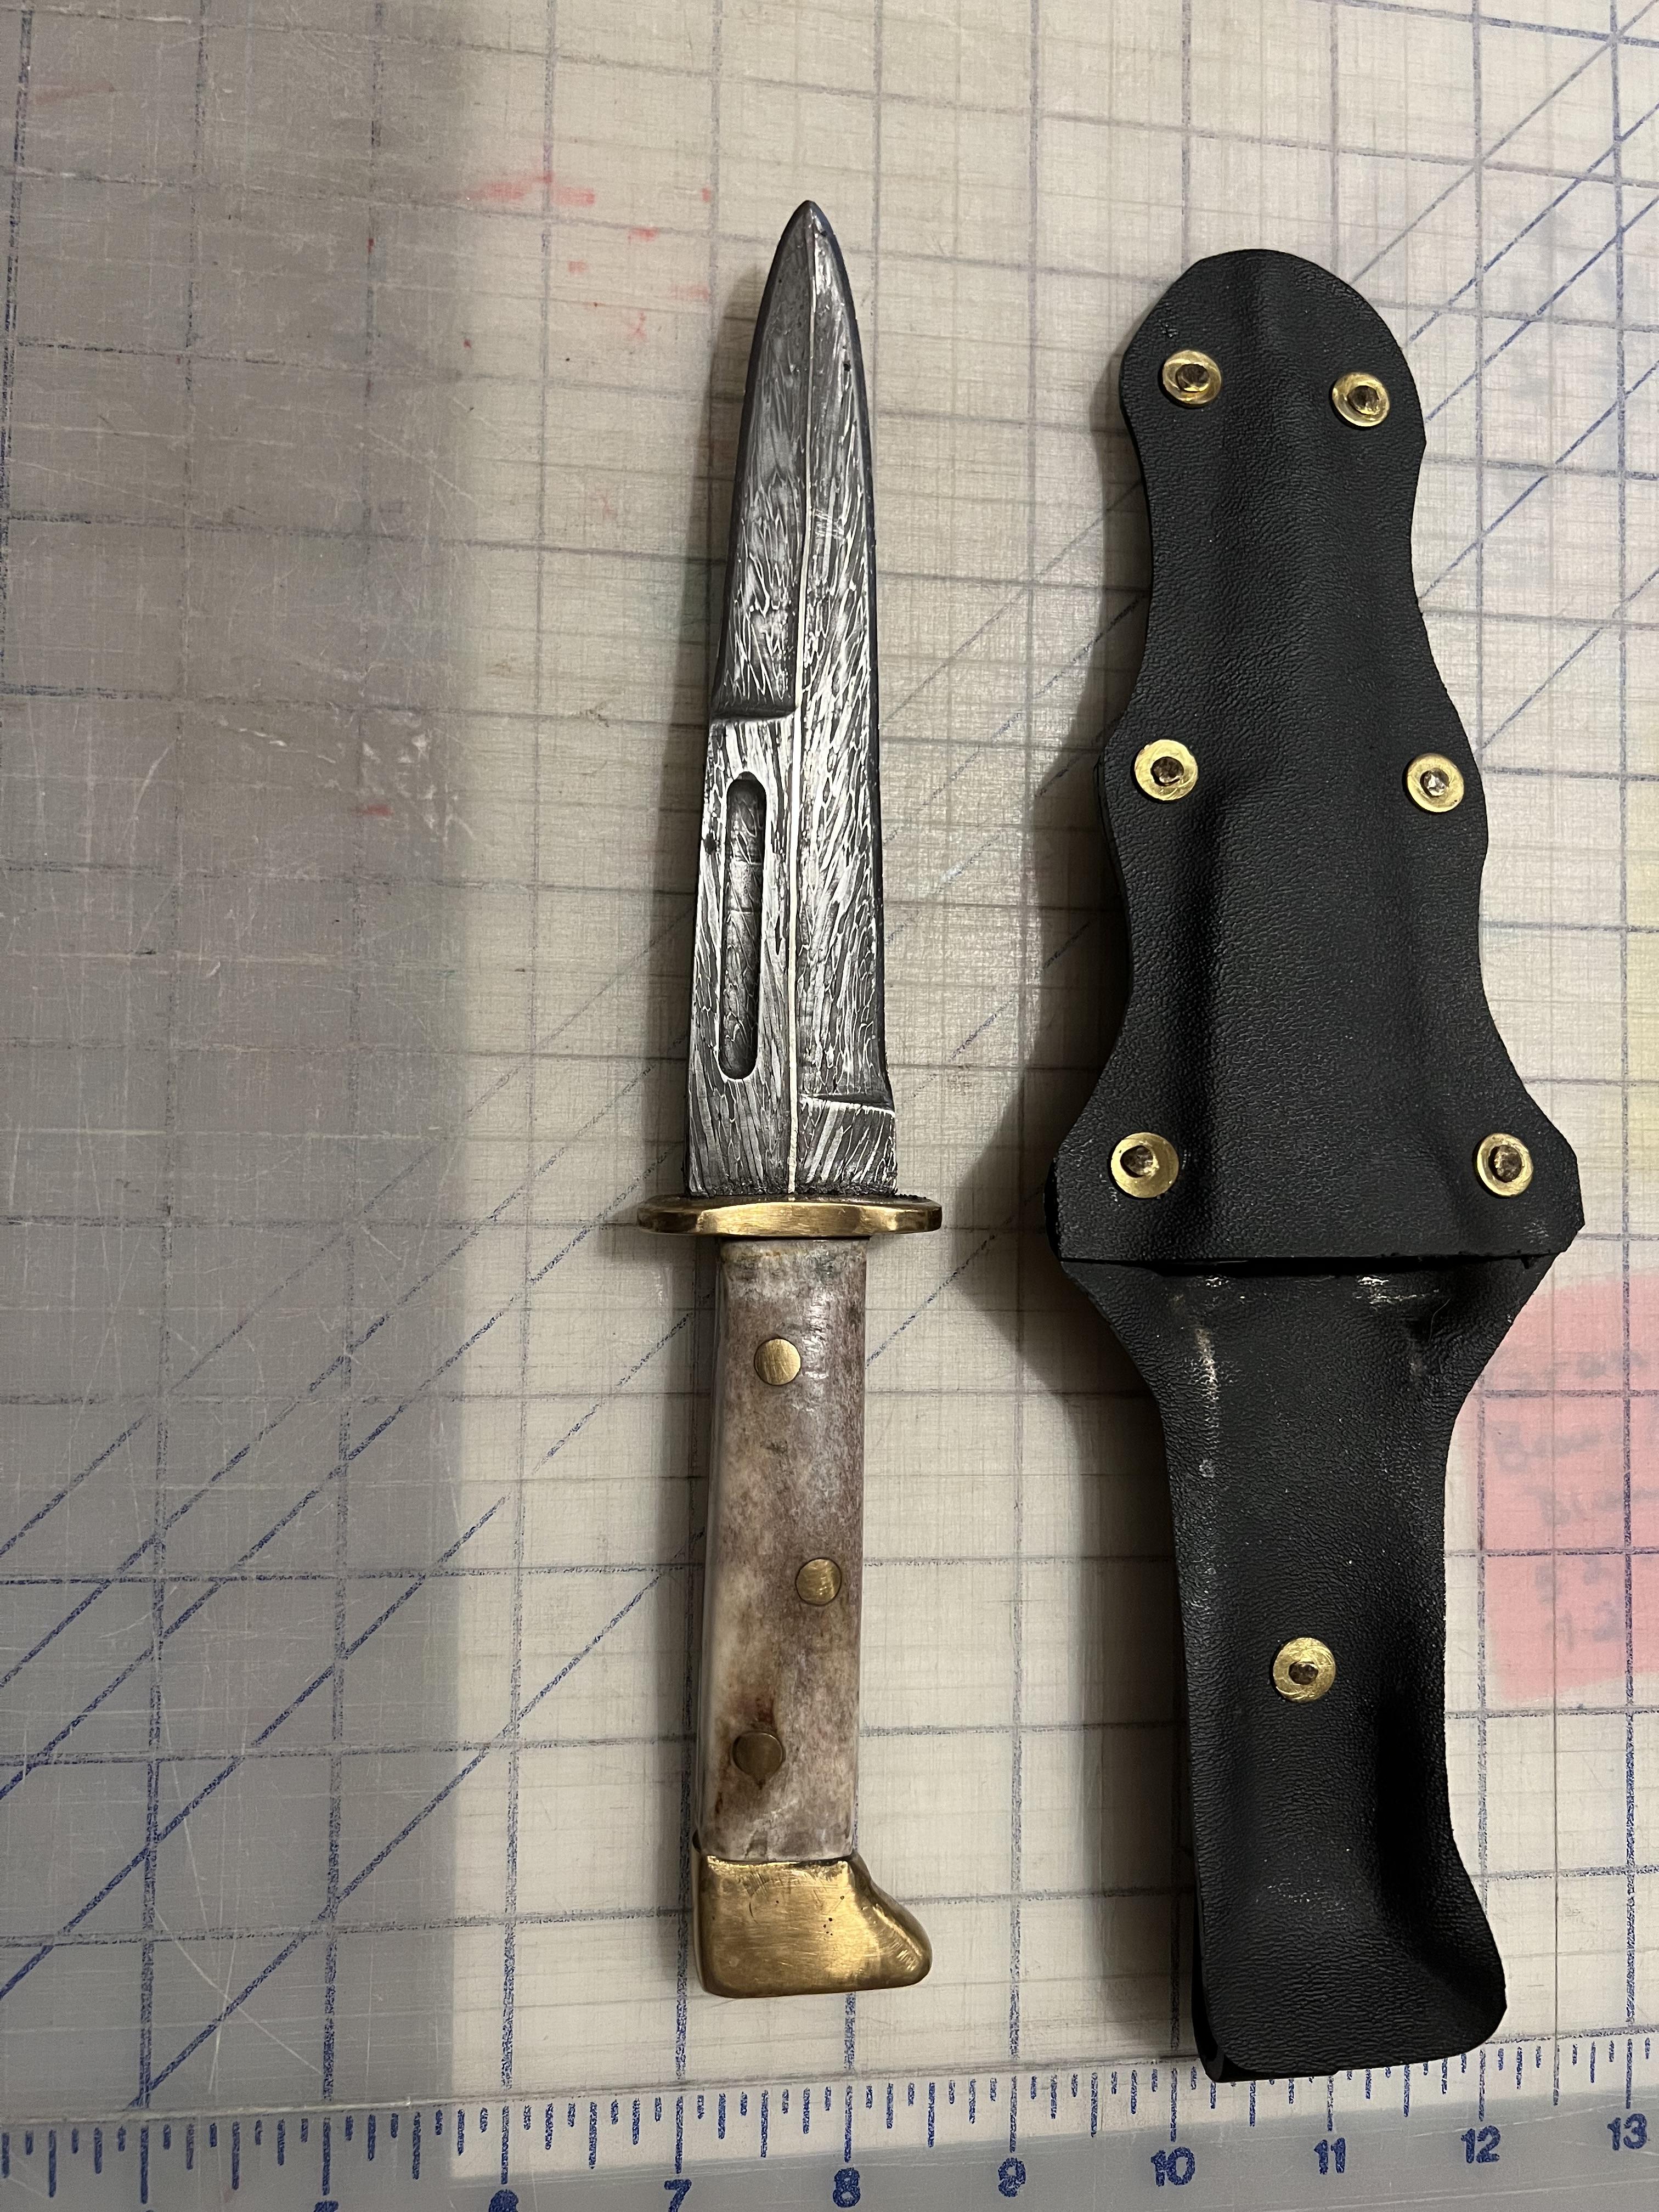
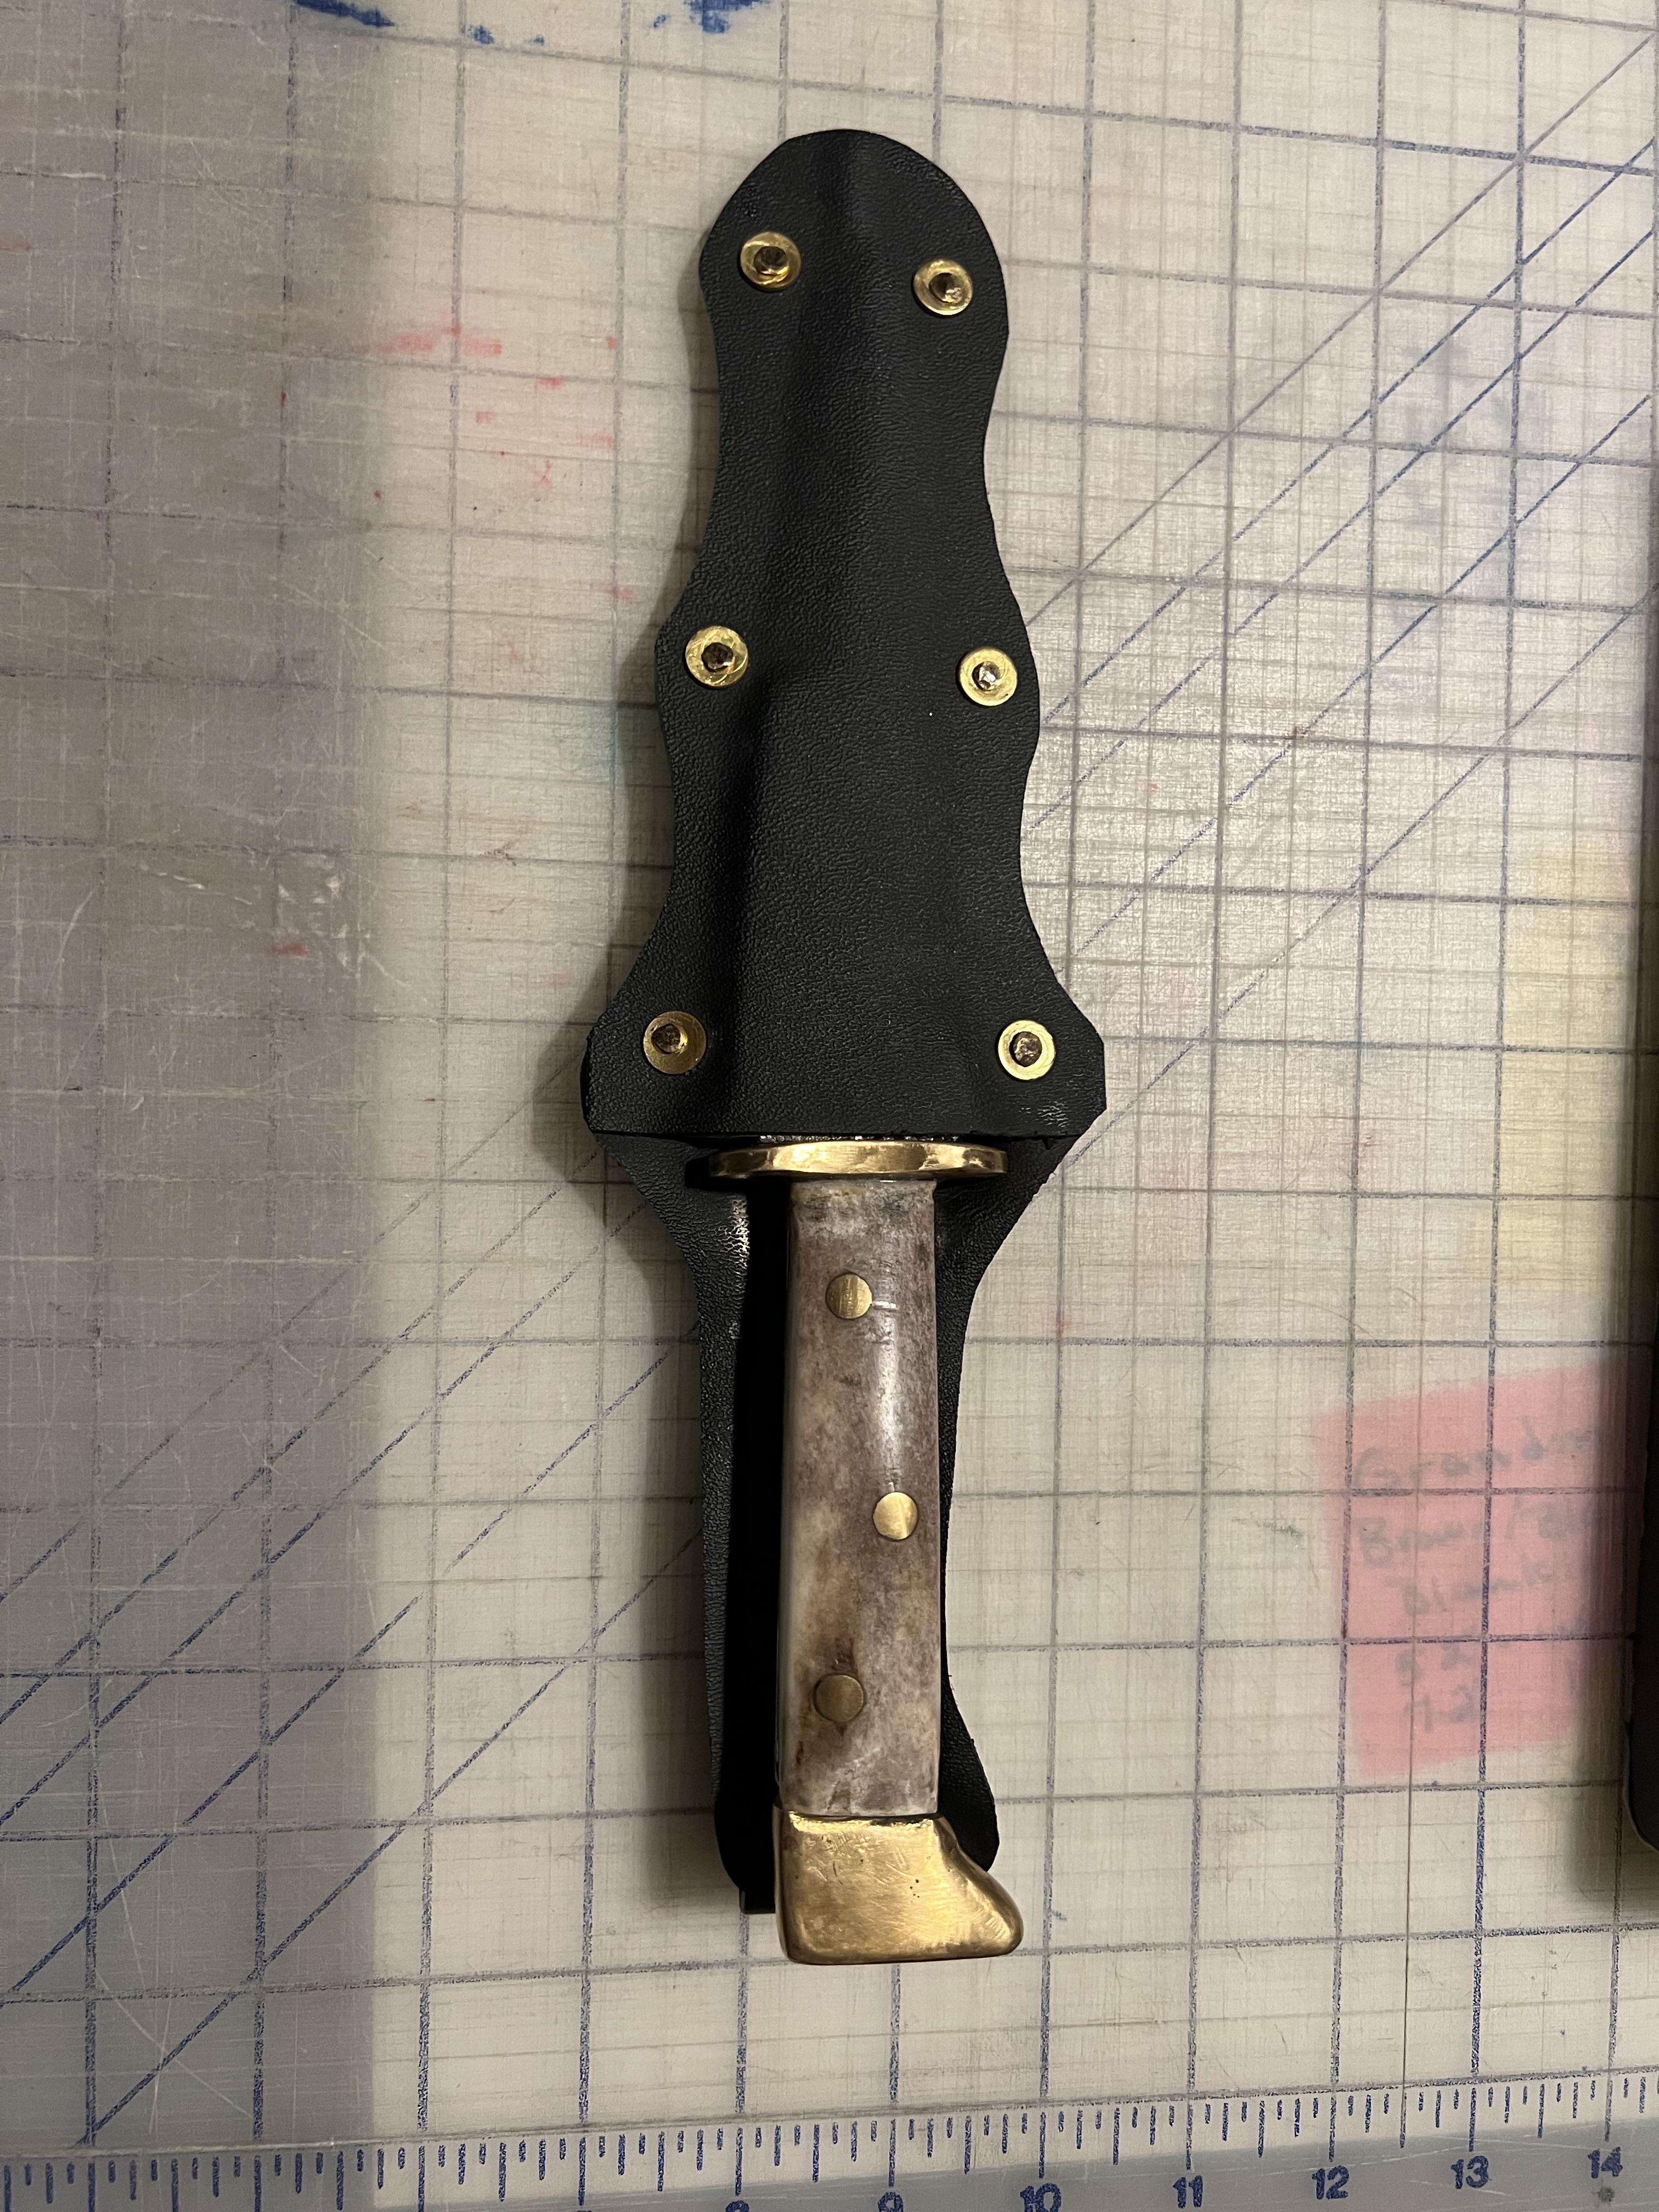
I’ve been laid up for a while, but gradually working more and more in the shop. This is another feather cable nickel strip for another nephew. He asked for a dagger but I convinced him this was more practical. I thought the full blade/half blade design was from the British naval dirk carried by midshipmen but I saw some similar at a knife show that were called Arkansas toothpicks. In any case, I like it and will probably make a few more. The handle on this is pronghorn. The brass fittings brazed up with brazing rod and ground down.


-
Well, friends, it looks like I’m going to have to miss again this year. Sorry if I got your hopes up for chicken and andouille gumbo for nothing (sorrier still to miss out on chicken and dumplings) but sorriest to miss out on seeing and talking face to face with you folks. I tried to make a knife show last weekend and my ankle blew up like a balloon and it took days to recover. That wasn’t a tenth of the walking needed for Quad State. I just don’t heal up as fast as I used to, but I’m not ready for a wheel chair yet. Maybe next year.
-
John - I Found some epoxy at a local hobby shop called Amazing Clear Cast. It has a url on the box to [the Alumilite company website]. Pretty good stuff but I haven’t really tested the UV resistance.
-
Hefty - Very nice. I’ve done a little with different color construction paper that turned out rather well. I’ve collected some natural fibers from palms that I think would work well but I’m waiting for the right blade to try it on as I’m considering molding it right on the handle. The way you folded that material reminded me of how I hope the butt would look. I’m not worried about staying on the knife but think I would need compression (or at least containment) on the end and sides. Right you are, BK. Especially in this heat. I do have some slow cure epoxy that is UV resistant that I tend to use for this.
-
Buzzkill - Make sure you budget a TIG cooler to go with it. My first forge I built a cooler and it worked (until I outsmarted myself and added copper sulfate to eliminate algae - I didn't realized there were aluminum components inside the case - copper sulfate protects copper, but eats right through aluminum) but prices have dropped to where I bought a forge AND cooler for what I originally paid for just the forge. If you do FB check out https://www.facebook.com/groups/758762180850373 Frosty - I probably wasn't clear on the problem with consolidating cable. It isn't that the threads overheat. The cable just refuses to come up to anywhere close to welding temperature. My understanding of eddy currents and how they work is limited, but a few possibilities: a. the geometry of the individual strands spreads the energy too far for the size machine I have. b. The response of each fiber causes interference in the neighboring fibers. I suppose I could test this by trying a really small cable, but my gas forge does fine to consolidate the fibers. Then I shut it down and switch on the induction.
-
I guess it depends on what is meant by motivational. I don't have music playing while I'm forging. I am a musician (play trombone, harmonica, rhythm guitar and do vocals in our church group) and I find that if I'm making anvil percussion, I HAVE to follow the music and sometimes the music may take my hammer where my design doesn't want it! However, I have found this song motivational for me.
-
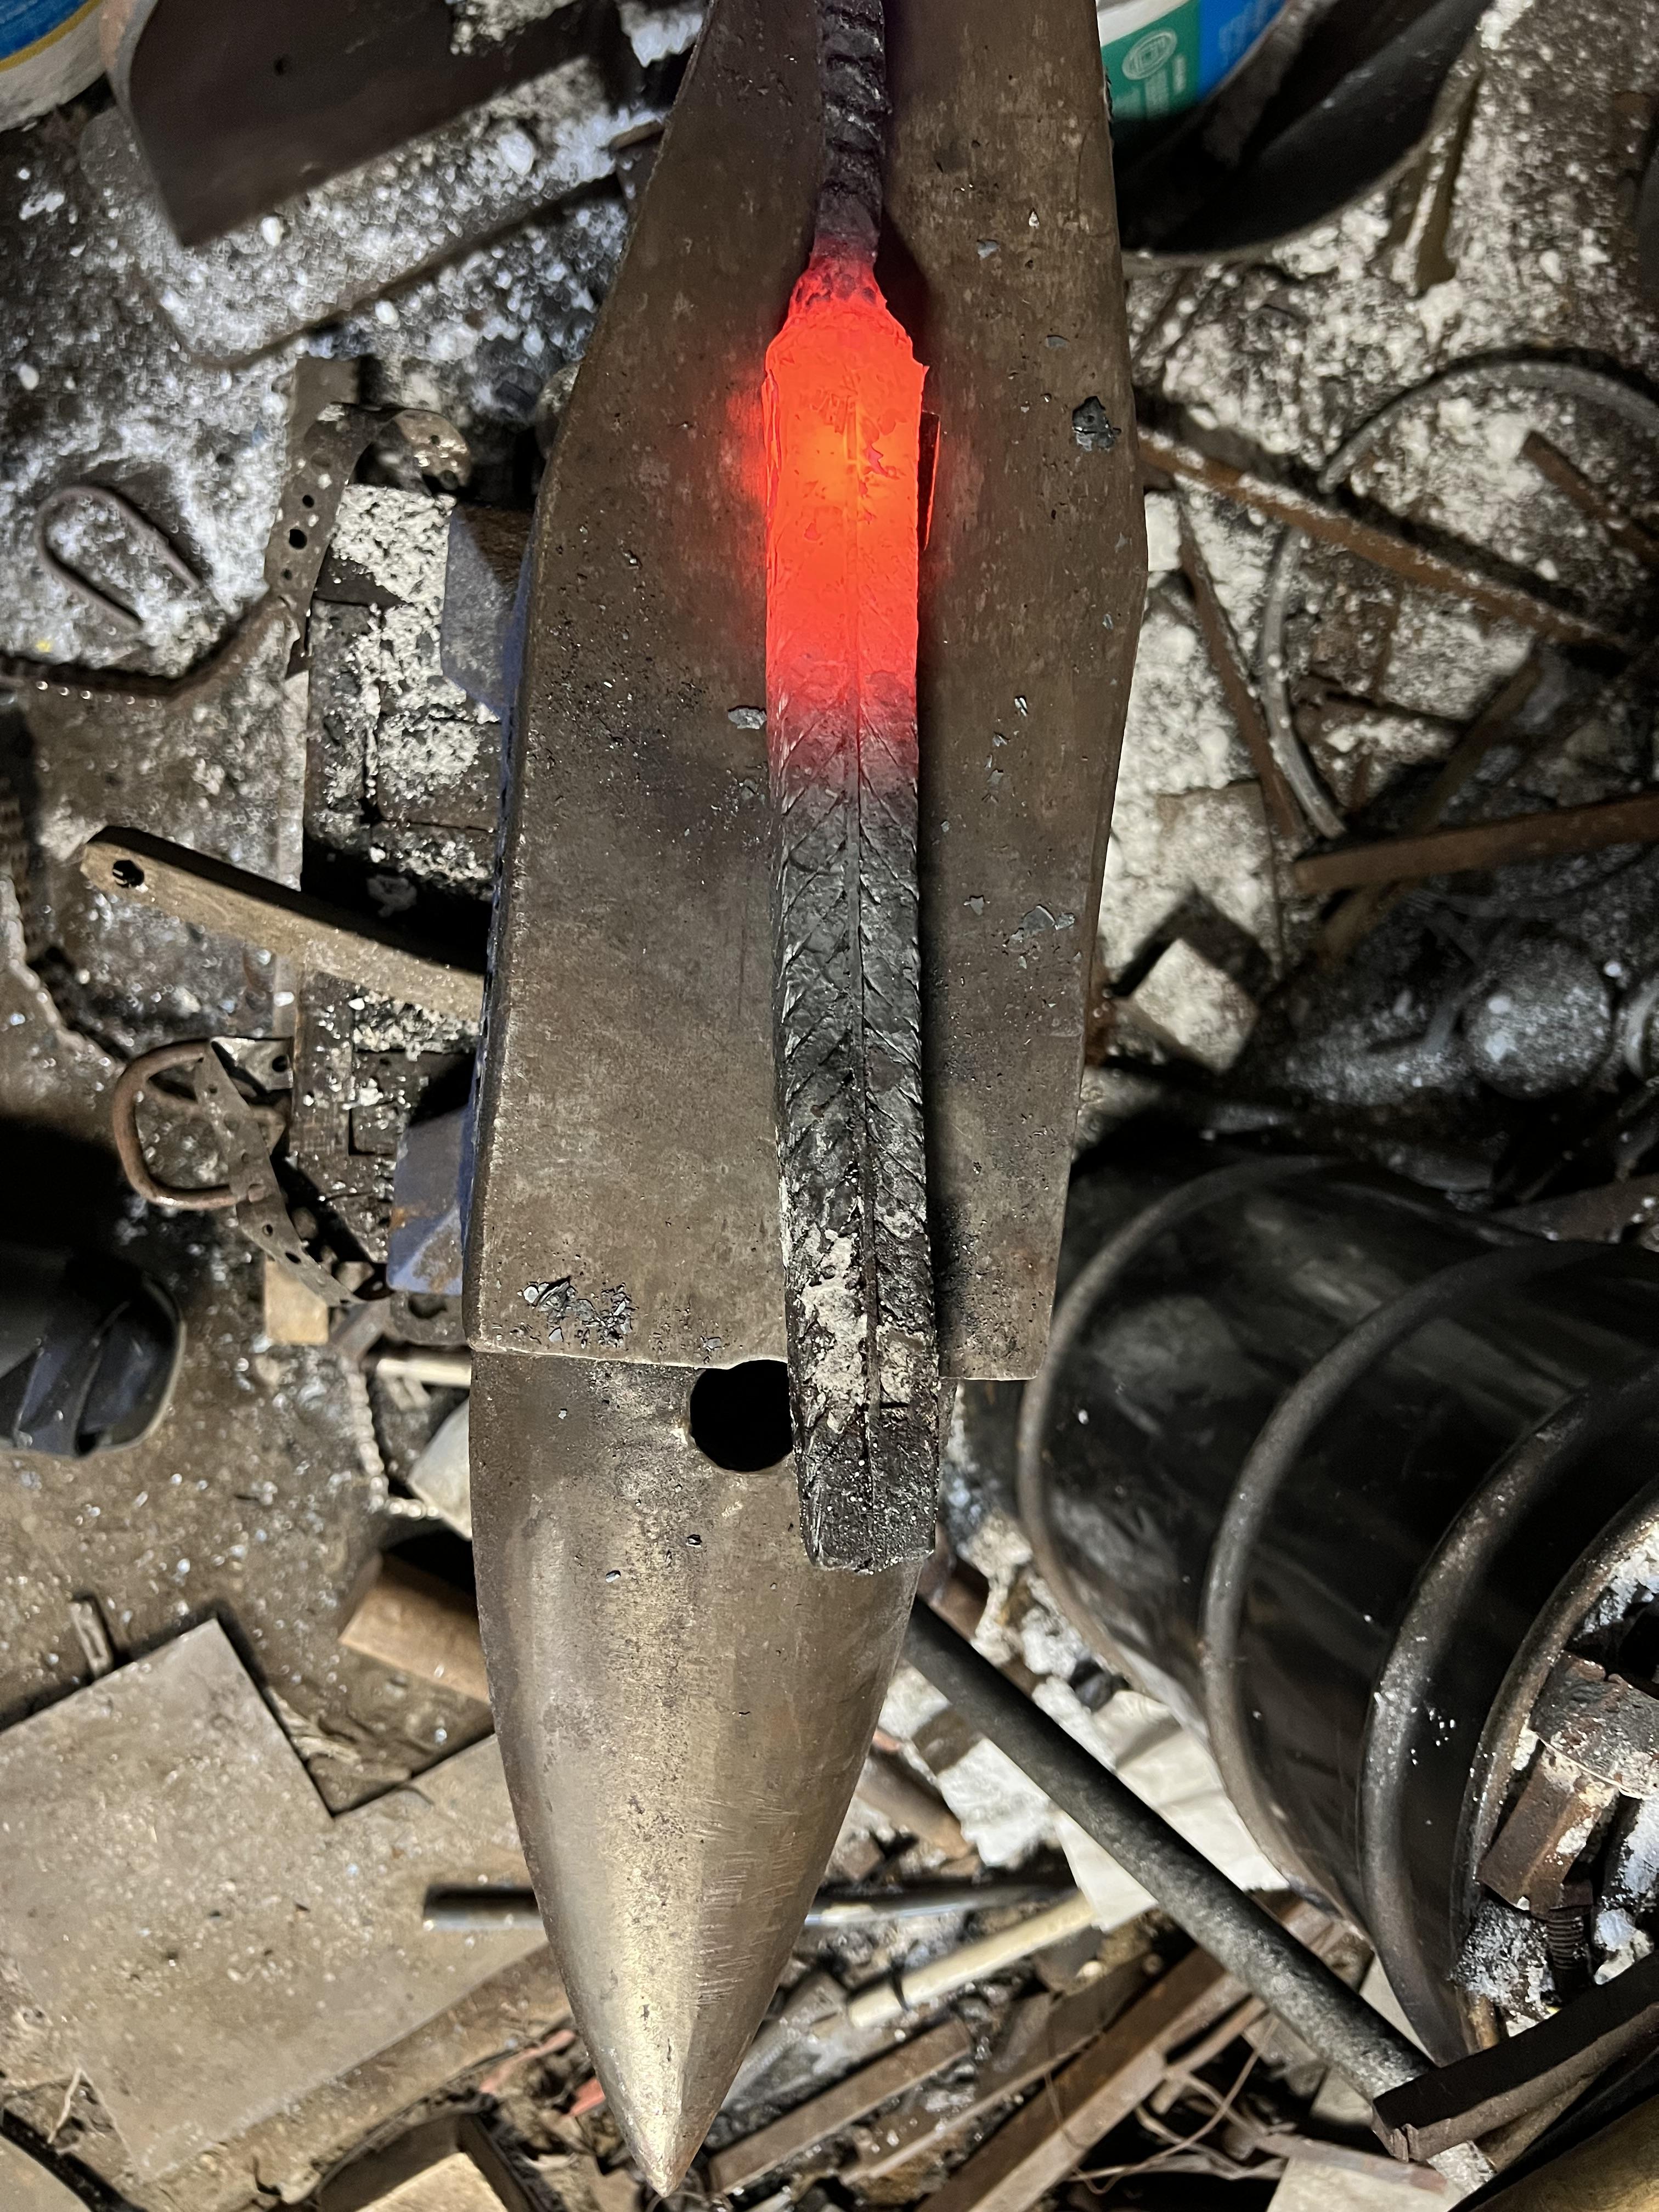
Yes indeed. EJ of the Anvil has examples of induction forge welding on YouTube. Like I said, I can't forge weld cable together because the individual strands are too small relative to the coil (I think) but once I use the gas or coal forge to weld the cable into a billet I then use the induction forge to weld the two billets together with a strip of high nickel alloy (that makes the center line of the "feather"). I go up and down the billet at least twice every two to three inches, trying to stagger the centers of those individual heats. I think I've mentioned it before, but induction (at least the 15kw China versions that are available so cheep) is not the answer to everything, but in terms of speed, convenience, cleanliness, visibility and comfort (not adding as much heat to an already sweltering shop) it is hard to beat. I'm just a hobby blacksmith, but I wouldn't want to have to do without it.
-
My ankle is progressing. I can stand and walk in my boot without crutch or cane and shop sessions are longer. I finished welding two consolidated cable billets together with a strip of high nickel alloy between them with my induction forge. This is going to be a billhook with a chopping edge. I’m not sure my TIG cooler is working as it should. It took two sessions to make the weld-2 to 3 inches at a time. About half way done the machine overheated and shut down. Then again, ambient started at around 90 deg F.

-
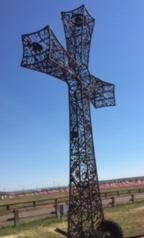
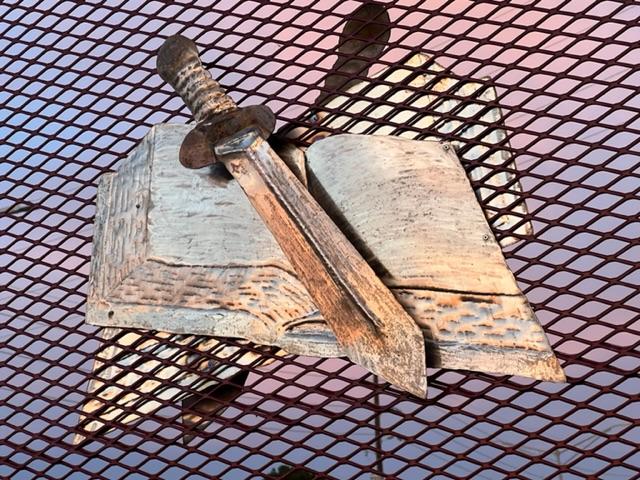
Just to try out the process, its easier to start with stake repousse. All you need for that is a good size log stood on end. Don't get me wrong, John is doing it right. I don't know if I will ever get set up like he is, but this is something done with just a log, rounded chisel, a rounded drift and a ball peen. Admittedly, it doesn't have the fine lines and detail of John's work, but its meant to be seen from the road.
-
John - nice work. Clean lines and great depth. I've only worked stainless so far, but seeing your work makes me think I should try other materials.