

Steven NY
-
Posts
114 -
Joined
-
Last visited
Content Type
Profiles
Forums
Articles
Gallery
Downloads
Events
Everything posted by Steven NY
-
Wow, very nice. I love the accent wood used for the wedges, looks great next to the polished hammer head. Faceted like a gem. After seeing those wings, I can see why your dad would love that hammer! W
-
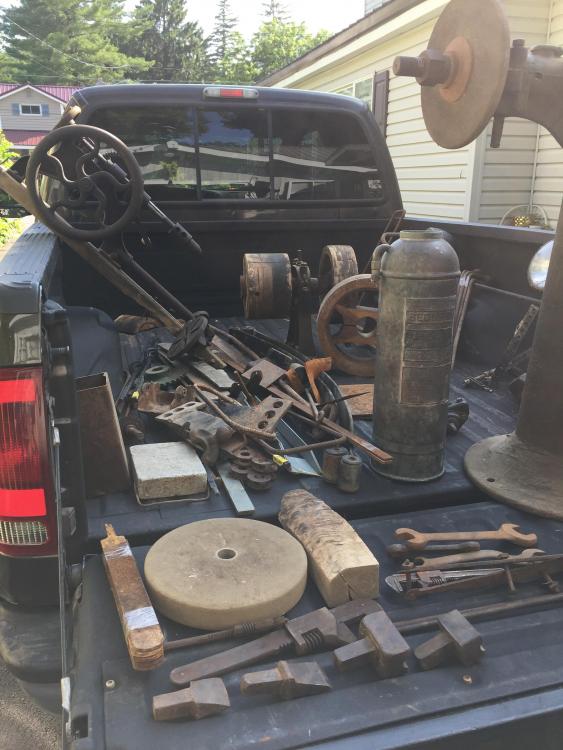
Hello all, My wife and I spent the day with one of our friends who is getting ready to move and is liquidating most of his life times work of a collection. He has tons of things on his property and is a great fabricated/builder. He took so little money I kind of felt bad. Felt like I should of had a mask and gun. He has some line shaft setups if anyone would be interested. He is a great guy and I would like to see him do well as he prepares to move. Here are a few pics of the stuff I came away with, as he digs deeper I hope to go back. Have a great day, W

-
The bells I use for falconry are definitely hardened and for their size ring very loud, they are made by Dave Noble. Bells will crack after being worn by a hawk for a season or two from their continued work hardening. I have made small bells for my birds, but they where never as loud as the Noble bells. I would put them on my dogs collars for a few weeks to work harden the brass, and that would always help with their tone. Keep in mind when making the clacker in a bell it should be faceted not round. This makes it tinkle more, although it may not be an issue with a square bell. For small table bells made of steel I usually harden them. But even these ring better the more they are rung. The thickness of the metal is also important thicker bells like I have made usually have a duller sound or lower pitch. How they are attached to the cow will also make a difference, if the bell is resting against the animal it will deaden the ring. Like grabbing a cymbal after it is struck. Not sure but hope these ramblings help, W
-
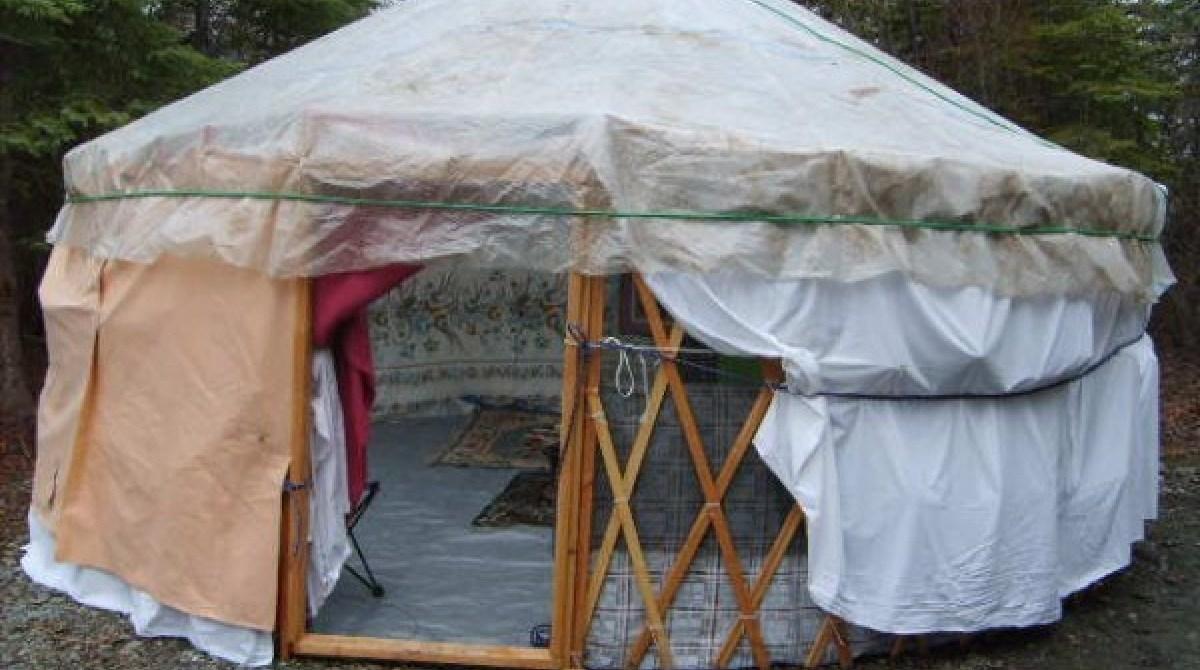
Just my two cents, but have you thought about a yurt style forge, there are some good plans and information available online. You can build it all yourself or purchase a kit. A yurt is one of those cool construction projects I have wanted to tackle, but I do not need one currently, and my wife is kind of particular about how our property looks. Good luck, W

-
Crazysmith you can by all those supplies from Glenn on IFI. Check herehttps://www.iforgeiron.com/forum/254-gas-forge-refractories-and-supplies/ hope this helps, w Also I agree, propane and coal should have separate setups.
-
A both funny and useful reminder, it is not the new machine that tends to hurt users. It is the one they run everyday and no longer receives the respect and attention it once received. Their comfort level builds complacency then they get injuries. I am a Technology teacher and can tell you I have been seconds away from separating my thumb from my hand while gang ripping materials for classes. After all morning standing behind the table saw, I start looking at the next piece I am going to grab or how close to completed the job is, then I look down and realize my thumb is inline with the blade and only fractions of an inch from no longer being my thumb. I have come this close twice over 17 years let's hope the last time will keep it fresh in my memory. I like having all ten fingers, and it would really mess up my math skills. W
-
Steamboat, Great job, looks top notch!! W
-
Thanks Guys, It was a fun project, I love commissioned work. I just finished up a Suffolk latch and hinge set for a buddy of mine who is making a outhouse for his mother place. I think she has an odd sense of humor, but who knows it may come in handy. It is always nice to know "exactly" what I will be trying to accomplish. I smith after work for 3-4 hours everyday, and for as long as I can on the weekends. Being all set up with a project, stock ready, forge waiting for a spark, is the way I forge the best. I like to have a goal and plan in mind or I find myself standing around wasting time. Also knowing I am ready to go helps me stay motivated after work to head to the forge and get to the getting. Have a great day, W
-
Tapering handle end of steak flipper
Steven NY replied to Forgingforfun's topic in Blacksmithing, General Discussion
You need to line up your opposite square corners on the diamond and hit it straight down. If your square corners are not both inline with each other and perpendicular to the anvil face you will tend to have a twisting of the stock in the transition from square to octagon. Have a great day, W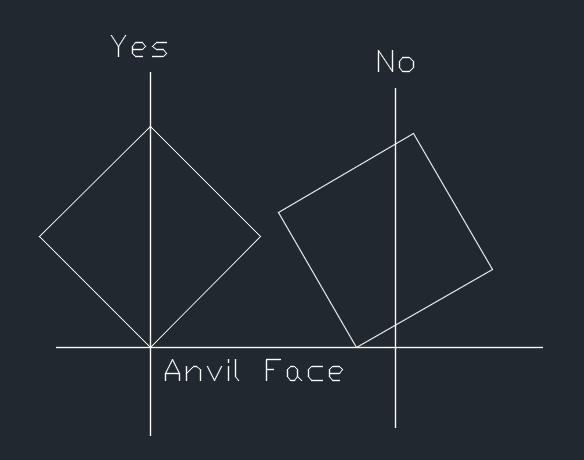
-
What did you do in the shop today?
Steven NY replied to Mark Ling's topic in Blacksmithing, General Discussion
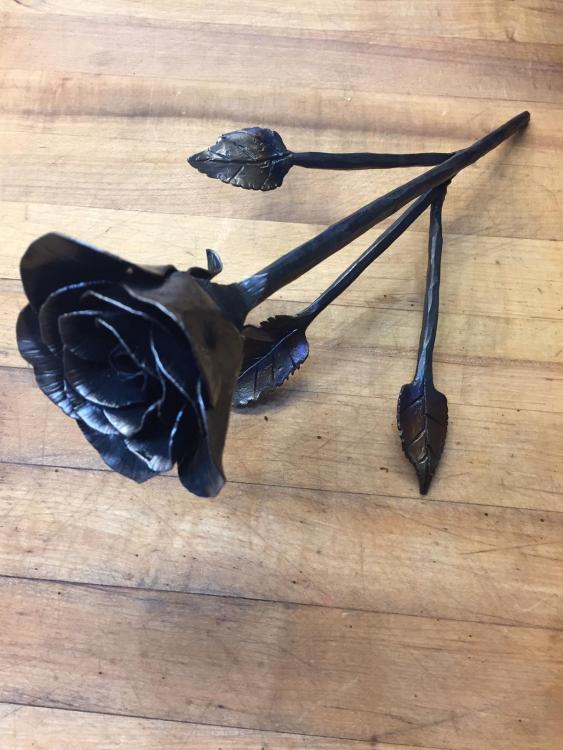
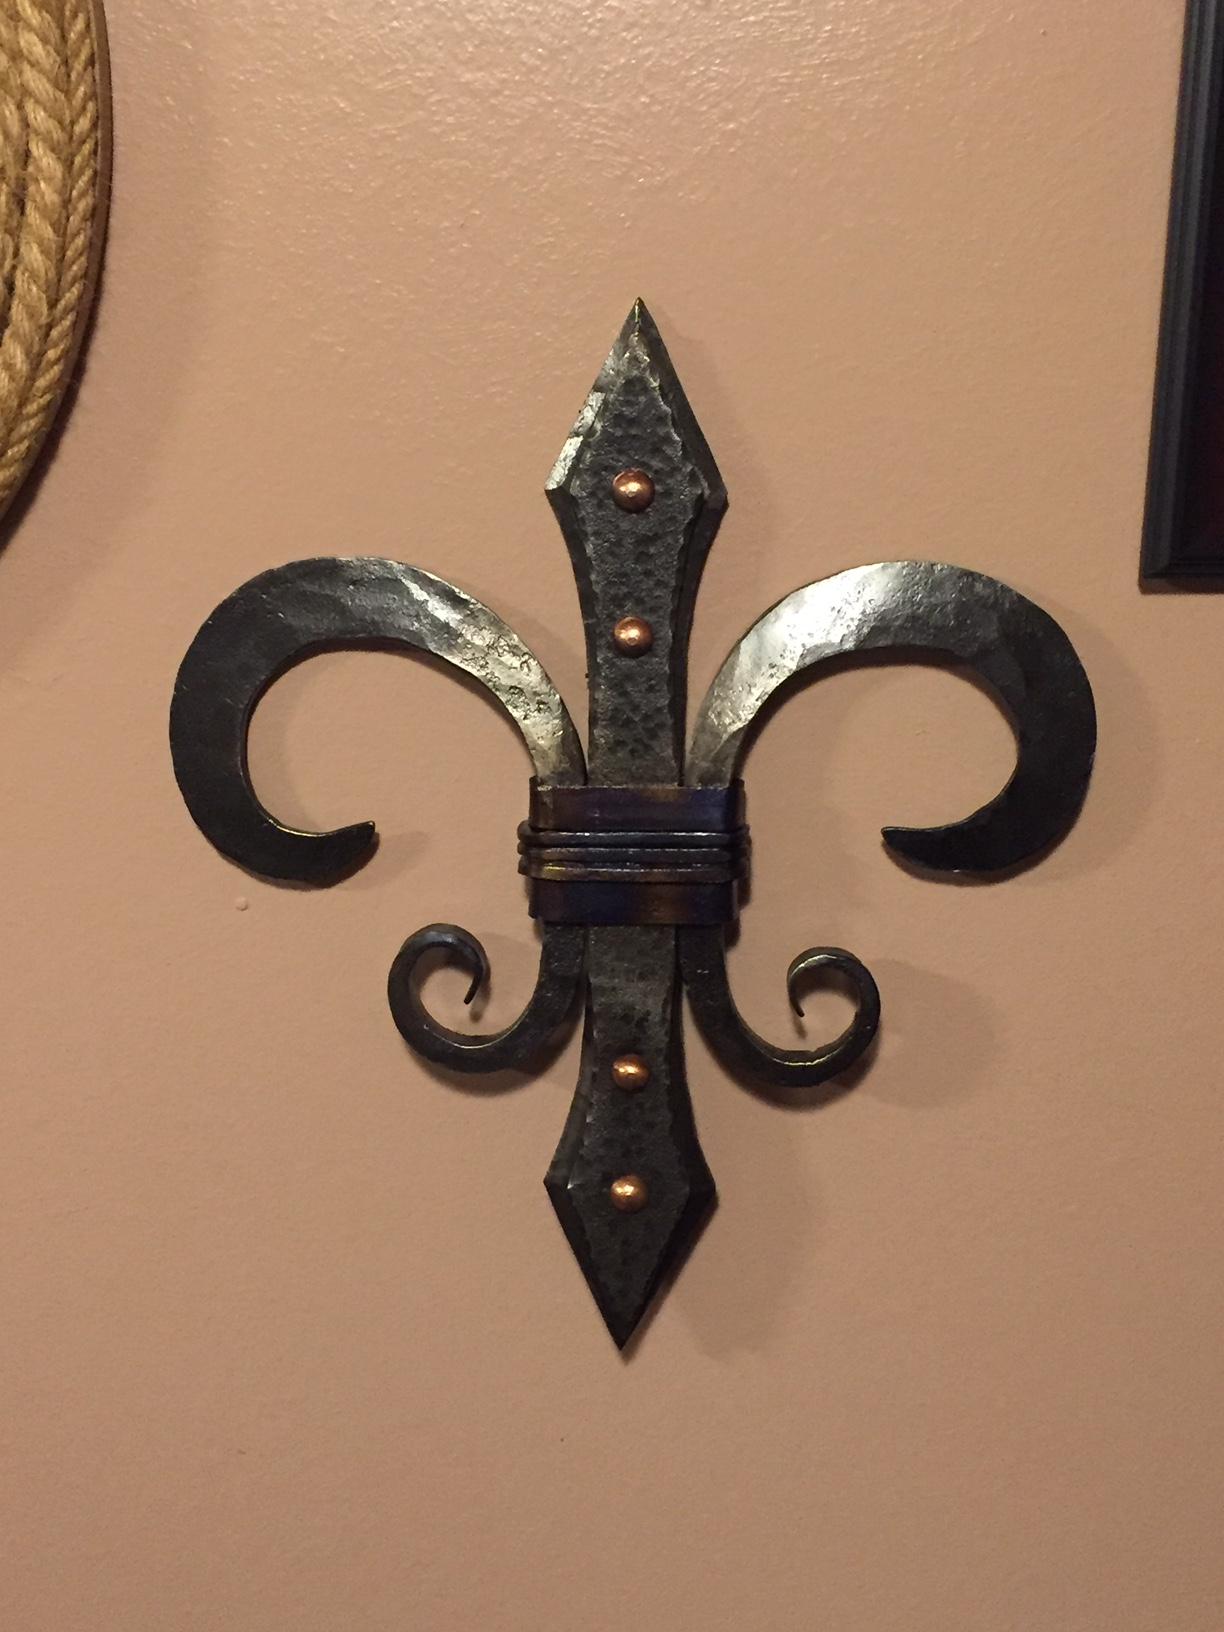
With spring here I am working on my iron garden. My wife likes to have a health supply of giftables on hand. have a great day, W
-
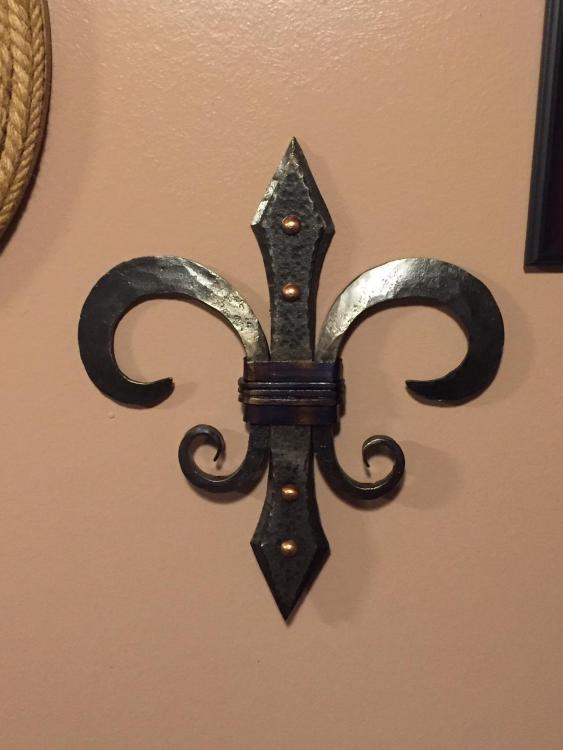
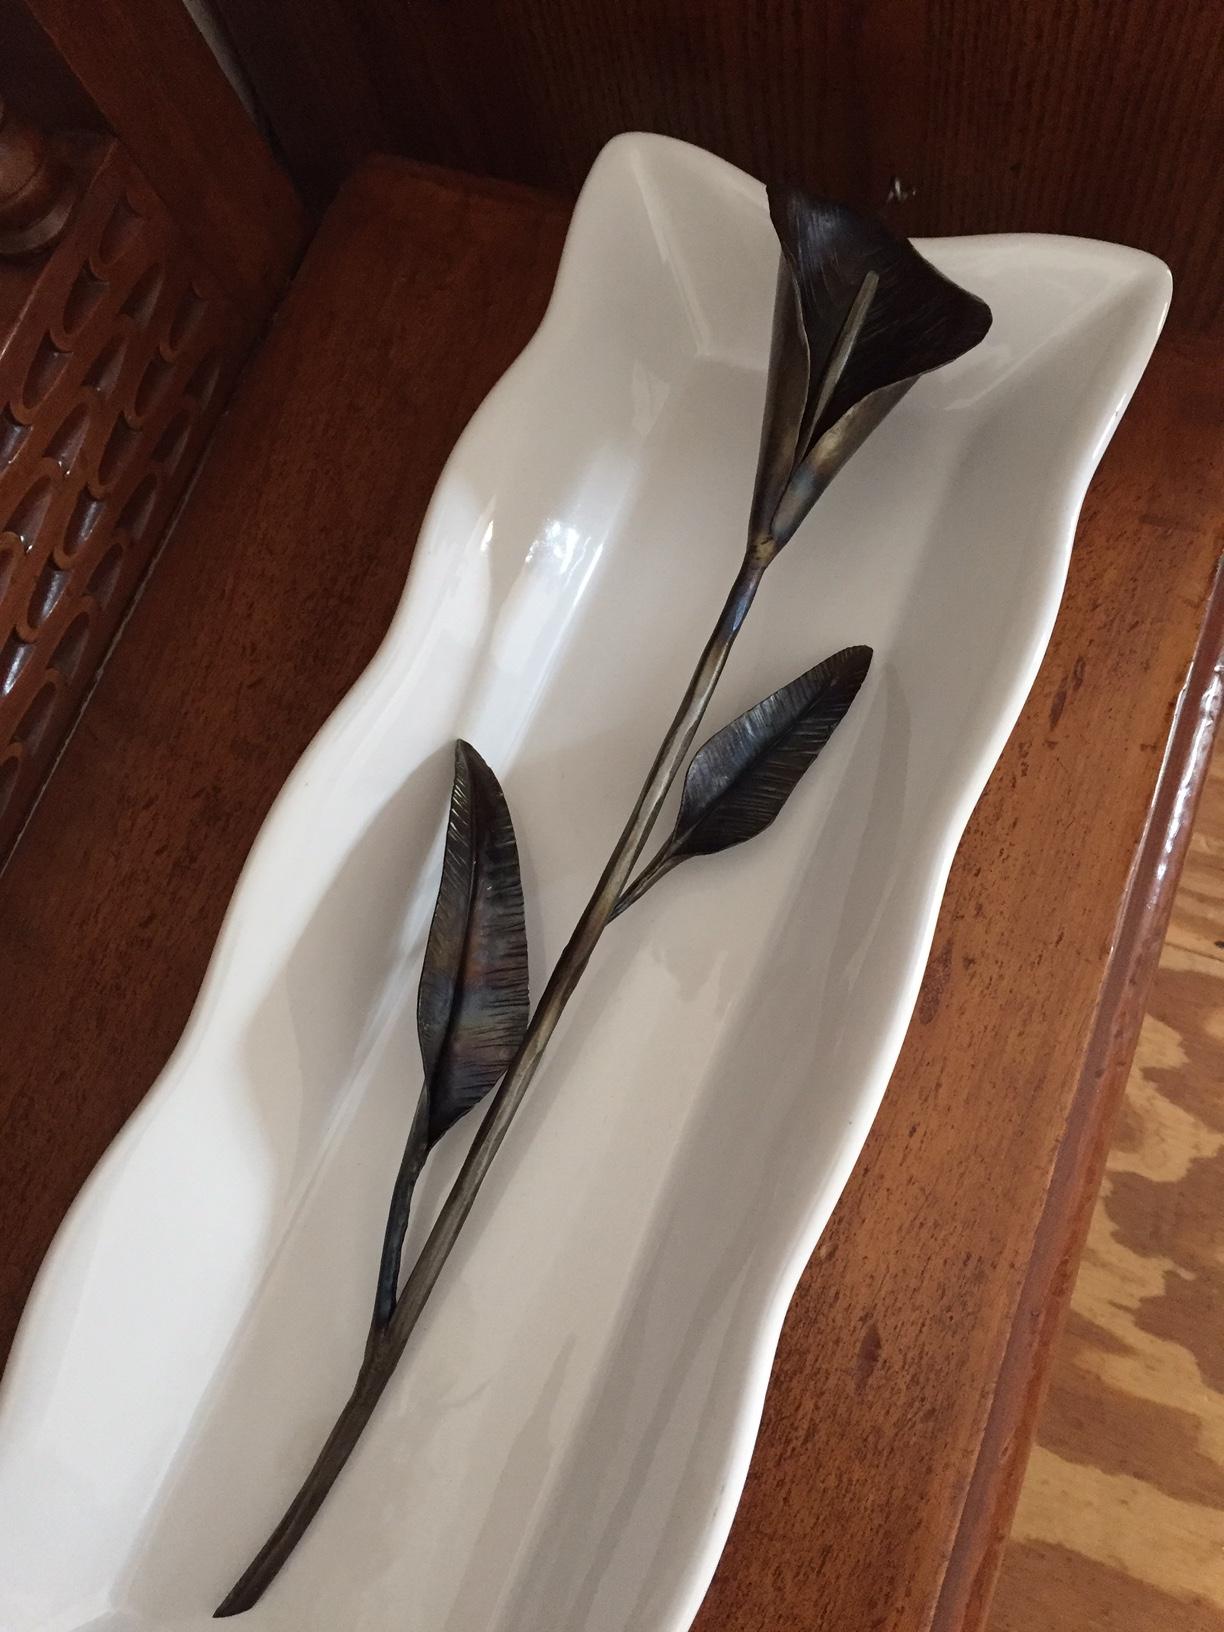
Hello all, Made this one earlier this year for a friend of my wife. It is made out of: 1 - 1/4 x 1-1/2 x 12 1 - 1/4 x 1 x 11.5 2 - 1/2 sq x 10 4 - 1/4 copper rivets Hot collared with: 1 - 1/8 x 1-1/2 x 5-1/2 1 - 1/8 x 1/2 x 6ish It was a fun build, the wife was happy and so was her friend. I had trouble with the fact the two scrolls where off a little but it was a rush job do to time constraints. W
-
Hello all, That book is available free to read from Hathi Trust Digital Library. Here is the link they also have several other vintage blacksmithing manuals and books available. https://babel.hathitrust.org/cgi/pt?id=coo1.ark:/13960/t19k4wc0x;view=1up;seq=1 All the best, W
-
I used a parts washer filled with mineral spirits to remove the gunk, grease, and loose paint . I soaked the screw box overnight and worked with a toothbrush to get the inside clean. Once the vise was degreased and dry I used my big wire wheel for most of it. I also used a cup wheel on a 4.5" angle grinder to remove the overburden of paint and rust. I used a light touch to only remove the paint and rust leaving the century old patina. The finish is nothing more than 3 in 1 oil cut with WD-40 somewhere around 50/50 mix. I empty my old spray cans of WD-40 that will not spray anymore by punching a hole and pouring what is left in them into a squeeze bottle then add 3 in 1 oil. Most of my tools get wiped down with this from time to time. I Wiped it on all surfaces before assemble. I lubed the screw box and all moving parts with Never Seize. The clean up took a full weekend. To keep the vise dark like this one only remove the loose rust, you do not want to take it all the way down to shine silver, It is the same technique used on the body of anvils. To much wire wheeling re-exposes the metal. Hope this helps, W
-
What did you do in the shop today?
Steven NY replied to Mark Ling's topic in Blacksmithing, General Discussion
Mudman, Love the knot detail very nice, I may have to steal that one! W -
Thanks P.R.S. I am just glad the stars aligned and I was able to put it back in use. As an aside: The other vise in the picture is the first one I bought. It has the same jaw length 5 1/2" as the vise featured in the picture but is half the weight. I have aluminum jaw covers that are removable made for both vises, they work great when upsetting metal in the vise as the do not allow the metal to slip as much. They really work well. I made them out of aluminum angle. If any of you find work slipping in your vise jaws I would give them a try. W
-
I picked this Vise up from a gentleman a few towns away a month or so ago. I cleaned it and built the stand for it, and have enjoyed its use since. The anvil you see in the picture I bought from a shoe factory that went out of business in my home town when I was 18 years old. I am now almost 40, and as it turns out the vise I recently bought came out of the same shop as the anvil. So these two tools have been reunited, and are working hot metal again.
-
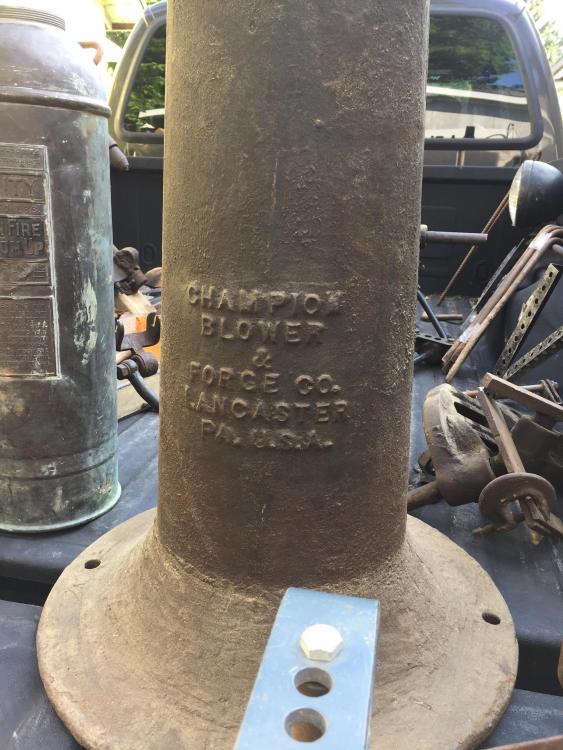
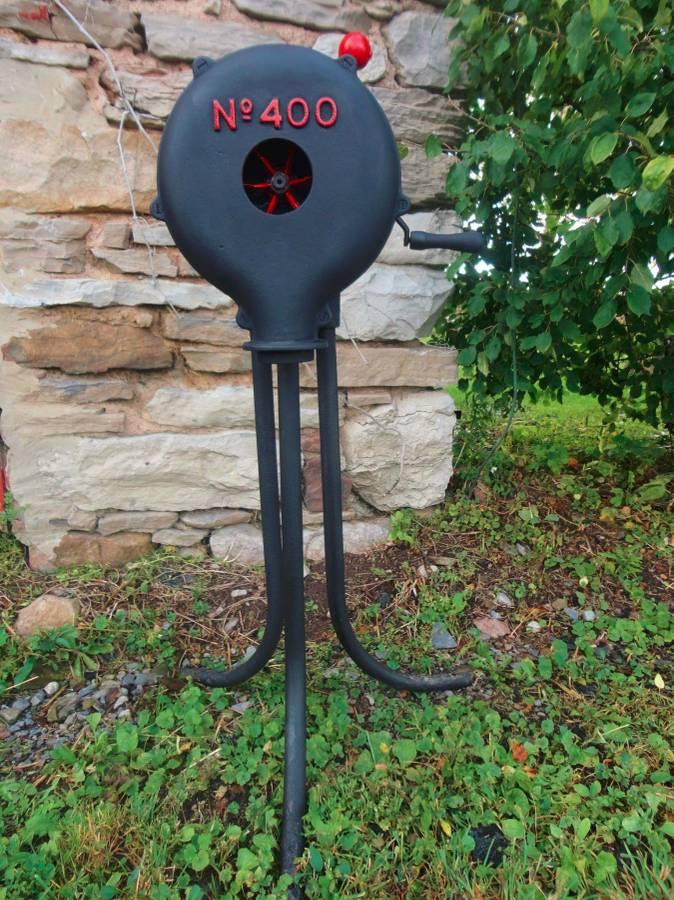
Champion 400 Blower right or left handed?
Steven NY replied to Steven NY's topic in Bellows, Blowers
Hello all, thank you for your comments. Smithingwitch, I went home last night and checked exactly what you asked about. The standoff is longer on the opposite side of my blower than the side with the handle, so at a glance the casting appears to be the same for both right and left hand configuration. Not knowing the history of this blowers work life/rebuild. If it was set up from the factory in this configuration should I be concerned with flipping the shaft due to everything already being worn in? As my blower seems to turn smoothly currently with about a revolution of carry through should i just leave well enough alone and adapt my setup to make it work? I just want to make sure I do not damage this blower in use. Thank you, W -
Champion 400 Blower right or left handed?
Steven NY replied to Steven NY's topic in Bellows, Blowers
The reason I asked about swapping the gears and handle is the last owner restored and adjusted it about a year before he sold it or so he said. So I have no idea what was done. It does turn smoothly. I have not opened it up to look inside yet, but from what I have seen and learned about cleaning and adjusting the gear boxes on these, the gears and shafts need to go back in the same way they came out. I don't think they can be flipped to work in both directions or can they? I can make it work, I was just wondering if this would be considered right or left hand by Champion. -
Champion 400 Blower right or left handed?
Steven NY replied to Steven NY's topic in Bellows, Blowers
Swap the gears and handle side to side? -
Hello all, I have a question about a blower I picked up last week. After researching rebuilding the blower, I wanted to make sure everything was in good working order before putting in into use. I realized that Champion made them right and left handed. So I am wondering is this a right or left handed blower according to the Champion corporation. I would like to crank it with my left hand, but it seems backwards. At the time I did not think of that and I am sure I can make it work, but would like to know more about what I have. This will be set up to work in tandem with an electric blower, but want the hand crank option for power outages and finer heat control. Thank you for your help/information, Steven From what I can find this crank option was not as popular as most seem to have the handle on the other side.

.thumb.jpg.391d91fef5c7ea543693c66bbd1013dd.jpg)
-
This is a video of someone making a similar tool to the one fciron was talking about but made out of different stock. http://www.youtube.com/user/coalcreekforge#p/u/0/aLuV2PW8_qg Steven
-
Going higher would be a much easier way to help control my coal than going wider at this point, I had not thought of that. Good call on the sweet spot, with the 2inch angle iron I seem to hit the sweet spot so maybe 4 inches on the side leave the front its current height and taper the back to the middle. Mark, I am planning on building a side draft hood for the forge that will exit under the fan. The fan was installed and used for painting motorcycles, and you are right about the heat! After a weekend of forging with temps in the 20's I really need to get the hood going. I just need to find the scrap to make it out of I have had my eye out but have not come across anything yet. Steven Thank you all for your comments.
-
I just pull the driver and top die out when I need to reheat then drop them back in when it is time to beat again. The top die gets warm but even after hammering out several cups it does not get hot enough that you can not touch it. If I am only using a bottom die I have a longer and wider driver I use. Thank you Maddog. Curly I love that candle holder, I will have to try one of those. Steven
-
Hello all, I made this out of 1/2" steel and 1/4" angle iron. I will be making more dies for it as I need them. Please post your dies and what you use them for, the dies pictured in this guillotine I use to make my candle cups. Steven
-
Hello Guns, My two cents: I would say anything free is worth giving a try, I forge successfully with Anthracite coal (which I also use to heat my house). Anthracite has it challenges but it works. The forge looks good depending on the price and if the blower functions or you can make it function. Same as with the coal, anything you can get a deal on can be handy never know what you might need. Steven


.jpg.9dd38a5113934a6626225d7c79777de7.jpg)