Jim Coke
Members
-
Joined
-
Last visited
Everything posted by Jim Coke
-
Greetings all, in the past I have posted several of my ideas and it has come to my attention that they can not be accessed .. I will try to repost a few in the future. Forge on and make beautiful things Jim
-
Greetings Firefarm, A picture would help but I will make an attempt at a suggestion . You could drill and tap the tap the back side on the top only and use a wall hanger screw .. Threaded on one end and lag on the other.. For the bottom you could counter sink a hole and use a cut off hanger to mate the hole . Than drill a small hole through to the hanger bolt and than a small roll pin. Pien over the pin hole after installation .. With this suggestion it would be a one time thing because you would be the only one that could remove the handle . Just an ol boys 2c. Good luck Forge on and make beautiful things Jim
-
Awe just one more.. Mistakes like that can have quite an IMPACT on your body.. Forge on and make beautiful things Jim
-
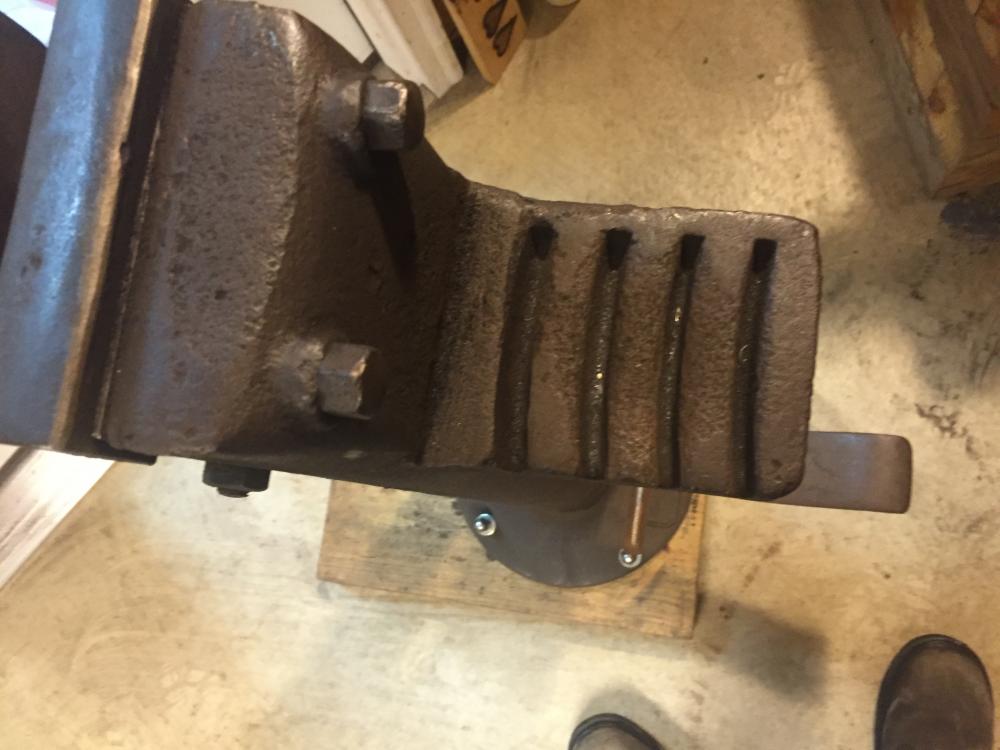
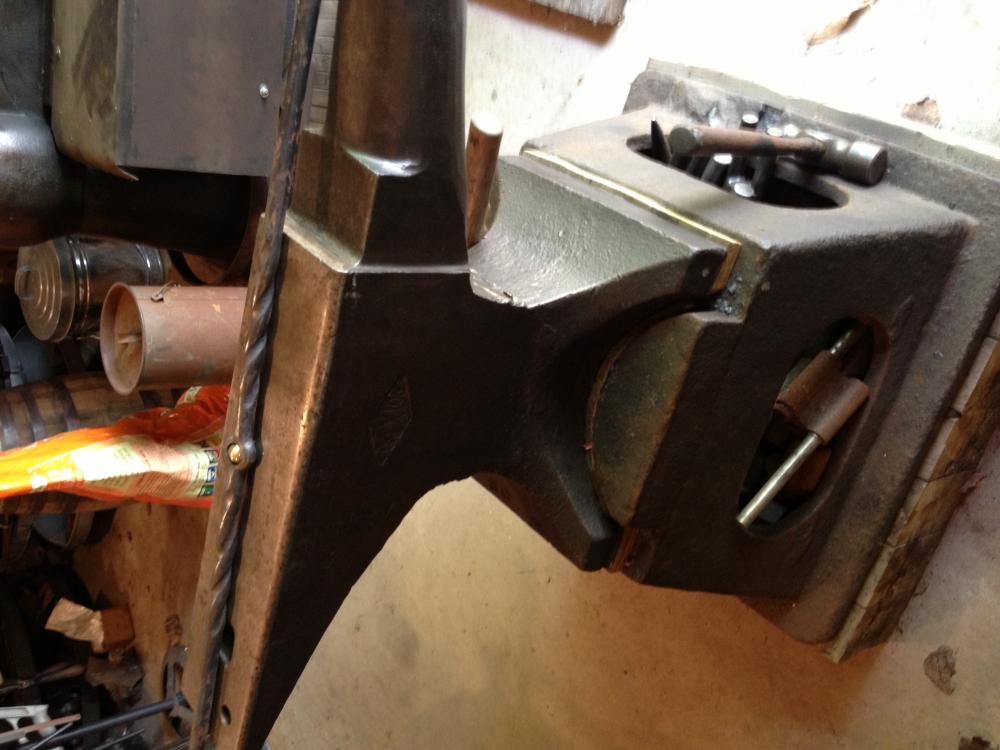
Greetings again, Your pictures show castings on the edge that are typical of a forge with a lever handle.. The casting bosses on the bottom is also a sign of the gear mechanism mounting.. Again just this old boys 2c .. I hope this helps.. Forge on and make beautiful things Jim
-
Greetings Klorinth, I think you will find that the gearbox is an adaption . The forge looks like a common Buffalo or. Champion . What makes me think this way is you almost have to bend over to turn the crank . Just my 2c Forge on and make beautiful things Jim
-
Steve, You put that on this THREAD ? I would pick a better material or you will DIE.. You kinda SCREWED yourself.. Enough Forge on and stay safe Jim
-
Greetings Goose, Depending on the screen you use I have had success forming screens on a sandbag with a bossing hammer. Just a thought .. Good luck.. Forge on and make beautiful things Jim
-
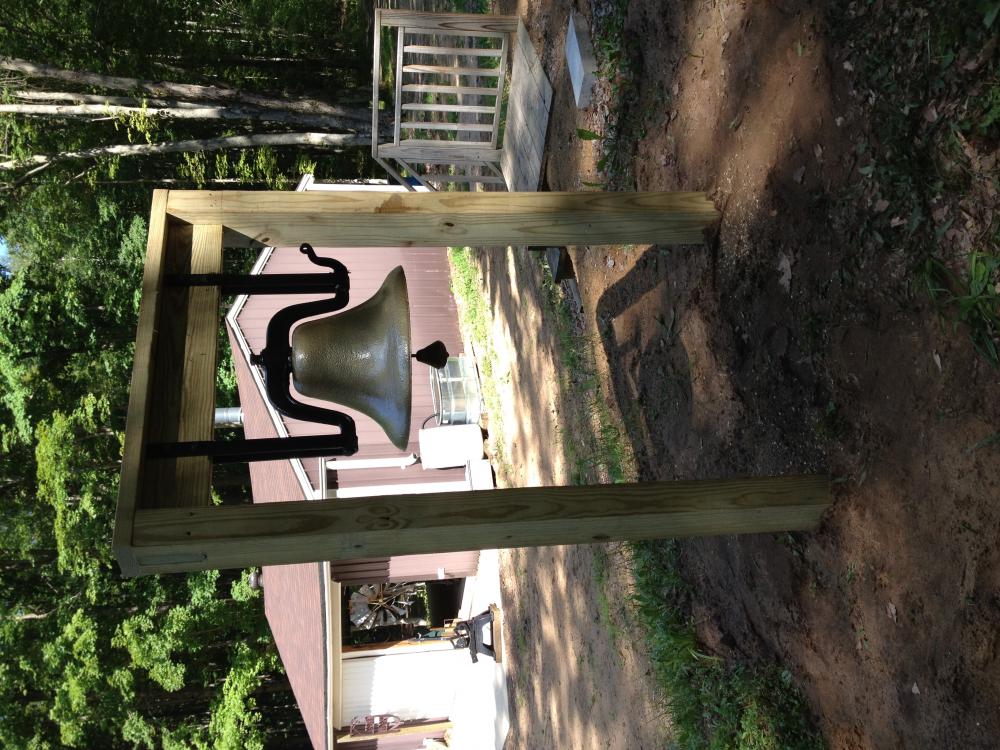
Greetings Farmall, i have six bells on my property.. You can make a yoke that will work just fine Yep you guessed it the name of my forge is Golden Bell Forge. Forge on and make beautiful things Jim
-
Greetings Bryan, A simple soloution is a few brackets to your set up and clamp or bolt to your tractors draw bar.. It won't move .. Mine is on wheels and I drop pin it to my acorn table. Forge onand make beautiful things Jim
-
Greetings Bryan, Each application is different with the Hossfeld but you will find with tubing it's easier than you think.. A good combination is a frame style pipe and tube bender with a hydraulic jack to start some bends and than tweek it with the Hossfeld. Frame benders are available for cheap and sometimes you can use the dies from the Hossfeld.. Just my 2c Forge on and make beautiful things Jim
-
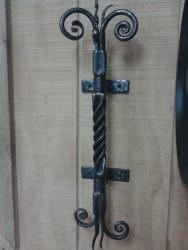
Greetings John, I can't remember my first twist but I'm sure I was as proud as you are.. Down the road you will experiment and find new ones.. You are doing just fine.. Forge on and make beautiful things Jim


-
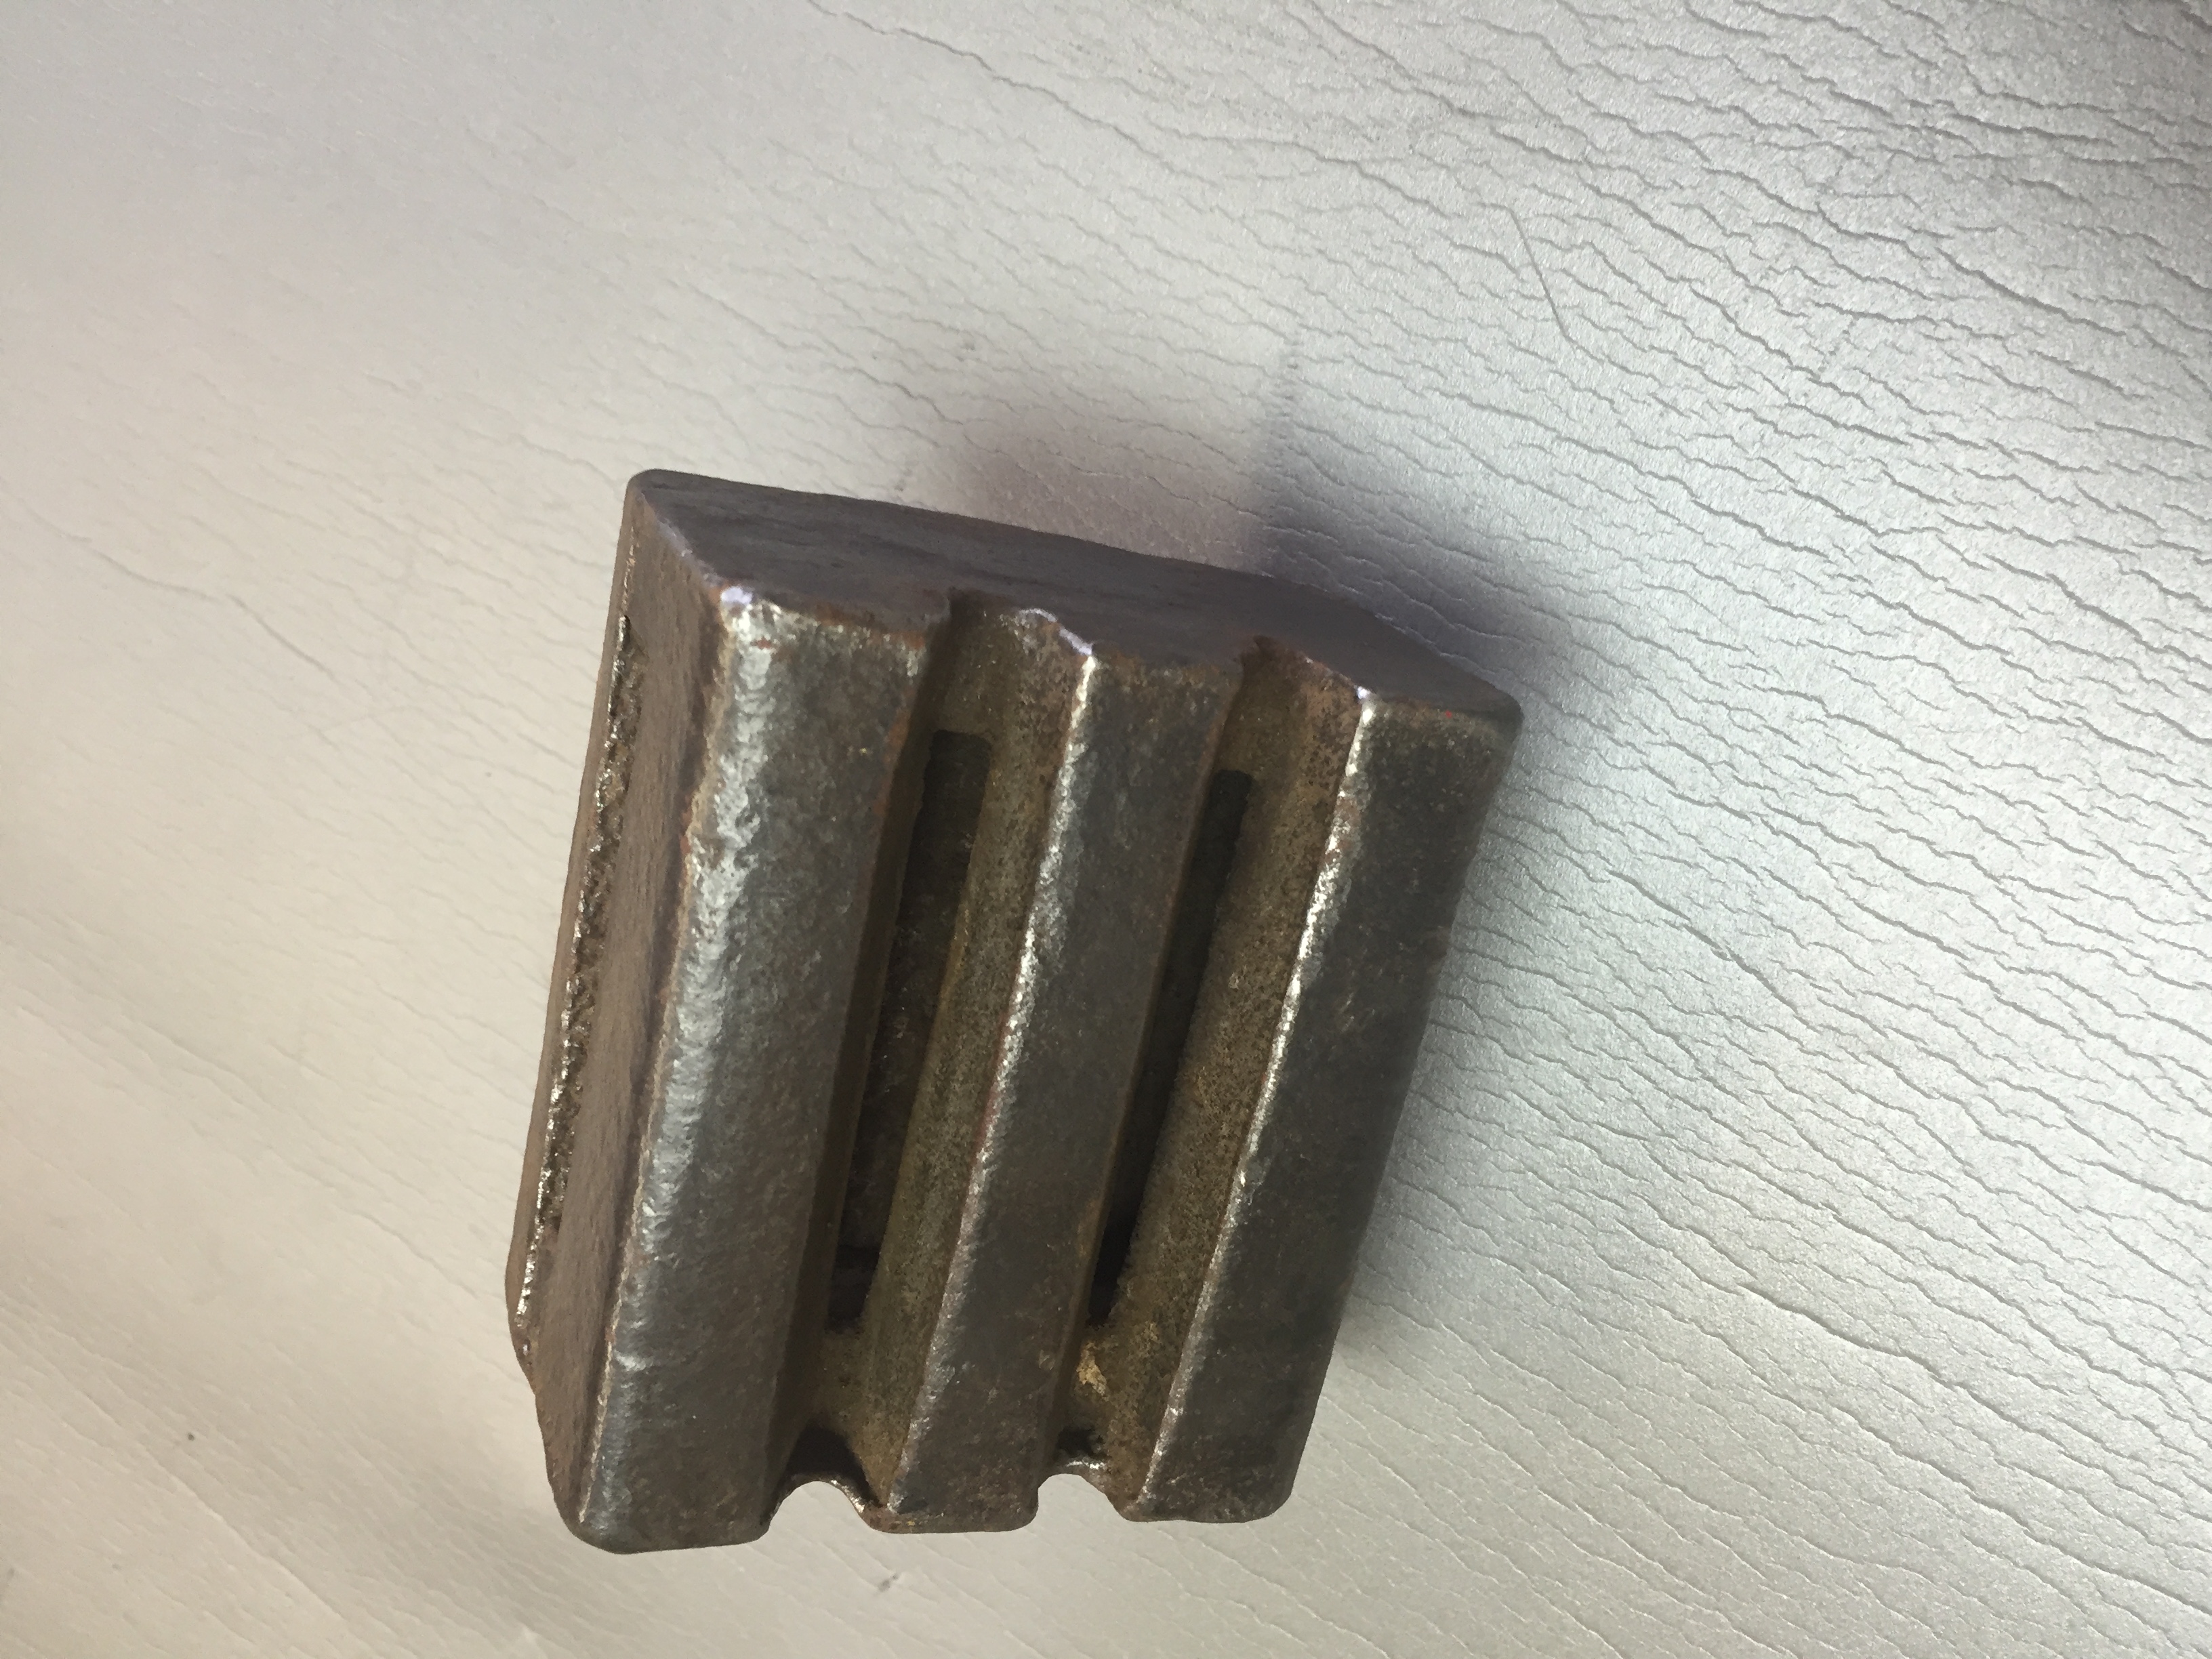
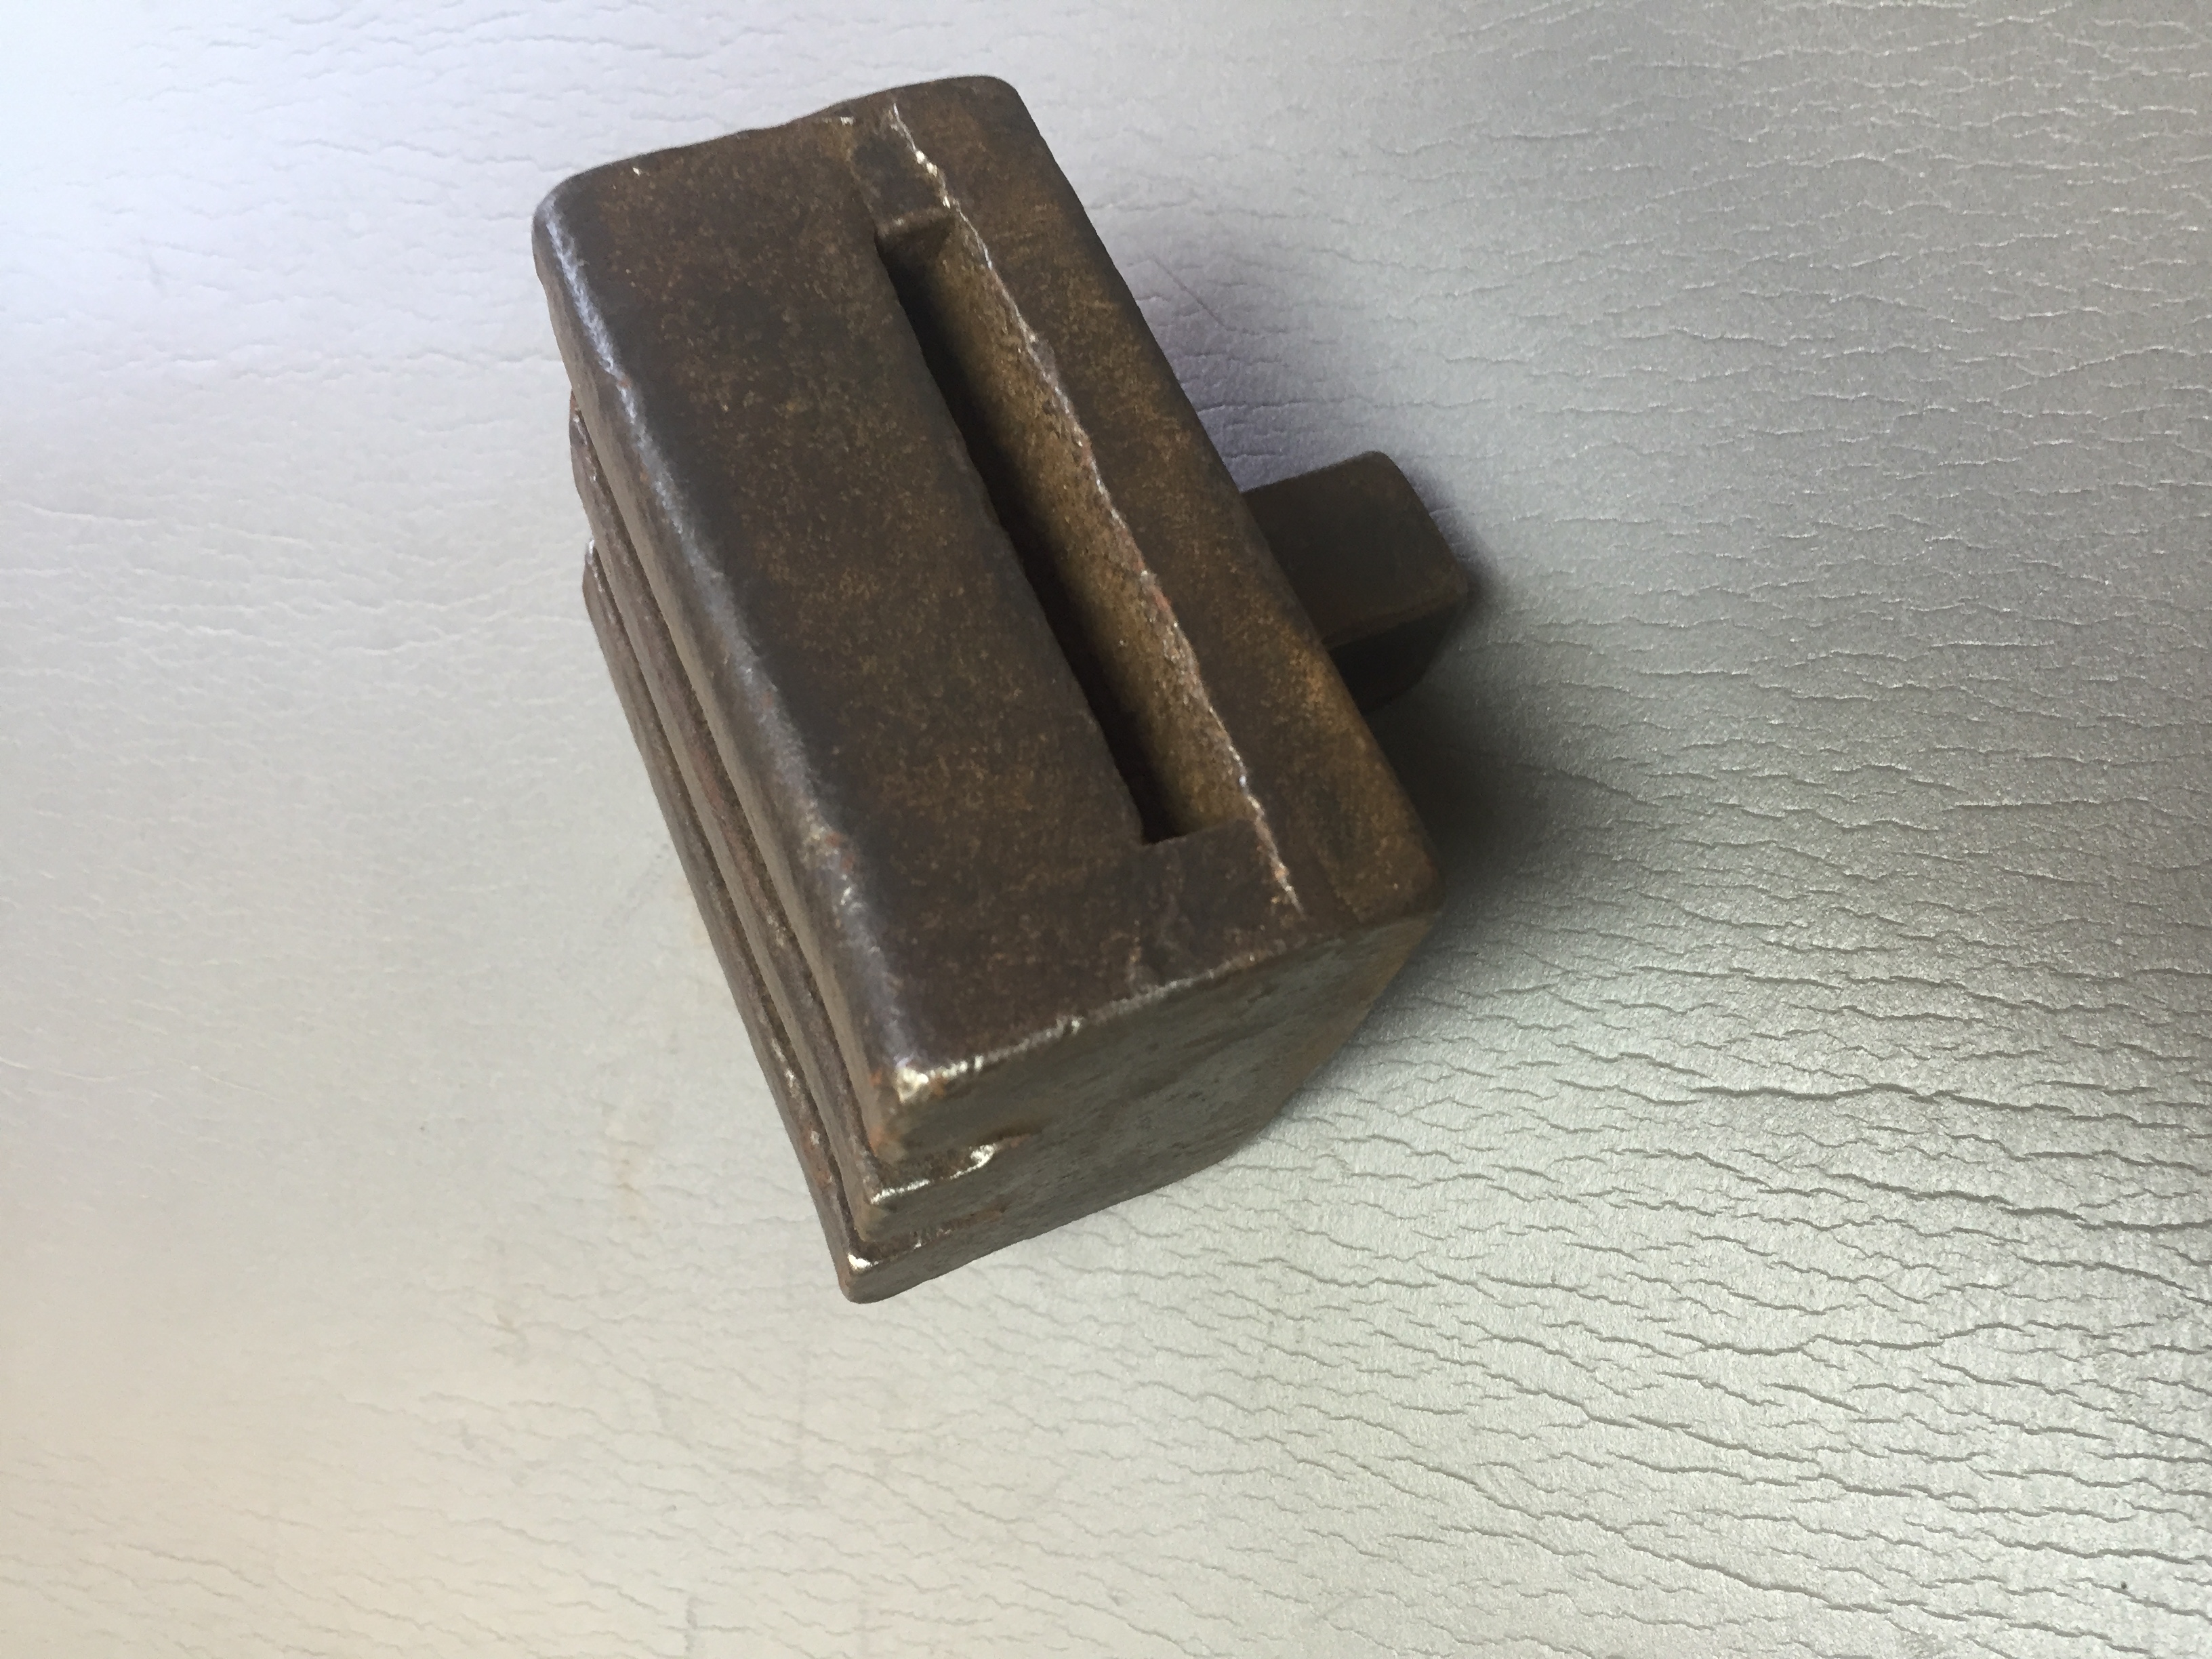
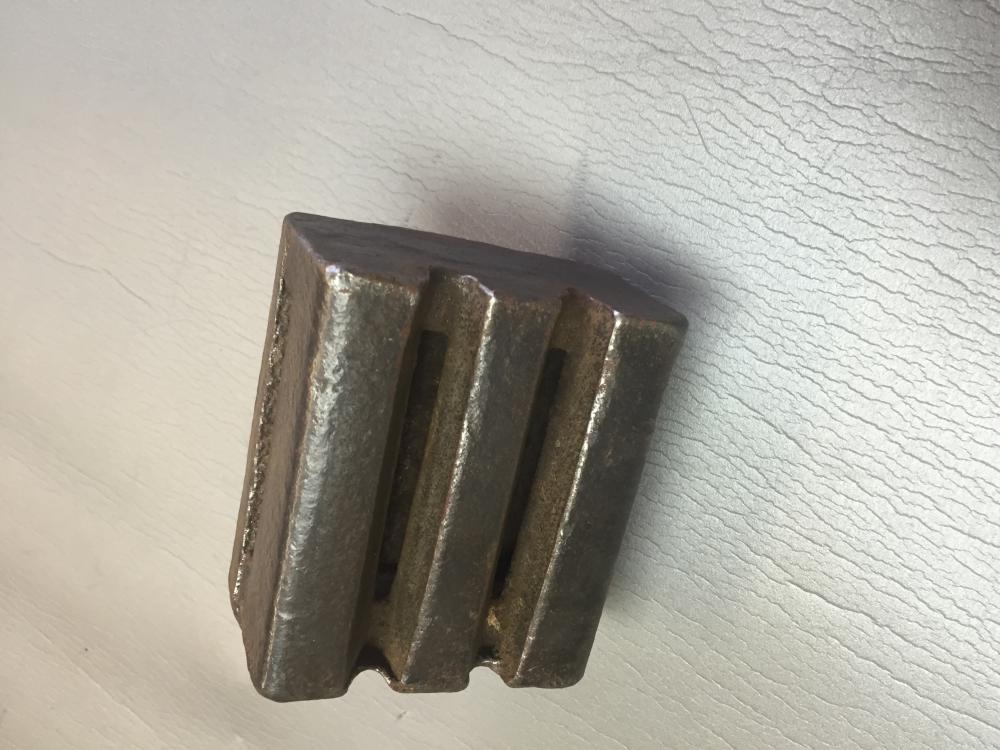
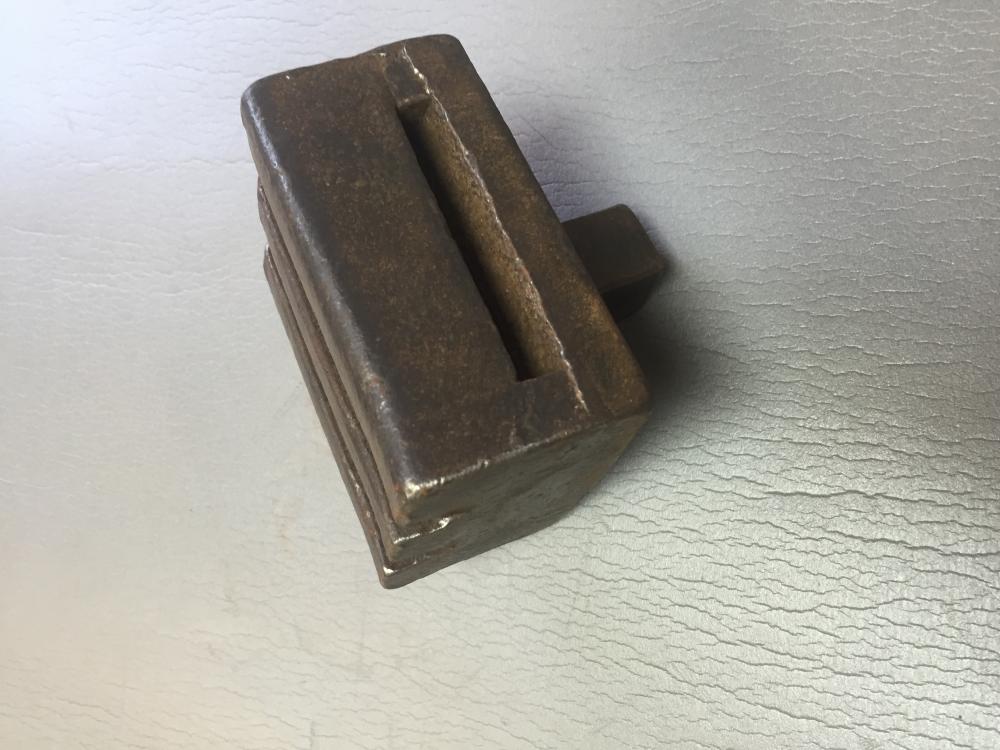
TP.. I thought they were for calks also but never seen one with any evidence of forging in the face.. The slots were for bending .. IMO.. Forge on and make beautiful things Jim Calking vise slits are open at the end ?
-
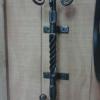
Greetings Ashton, I have aquired many things in the past to include 2 similar bricks like yours. One has a open area under the form . From what I have read and researched they were used to reshape picks and some plow parts .. I have never found anything written or pictures just guesses. Maybe someone will chime in with more info .. Forge on and make beautiful things Jim
-
Greetings GI, You are using unknown repurposed steel that could be anything.. Plated or hardened? I would suggest to remove the rivets and only forge out one reign at a time and than match it to the shape you want. Temporally bolt together , reshape to your form and re-rivet. Be sure to remove any plastic .. A good start would be to normalize the unknown steel before starting. Lots of options and each one is different . I hope this helps. Forge on and make beautiful things Jim
-
 I'm in for FEISTY.. LOL Forge on and make beautiful things Jim
 -
-
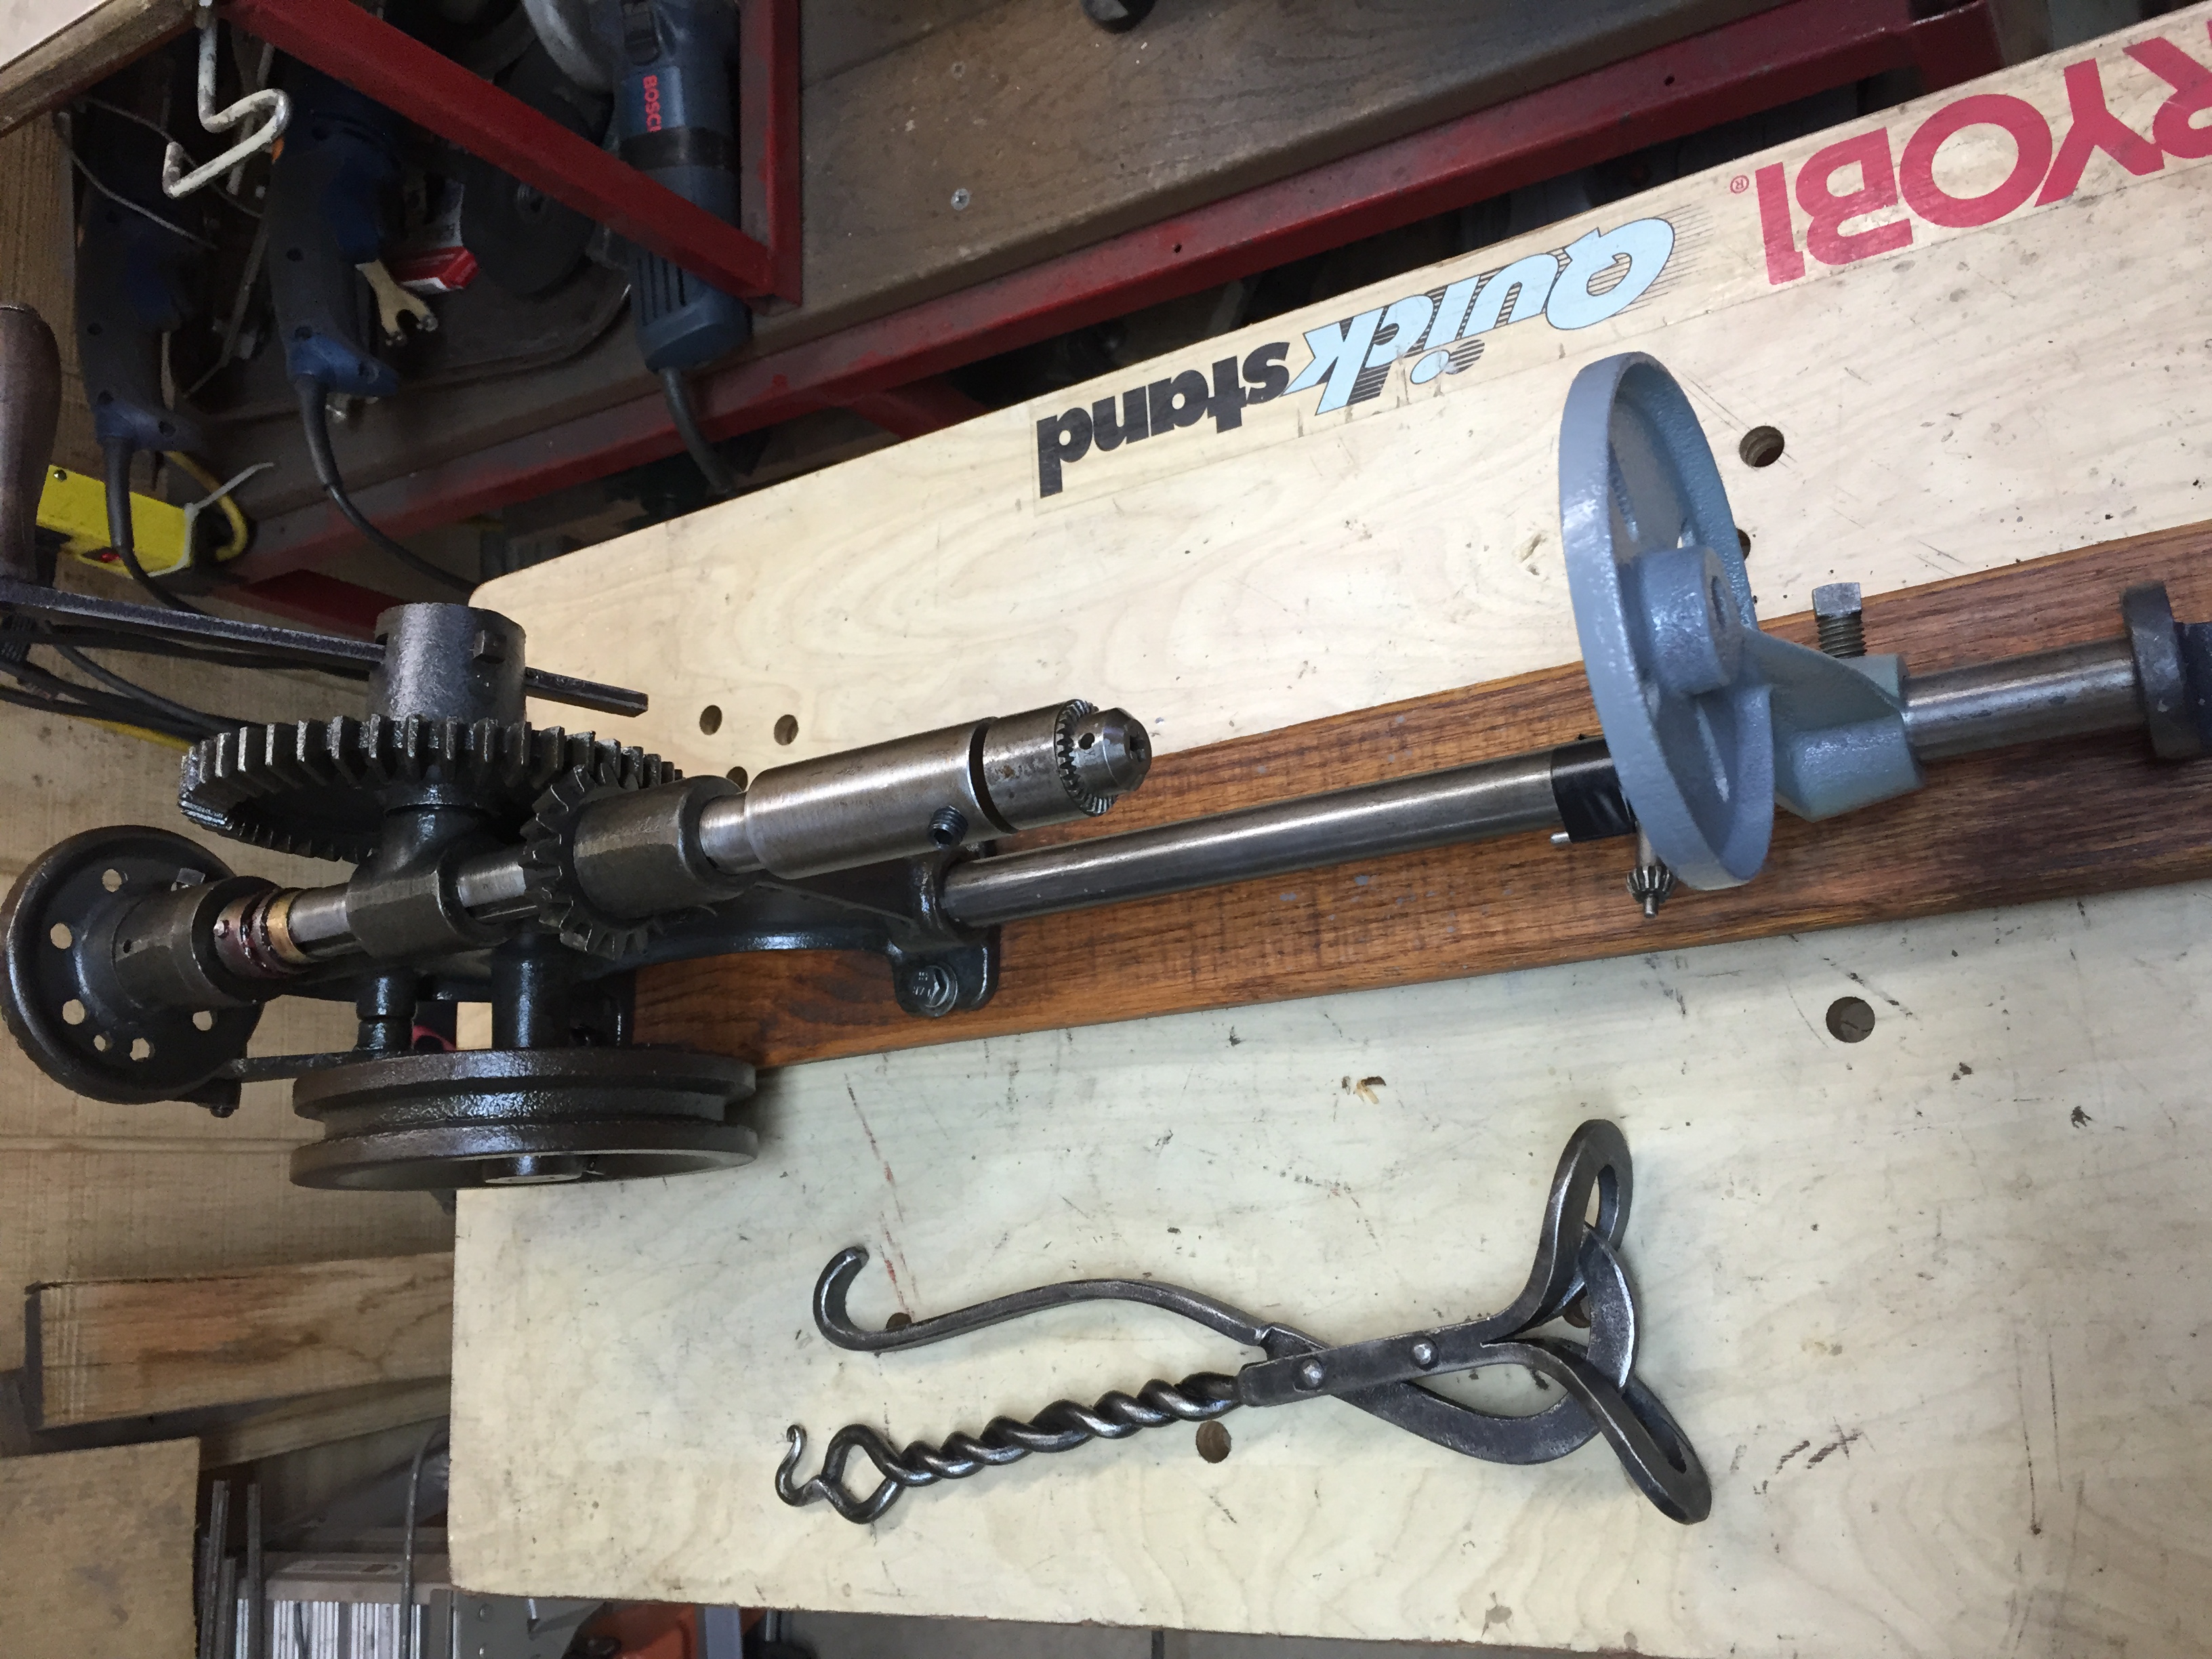
Greetings Toni, looks to me like a Champion 103.. The bearings are the thrust bearings that is used for smooth operation while under pressure .. Between the brass cages.. The handle is fabricated , non original. You are missing the lower shaft and table .. The limit screw for the feed adjustment has been modified.. Hard to see from your pictures but that's what I got.. I have restored many and I hope this helps .. Forge on and make beautiful things Jim

-
Greetings and happy new year To all on IFI... And a hearty thank you to Glen and the team.. As always Forge on and make beautiful things Jim
-
Greetings Nate, Best go back to basics... Regulator a must... Frosty will chime I right soon and give you a hand... Oh and I would move my bike.. Just this ol boys 2c Forge on and make beautiful things Jim
-
Greetings Michael, Good call.. It took quite a few years before I decided to modify one of my main anvils.. The radius starts at 1/8 and blends to at 1/2.. Forge on and make beautiful things Jim
-
Greetings Michael, Files not so much .. I have several anvils and have modified my main anvils edges to fit my needs.. If you are in doubt about changing the edges you could easily make s brick for your hardi hole with the radius you think you need.. I make several with hoops and a swedge to lock them down and they work quite well .. A flap disc on a grinder is the way to go .. Take your time you only get one chance.. Just an old boys 2c.. Forge on and make beautiful things Jm

-
Greetings Alan, Correct.. The initial opening width is established by the pin adjustment Than final closure by the screw thread .. Should open to almost a foot.. Handy tool when you need it.. I keep one mounted in a tri-stand and use it a lot . Forge on and make beautiful things Jim
-
Greetings DH, Not a wagon tongue vise.. This is a common bench vise offered by many suppliers in about 1900. You are missing a pin that limits the opening.. They open very wide and are a handy addition to your shop. They are cast so limited use of the anvil end.. Put a pin the hole and give it a try,, Forge on and make beautiful things Jim
-
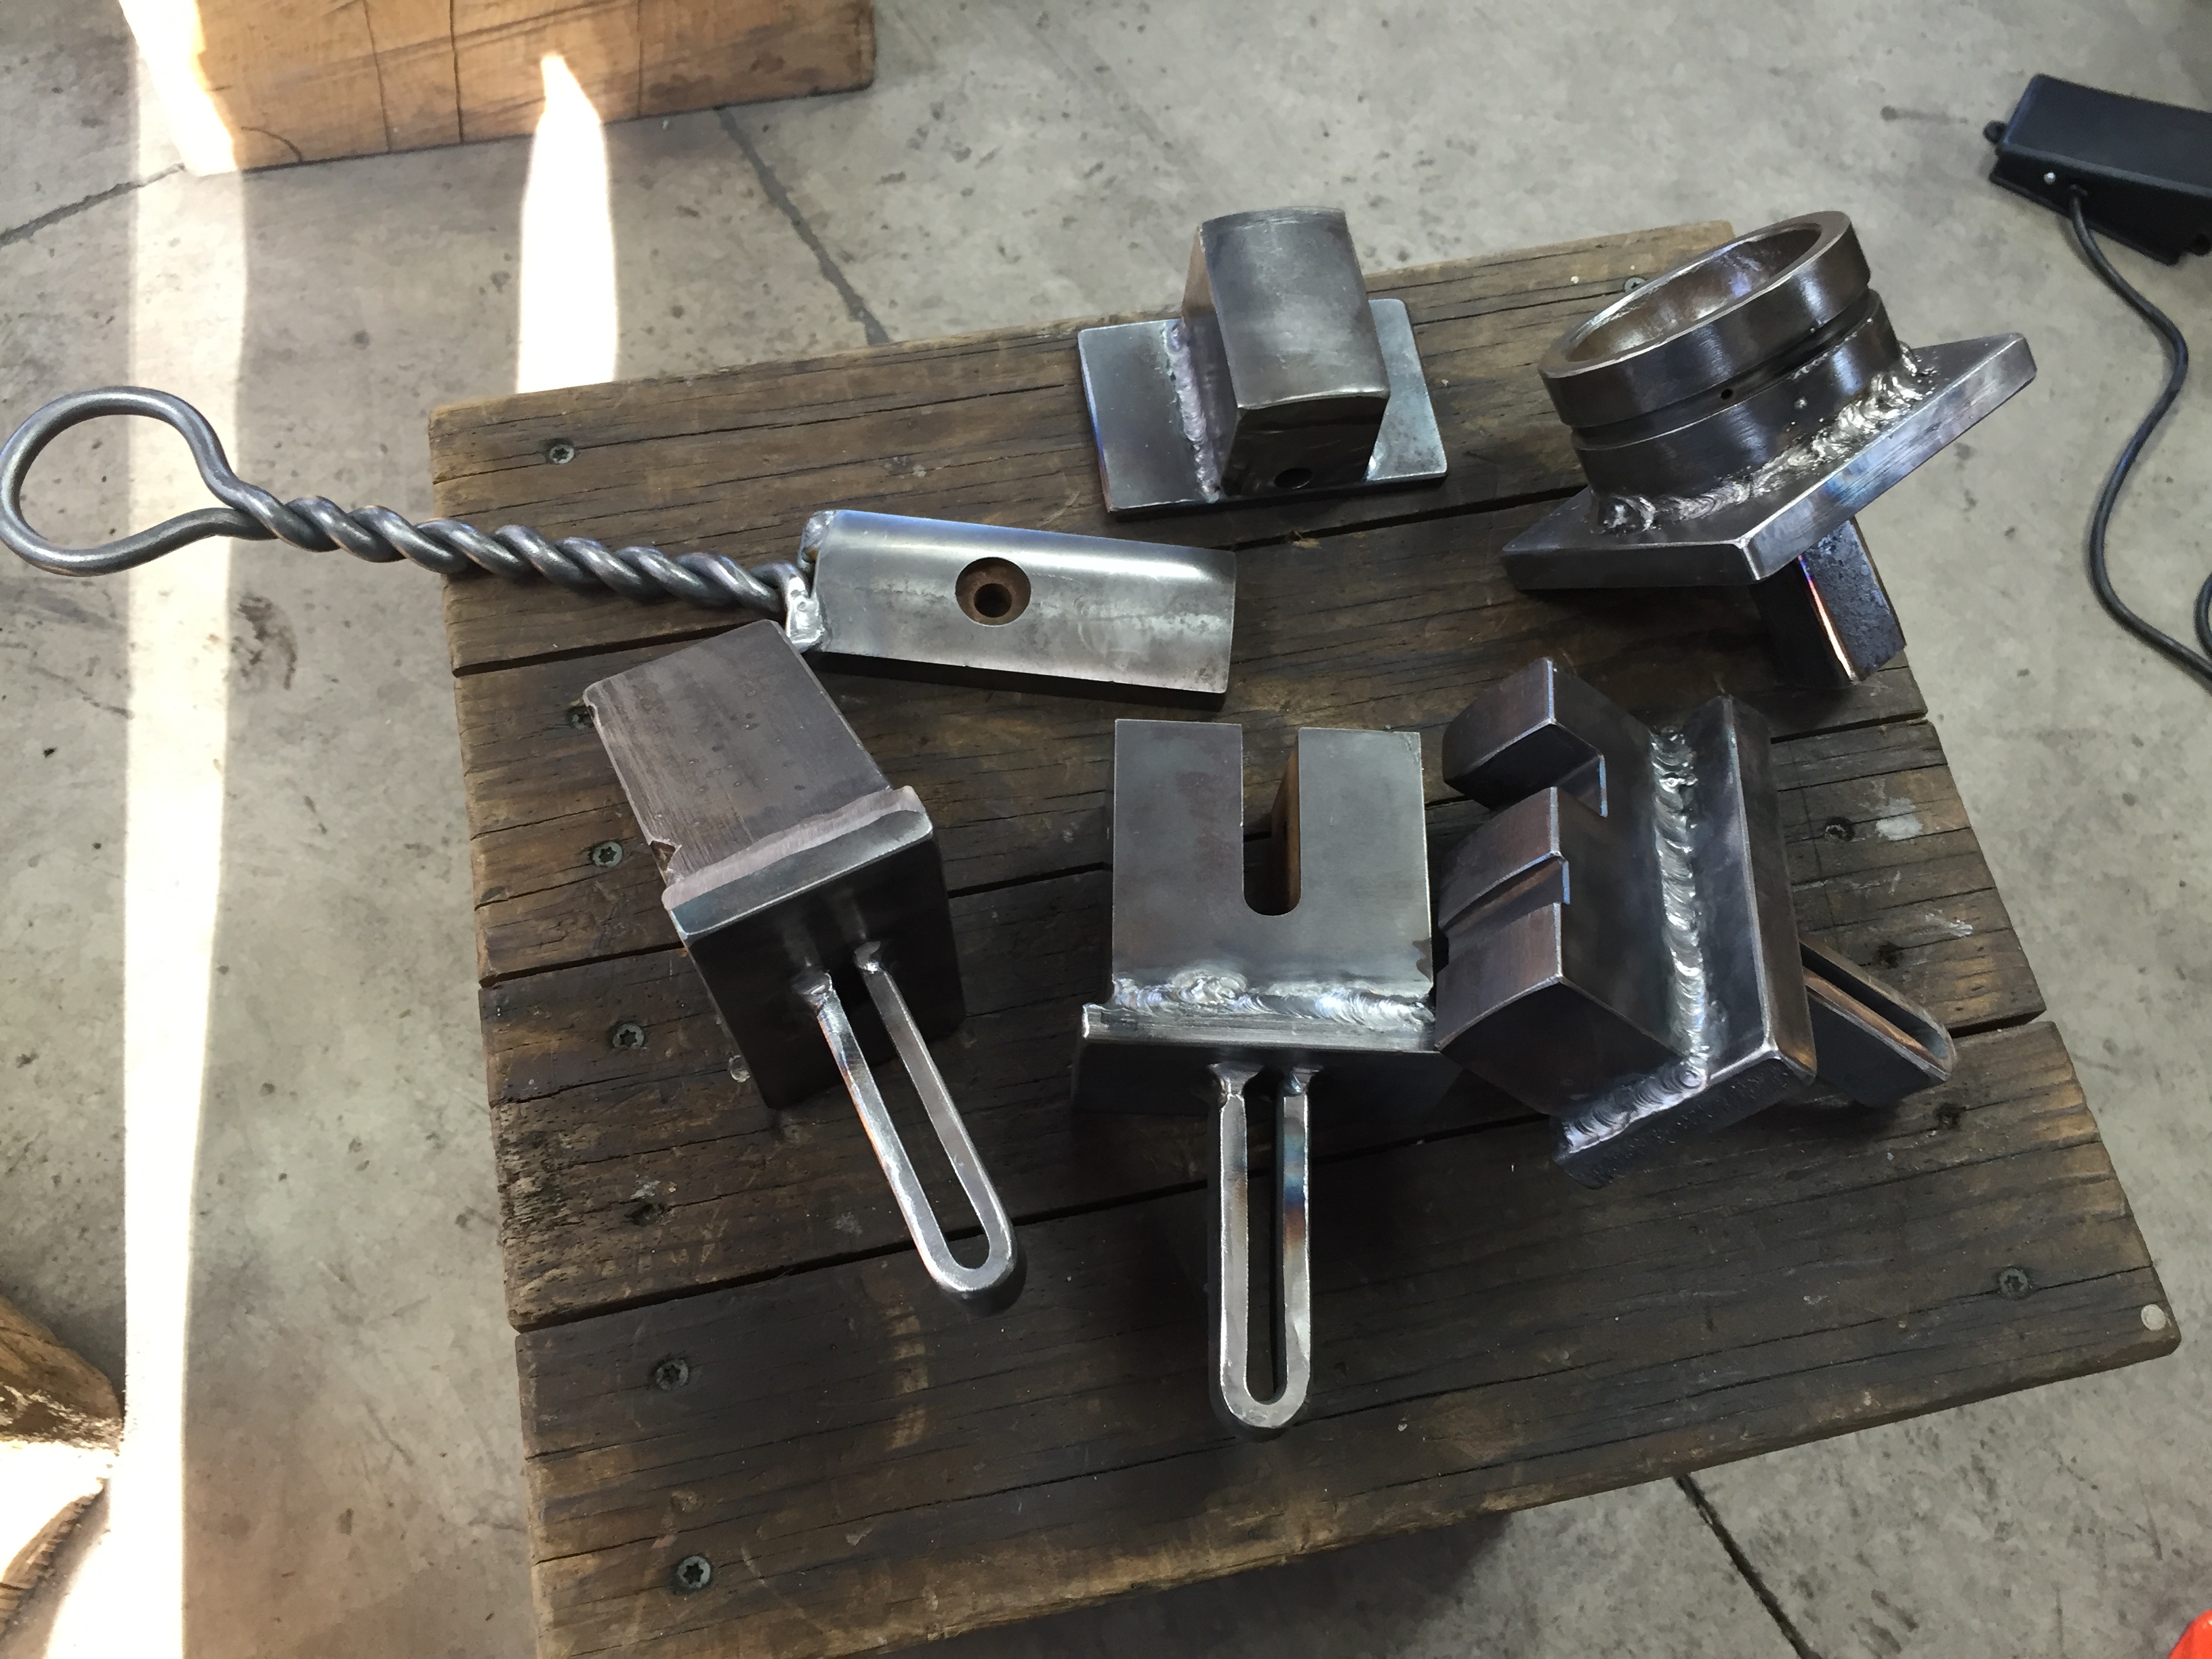
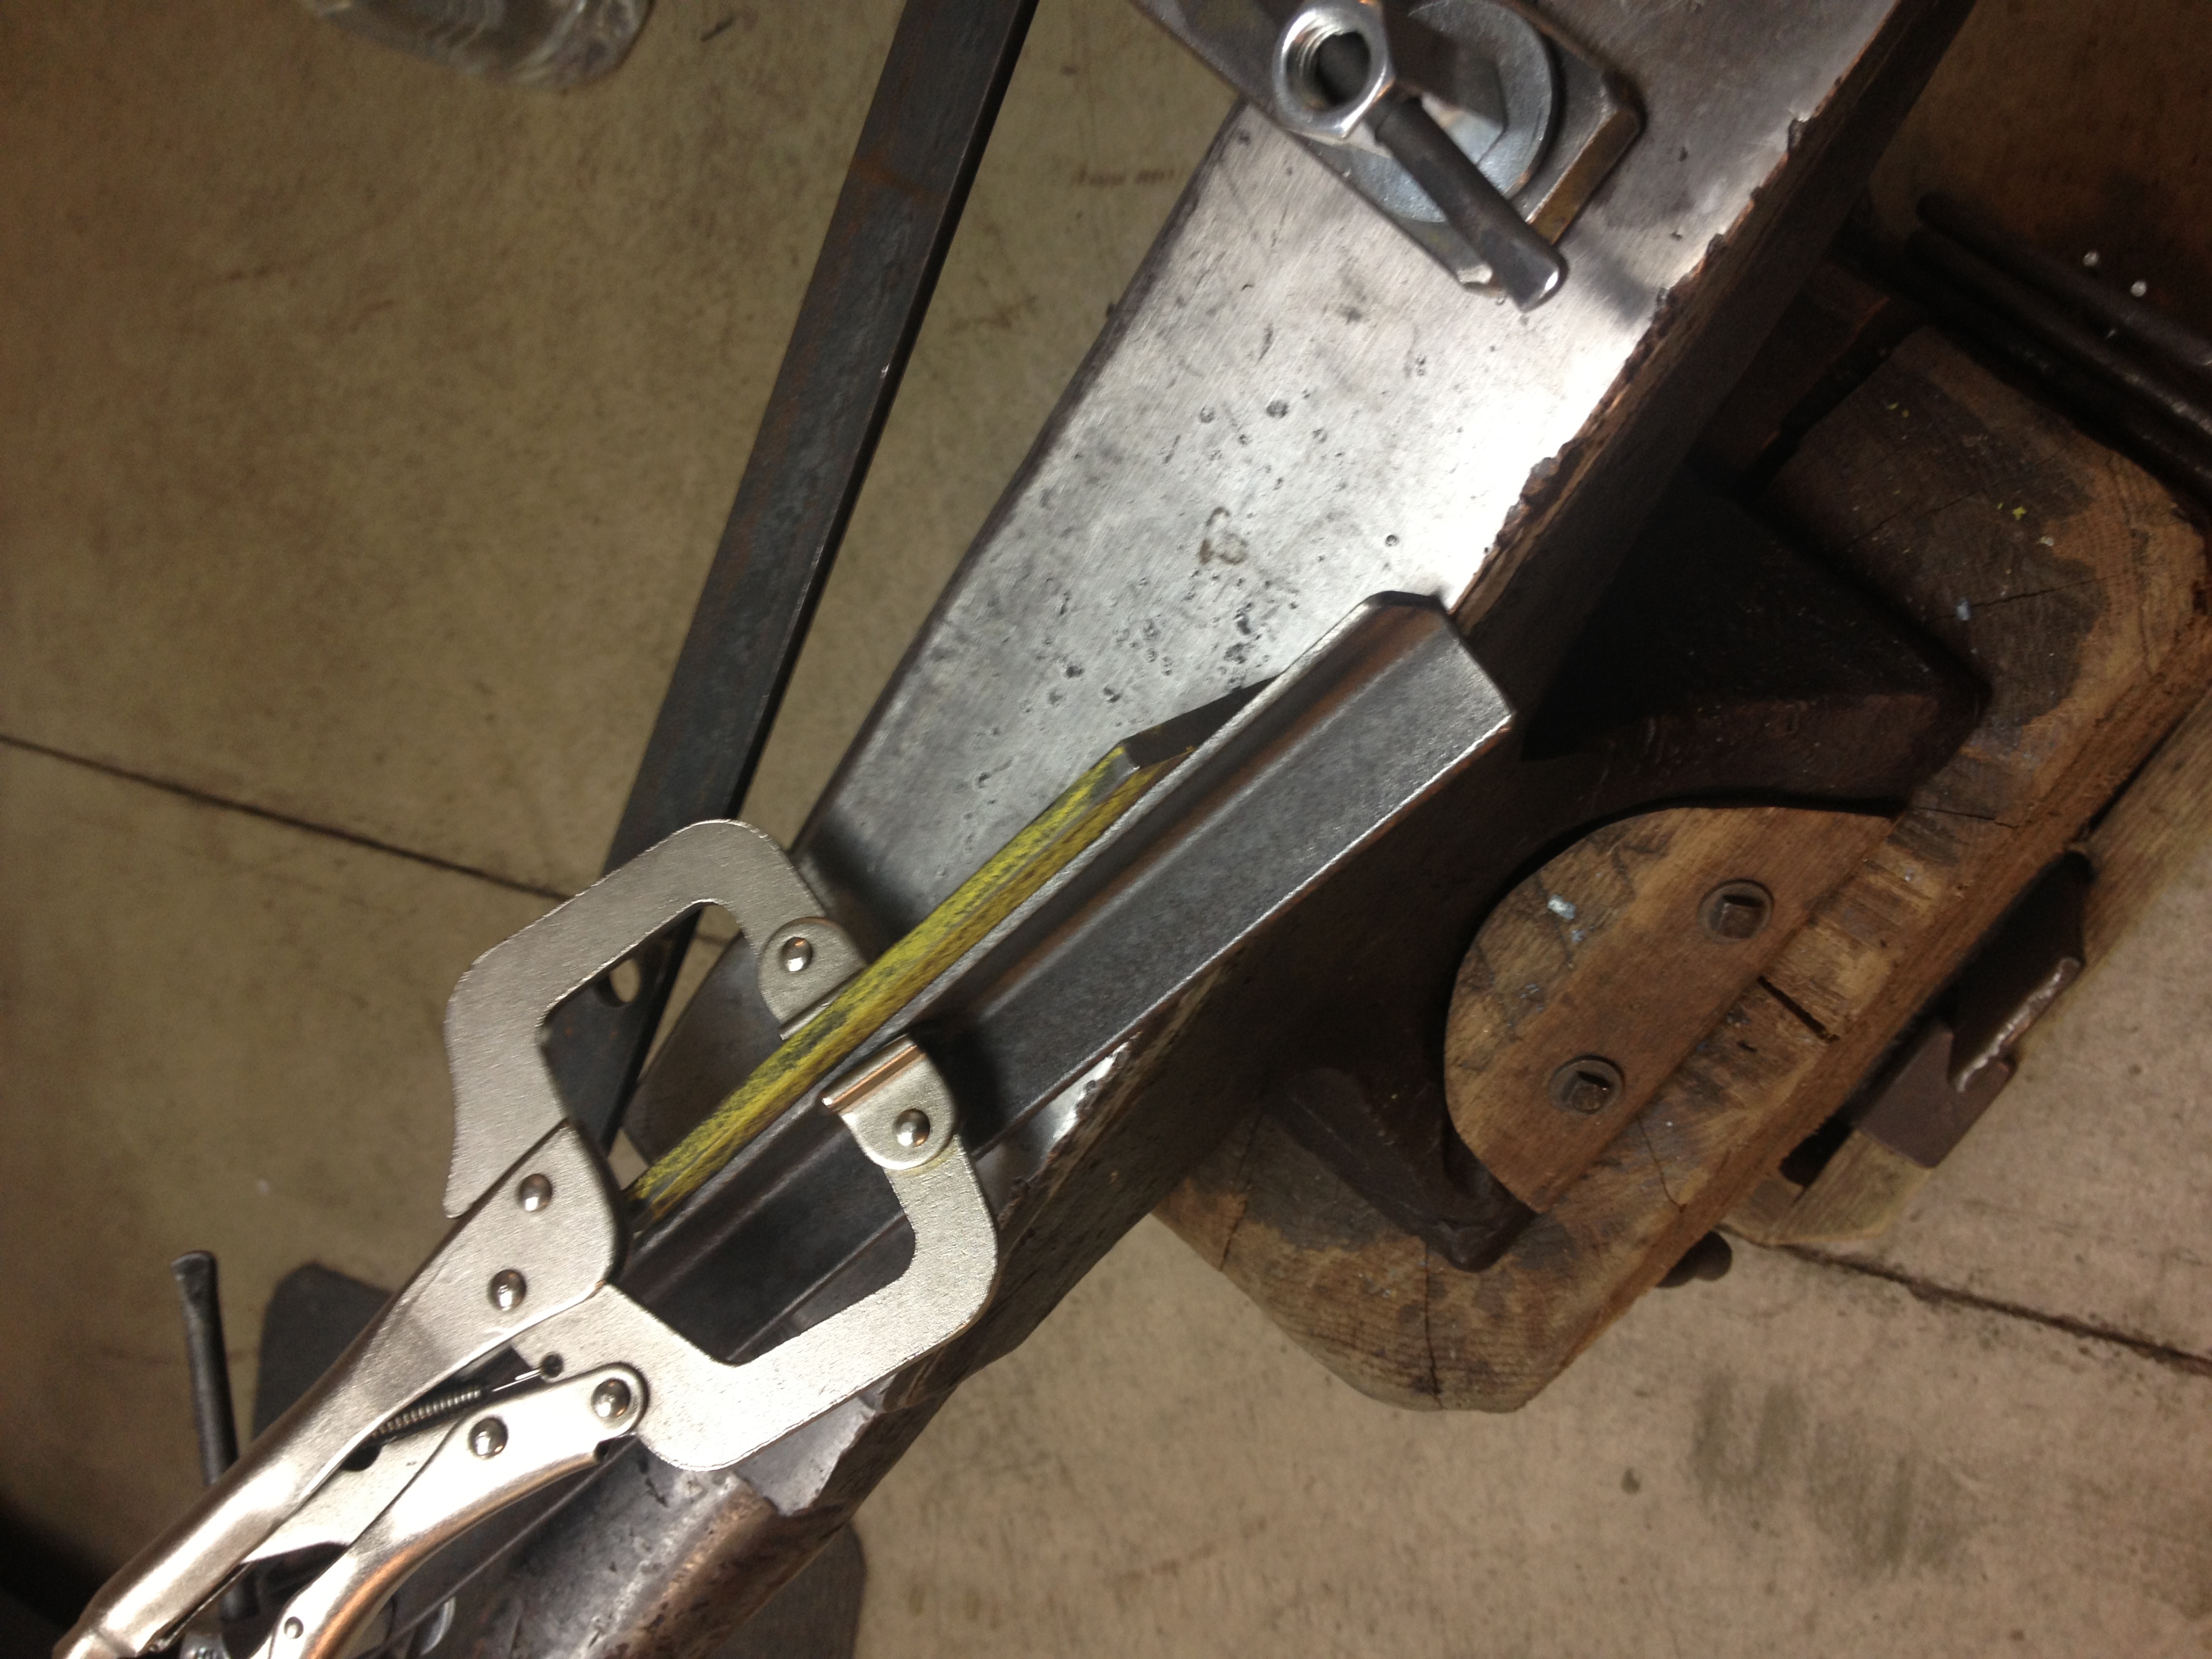
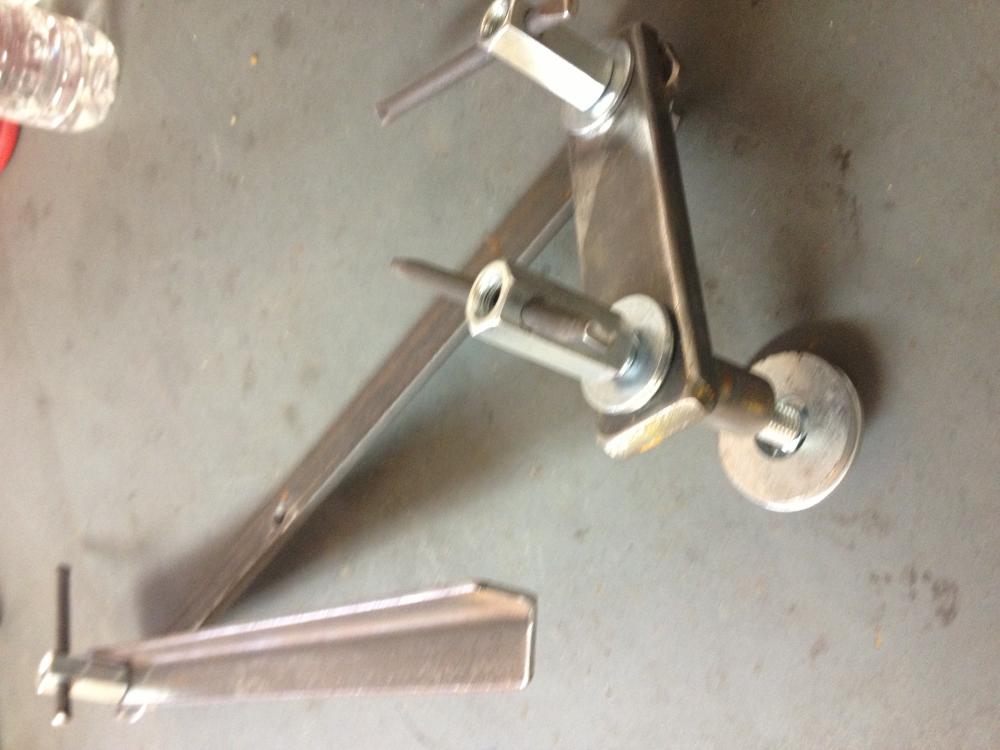
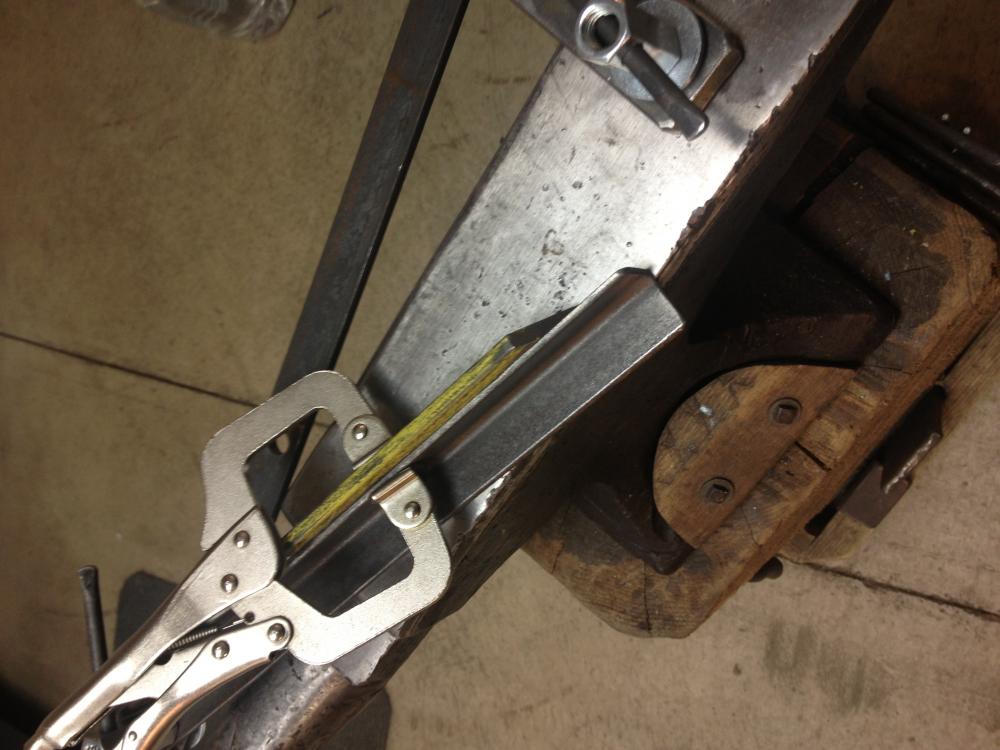
Greetings Vend/ all. I have posted this before but I though a refresh was in order. A simple set up for holding a part on the anvil or for edge work. Easy to make and handy.. Have s great new year. Forge on and make beautiful things Jim

-
Merry Christmas to everyone and may you all have a healthy productive year. Forge on and make beautiful things Jim