Paradigm11
Members
-
Joined
-
Last visited
-
I apologize, I was on my phone when I posted it and did not intend to do so! As for the anvil and stump, here is the most recent pic I have of both: The anvil itself is probably in the 60-75lb range. I got this one for free and eventually will be getting a less well loved one once I finish my little forge area (which is this crowded little place). Some of you may remember my post from last year of me building a little forge area. Still working on it, but it survived the winter with flying colors. Frosty was very helpful in that thread as well
-
I recently inherited a huge, fresh cut pine stump that I'd love to use as an anvil stand because the height is perfect, but I know soft wood is... Well... Soft. Anything I can do to make it take a beating?
-
Well, I was in the middle of that big storm in New England, couple trees came down, lost power, flooding, etc, crazy winds... My shed and chimney took it like a champ! I'm gonna go slap it and say it's not going anywhere
-
Alright, you've convinced me. Back up we go. Darn all this reasoning
-
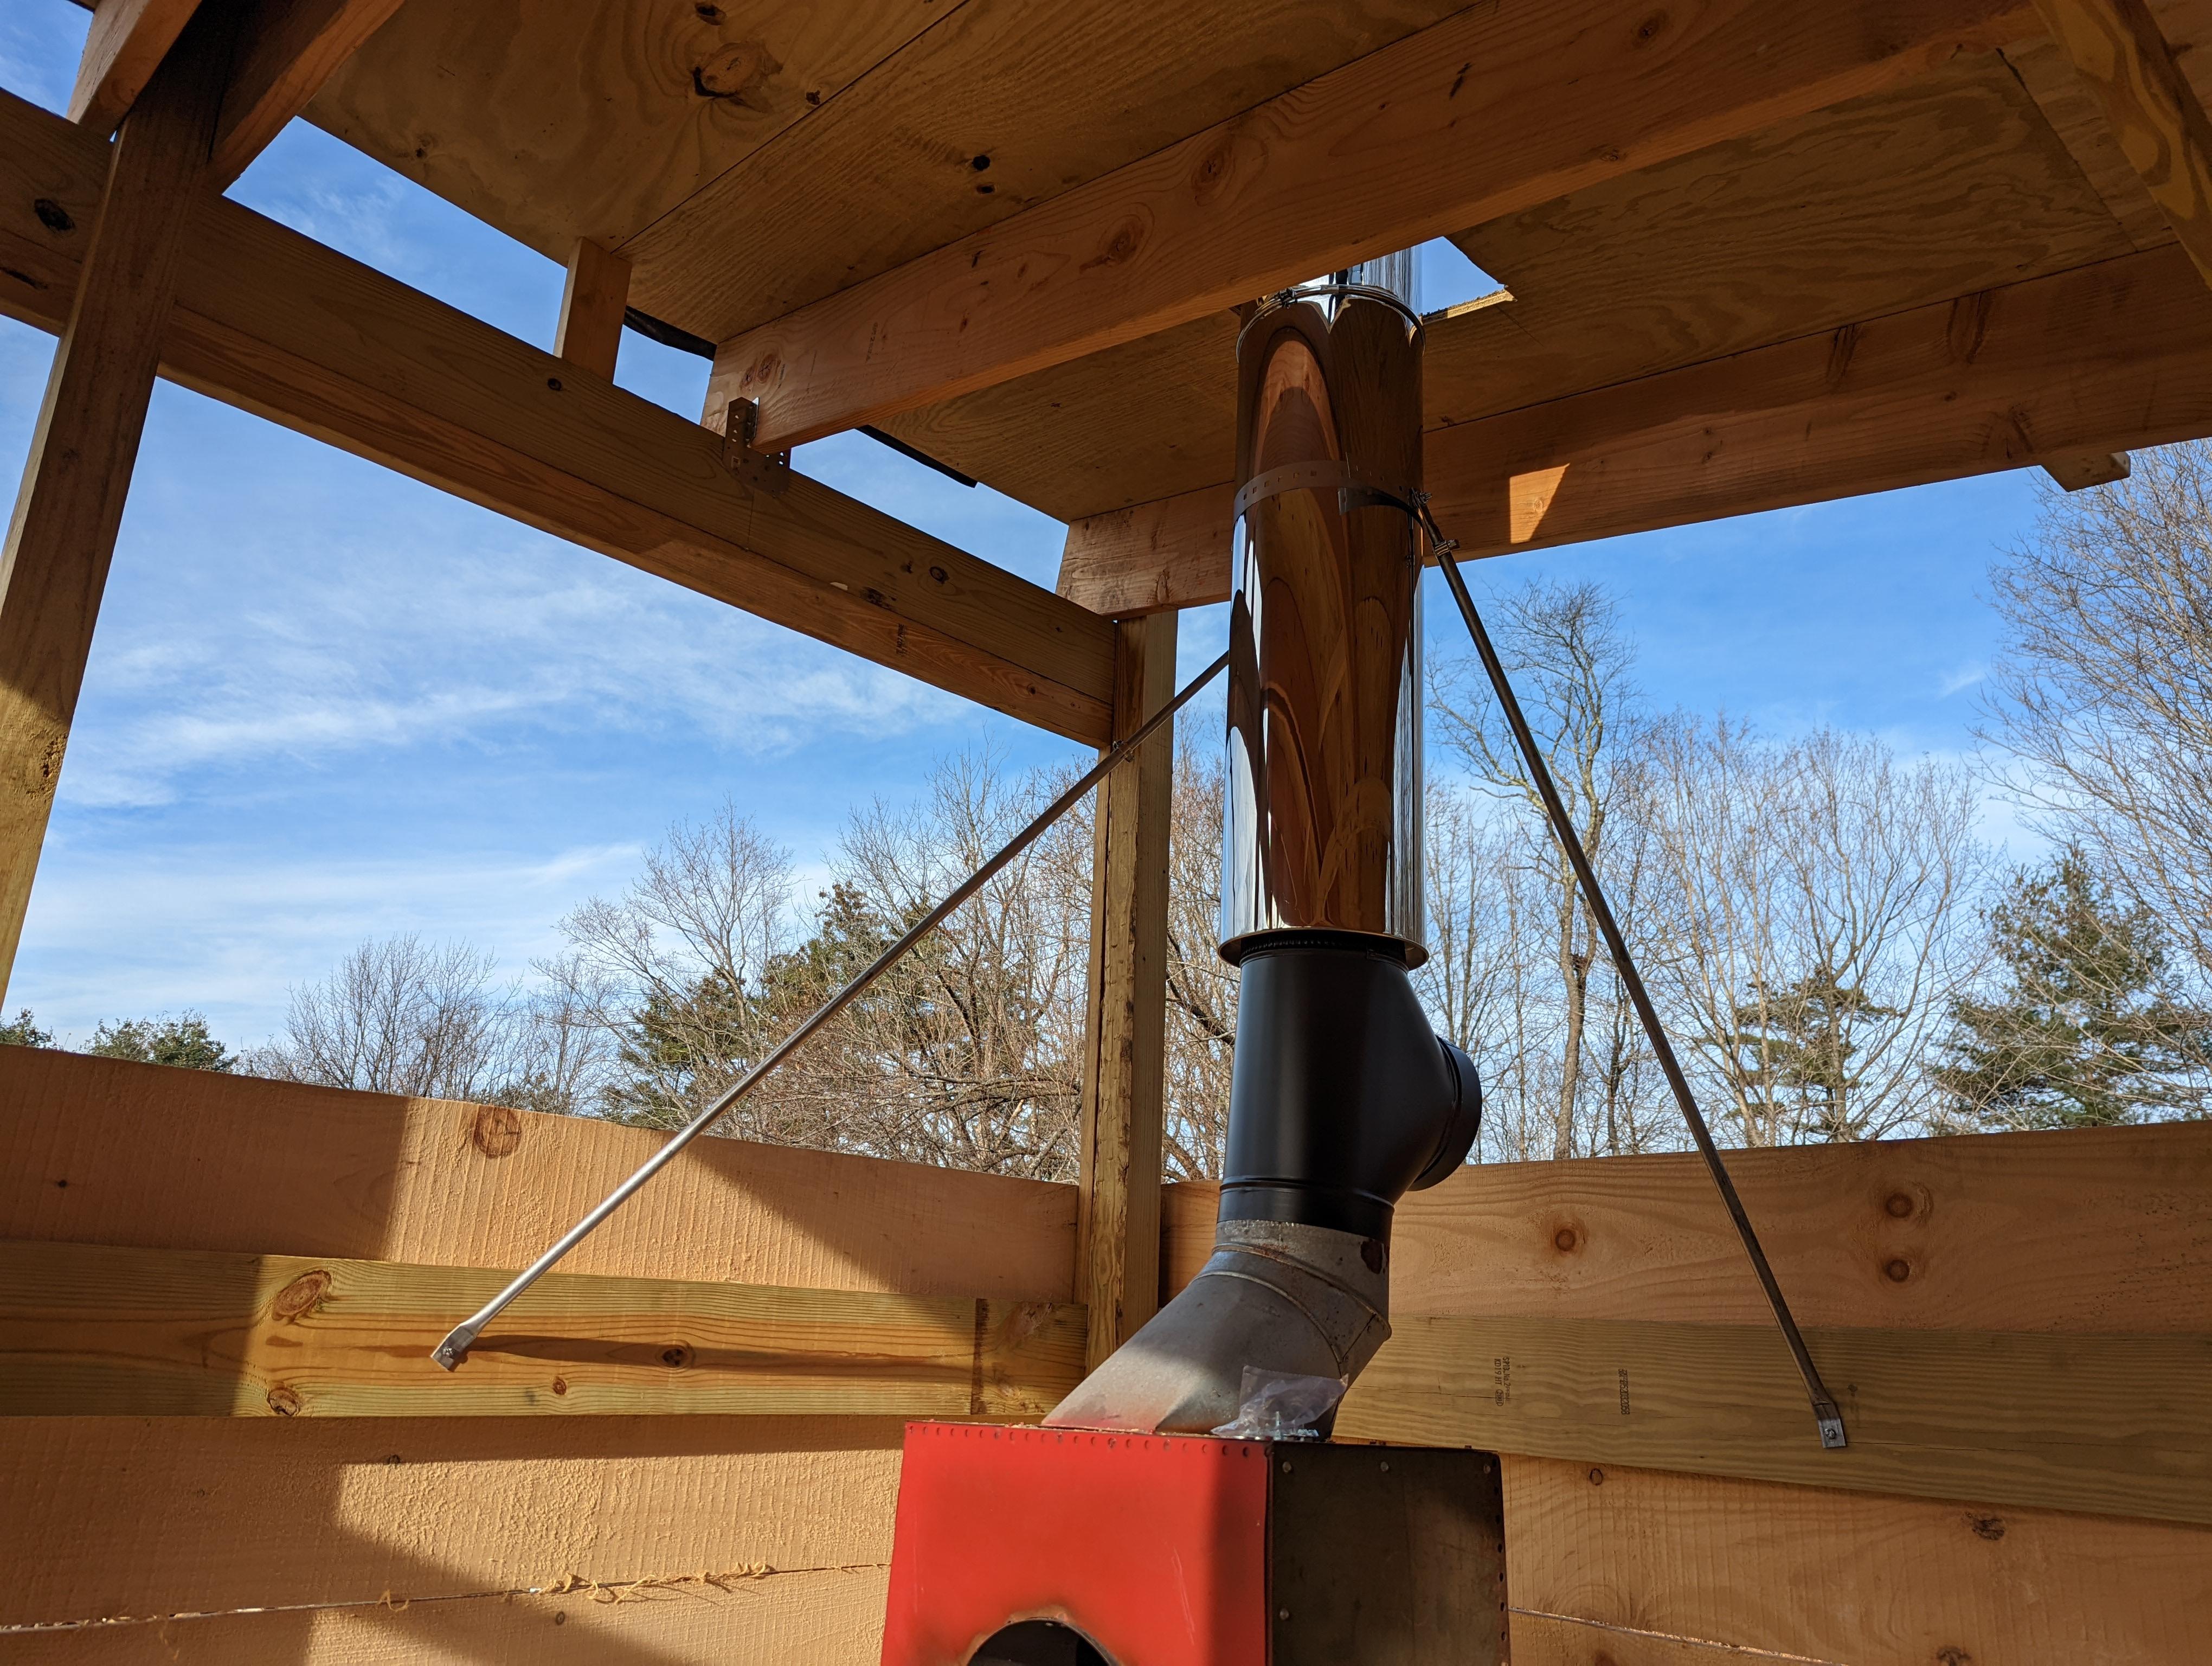
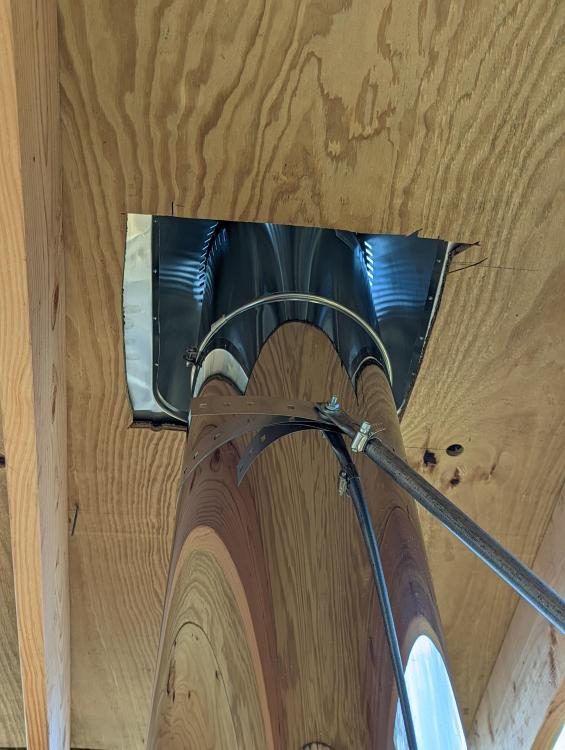
Yeah, we'll see. I'm took extra care to super reinforce the chimney right before the penetration so the biggest risk is probably the twist lock coming undone, but that's heat taped and clamped so I'm pretty confident I'll be fine. Like I said in other comments, the wind in that area is pretty seriously negated due to various barriers in the area. I can leave an un-secured tarp on the ground in that area on a windy day and it won't move.
-
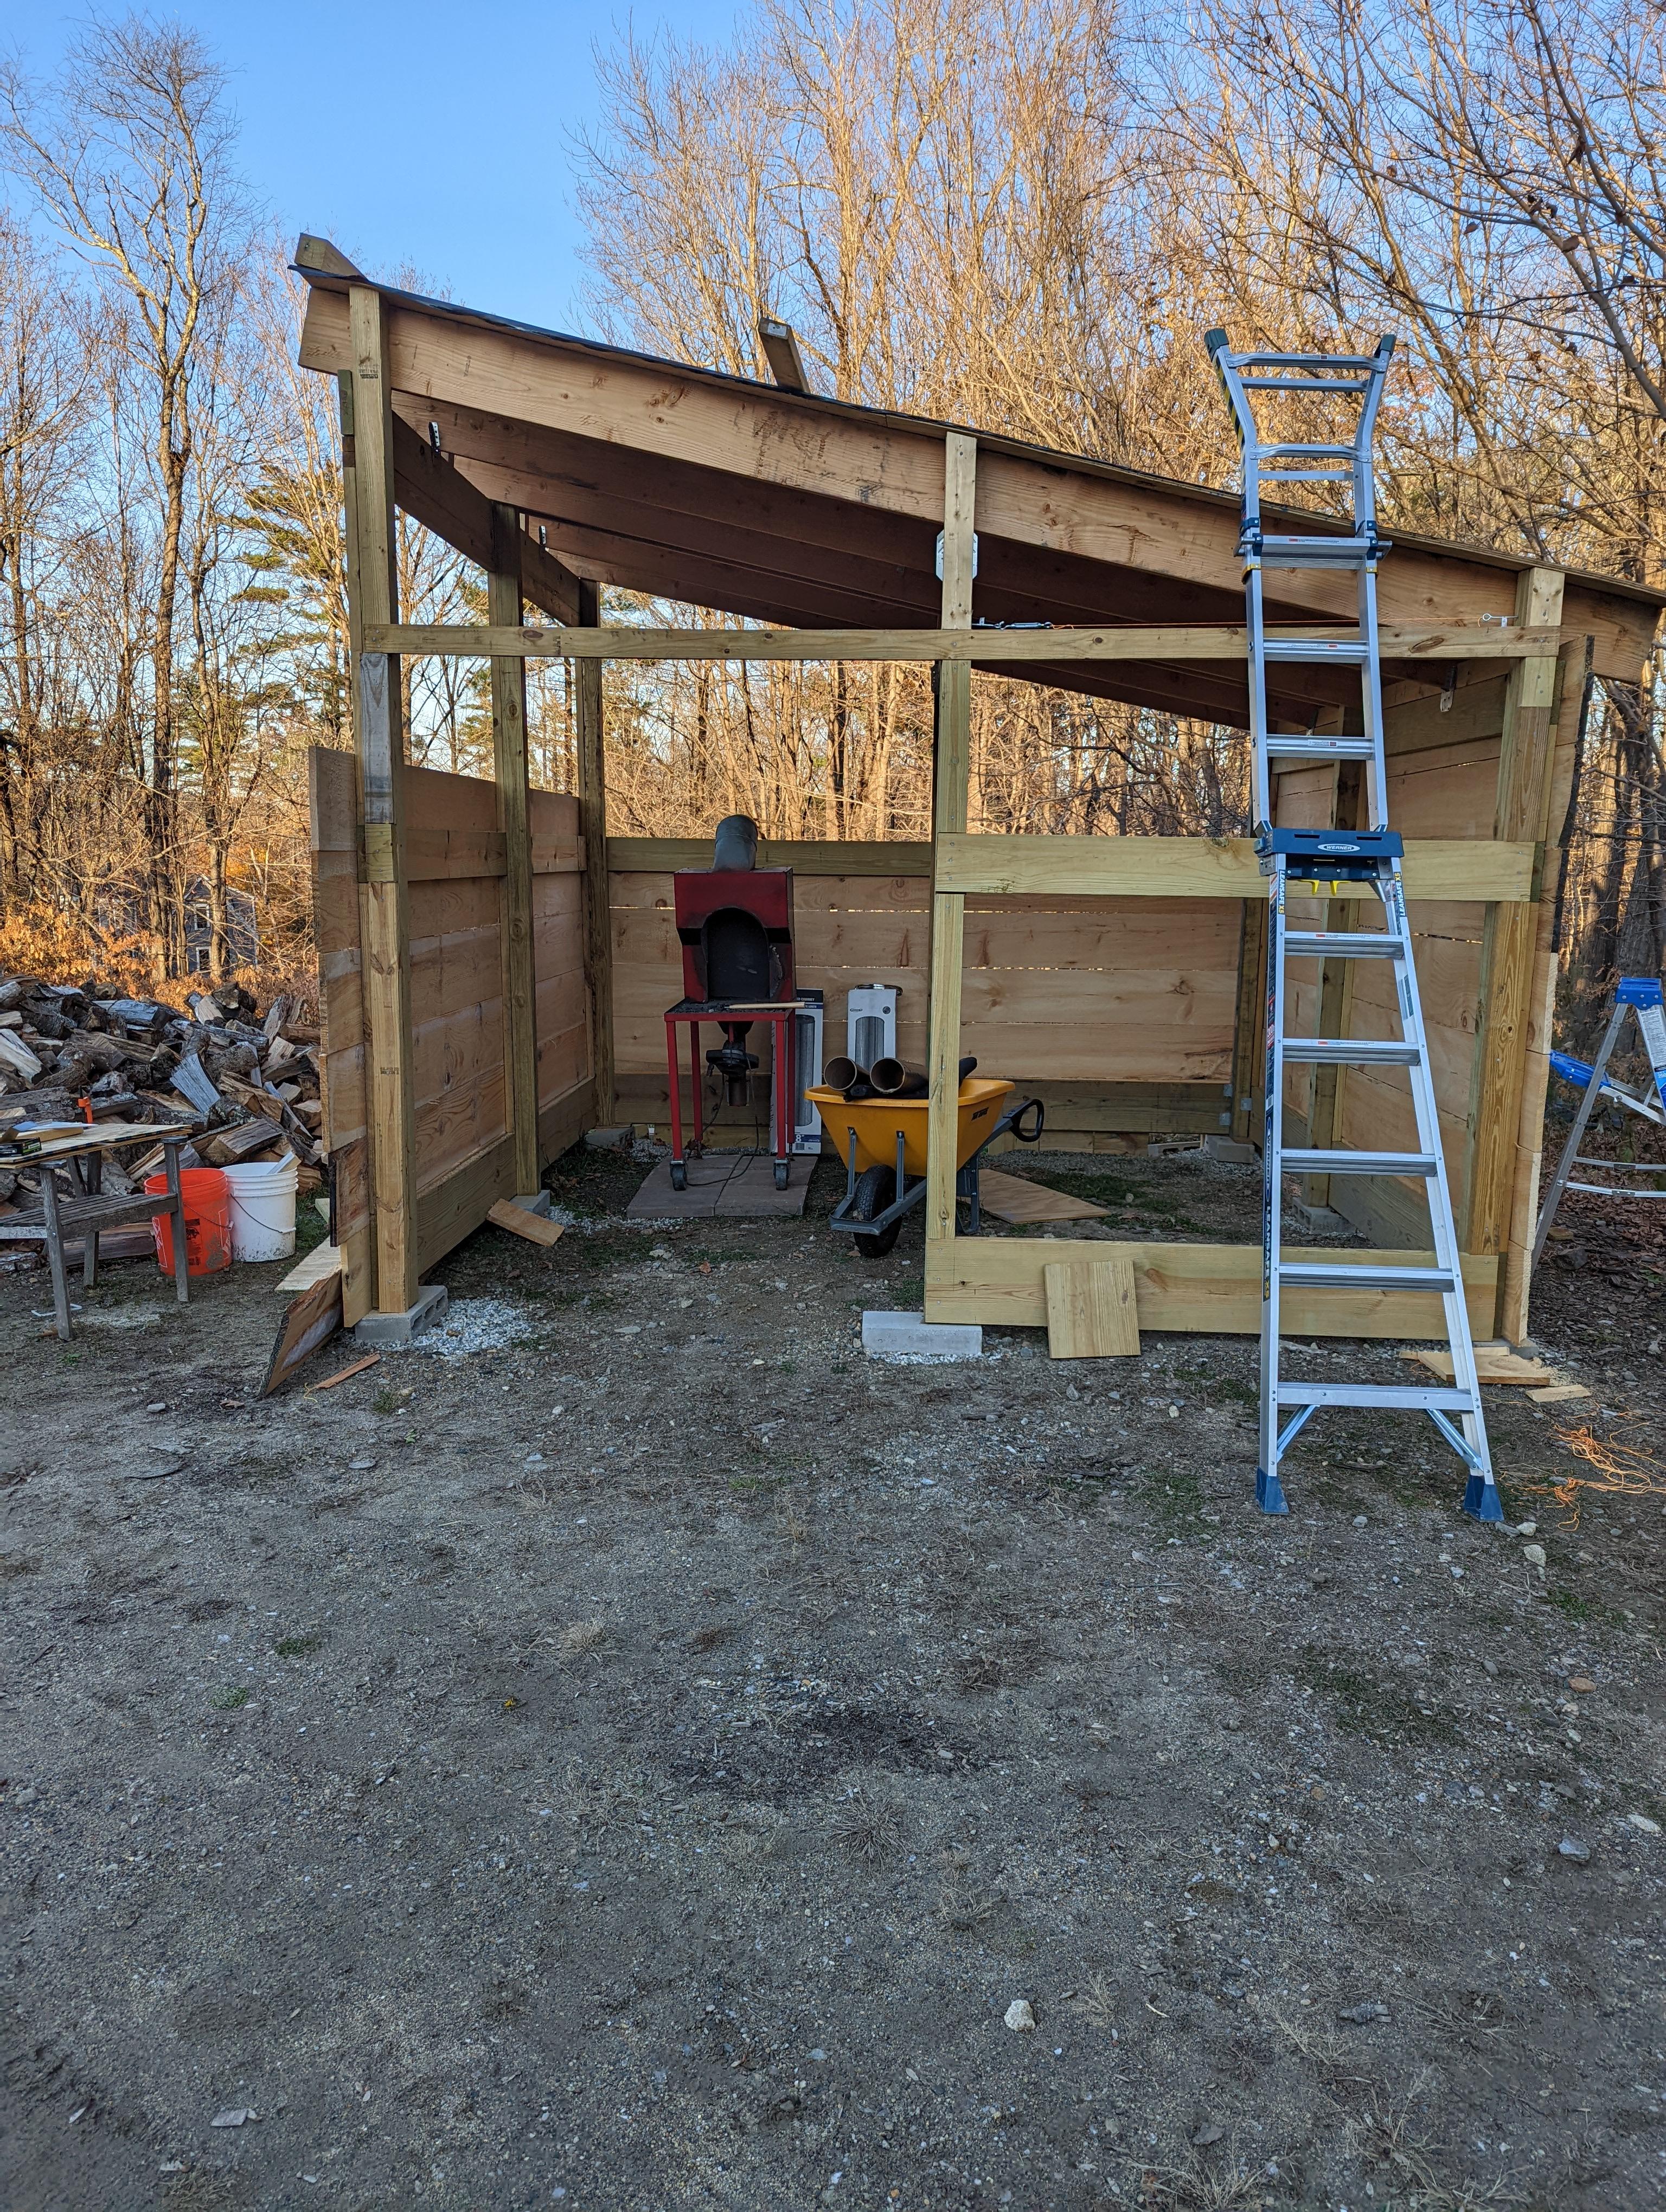
Roof finished just in time for the storm tomorrow haha. Technically good to go at this point, but I need to nail up the rest of the walls and do some tidying up of the appearance.

-
Chimney is up! Now THAT was a pain. It's a little janky and I ended up using a roof support kit to hold it in place because I couldn't find the part I needed for a reasonable price. As with all of this thing, it's not the prettiest but it meets all the clearance requirements. Hopefully I'll be done with everything but a couple more boards and more gravel this weekend. Chimney stack is about 10' not including the cap. The T is something I'm trying in the hopes that the turbulence of the capped end will kind of work like a smoke shelf.

-
Didn't think about DIY, That might be a good idea. I was so thoroughly on the "no concrete" path I didn't even think of it.
-
A couple more pictures! Winter is coming and it's been a really busy few weeks. Got the roof flashing on (waiting for another warm day to put on the actual roofing). Big step today was to have enough coverage to be comfortable bringing my forge out and starting to figure out the positioning. Had a REALLY windy day and it didn't budge despite all the wind catching in that back corner so I'm pretty confident I'll be all set with it "floating." After putting down those pavers I really like how they look so once I get the rest of my gravel I'll probably slowly make most of the floor those. $6 each adds up fast, but there's no rush. Still need to level it off better, this was me getting a position to line up the chimney bracing. As you can see in one of the pics, I've got a lot of wood to stack and I had foolishly blocked my shelter with all of the building supplies so its it's going to be a busy week!


-
Yeah, turns out I didn't know him as well as I thought I did (in a good way). Pretty cool thing I learned today after talking to my dad is that he worked at the Portsmouth Naval Shipyard as a welder in the 40s right after WW2. The way he talked about woodworking I thought he'd been a logger / millyard guy like my grandfather (Google Berlin NH). Turns out it was just a hobby and he was a metalworker!
-
Haven't seen it in person yet, as I'm travelling for work but my dad said he found his uncle's old vise in the basement the other day and asked if I wanted it. To which, I obviously said yes. Looks like it's in really nice shape. My great uncle was awesome, so it's not only a cool find but fairly sentimental. I had no idea he did anything but wood working.
-
In my area we don't need a permit for any accessory building under 200 sq ft so long as there isn't a solid foundation. Concrete pilons / sonotubes are allowed, but the effort of digging that deep isn't practical without machinery. Regarding the wind thing, I'm not sure I have the right way to explain it. Basically, its a wind dead-zone. I have some pictures from winter I can try to find that kind of illustrates the point. There are no requirements for it to be firmly attached to the ground, but I do intend to do some anchoring with cable and ground anchors because it's cheap and practical.
-
Yeah, just on the blocks for several reasons. It's situated in a position where wind is a non-issue and I'm building it in a way that I don't need a building permit. I didn't want to have to deal with concrete or digging in my rocky soil.
-
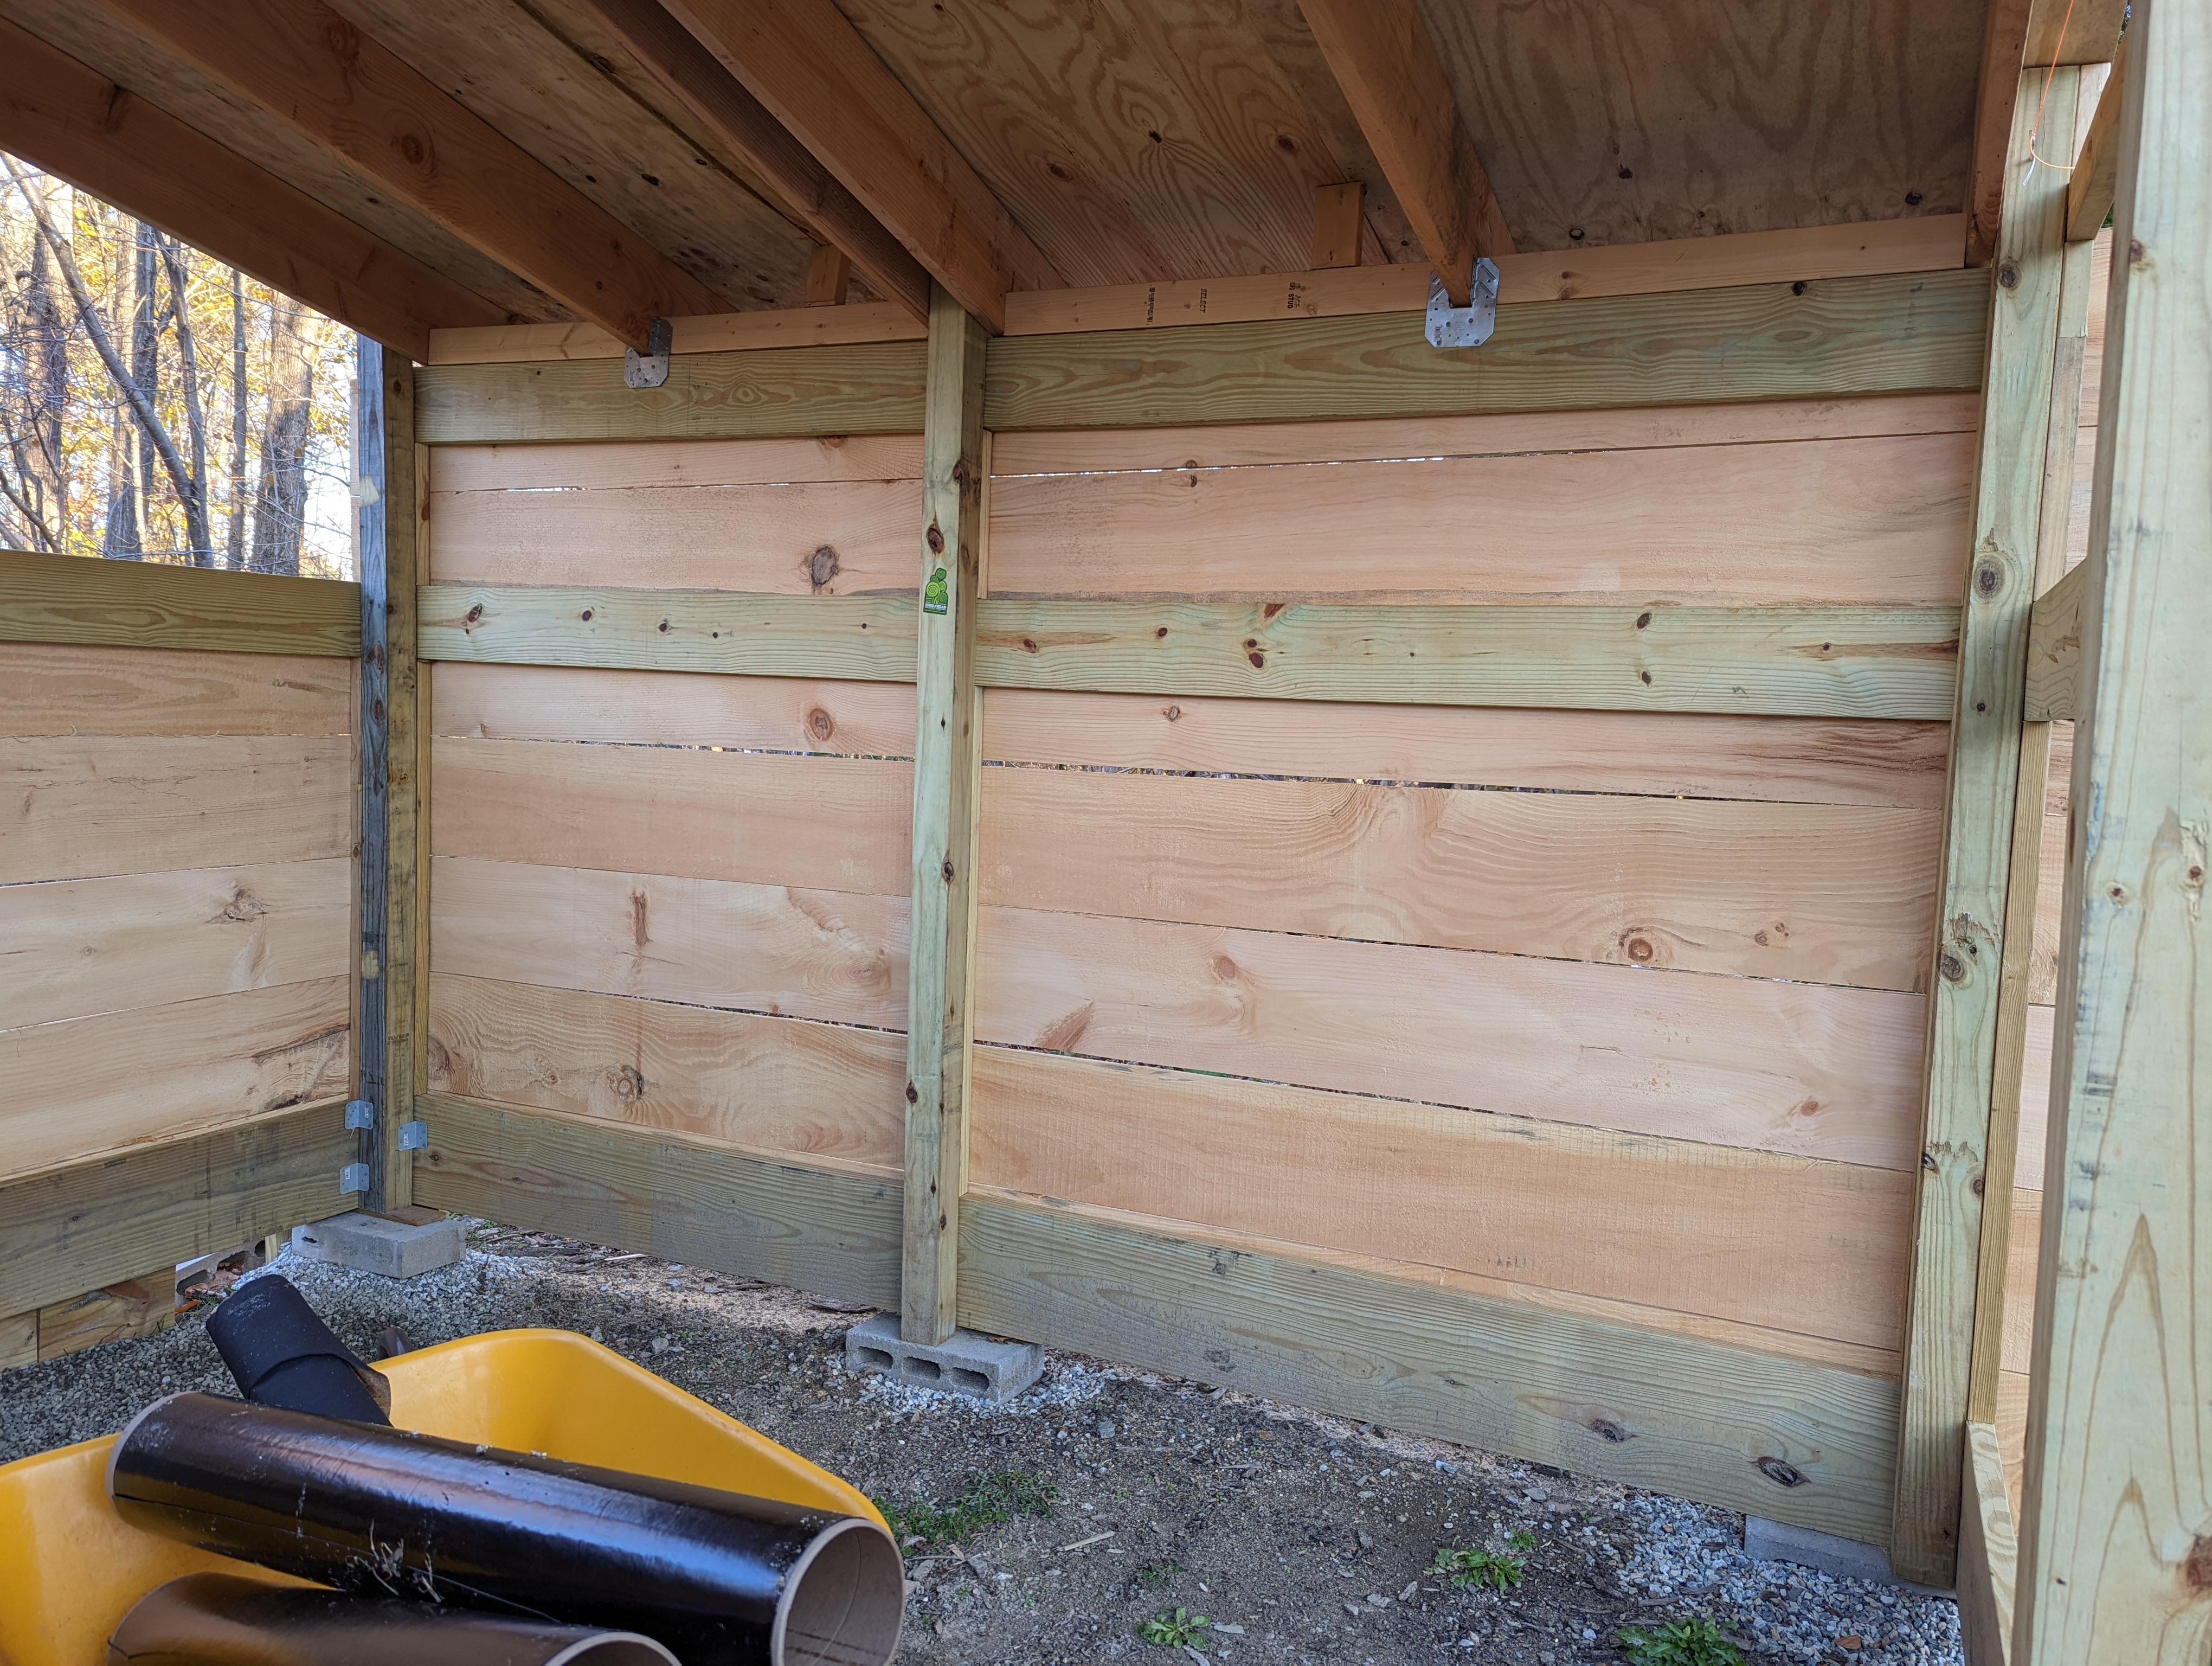
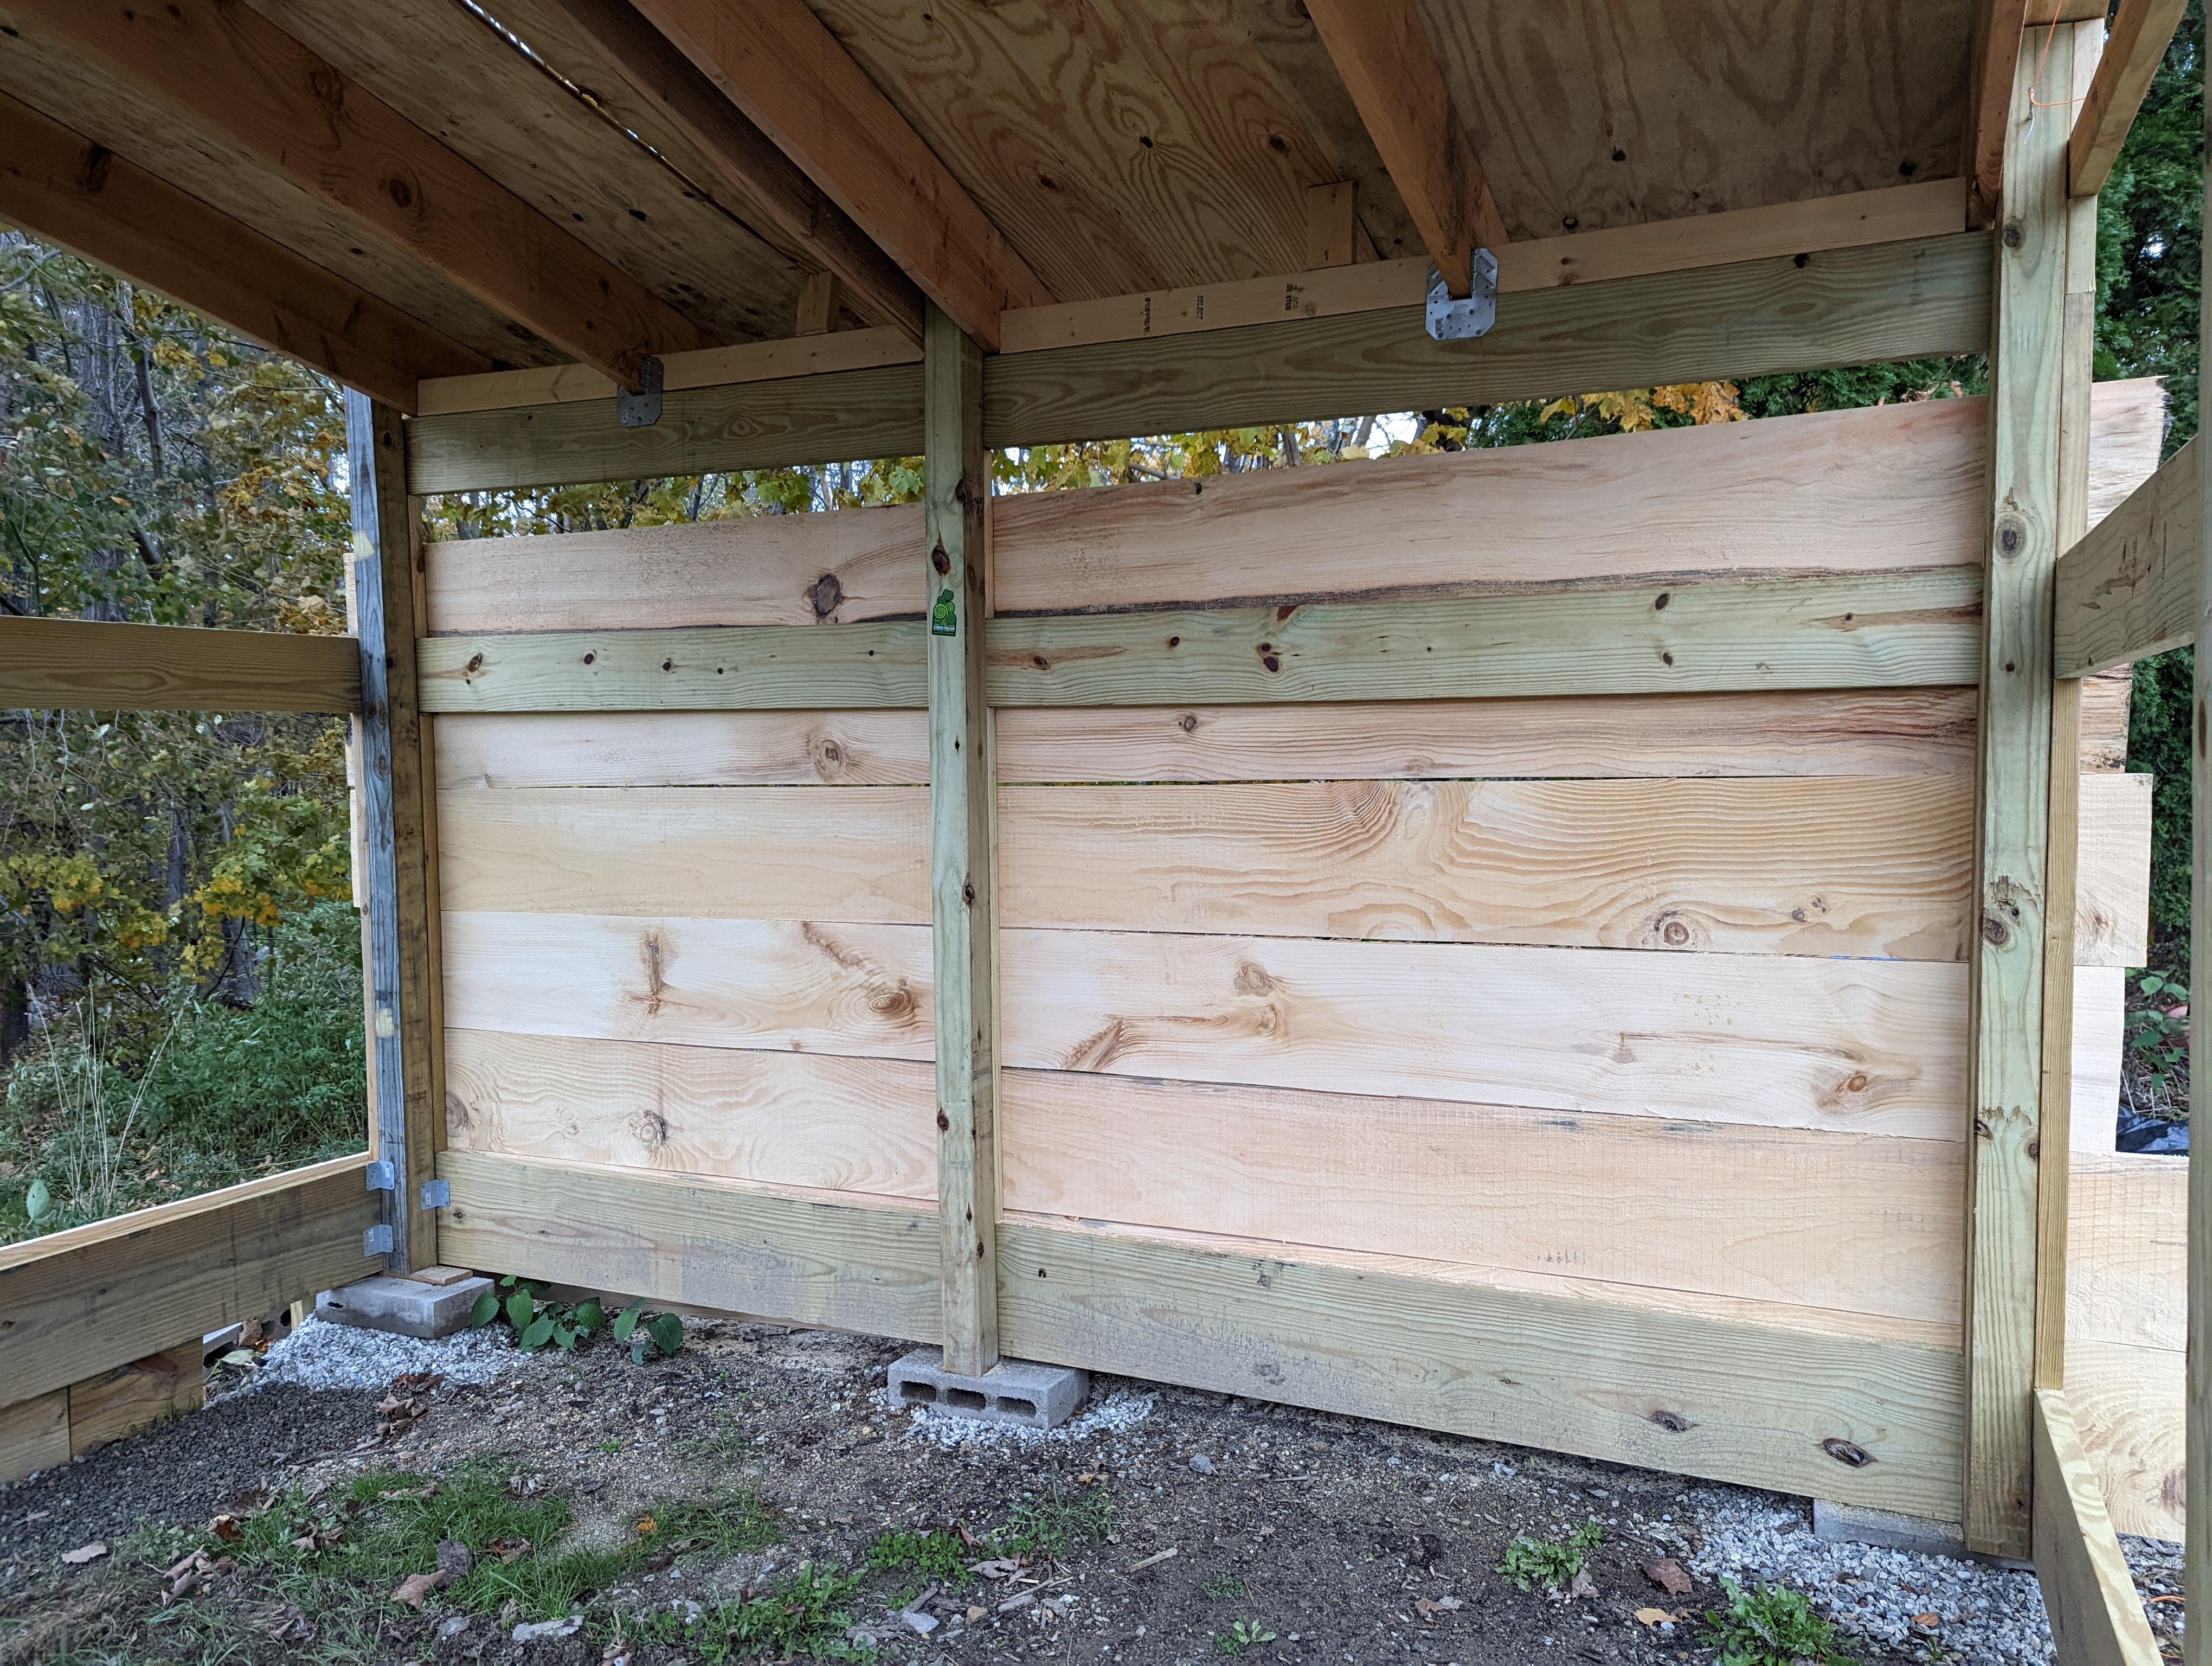
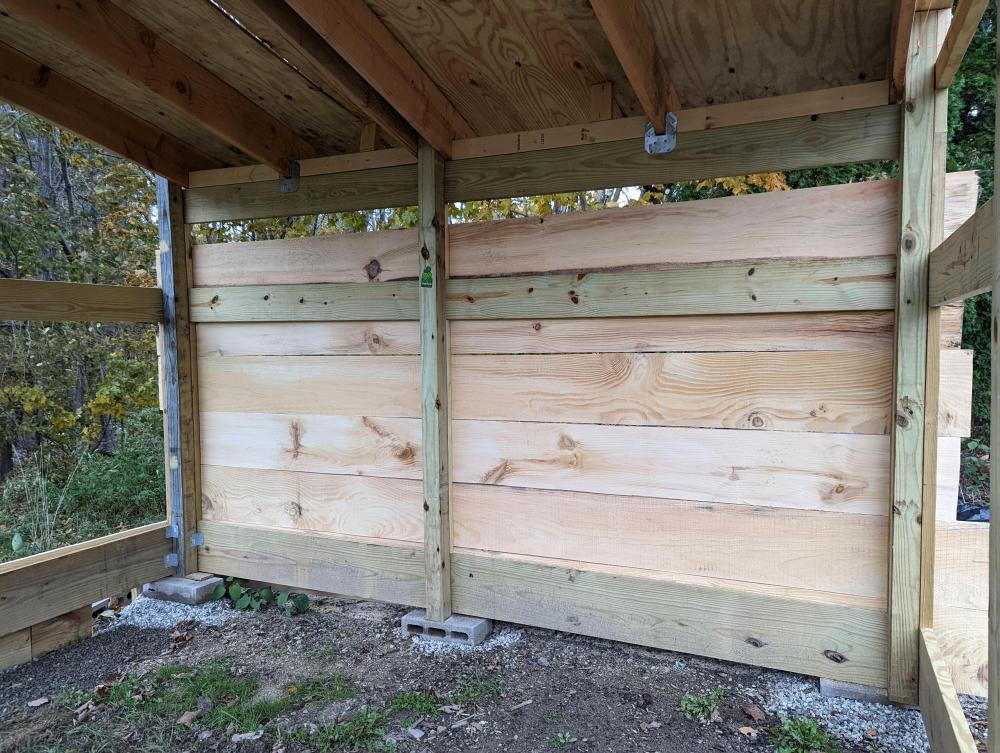
Appreciate the replies, as always! I think I may try it without the fan for starters. We're getting close to done now. Got some rough cut pine for $0.85 a board foot and I'm nailing that up as siding. Looks really nice if you're into the rustic look, imo. Getting a truckload of fill soil this week to fill in that back corner, it's all level I swear! Waiting for a couple dry days in a row to get the water barrier up. I'm very glad I decide to build this myself. Costs keep climbing but it's still been cheaper than buying one and it's nice to learn as I go. Still can't believe I built this. Fitting the top board (not pictured) was a bit of a bear. The 10' high one is going to be stressful.
-
Do you have a link for the helper fan? I was initially thinking about one but couldn't find anything that was rated for heat. Could maybe have one at the bottom of a T coming out of the chimney pushing up.