LonelyIsle
-
Posts
34 -
Joined
-
Last visited
1 Follower
Recent Profile Visitors
438 profile views


-
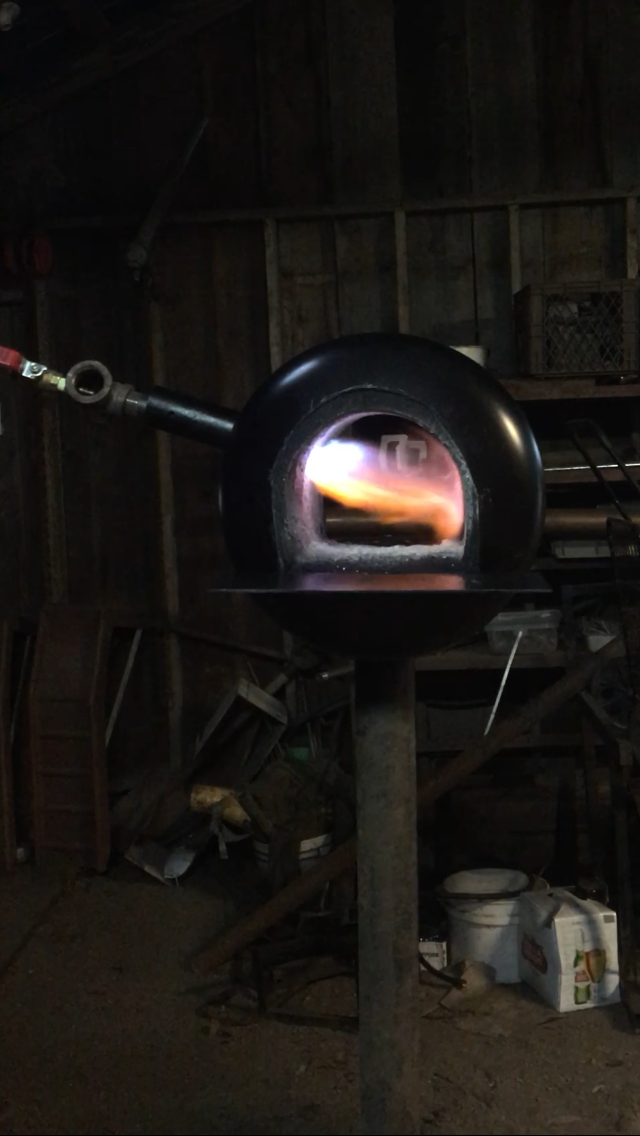
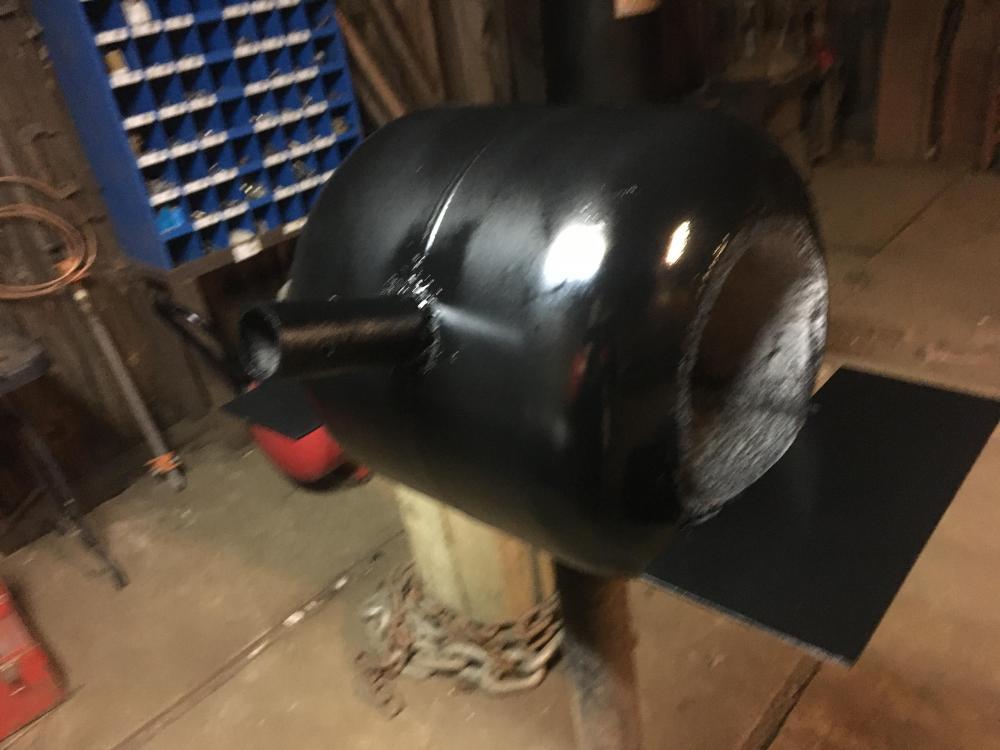
No worries, probably would have cleared the confusion if I’d have taken a photo of the front of the forge ill be buying extra fittings once I finally get to town. Since the video didn’t work here are a couple stills to show the flame I had when I was testing. There was a slight obstruction to the flare that I’ve since fixed but I feel it may need to be tuned still.


-
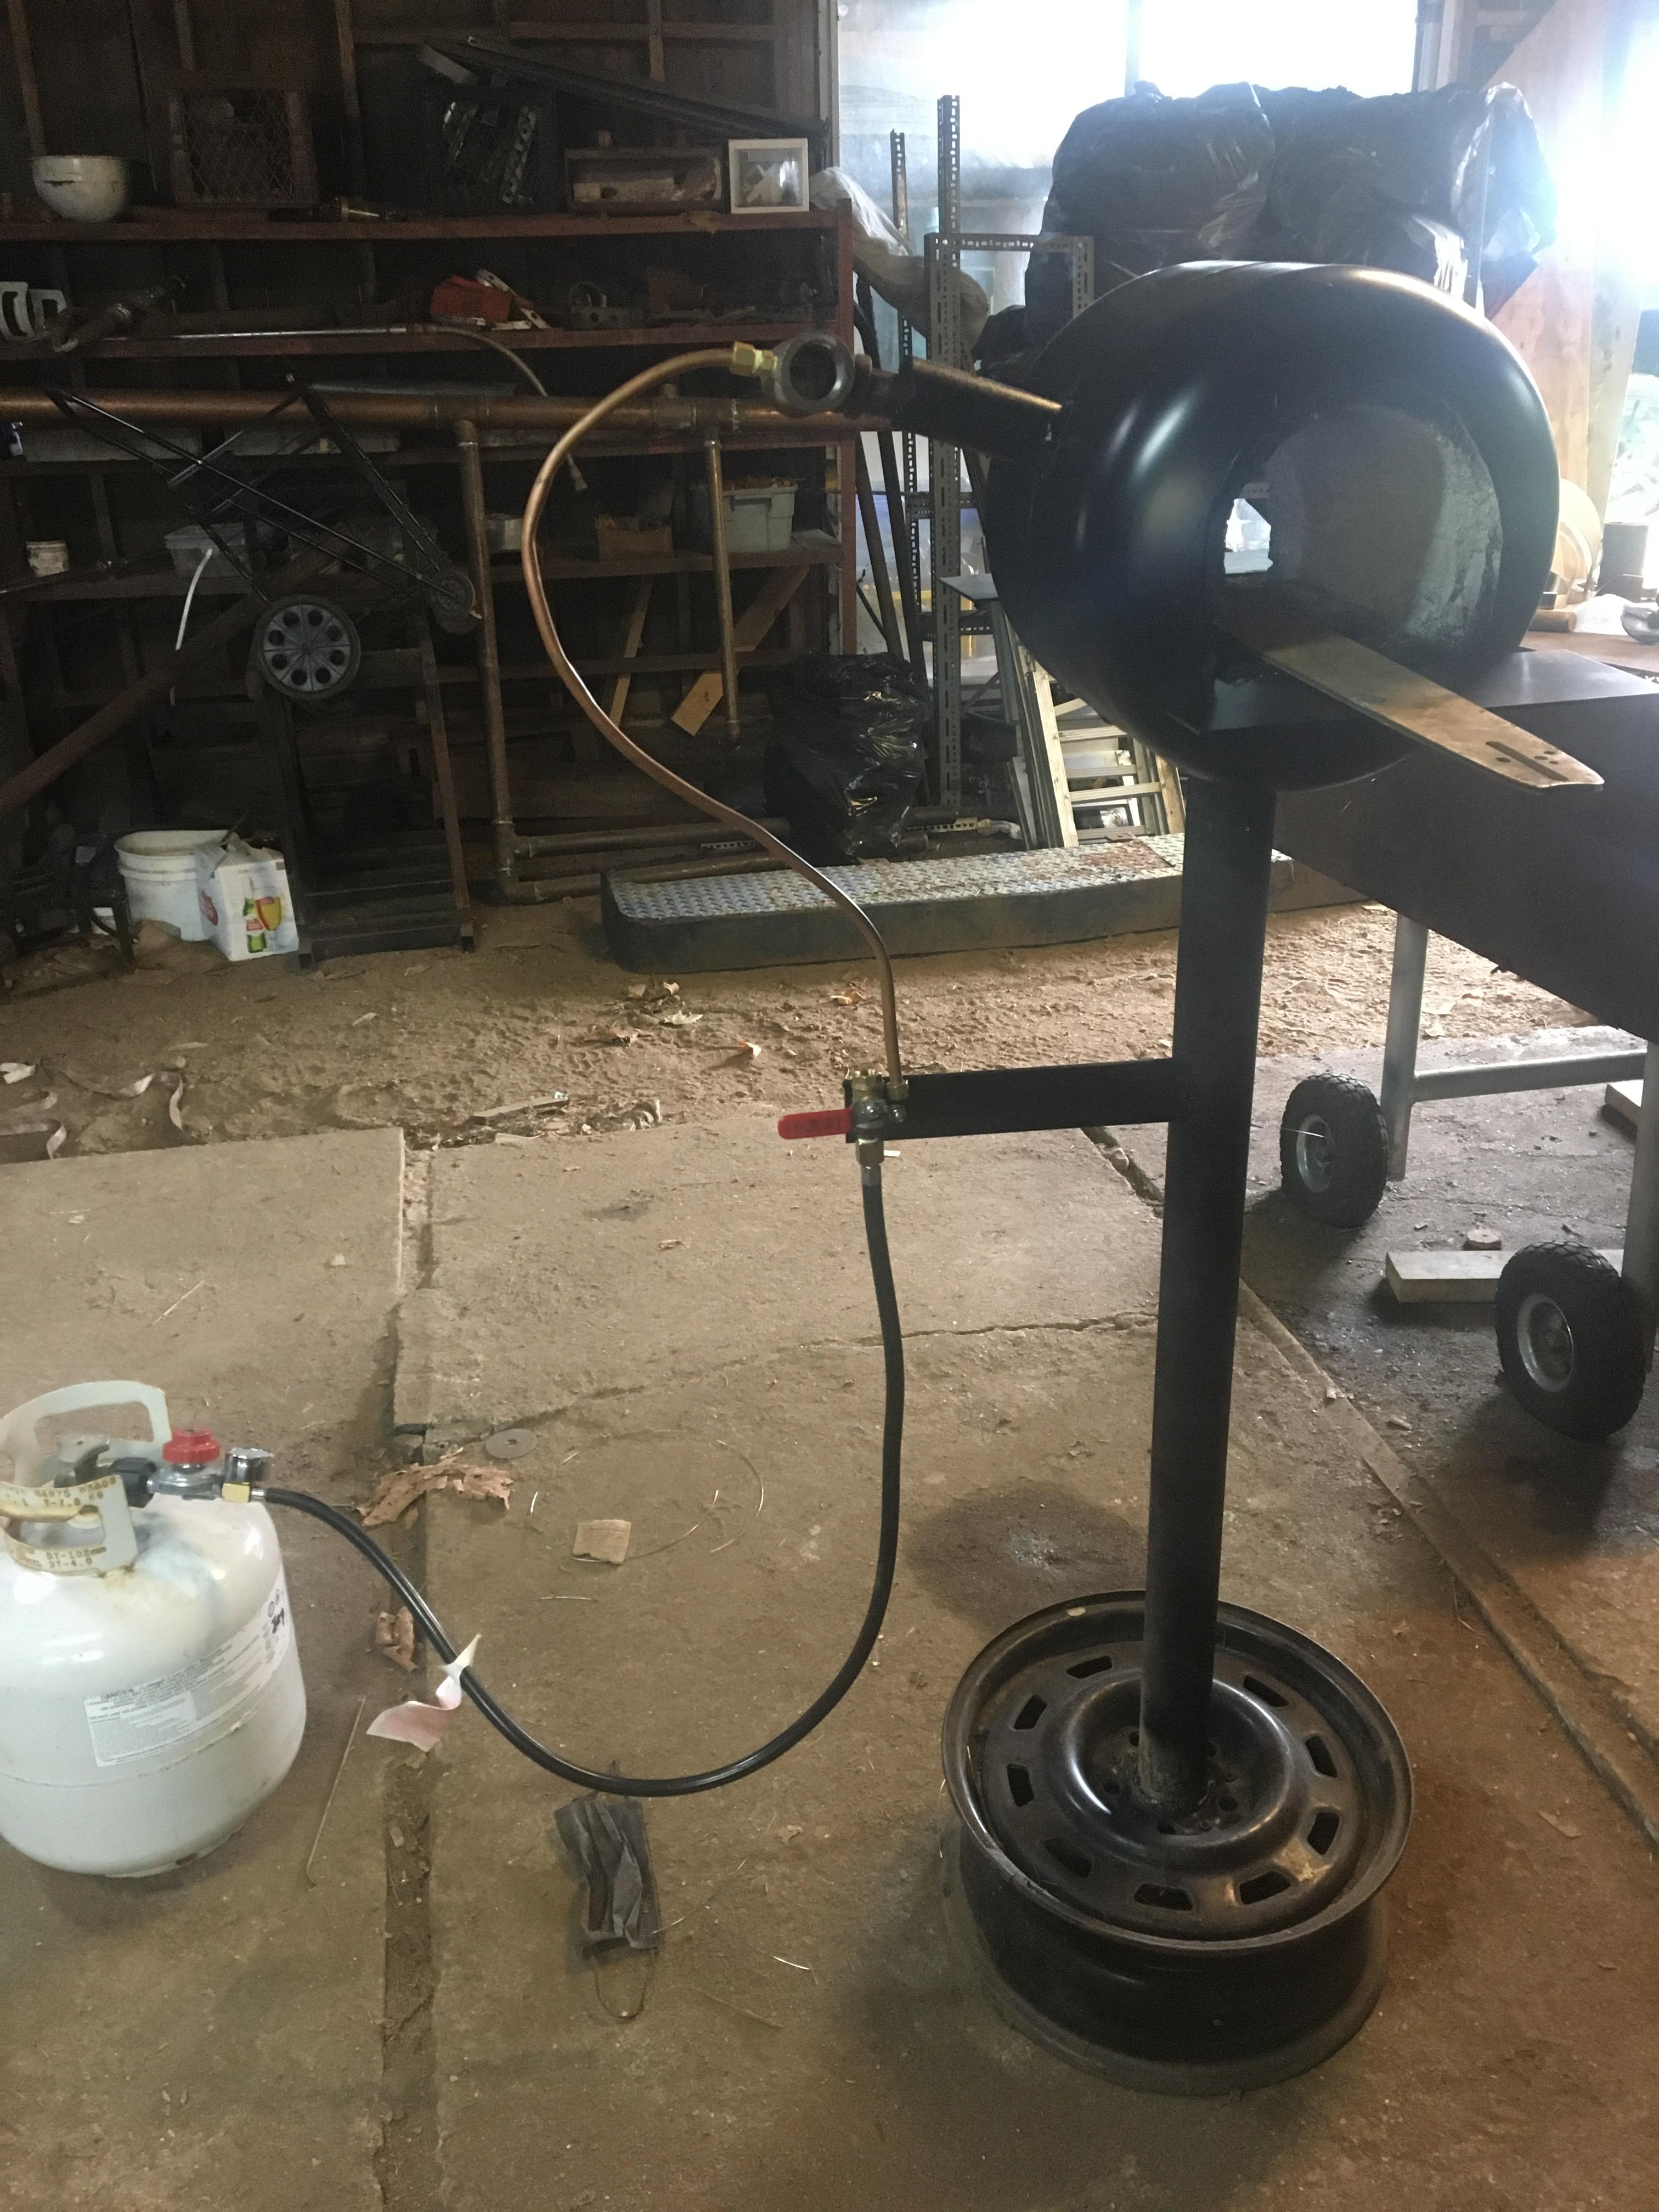
I honestly do appreciate all the advice I've gotten from everyone on this site, especially the burner help Frosty. I apologize if I am coming across as argumentative or difficult but was just trying to explain what I was trying to say in my first post. You cannot see it in the picture but there is a ball valve on the back side of the piece of metal that is coming off the side of my stand(Where the rubber and copper meet). I only have one valve in the circuit and it goes Tank--Regulator--Rubber--Valve--Copper--Burner. There is something in the background that makes it appear like there is a valve on the burner but there is not. In the video I posted (which I'm not sure if it worked) I have the ball valve attached to the Burner but I was only doing that for a test. Thank you again for all the advice, I value the suggestions you have made I just didn't think I had relayed my information properly. I think I see what your saying about moving the valve back in the circuit but it is female female on the valve I just don't see How I can do it other than removing the ball valve from the circuit and going directly from rubber to copper. (Which come to think of it would probably work until I get my other piece) I live on a small Island and try to plan town trips once ever week or two, so as badly as I want to get it working this weekend I need to wait until sometime next week because I cannot justify the price of taking the ferry and going to town when I have to go on Tuesday anyways. I'm just annoyed with myself for forgetting something so small.
-
I don’t think I explained myself very well. Sorry for the confusion, I only had the ball valve on the burner during my test before I welded the stand together. You’ve explained to me the error of having too much junk on the burner somewhere earlier in this thread when I almost did just that lol. The ball valve is now mounted on the stand where the copper and rubber meet. What I need is the 3/8 male/male fitting from the flared end of my copper pipe to my ball valve.
-
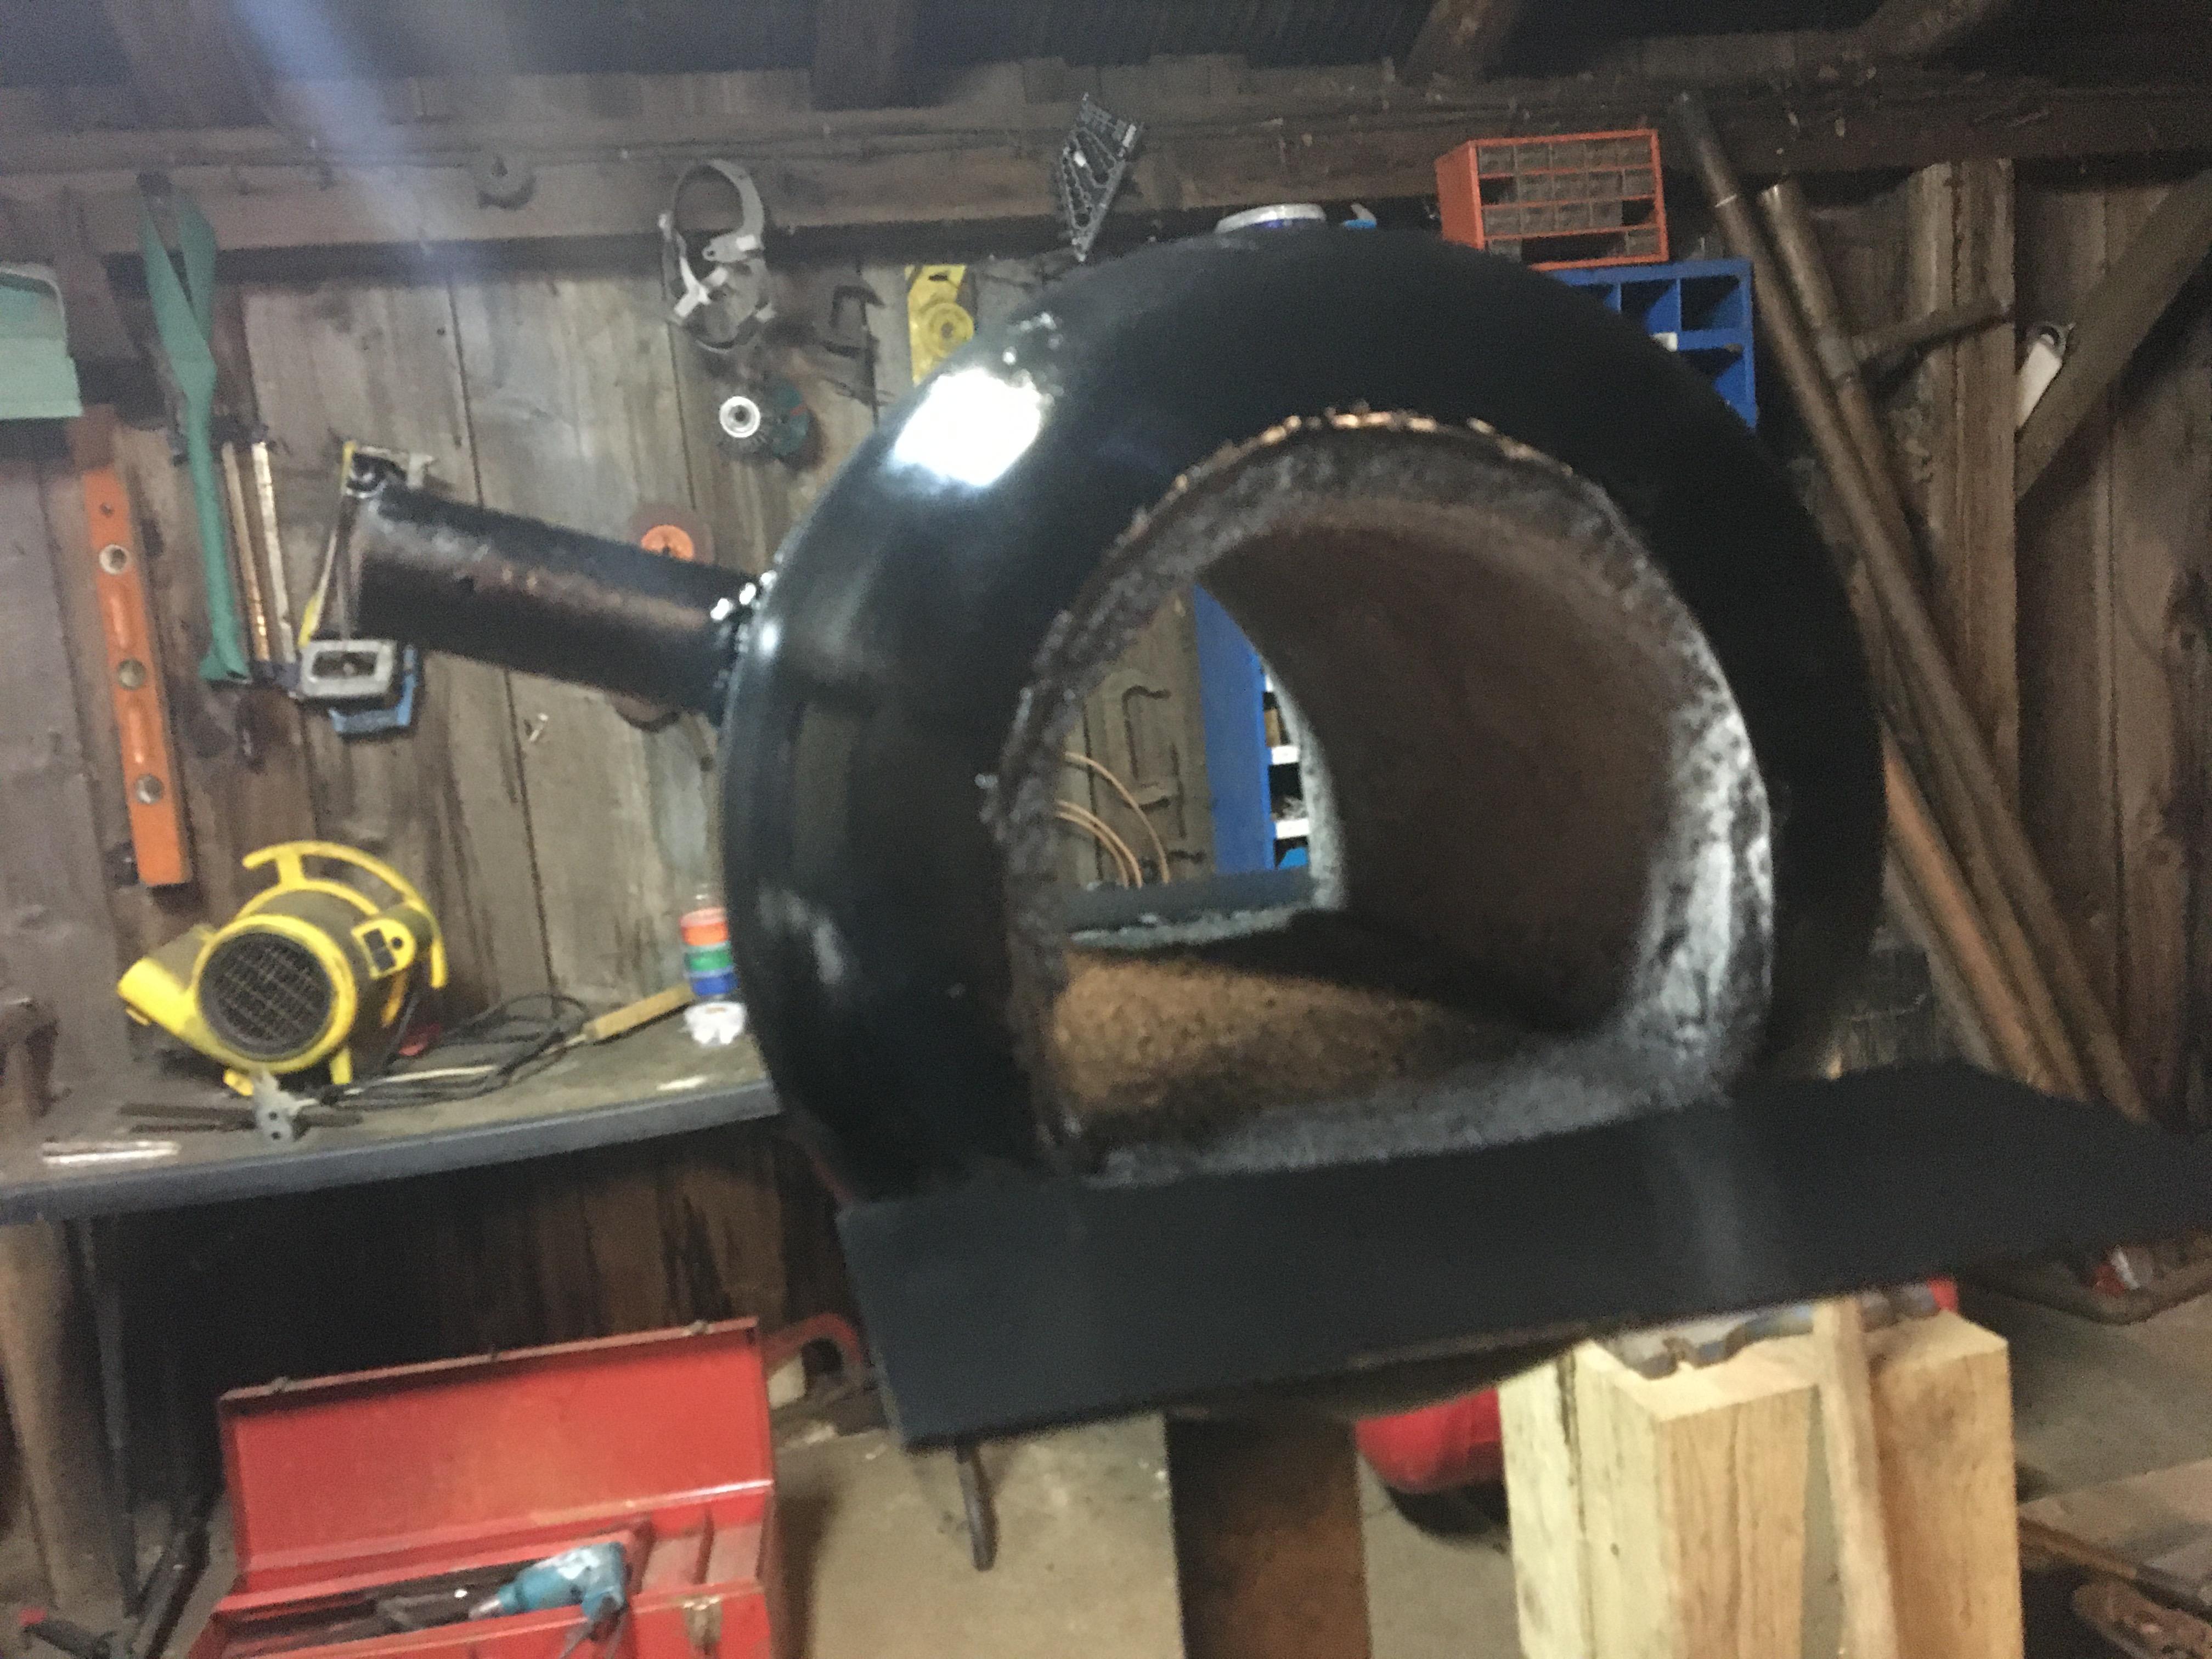
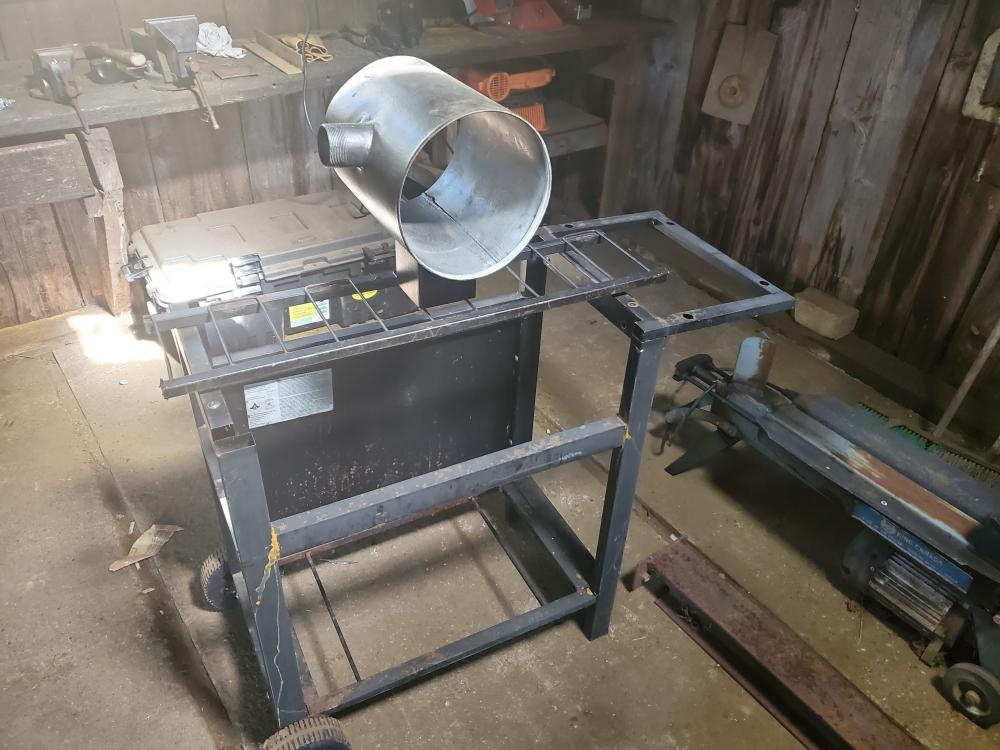
Yes I did when I was mocking it up. I need to finish tuning it but didn’t realize I was 1 piece short until I went to hook it up with the copper. I’m just missing the Flare fitting so I can hook the ball valve to my copper. I shaped my Kastolite into my Burner Flare. IMG_3659.MOV Here is a vid of one of the test runs. At the time there was a little obstruction in the hole for the burner/flare but I believe I’ve fixed that part of it. I do believe it may need to be tuned a little better though still.
-
So I got the welding done and fitting everything up now I just gotta finish tuning the burner. Only problem is I live on a small island I’m missin the fitting from the ball valve to to the flare fitting. Just one more trip to town…
-
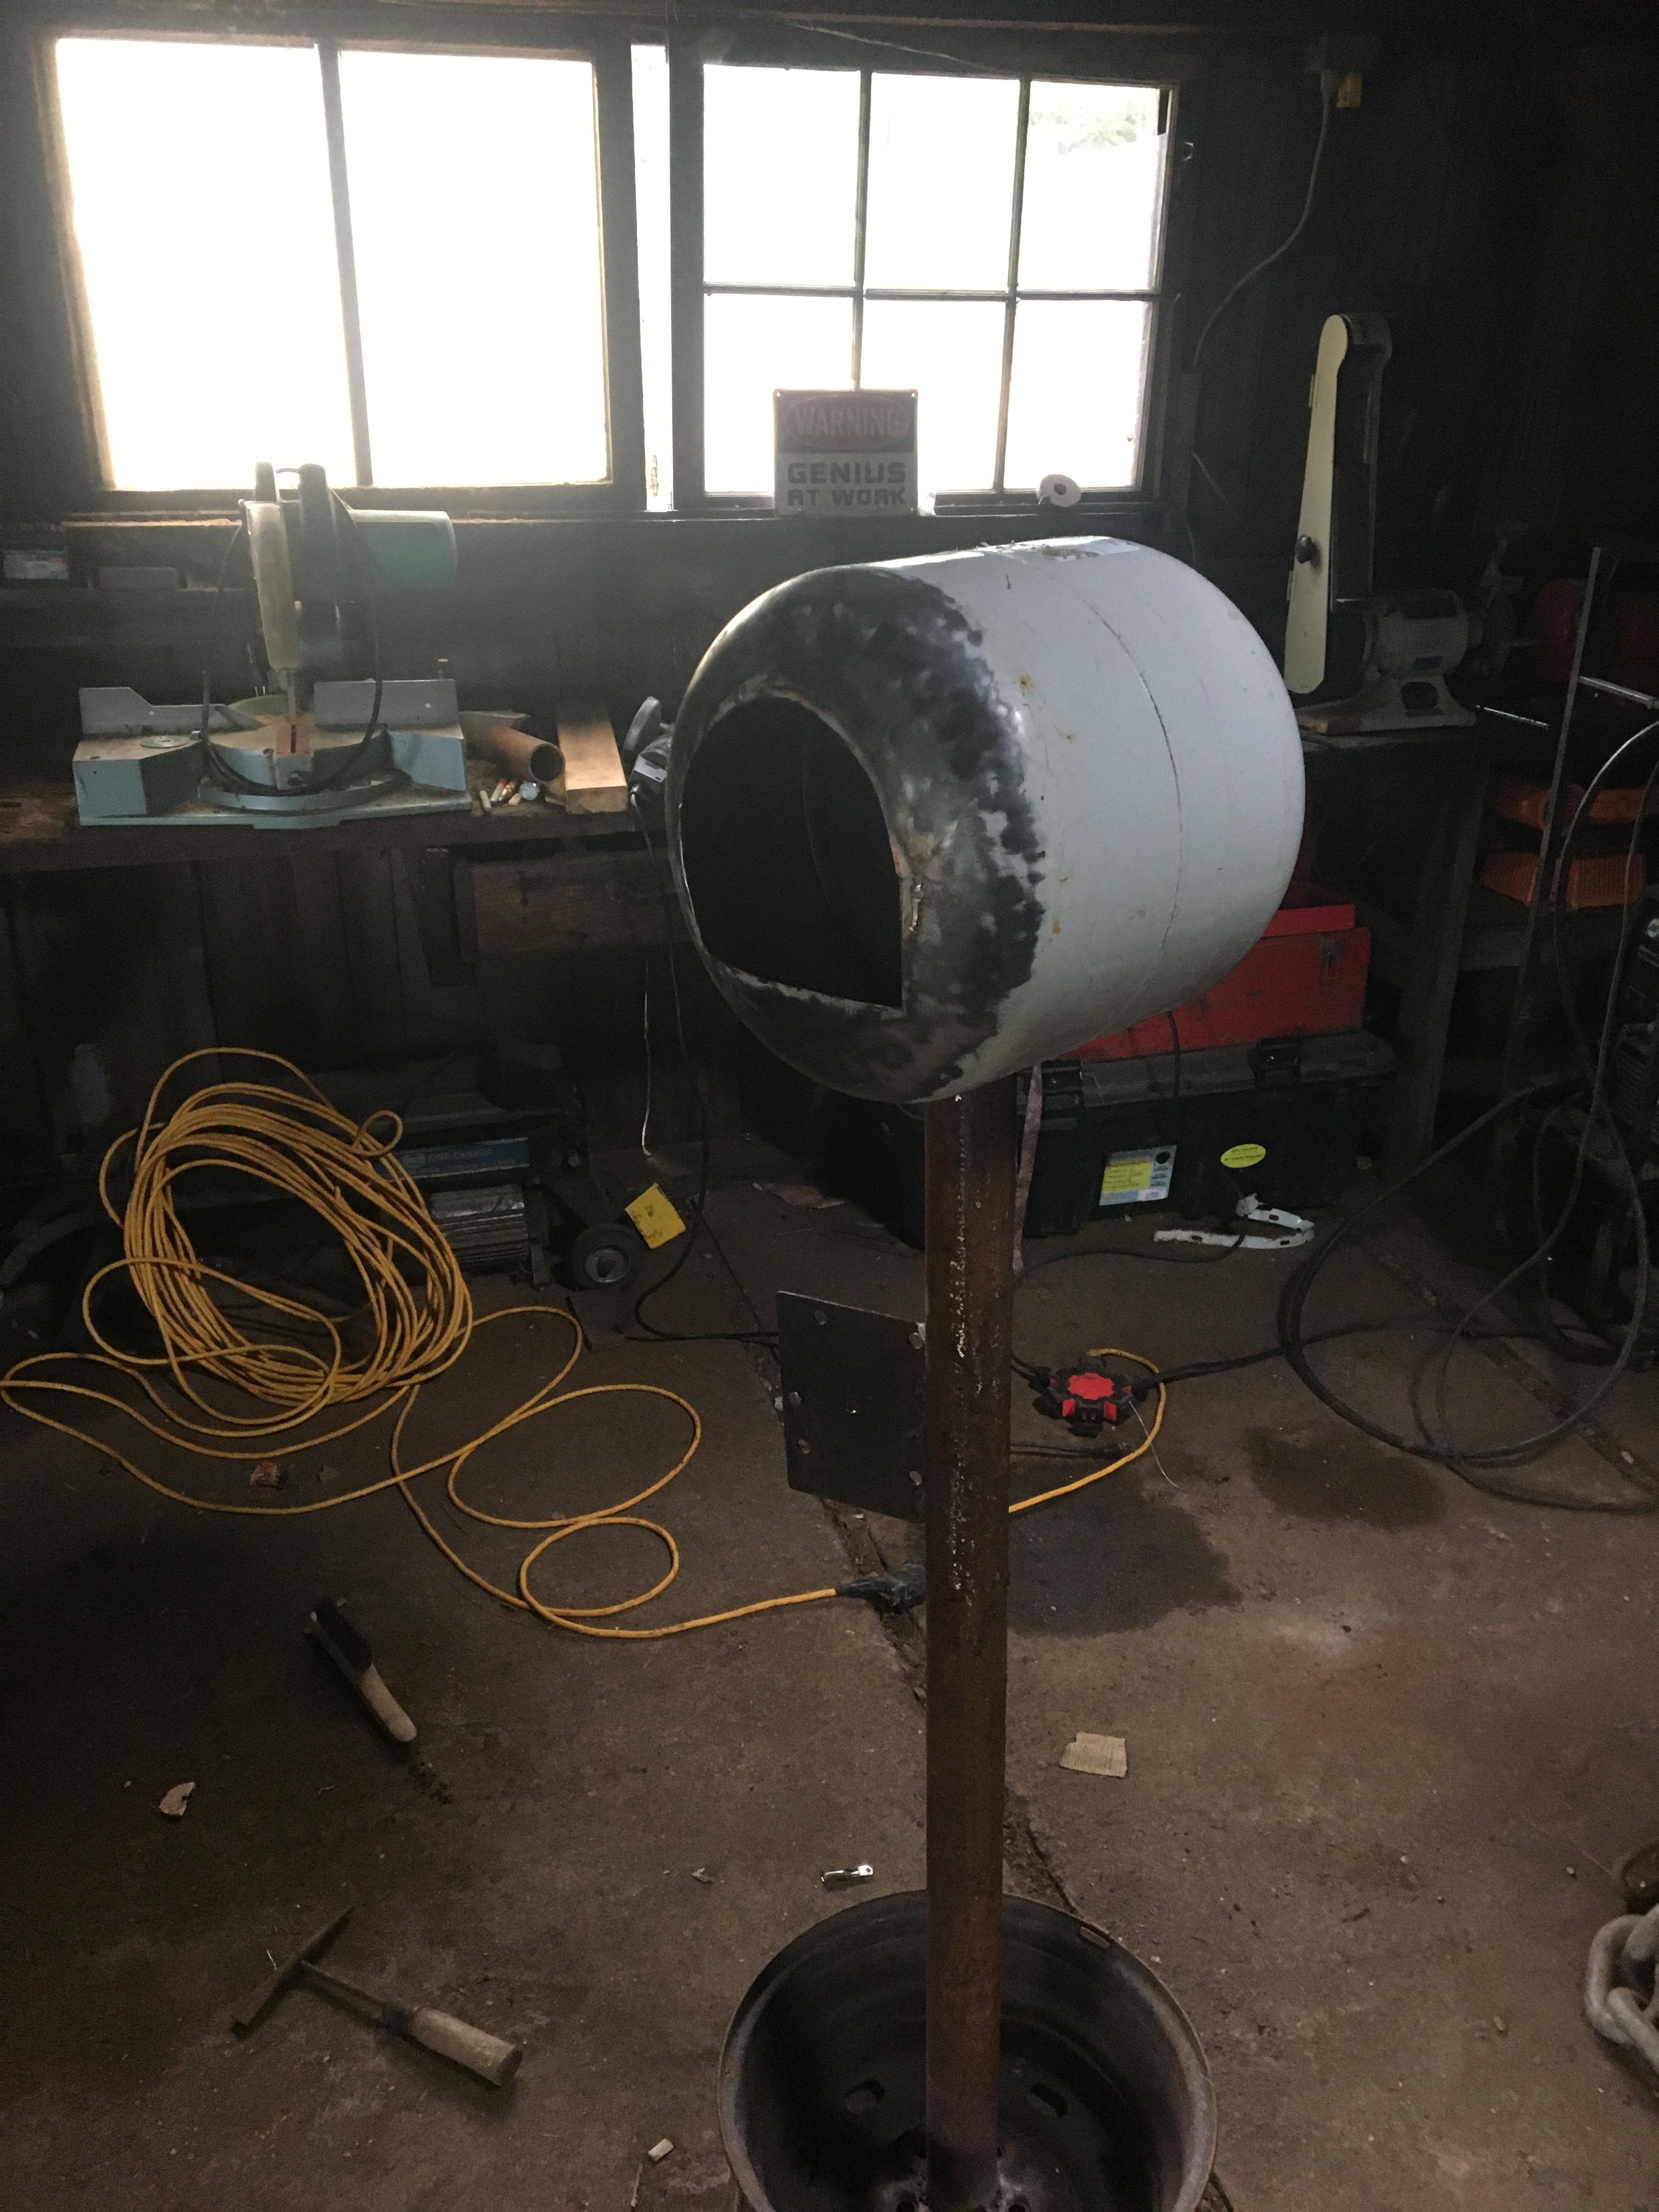
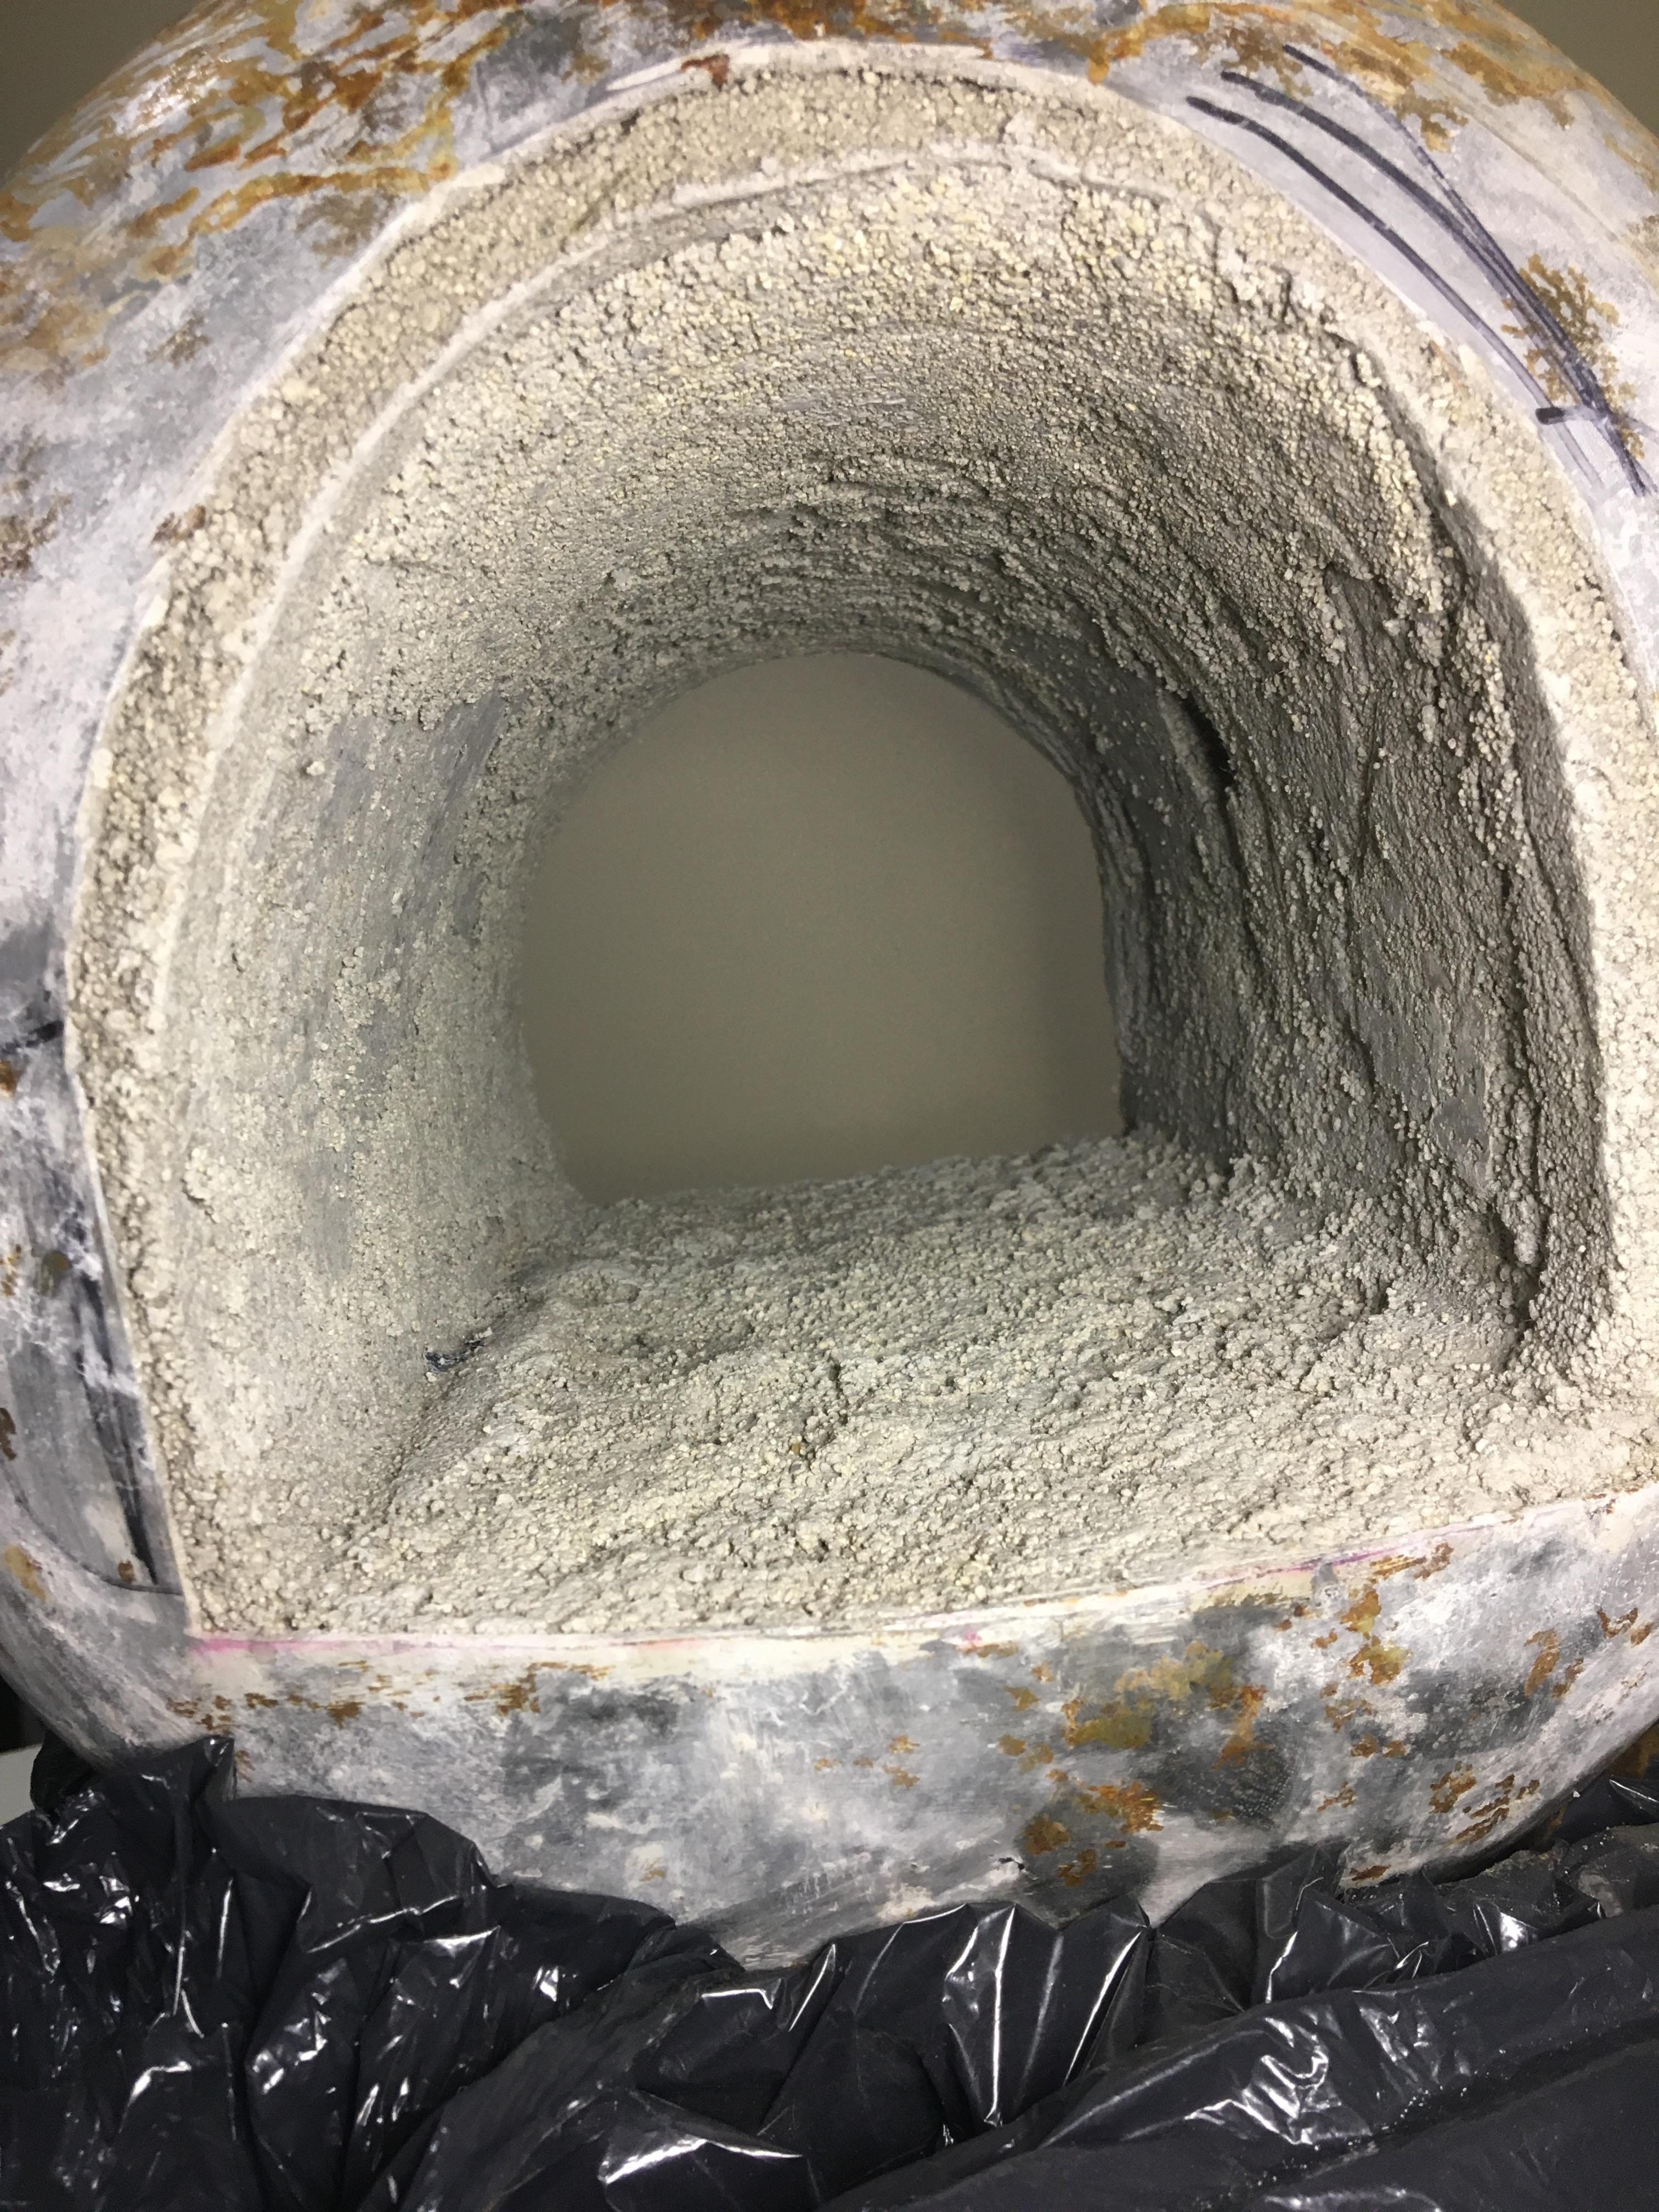
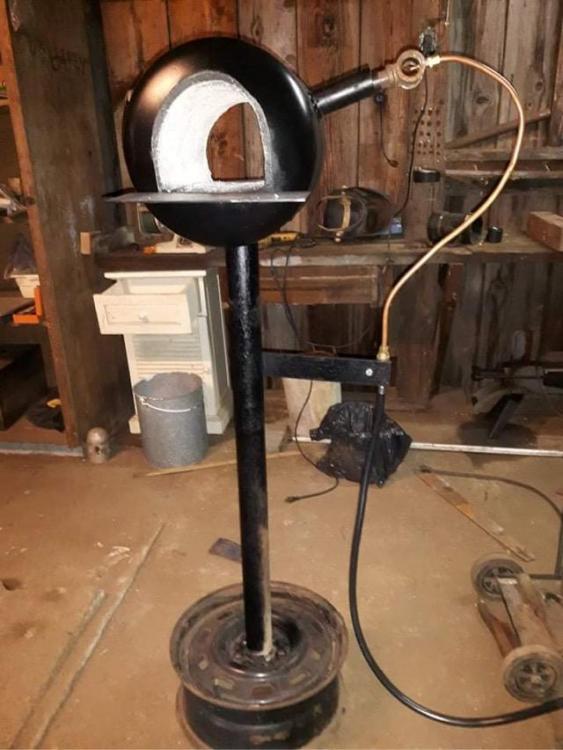
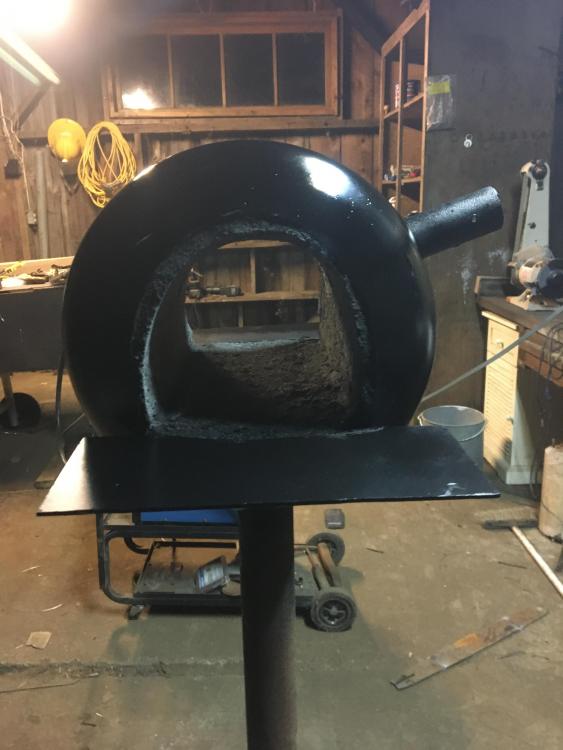
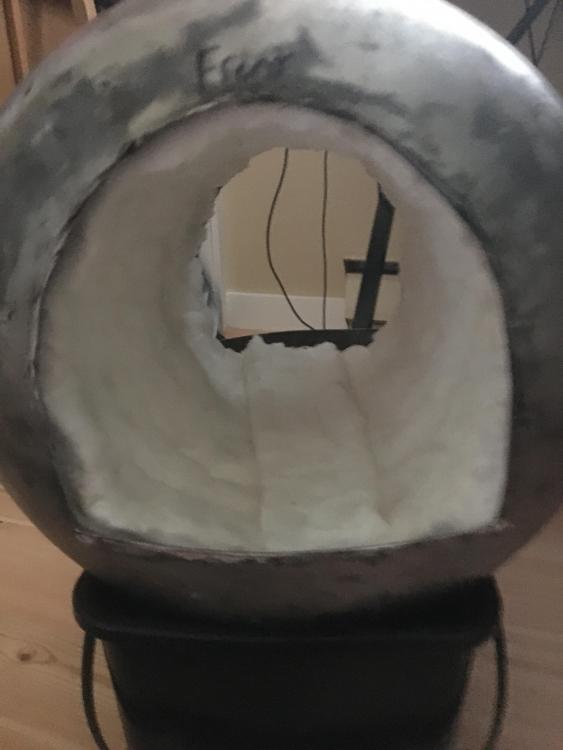
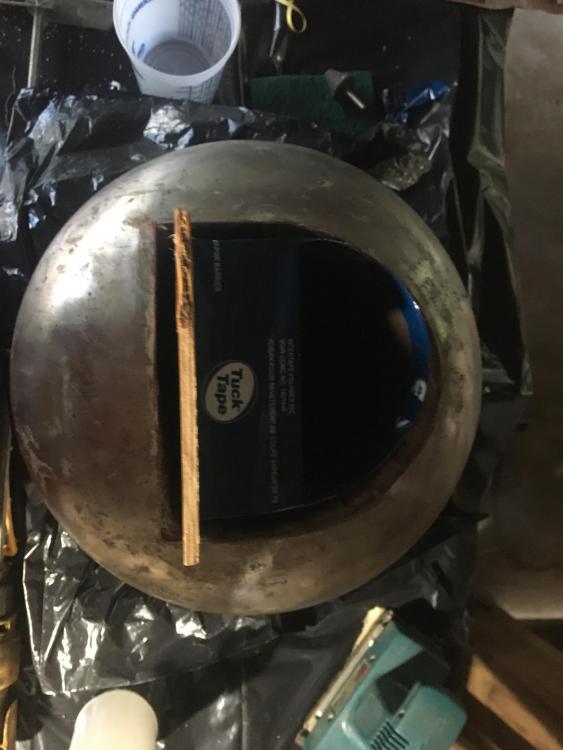
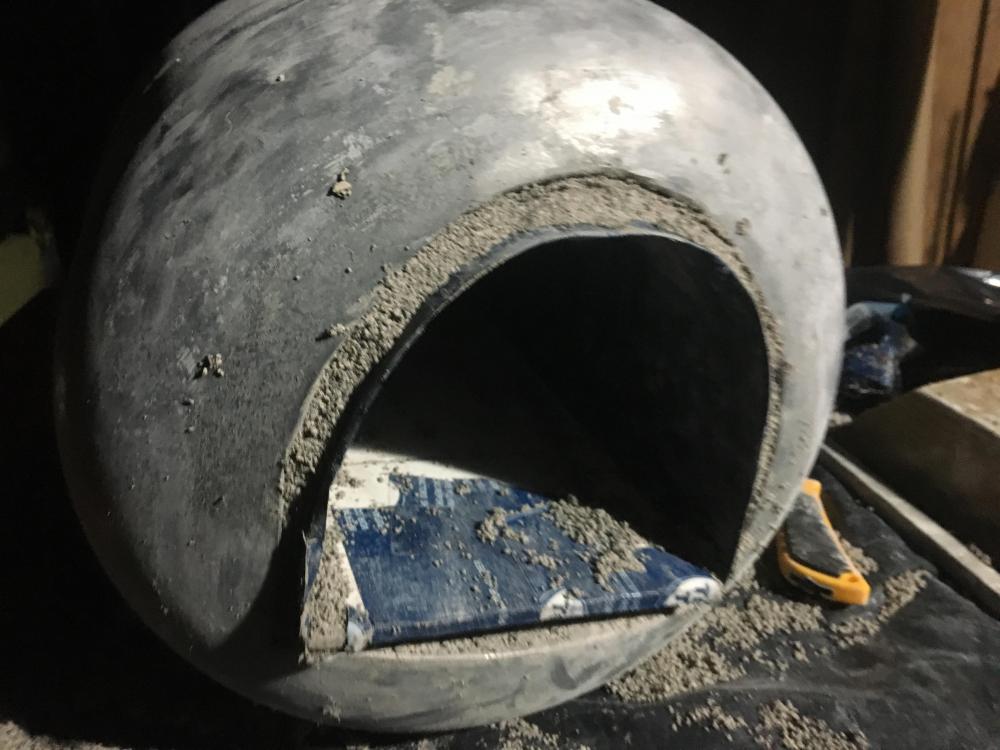
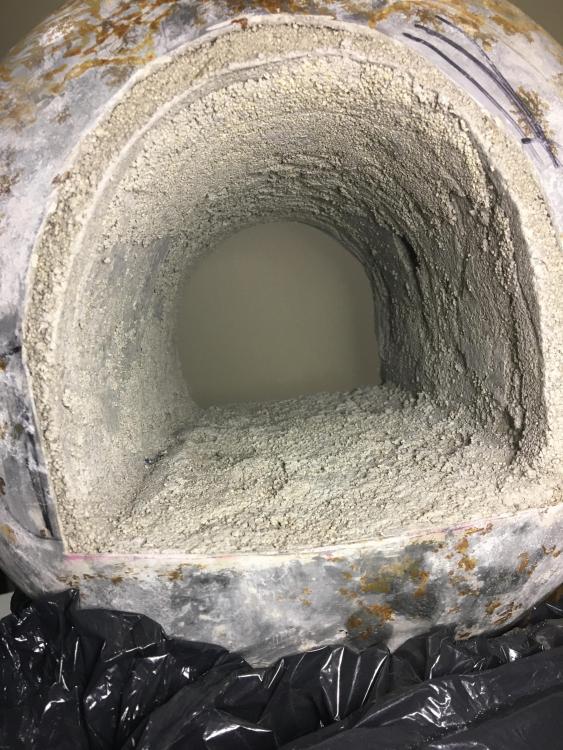
It is Kast-o-Lite 30 Mikey, I am going to be drilling the hole in the bottom then to save myself a step. Should I still hold off on the ITC until I’ve heated it up a little? Not firing in the oven gave me a chance to get my welding done and shell painted. The forge has a pipe in the bottom that slides into the stand. Tomorrow I am hoping to plumb up the burner and tune it. Still waiting on fire bricks for doors and a piece of kiln shelf but getting closer every day Maybe if I’m lucky I will have some hot metal to hit soon.

-
Thanks for the quick response and the ITC tips I am aware I could use the burner but was wary of cracking it by heating it up to quick. The instructions that came with it recommended a slow oven cure so that was my first thought. It’s already sat air drying for a few days since removing from the 100% moisture I had it in.
-
Well, it took much longer than I’d have hoped but I’m finally recovered enough to have gotten some work done on the Forge in the last little while. I ended up scrapping my last shell as I realized that I was gonna be getting pretty small once I added my kiln shelf in. So I used a 20lb propane bottle this time and changed my design slightly. I have used 2 1” layers of kaolwool and added A 1/2 inch of Kastolite 30 with maybe 1” in the floor. I’m powering it with one Frosty T burner that I will be tuning once I’ve oven fired the forge to get the rest of the moisture out. a couple of questions should I apply the ITC 100 before or after putting it in the oven? also I am planning on not making doors and using fire bricks to block my openings. Will hard fire bricks be sufficient or is there something else I should look for

-
I traced my hole using the piece of pipe and a sharpie. I then used a small 4.5 disc angle grinder with a cutting disc and cut a groove in about half depth on the inside of my mark (making sure to leave the marks on it so I dont go too big). Then I used the same grinder to cut my circle into pizza slices all the way through. Then used a hammer/pliers to wiggle them back and forth until they snapped off. Hope that helps. BTW everyone, ended up in the hospital for two weeks after 2/3 weeks of being unwell. Am recovering soon and have my reg now so I will hopefully have some fire to show you soon, depending on my health.
-
 LonelyIsle changed their profile photo
 -
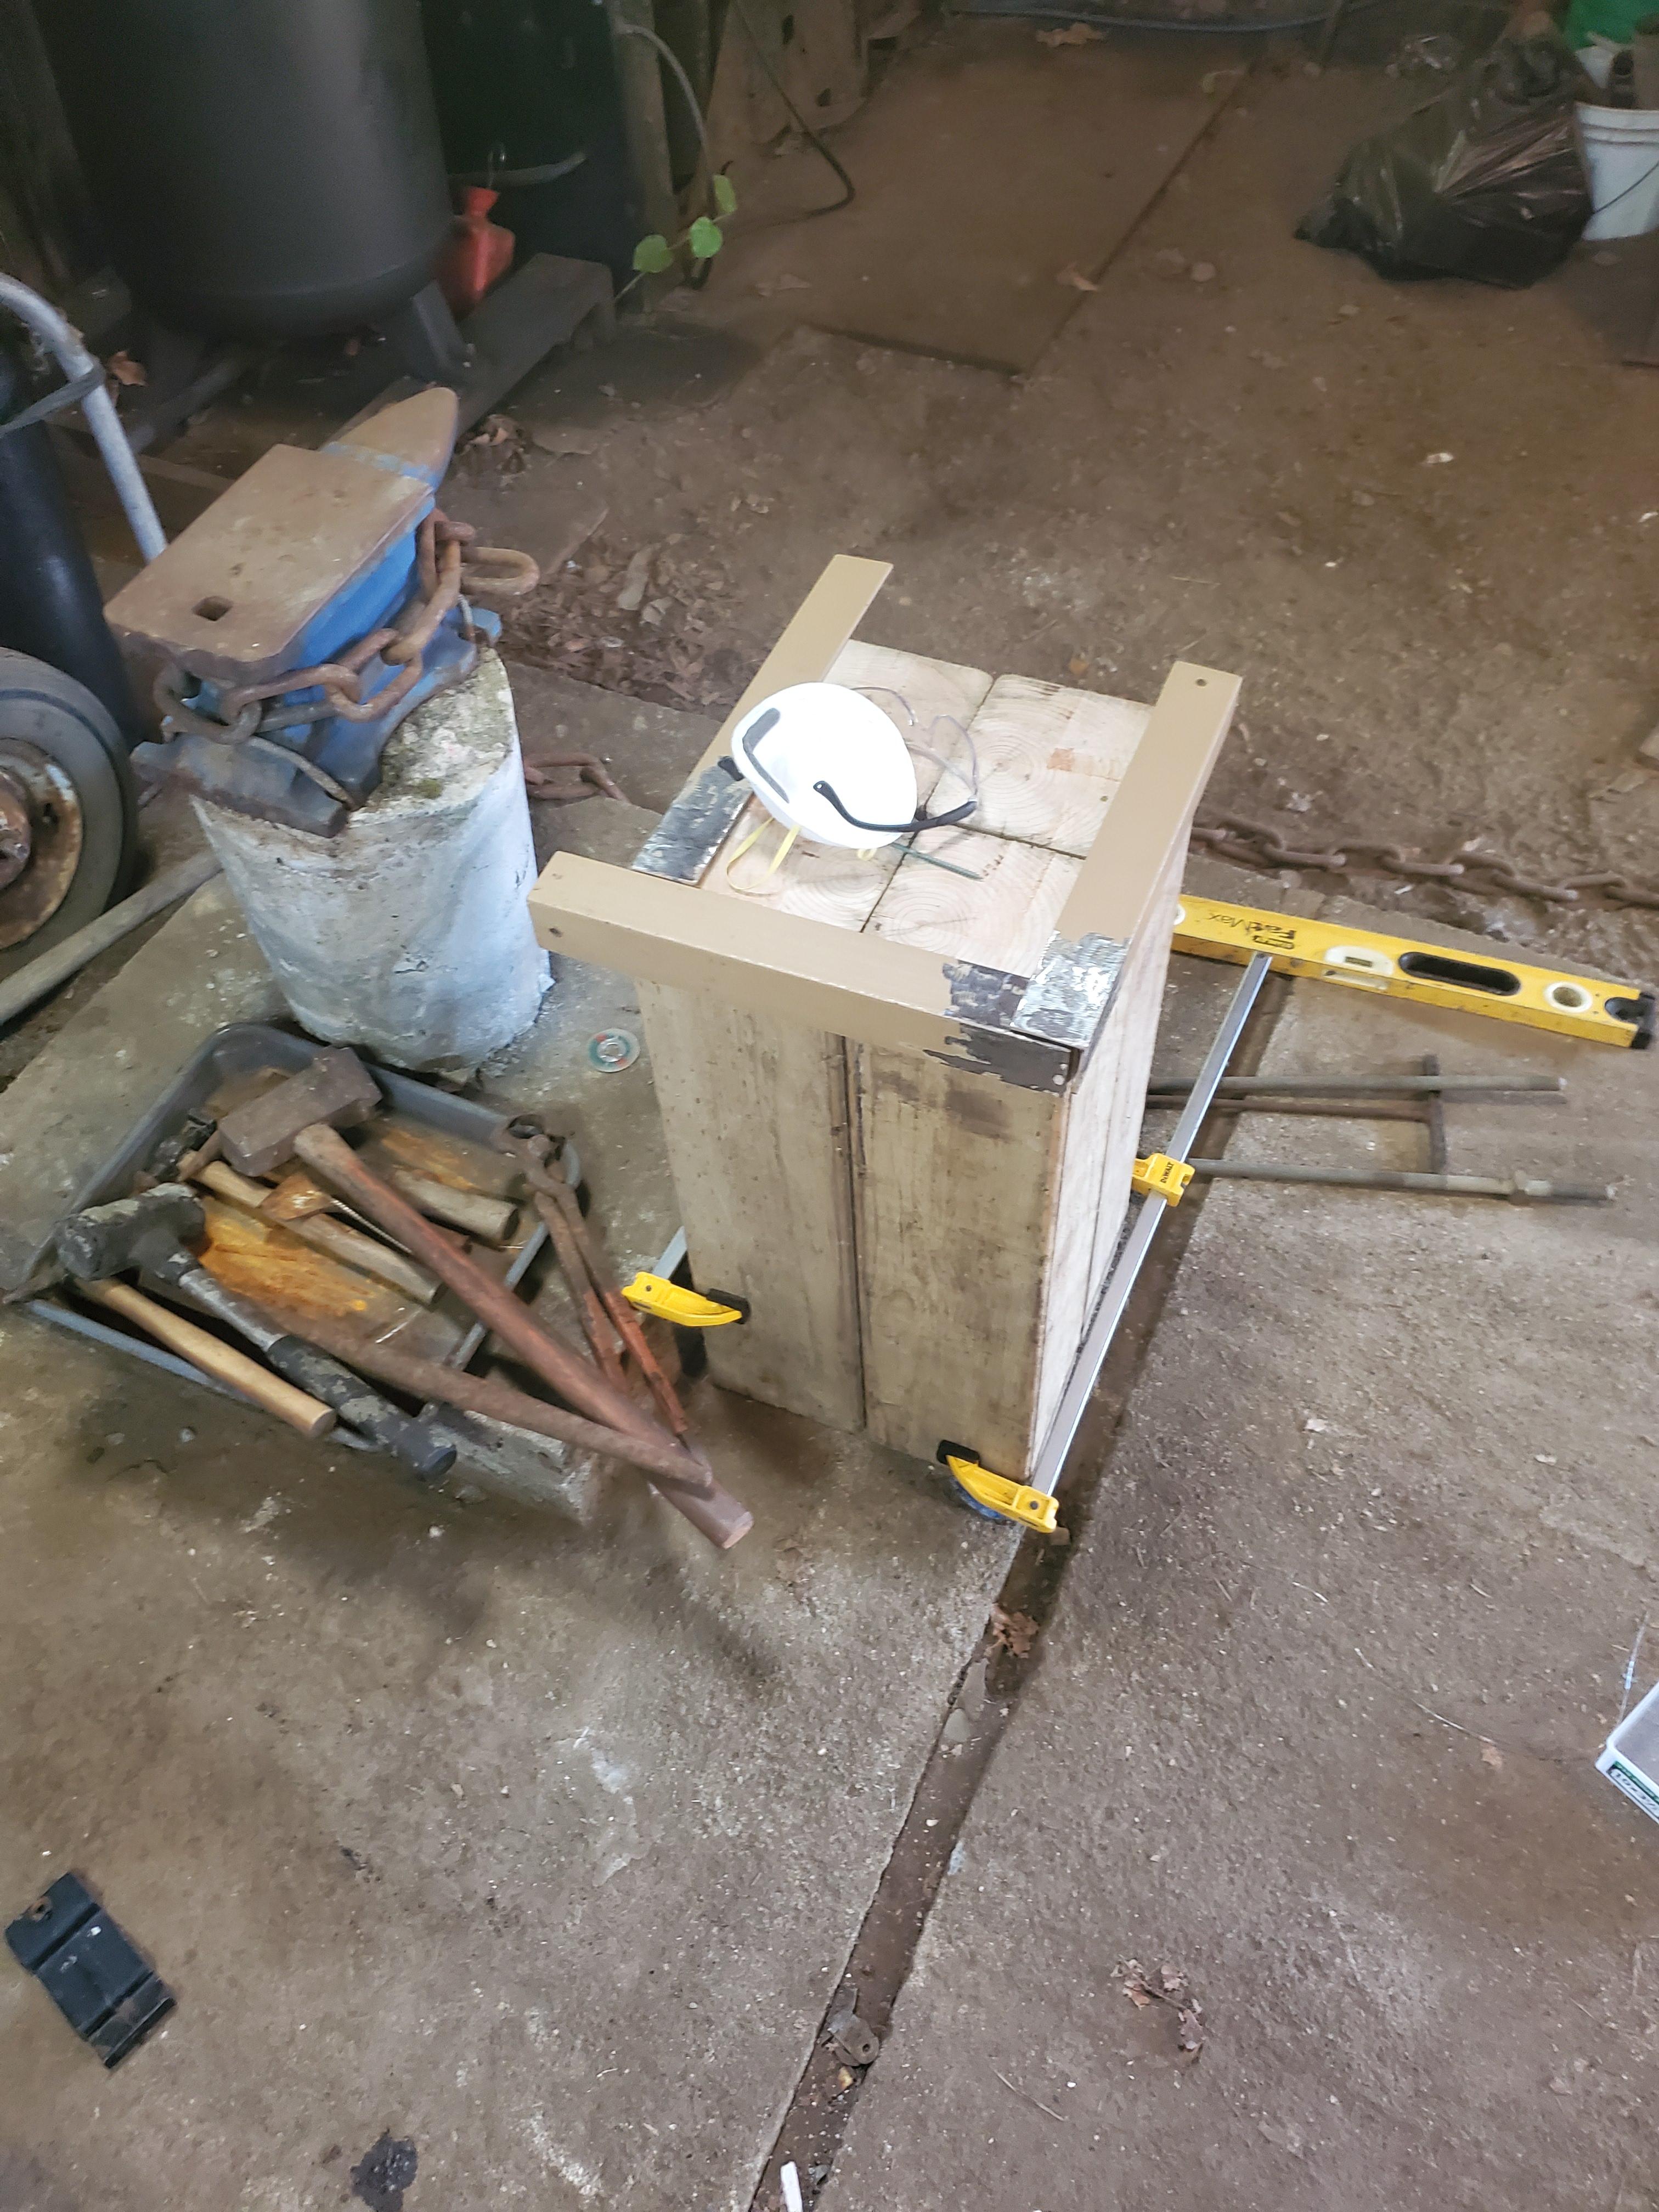
Sorry which are you referring to mikey, the forge stand is a BBQ roller that i cut the wheels off of.. the wooden workbench being built is mainly for assembly and whatnot
-
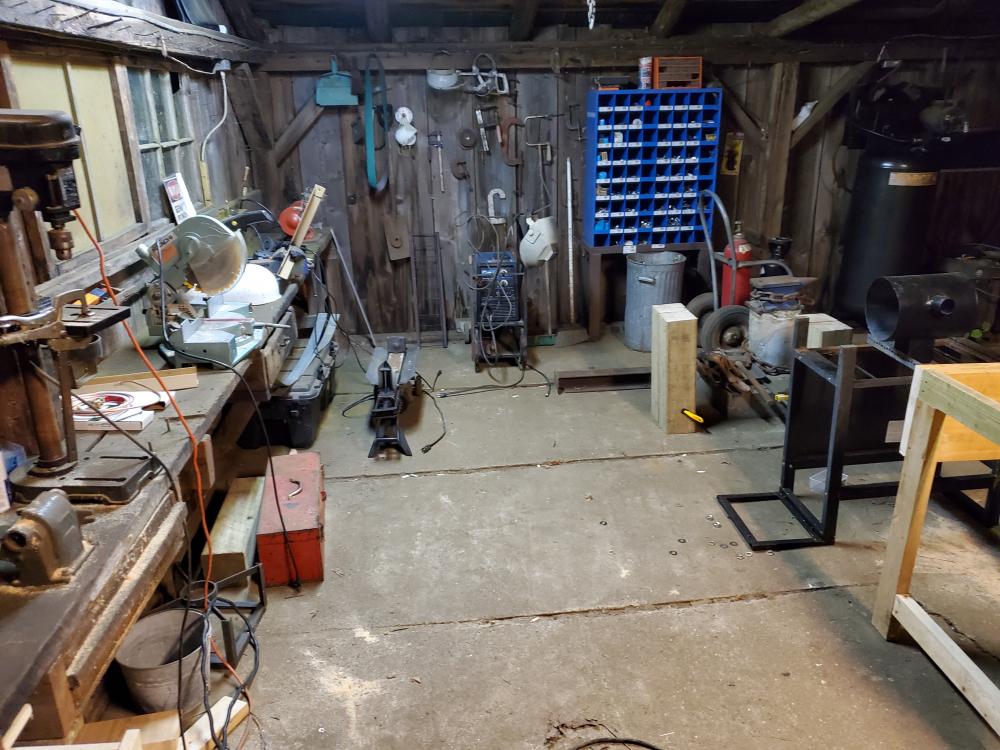
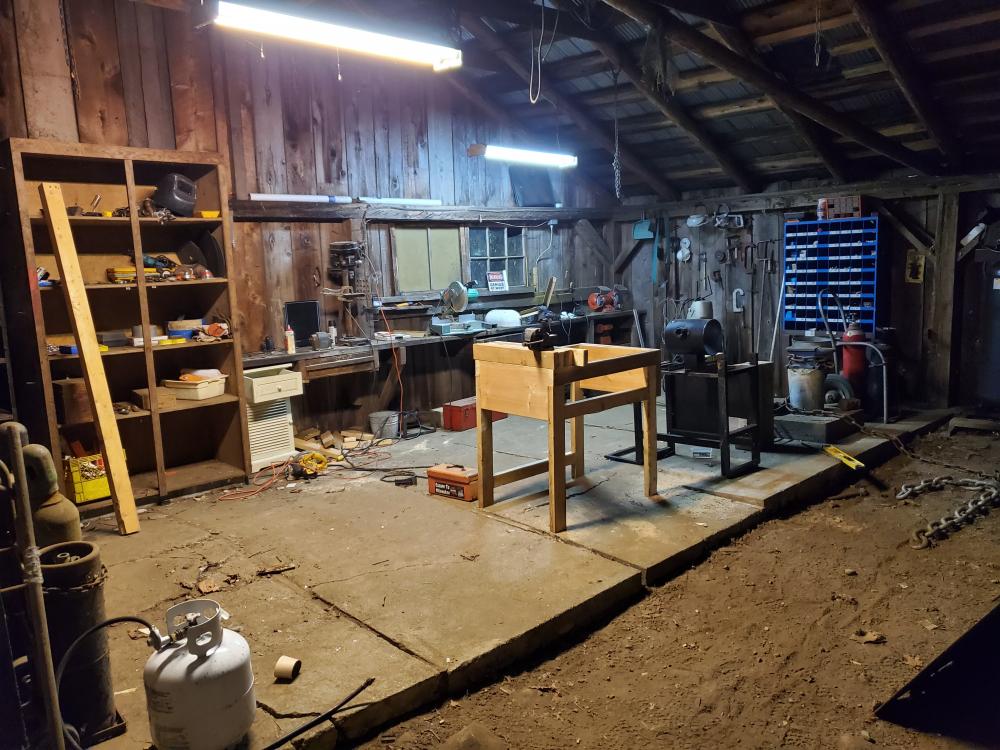
Yeah im still try to get everything in order.. by the time i get things going things will be alot tidier and safe, it would drive me nuts otherwise. Just some pics mid reno. I'm a carpenter by trade so it may not be long before I end up laying a floor. Projects on projects .... am hoping the reg doesn't take that long though.
-
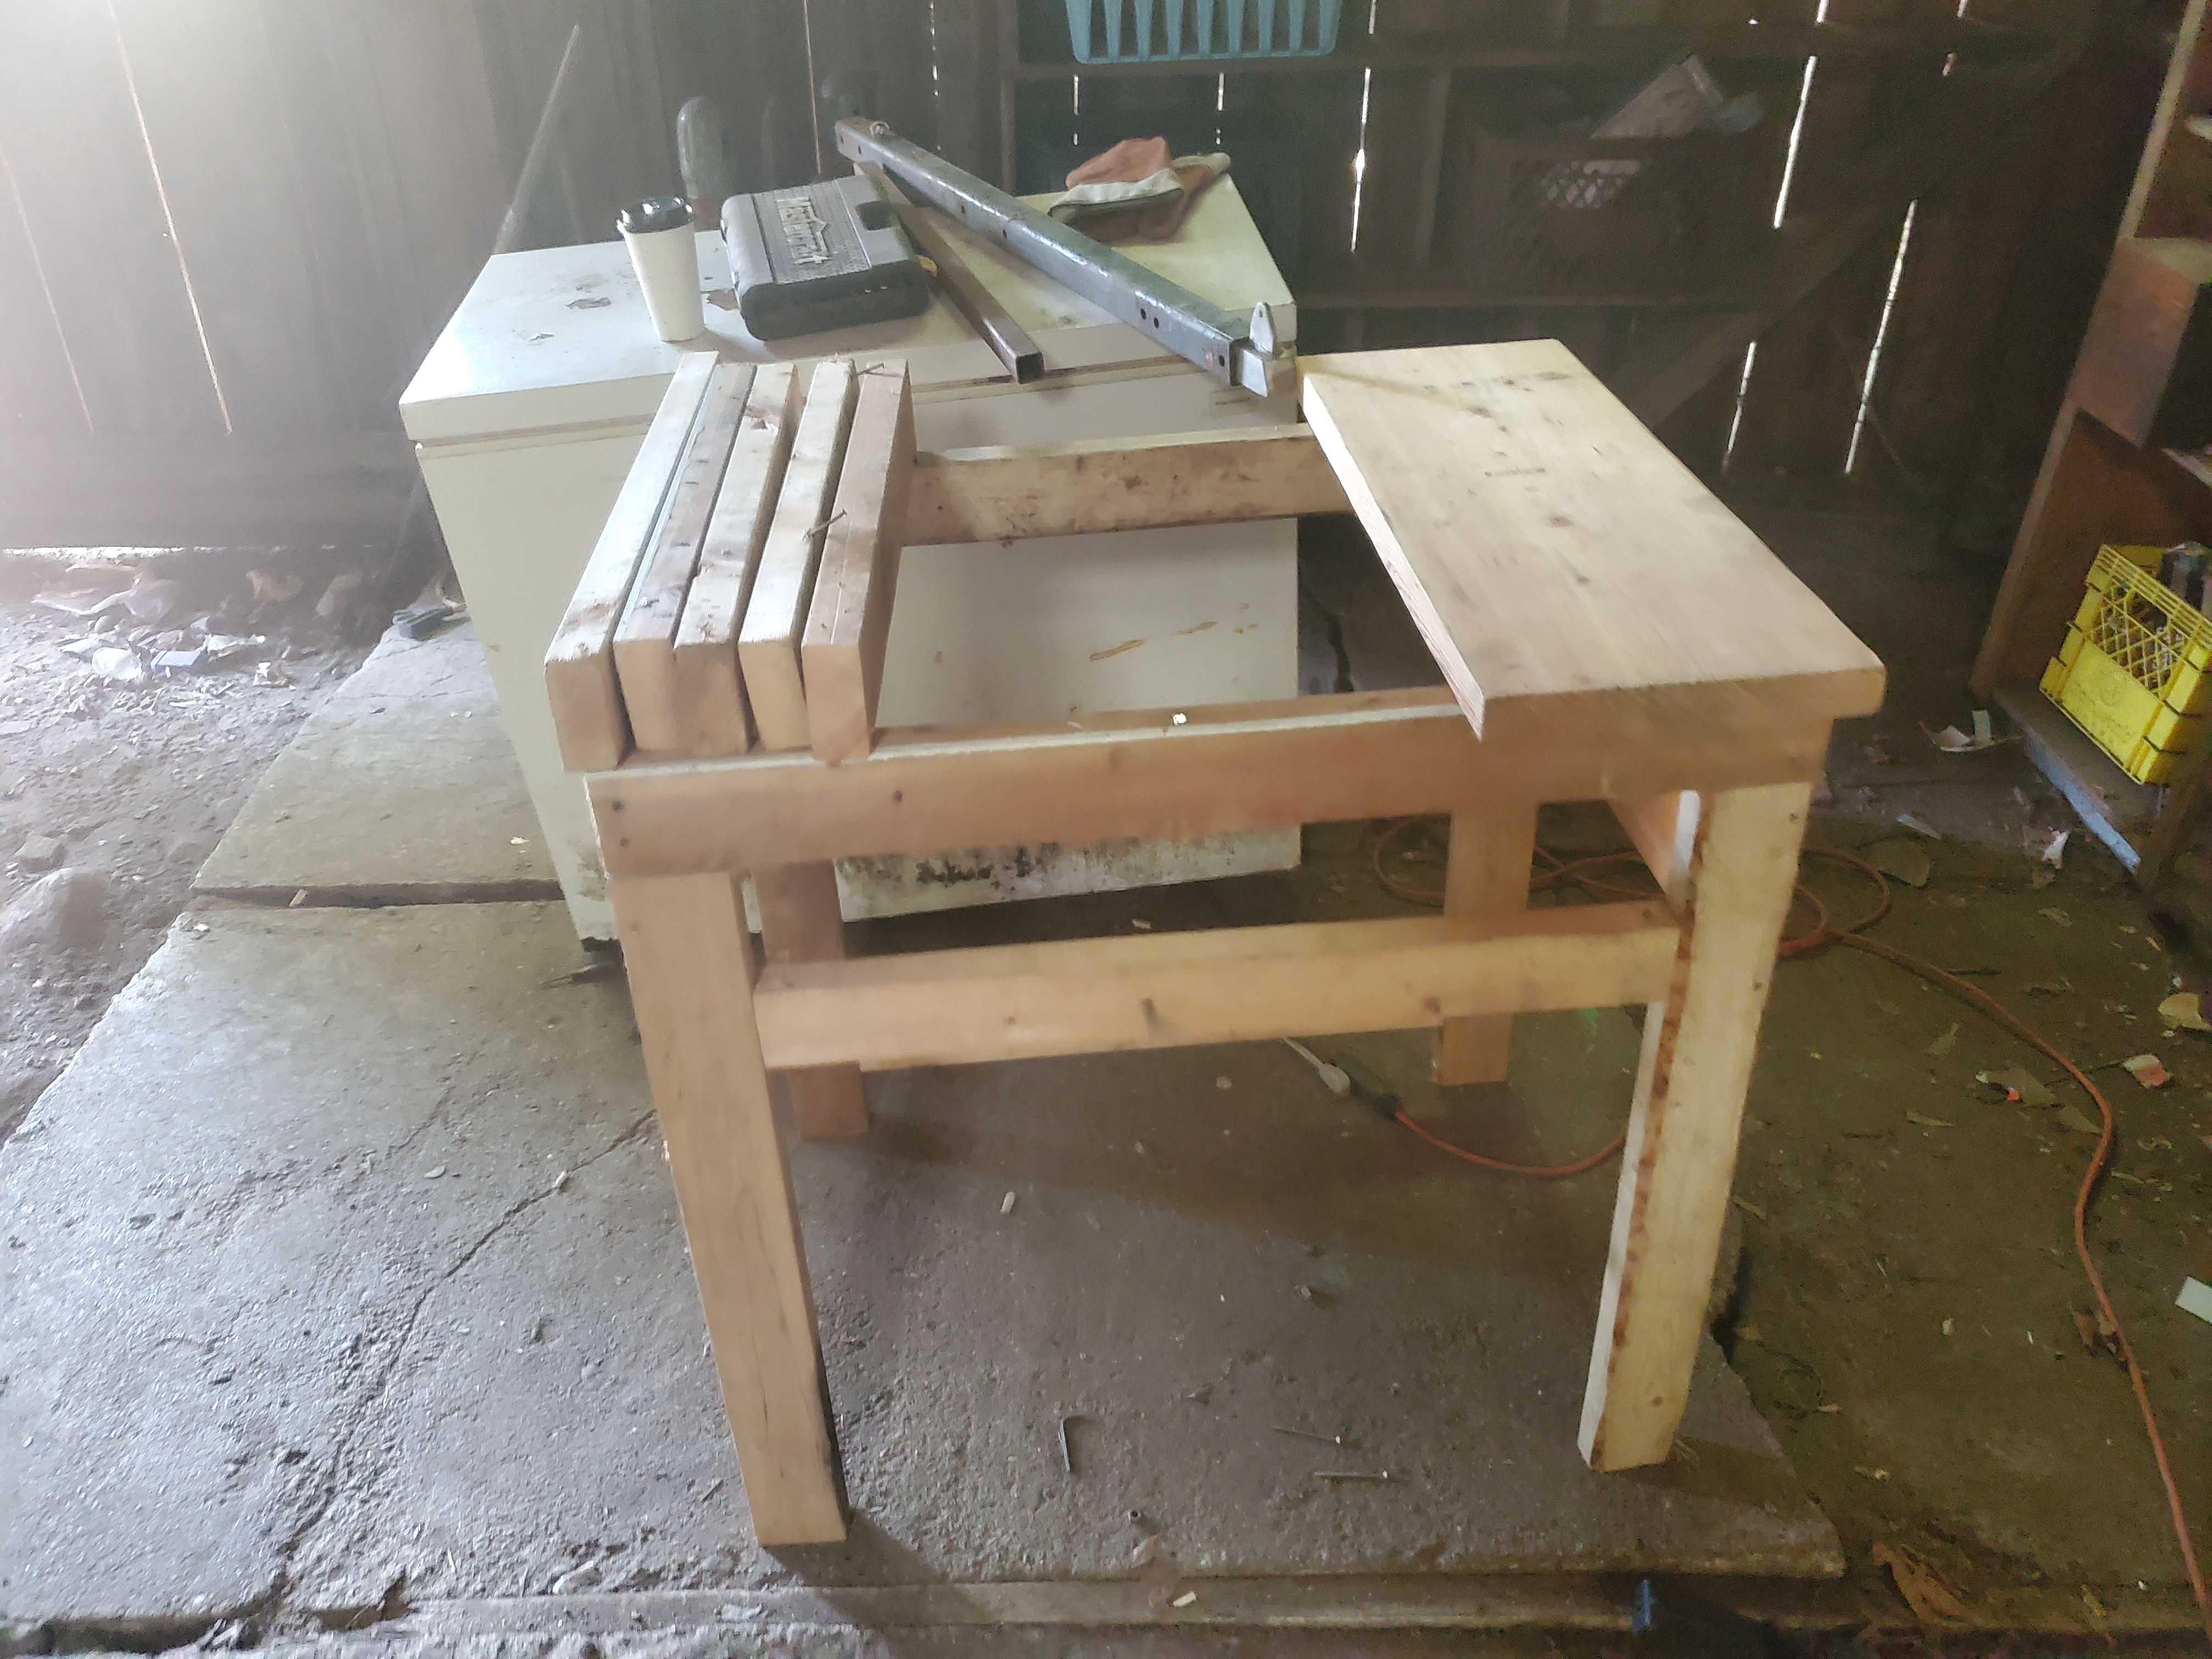
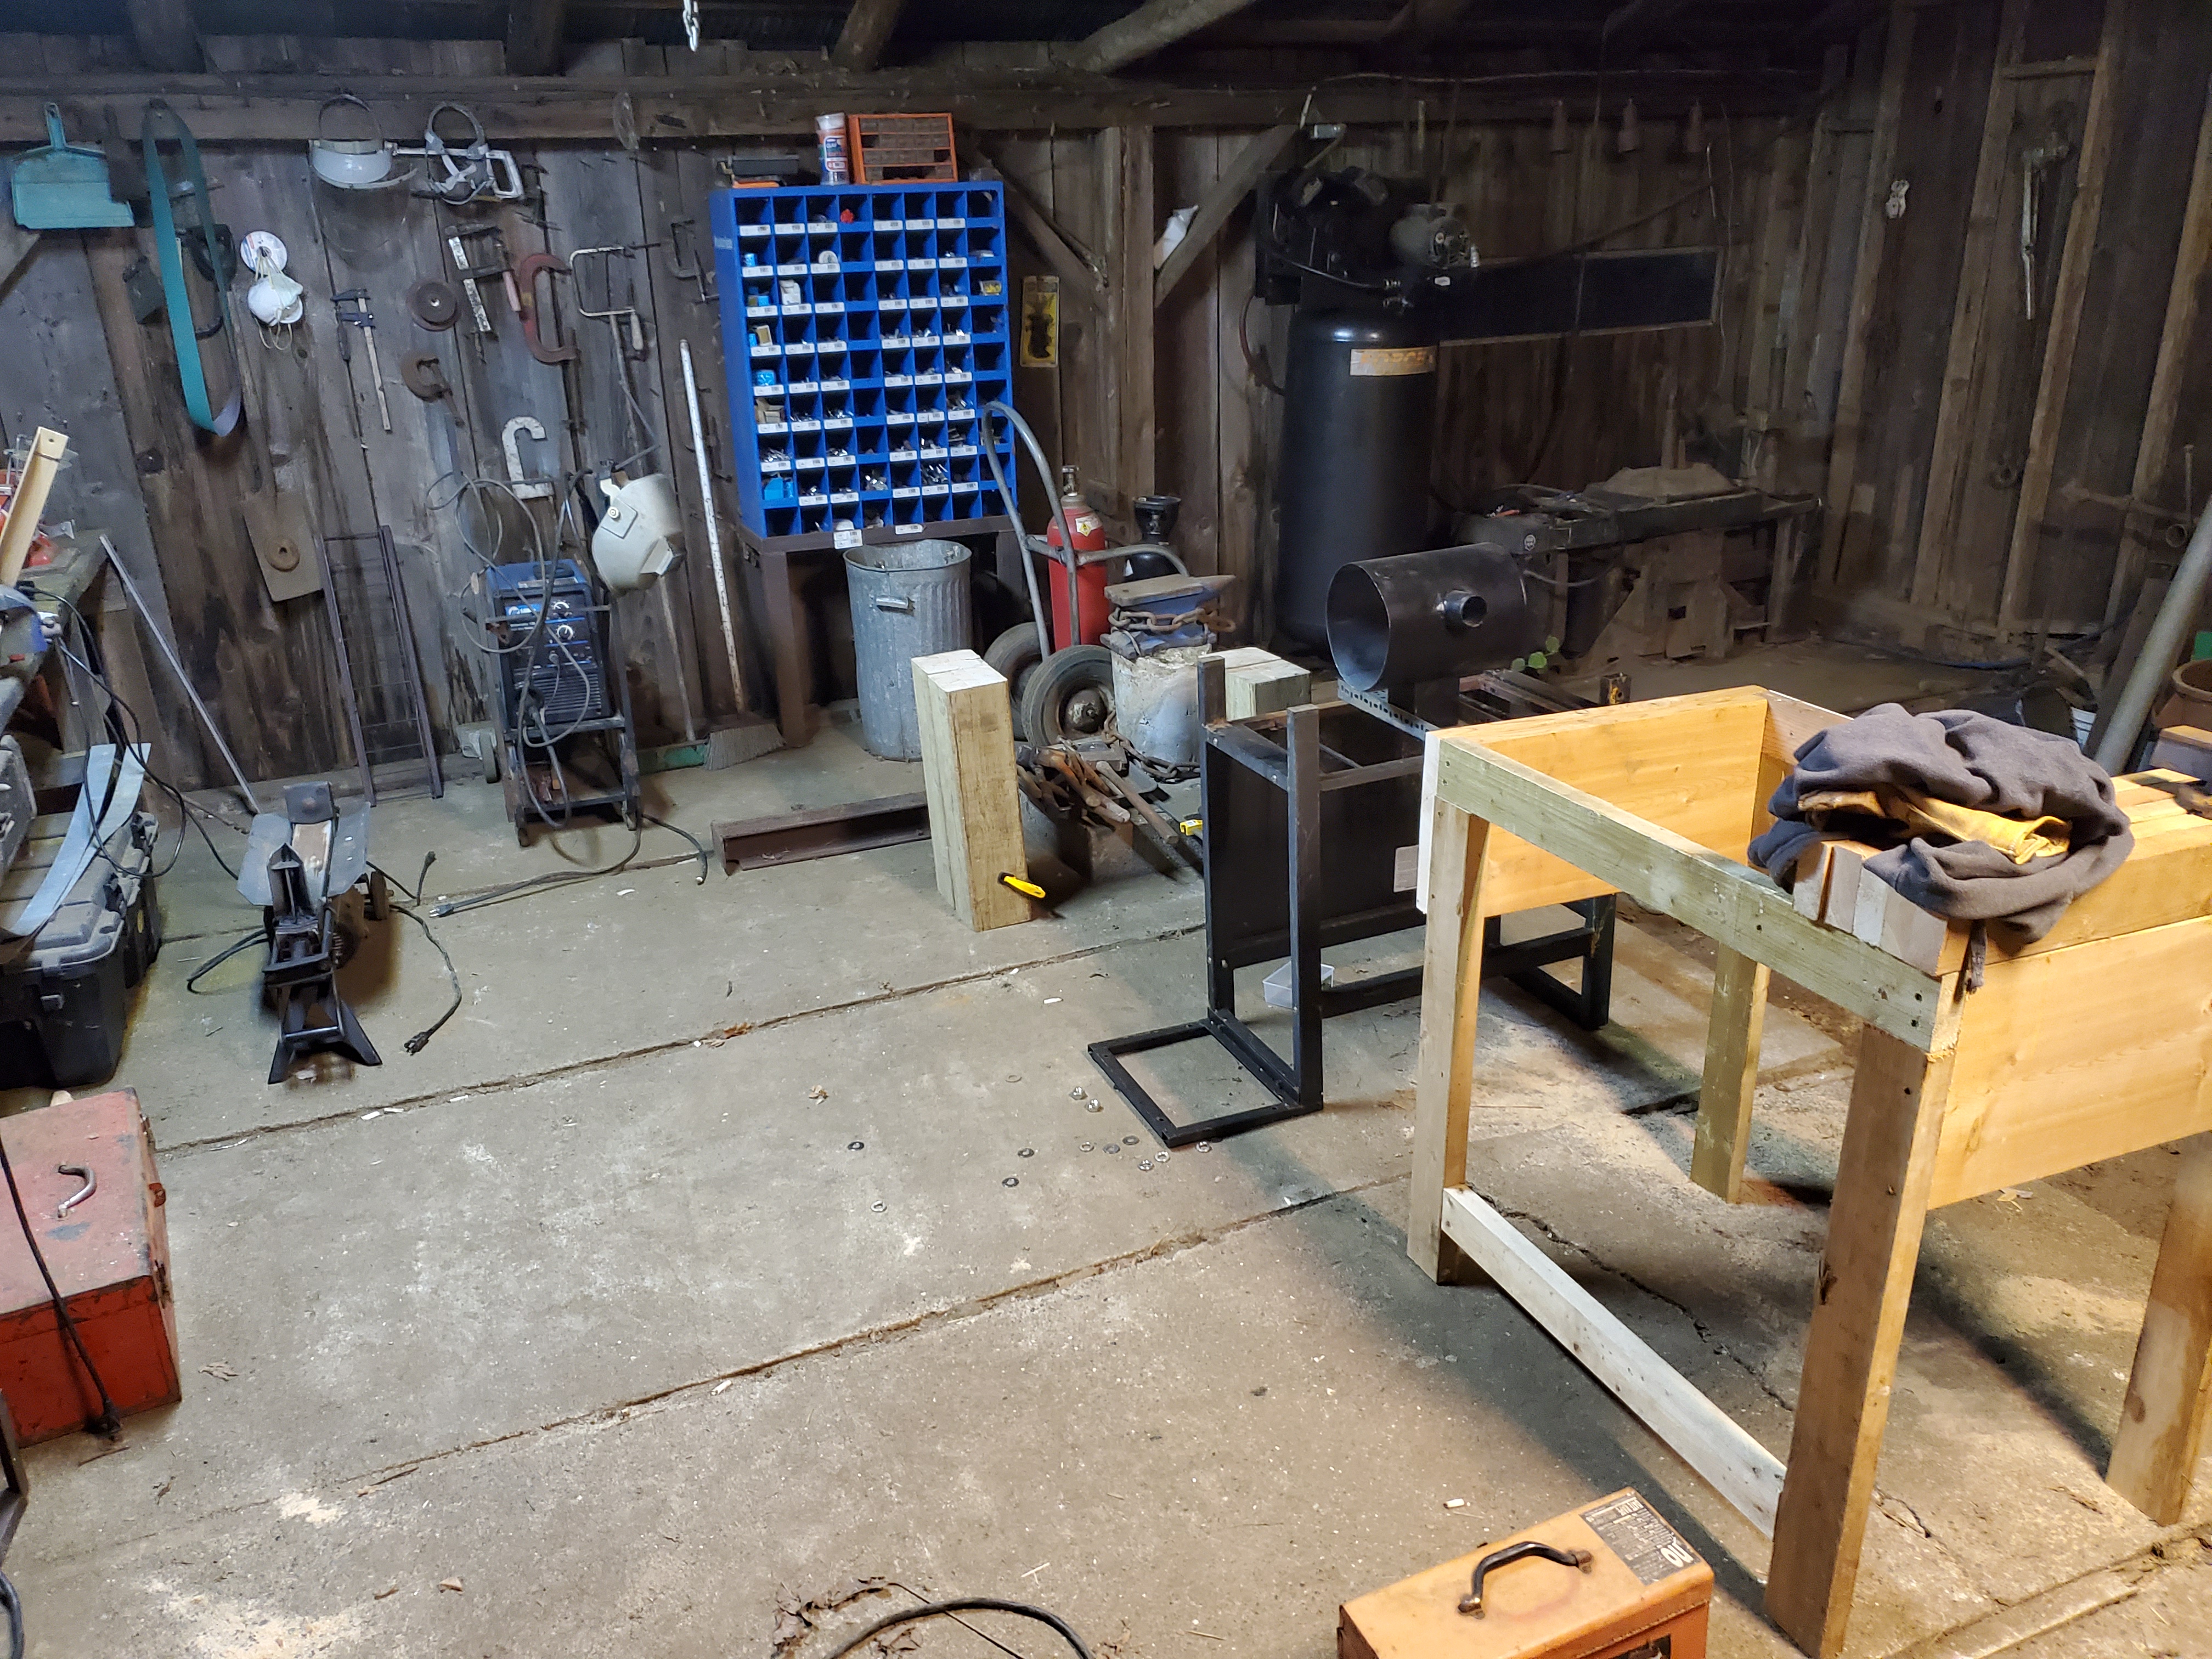
Still waiting on amazon for my reg so been trying to get the shop ready. I cleared out a space for blacksmithing at my gfs uncle down the street that was just piled with junk. Almost a usable space once I finish a little workbench, anvil stand and a few other projects. Hoping it doesn't take too long but if it does I mau get my 72x2 grinder finished. It may not look like too much but its a far cry from what it was. The video is the before the before can be seen https://youtu.be/YAKDyOTknLc


-
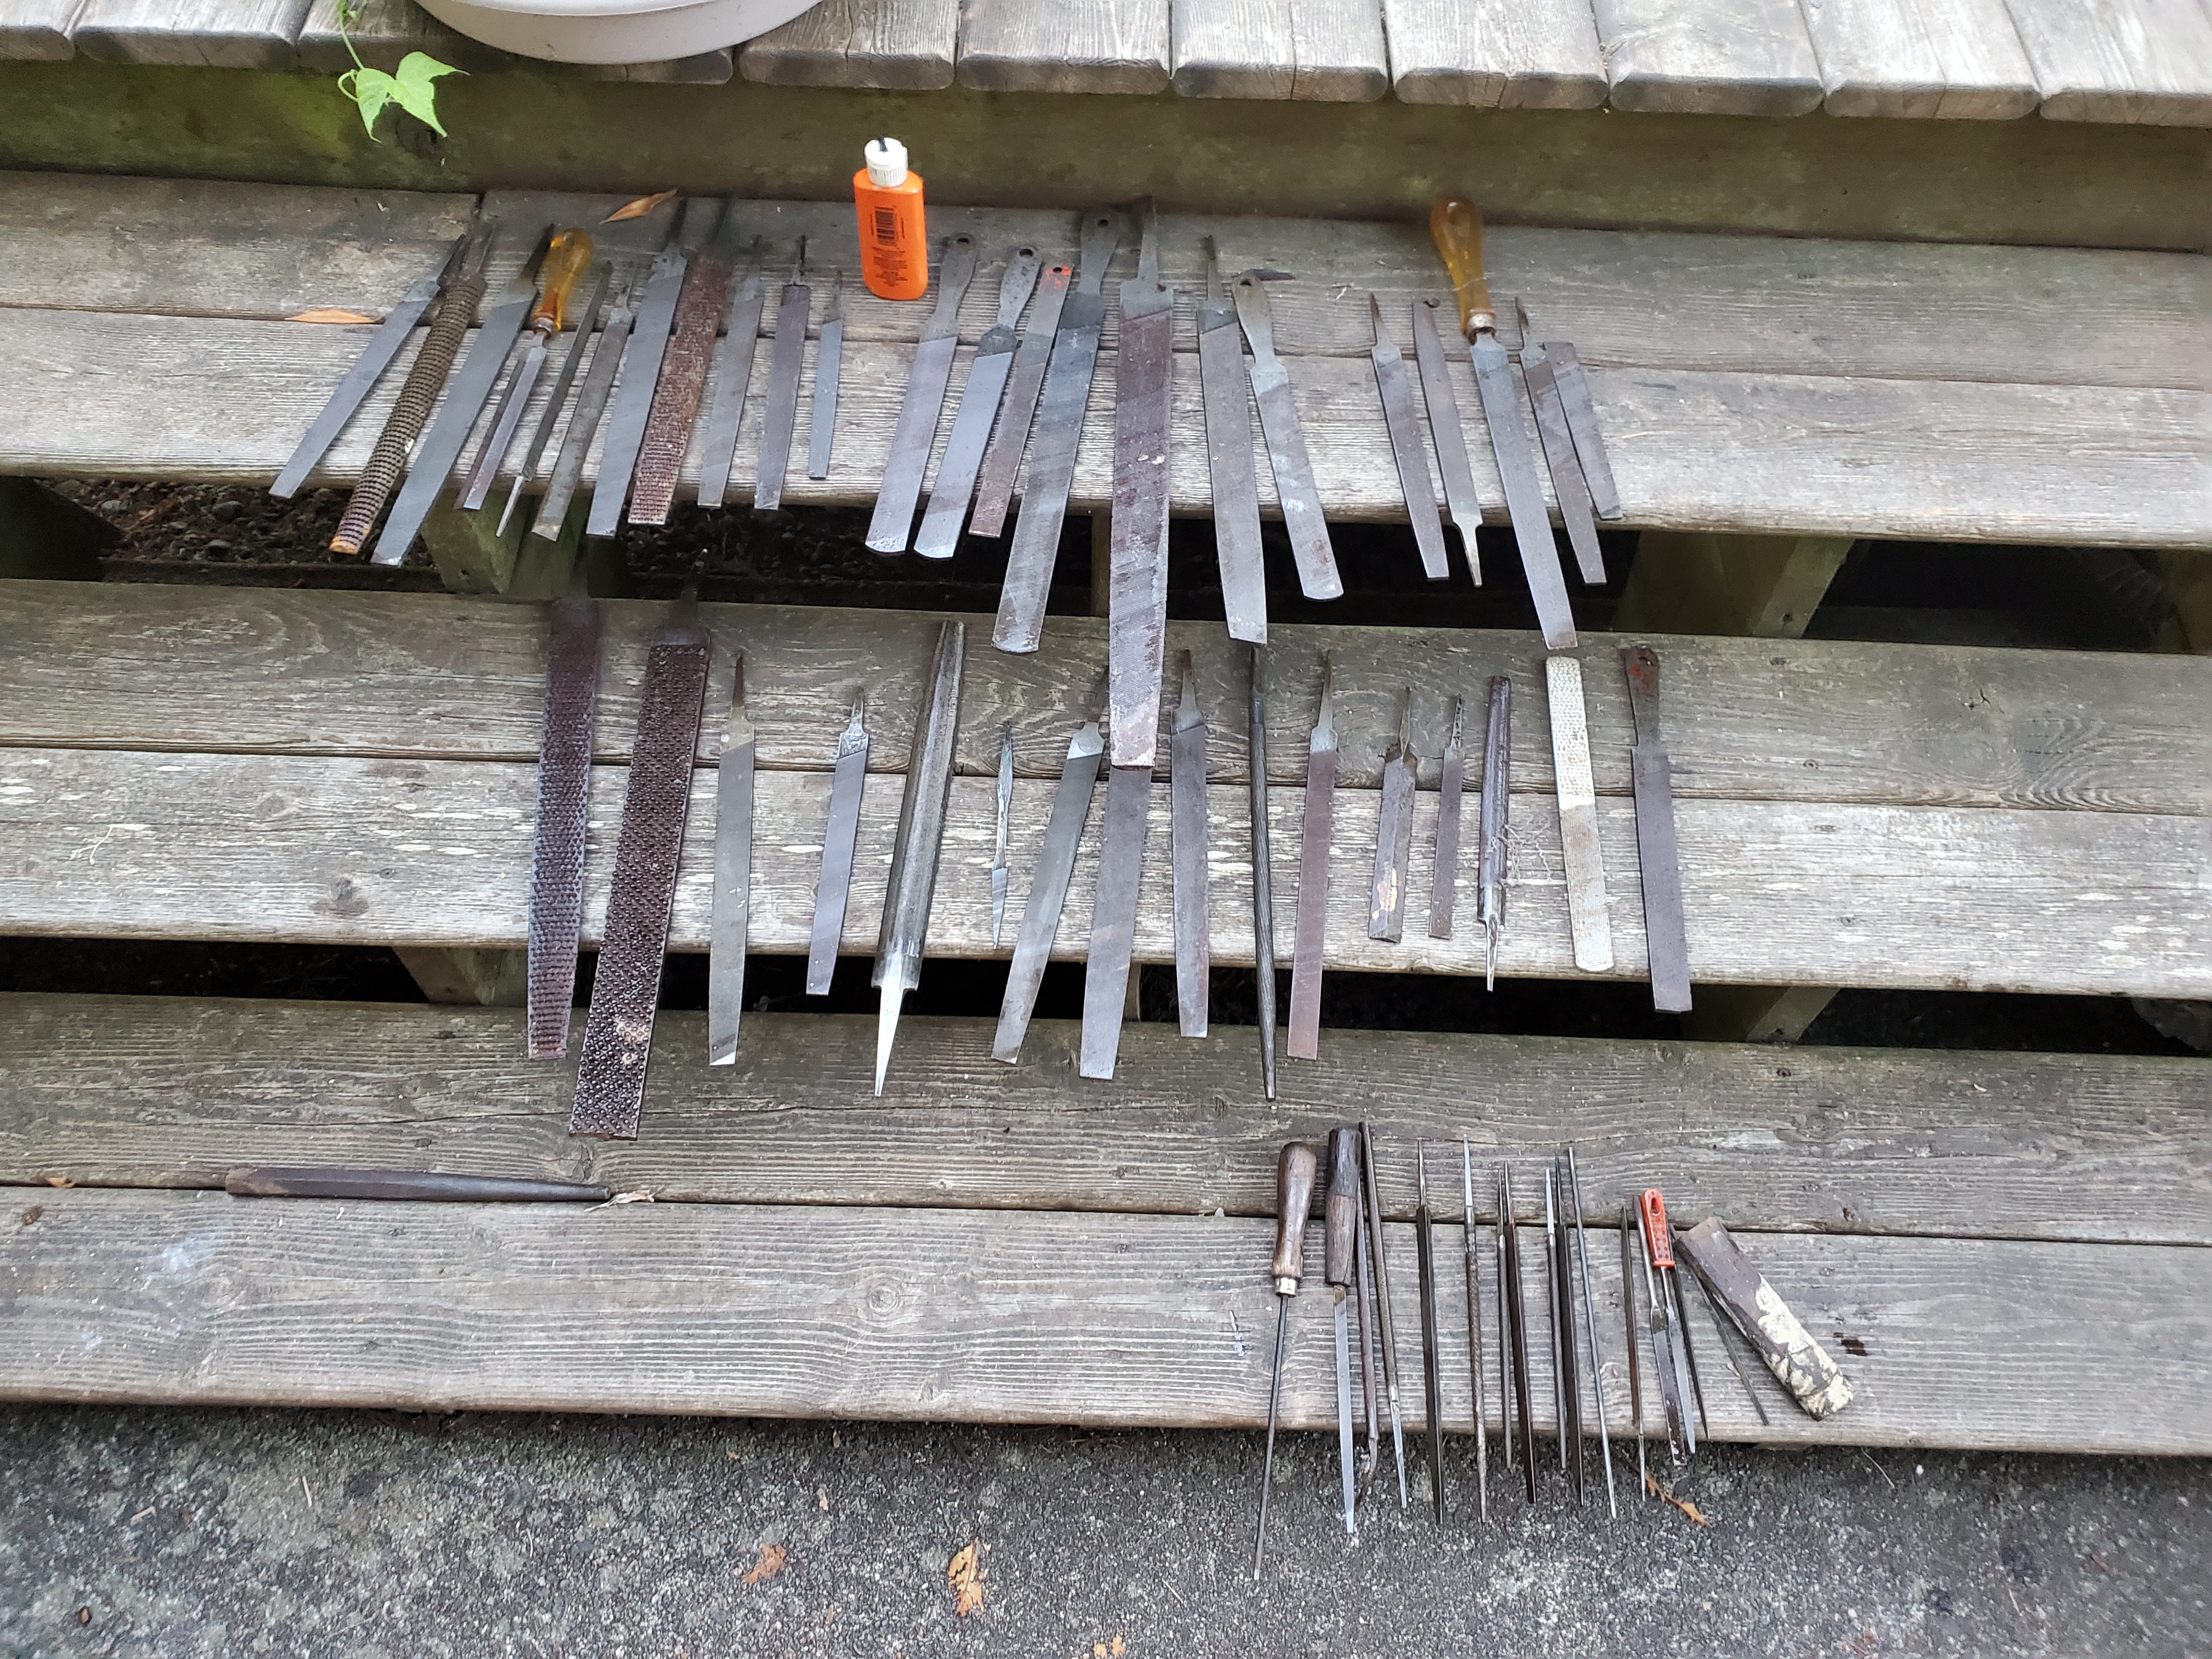
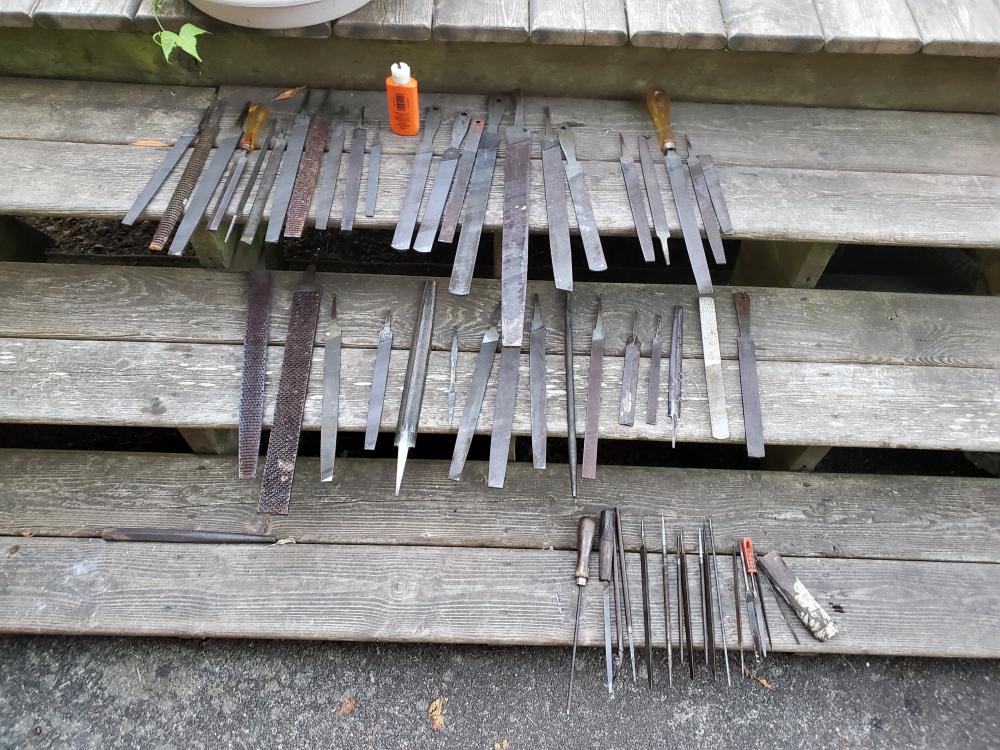
All done with the files.. waiting on parts still for the forge. On the top, to the left of the hop no 9 are black diamond, Nicholson to the right, assorted makes on the next too rungs cos, stokes bros, globe, zenith,Belmont bros
-
I hit most of them with some WD, then into a cleaning vinegar bath, then neutralized in water baking soda, just letting them dry before i give em another oil coat to stop rust
-
Most of them appear to be pretty good, some are mint while maybe 2-3 are significantly scarred. There are a few broken ones I may turn into handle fit files but their should be a few scrap. Thanks for the tip ThomasPowers, was looking them up last night and couldn't see anything. Most of these were wrapped in a newspaper from 1966