Lou L
-
Posts
1,180 -
Joined
-
Last visited
Content Type
Profiles
Forums
Articles
Gallery
Downloads
Events
Everything posted by Lou L
-
I'm looking forward to your posts. There have been a few great threads about setting up a shop and getting old forges up and running. Get to reading and then start your own thread about setting up your grandfather's equipment. I'm certain everyone will jump in to help out. Welcome back. Lou
-
Check this out for spark testing: http://www.weldingwire.com/Images/Interior/documentlibrary/metal id.pdf
-
Very eclectic knife. Whether brass or bronze the inlays are awesome and look time consuming. That is one heck of a cooking tool.
-

Nydam, Illerup Adal, Vimose....
Lou L replied to Ibor's topic in Spears, Arrows, Pole arms, Mace/hammer etc.
Agreed, the sockets appear to be excellent...uniform and smooth. I would love to see the tooling you use to hammer in the third edges. Congrats on the beautiful collection you've made. Lou -
My silence on this thread has been my commentary....because it's what people don't say that really gets a curmudgeon's goat.
-
Welcome aboard. It sounds like you've had one of history's easiest entrances into blacksmithing. Congrats on all the gear. All I can add about your gear is that pretty much everyone wants to see a picture of it all. My advice about further gear accumulation is for you to focus on tongs. It's my new "thing" to tell everyone. Struggling with hot steel and dropping it all the time makes you a worse smith. You want to be able to swing your hammer confidently knowing the hot work will sit where you told it to and take the bashing it so rightly deserves. Enjoy the learning curve! Lou
-
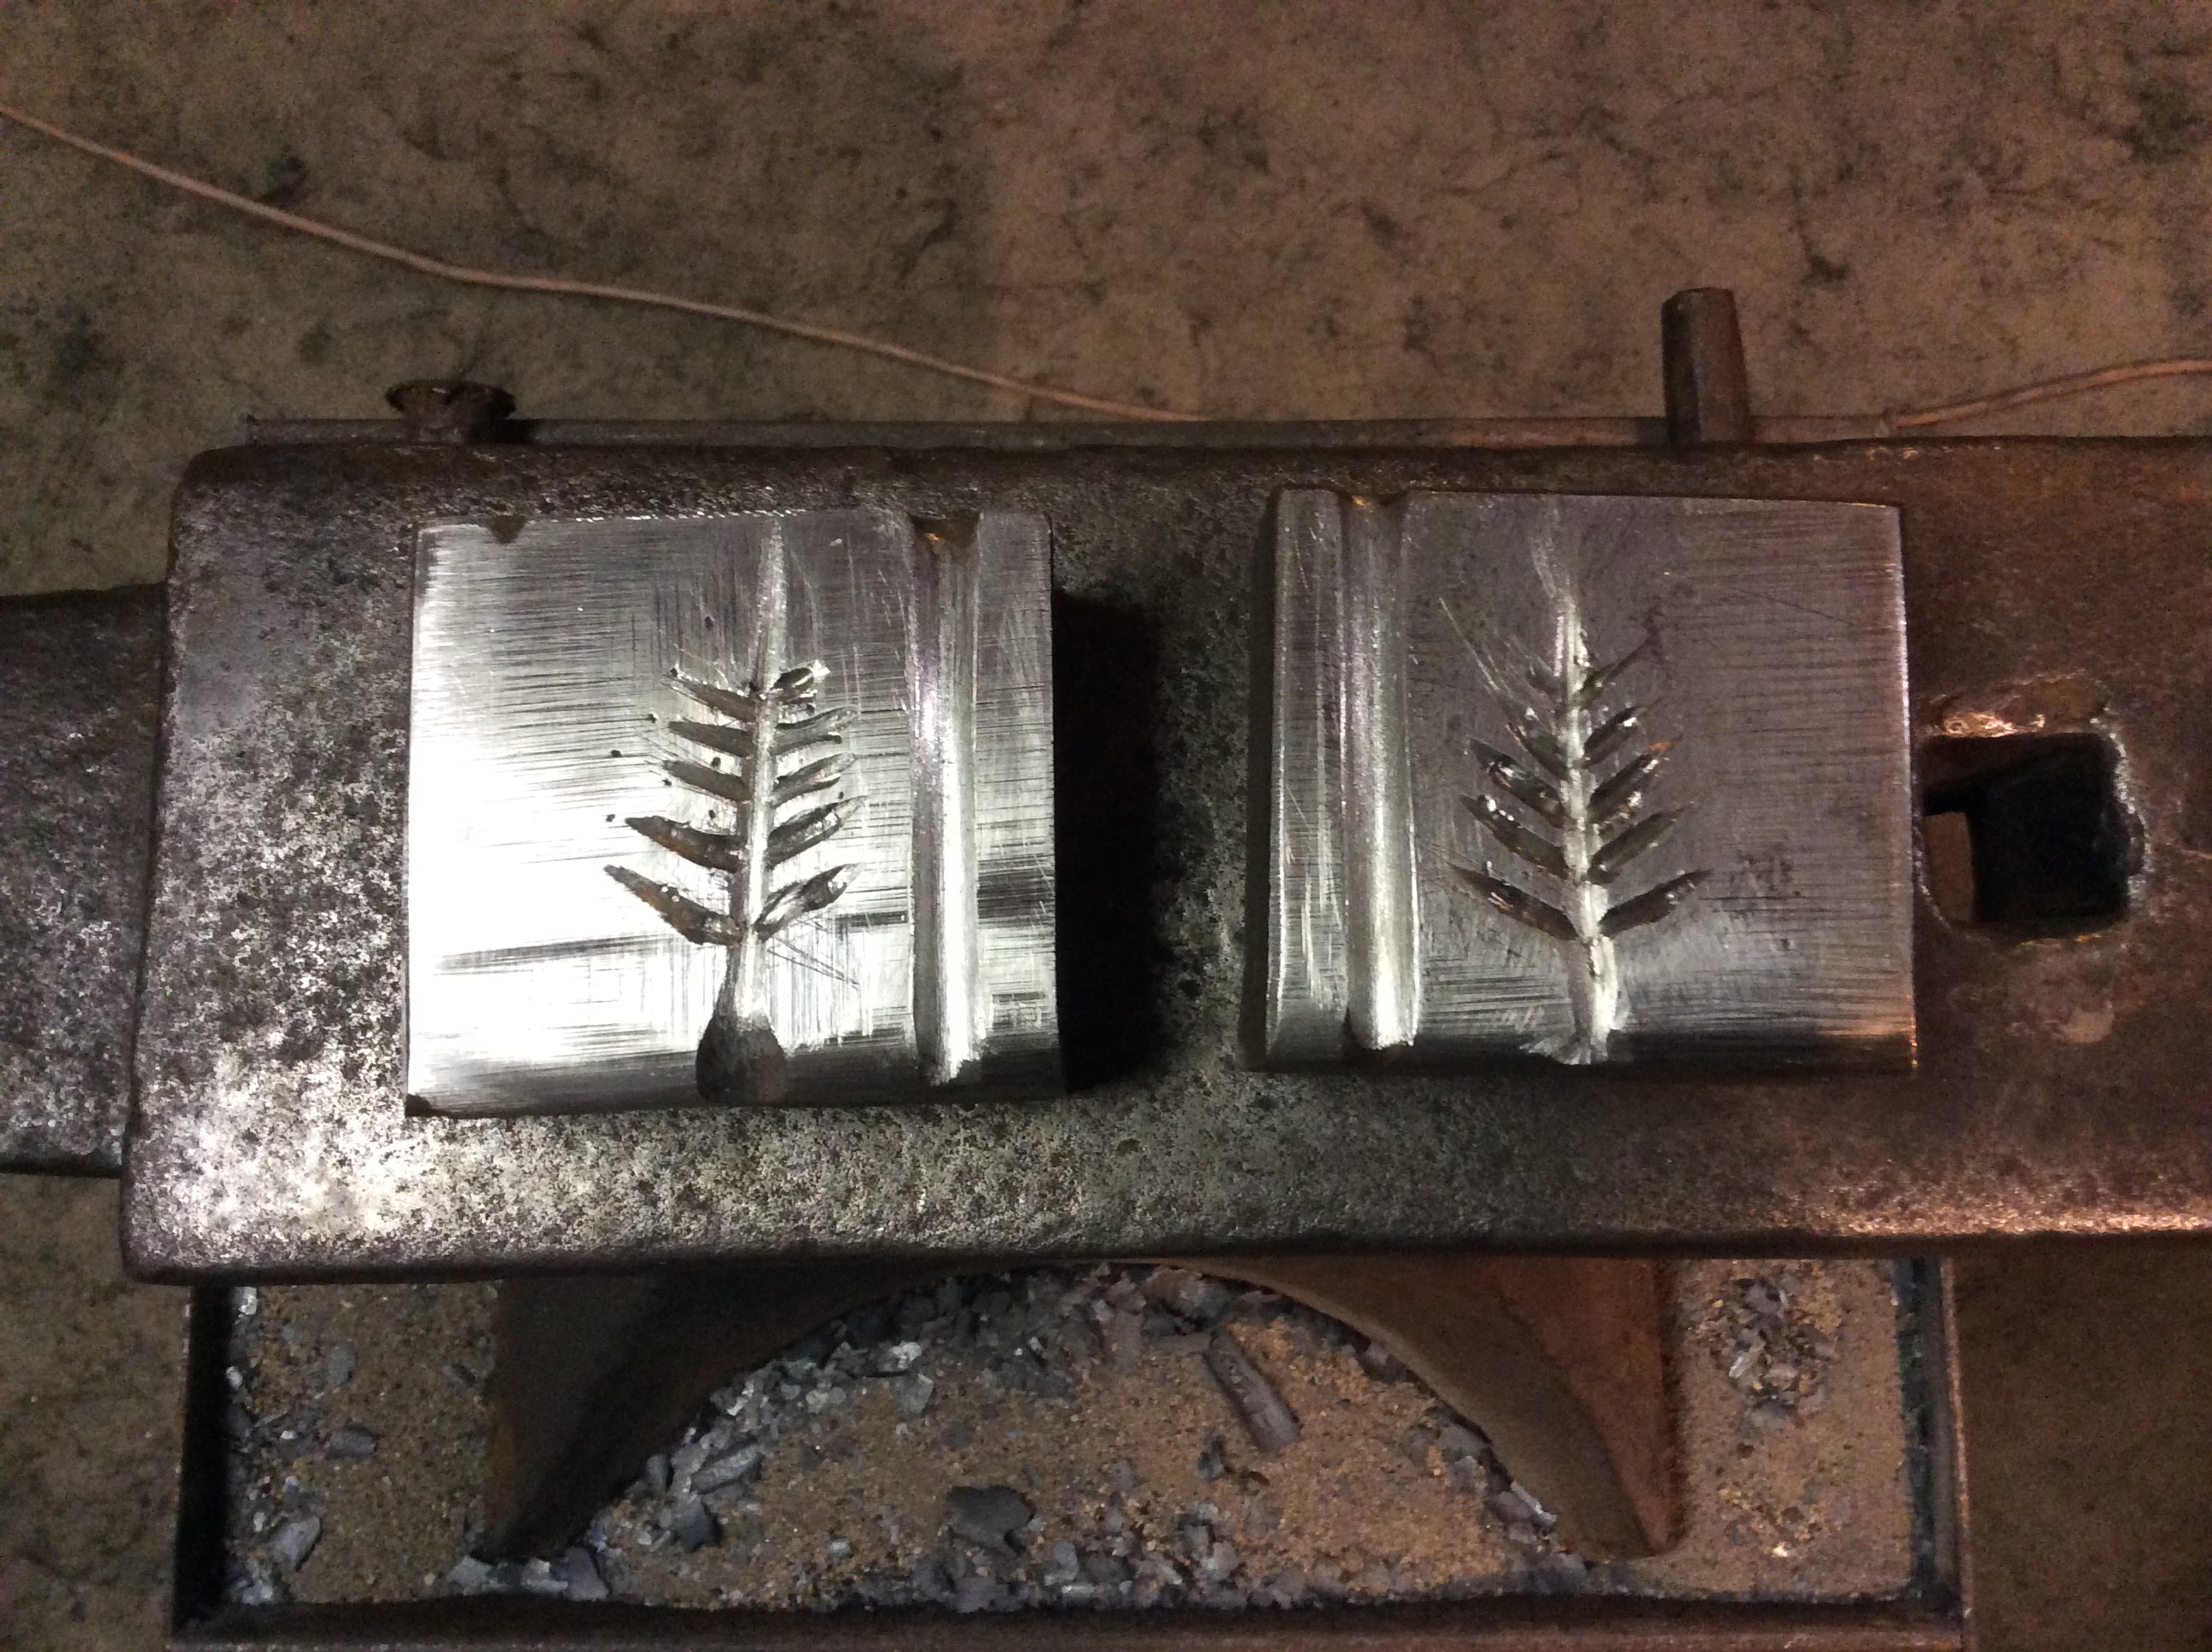
First attempt is nearly done. I haven't had lots of time in the shop due to...life. I tried making clapper dies for hand smashing. I cold chiseled, dremeled a little and then filed. It turns out the steel blocks I'm using aren't A36. They are low carbon high alloy for sure. I don't know if that's a bad problem or not...but they won't be seeing a power hammer. It took much longer to file than expected. The big, chunky orange sparks when I did a little grinding explained everything. Right now the dies are flat. A slight distal taper was filed in. I'm going to mount them in a housing without welding them to anything because I expect to have to make changes. They are lined up well (used my kids' Play Doh) but the vein patterns aren't identical. Shouldn't matter too much I don't think unless my leaves are examined by an OCD savant.

-
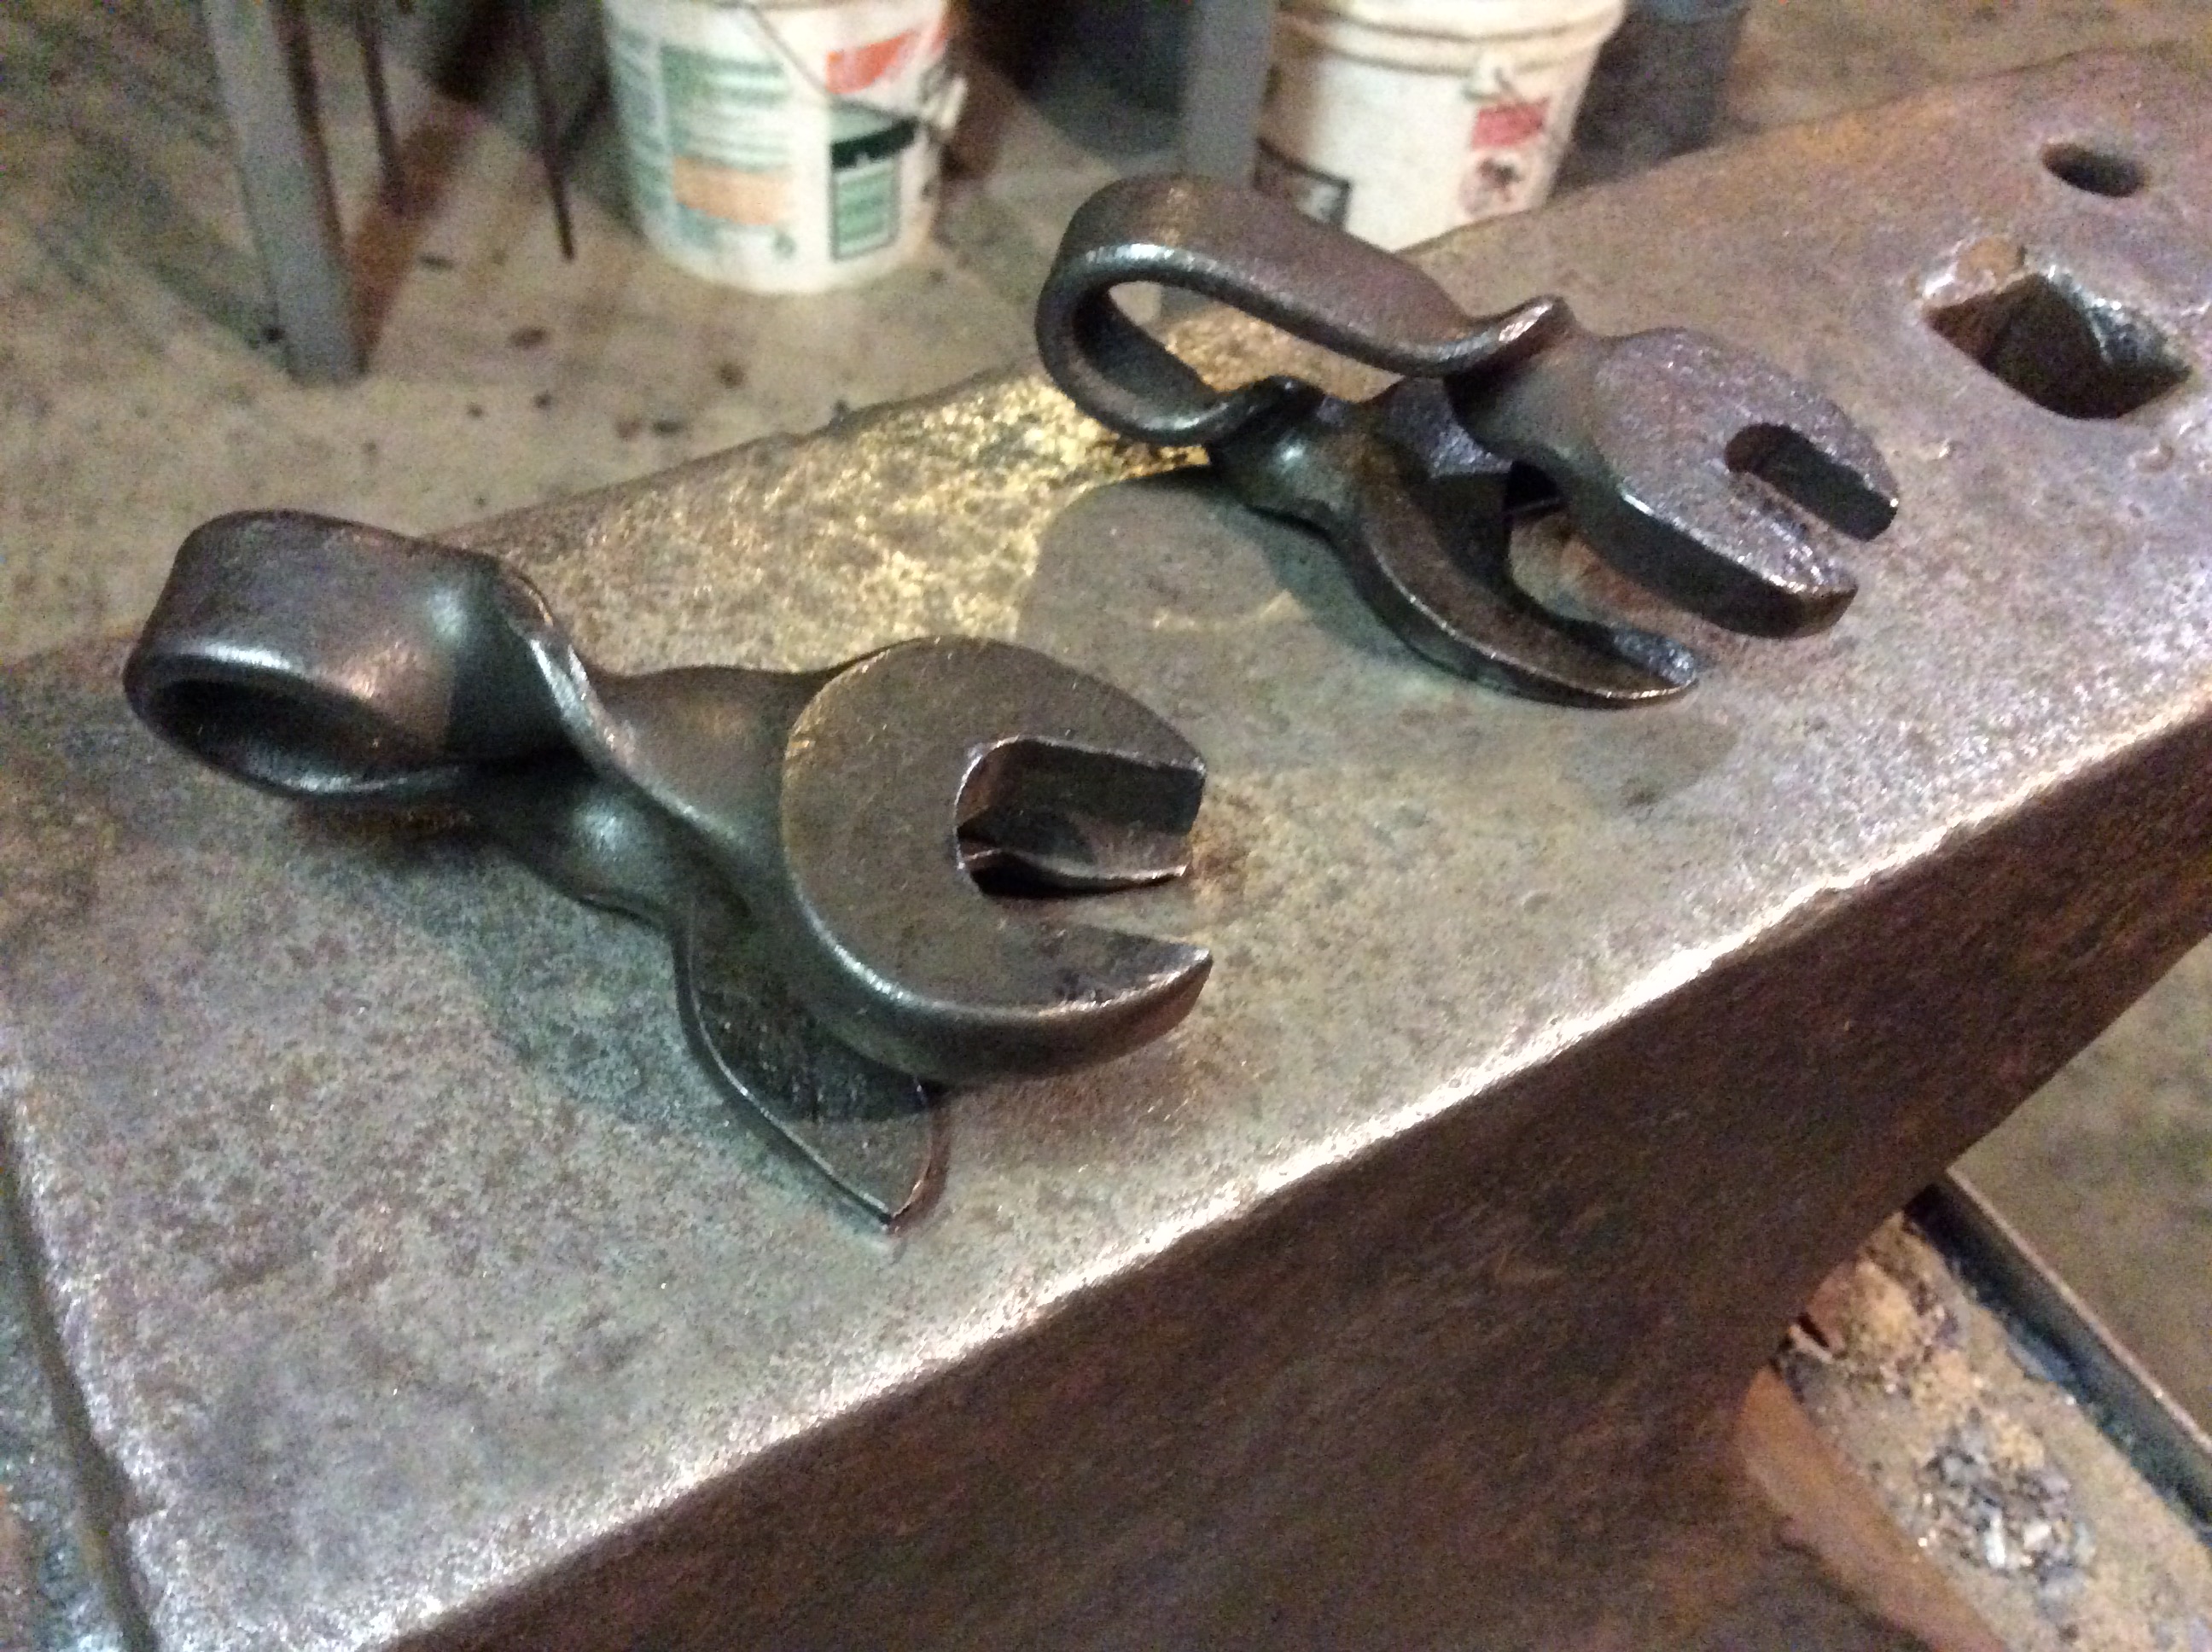
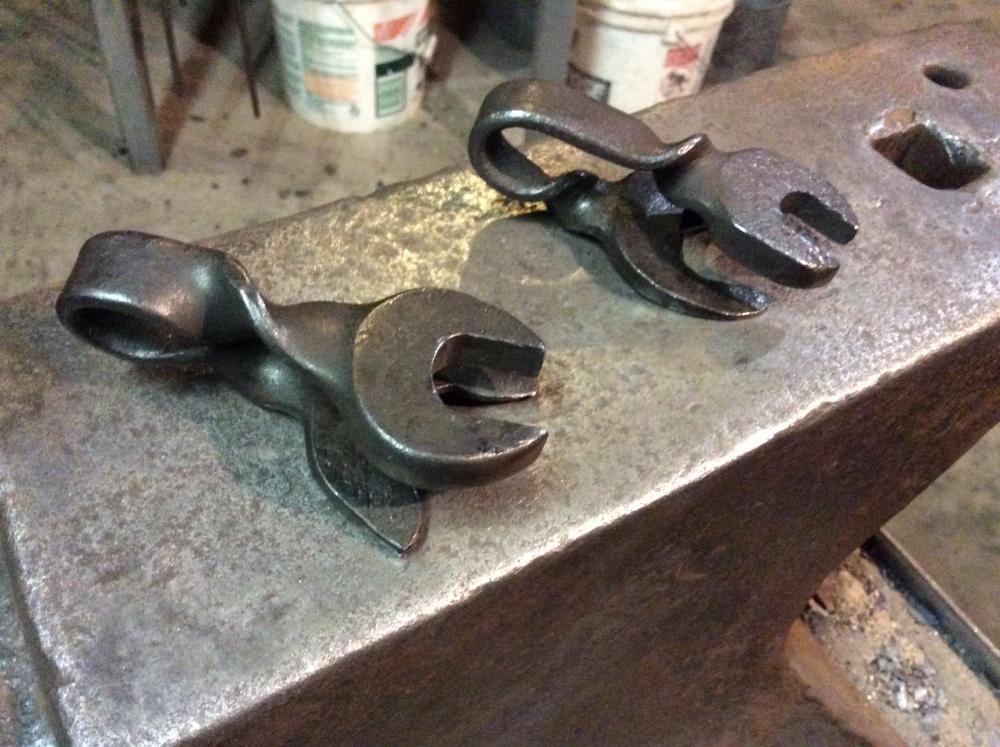
Those are cool. Drink one too many and you just might fall in love with one of those! I made two super quick openers to give to the small engines mechanic who gives me free access to his scrap bin. They hook onto a belt or pocket for easy access.
-
It sounds to me like your crew knows how to have a good time! I applaud your willingness to bring history alive. Please keep us updated on your process. I'm sure that, with all the knowledge on this forum, we will amount to some help...and your investigation is right up our alley.
-
What an excellent gift. I can imagine most everyone here wants one.
-
I bought a PVC ball valve too. The fan sucked in dirty shop air and it gunked up so that I had to start lifting weights again to open or close it. I should have built the awesome gate JHCC made (or the one Denis Frechette showed on YouTube) but I found a 2" aluminum gate valve on Amazon for $7 and the lazy won out.
-
New JABOD box of dirt forge (picture heavy)
Lou L replied to JHCC's topic in JABOD - Just A Box Of Dirt
Until somewhat recently I used sand as well. I found that the act of cleaning the firepot mixed it up to the point that I always had a fresh bed of sand and ash for each new fire. As the percentage of ash increased the problem diminished a lot but it never went away. I gave up and ditched the sand. I added a small brake drum for a base and currently use brick to shape the firepot. At some point soon I will be making the firepot out of a clay mixture but will likely keep the steel base. I like using my poker to disturb the base of my fire so that ash drops out of the bottom of the brake drum. It allows me to keep the fire "cleaner" because my blower is a bit under powered and can't blow through a lot of ash buildup. I like having the benefit of an ash dump like a bottom blast but on a side blast. -
While dangerous, it would definitely make for a great learning process if you work your way to it carefully and thoughtfully. I personally have no knowledge base to help but I have an insight. If you intend to do this as an intellectual endeavor then I commend you and wish you a safe learning process. However, I would guess that the cost of doing this just in casting equipment and safety gear would far outstrip the cost of buying the steel you need. If you are just trying to be frugal you could find a metal artist who may seriously love a stockpile of randomly shaped scraps. Lou
-
I can see it! I can see it! Thanks, Frosty. One more method goes on the list.
-
Okay, the really weird part is that the pickets he was making are almost exactly my design for my mailbox post except I have some branching at the top that encompasses the mail box. Thanks for the video. Lots of ideas here. Frosty, I seriously tried, I did....but I can't pick up what you are laying down! Seriously, I felt like I was doing a translation in my Attic Greek class when I didn't do the readings for homework. Just as back then, I still got some of it.... I do have a welder!
-
I just found a post by John McPherson from last year that offered some good insight for making a one-sided die. https://www.iforgeiron.com/topic/45798-raised-center-vein-in-leaf/?do=findComment&comment=474562
-
I'm totally making this up (inasmuch as I have no evidence on authority that it is true) but my limited experience investigating my own two English anvils is that the older the anvils have a more robust bick. The weld on my broken anvil ends right where the waist starts to narrow. On the slightly younger Isaac Hill the bick is supported by long tapered section that goes all the way to the center of the waist. This could, of course, simply be the result of two different makers but I have noticed the same on older Colonial anvils compared to their more recent models from the same makers. I surmise that the Civil War Yankees must have breaking bicks since the late 1700's and they responded by trying to make them more robust. I'd appreciate input on my theory from those who already know. Feel free to tell me I'm full of moose droppings, I'm used to it being married and all.
-
I was just out in the shop trying my hand at the first experimental attempt. I happen to have a few 2.5 x 3.5 x 1.75 thick blocks of A36. I know it probably isn't tough enough for long term use but it's a lot easier to cold chisel and file. While working on a very basic leaf negative I came up with two ideas: 1). It's going to be hard to get good detail doing this alone and by hand (Thomas already knew this) but maybe, if I exaggerate the negative image, I can get enough. 2). Also, I might benefit from making one die concave and the other convex so that they mate perfectly. The convex die on top might increase the effectiveness for hand hammering....but it would definitely increase the complexity. I recently saw a video from Torbjorn Ahman in which he first forged/carved an item and then used it along with his power hammer (or press..I can't remember which he used) to create negative dies of the item. With that in mind, I was thinking another option to chiseling and carving negatives on both dies would be to carve or forge a positive of the leaf onto a piece of tool steel and then use it to hammer out the dies by hand. JHCC, Im still on to your idea as well. I am wondering if I can't take your idea and make a pair of beefy crimping tongs to work from the sides of the leaves to create the veins.
-
Help identifying anvil
Lou L replied to The Old Dairy Forge's topic in Anvils, Swage Blocks, and Mandrels
You will just have to wirebrush it until you find the English hundred weight marks on it. There will be three numbers across the waist of the anvil. They will be spaced apart from each other. There is plenty of information online to figure out what they mean...but a bathroom scale is pretty darned effective if you can't find it. -
I forgot to add that I am without press...of any kind. I'm looking into a screw press option but need to get that huge shed so I have room for more stuff. Fortunately the shed doesn't fall into my hobby budget...it is a capital improvement my wife desires! I'm doing this with an anvil and am limited to making dies for the hardy or any other manual genius someone can come up with. Im interested in the idea of clapper dies nonetheless because I think the fabrication of them would open up door for me for other projects. I was wondering, do people have any success using dies that impress a positive image (with the negative carved into the die).
-
All, I have tried to find information about texturing both sides of a leaf for a big project I am starting (mailbox post for my house) but I have come up empty. I decided to upload to the hive mind to solve my problem. I want the design to be visible from multiple sides and, this, would like my leaves to look "real" on both sides. This has proven difficult to do. When I add texture to one side I obviously damage the design on the other. I have tried using a stump as an anvil for the second side but I get fire, smoke and limited ooomph in striking. I've also tried scalloping the leaf in order to get some sort of shape into the other side but it still lacks life. I was wondering if anyone has done this and how they do it. Also, if one was to build a double sided die for doing this job how would they go about it? I have plenty of ideas but I want to download possible solutions from the hive mind (and maybe get some sense knocked into me for wanting to do this). Thanks, Lou
-
That's a nice vise. I've seen a few of those for sale near me but the price was much higher than what you paid. Congrats and winning a monster. Lou
-
I wouldn't bother heat treating it. Odds are your heat treat will not get much more hardness out of it because it's not easy to do. With a chunk of steel that big you could simply grind off mis-hits and marks if it gets too marred. The 4140 will be plenty tough I think as is. There are so many great ways to set it up. Do a search for "post anvil" and iforgeiron on google and you will find pics and discussions. I know JHCC already hooked you up but I figured I'd teach you to fish Just a google images search for post anvil will be good too. Just ignore the concrete ones. Enough of the curmudgeons here have pointed out that concrete doesn't do well in that application. You could add rebar and design it all fancy but, in the end, you've made something near permanent. What happens when you get a traditional anvil and you have this amazing chunk of tool steel cemented in place?
-
Help identifying anvil
Lou L replied to The Old Dairy Forge's topic in Anvils, Swage Blocks, and Mandrels
I've done a lot of boring reading of businesses in England while trying to track down makers of old tools and anvils. Google books has loads of old English census data and lists of businesses in various areas. It is fun to identify makers and then track them by name. The Wilkinsons are tricky because there were a few of them and it isn't clear if they were all related. A couple ended up in debtors prison. I've tried to untangle the Wilkinson web before. Still, I never remember all the details...but I always remember where I got them so it's easy to go back and reread. -
Help identifying anvil
Lou L replied to The Old Dairy Forge's topic in Anvils, Swage Blocks, and Mandrels
It's made by Joshua Wilkinson in Dudley, England. He was making anvils in the middle of the 19th Century. That.s all I've got beside the facts she's a beauty! Welcome to the forum, hope you intend to stay.