T.J.watts
-
Posts
305 -
Joined
-
Last visited
Content Type
Profiles
Forums
Articles
Gallery
Downloads
Events
Everything posted by T.J.watts
-
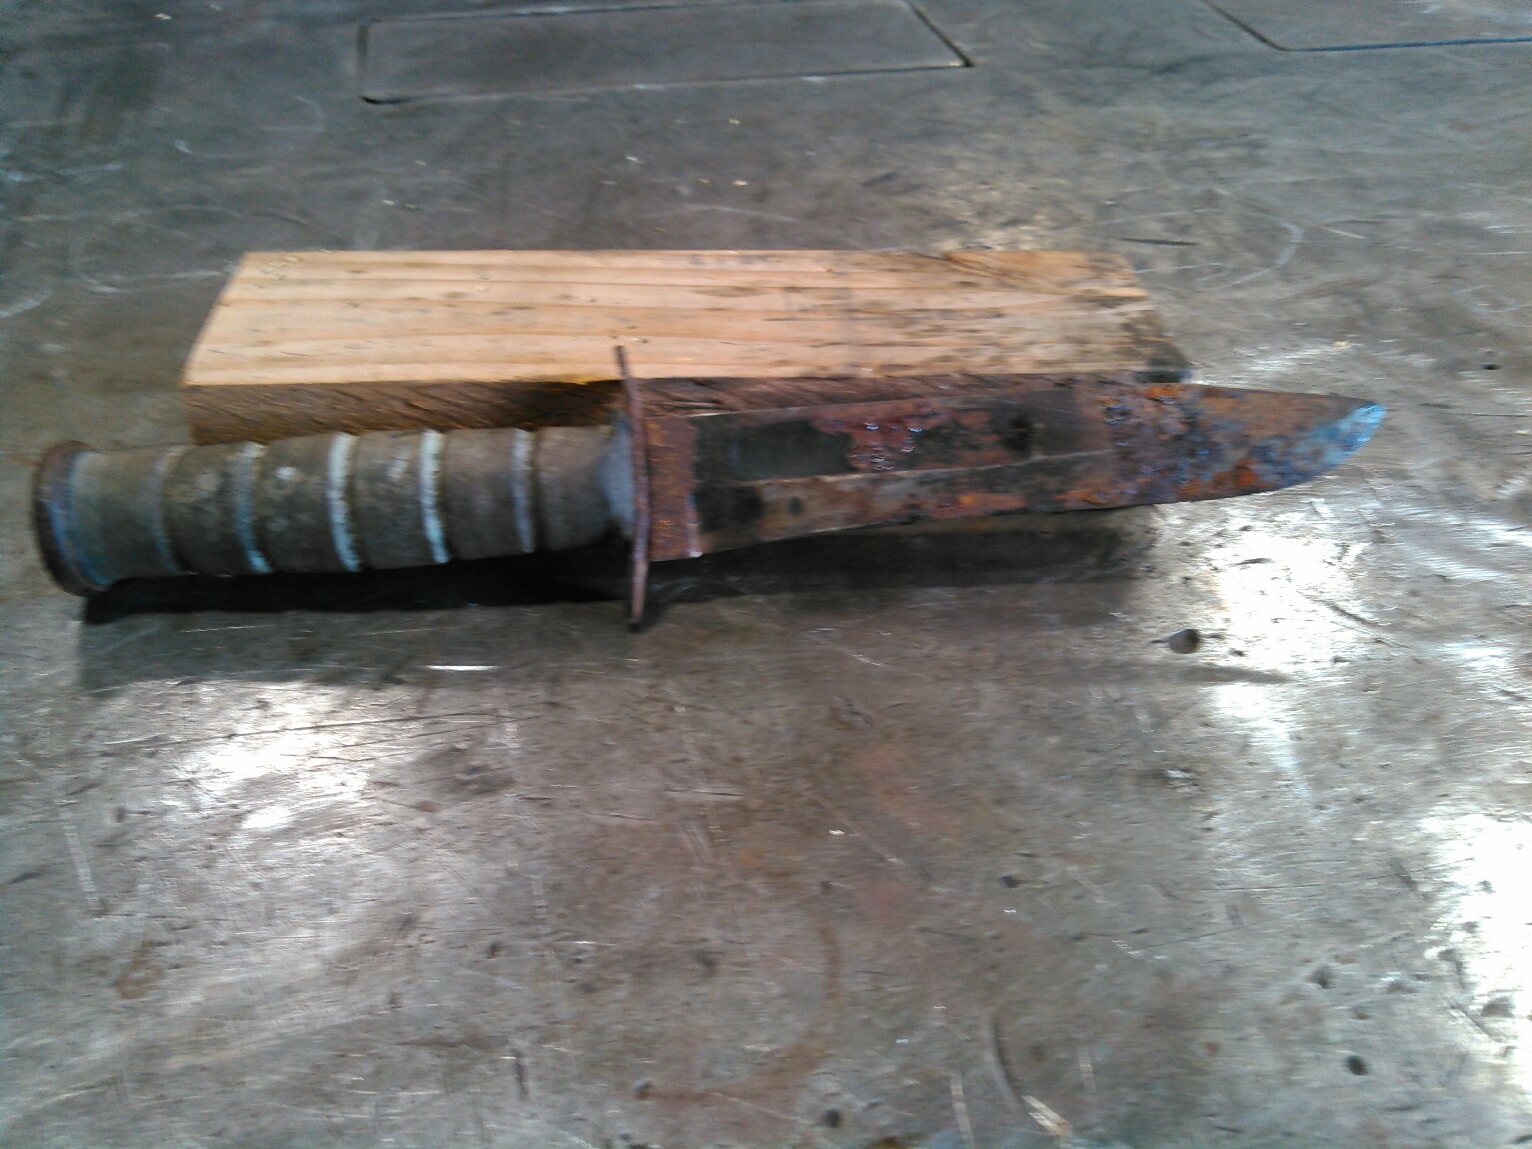
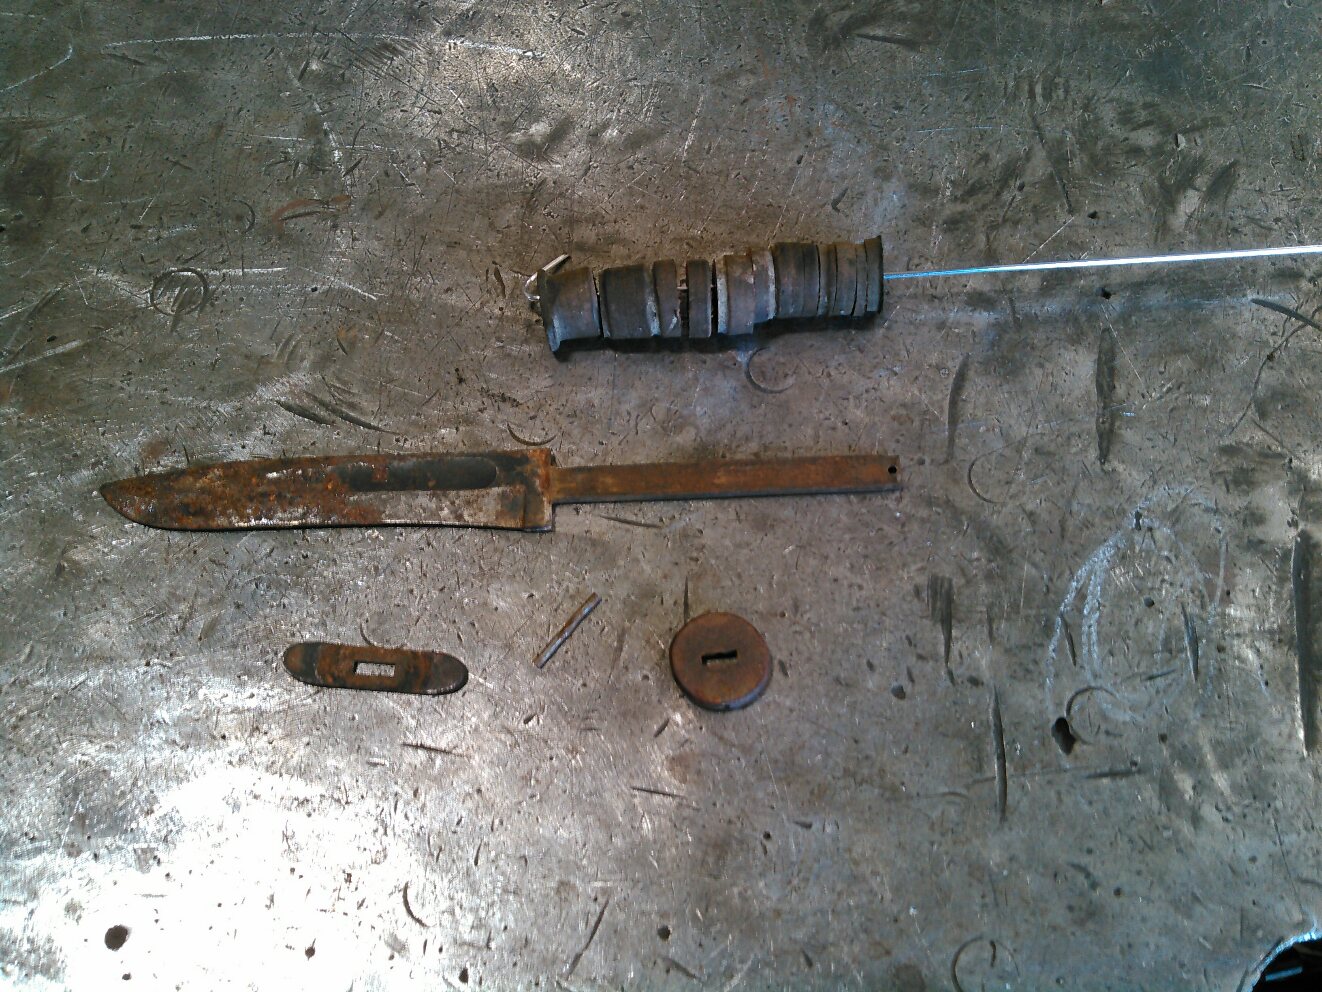
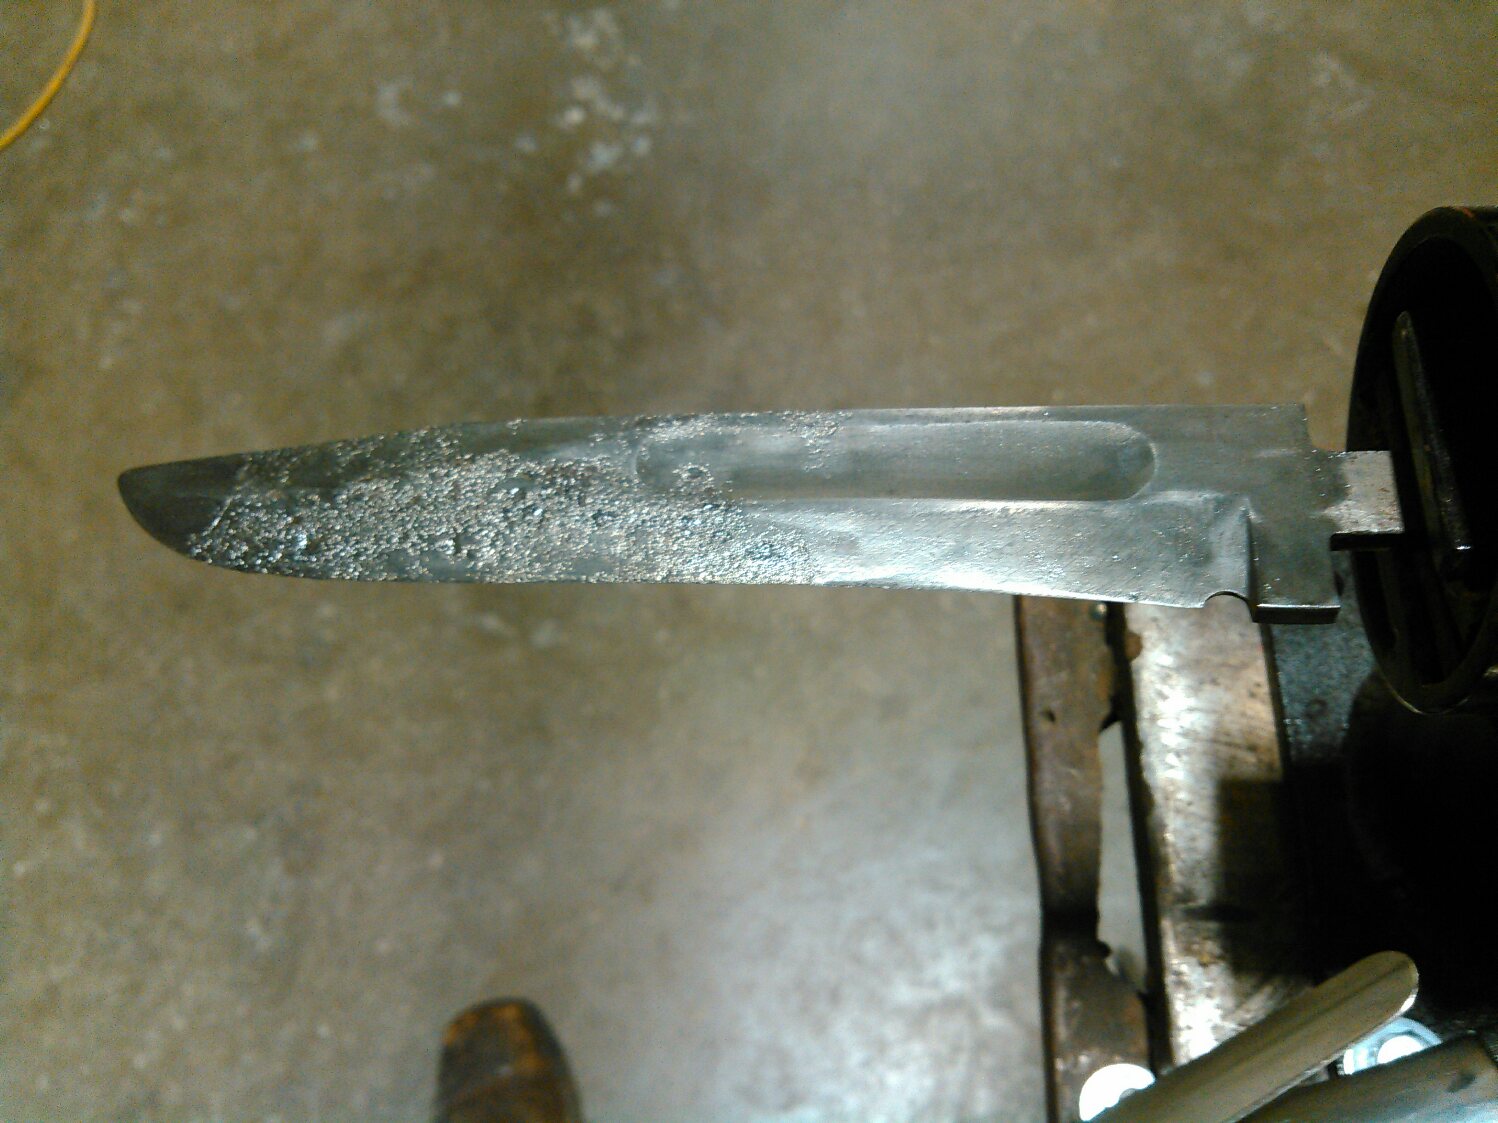
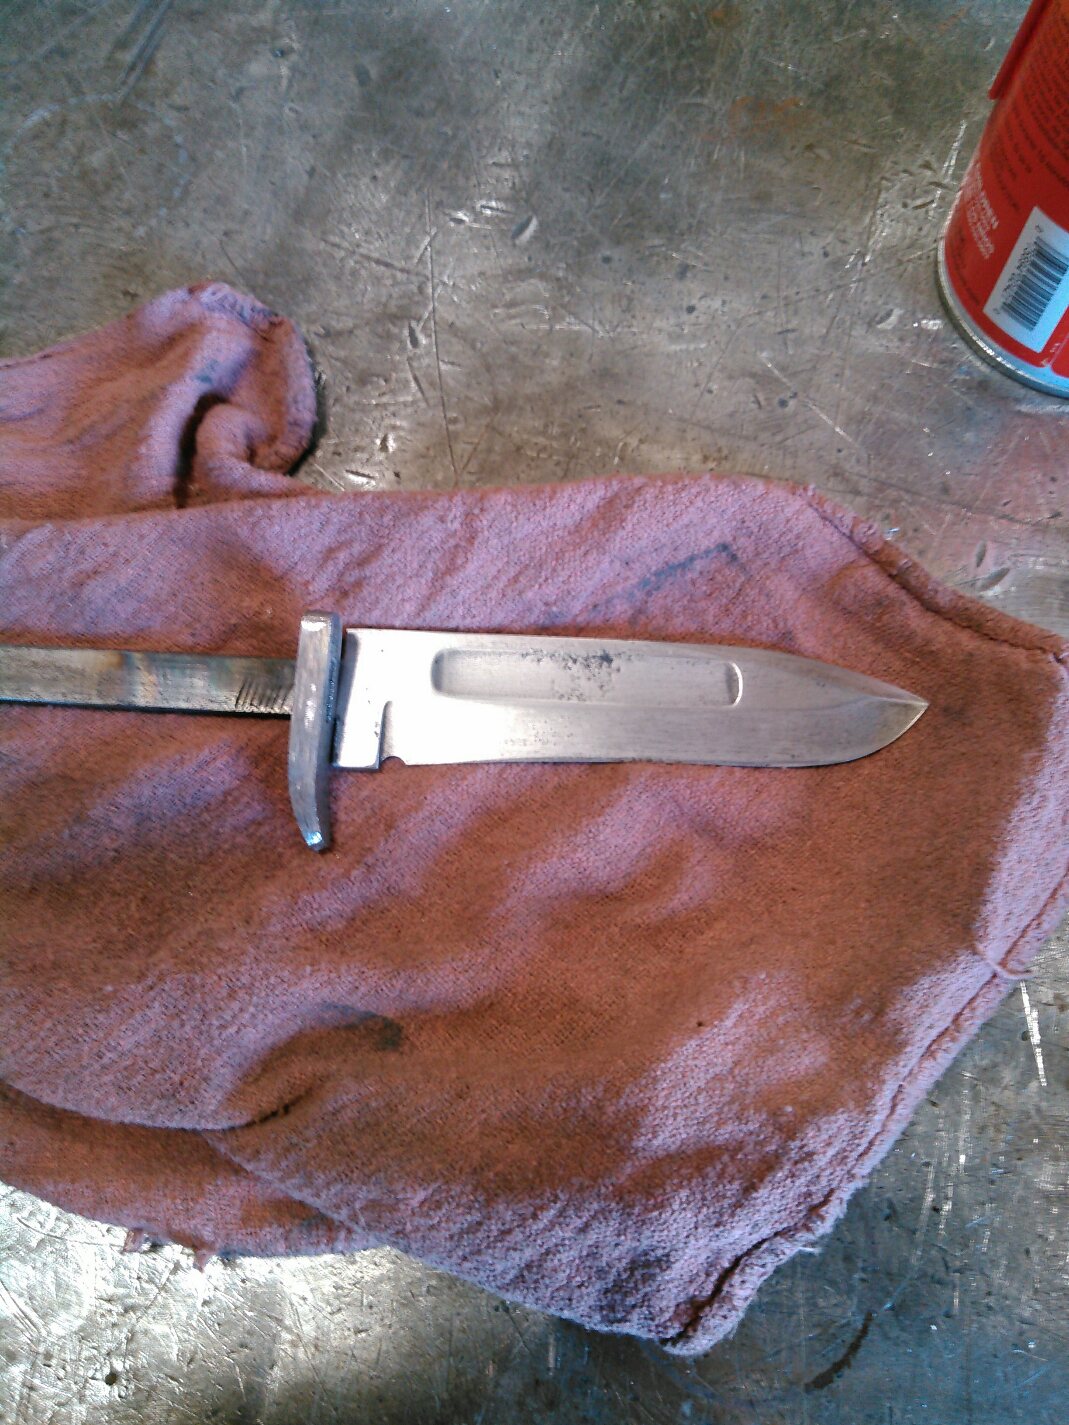
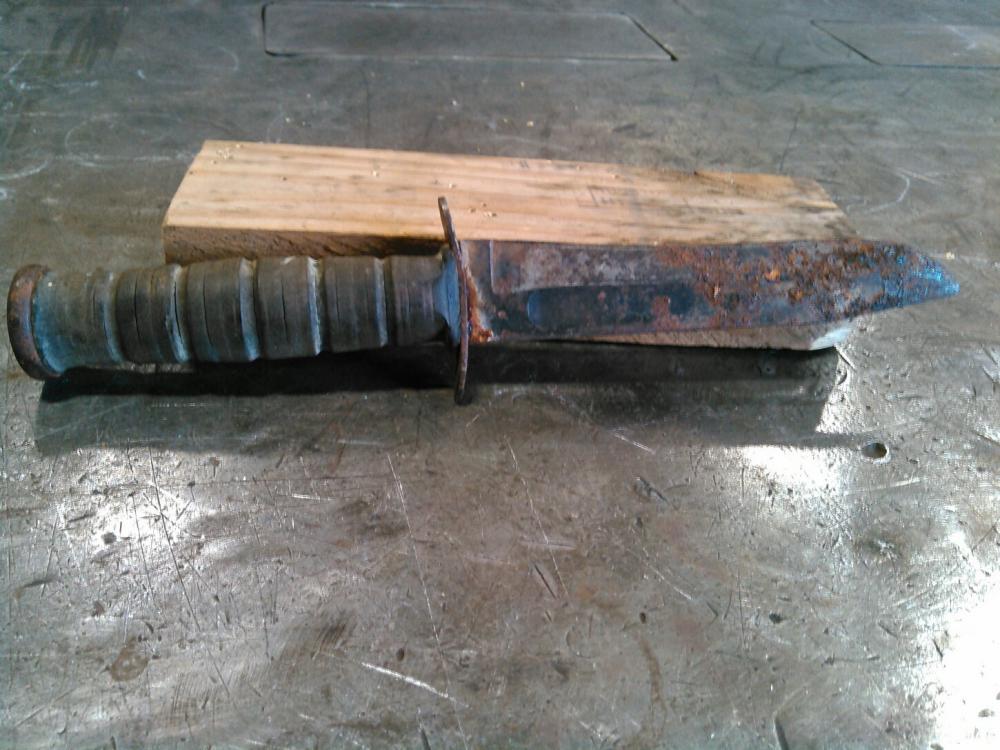
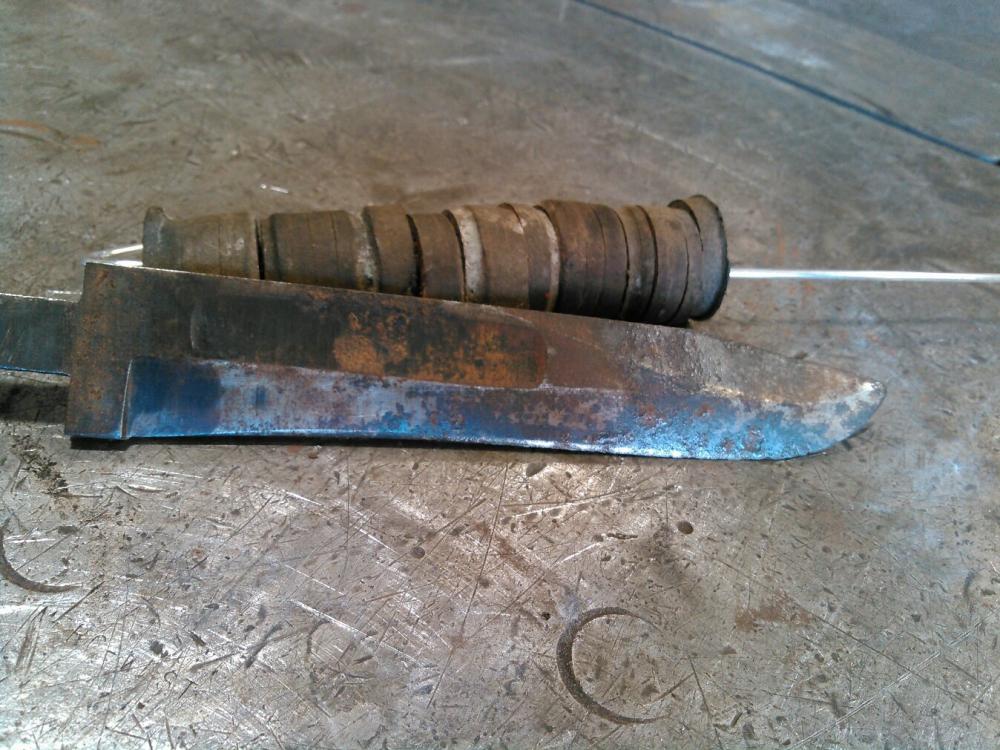
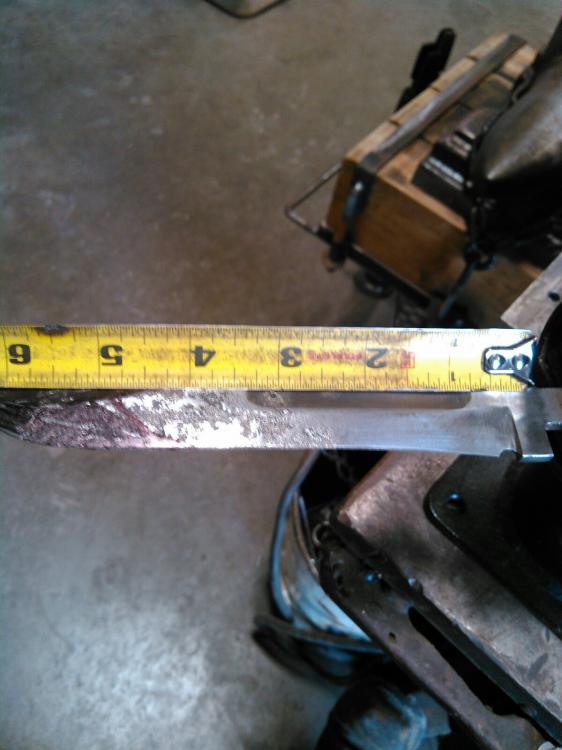
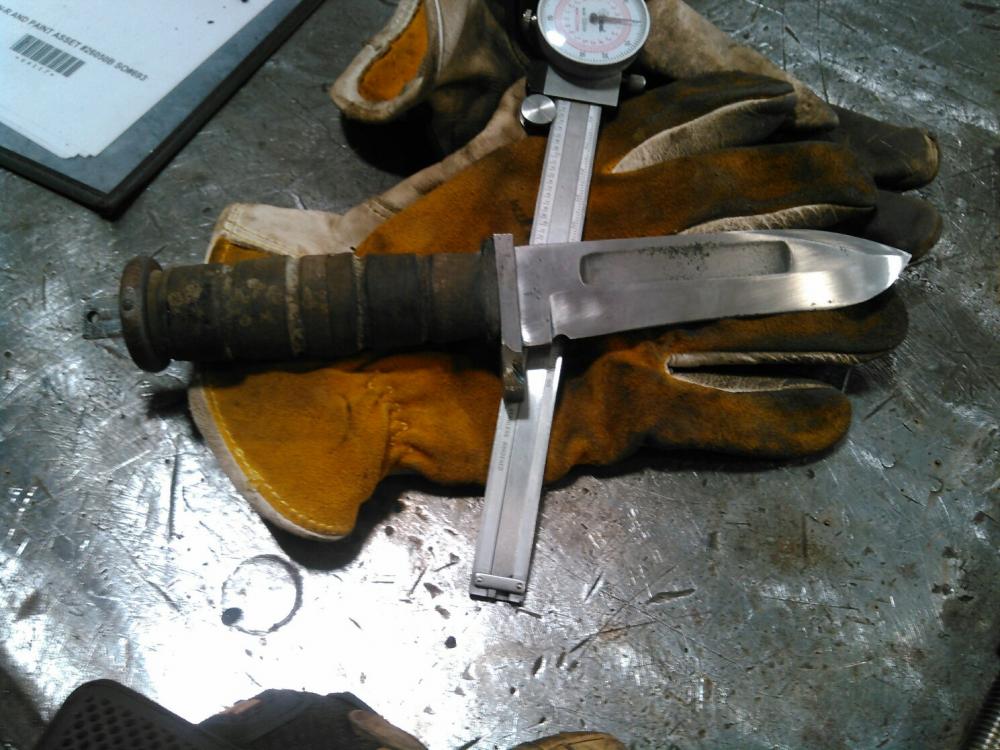
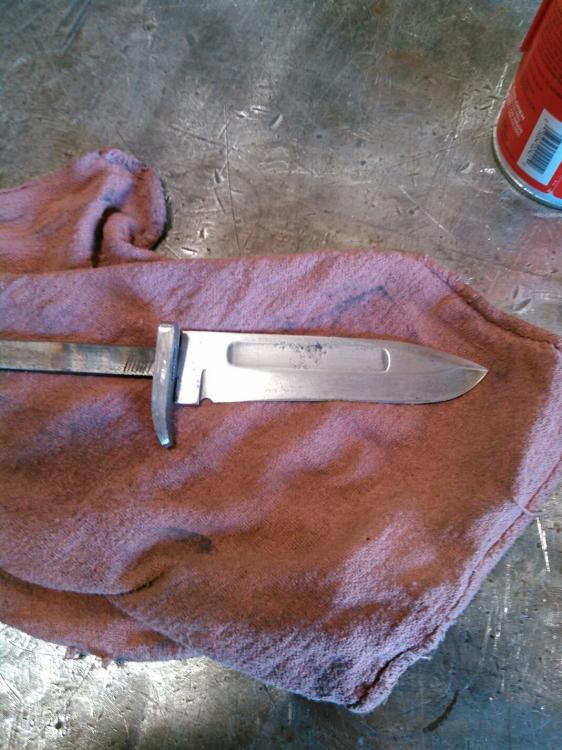
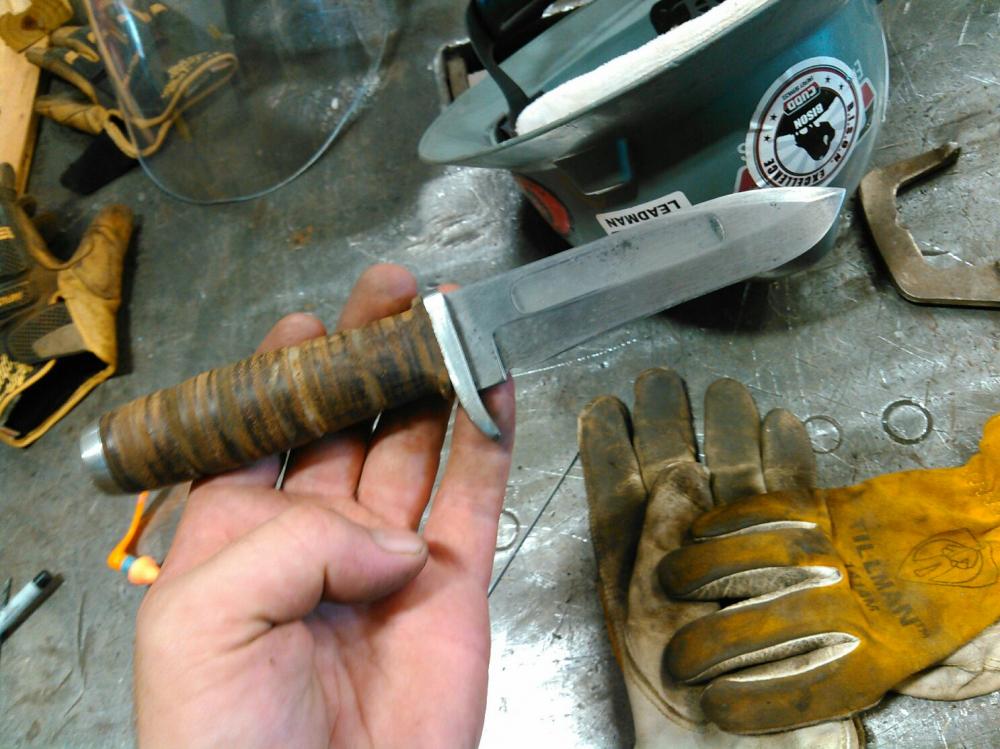
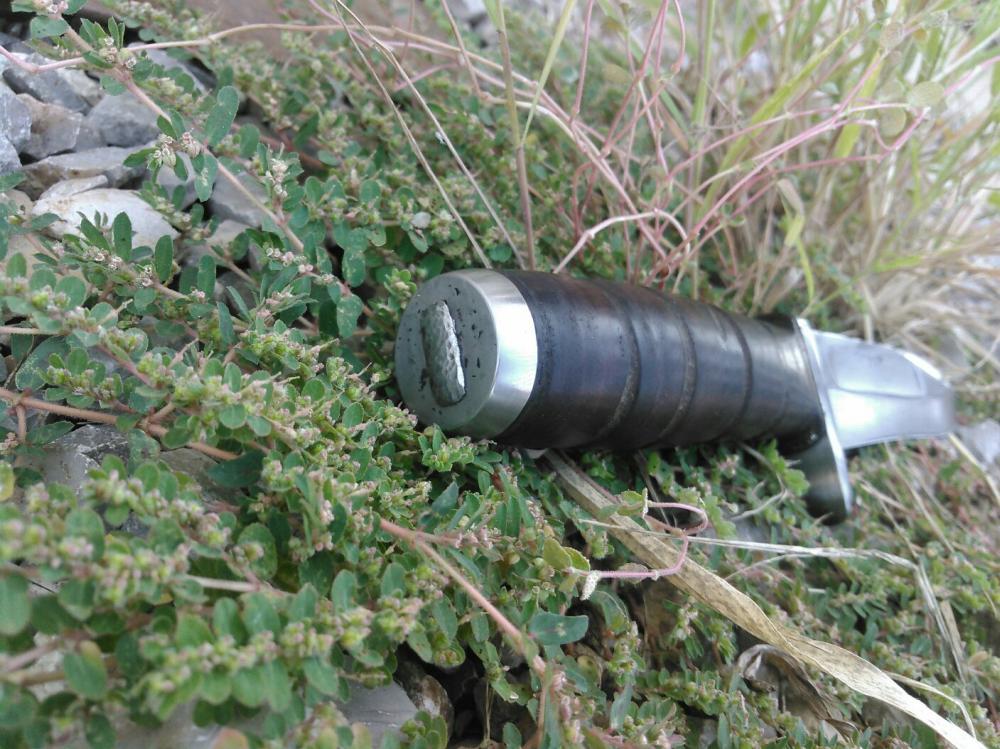
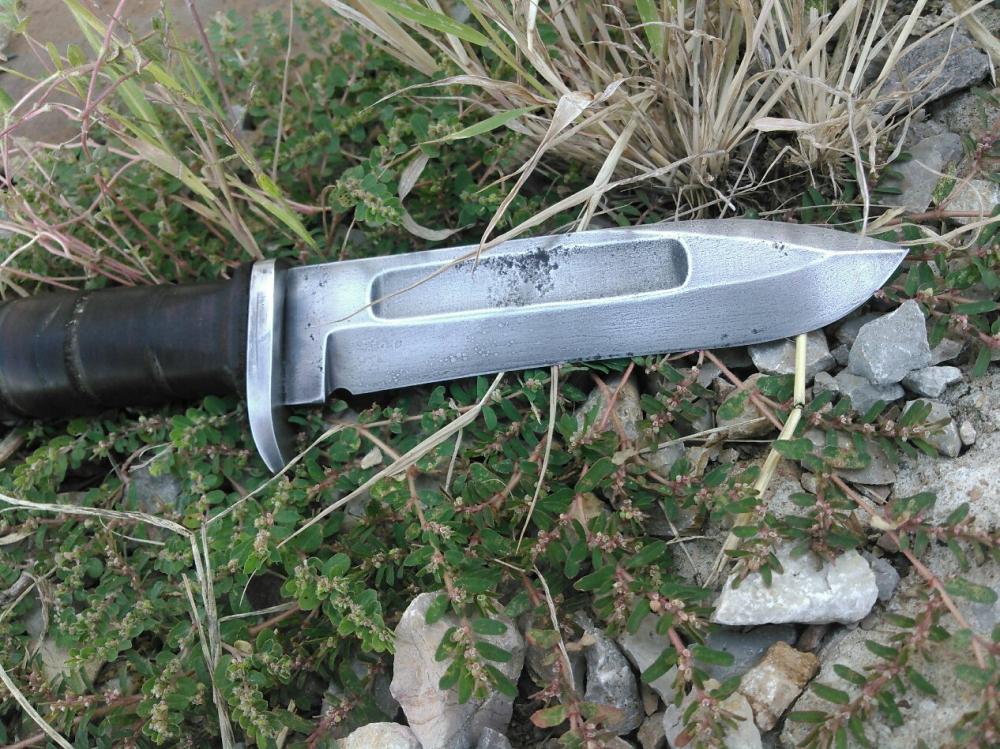
Charles asked me to rebuild his old Kabar in return for making me a sheath for my last blade, so here is the pics through the process. After disassembling the handle I soaked in vinegar and cleaned it with a wire wheel, then cut off an inch or so and went to the belt sander. The new guard is just a36 drilled and filed to fit the tang. All of the other pieces are original. I removed about 3/4'' from the tang, drilled the new pin hole and removed some of the leather discs. After reshaping the pommel and checking the final fit was the heat treat. The final assembly was with 2500lb. epoxy the pinned the pommel and piened the tang over. Sanded the leather from 220 to 600 then hand polished. The final dimensions are 5" blade and 4.375 handle. I did not want to make the knife look new but instead wanted to keep the antique look so the blade and components were only sanded to 220 then quenched in oil and lightly polished to 600 by hand.


-
316 is a food grade stainless and its not going to harden well
-
I'm always hesitant about working on things I have never done, I don't like not being informed or trusting only the engineers word. Thank you everyone for replying, I appreciate the help gentlemen.
-
all I ever get from the engineer is uh uh uh uh and no real answers. I found an article on the fabricator that helped but I would still like to learn from others experience.
-
The engineers at work decided to use A514 grade E and grade H on one of our projects, the main plate is 3" and the lifting eyes are 1.75". This isn't a steel that I'm familiar with and the engineer sent me two pages out of a 20 page article about fabrication with QT steels. Primarily we use A36, 50K, 1018, 4140, 4130. This project will be picking up a lot of weight and I want to be certain that I am doing my part properly. Is there any info you guys can give or point me in the right direction. The research I have already done hasn't said much about the welding side of it ( preheat, post heat, interpass heat ). I have already found the right wire to meet the specs but I still want to learn more before the job comes up.
-
Beautiful pieces I really like the bronze spacers.
-
I would either cut it off or just start with another piece, but if you do try weld it with GTAW then try cutting a piece off of the same material and using that as your filler metal. That way there is no issues with dissimilar metals or the filler being inferior.
-
xxxxxxxxxxxxxx I am a welder/fabricator so I deal with the heat either way. I cant get away from it but even when its 90+ I still enjoy working on the forge even if only for a few hours in the morning. I like the profile, cant wait to see it complete.
-
nice blade, looks to preform very well and who doesn't like to go out and cut thing up with a new blade
-
Some books to check out, The backyard blacksmith, Blacksmith Projects, $50 knife shop, and Steve Sells book Introduction to knife making. blacksmith projects has a lot of basic and advanced projects in it and it goes in to good detail. All except Steve's book are on amazon. Steve Sells book is for sale here in the I Forgeiron store. http://www.iforgeiron.com/topic/40865-introduction-to-knifemaking/
-
I haven't bought any compound for my strop yet but mothers polish seams to work well.
-
I would like to know how you sharpen your blades. Stones, belts, strops whatever. I'm curious to see what everyone is using. I don't have any pics of my stones at the moment but I'll post them later. Usually all I use on my knives is my three sided stone with Remington oil. If the blade is really ruff I'll use a 600 grit belt to get the edge back before going to the stones, and lately I have started using a stropping block I made. The leather really makes a difference on the final edge.
-
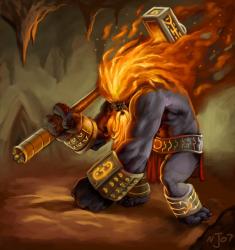
lol no it's Hephaestus
-
Hahaha frosty I've heard and seen the results of hold my beer, and watch this way to many times lol
-
Thank you Thomas, this is the short version after three forbiddens
-
the only destructive testing I intend for this blade is the dead phone books and the piece of steel rod I was cutting yesterday . I do plan to make some blanks to test later and fine tune the heat treat and temper.
-
The blade was etched three times, twice for ten seconds and last for twenty seconds. Between each etch I cleaned the blade with fine steel wool and wiped clean. After the etch I used mothers polish and hand polished till my fingers hurt . The original finish was to 800grit. When I did the heat treat I was trying to do the Hamon without clay to see if would work, but I think next time I'll use clay and see if that helps define the Hamon better.
-

Utility with 3D printed cast bronze fittings
T.J.watts replied to TheoRockNazz's topic in Knife Making
Once again another very nice piece everything flows well and it looks great. The pins take away from the guard design but it still looks great. -
im still learning about the different compounds. I don't really go for mirror finishes but I do like it as a way to check for scratches and to shine the handle scales. I also thought about building a table mounted shaft to put multiple wheels on. I have an extra 1/2 hp motor that I've been saving but I'm not sure how well it would work.
-
I'm wondering if there is any reason to buy a buffer in stead of using my bench grinder. I have been looking at both online and some buffers are slower at 1750 rpm and some are the same as my grinder 3450rpm. The bench grinder I have now is an 8" black bull from tractor supply that only cost $50 and it has held up very well for a few years now. I would like to have more than one so that I can have different compounds ready to use instead of having to change wheels.
-
thank you for the response. I made a stropping block today with some leather and a 2x4, it seems to hold the edge well and gets very sharp without rolling the edge. just a side note, I didn't have any green rouge so I tried mothers polish on the leather and it works fairly well.
-
I think your right about the pineapple twist, wicked looking handle too.
-
Not that I know of.
-
really interesting article.
-
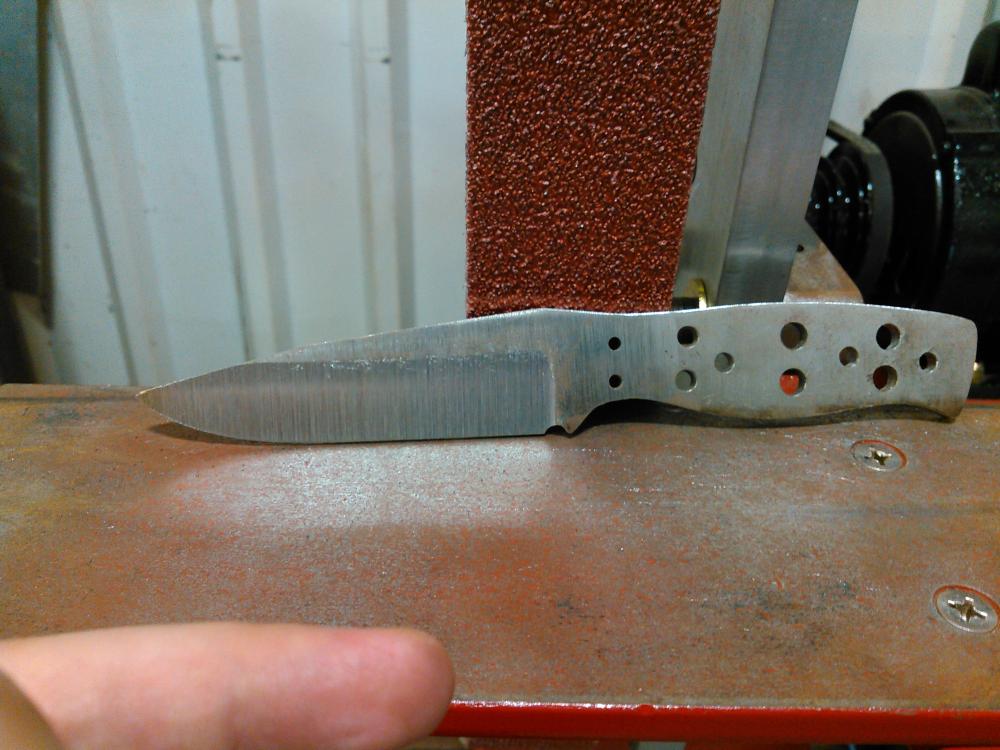
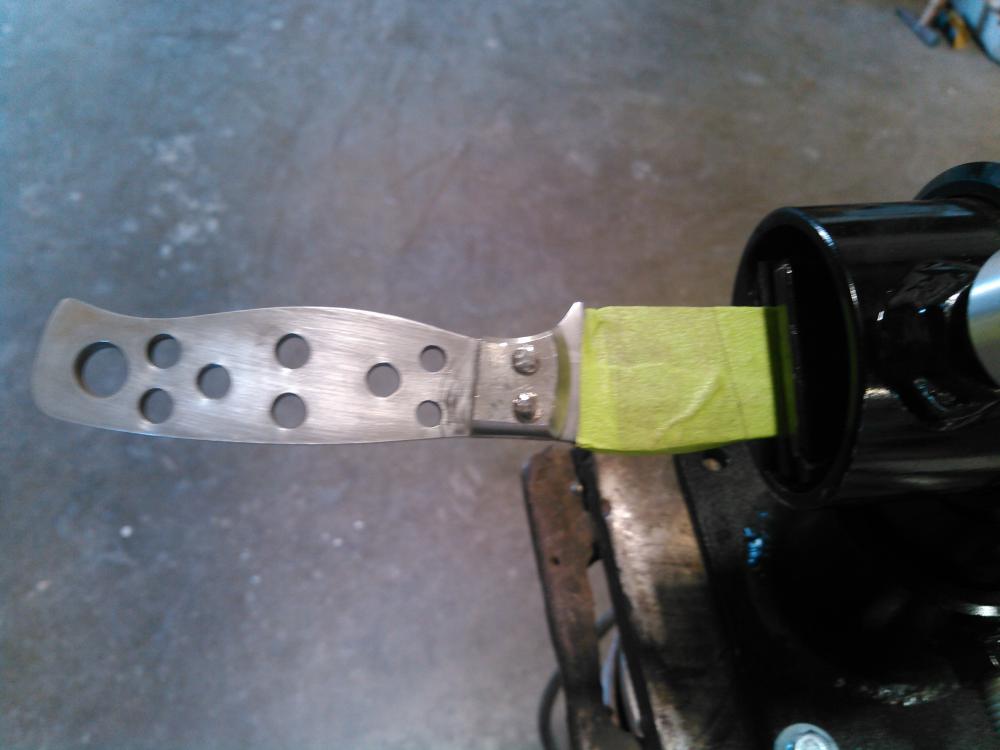
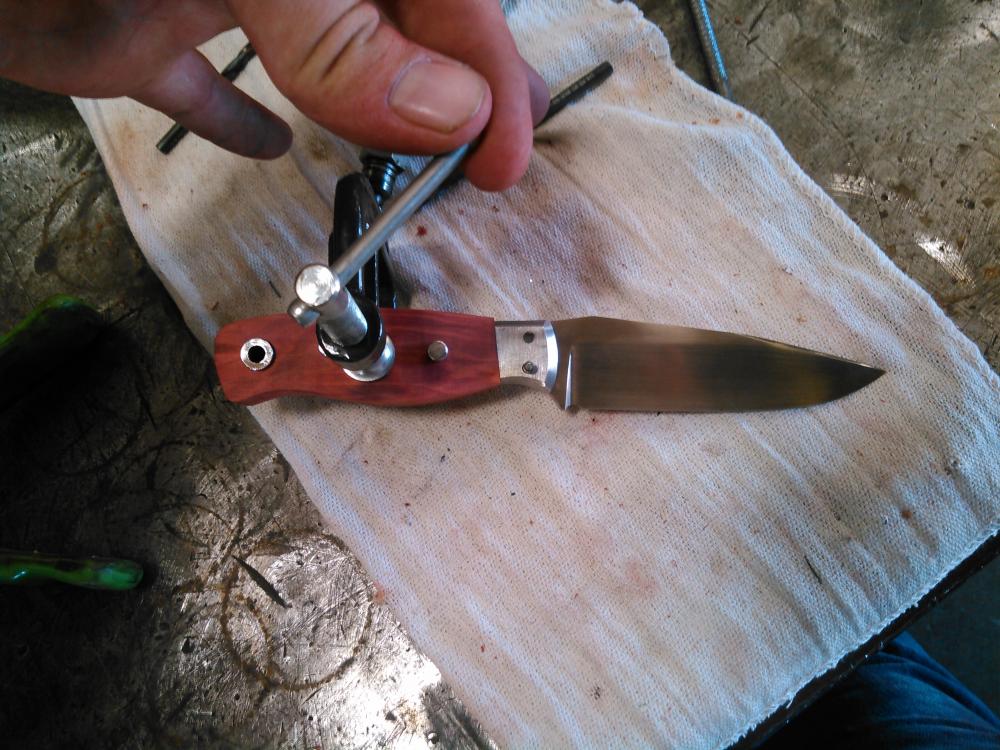
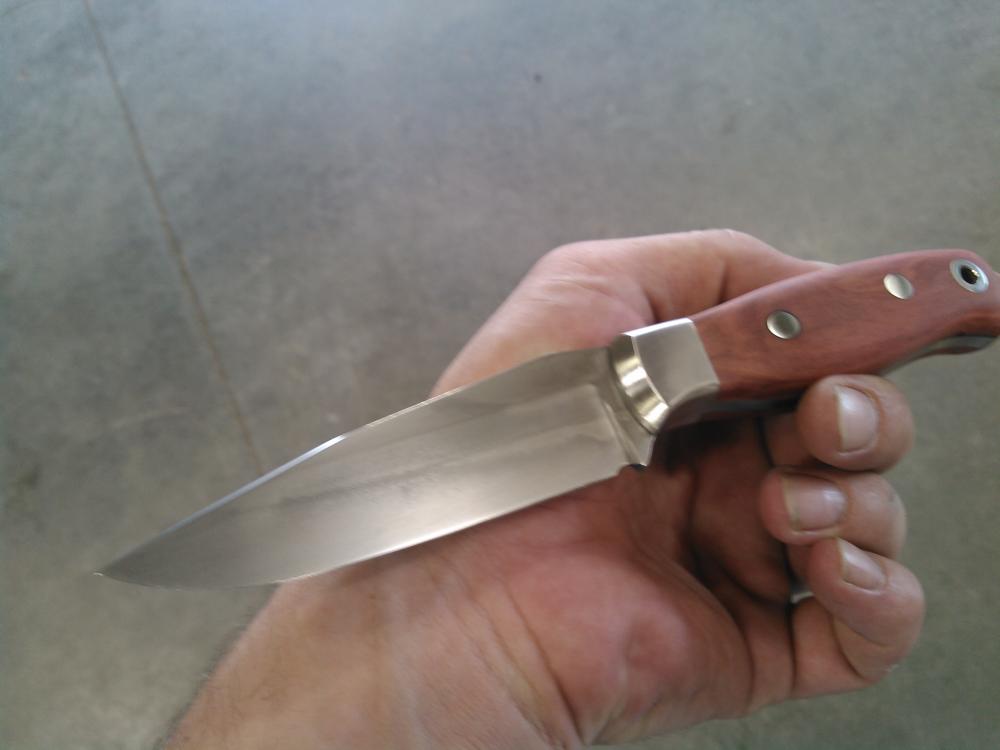
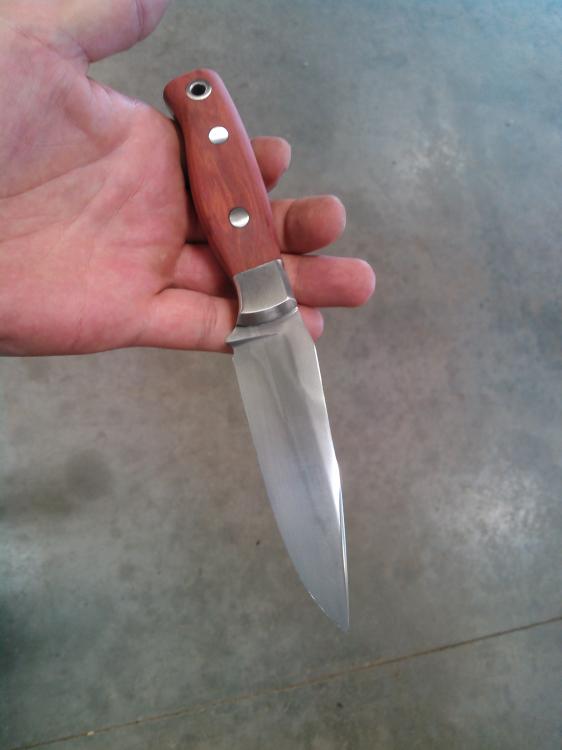
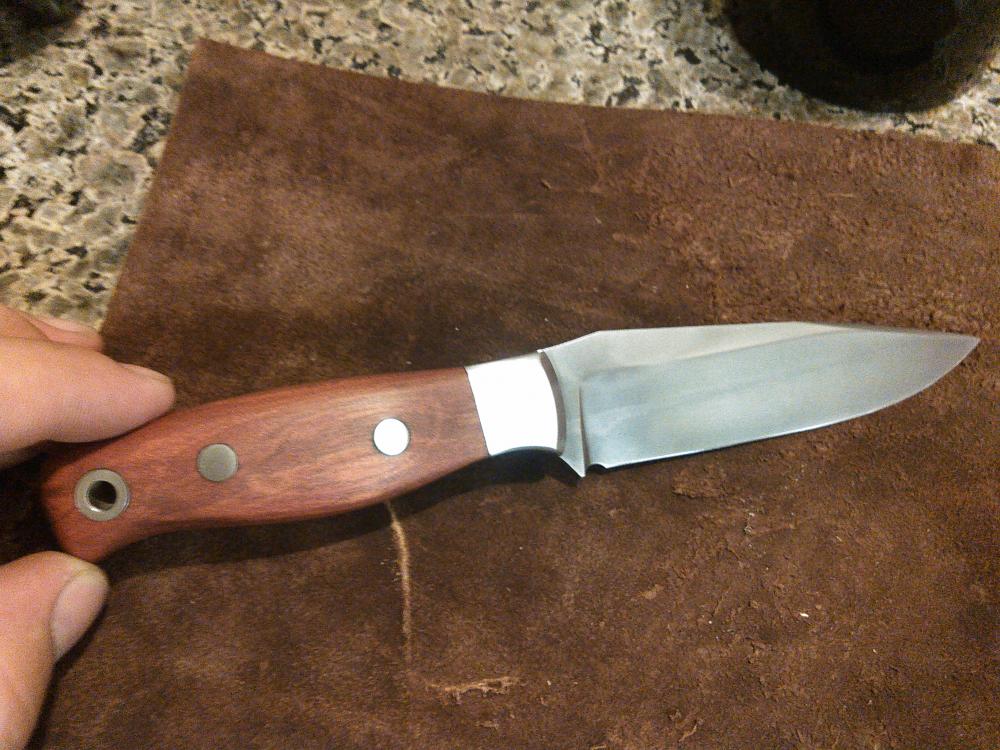
The blade is 1095 4.125" long overall 8.125". The handle is dyed red heart and stainless bolsters and pins. I tried an edge quench to show a basic hamon but it didn't turn out as planned. Etched in ferric 6:1 mix. Im thinking i may have to con Charles in to helping me with the sheath. I'm happy with the end result even after a few mistakes. This one is just for me to carry and see if I'm on the right track or not. Looking forward to see what you guys think.