Hefty
-
Posts
288 -
Joined
-
Last visited
Content Type
Profiles
Forums
Articles
Gallery
Downloads
Events
Everything posted by Hefty
-
What's your latest blade look like? Post em and let us see.
Hefty replied to HondoWalker's topic in Knife Making
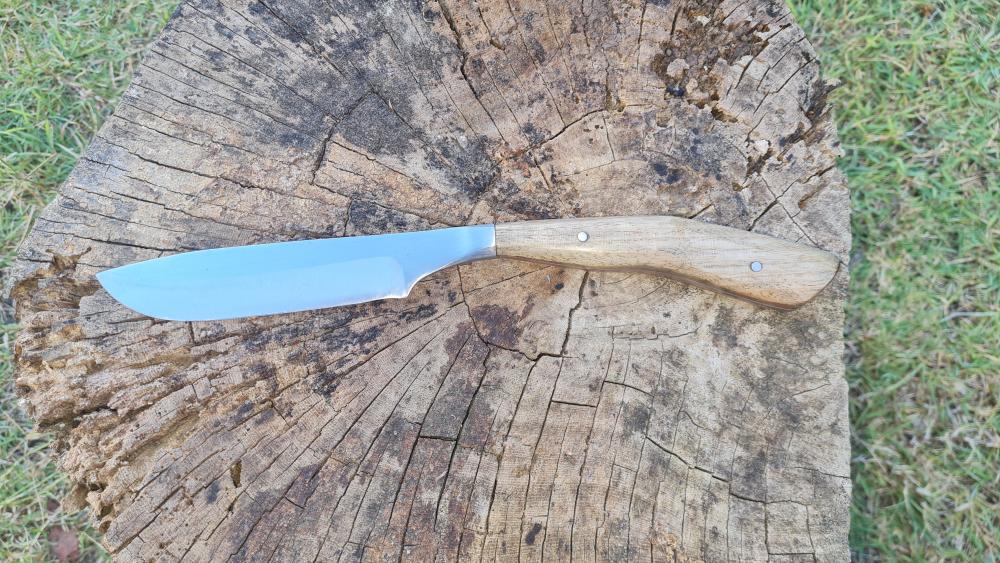
My first in quite a while and it's been a while in the making. Earlier this year my head of department gave me two springs from his 80 series Landcruiser so I started making this knife, from some of said steel, as a thank you for him. This coming week is our last week of the school year and I only just finished the final hand sanding! My brother made the sheath for me two weeks ago. My first integral bolster (well, sort of. It ended up quite slender), 4-inch blade, copper liners, Tasmanian Oak scales and a cyanoacrylate (super glue) finish. Thanks for looking! Cheers, Jono.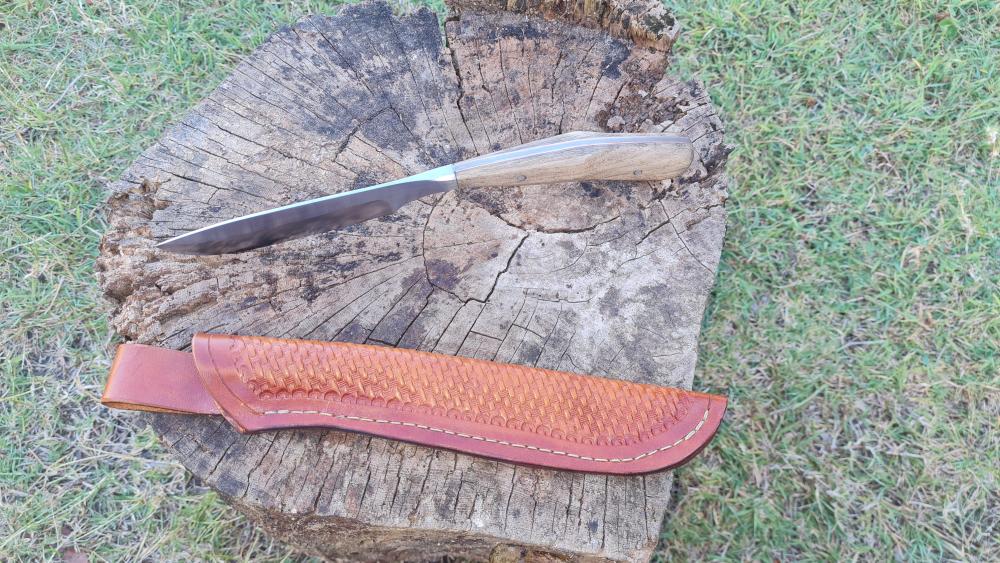
-
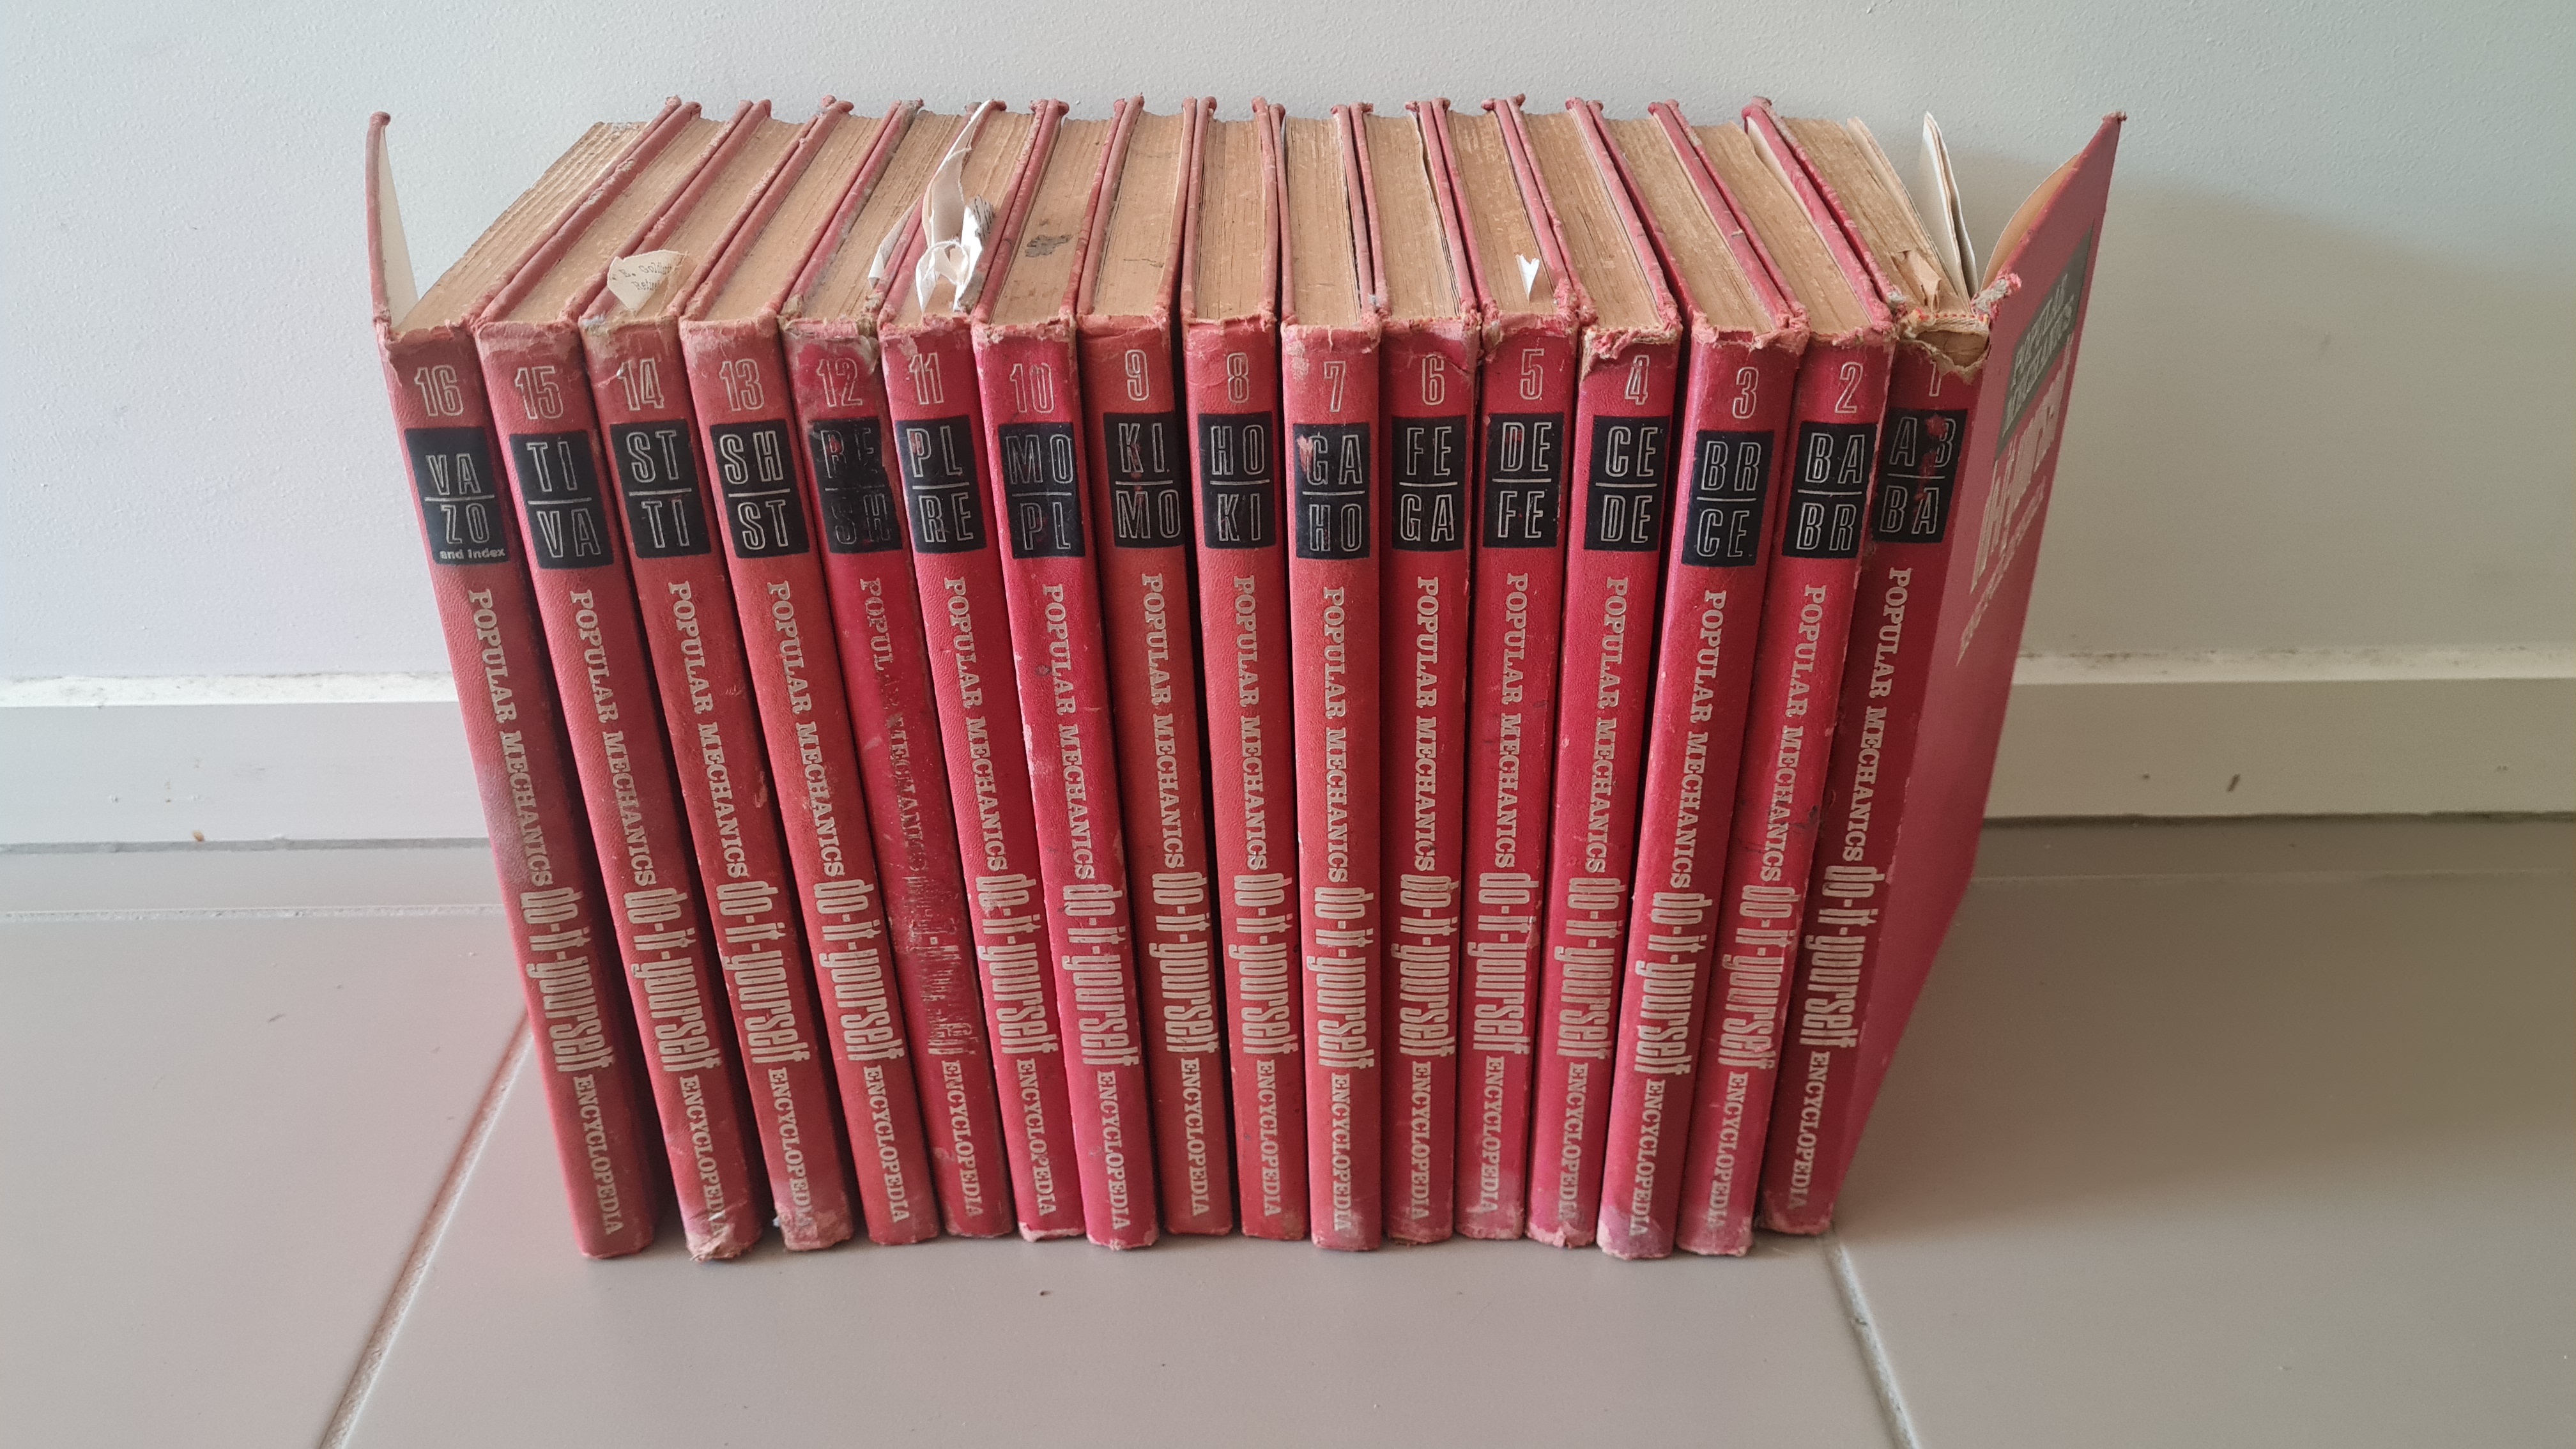
I've finally found something worth posting in this thread! I'm helping my folks pack up to move to an over 50's retirement village and they are trying to give me heaps of their old stuff. Some of it is great, some of it is not, but the best thing I've accepted from them so far is this: A full 16 volume, 1968 Popular Mechanic do-it-yourself Encyclopedia set! My late grandparents were American missionaries to New Guinea and my uncle (along with my mum and the other siblings) was born and raised in the highlands but with his upbringing supplemented by their connections back in the States so he got the full set shipped over! I quickly flicked through one volume and saw fully illustrated plans for a belt sander. Can't wait to see what else it holds!

-
Advice Needed For First Propane Forge Build..Cylindrical Or Square?
Hefty replied to MrMedieval's topic in Gas Forges
I can't remember exactly what it cost me to build them. I finished building my forge a few months back but I had made the burners about a year before that. I do know it was quite a bit cheaper than the Artisan Supplies burners though, because that's why I did it! Using 3/4" Frosty T burner as an example, a quick look at the bunnings website will get you a 20 x 150mm mixing tube for $4.62 and a 10 pack of 0.9mm mig tips for $5.67. They have equal tees for $4.04 so if you have access and skill with a metal lathe you could bore the intakes larger, or I think Frosty said it's possible to run an equal tee with a different mig tip size but not as efficient? Frosty, please correct me if I'm wrong! Otherwise, a plumbing specialist or steel supplier should be able to get you a 25x20 unequal tee and it'll cost you a little more. The flare fitting to mount the mig tip in is your most "exotic" item. You'll need to find a gas plumbing supplier that will sell to the public and not just tradies. I actually bought mine from Gameco and drove to their Brisbane warehouse on the northside to pick them up. If you're mounting the burners with the intakes lower than the hot end, you could order a 3/8 x 1/4 double male flare connector to go straight to a standard Aussie gas hose with a 3/8 flare fitting, otherwise you'll need some 1/4" copper pipe and make it a 1/4 x 1/4 double male connector. And if you don't have access to a tap set, you'll need to buy an M6 tap to mount the mig tip and I can't remember what size the big tap for the Flare fitting is, sorry! In the end, I think I spent about as much on taps and a pipe flaring kit as I did on parts for two burners, so if you've already got that sort of gear or a well-kitted friend who can help you out, the burner parts should be less than $60 for two, even with "exotic" mark ups for unequal tees and flare fittings. I hope that helps. Cheers, Jono. -
Advice Needed For First Propane Forge Build..Cylindrical Or Square?
Hefty replied to MrMedieval's topic in Gas Forges
MrMedieval, whereabouts in Australia are you? I'm in Brisbane and I found making 2 x T burners to be not so expensive but more frustrating to find the right parts for from places that didn't only want to deal with tradies. There were a few things I drove across town for to save on shipping, like some double male 1/4" flare connector fittings, and my local steel supplier ordered in 1" x 3/4 reducing tees for me because bunnings only had equal tees. It takes a bit of research and ringing around but you should be able to put some reliable burners together much more cheaply than buying 2 x Mr Volcano burners. Cheers, Jono. -
Coming up With a Touchmark Design
Hefty replied to NoGoodWithUsernames's topic in Tools, general discussion
If you named your business after the wild chickens, you could be Wild Chicken Metal Craft, with a square layout of vertically mirrored initials: I messed around with these options. I think I like the bottom row, centre. But, it's your smithy, your choice to name! Cheers, Jono.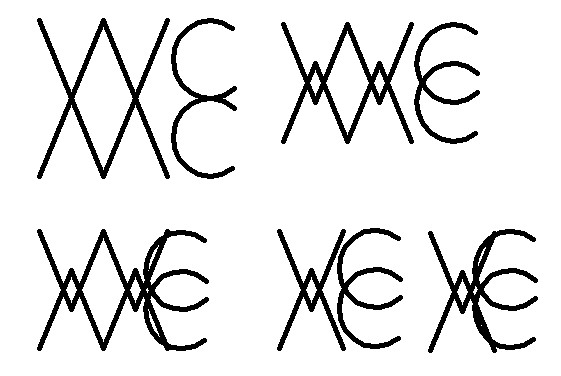
-
What did you do in the shop today?
Hefty replied to Mark Ling's topic in Blacksmithing, General Discussion
Happy spouse, happy house! -
Cutting existing castable refractory to modify a forge?
Hefty replied to Hefty's topic in Ribbon Burners
Thanks Tink, yes, that's a great essay! -
Cutting existing castable refractory to modify a forge?
Hefty replied to Hefty's topic in Ribbon Burners
Tinkertim, did you just use a normal drill bit to drill the IFB? And is it a Morgans 26 brick? I have what I thought was a morgans 26 for my forge door and it cracked in half after two decent forging sessions! I guess it's not a morgans brick! Oh well, I have enough castable now that I should be able to cast over/around it and make it one piece again. Then I'll get on to casting some burner blocks! Ok, I've trawled through the NARB thread but I'm not finding what I'm looking for. I think I've got my head around enough holes to balance back pressure between flame lift and back burning. I get the benefits of more, smaller holes and I thought I read somewhere about people trying thinner blocks so they self-cool more easily from the FAM through-flow but now I can't find it and I can't remember if someone tested this or was just discussing it. So: Is there any rule of thumb about thickness of the burner block to aid in preventing back burning? Cheers, Jono. -
Cutting existing castable refractory to modify a forge?
Hefty replied to Hefty's topic in Ribbon Burners
So regardless of shape (within reason), the main consideration is outlet area in relation to maximum burner tube cross sectional area, right? -
Cutting existing castable refractory to modify a forge?
Hefty replied to Hefty's topic in Ribbon Burners
So NARB should really be NAMOB! -
Cutting existing castable refractory to modify a forge?
Hefty replied to Hefty's topic in Ribbon Burners
Another thought is: could I just make the ribbons a little more square and keep the two next to each other? You based your NARB on existing plans that were quite a long rectangle. Do you know if there is a large change in performance or construction requirements for a shorter, wider shape? or if they are too close to each other, will that cause other issues? Sorry, I have trouble settling on one idea and more time to think about things than to actually do them, so the thoughts just go round and round! Jono. -
Cutting existing castable refractory to modify a forge?
Hefty replied to Hefty's topic in Ribbon Burners
Yep, gotcha. My burners are currently at about 2 and aimed at about 5 o'clock. Although, I guess I could change the aim when I mount the block. -
Cutting existing castable refractory to modify a forge?
Hefty replied to Hefty's topic in Ribbon Burners
Hmmm, next question: my forge is an old 9kg gas bottle with 2 x 1 inch layers of rigidised ceramic wool and a castable refractory flame face, heated by 2 x 3/4" T burners aimed down at an angle at the edge of the cast floor. If I still need to use 2 x 3/4 burners because I'm not altering the volume of the forge, where should I place them? I'd like a bit of swirl, but if possible, I'd also like the burner intakes to be down low to avoid chimney effect. One block will be in the space where my current burners enter at the top right. Any suggestions as to where to put the second? -
Cutting existing castable refractory to modify a forge?
Hefty replied to Hefty's topic in Ribbon Burners
Yep, I've read of your regret before. My plan was to do similar to what I did with my current burners and cast the opening around something non-stick that is the same dimensions as the outside of the block, then weld a mounting bracket to the shell and use some set screws, or similar, to hold the burner in the bracket. -
Cutting existing castable refractory to modify a forge?
Hefty replied to Hefty's topic in Ribbon Burners
Bayard, yep, I do have one, but I'm not sure if an angle grinder will reach where I would need to cut. I can use a normal cut-off wheel for the outer shell and then cut away the ceramic wool with a knife, but I'm not sure if the disc will protrude enough to cut from the outside and I don't know if I can position the grinder correctly through the front opening. I also have a 32mm (1 1/4") diamond hole saw that I might be able to use to overlap holes. Frosty, I don't have a reciprocating saw of my own, but yes, I think that would work for the length. I'll have to see if I can borrow one. Now that I think about it, a slightly oversized opening with a more irregular shape from overlapped drill holes might be better for getting new castable to adhere to in order to make a new mounting slot for the ribbon block. Cheers, Jono. -
That could be a good option. Thanks David!
-
Curse my upgraditis!! I've only recently got my first gas forge up and running but for a number of reasons (mainly keeping my noise-sensitive neighbour happy) I really want to change to NARB. Yes, I could just build another forge but I'd rather save money if I can, by modifying this forge to install 1 large, or 2 smaller, ribbon burners. My main question is: what would be the best tool/method to cut through existing castable refractory? Cheers, Jono.
-
That's where I saw that image! Thanks Buzzkill. That's what I was searching for. I have questions about the fibreboard because I know where to get it, but I haven't worked with it, so I don't have a feel for its characteristics. Does it drill cleanly? Or if I used SS drinking straws, would they "punch" into it reliably, or would there be punch-out on the back of the hole? You mention burning in the plenum at high temps/pressures. Do you suspect this is from the sleeves getting too hot? Your pic was what led me to think of SS straws, although I don't know if thinner metal would mean it would heat up faster, or be more readily cooled by gas flow?
-
TL;DR: Would ceramic fibreboard with stainless steel straw inserts work? I had a thought, did a search and found this. Howling Dog, did you ever end up trying anything like this? I've recently found a local refractory supplier who sells ceramic fibreboard. I was thinking of buying and cutting up some cheap stainless steel drinking straws and either drilling and inserting or punching them into place in the board (not sure how tough the board is) and then putting a flame face coating on the outside. I know there have been some concerns over pre ignition if the stainless inserts got too hot, but I thought I could cut them a little short, so the fibreboard is taking the brunt of the heat. There were also concerns about stainless inserts causing cracking in cast blocks due to different expansion rates, but I figure the fibreboard would have a little more give, maybe? What do people think? Would this work? Do I just need to "suck it and see"? Cheers, Jono.
-
Looks awesome, Travis. I'm by no means an expert but some of the old railway areas may have old railroad spikes/dog spikes that are wrought. It can be a bit hit-and-miss though. I picked up a few in Cairns and there are a lot of people west of Brisbane who sell old spikes on marketplace. I'm guessing there would be some historic railway areas in or near the Hunter? Any Cobb and Co. type historical places near you? Cheers, Jono.
-
What did you do in the shop today?
Hefty replied to Mark Ling's topic in Blacksmithing, General Discussion
I would either go 4mm and flatten the end like a little spade, or, 6mm and split into a tiny fork: Marshmallows don't always behave when you rotate the stick for even roasting. Both of these shapes will prevent the marshmallow spinning on the stick as it melts, if it is a little off centre on the stick. Oops, missed the extra page of replies before I posted mine! Frosty beat me by miles!! Cheers, Jono. -
What did you do in the shop today?
Hefty replied to Mark Ling's topic in Blacksmithing, General Discussion
Les, what are the dimensions of the bit for the mouse hawk before you forge weld it in? Cheers, Jono. -
What did you do in the shop today?
Hefty replied to Mark Ling's topic in Blacksmithing, General Discussion
Had one of my longest sessions in the forge yesterday that I've had in a long time. I'm loving my new gas forge! I punched and started to drift a hammer, did some drawing out for some tongs I've had half-finished for a while now and tried, and failed, a split bit forge weld. I was getting a bit tired and over-reaching, so I decided I'd quit for the day, and I'll grind back and re-do the forge weld another day, when I'm fresh. Too many projects on the go! Maybe I should stick to one thing at a time! Cheers, Jono.
-
What did you do in the shop today?
Hefty replied to Mark Ling's topic in Blacksmithing, General Discussion
I like the brooch, Mothman. Good, clean forging and finish. Nice work! (I like the candle holder, too, but the brooch stood out to me.) -
Any guidelines or rules-of-thumb for proportional depth of split or thickness either side of the split for this style of weld? I have another one of these spike hawks started but I haven't drawn out the depth. I have some leaf spring that is a little deeper and thicker that I can make the bit from.