Hefty
Members
-
Joined
-
Last visited
-
Just don't try switching to hammering with your left thinking that holding tongs in the right will be easier. My first brush with golfer's elbow was actually in my left (non-dominant) arm, from poorly fitted tongs and over-gripping!
-
Dream fish on this trip would be a 20+kg spanish mackerel (I think in the southern US they call them king mackerel). Yep, I think your story has convinced me. I'll just normalise this one.
-
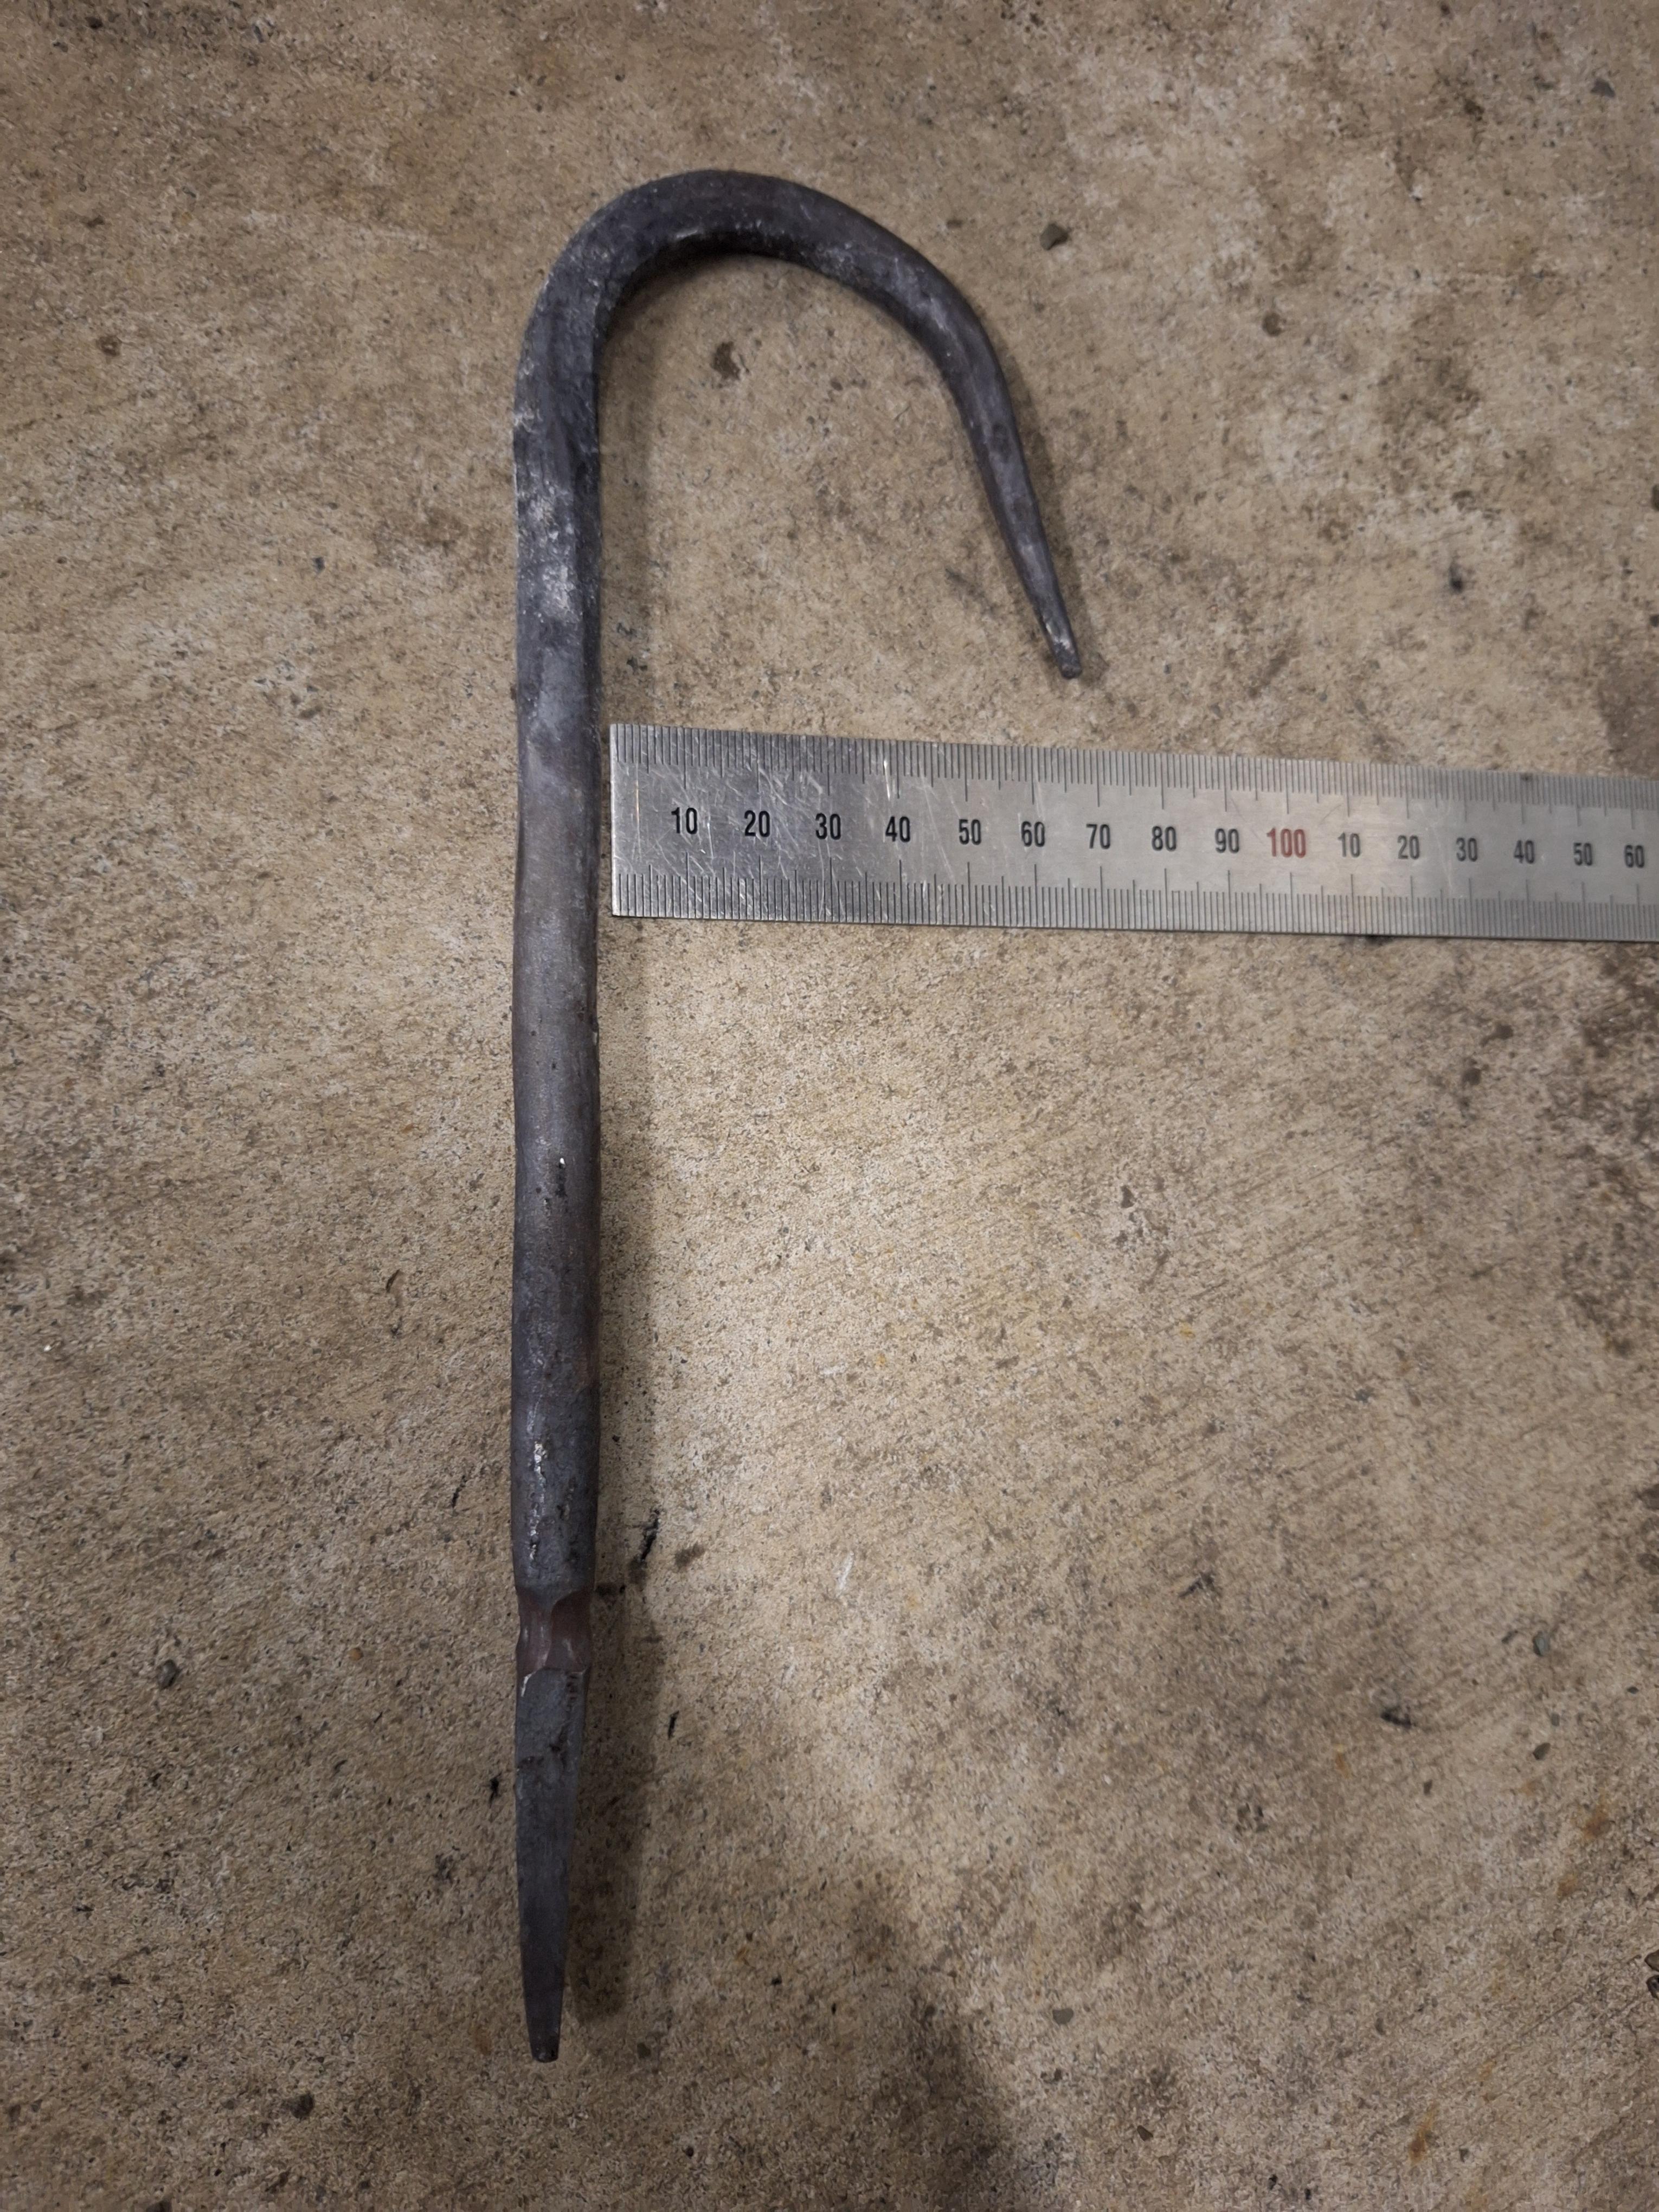
Hi everyone, My brother and I are keen fishermen and spear fishermen, and we've got a trip coming up next week. My bother asked me if I could make us a gaff, so I forged one this afternoon out of 10mm (about 3/8"). Here's the hook section, rough forged: My question is, should I heat treat it? I'm confident enough in my process, but I've occasionally had unknown/recycled coil spring crack in use, after heat treating. I assume this was from stresses in its working life leading to micro-cracks or other degradation. Provided there are no micro-cracks already in the steel, I'm confident it will withstand the forces applied in use just from its thickness. But, if there's no micro-cracks in the steel then heat treating it also shouldn't be an issue. I'd just hate to go to use it on the fish of a lifetime and have it snap and lose the fish! Having typed this all out, I think I've convinced myself not to. But, I think if I get time I might forge a second one and try one with heat treating and one without. I'll try to remember to update this thread either way. Cheers, Jono.

-
No worries, Templehound. I really like the effect.
-
I haven't used it myself, but lots of people on here have talked about curing it in a high humidity environment. Easiest way is to put in a big garbage bag or a large tub (sealed) that also has a wet towel in it. The water doesn't have to be touching the refractory, but the humidity helps its curing process.
-
Looks like "2 1/4" to me. Is that the dimension of the face as a square? Have you measured it?
-
Thanks Billy. I've just started with damascus but I've only done twists so far. I'm keen to try some of the other easier entry options like ladder and raindrop so I was curious to know if the two ladder techniques have the same or opposing effects. Incidentally, I saw your blade over on bladesmiths' forum, too!
-
That's beautiful work, Billy! For your ladder pattern, do you cut/grind grooves and then forge flat and grind to shape, or forge grooves and then grind flat?
-
That's an awesome set, David!
-
I found it interesting, but my favourite part was the added foley sound of the sharpening of the hand cutting blades that was identical to the filing of the surfaces to prepare for cutting .
-
Is that the bevel, or a really popping hamon?
-
Looks like a fantastic, fun and successful weekend, David! Nice work!
-
Some people put stainless needles in it, like they do with small scale, fancy concrete castings.
-
I'm slowly making a swage block of of a short section of rail and I used one of the v sections I cut out to make the bit to steel a small tomahawk. It holds and edge well, but I made sure to temper it well back so it didn't crack or chip with use.
-
Hi everyone, I've been doing a few small billets of Damascus by hand and really enjoying the results. I don't have access to a power hammer or press, but I would like to go a little bigger. Does anyone here have any experience forge welding billets with a striker? Would light strikes on a flatter work effectively for forge welding larger billets? Any advice, especially from experience, would be greatly appreciated! Cheers, Jono.